How to Refurbish a Bond Touch More Charger
by OliverM55 in Circuits > Soldering
166 Views, 0 Favorites, 0 Comments
How to Refurbish a Bond Touch More Charger
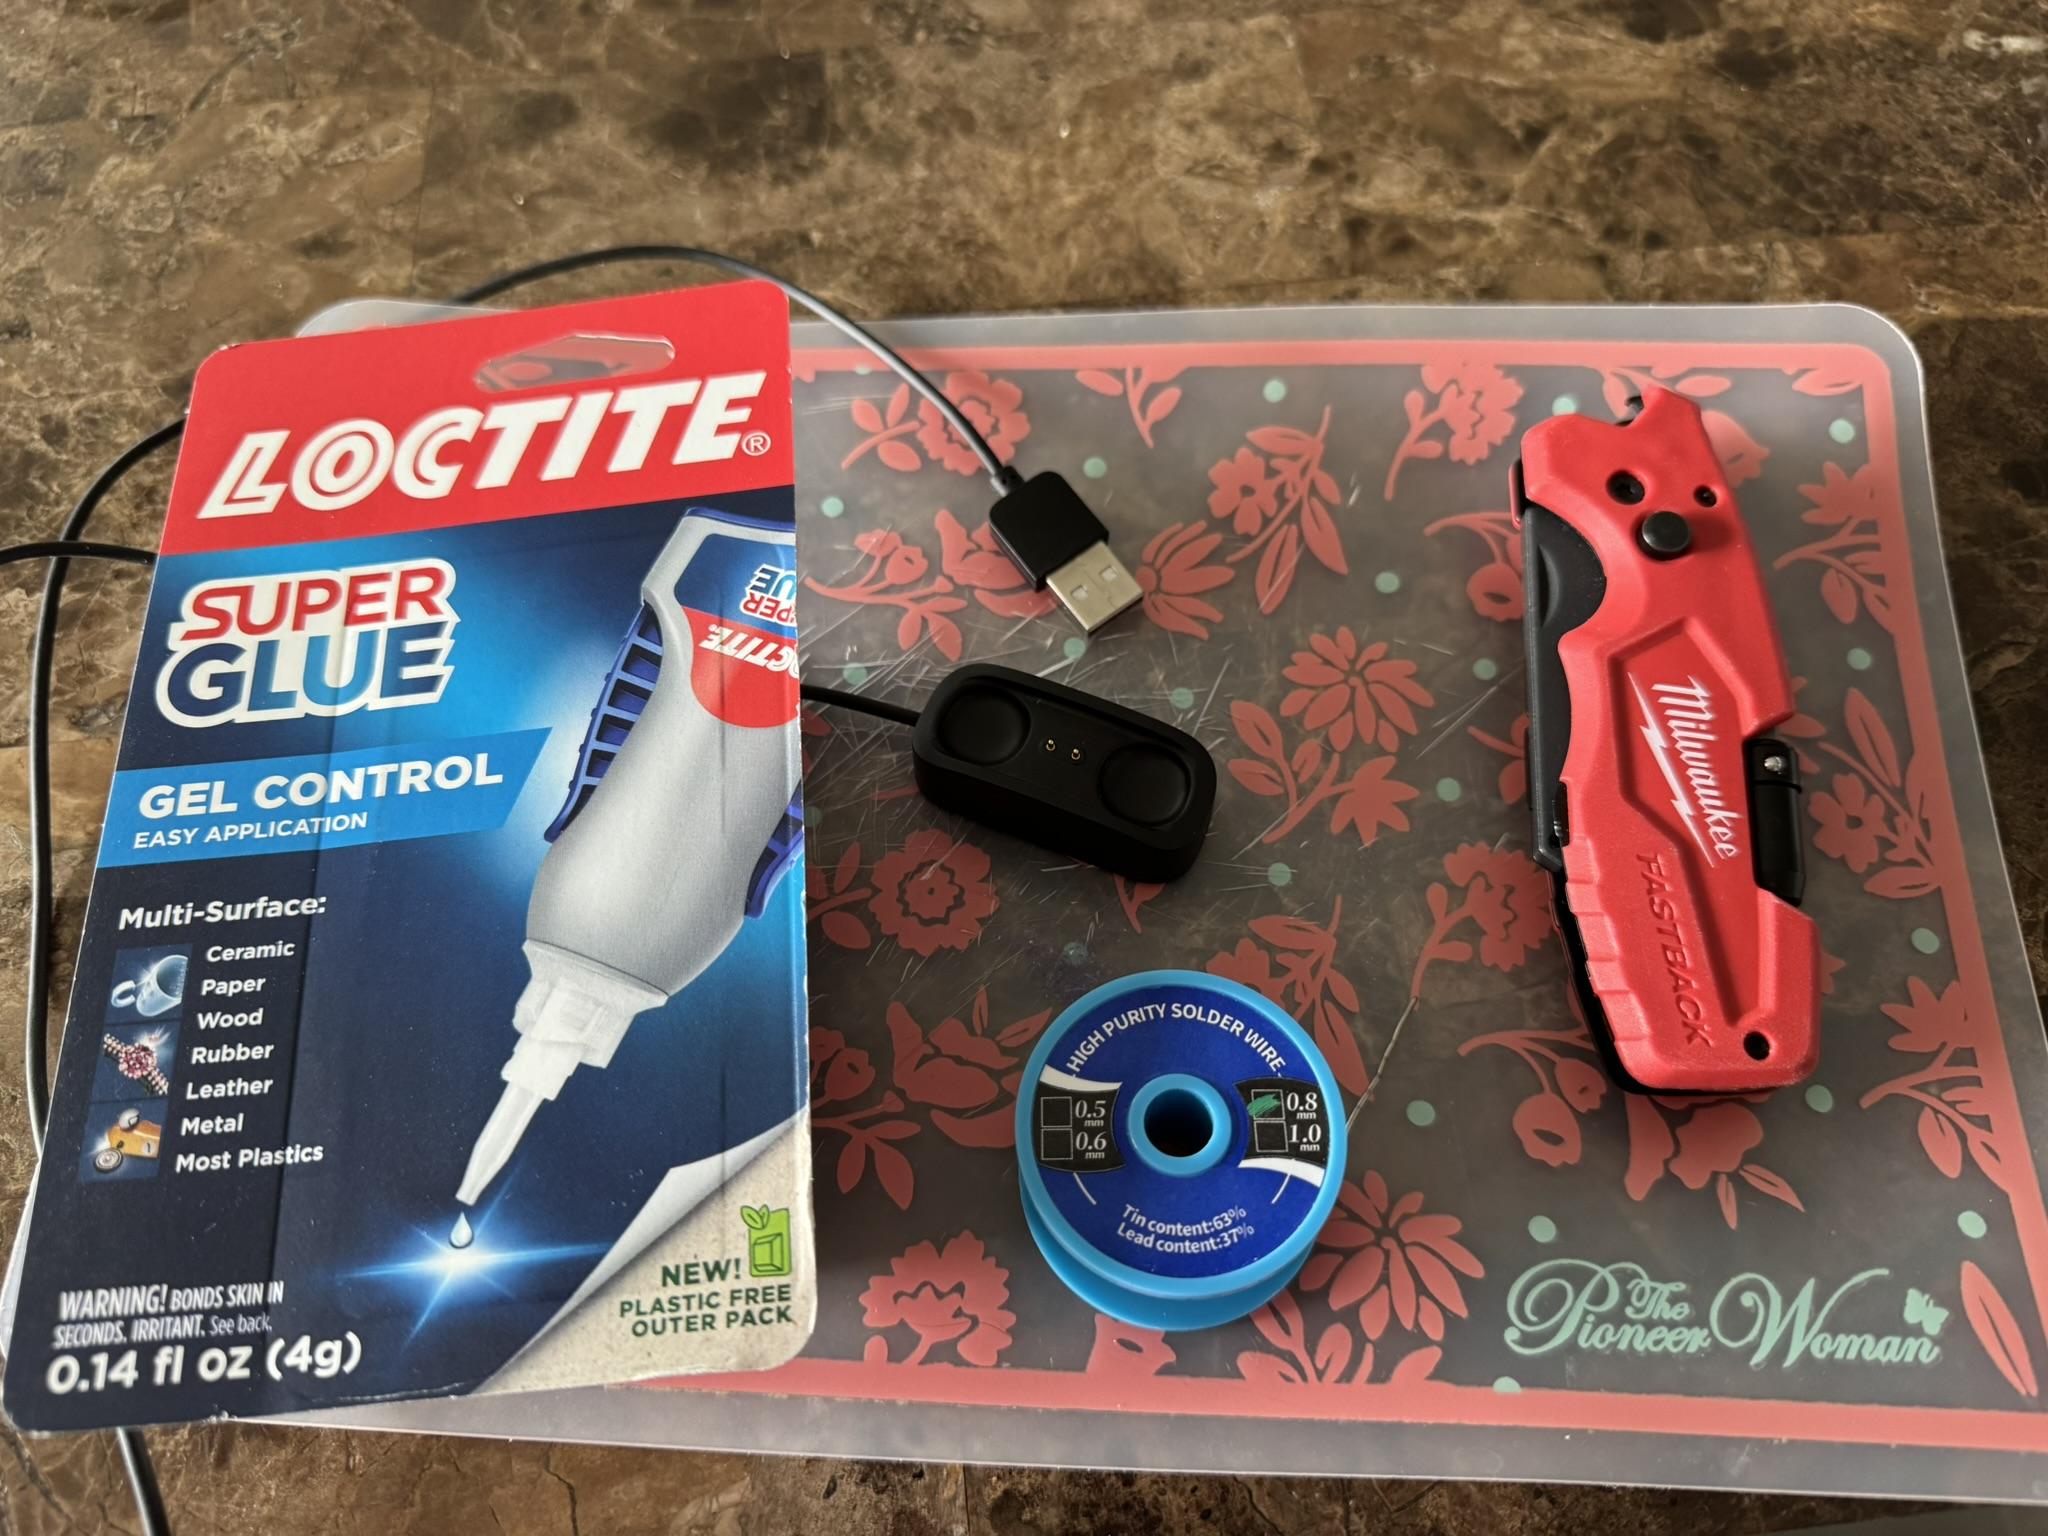
So, anyone who owns a Bond Touch More has likely had to buy a new charger for it at least once since the chargers are so fragile. This is unfortunate, since the company has now stopped producing the chargers, so if your only charger breaks, your only option is to either buy a new (and less feature-rich) Bond Touch or try and fix the charger. This tutorial will show you some steps you can take to fix a broken charger.
Supplies
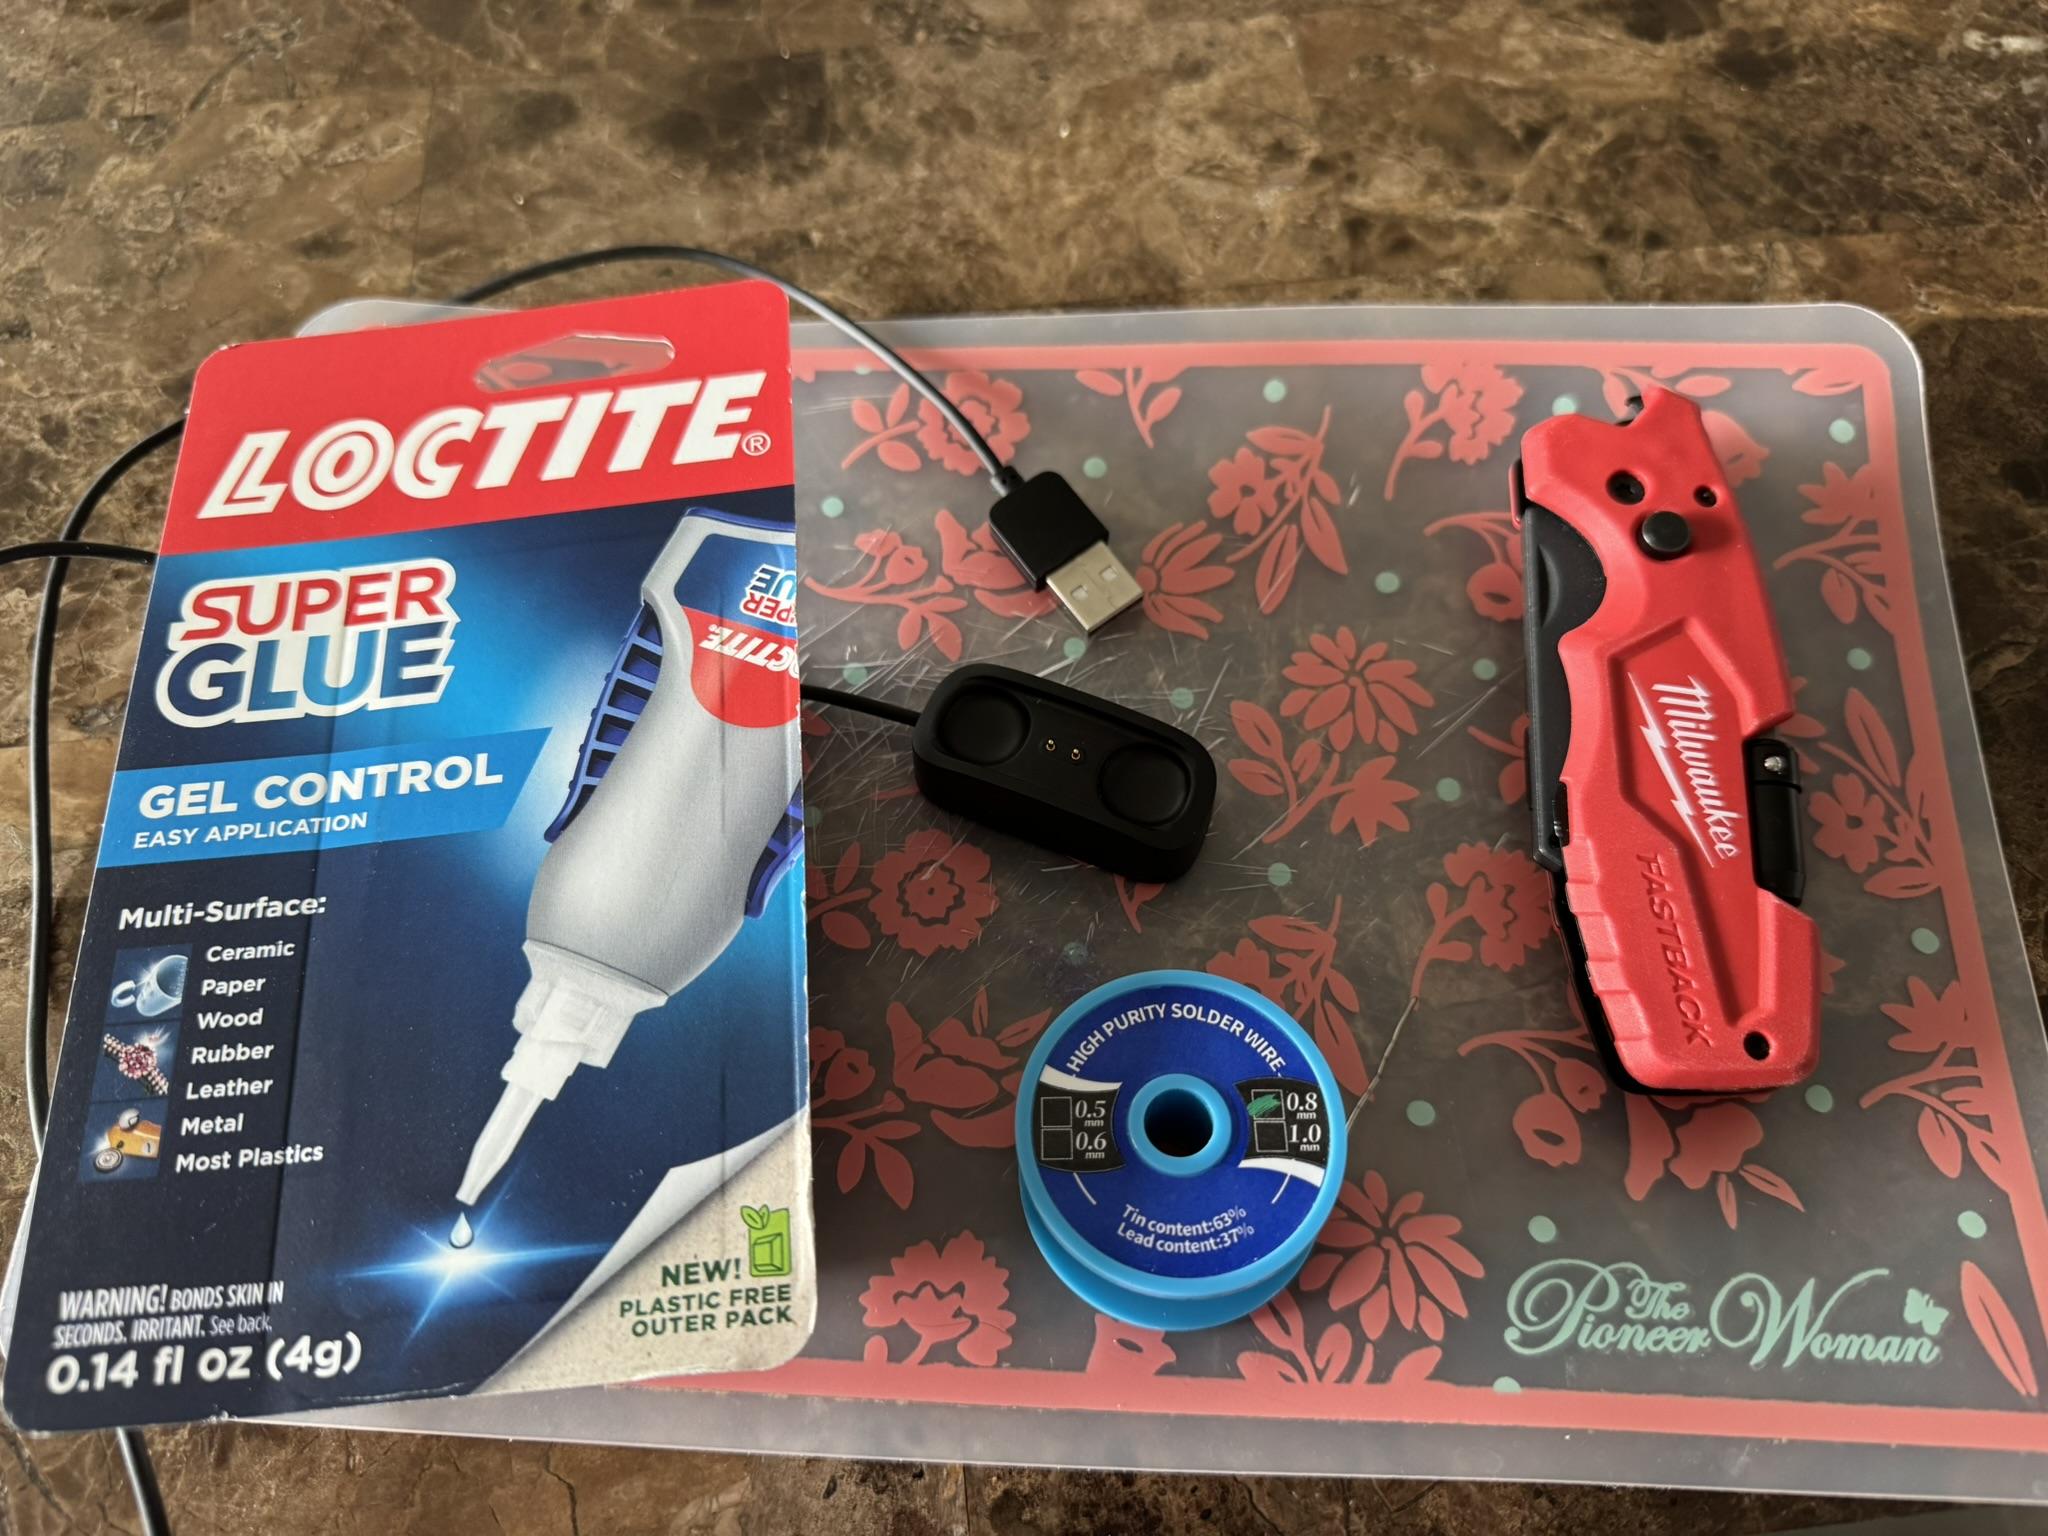
The tools you will need are:
- Soldering iron
- A box cutter or other sharp knife
- A cutting board
- (Possibly) Tweezers
- (Possibly) A drill and some small drill bits
The supplies you will need are:
- Solder
- Super glue
- (Possibly) a different USB cable for a different device that you don't mind cutting up
Opening the Carger
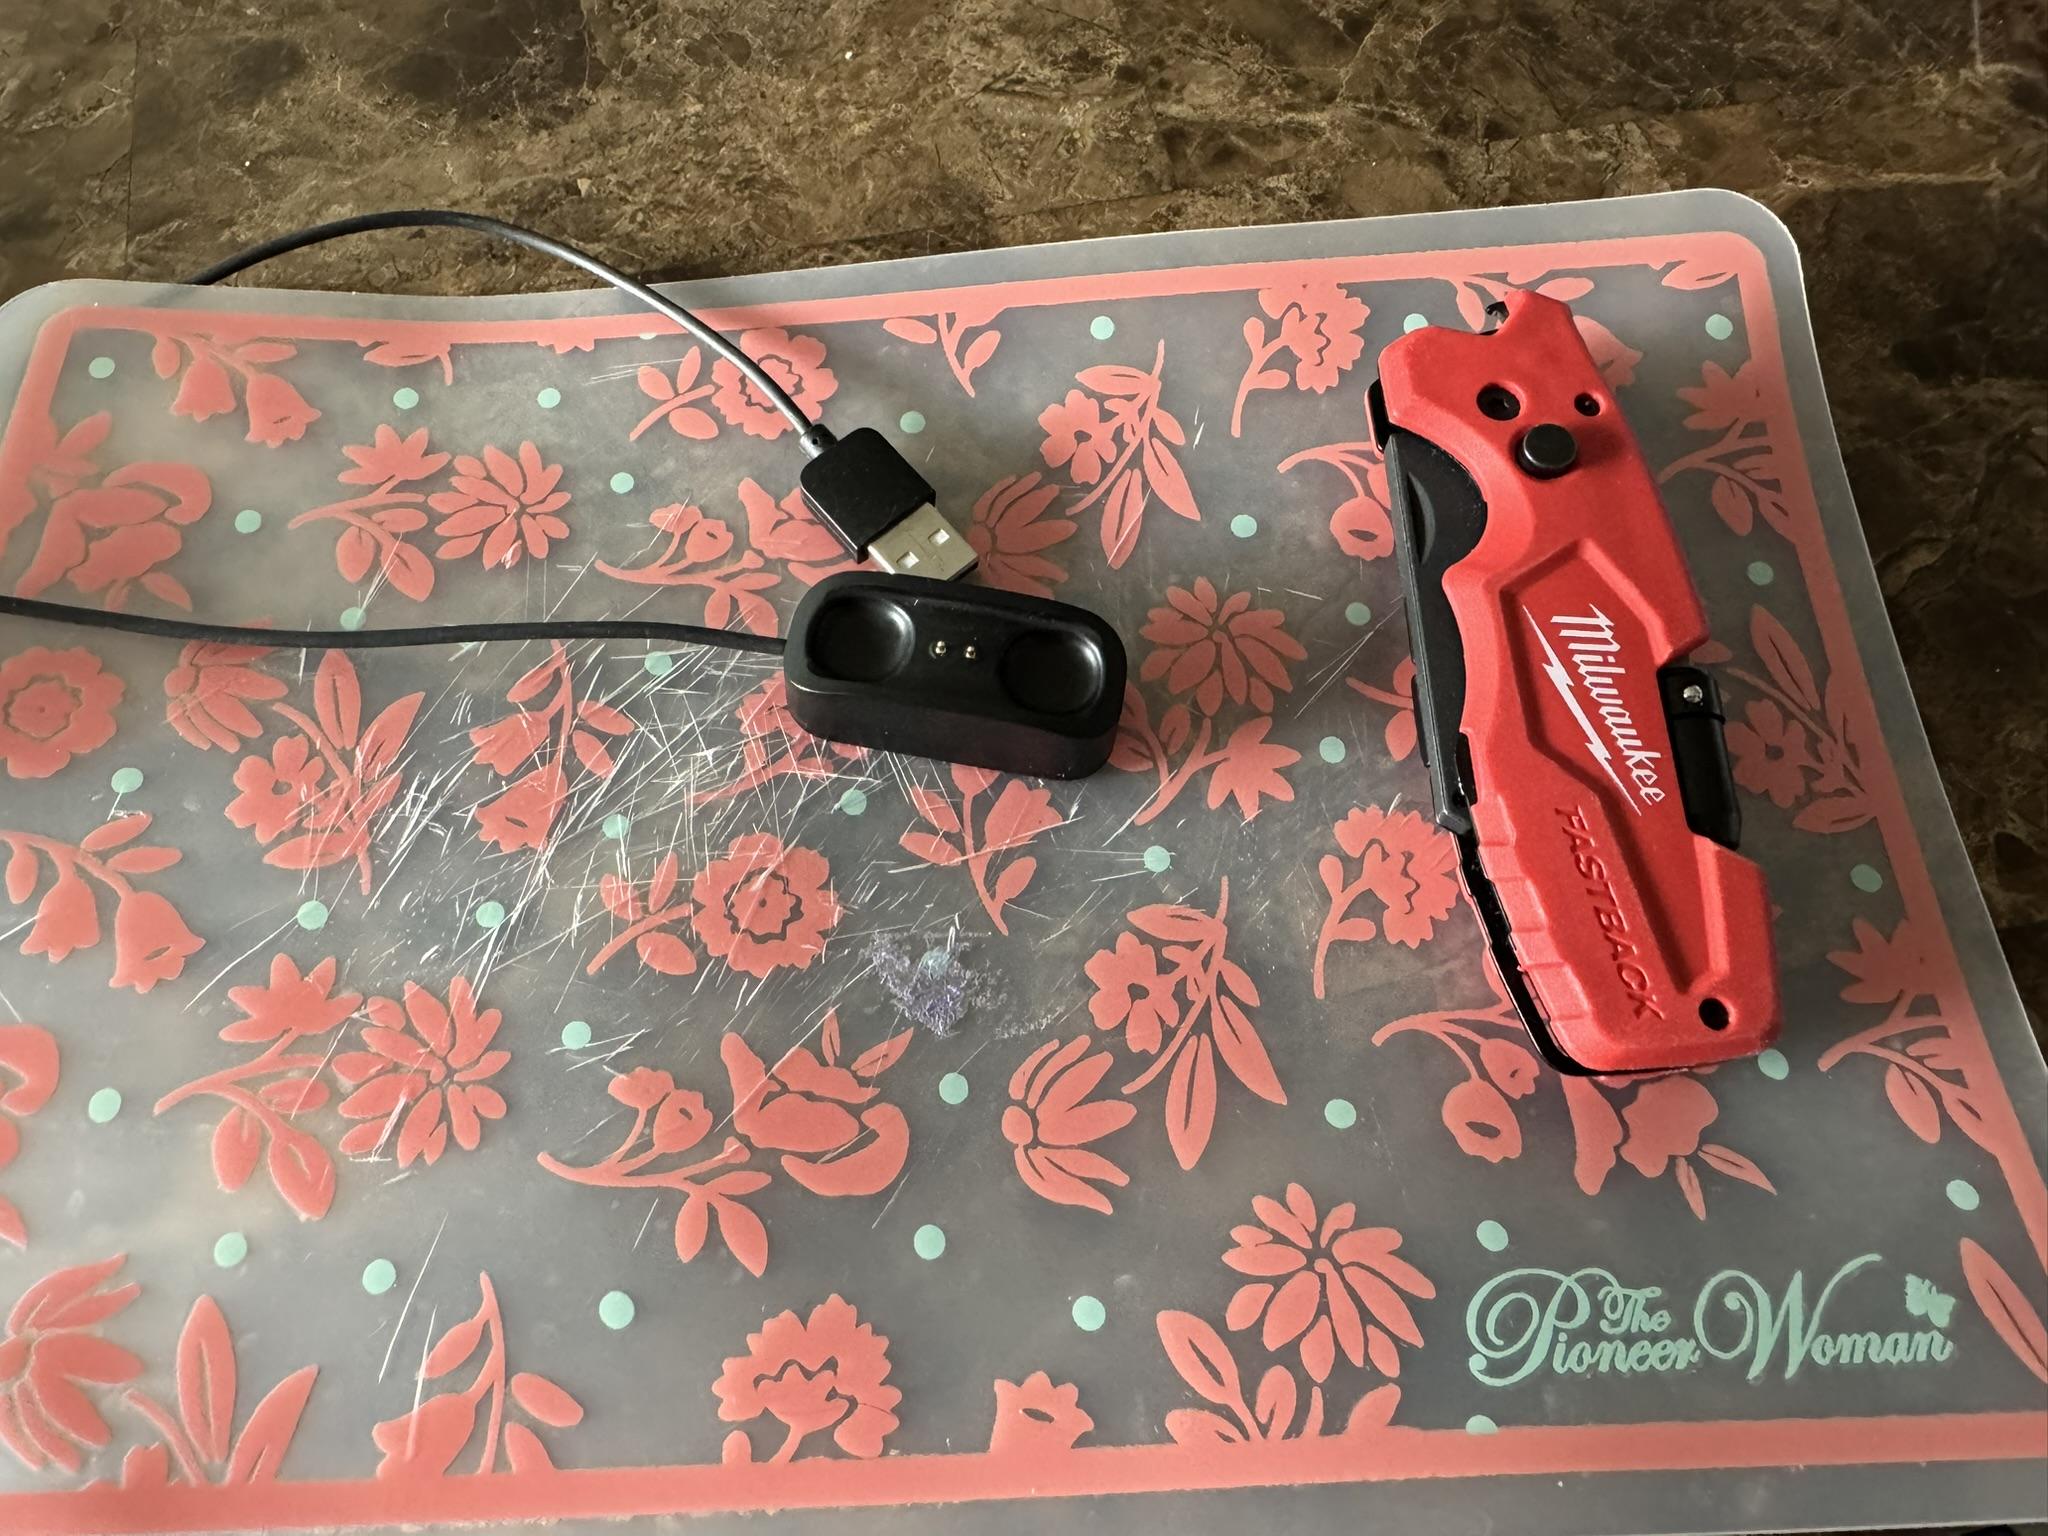
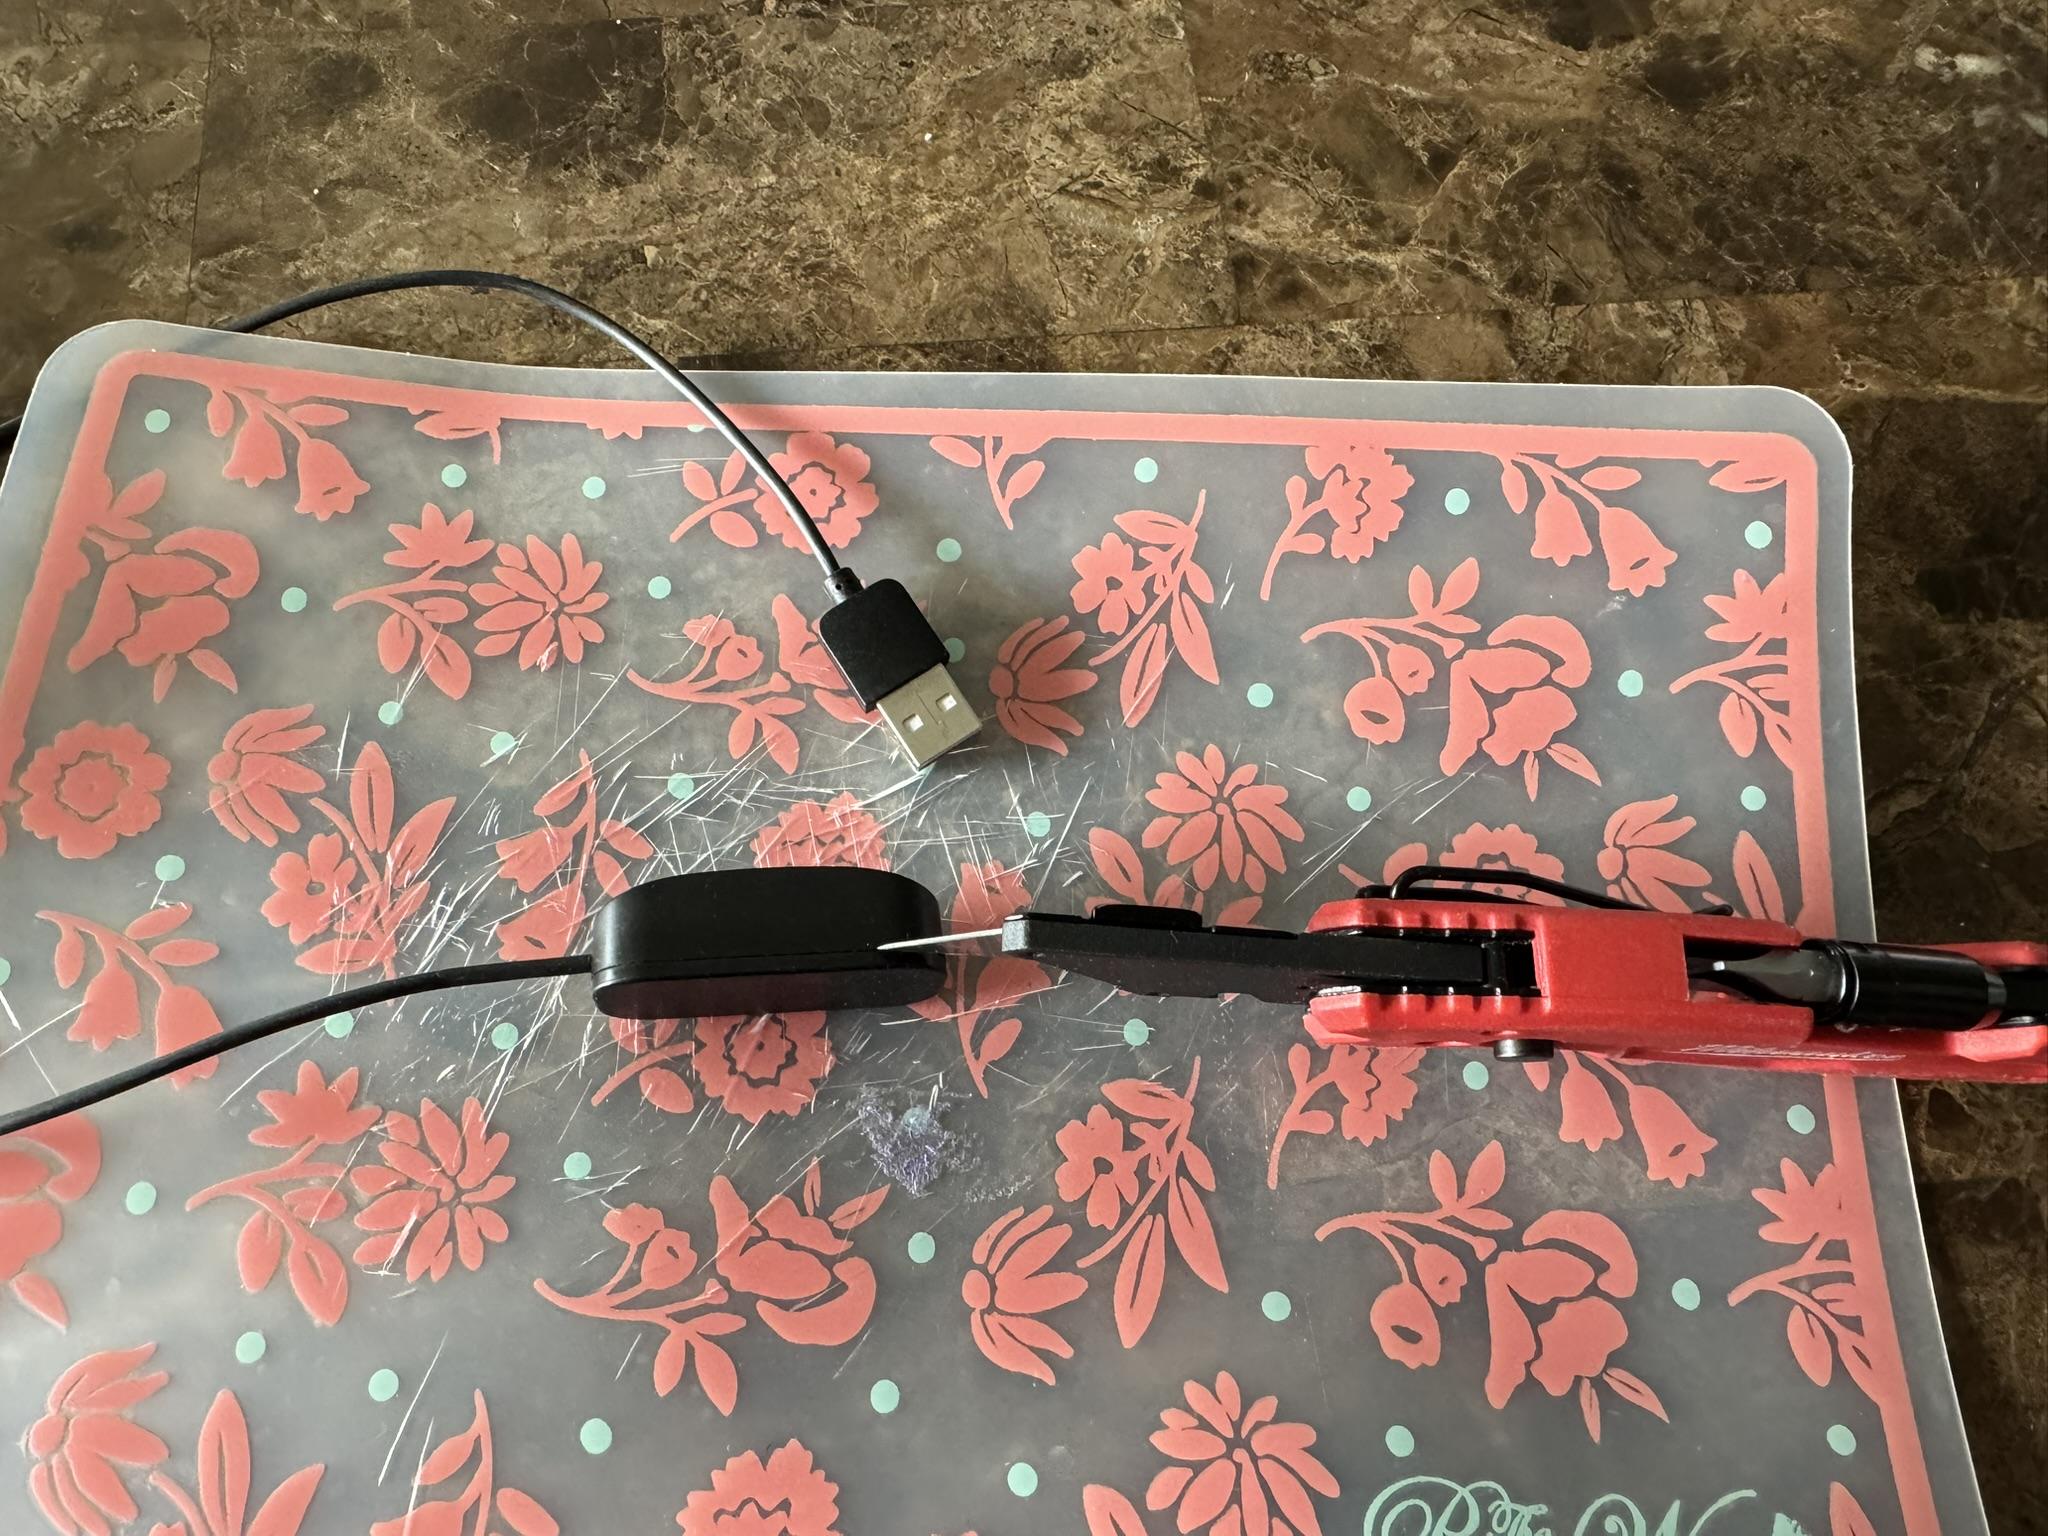
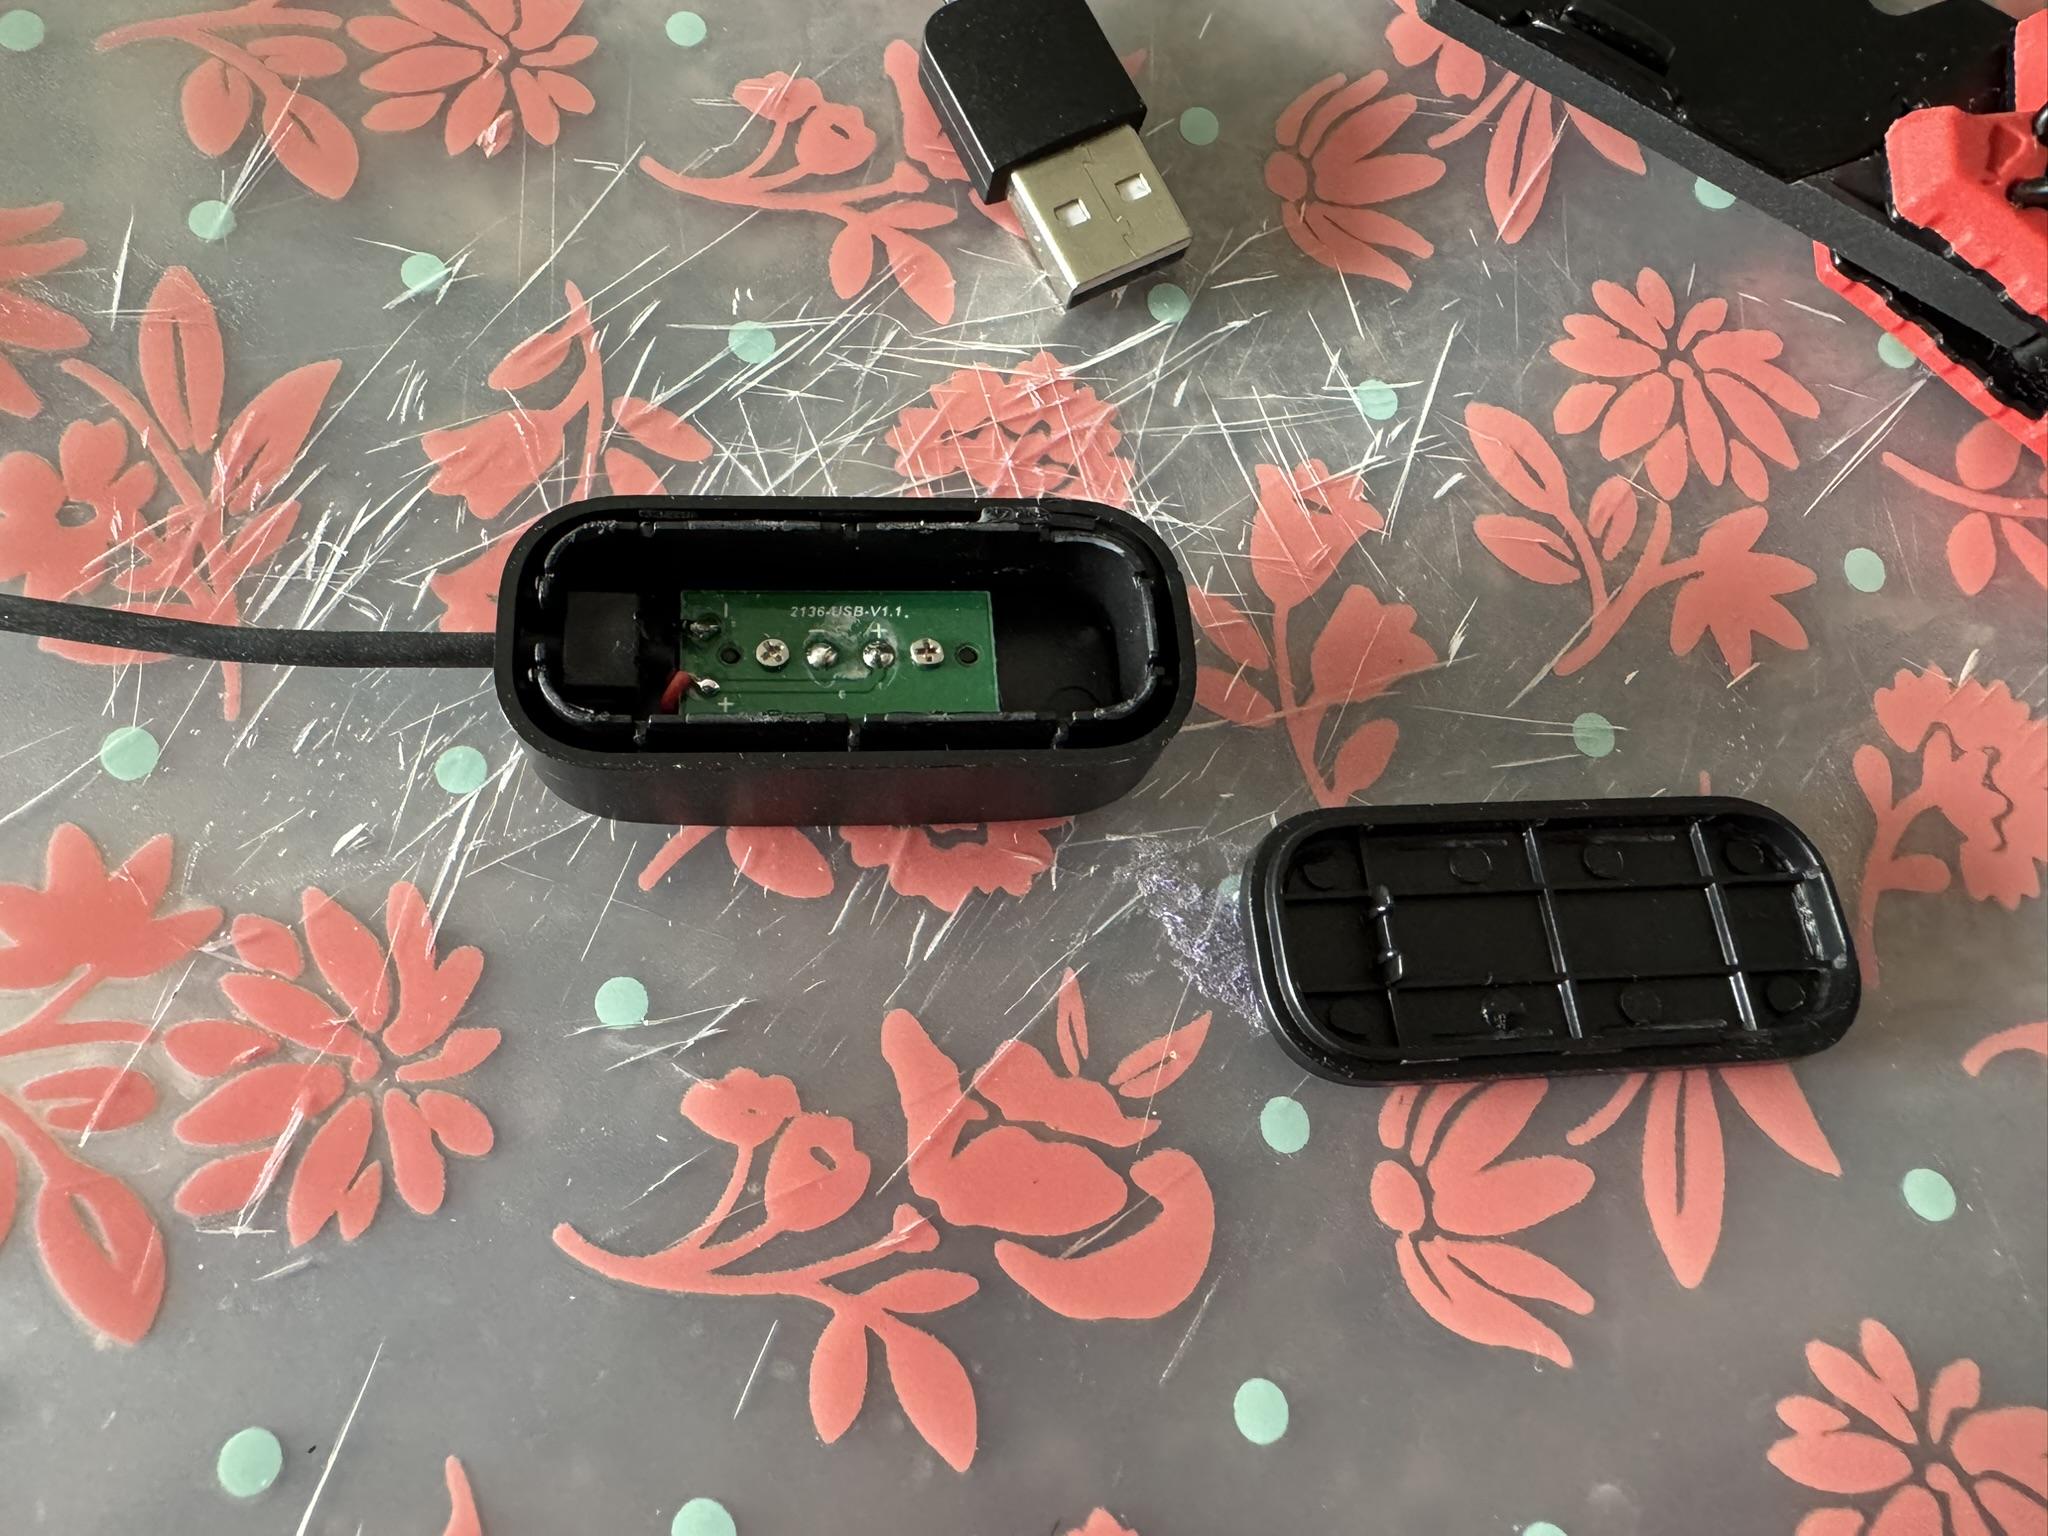
- Take your box cutter and the broken charging dock for the Bond Touch More and position the box cutter along the seam of the charger dock about 1/2 inch from the end that does not have the cable on it as shown in the second picture.
- Press down on the knife firmly (but carefully). It might take some force, but eventually the glue on the dock will release, and the dock will separate at the end. Carefully pry the bottom of the dock away from the top, and you will be left with the two halves as shown in the third image.
Refurb the Cable End
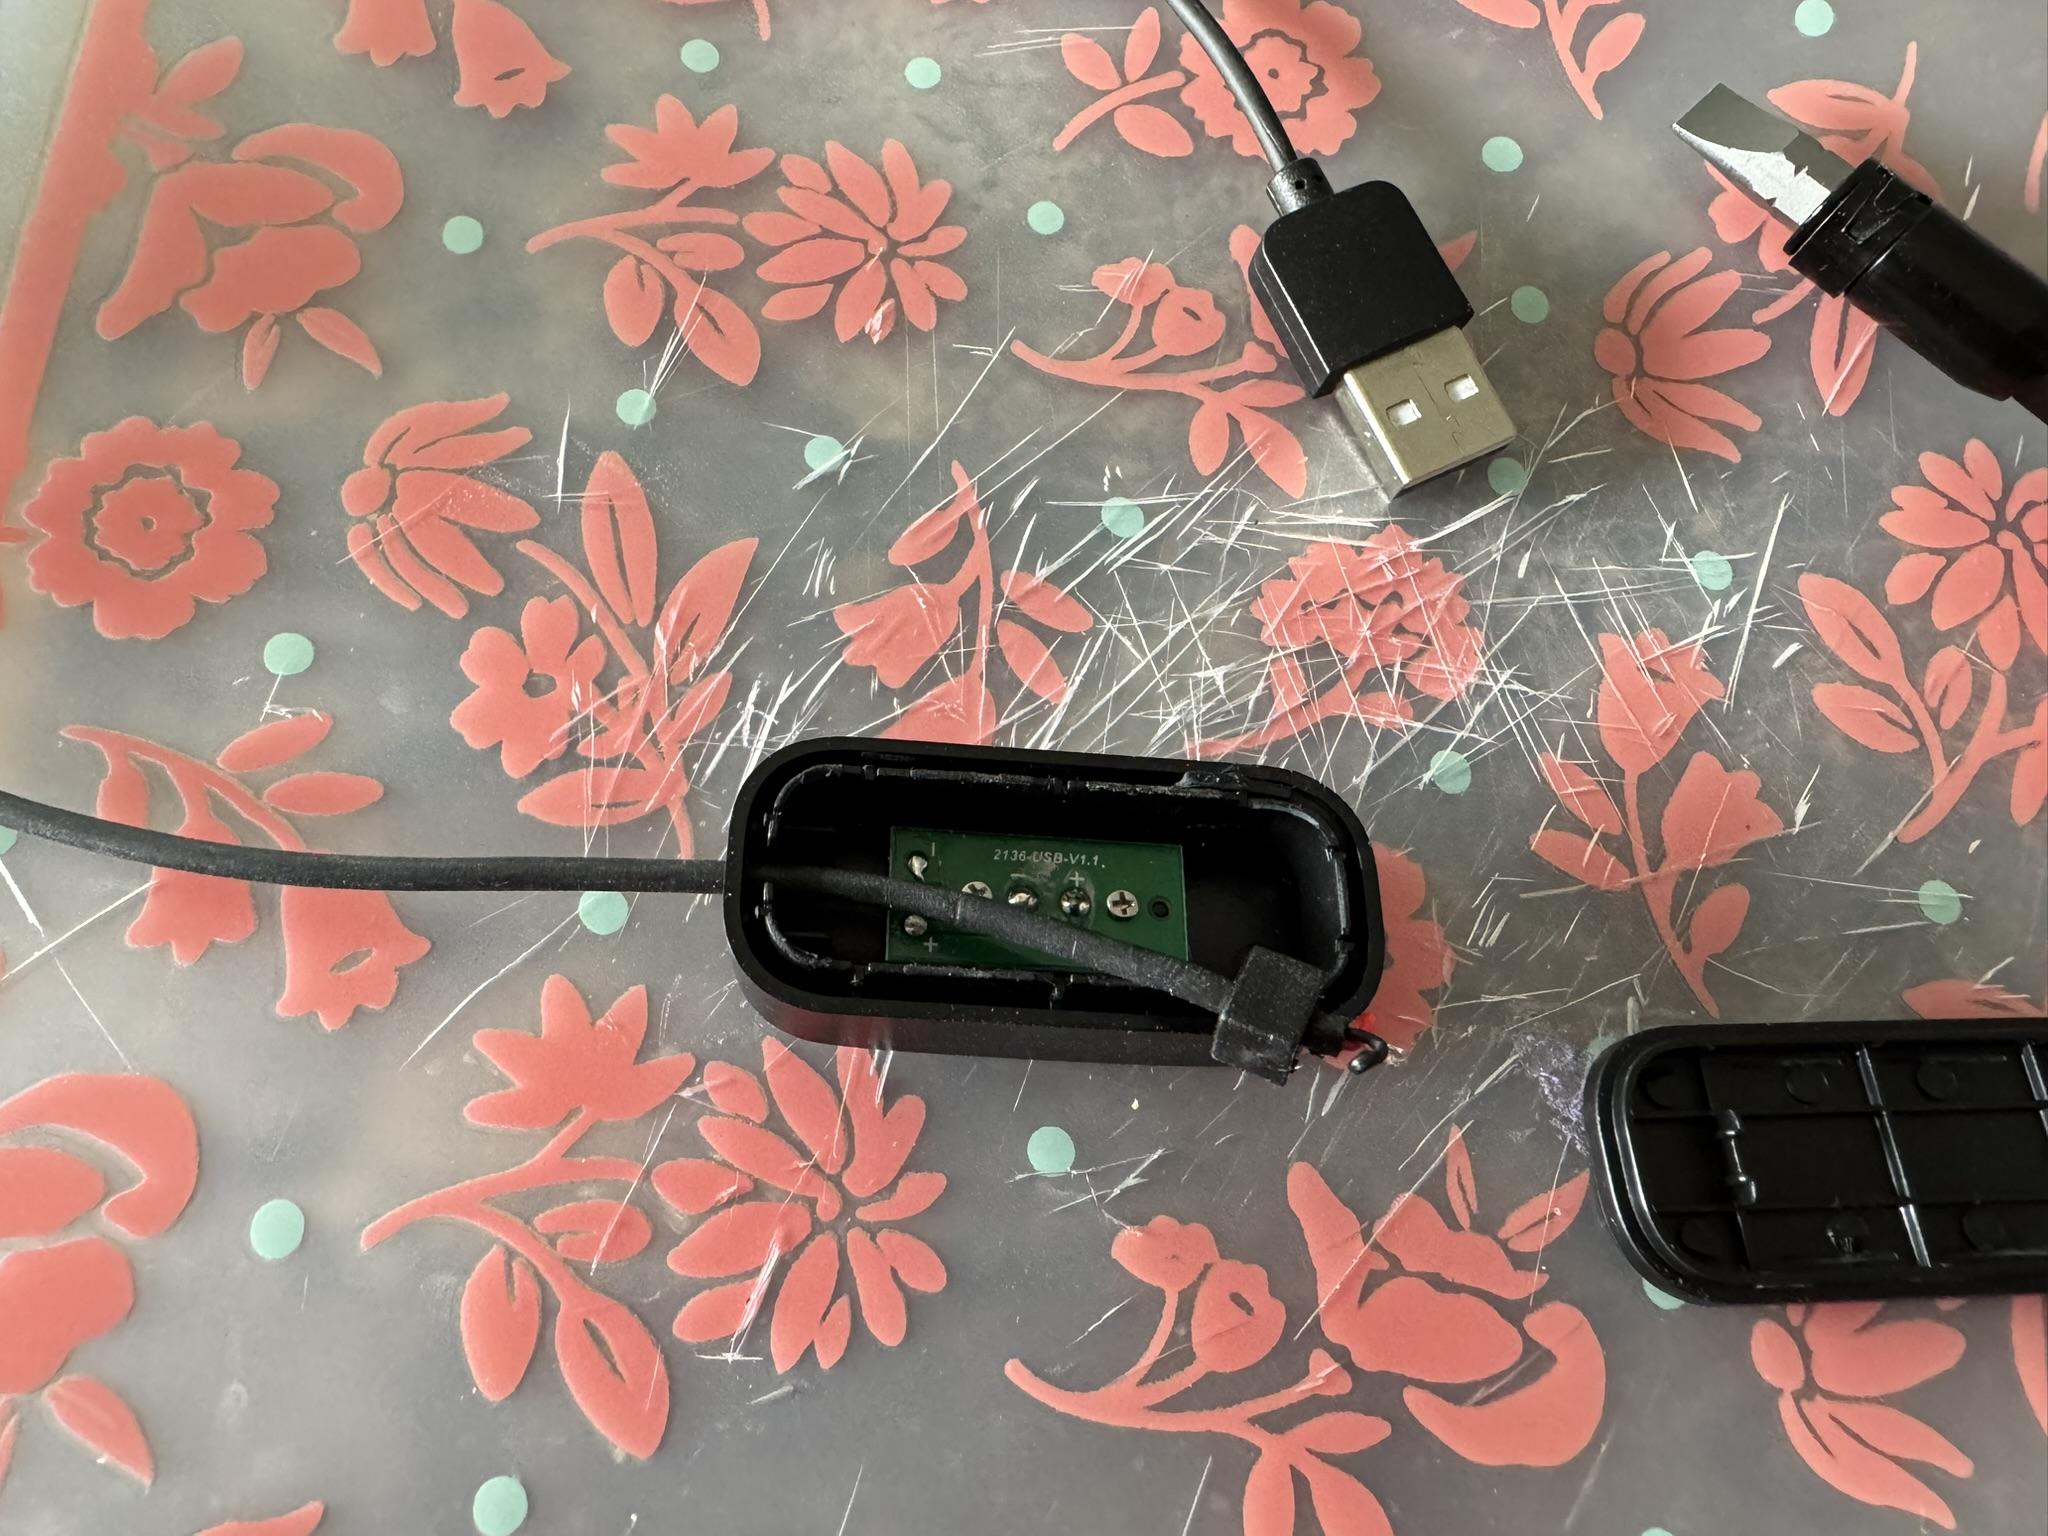
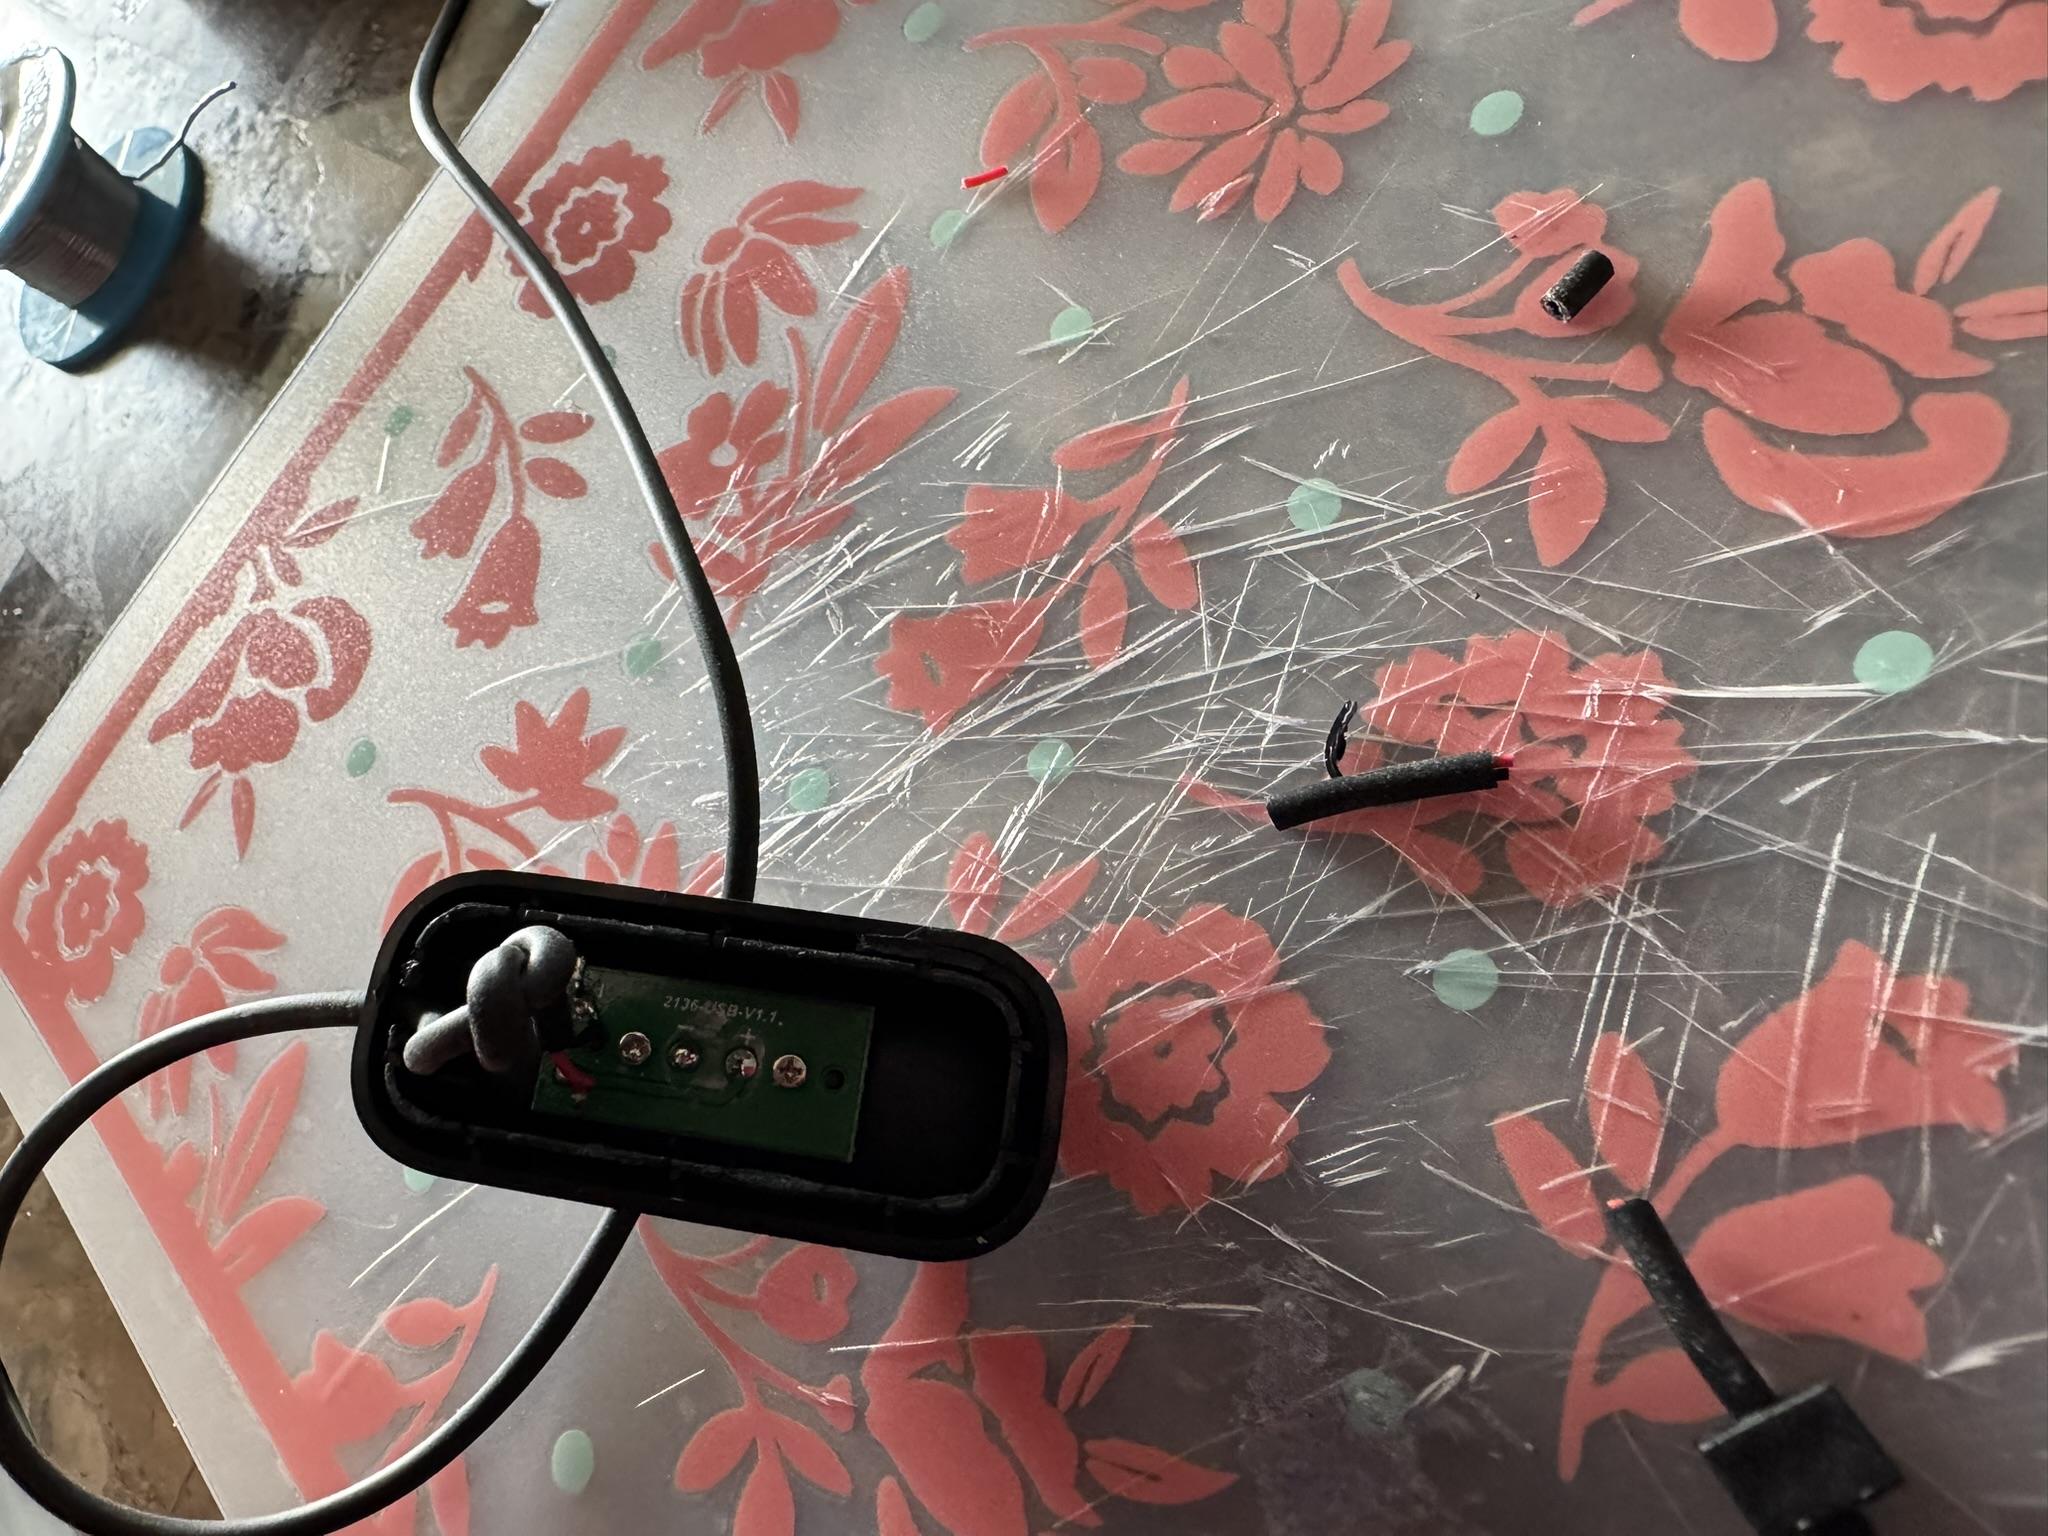
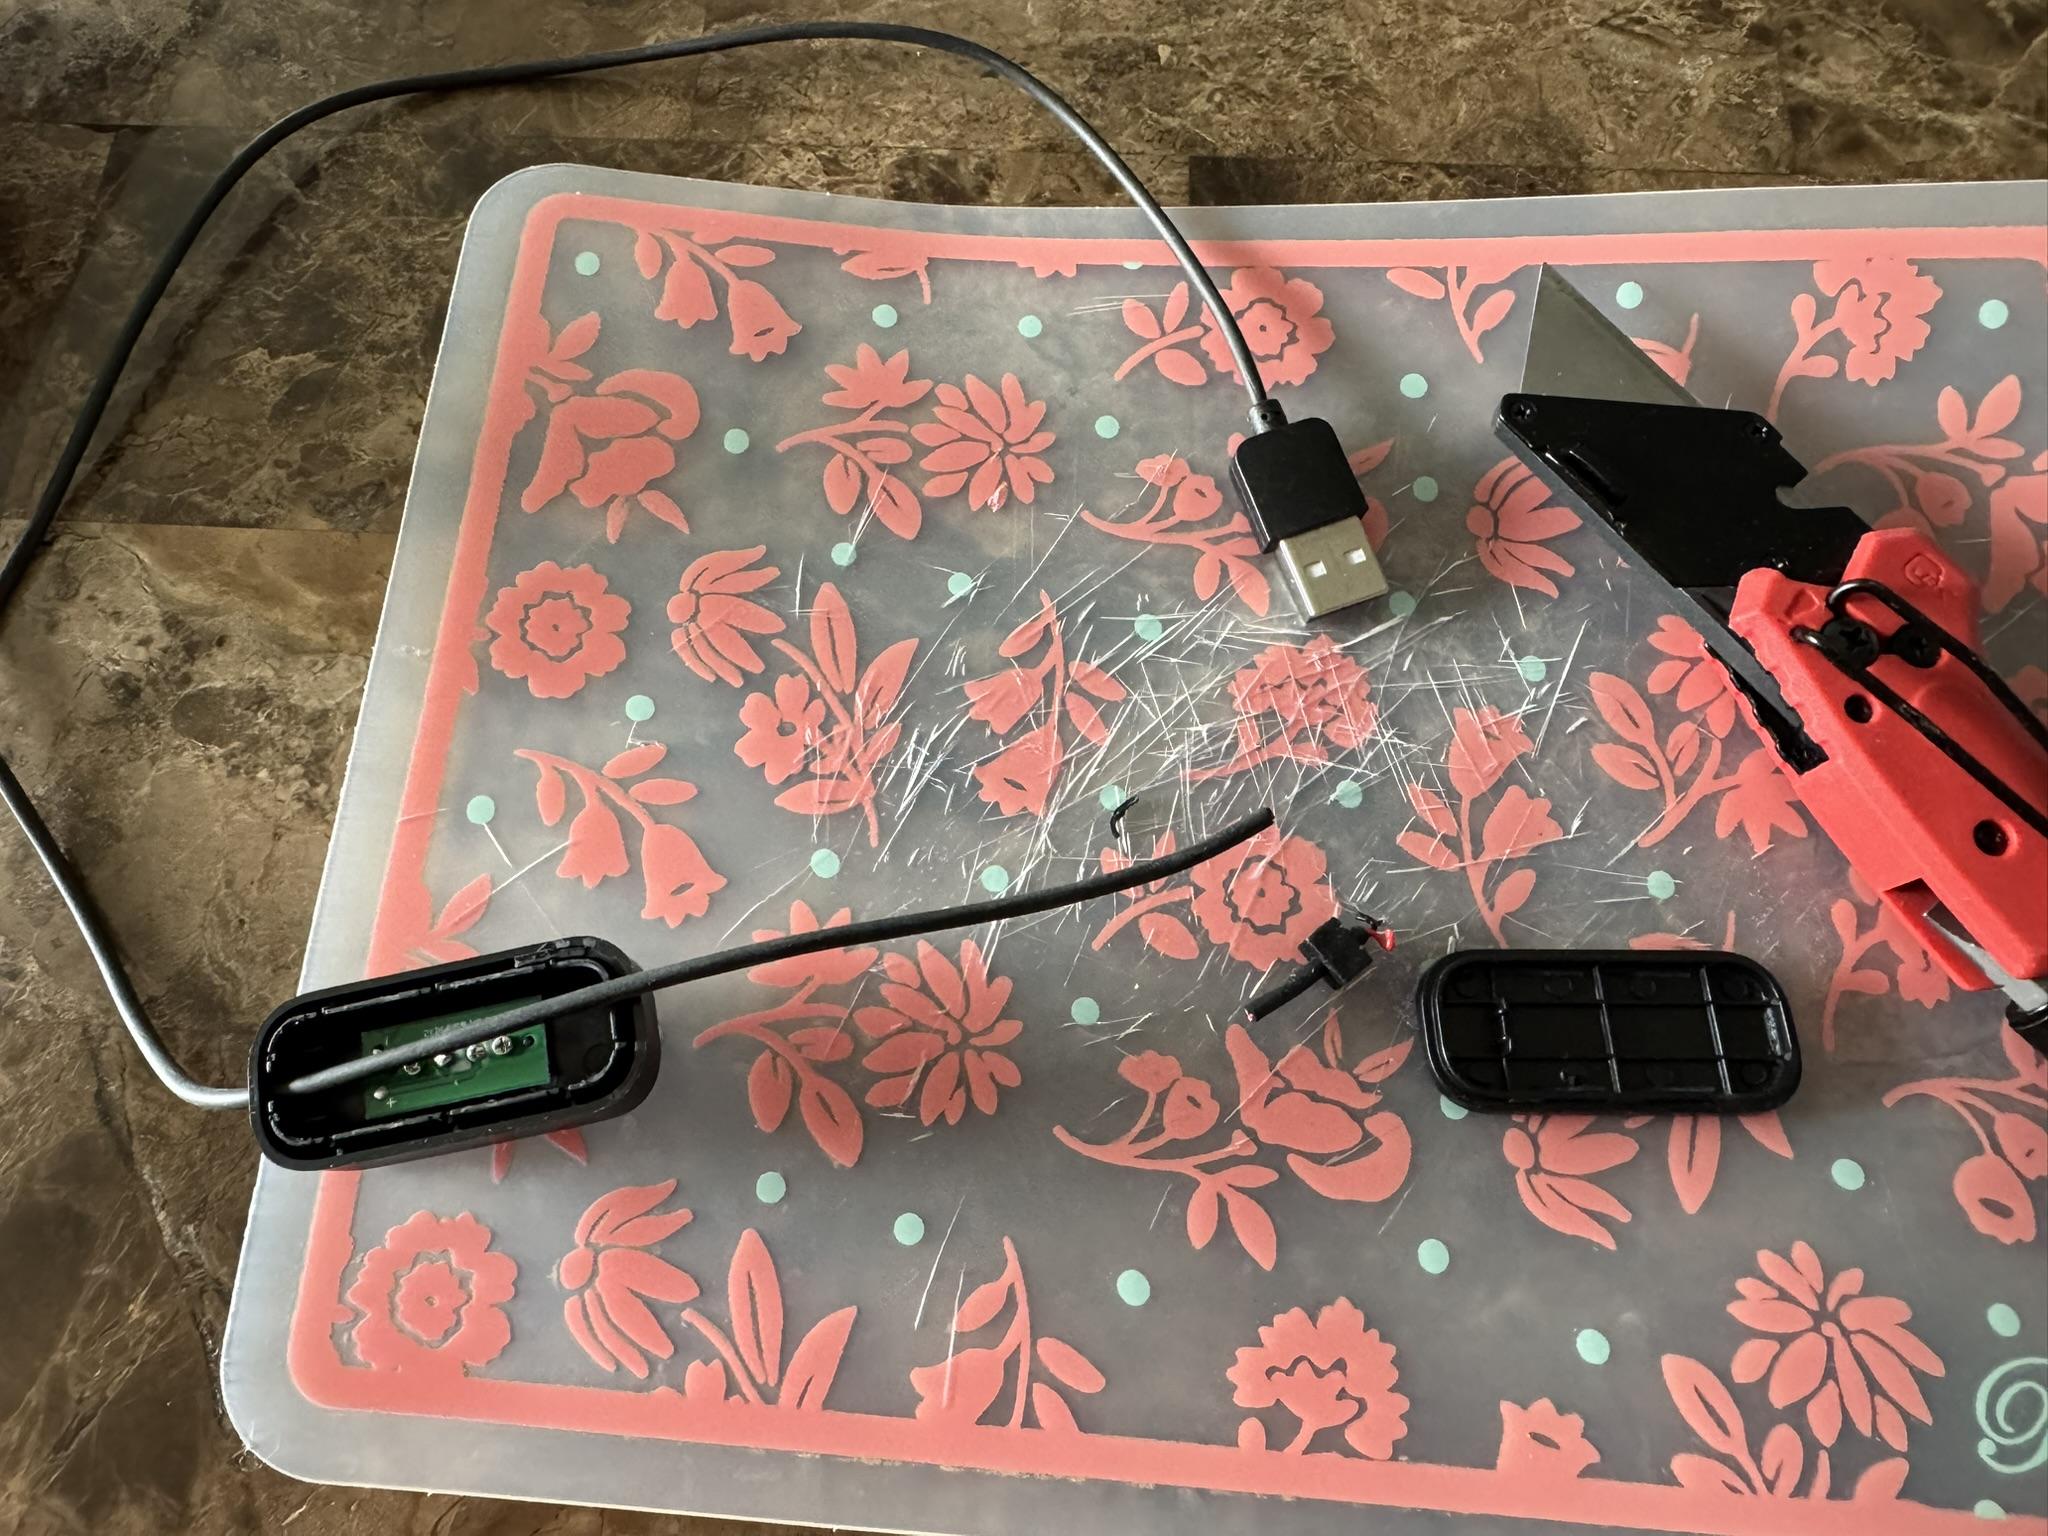
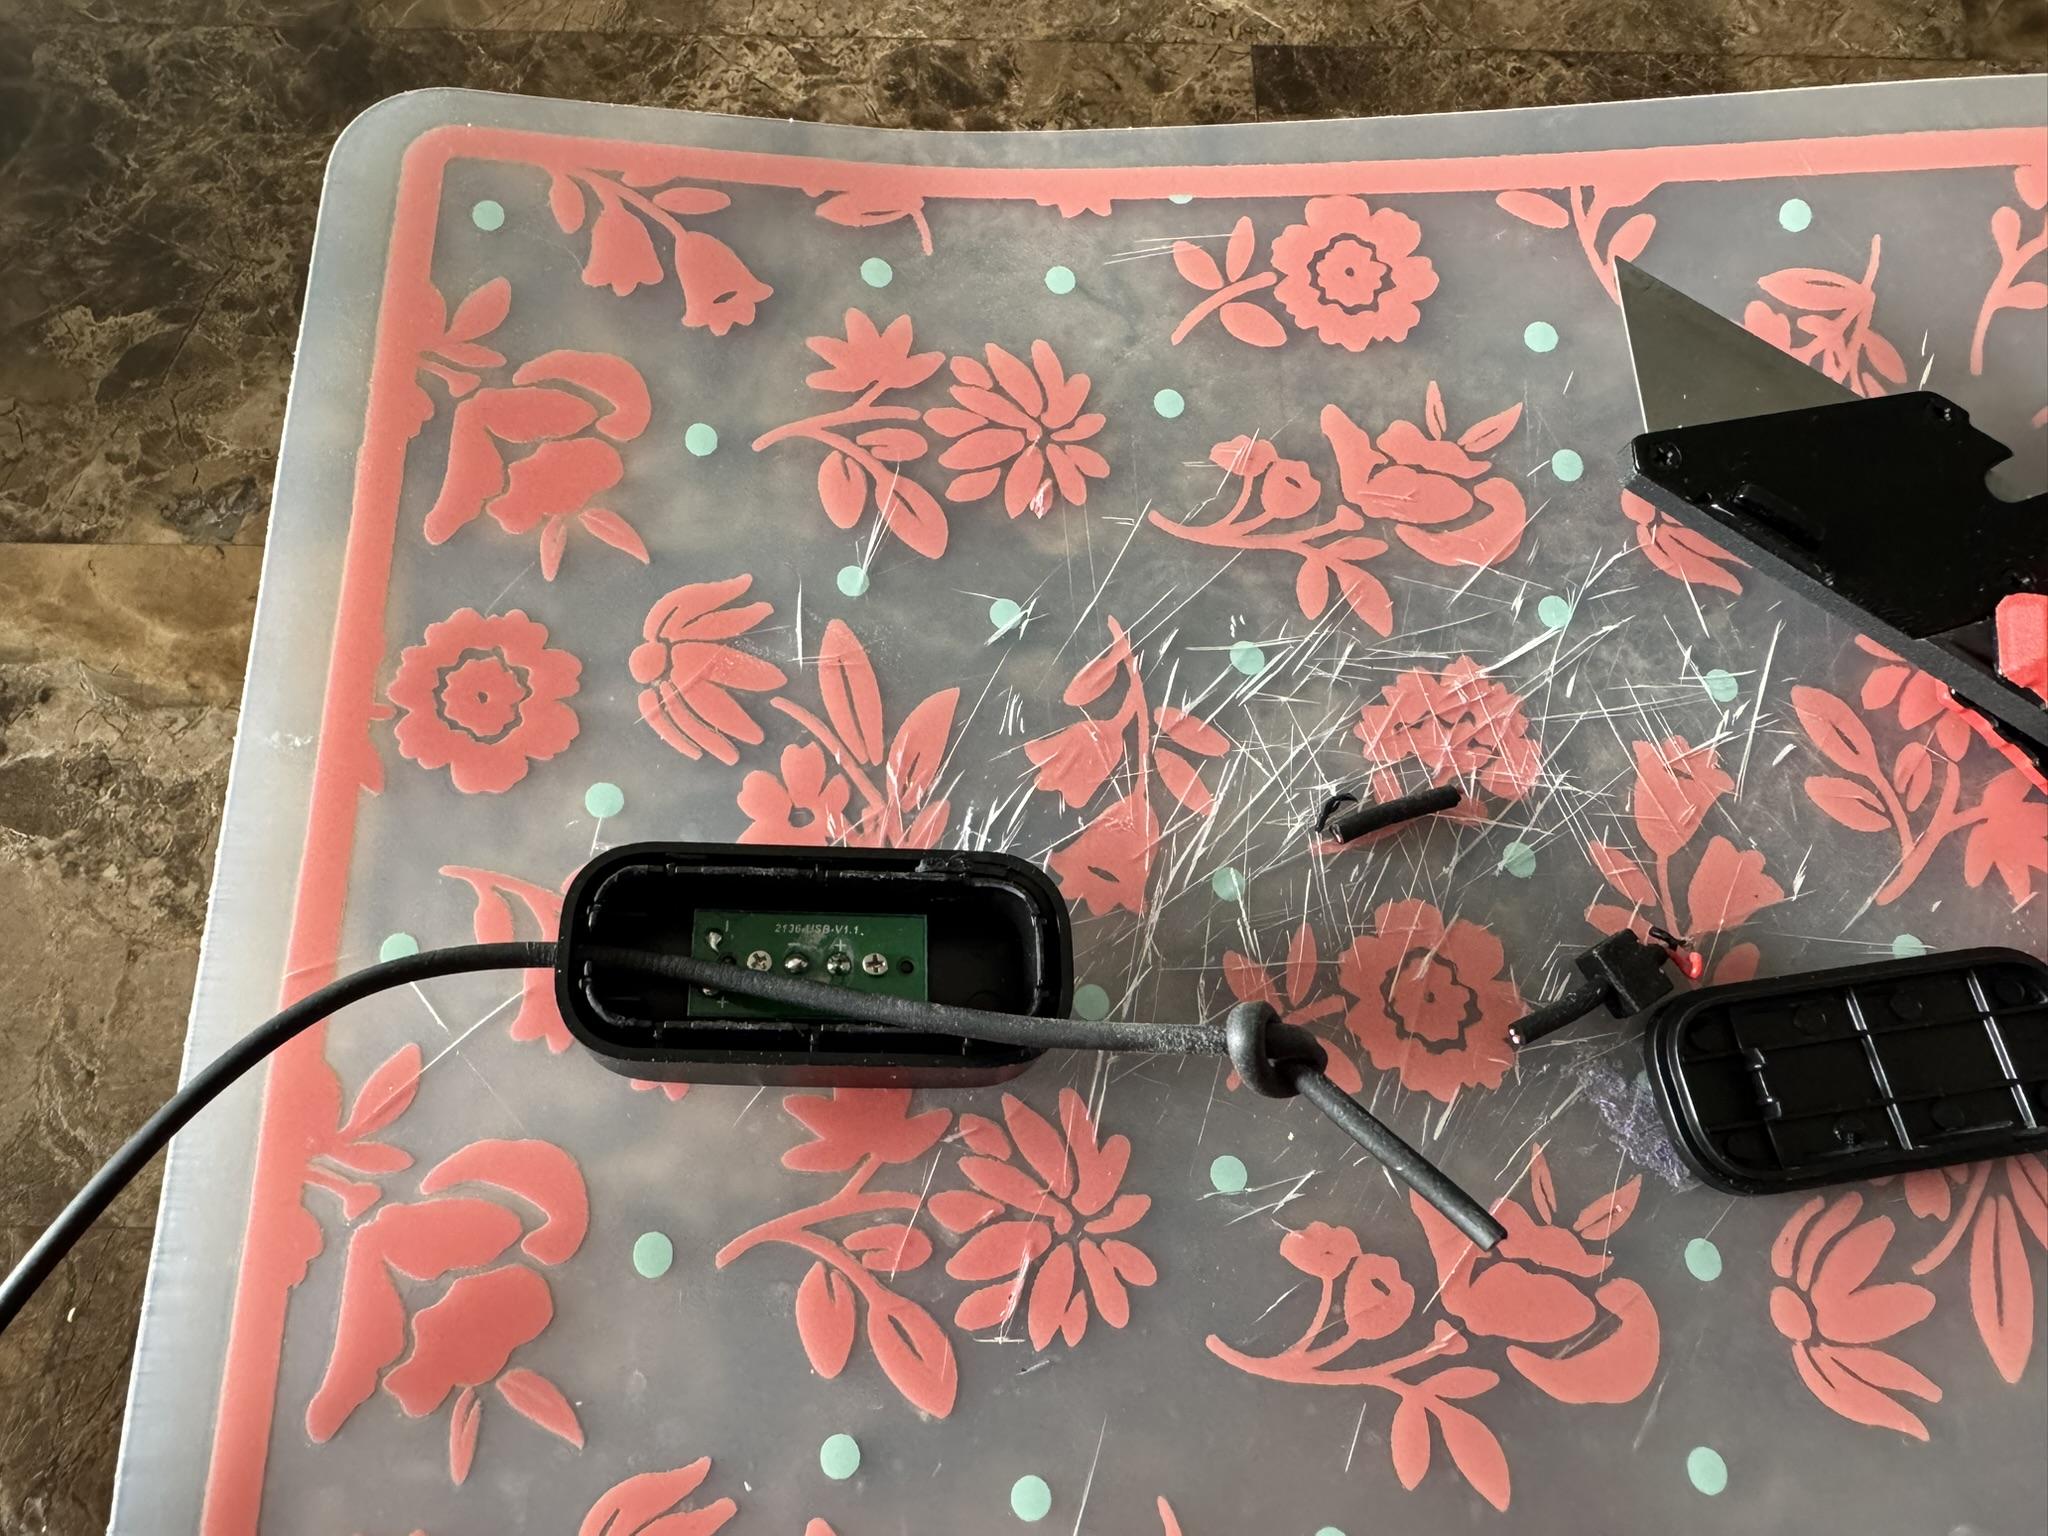
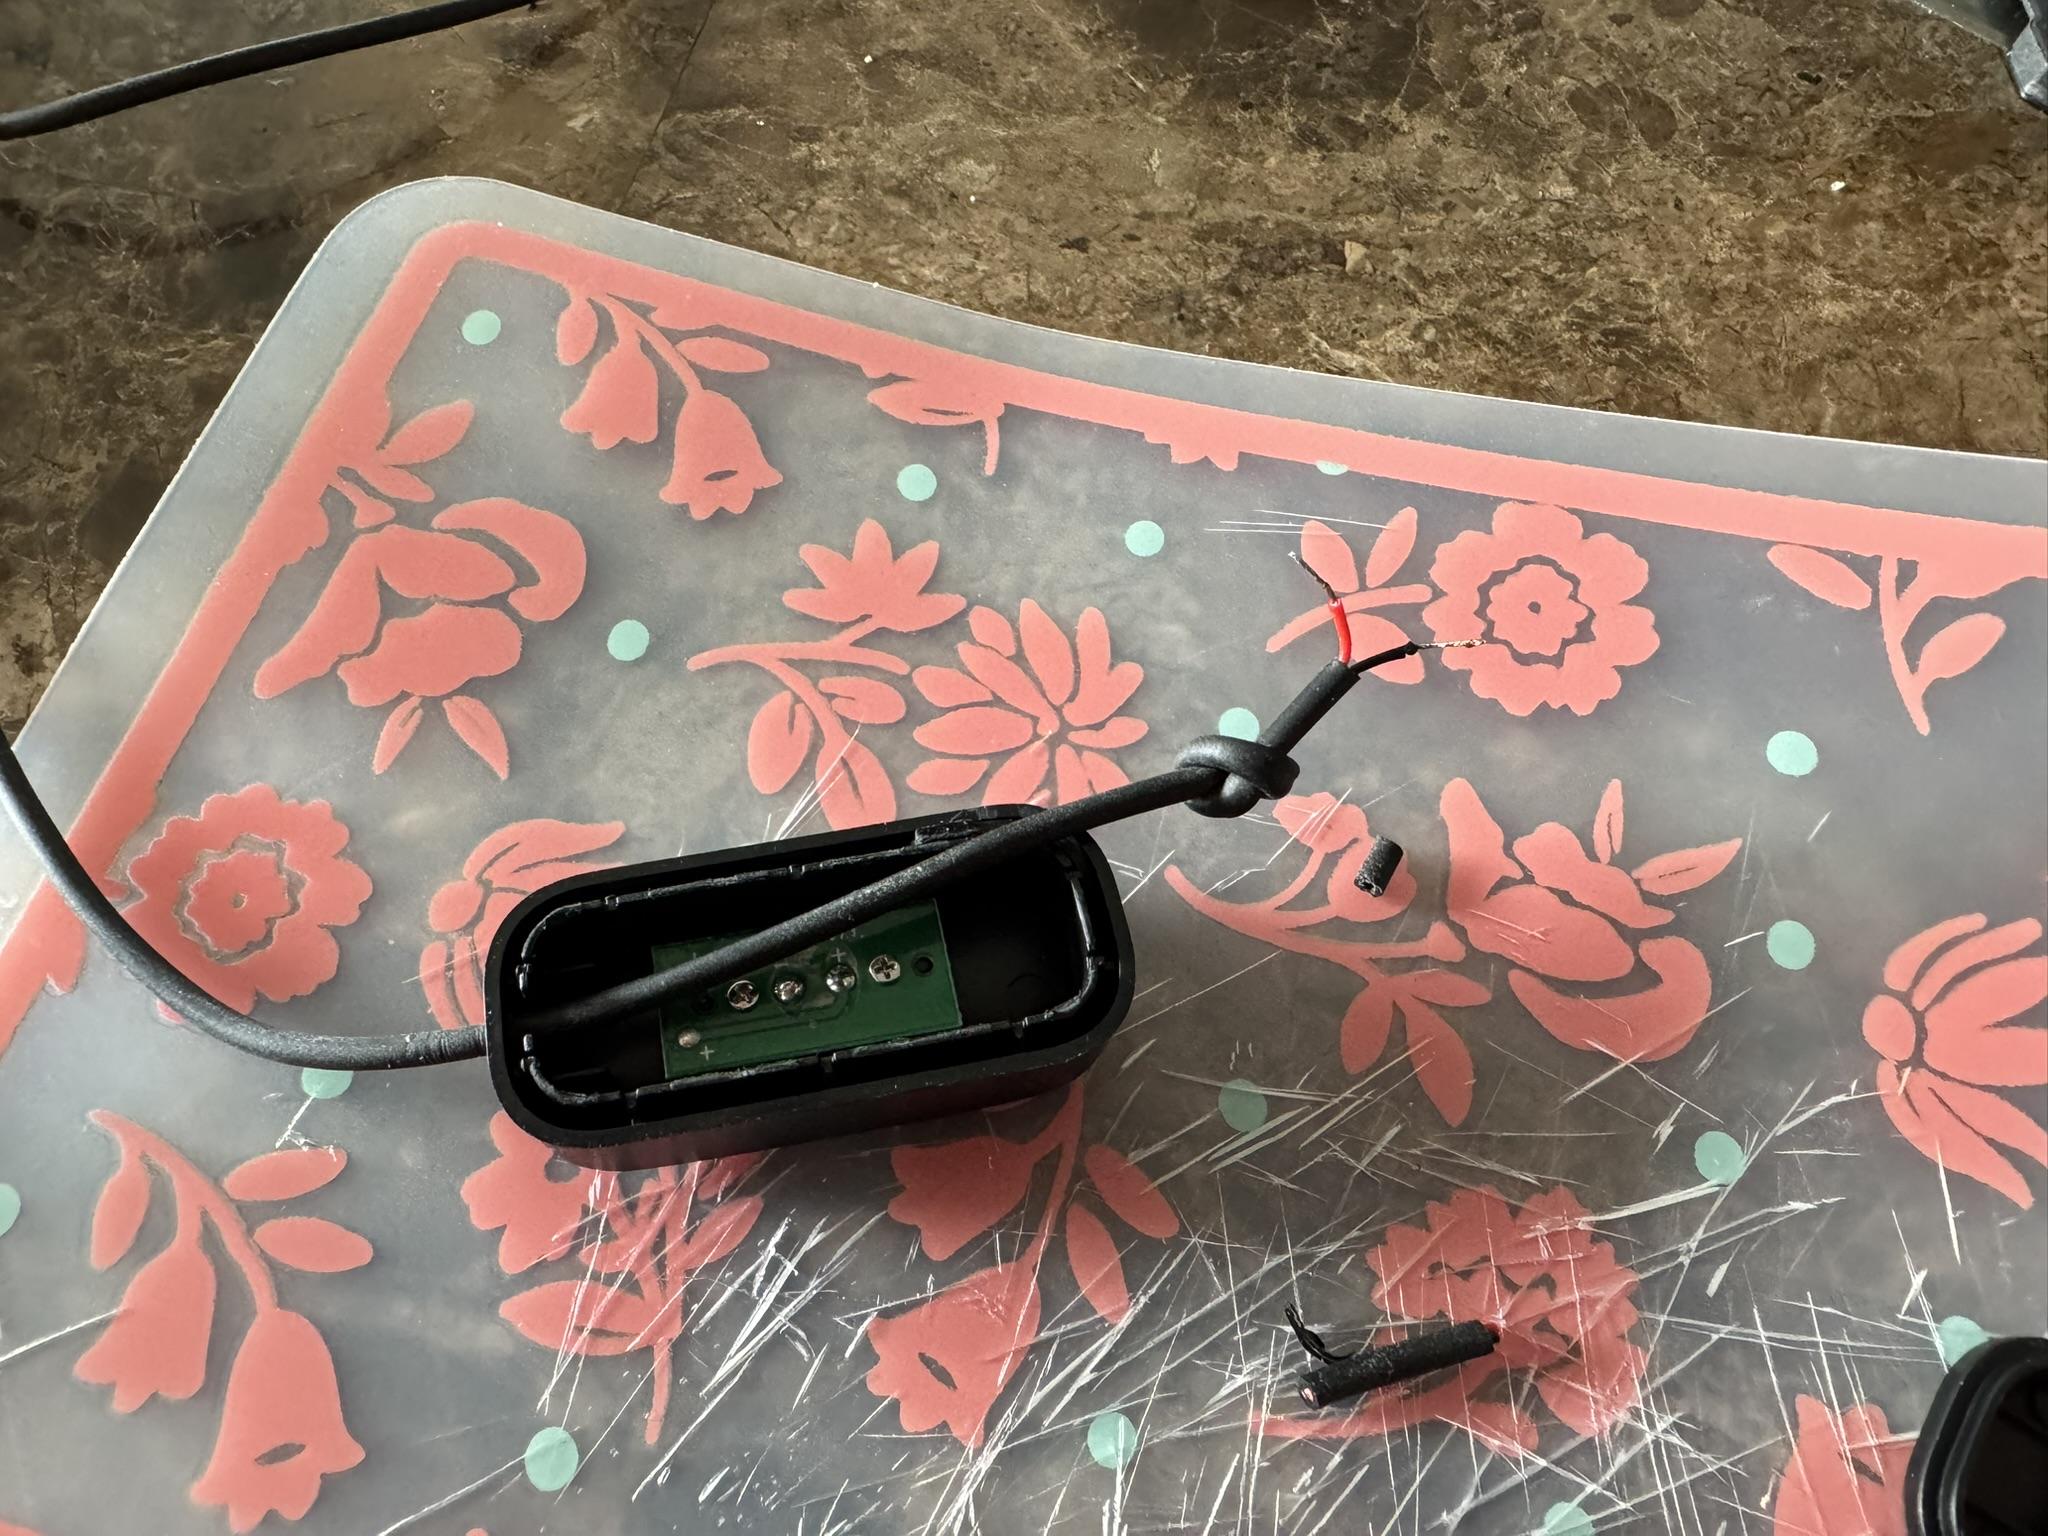
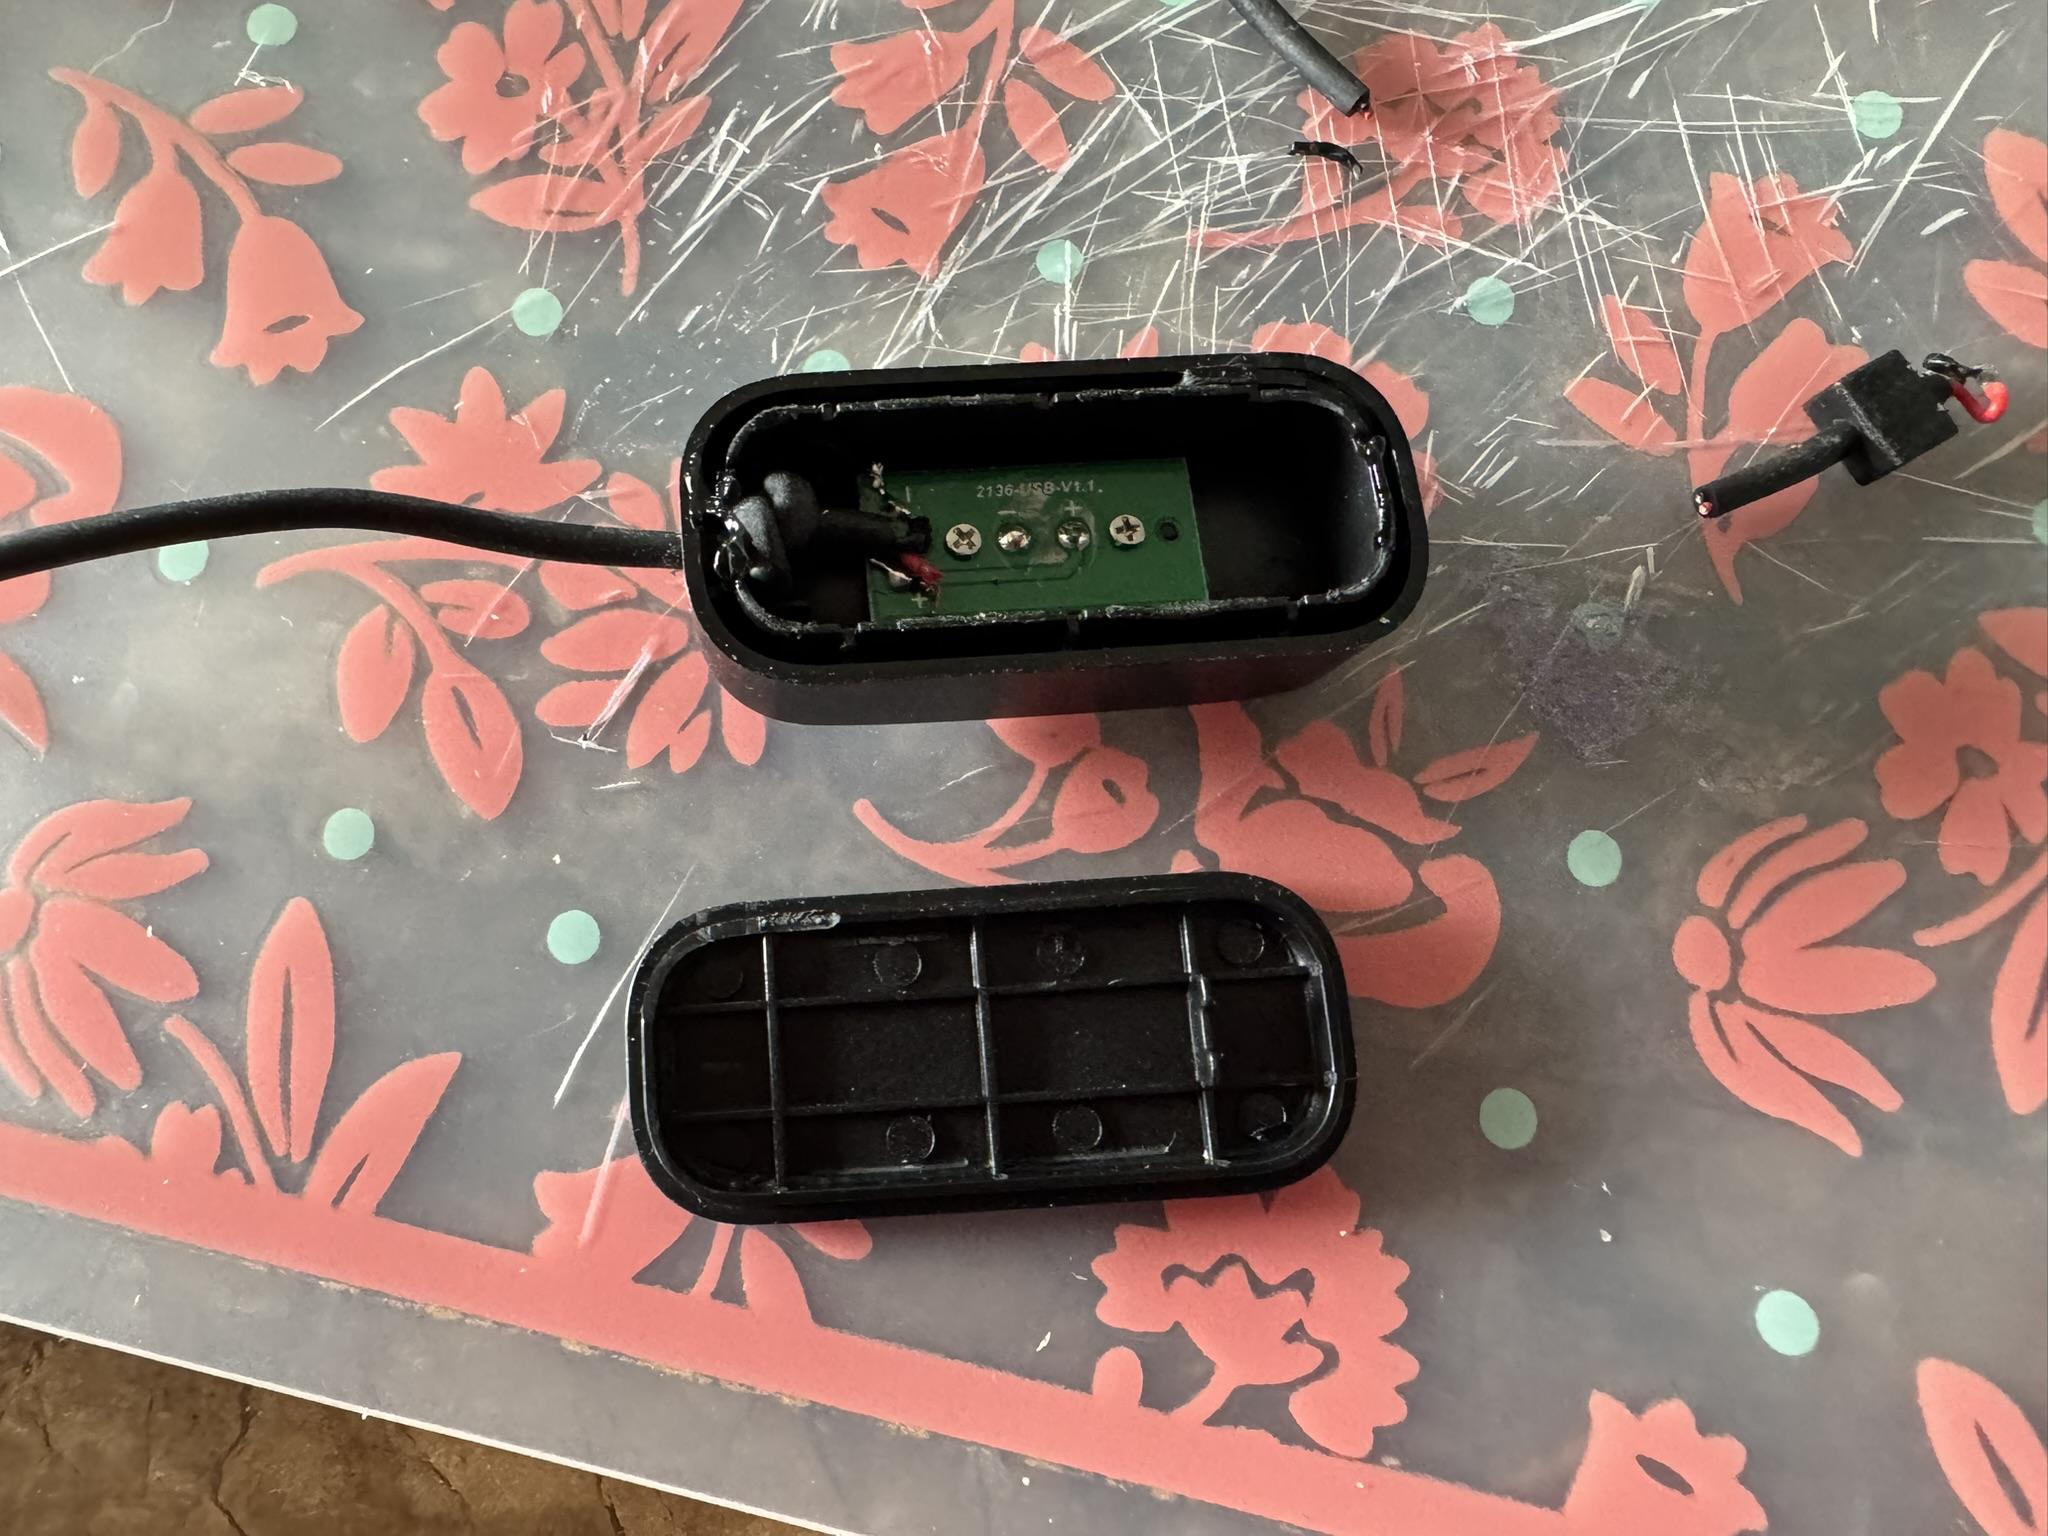
- Heat up the soldering iron and use it to desolder the small red and black wire from the board on the inside of the dock. Be careful not to touch the sides of the dock with the soldering iron. You don't want to melt any of the plastic.
- Pry out the cable and the small rectangular cable stopper.
- Use the box cutter to cut off the cable and the stopper, then pull some of the cable through the hole in the charger to give yourself some slack.
- Make a knot in the cable about 1 inch from the end of the cable.
- Strip the last half inch of the outermost cable insulation from the cable.
- Strip the last quarter inch of the insulation from the red and black wires that were inside the outer insulation.
- Twist the ends of the wires, then using a small amount of solder and the soldering iron, tin the wires so that they care coated in a thin layer of solder.
Reattach the Wires to the Dock
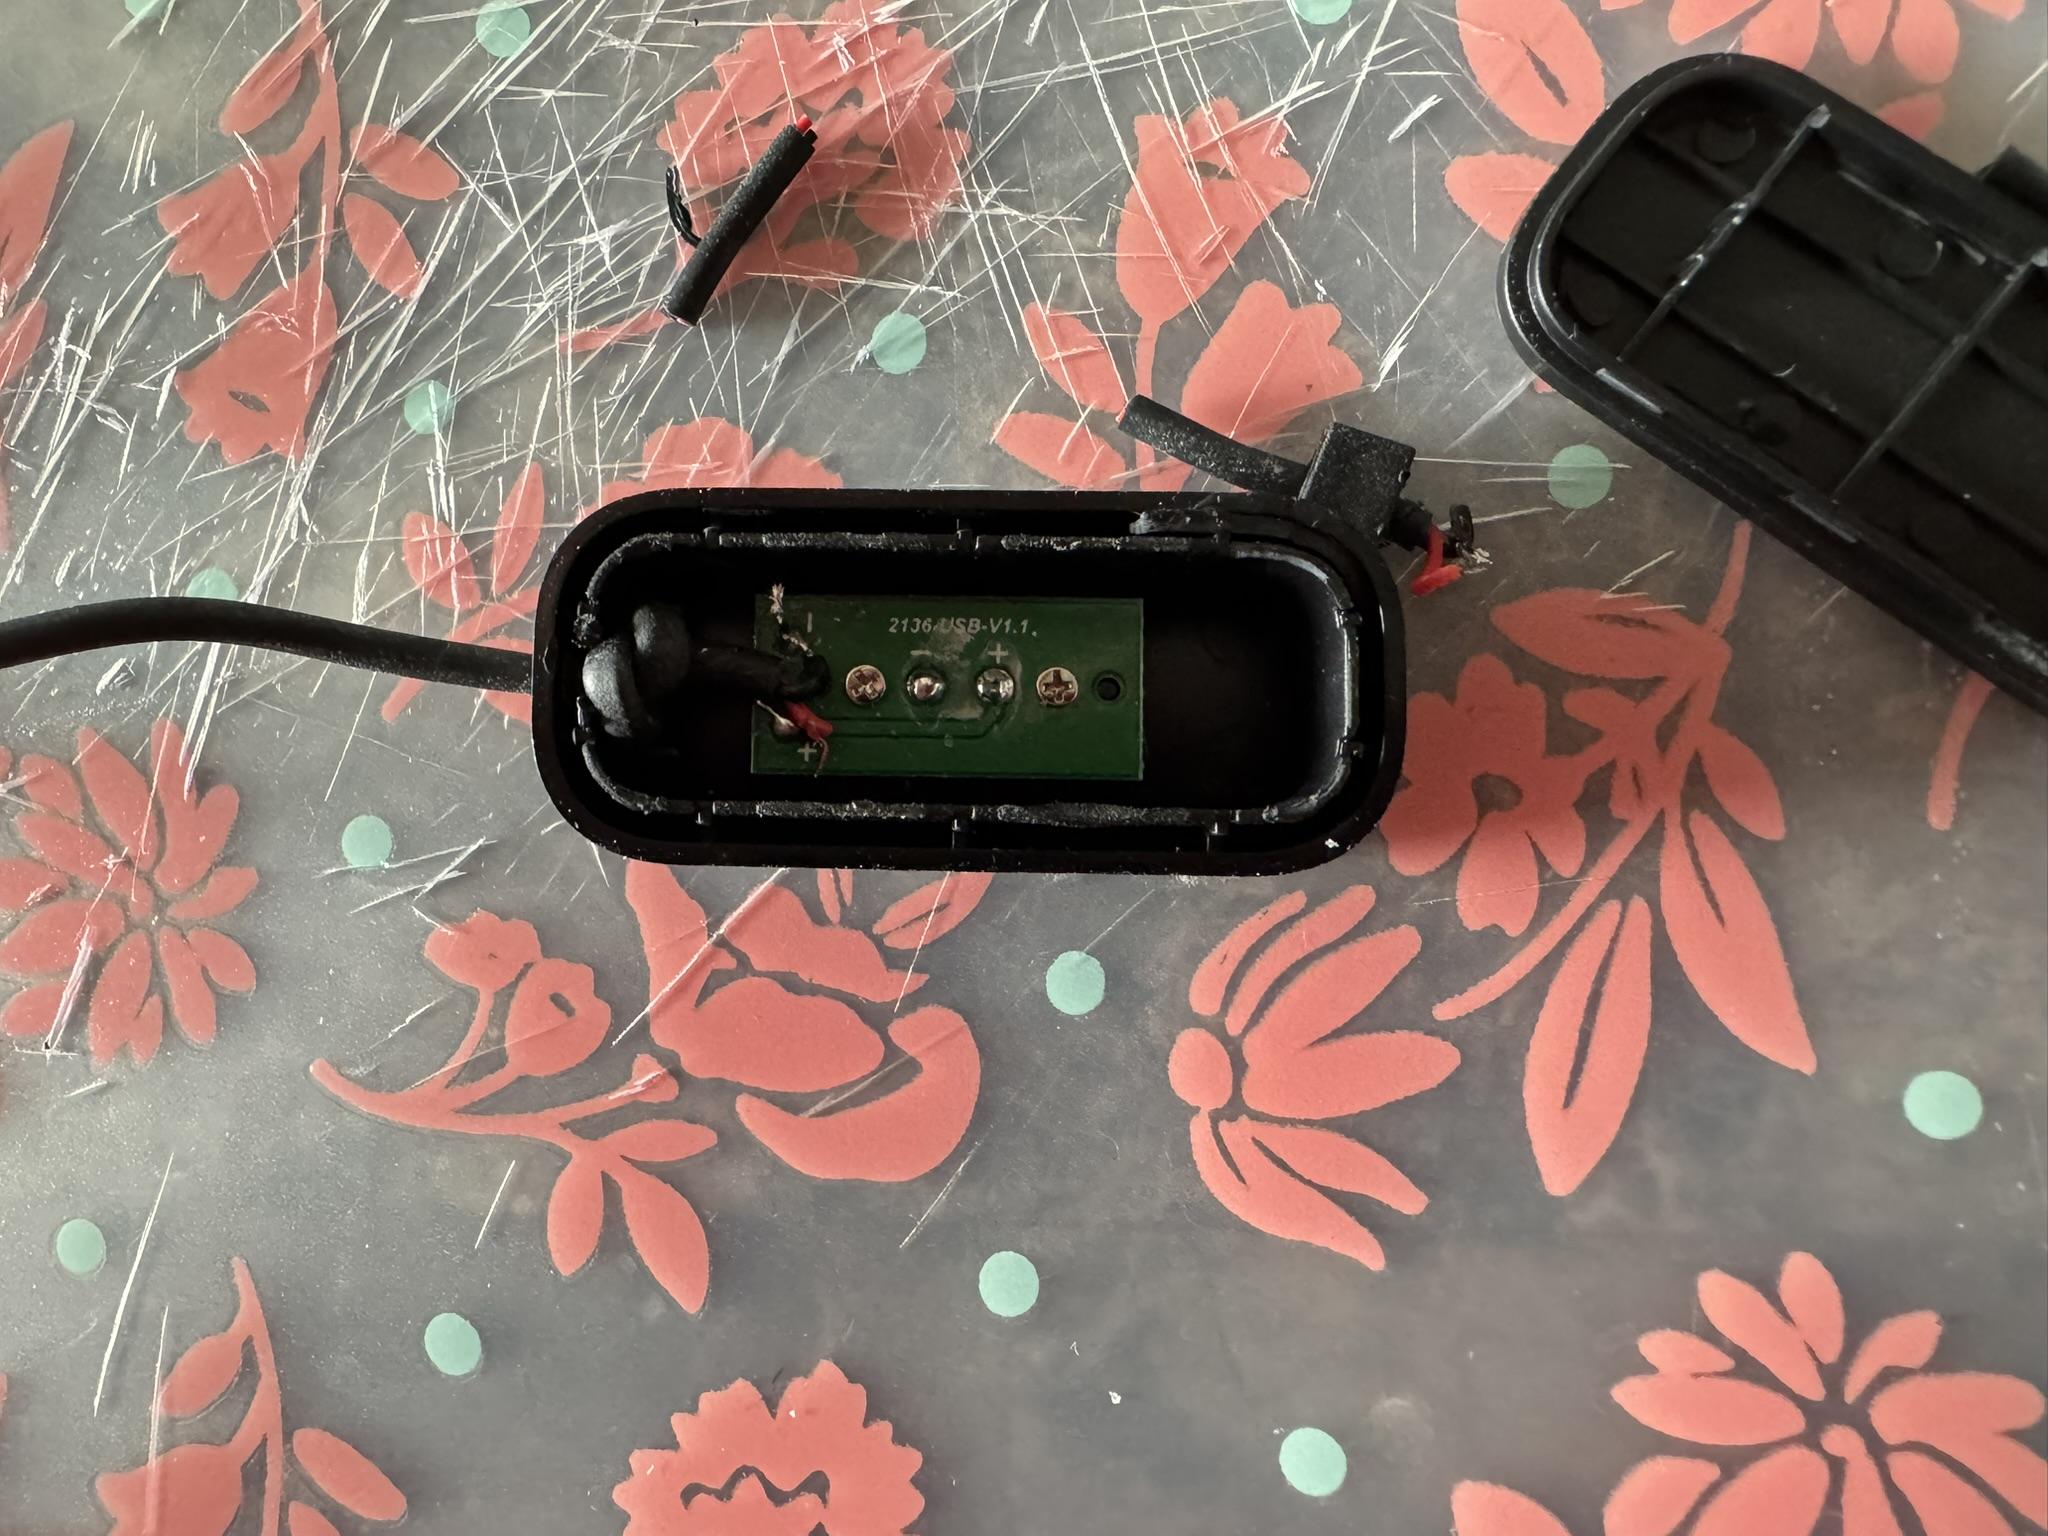
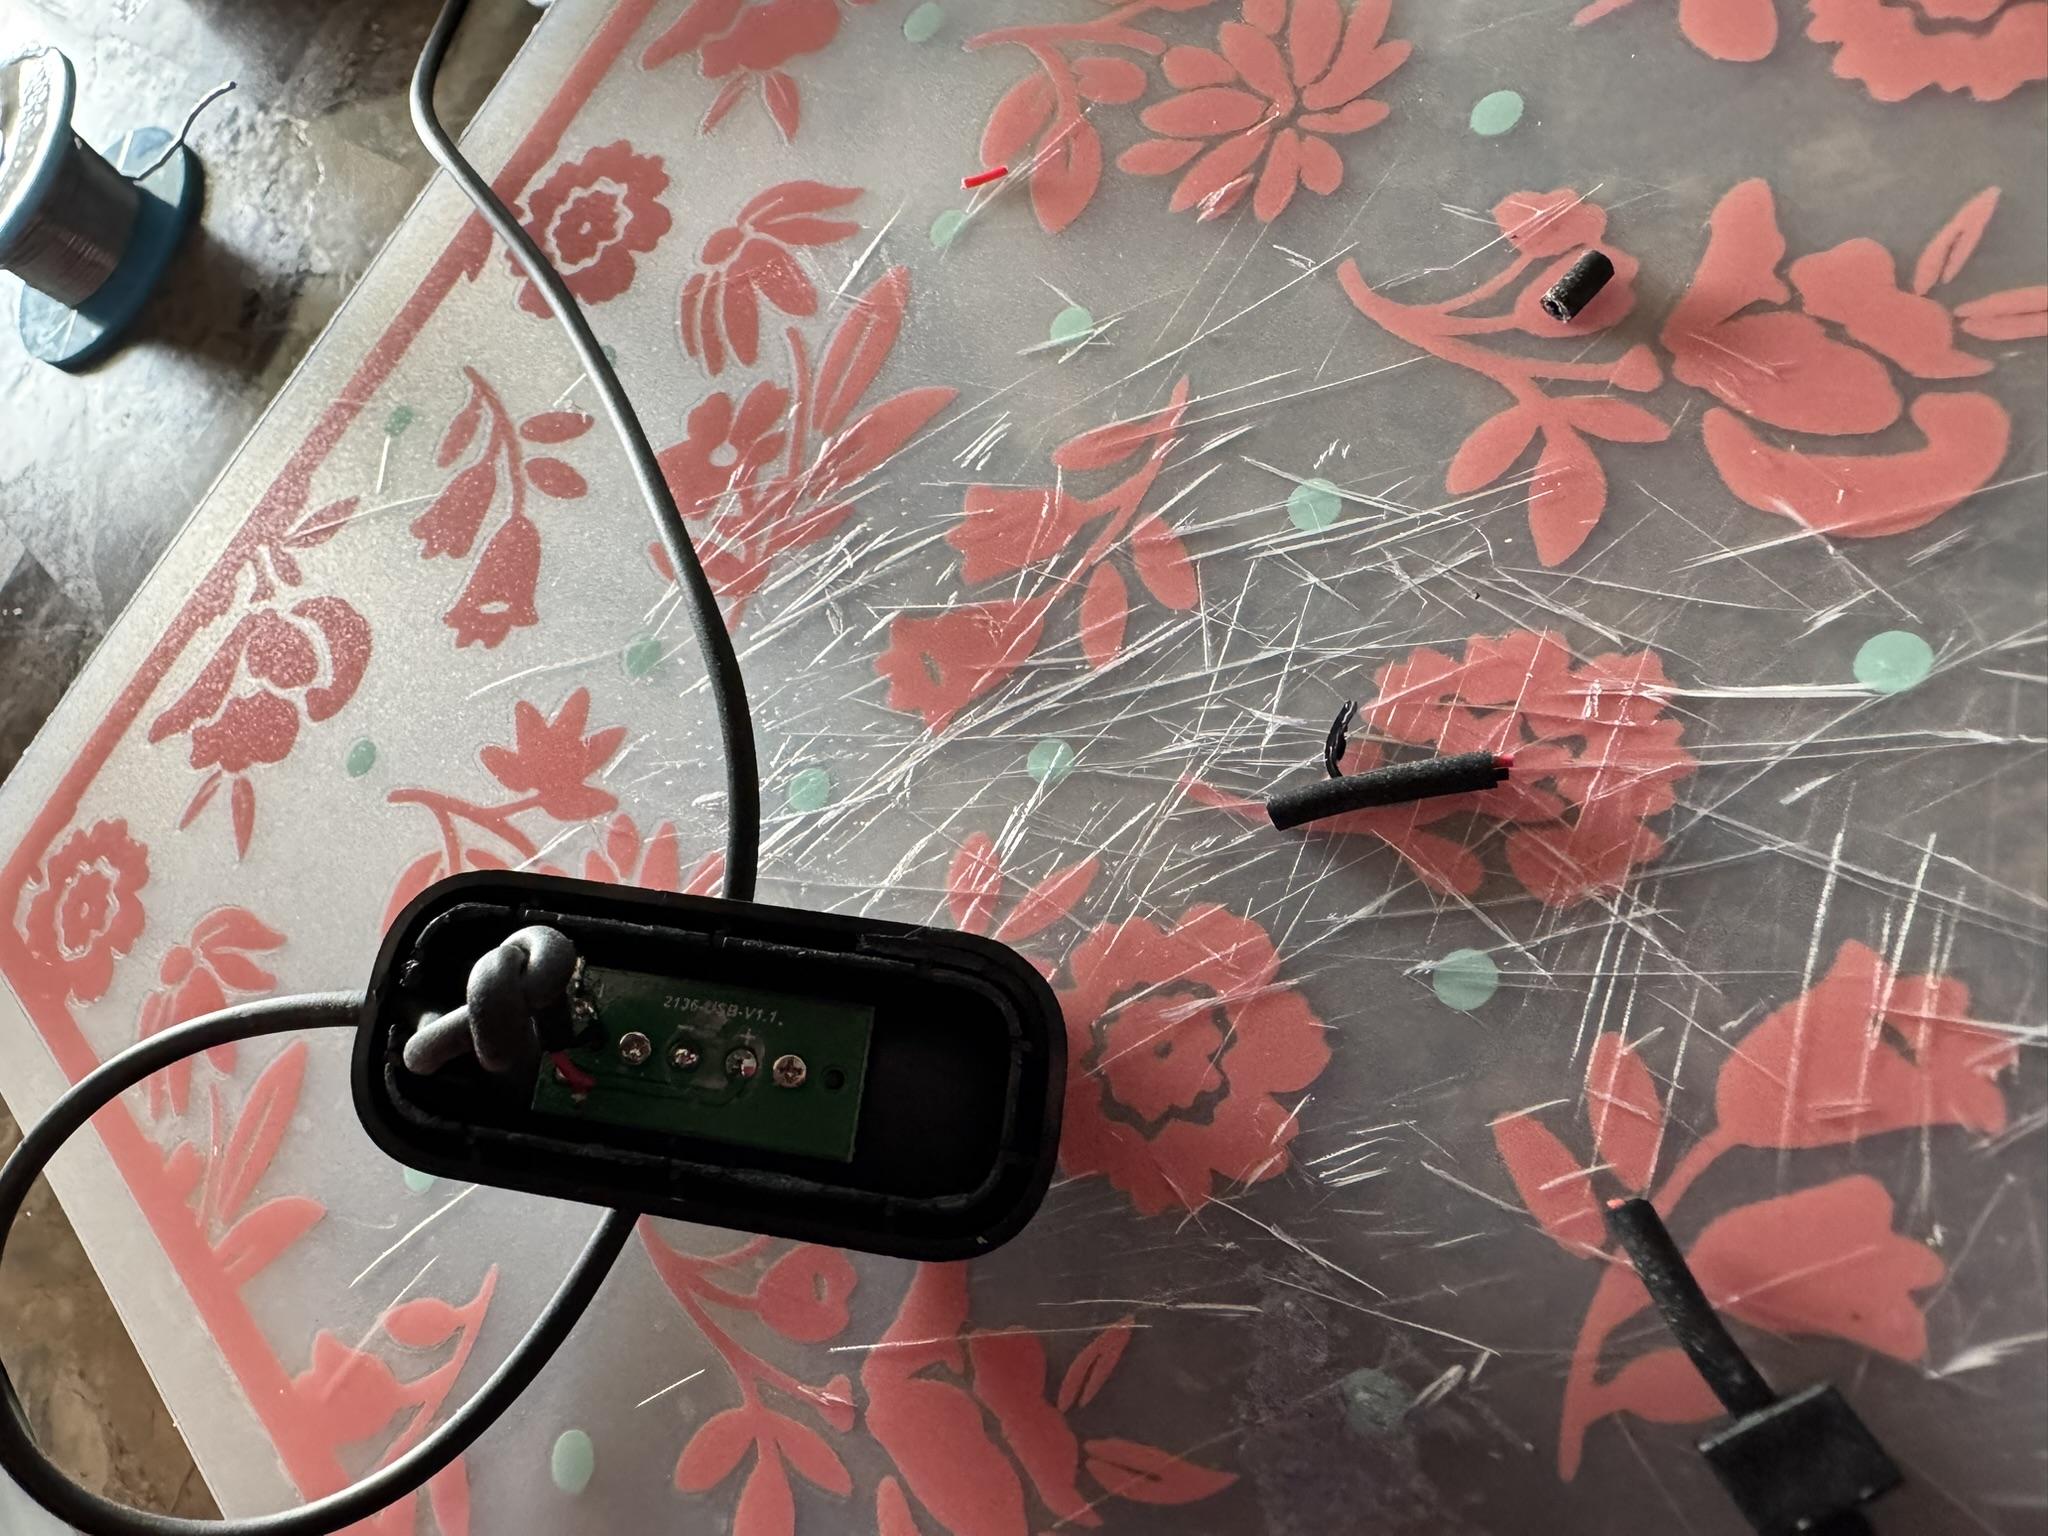
- Use the soldering iron and a bit of solder to add a small mound of solder to the connection points on the board of the charger dock.
- Reattach the wires to the board using the soldering iron. The red wire goes to the spot with the "+" label, and the black wire goes to the spot with the "-" label.
- Pull the cable so that the knotted end of the cable sits where the old rectangular piece sat.
- Test the charger. If it still isn't working, continue to Step 4.
Troubleshooting
I did not take any pictures of these steps, but if the above steps didn't fix your charger, then the end of it that was broken is the end with the male USB A end (the end that goes in the charger block). The dock can still be fixed, but it might not close up fully and look as pretty as it originally did. This is where we take an old USB cable that we don't need anymore and cut it up to fix the charger dock.
- Find an old USB charging cable you don't need. If the end that plugs into the device it was intended for is frayed or otherwise damaged, that is perfectly fine. We will be cutting that end off anyways.
- Cut the small (non USB A) end of the donor cable off of it.
- Desolder, cut, and remove the original cable completely from the dock.
- Try to insert the sliced end of the donor cable into the hole in the charger dock. If it is too big, you can use a drill and a small drill bit to widen the hole for the cable.
- Strip and knot the donor cable by following step 2. There might be a slight change in the cable's layout. A normal USB cable will have data lines, and the negative line might not be a wire inside the insulation but rather just loose fibers of metal that surround the other cables.
- Twist the loose metal fibers into a wire-like shape, then tin them to hold them together. Solder this tinned "wire" to the negative spot on the dock. There should be a red wire and two other wires that were in the cable. The red wire is the one that should be stripped, tinned, and soldered to the positive spot on the dock.
- Pull the cable tight as in step 3, then test the charger. It should be working now.
Glue the Dock Together
I only have one picture of this step either, but it's simple enough.
- Use a couple drops of super glue to attach the two short sides of the lower half of the dock to the upper half of the dock. Make sure that the bottom half of the dock is aligned as in the picture, as if we try to put it back together in the original orientation, the knot on the cable might not let it close fully.
- If you had to use a donor cable and it ended up being thicker than the original cable and required some drilling, it is almost certain that the bottom of the dock won't fit flush on the upper half of the charger. Just glue it in place as best as you can. It won't be pretty, but at least you can charge your Bond Touch More again.
Finished!
Congratulations! You have successfully refurbished your Bond Touch More charger. The first time I refurbished my charger, it lasted me about a year before I had to refurbish it again. Hopefully yours will last at least that long if not longer. The weak spot of these chargers is the poor-quality cables. The dock itself is fairly robust, so you should be able to repeat these steps every time it breaks as needed. Good luck!