How to Reformat an External Storage Device, Using Mac OS X
by LizzieQ in Circuits > Apple
536 Views, 2 Favorites, 0 Comments
How to Reformat an External Storage Device, Using Mac OS X
Selling an old USB? Or computer? Use this simple step-by-step guide to reformat your external storage device on your Mac.
The benefits of this reformatting a hard drive are part security, part convenience and part re-usability. This will help to make sure your data and personal information doesn’t get into the wrong hands. This allows you to make your device better fit the application you are using it for, to reuse the space cleared, or clear the device for selling.
Disclaimers:
This procedure was created using Mac OS X 10.13 High Sierra, other versions of OS X are very similar in procedure but may be slightly different in visuals. The process, however, is the same.
This process will completely wipe all data from the drive. Be sure to back-up all important information before performing this procedure.
Home Screen
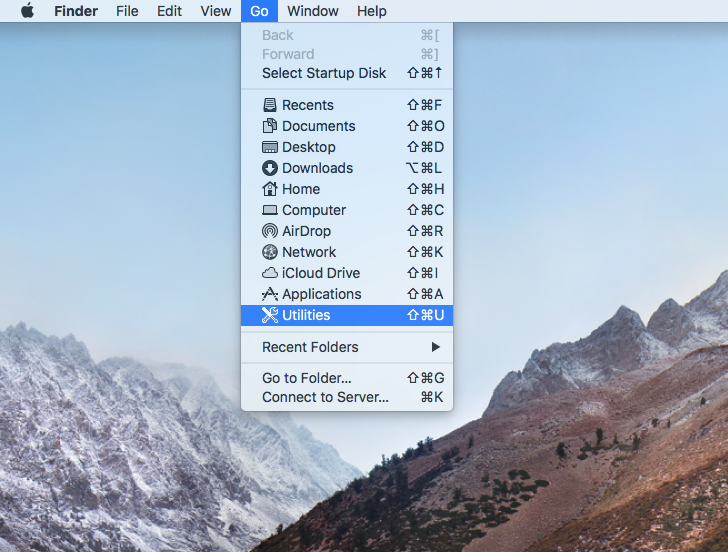
Be sure you are on your MAC homescreeen by clicking on your background. Click "Go" from the desktop taskbar at the top of the screen and select the Utilities application. (hotkey: Shift + command + U)
Utilities Application
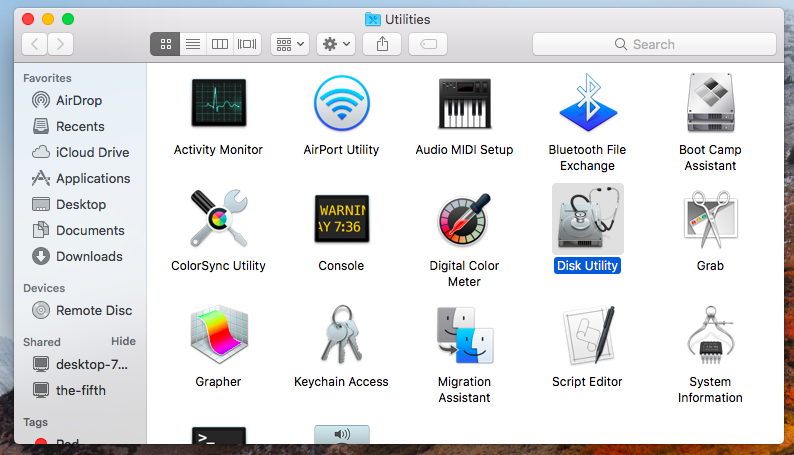
Once in the Utilities application, select the "Disk Utility" icon.
Disk Utility
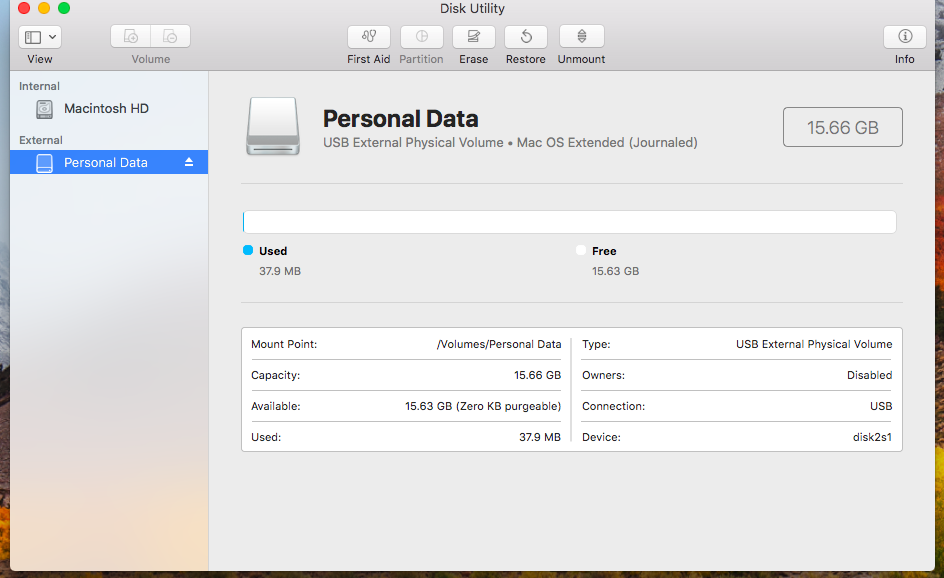
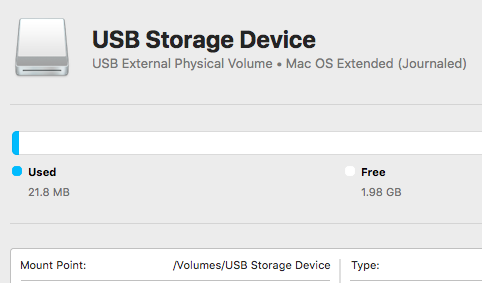
Once the Disk Utility application launches, all connected storage devices will be shown. Connect the device that you would like to erase and reformat. On the left hand side menu, select that device.
Rename (Optional)
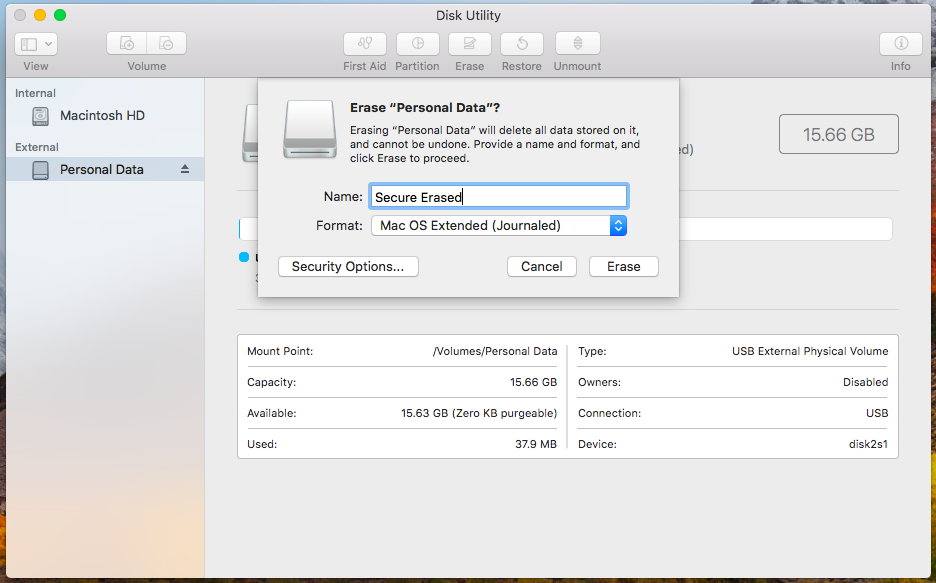
Click the top center icon “Erase” to select format options. You may enter a new name for your device if you wish.
Format (Optional)
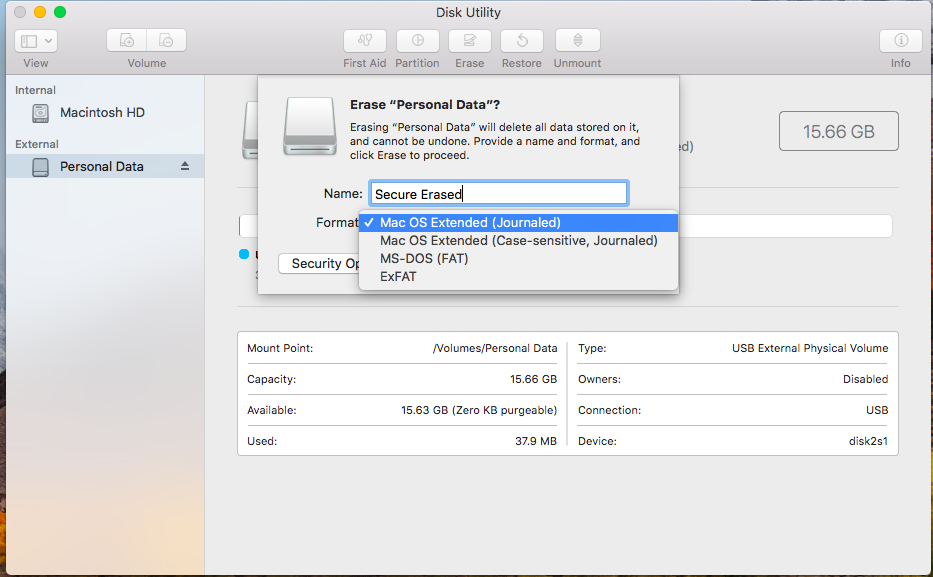
After choosing a name, choose the type of format you would like the storage device to be in. You can do this by selecting the drop down arrow next to “Format”.
The default for OS X operating systems is Mac OS Extended (Journaled).
Choose ExFAT if the drive needs to be interchangeable with OS X, Windows, or Linux Distributions.
Optional: The default format is sufficient with most Mac computers and programs, only change this if your computer or device requires it.
Security (Optional)
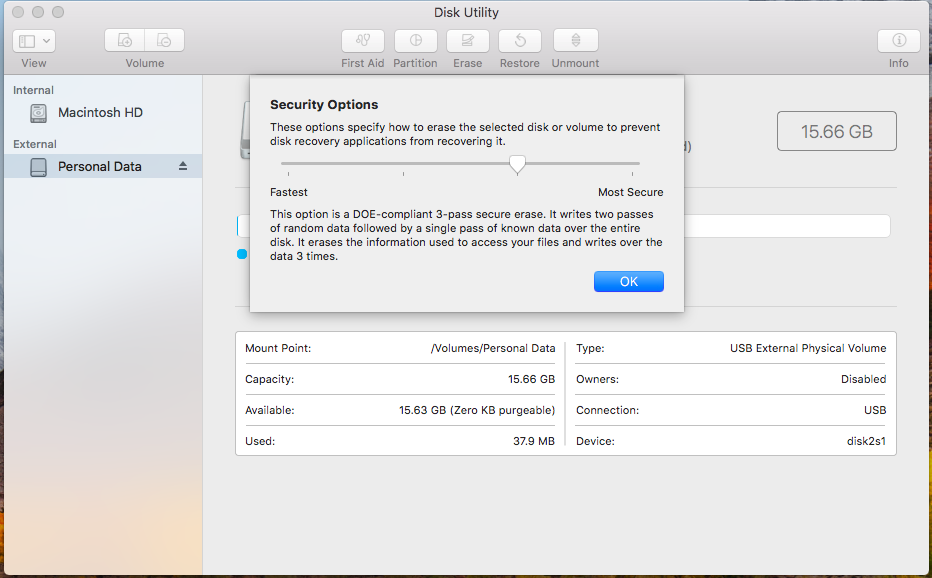
Next, select "Security Options" to determine how secure the wipe needs to be. Drag the arrow to change the amount of passes needed. Adding passes will significantly increase the amount of time taken to format.
Click OK when finished.
Optional: For most applications, a single pass is sufficient. Special situations may require more passes for extra security.
Erase and Begin
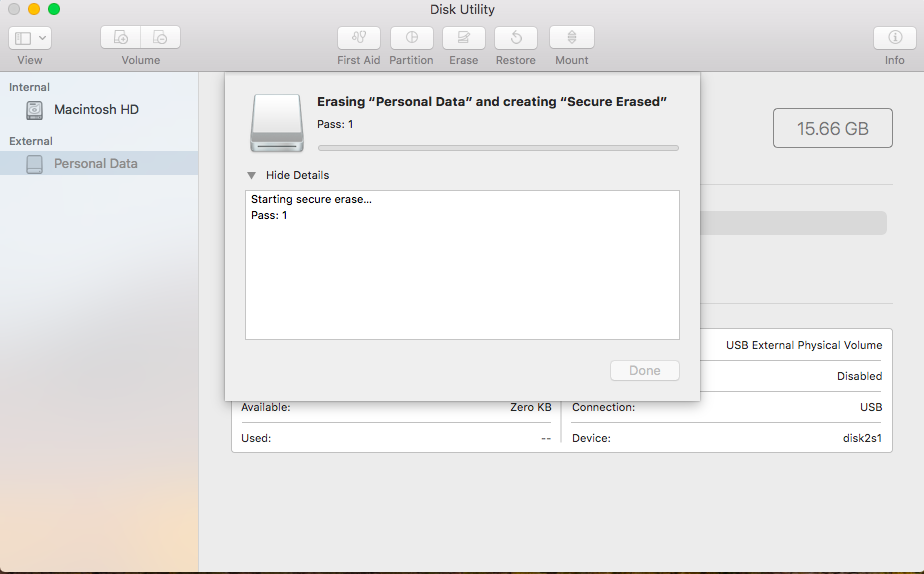
Select “Erase” and the format will begin.
Wait
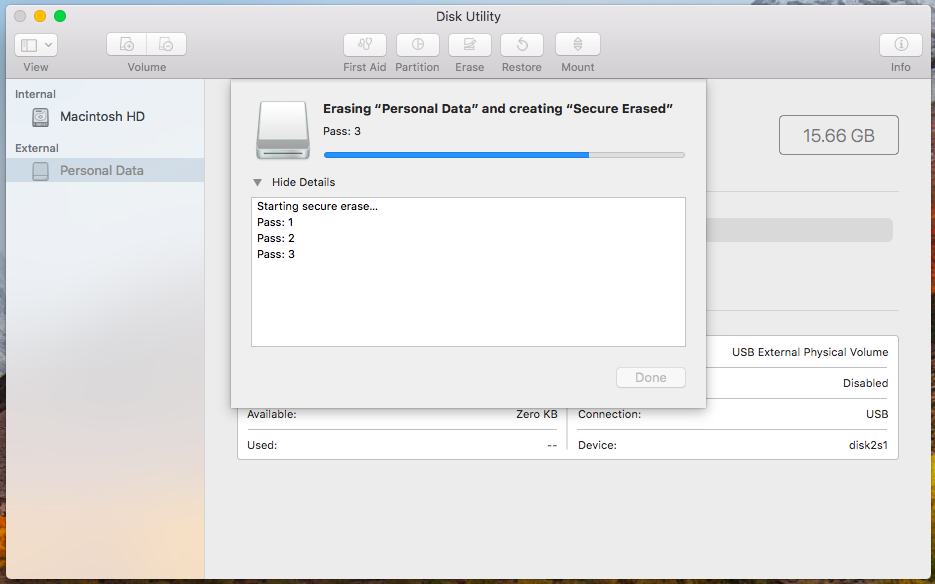
The format could take anywhere from a couple seconds for a single pass to several days depending on type of storage device, size of storage device, and number of passes selected.
Confirm
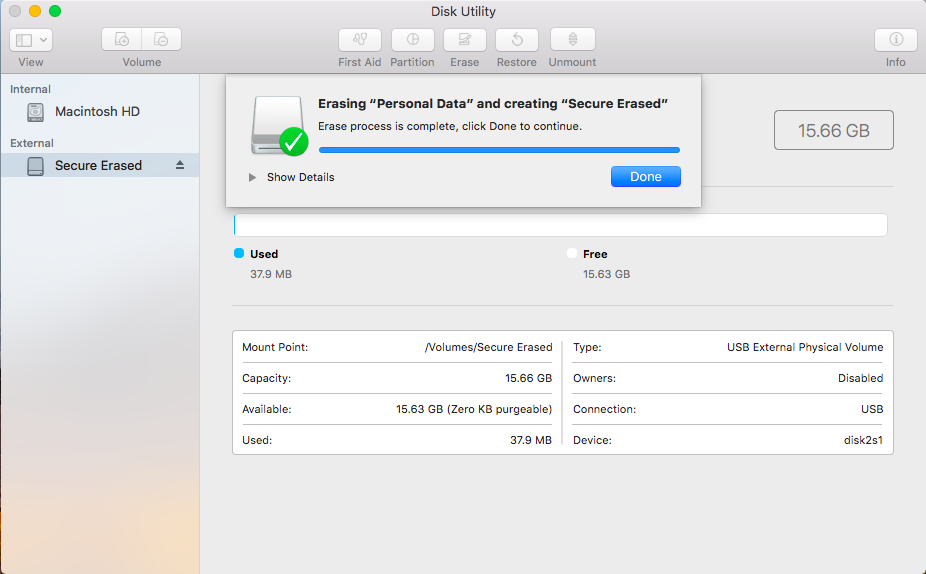
A notification window will appear when the erase process has been completed.
Completed
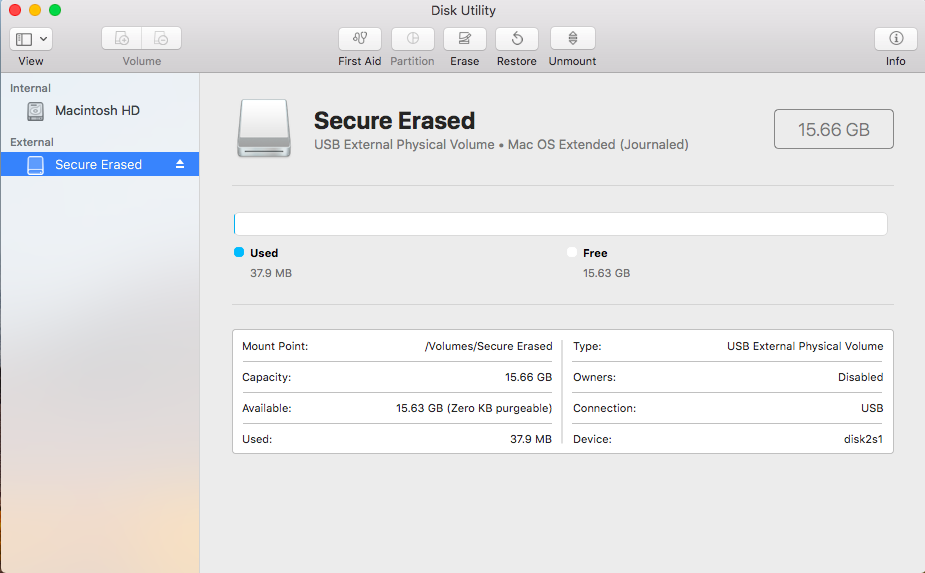
After selecting “Done” the storage device has been erased of its old data and is ready to be re-purposed or disposed of without fear of old information being recovered.