How to Record Audio to Your Computer
by nurdee1 in Circuits > Audio
314353 Views, 49 Favorites, 0 Comments
How to Record Audio to Your Computer
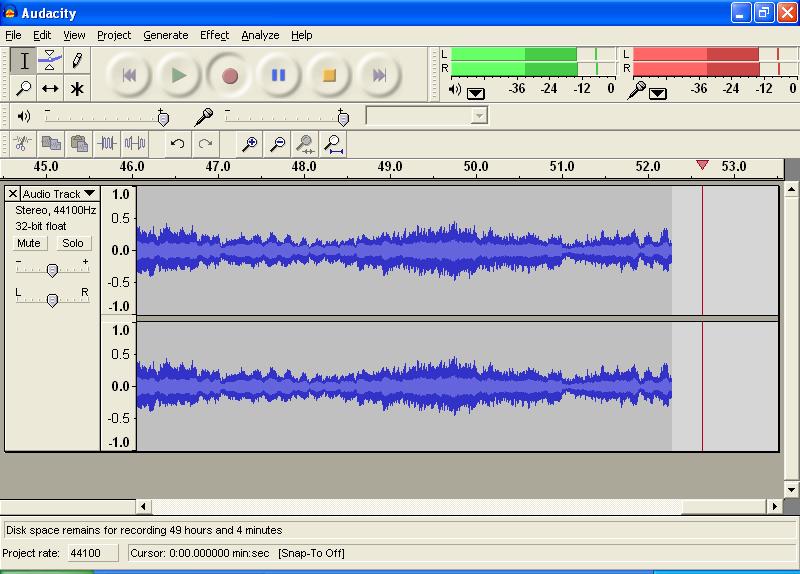
Getting Audacity

To do this we first have to download two software packages. Thankfully they are both free.
First download Audacity here: http://audacity.sourceforge.net/
You will find the download button about halfway down the page. I would recommend you get the older version because it is more stable and has been tested more. However, if you have Windows Vista or Windows 7 you will have to download the more recent beta version. Either way download the install file to your desktop and then double click it to start the installation. The install is pretty easy. After you install it you can start using right away if you want, but in order to do anything with MP3 files you will have to install a plug in. This plug in is called LAME. The reason for LAME is that the MP3 file format is proprietary so free/open-source software can't use it without a plugin.
To download lame go to this page: http://lame1.buanzo.com.ar/#lamewindl
For instruction on installing the LAME plugin go to this page: http://audacity.sourceforge.net/help/faq?s=install&i=lame-mp3
Once you have Audacity and LAME installed we are ready to move on.
Getting Windows Ready for Recording
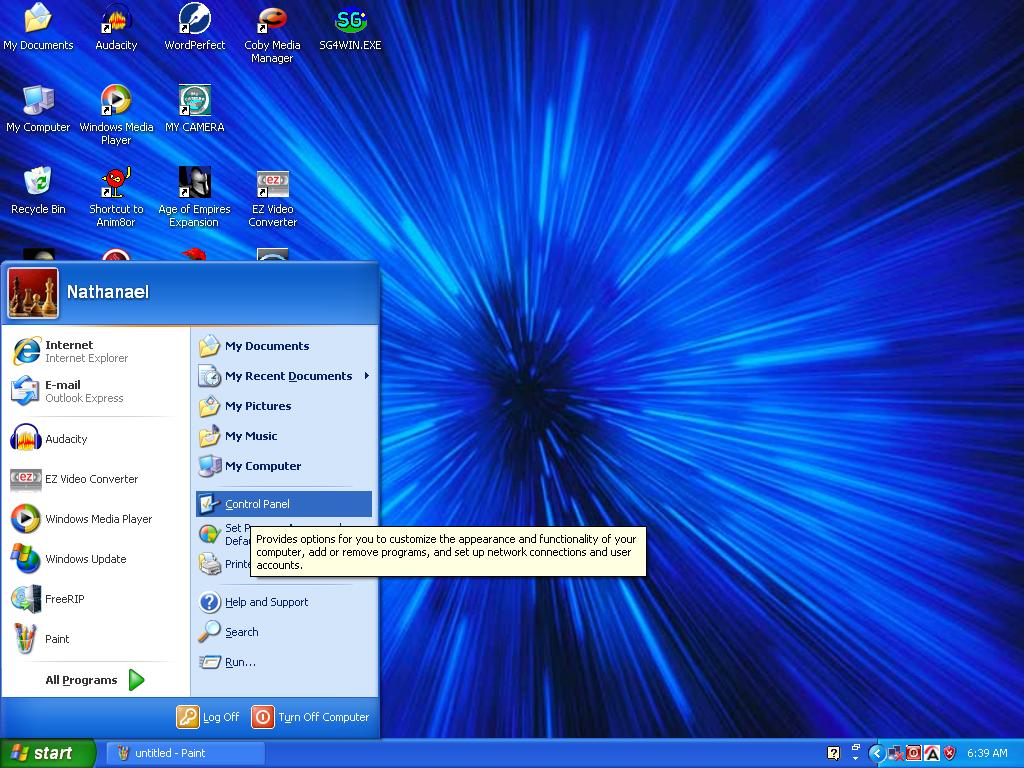
- Go to Start.
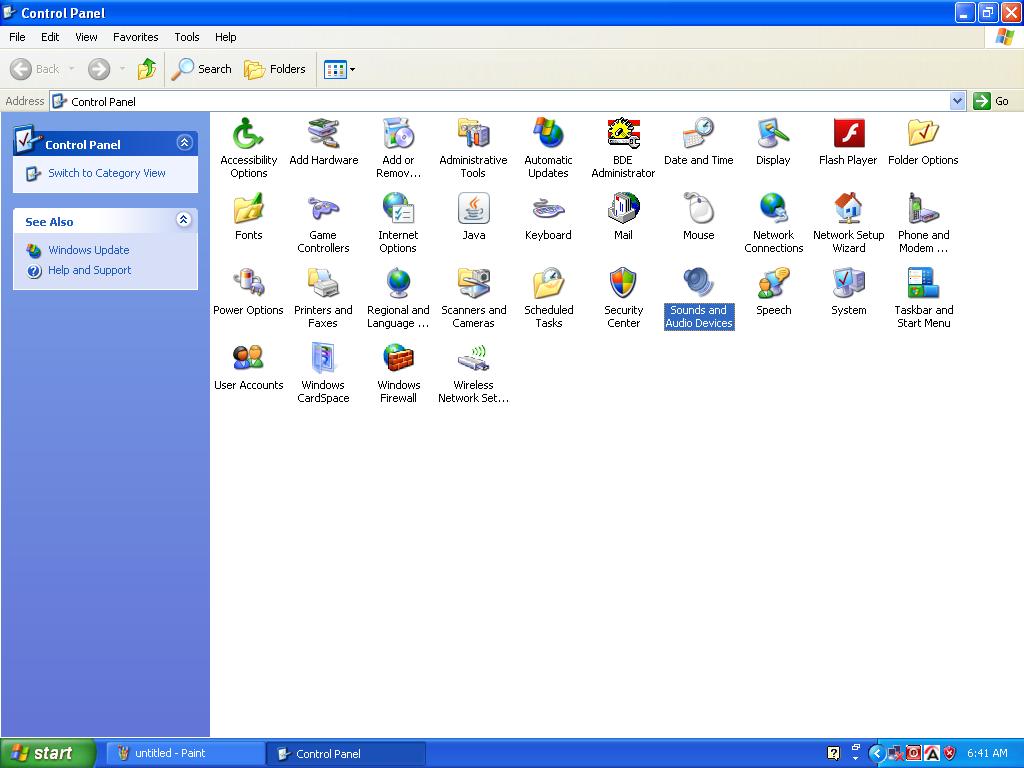
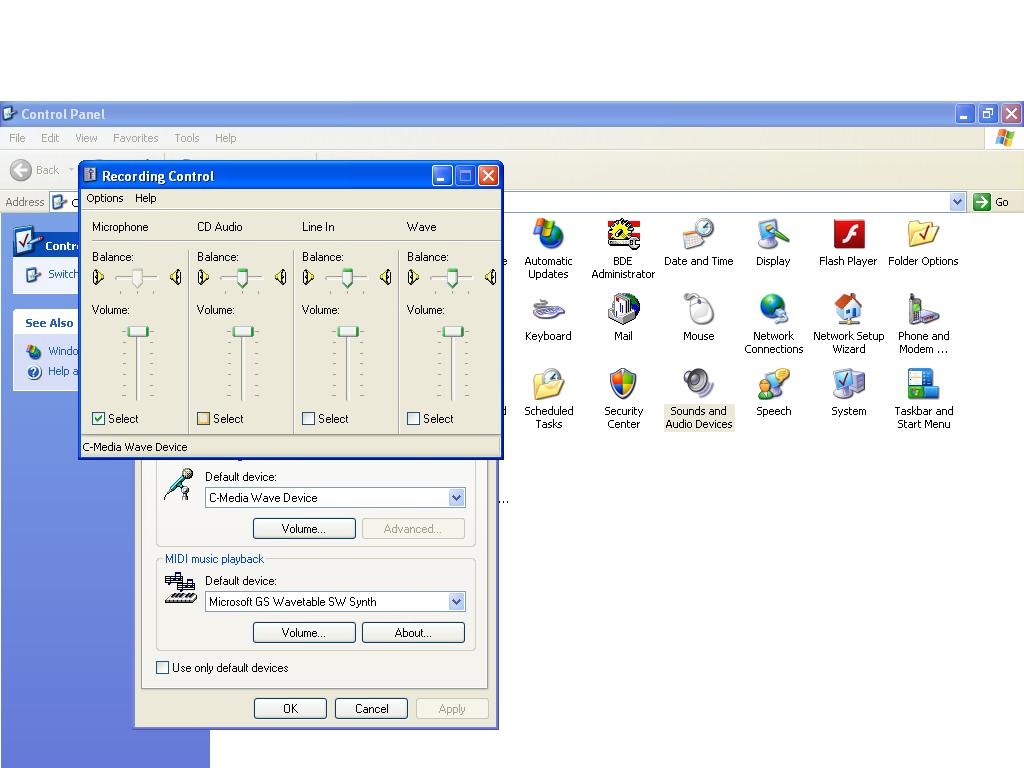
- Click on Control Panel.
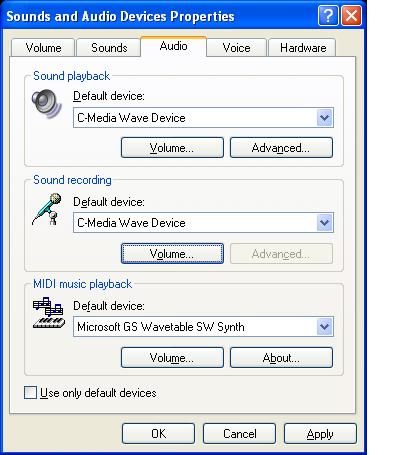
- Double Click on the Sounds and Audio Devices icon.
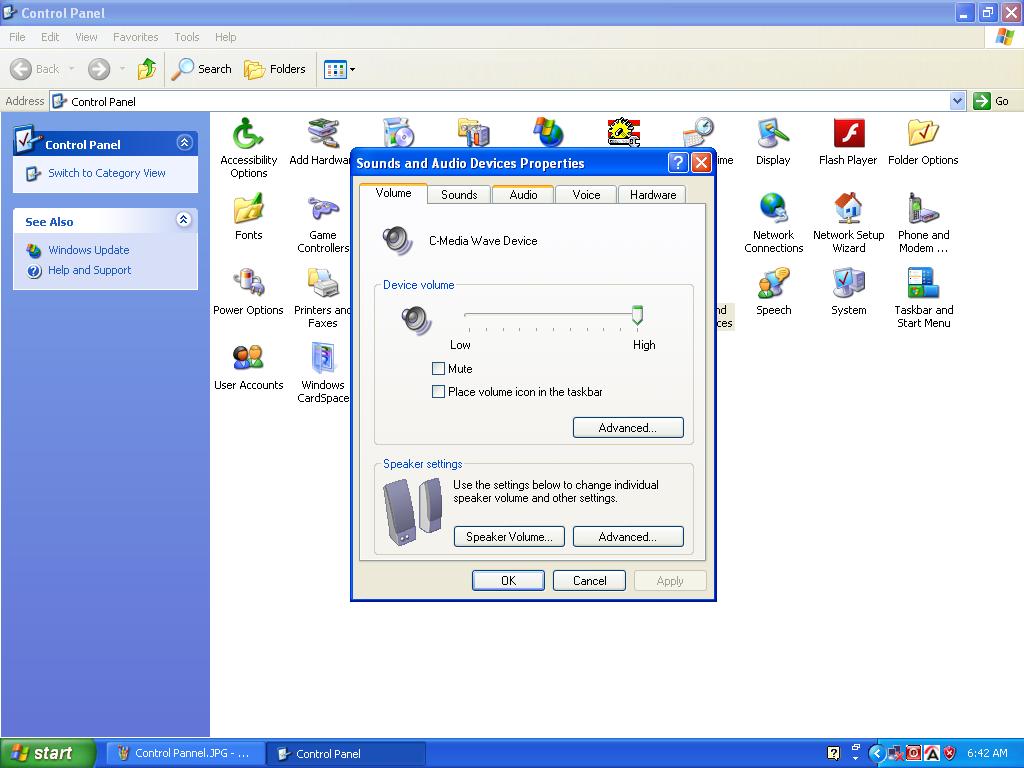
- Once the Sounds and Audio Devices Properties Comes up Click on the Audio tab.
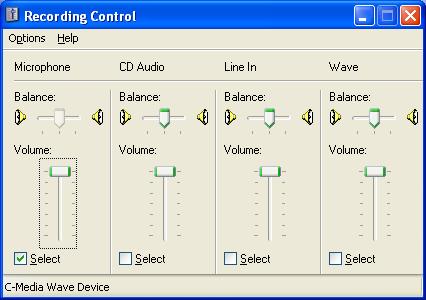
- Once in the Audio Tab Click on the Volume Button in the Sound Recording Section.
- When the recording control comes up slide the first bar (microphone) up all the way and make sure to tick the accompanying check box labelled select.
- Now click OK a few times to get out of all those windows.
Getting Audacity Ready for Recording
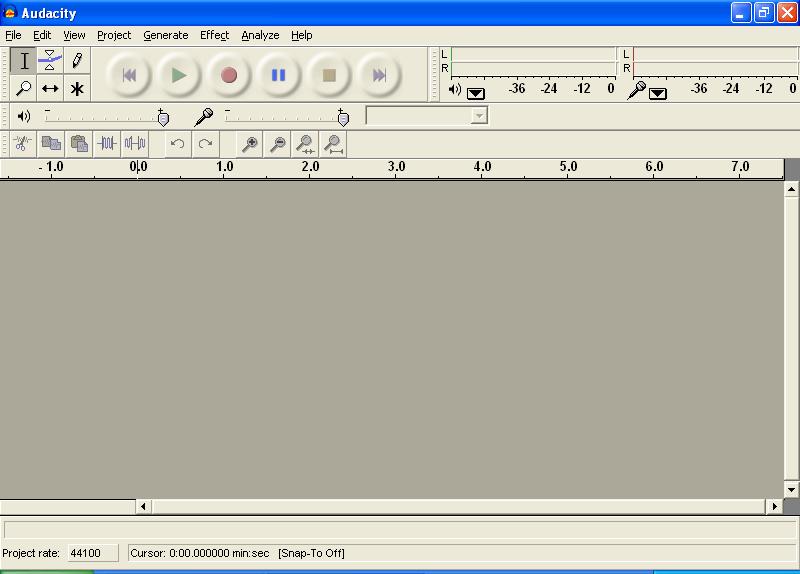
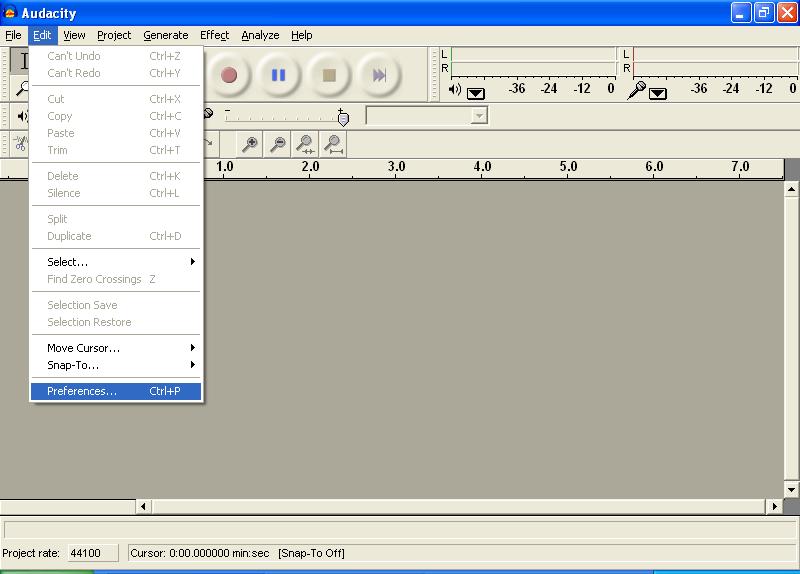
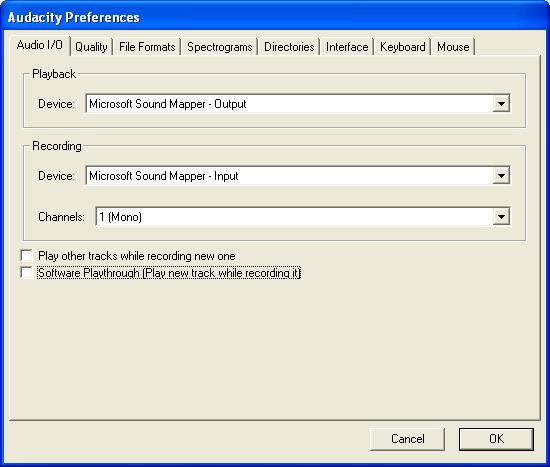
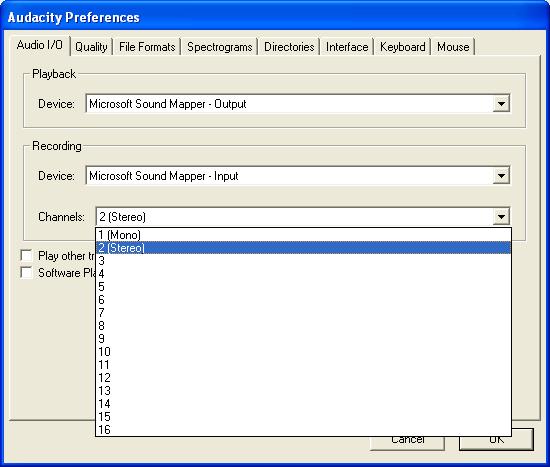
- Bring up Audacity by double clicking on its icon.
- Once Audacity is loaded go to the Edit drop down menu.
- Go to the bottom of the edit drop down and click on preferences.
- About halfway down the first tab in the preferences menu you will se a group of options that are labelled recording. Click on the channels drop down and change the input from mono to stereo.
- There are two tick boxes below the controls labeled recording. Leave the first on alone, but you can tick the second one if you want to listen to what you are recording through your computer speakers while you are recording it.
- Click the OK button to save your settings and return to audacity.
Getting Your Computer Set Up for Recording
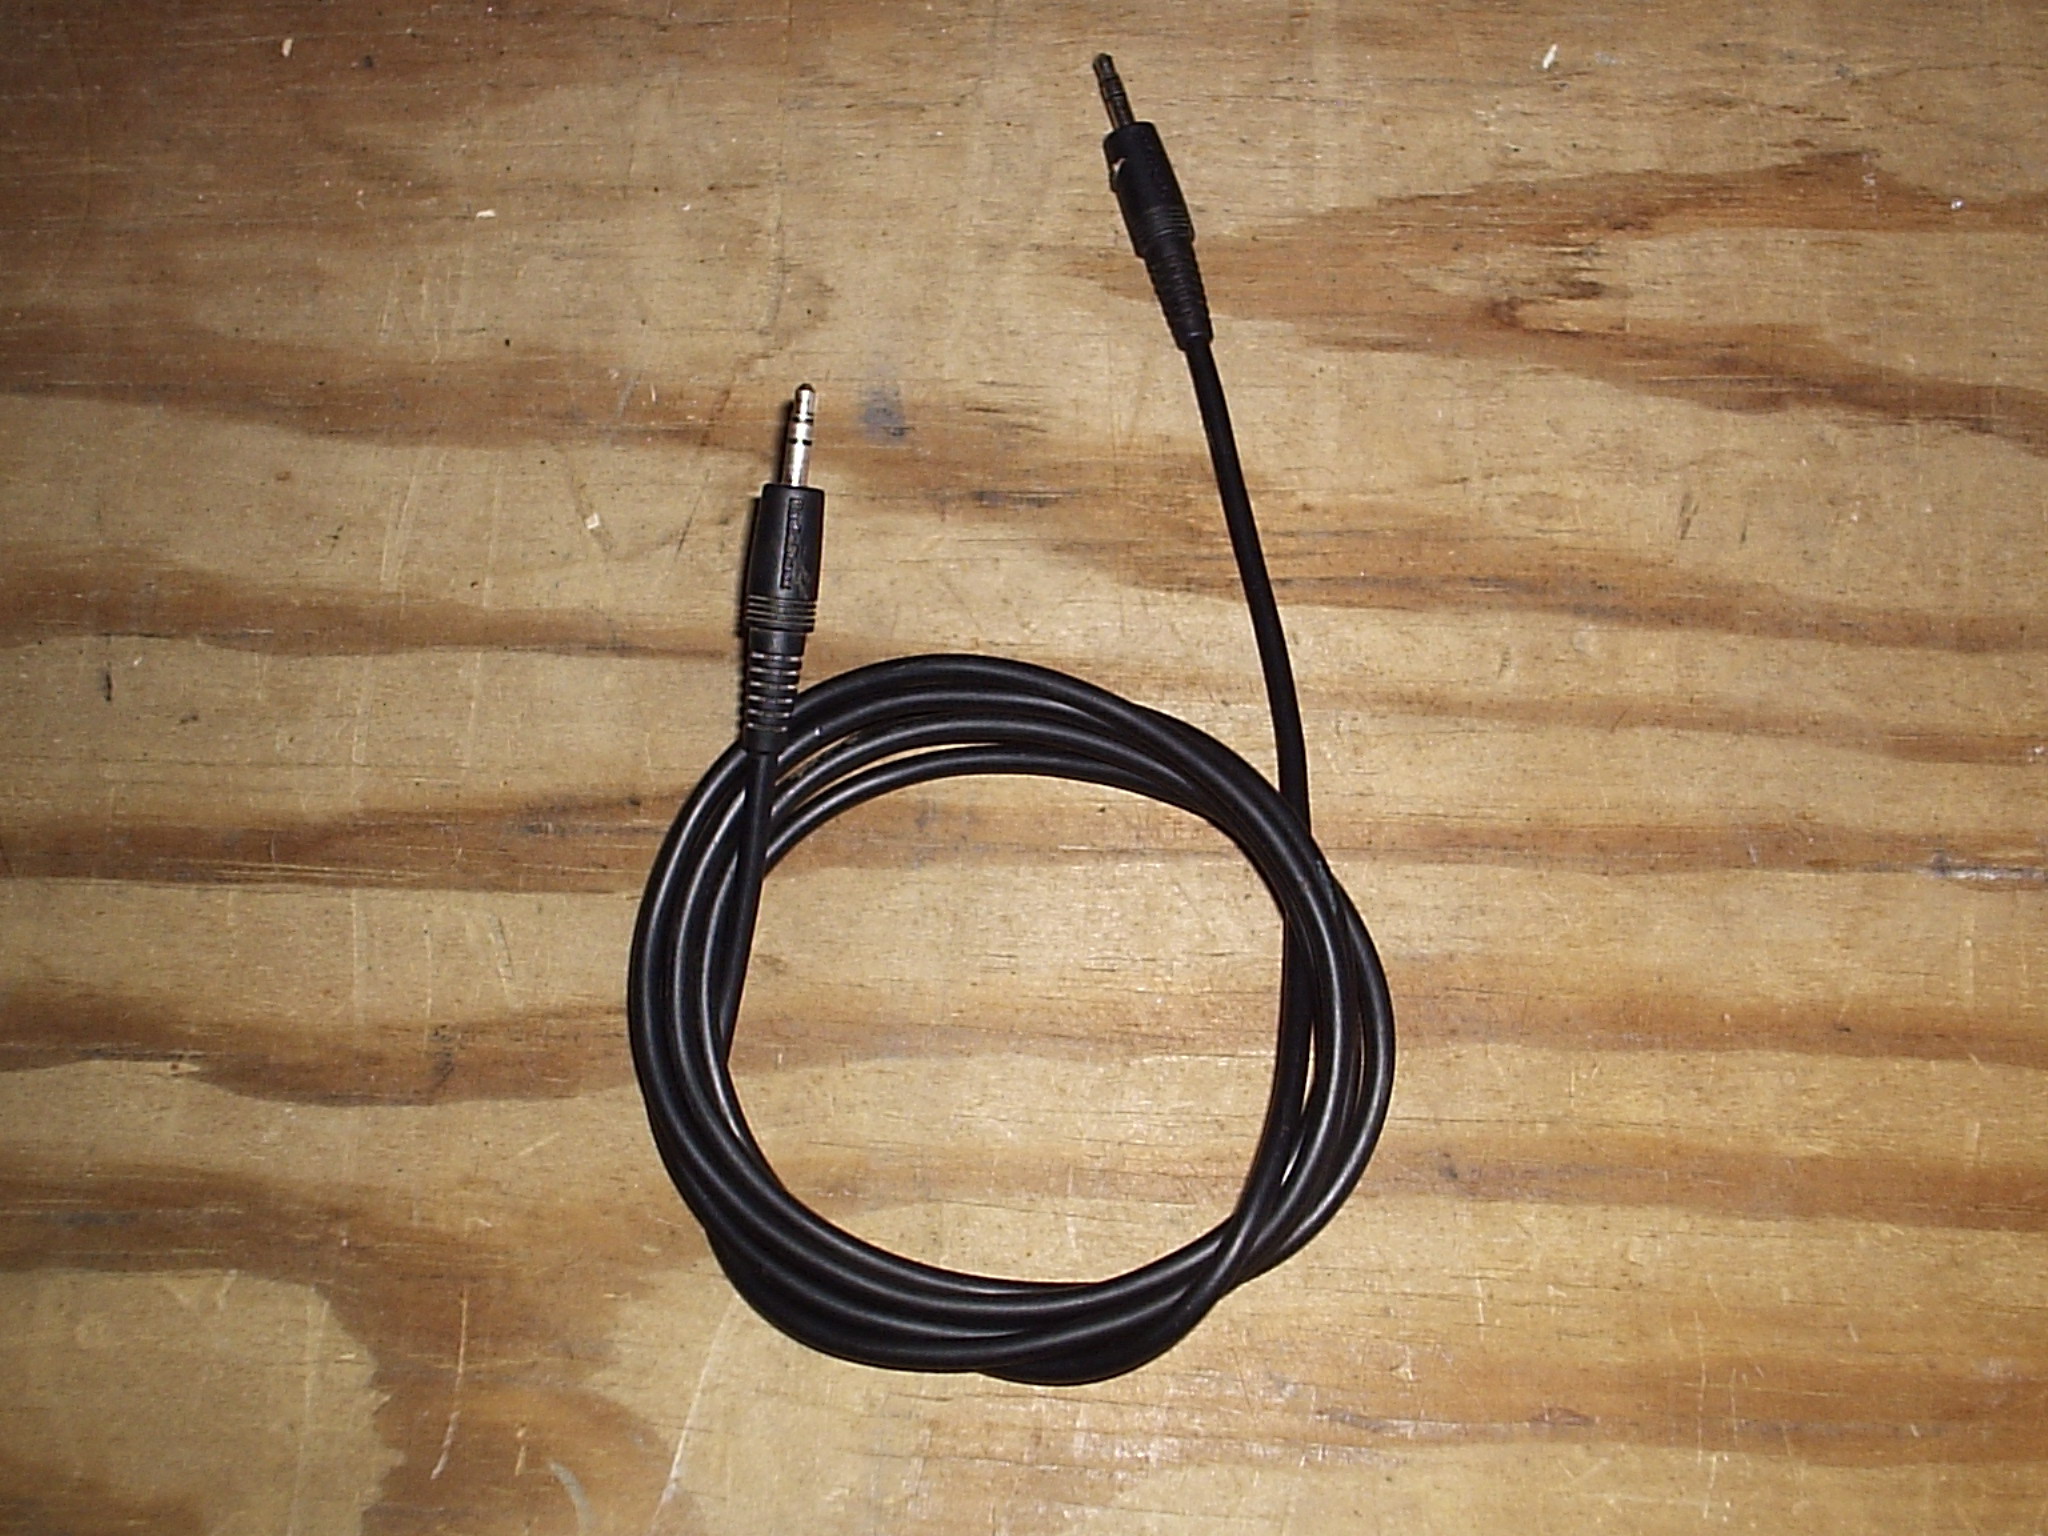
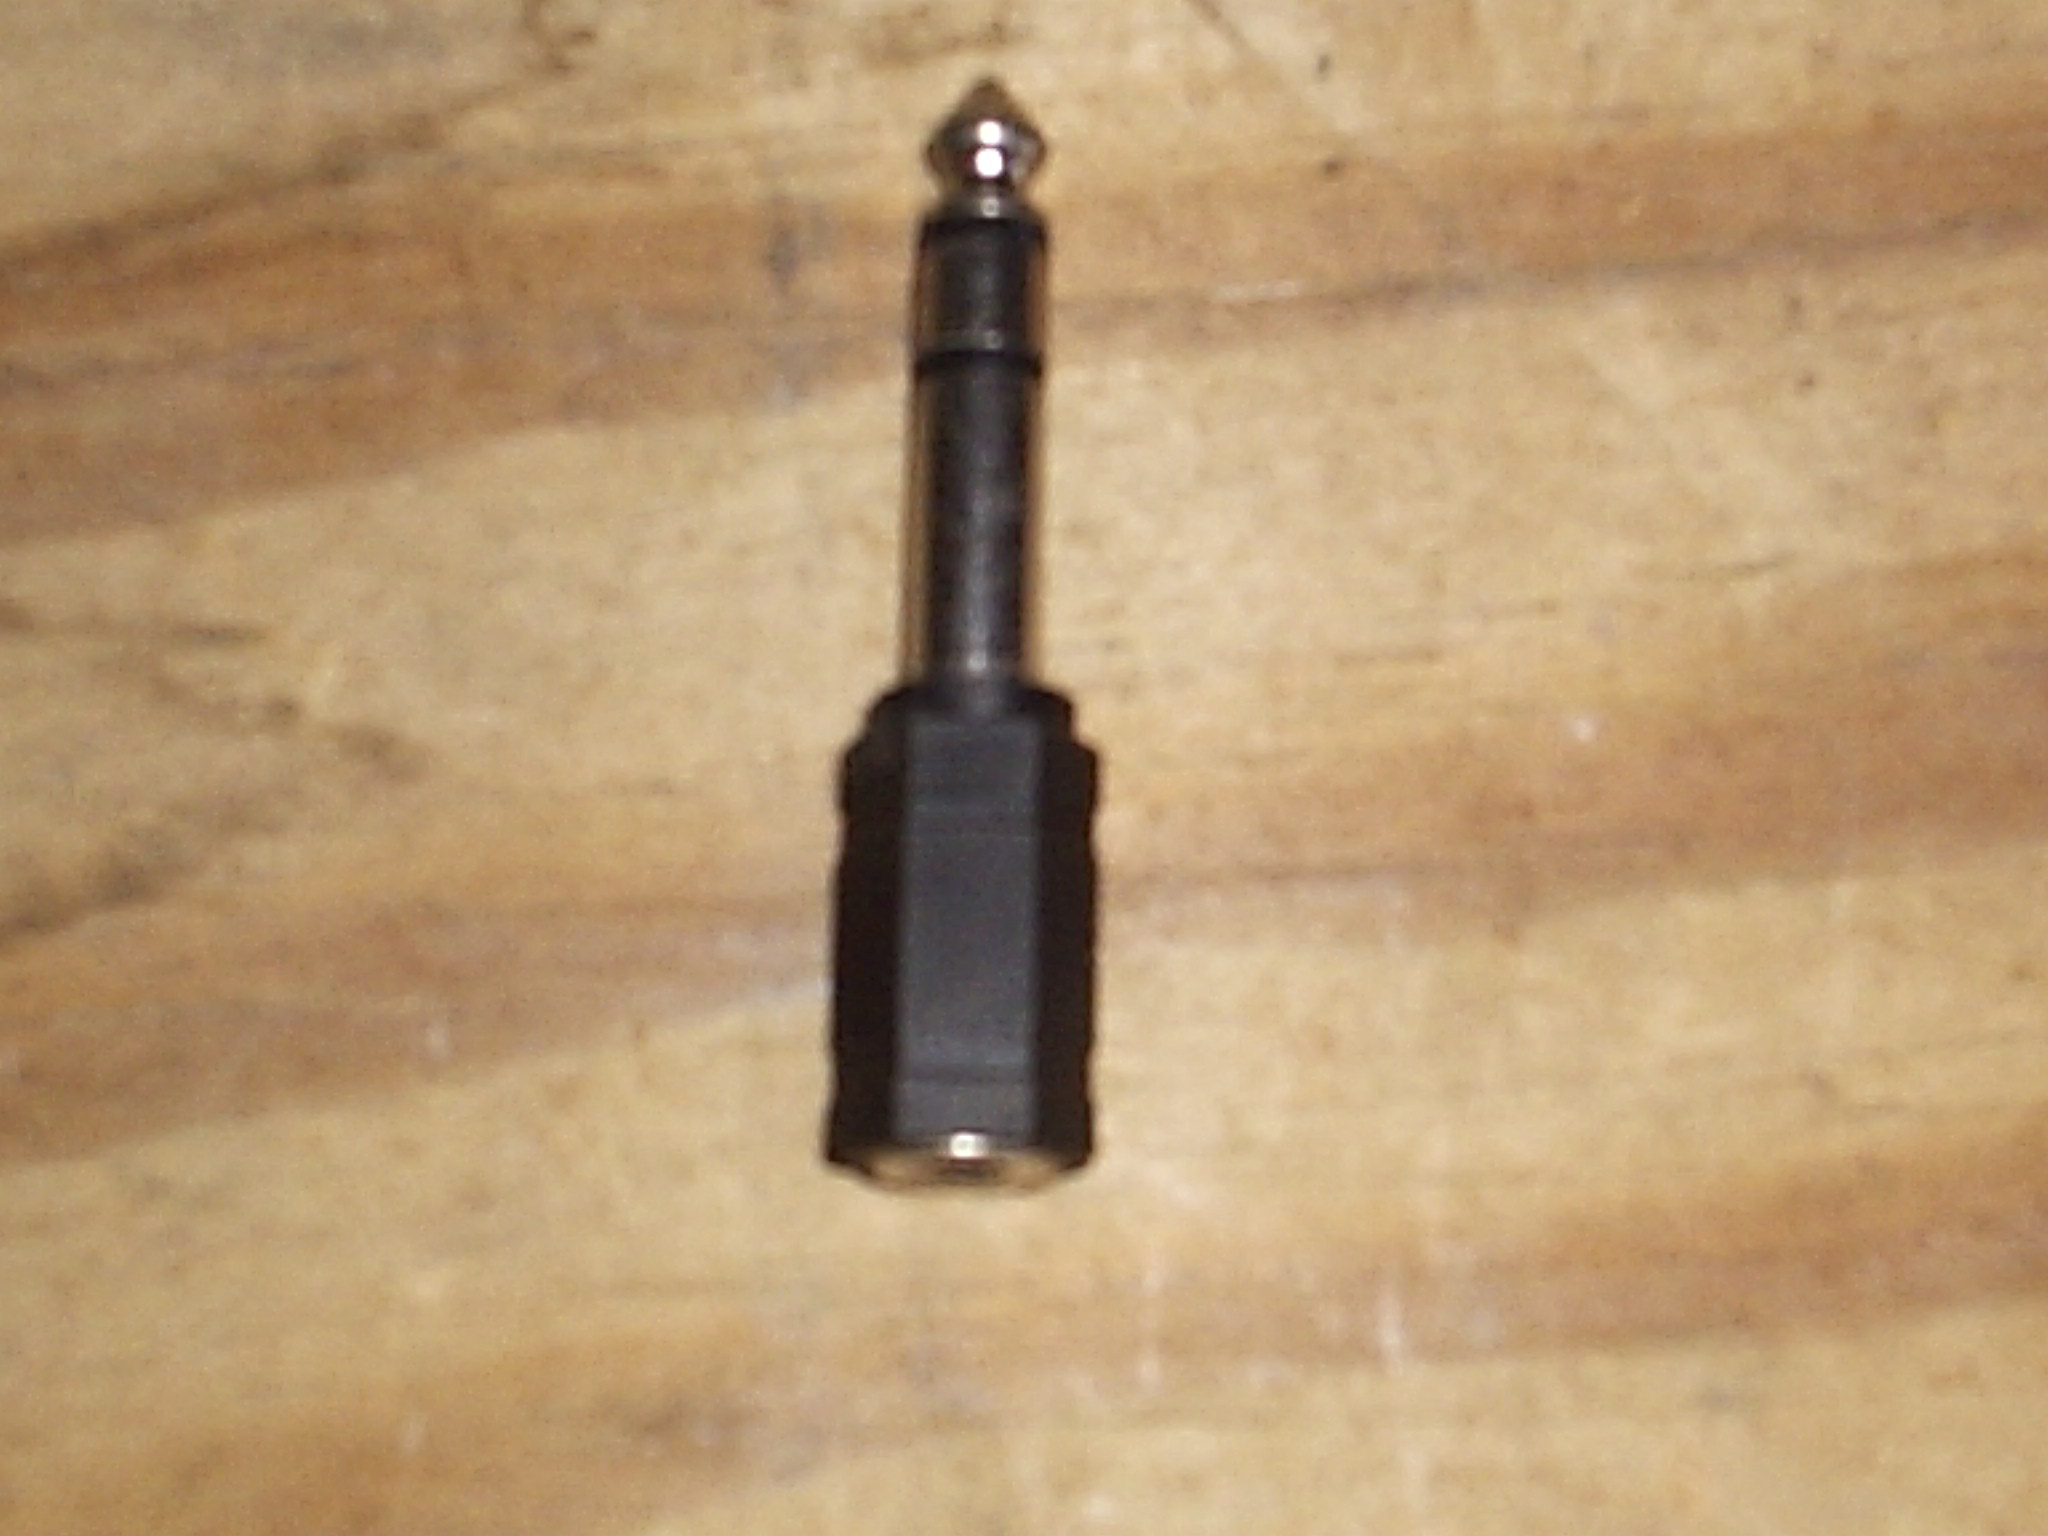
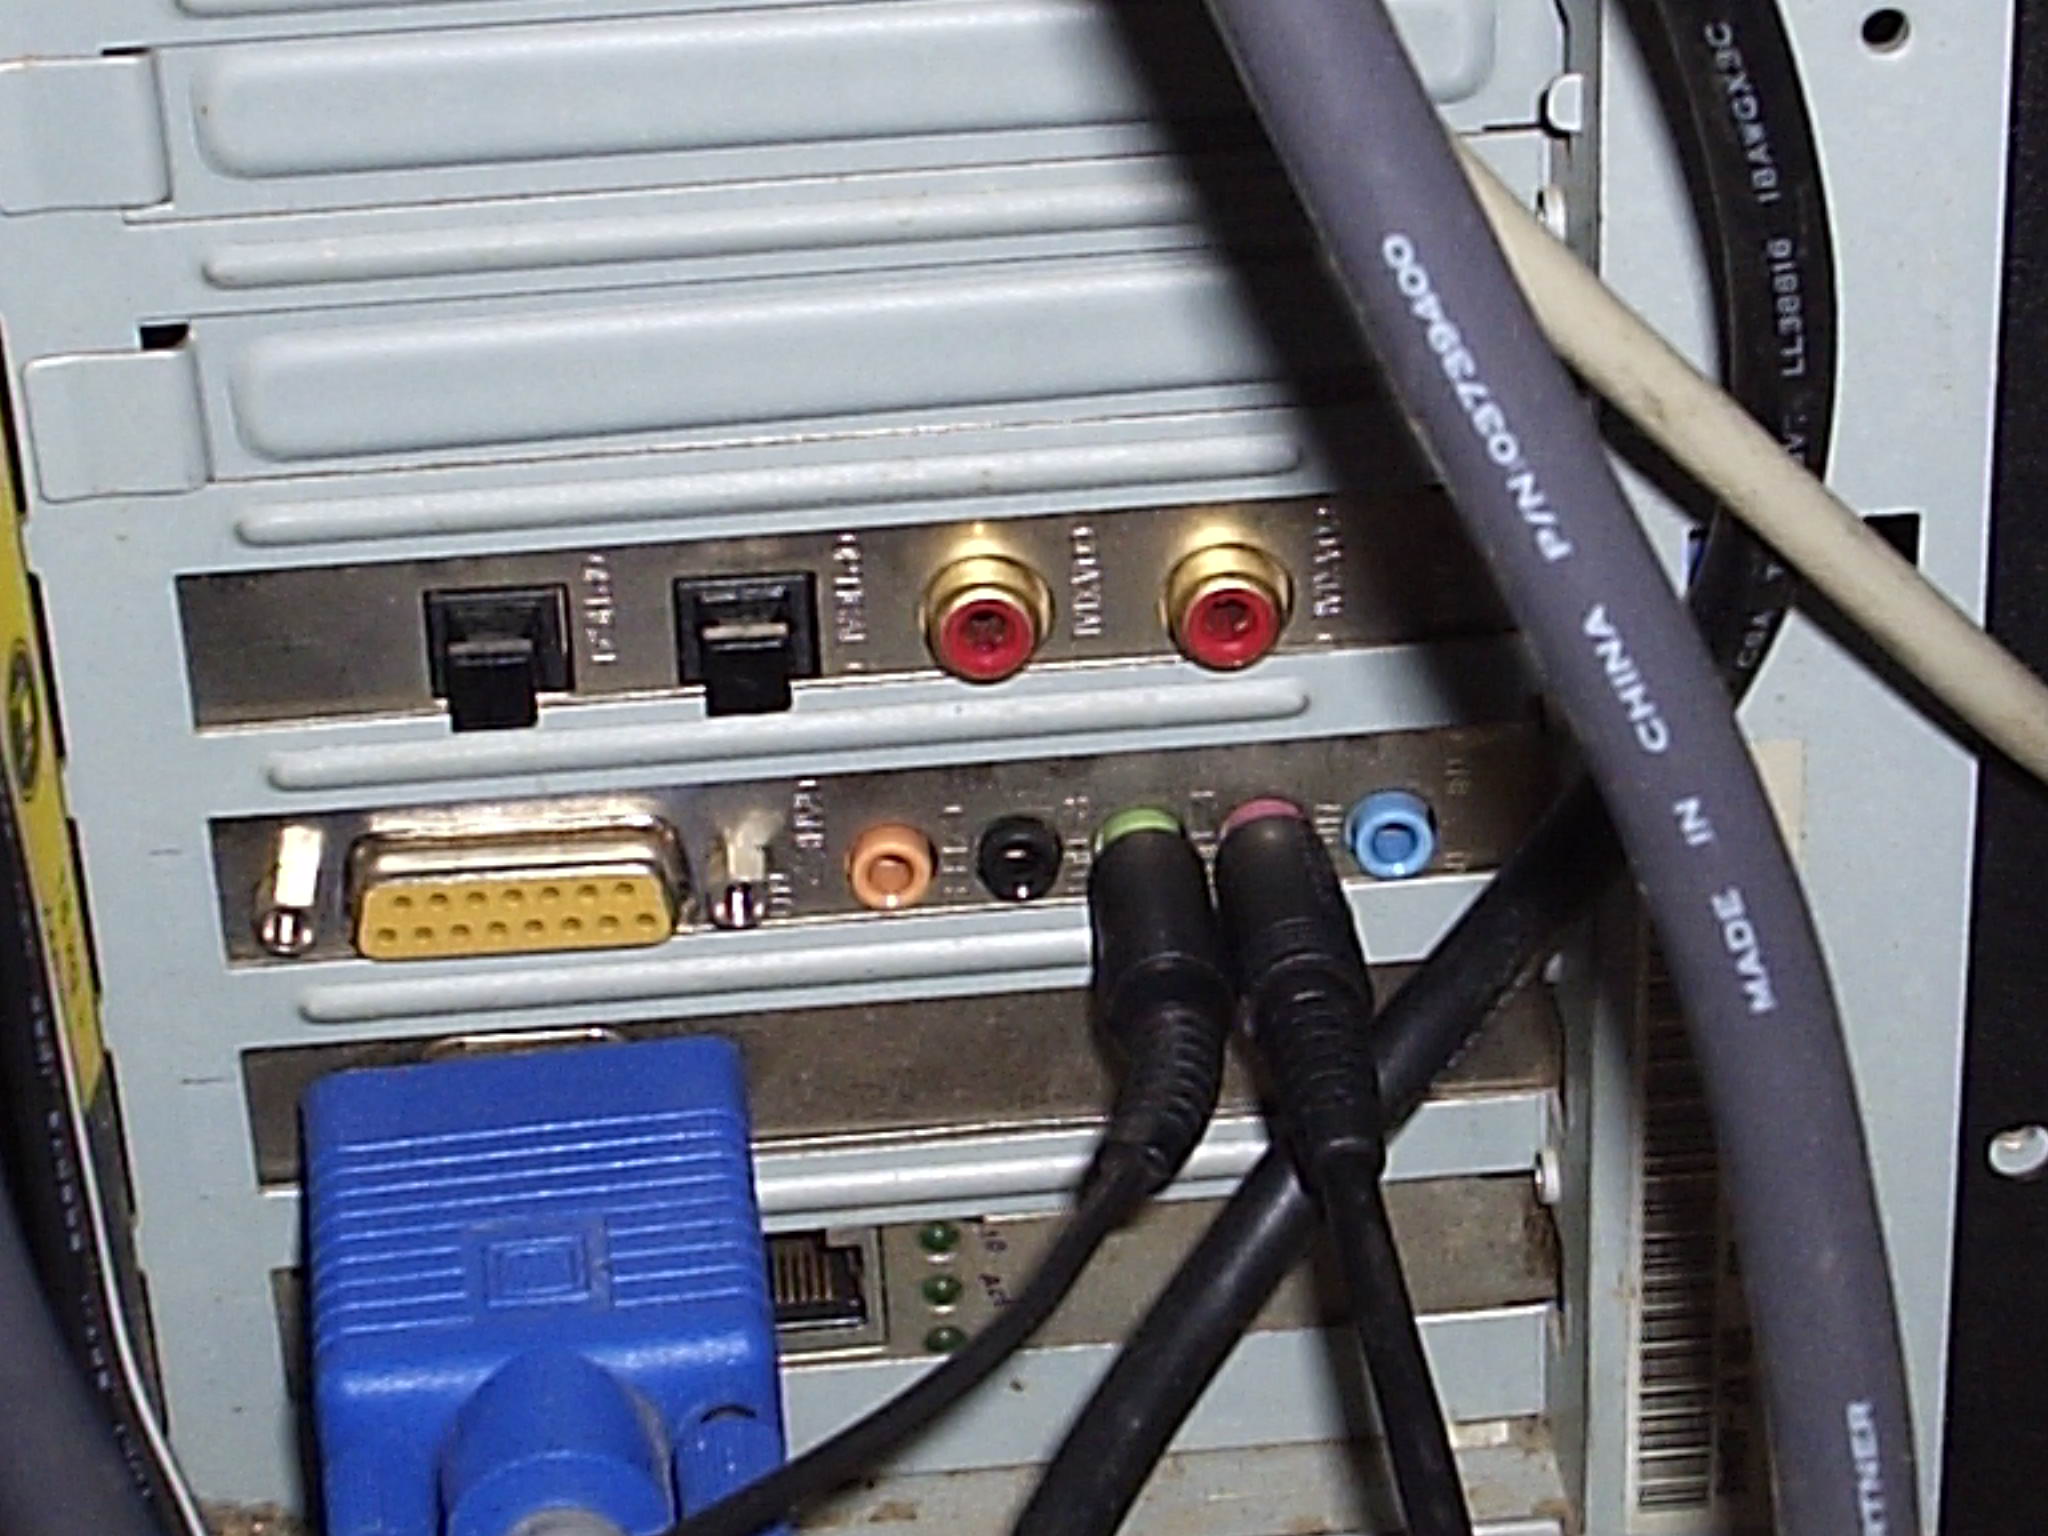
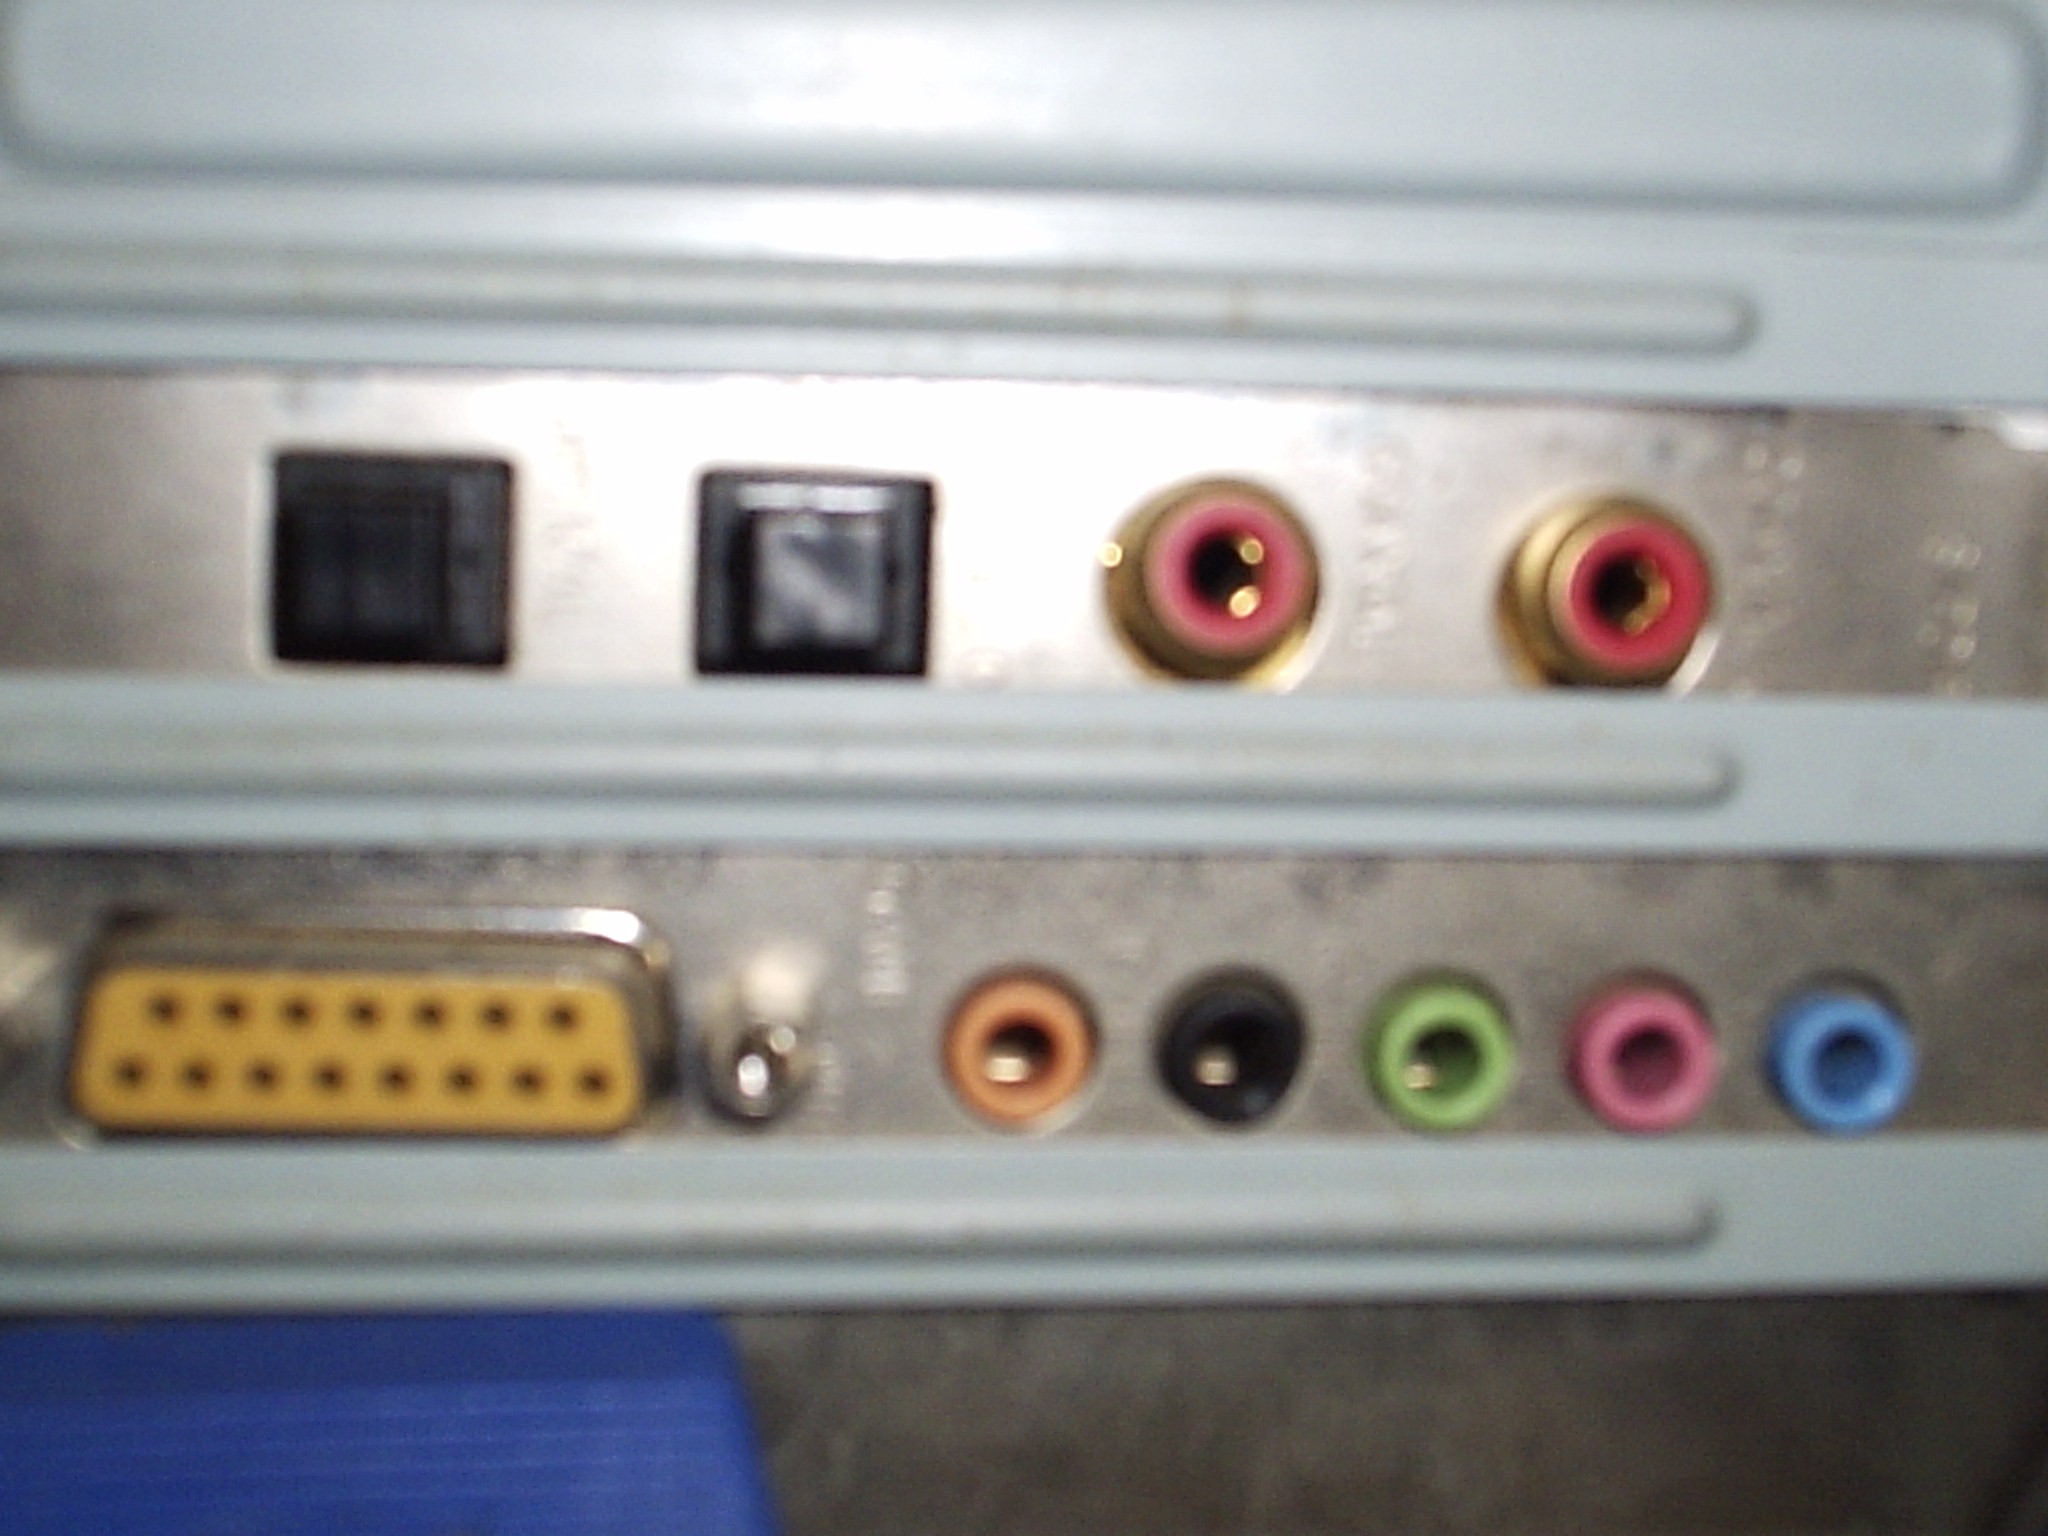
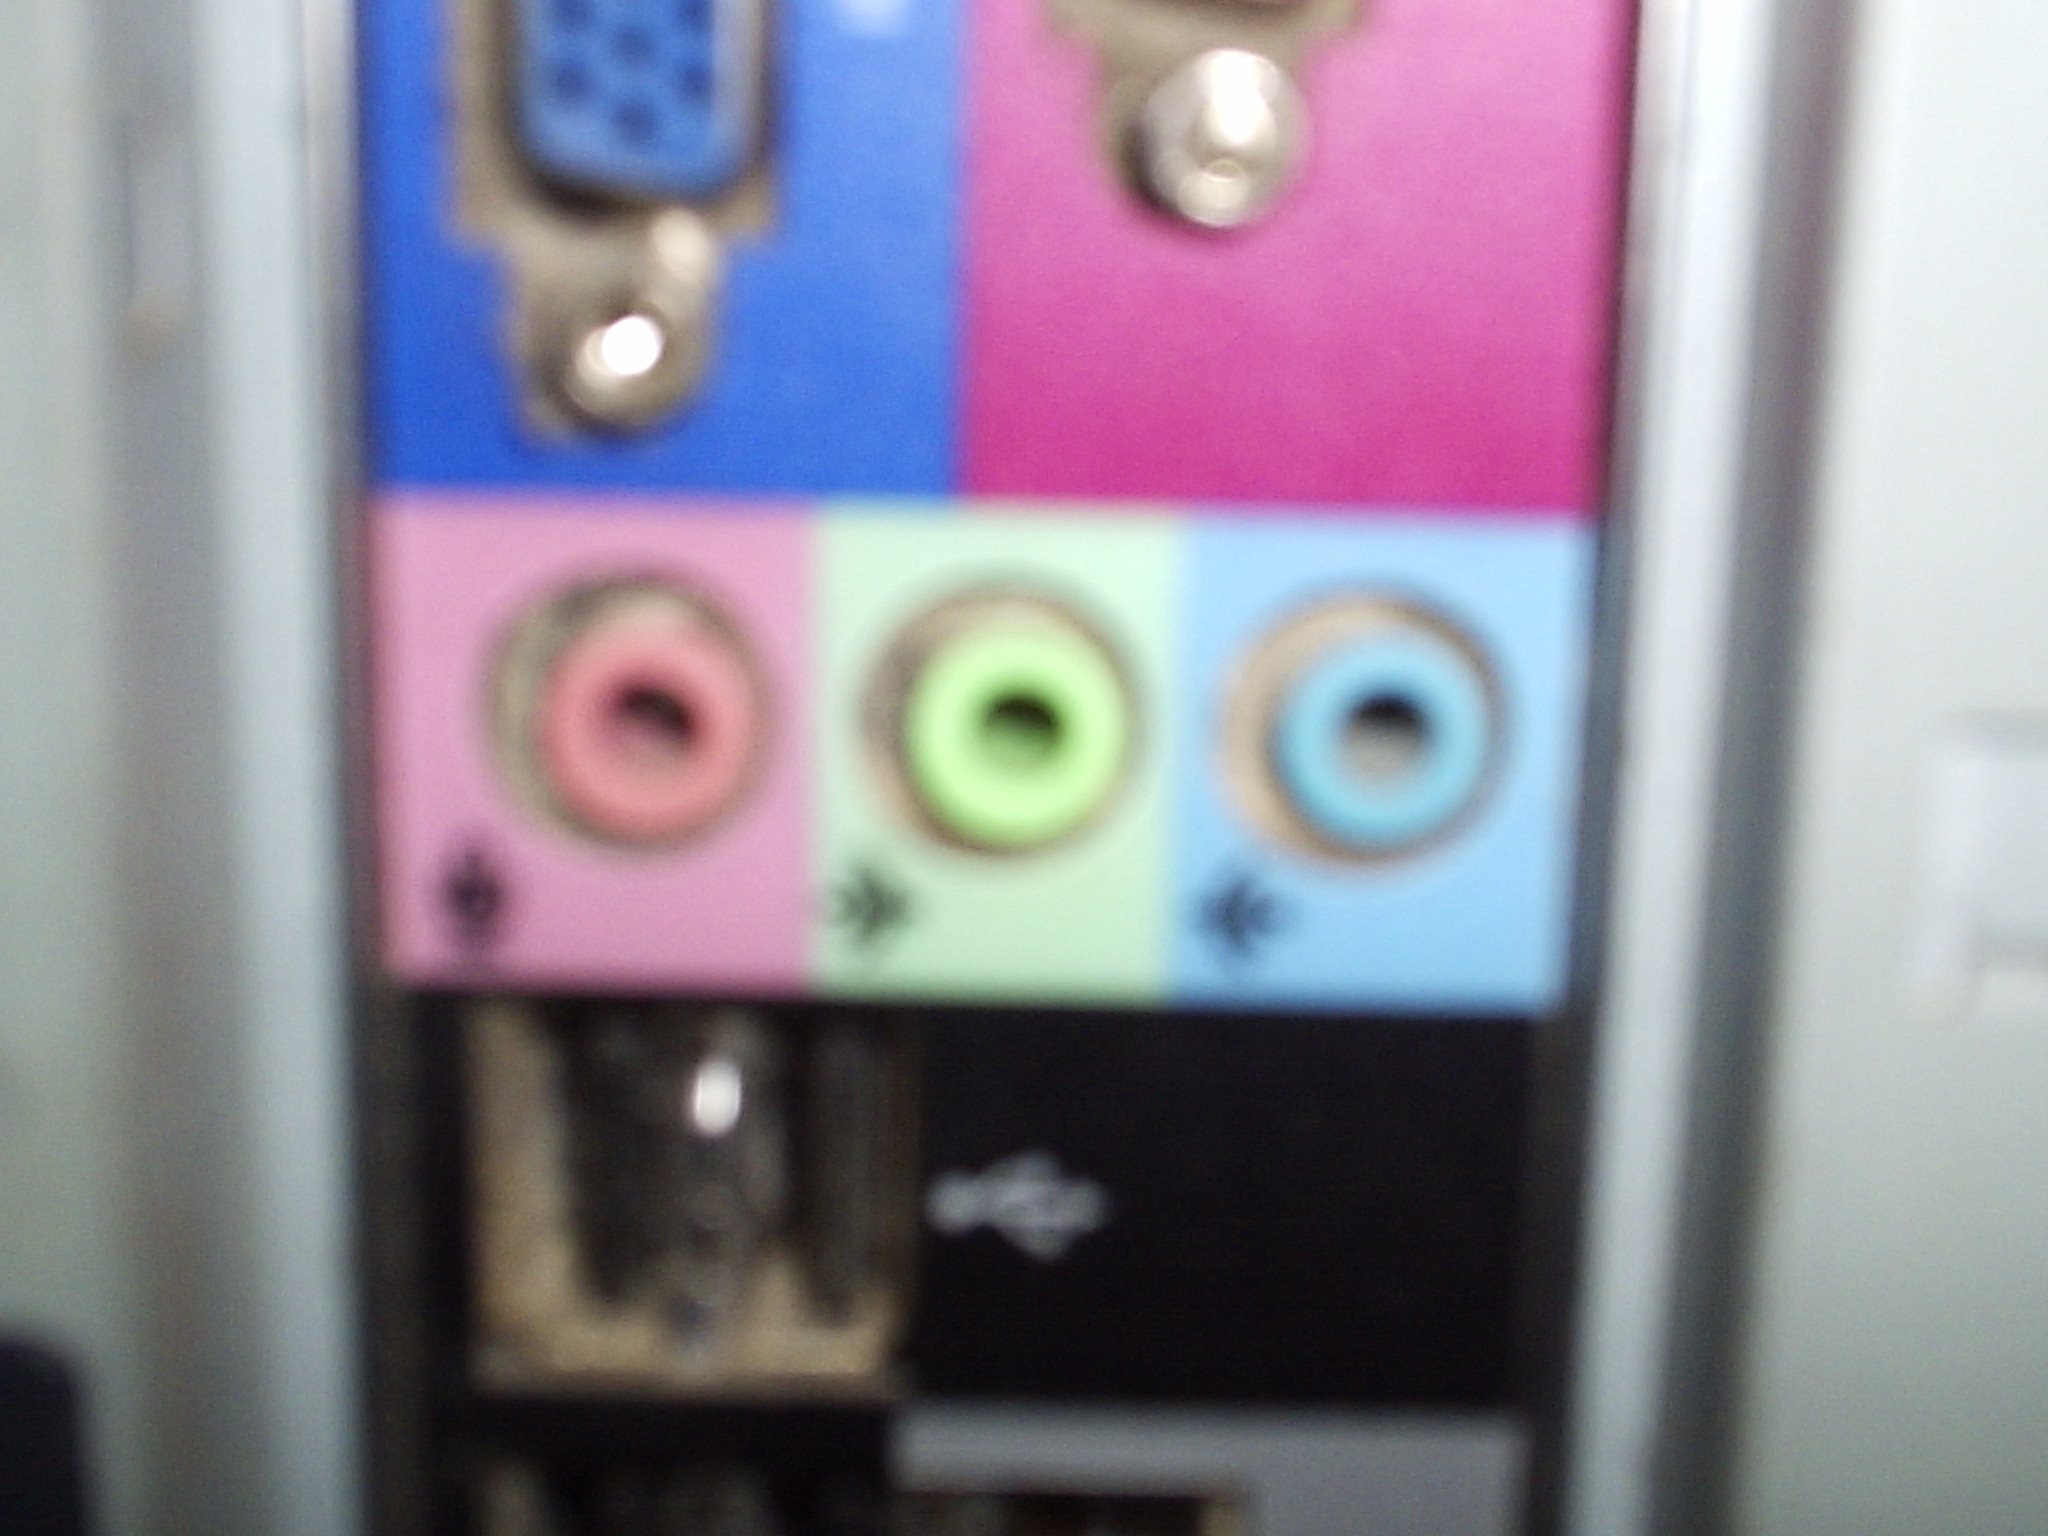
- A 1/8 inch male to male cable.
- A 1/4 inch to 1/8inch adapter.
Please refer to the pictures to see what the cable and adapter look like. You may not need the adapter. The only time that you need the adapter is if you are recording from a tape deck or a turntable that has a 1/4 inch output jack. You should be able to get both of these at Radioshack for a couple of dollars.
Once you have your cable and adapter you are ready to plug them into your computer. Now take a look at the back of your computer. You should see 3 to 9 round jacks towards the middle of your computer they may be next to a large yellow plug that looks kind of like a monitor plug. They may or may not be labeled but they should be color coded. The colors tell you what jack is what. The only jack that we are interested in is the red jack. The red jack is for a microphone or some other kind of input. There may be a small picture that is supposed to look something like microphone or the letters mic next to the red jack. Now plug in one end of your 1/8 inch cable into this red jack, it doesn't matter which end. Position the other end of your cable so that you can reach it from the front of your computer. If the source that you are recording from has 1/4 inch headphone jack then you will want to plug the adapter into the end of your cable that isn't plugged into your computer. If your recording source has a 1/8 inch headphone connector you don't need to use the adapter. You always want to record from the headphone jack. This is because if you try to record from speaker outputs you may blow up your sound card and you don't want to do that.
Recording From Tapes
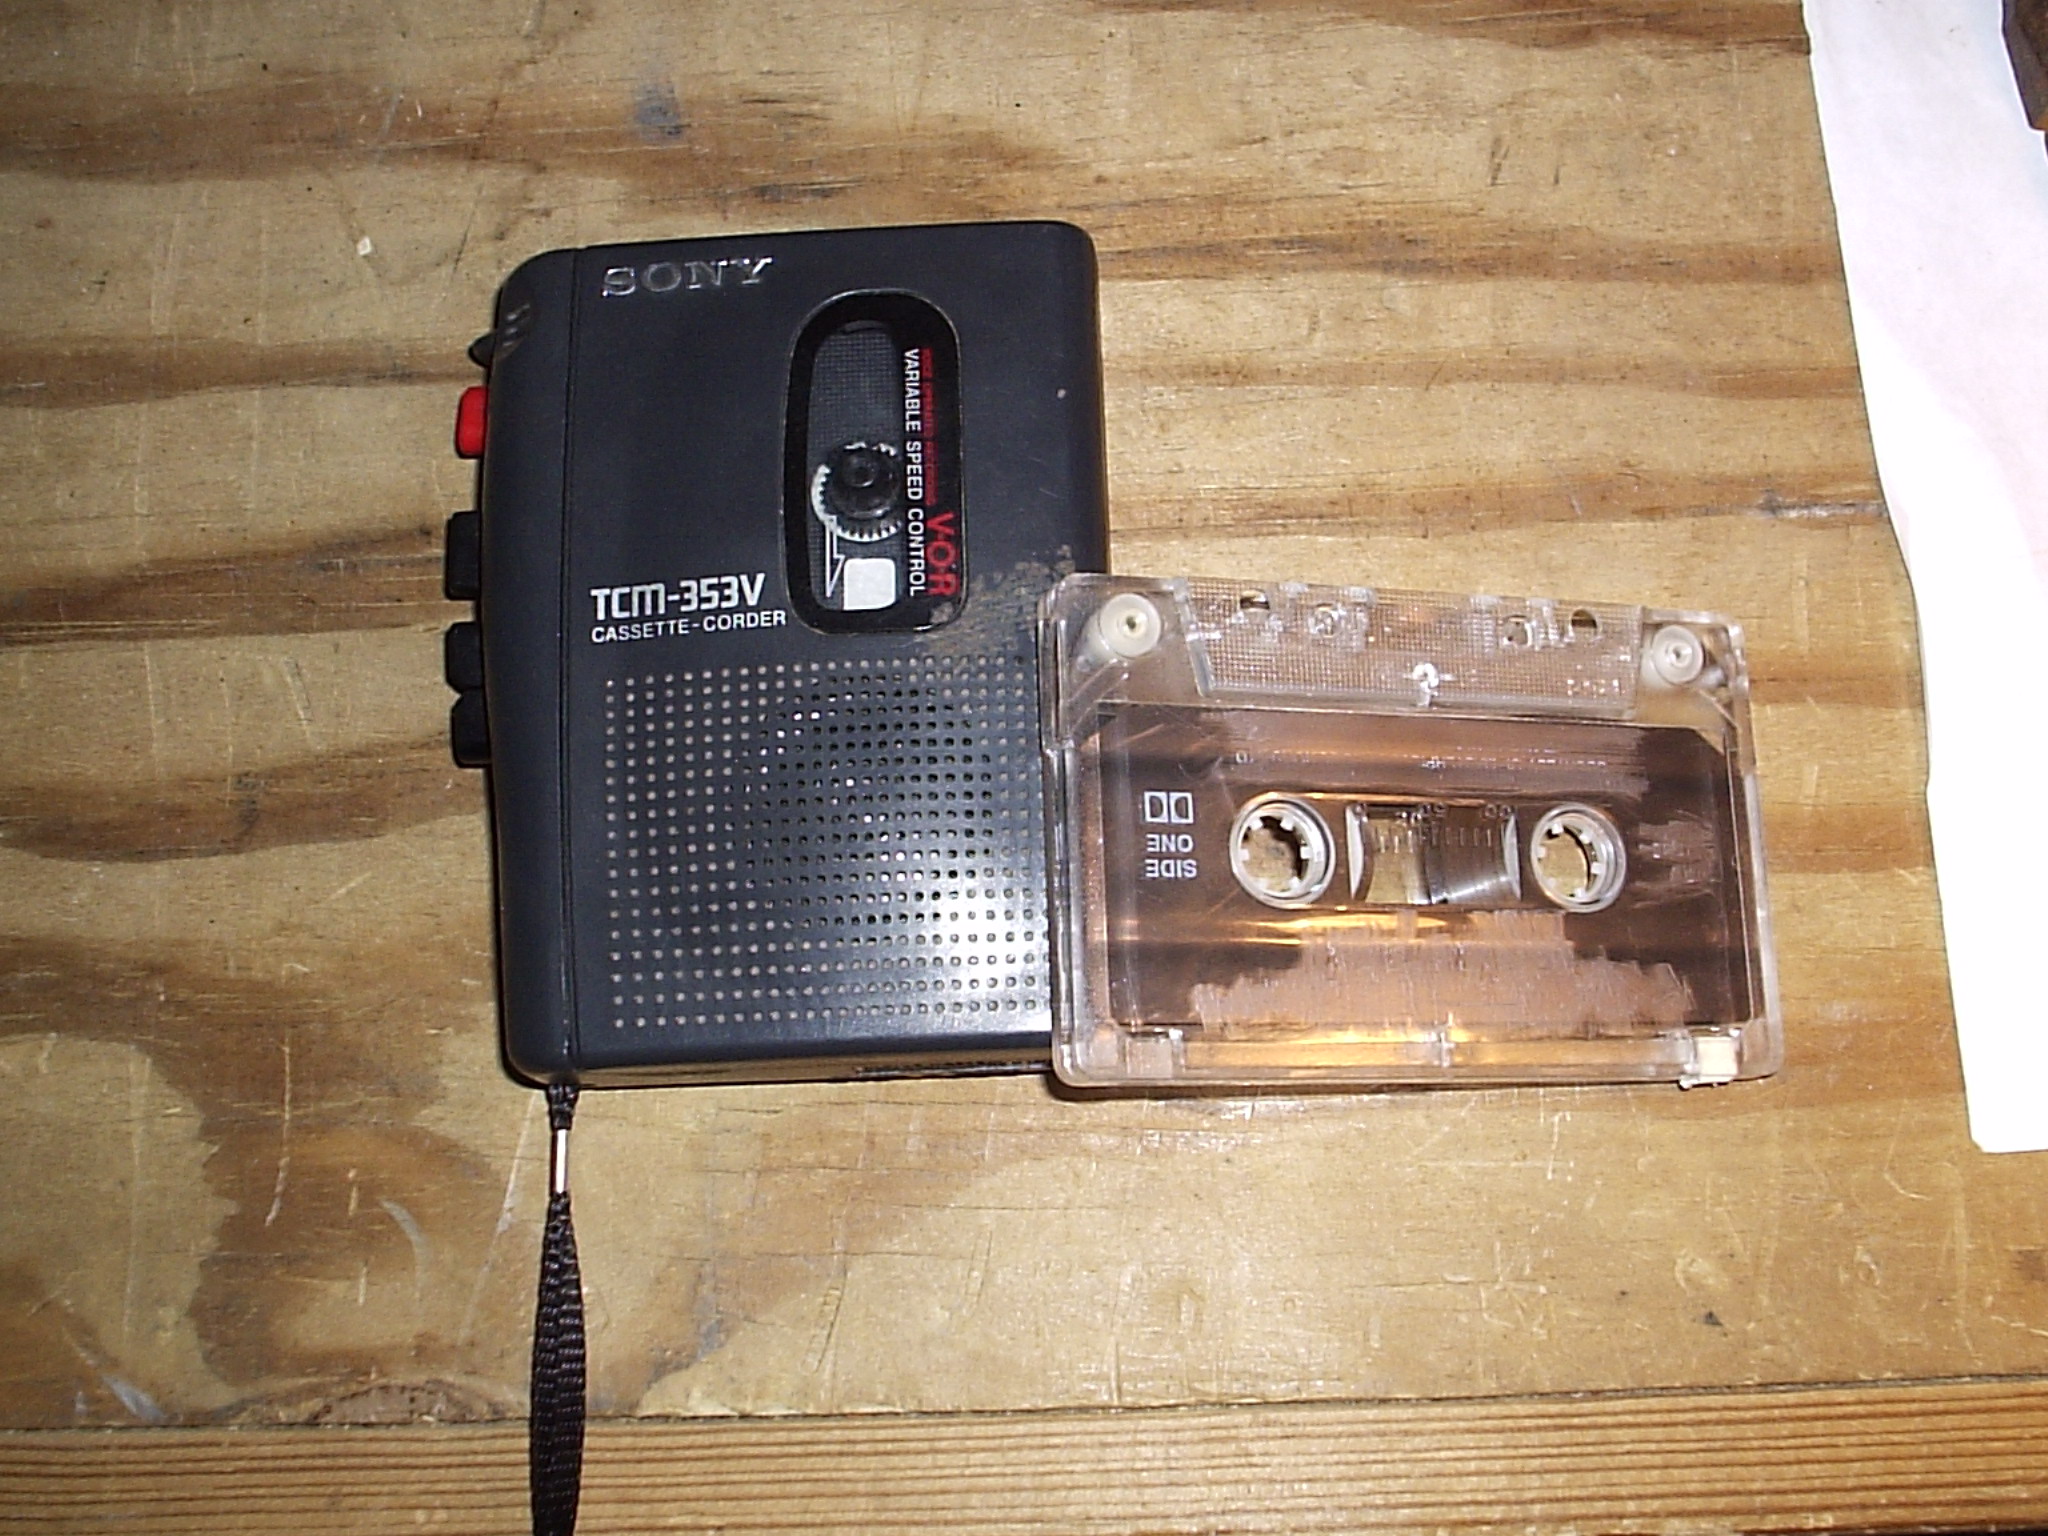
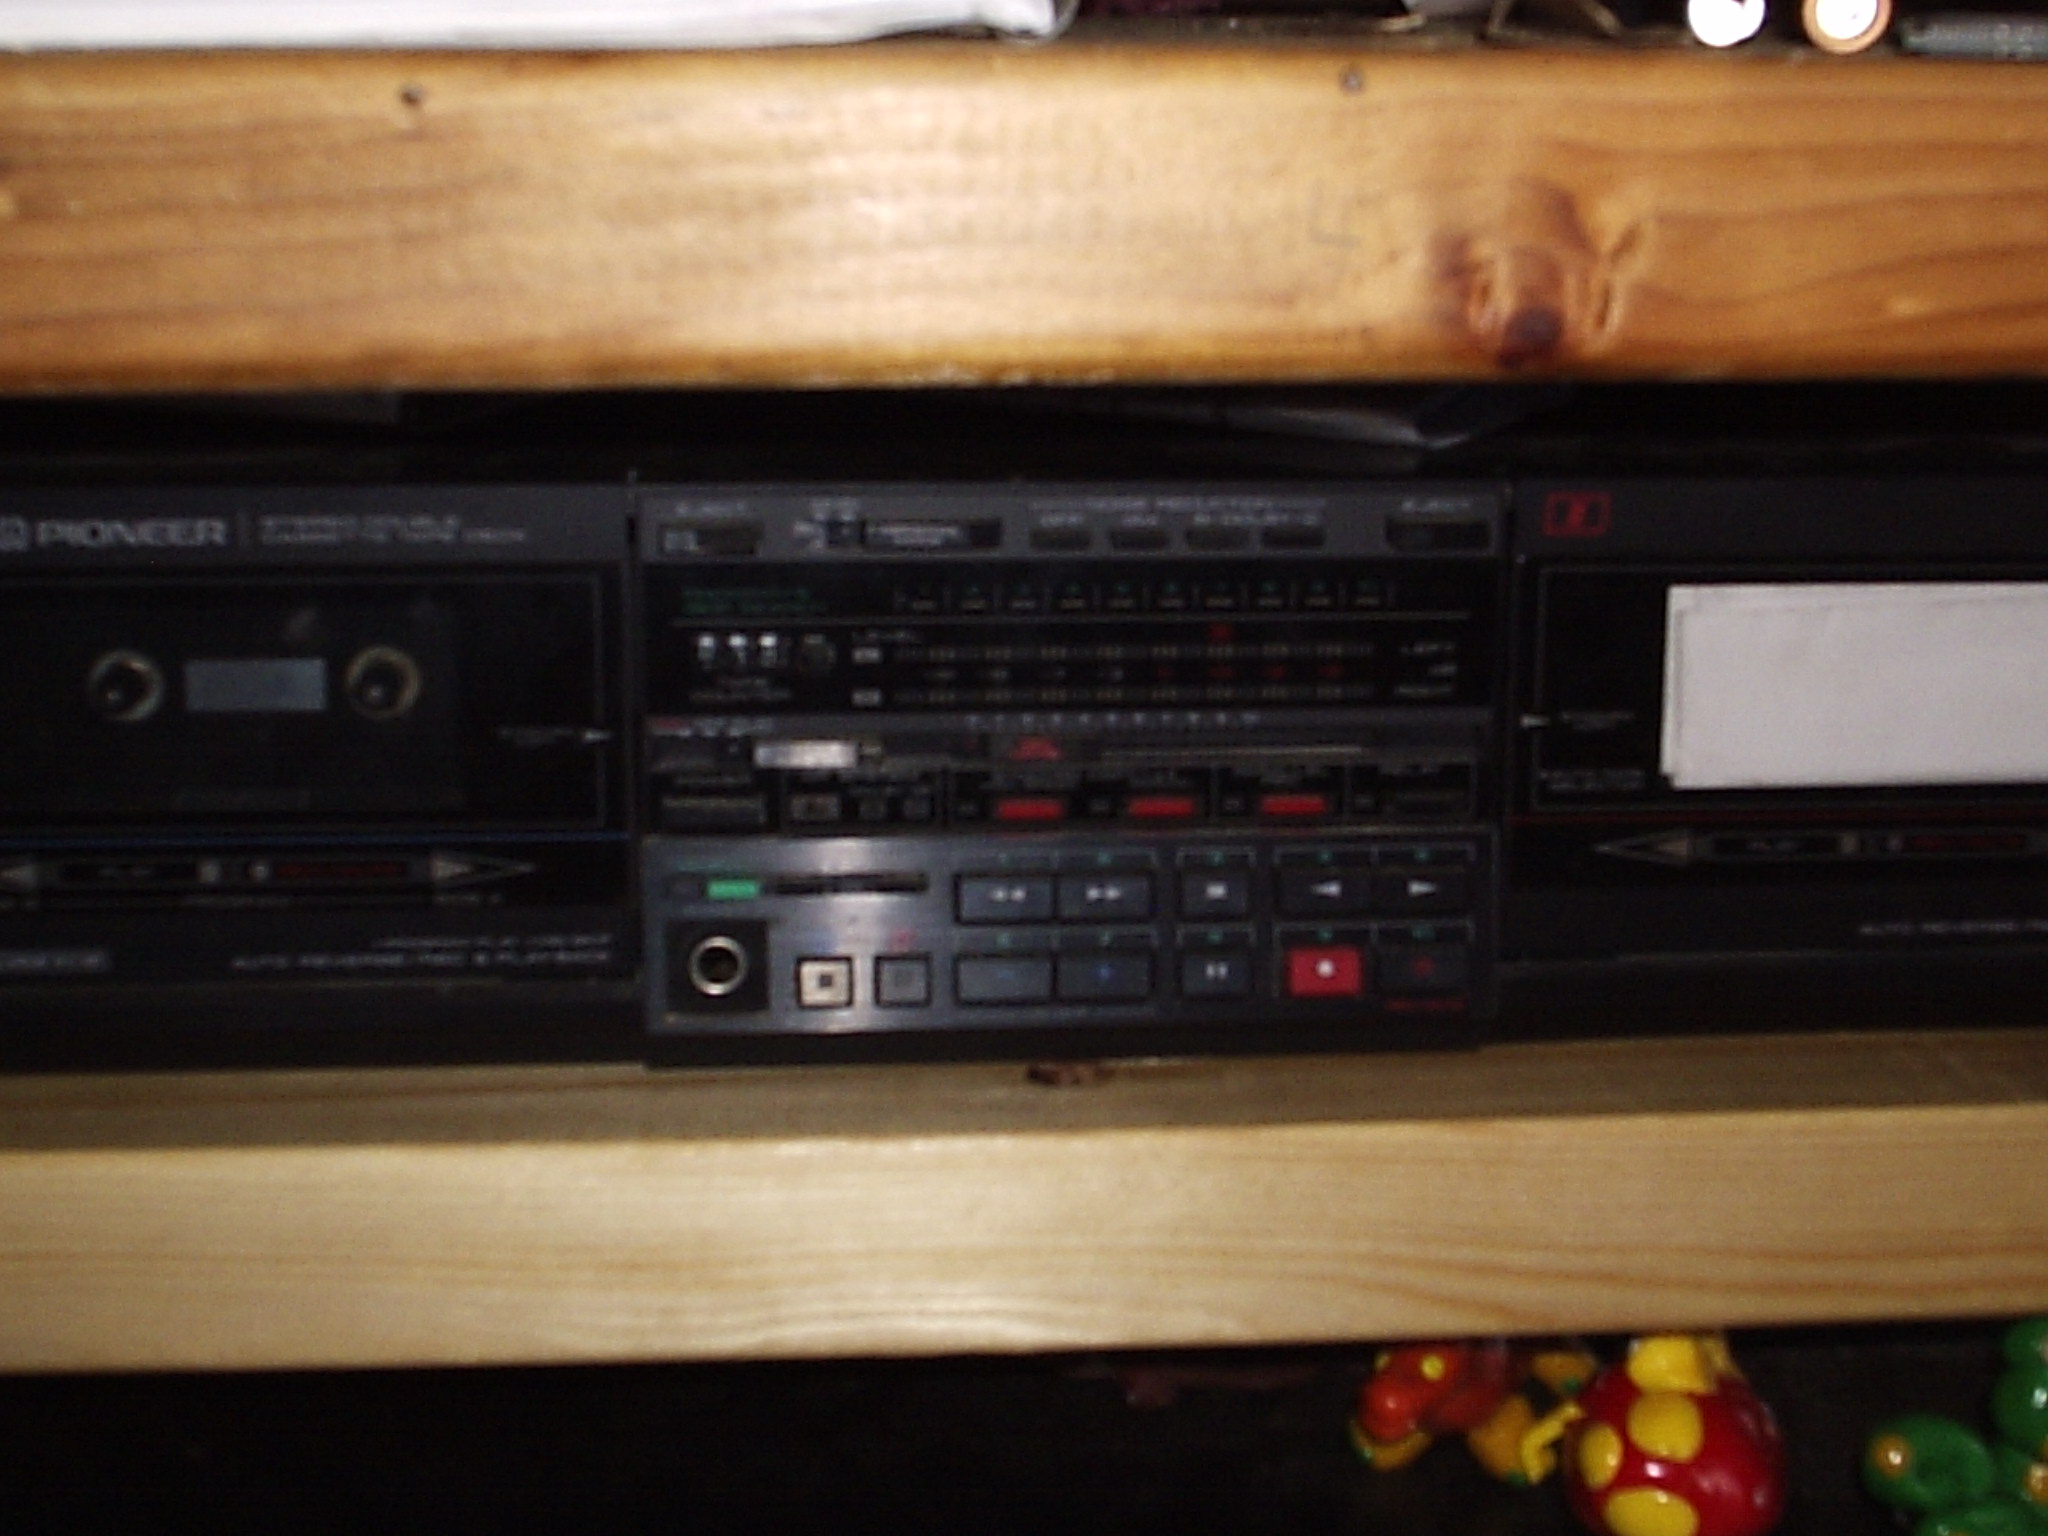
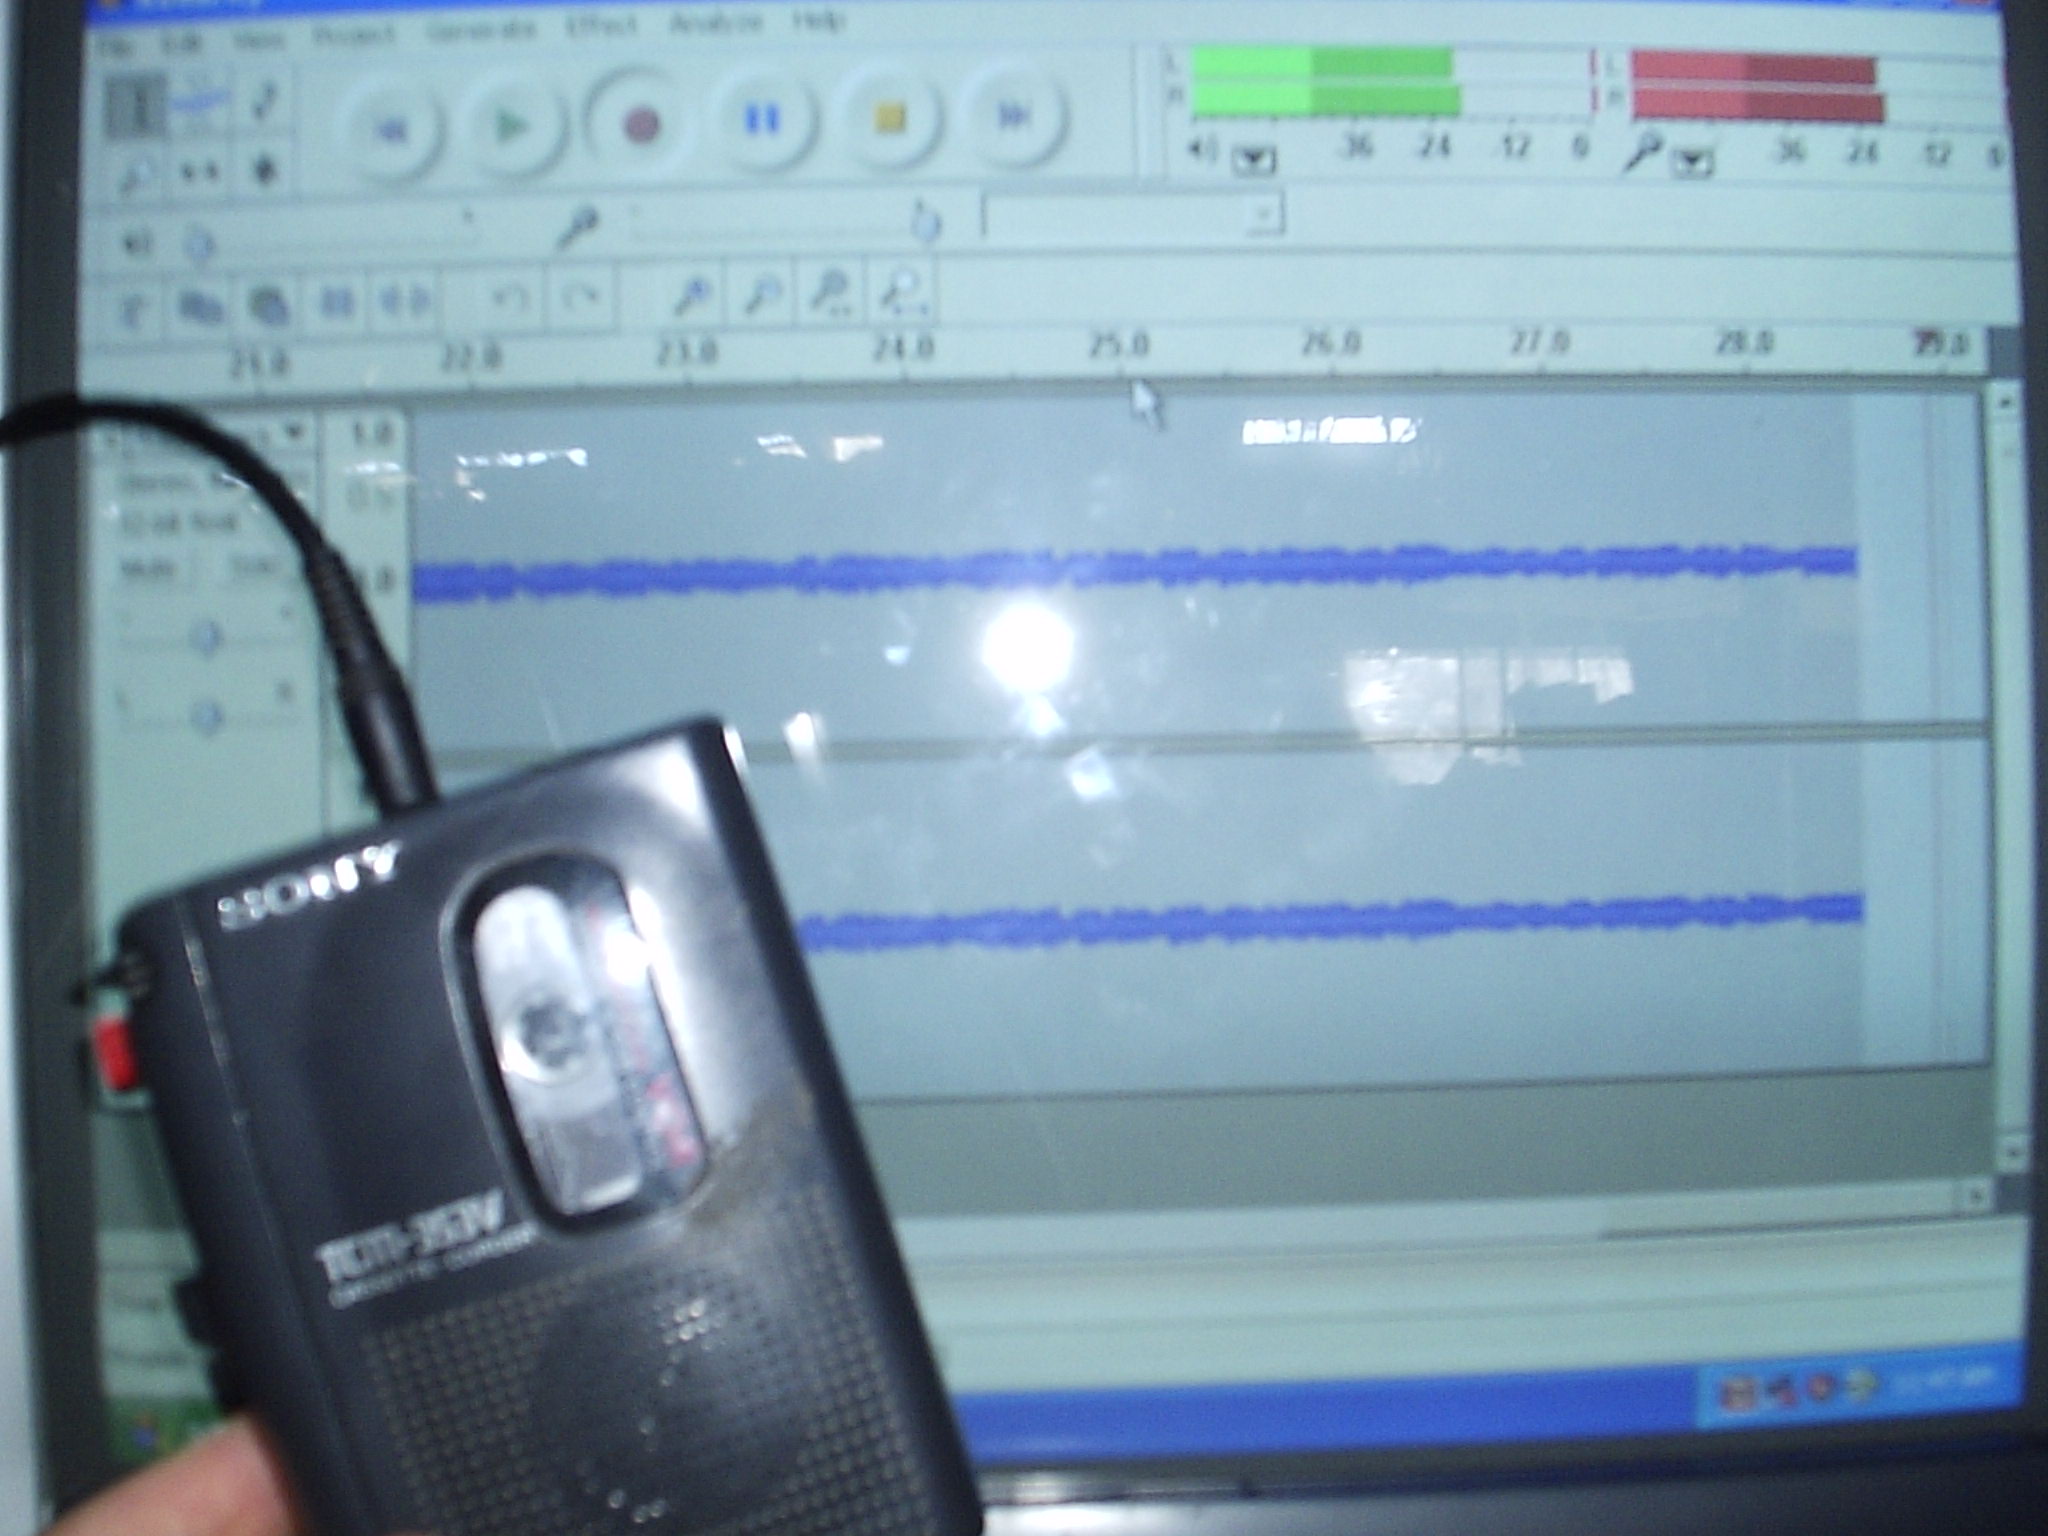
You can record to your computer from either a full size tape deck or from a small hand held tape player. I usually prefer doing it from a full sized tape deck because then you have more options such as noise cancelling. Either way you need to plug your tape deck into the 1/8 inch cable that you just plugged into the back of your computer. If you are using a handheld tape player then the headphone jack will likely be 1/8 inch and you can plug in directly. If however you are using a full sized tape deck, the headphone jack will probably be 1/4 inch and you will need to use an adapter. Remember to make sure that you only plug into a headphone level output.
Once you have your tape deck hooked up you are almost ready to record. But before you start recording you need to start Audacity. When you start Audacity you should see the blank starting screen. You should see several buttons towards the top of the Audacity window. These buttons control various functions, but the one that we are concerned with is the record button. This button has the standard red dot just like all record buttons. Click the record button and then immediately press the play button on your tape deck. If you wish you can also turn on the noise cancelling function. If you don't have a noise cancelling button don't worry because later I will show you how to get rid of noise in Audacity. Once your tape is done playing (most tapes play for between 30 and 60 minutes on each side) press the stop button in Audacity again. This will stop recording you can then save or export your recording using the options in the file menu. If you are going to edit or do more with the track you have recorded than you should save it as a .aup file, do this by using the save as button. If you are done with your recorded track and want to be able to listen to it on your computer or MP3 player then you should use the export button and export it to an MP3 file format.
Recording From Records
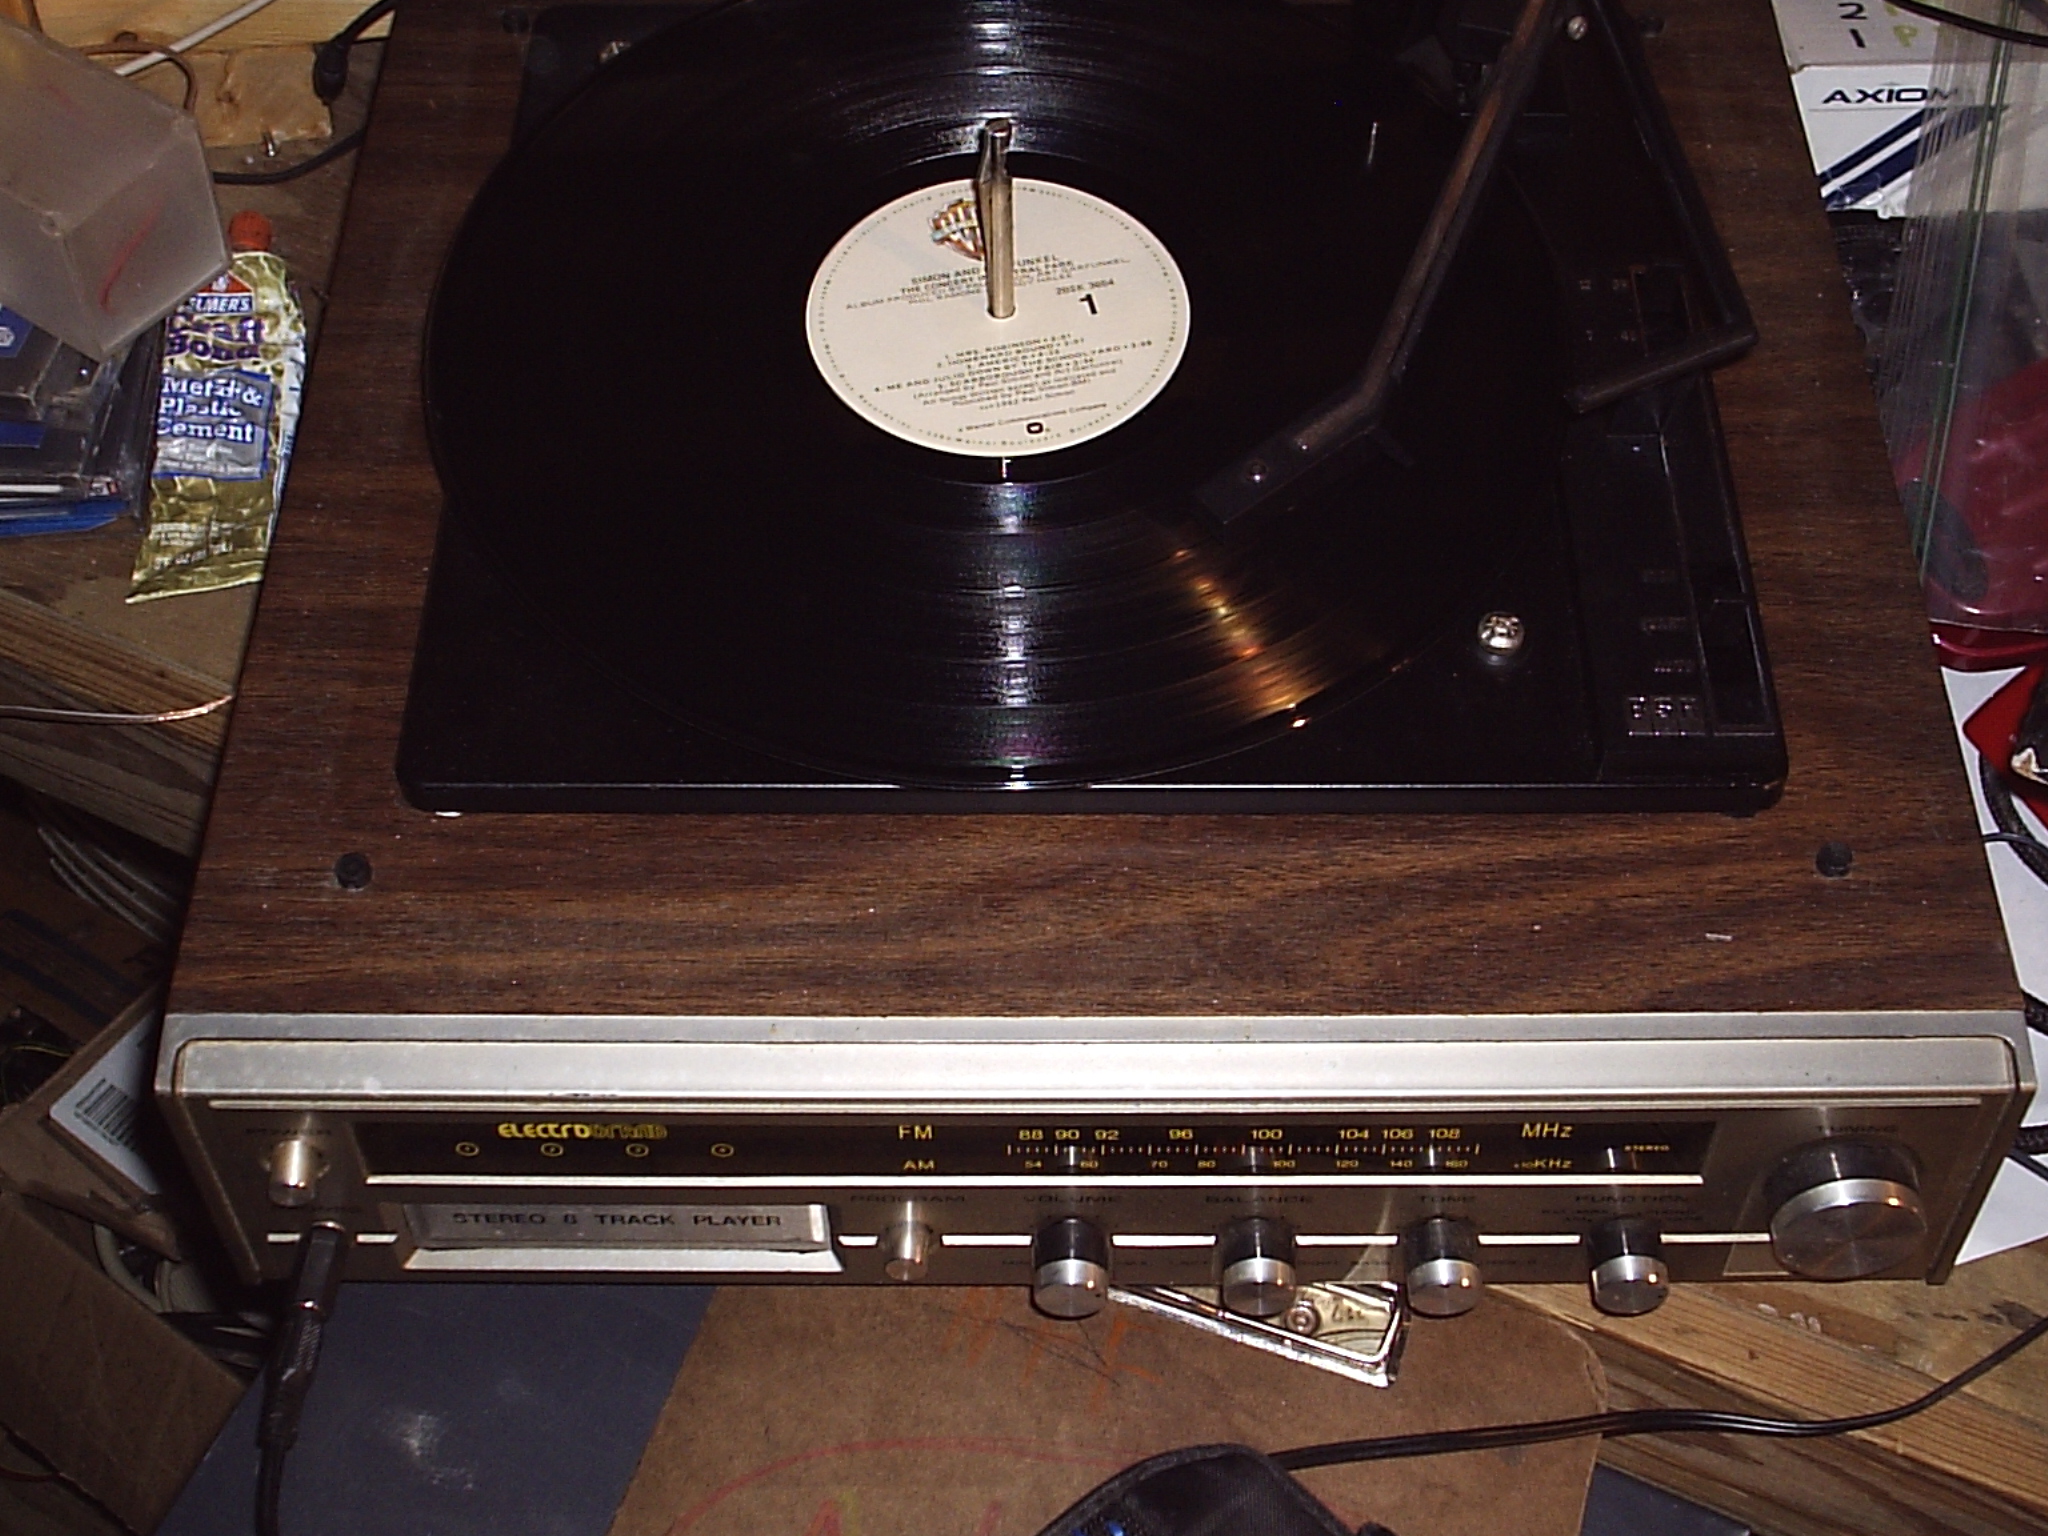

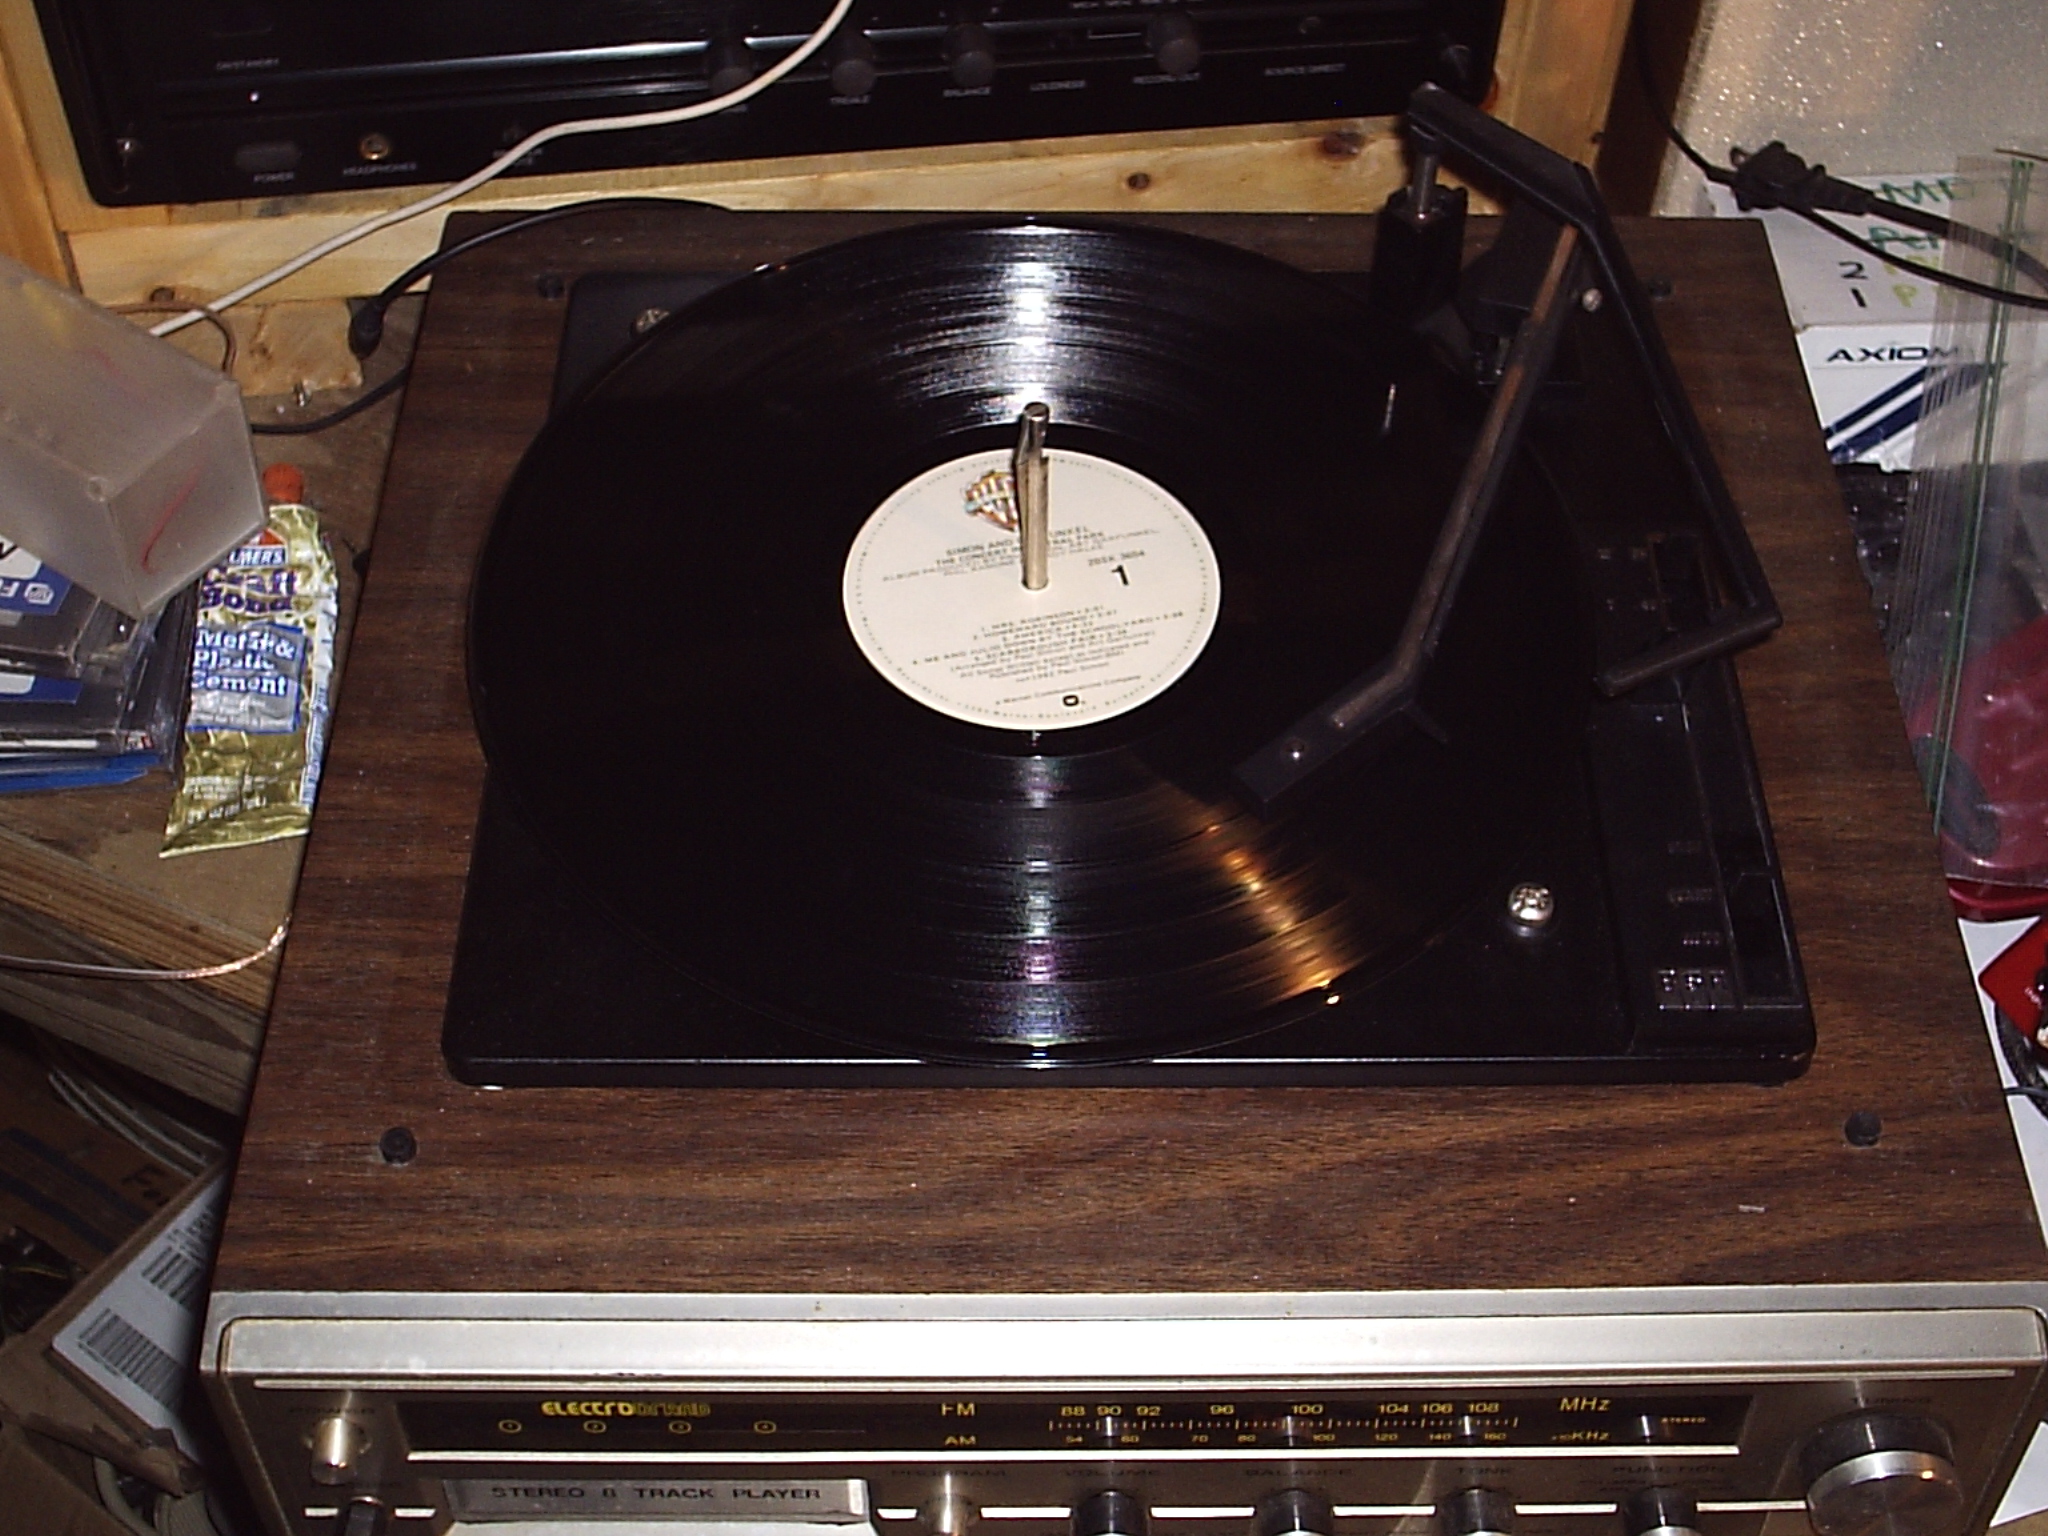
The first thing to do is to hook your turntable up to your computer. This is very easy, all you have to do is plug the cable from your computer in to the headphone jack on your turntable. You will probably need to use the 1/8 inch to 1/4 inch adapter.
Once you have your turntable hooked up you should start Audacity. Once you start Audacity you should see several buttons towards the top. These buttons control various functions, but the one that we are concerned with is the record button. This button has the standard red dot just like all record buttons. Click the record button and then immediately start your record. Make sure that you have your record at the right speed or your recording will sound like the chipmunks. Once your record is done playing (about thirty minutes on each side) press the stop button in Audacity. This will stop recording, you can then save or export your recording using the options in the file menu. If you are going to edit or do more with the track you have recorded than you should save it as a .aup file, do this by using the save as button. If you are done with your recorded track and want to be able to listen to it on your computer or MP3 player then you should use the export button and export it to an MP3 file format.
Removing Static
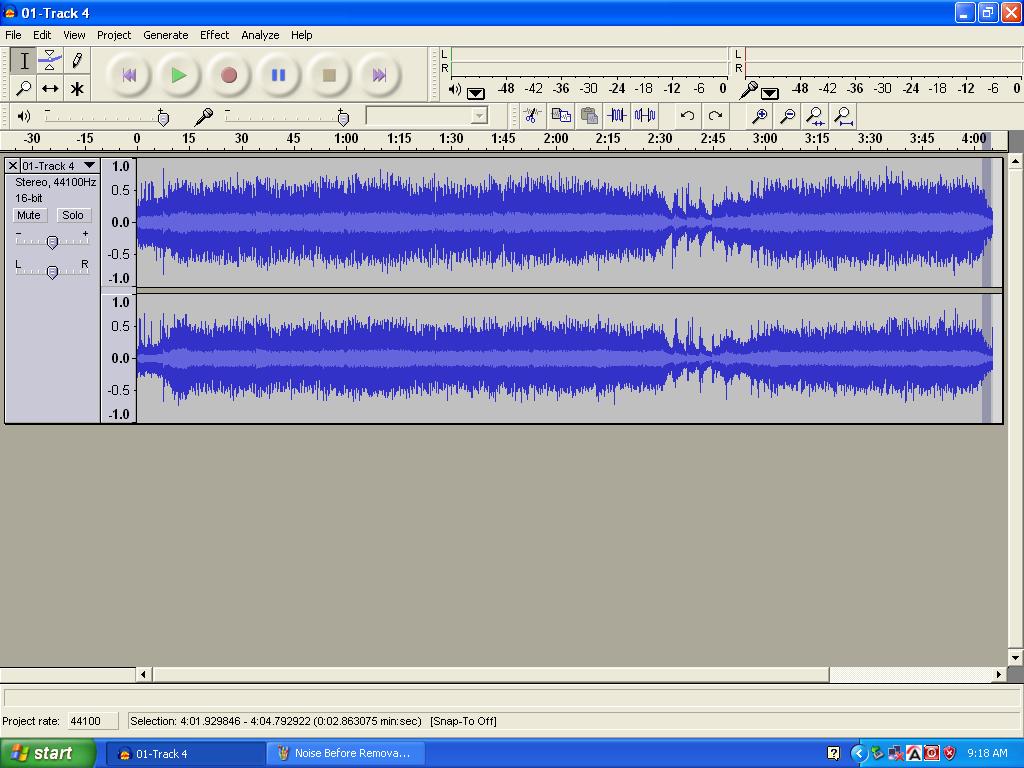
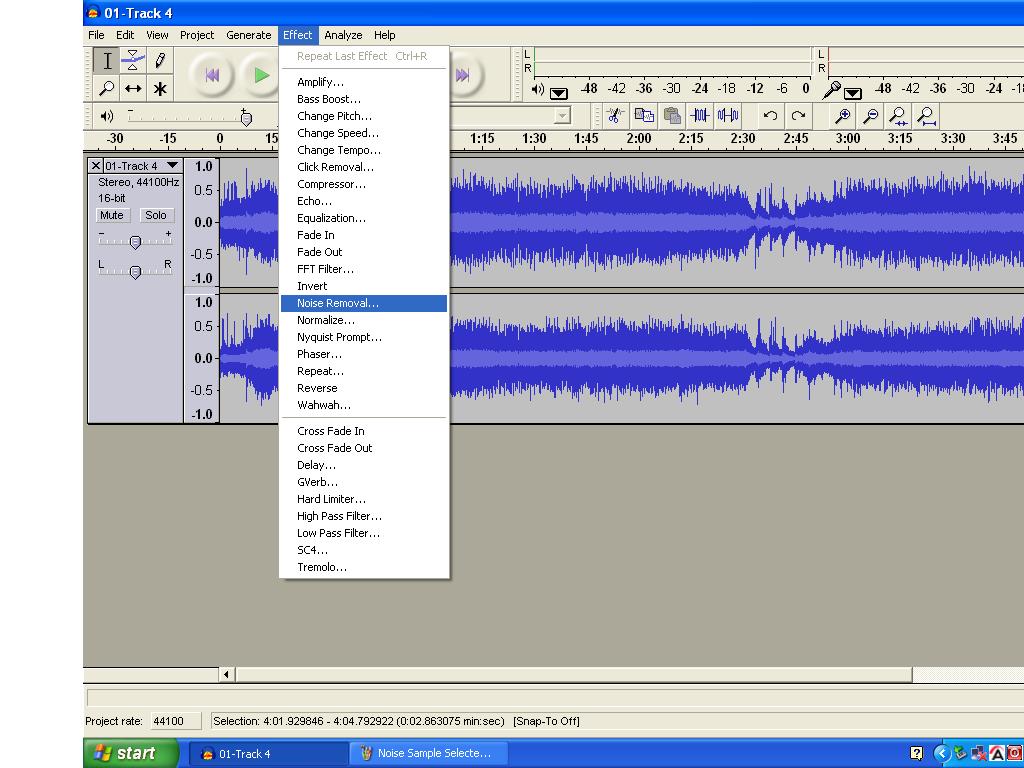
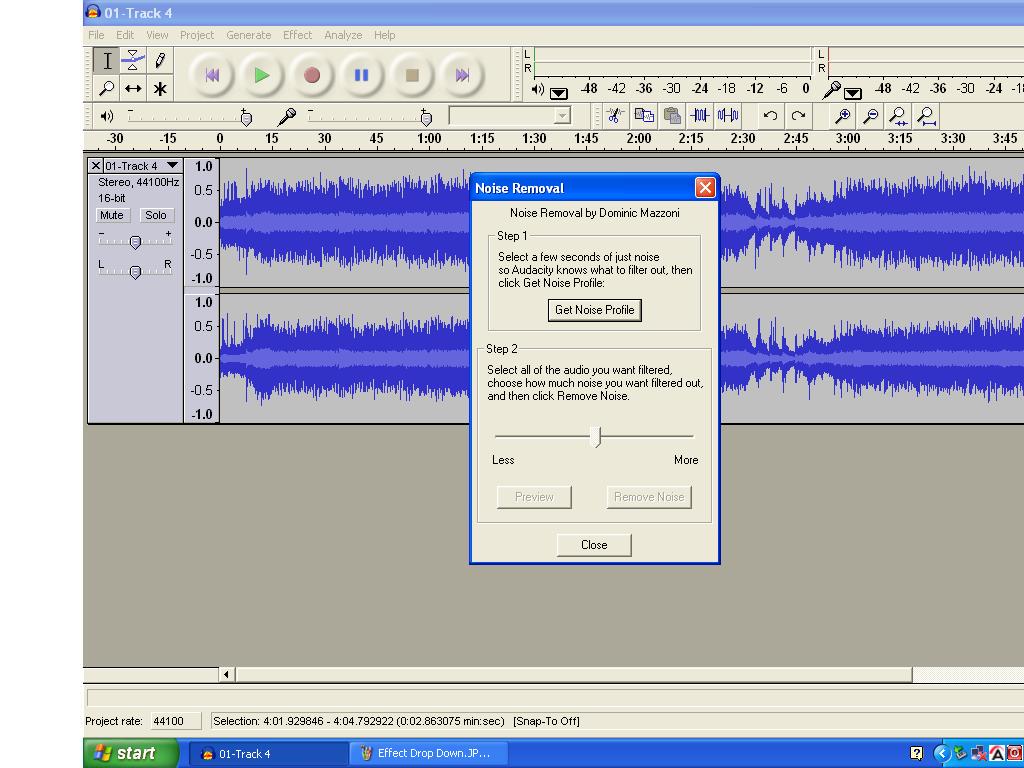
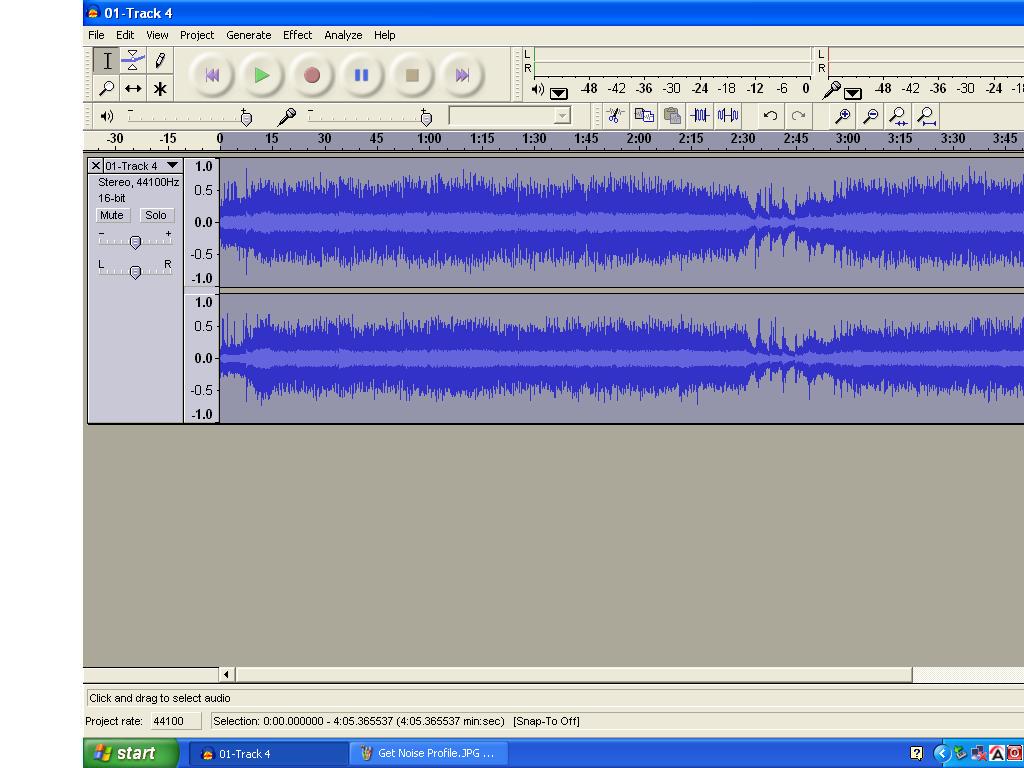
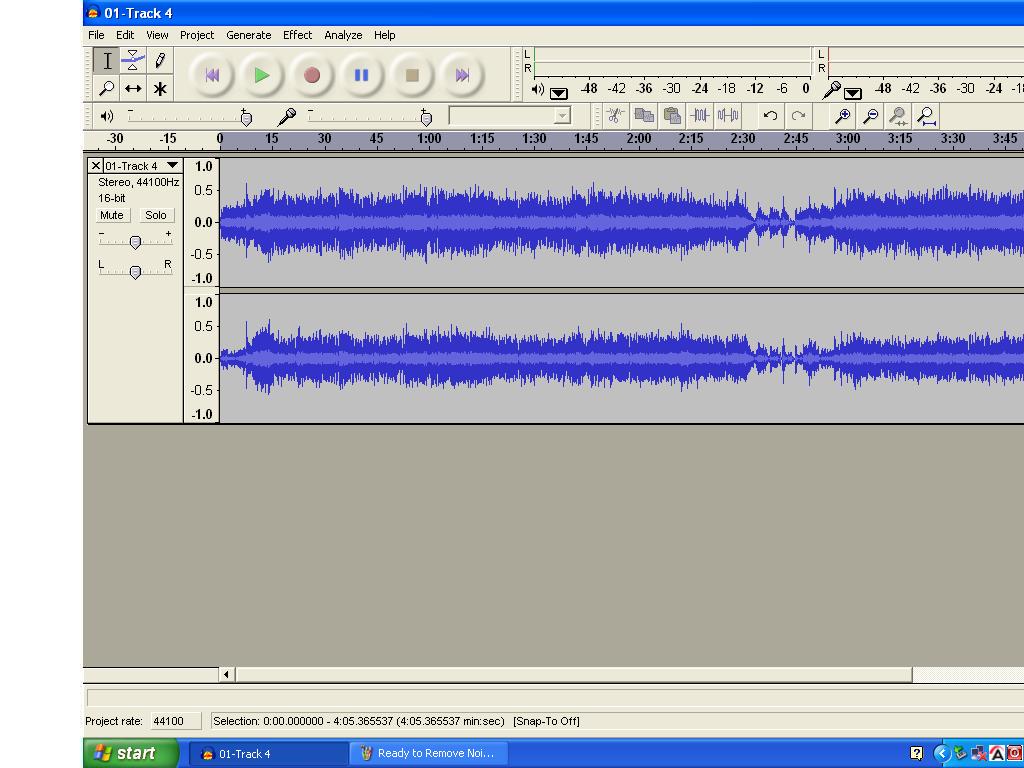
- Open Audacity and load the track that you want remove static from.
- Find a two or three second stretch that is just static. By this I mean a section that has no vocals or instruments just static. This part will almost always be at the beginning or end of the recorded track.
- Select this section with your cursor.
- Click on the "Effect" drop Down.
- About half-way down you should find "Noise Removal" click on it.
- A small window should pop up. After making sure you have your two or three second piece of just static selected, click on the button labelled noise profile.
- You will see a little window with a blue bar for a second and then it will go away and Audacity will look like nothing has happened. But things have happened, Audacity has figured out what static is on your track.
- Now select the amount of your track that you want to remove noise from.
- Once you have selected the part of your track that you want to remove noise from go back into the noise removal tool. Towards the bottom of the noise removal window you should see a slider bar that controls how much static Audacity removes from your track. Move the slider bar so that very little noise is being removed. If you try to remove to much noise it will mess up the track itself. Click the remove noise button and audacity will remove the static.
- I usually remove noise in small amounts many times. You may want to update the noise profile before each removal. If you remove to much and your audio sounds funny you can always use the "Edit>Undo" command.
Conclusion
If anyone has comments, suggestion, or criticism feel free to post it in the comments section.
If you think this is worthy then please cast me a vote in the shopbot challenge.
Enjoy