How to Read Temperature Data on Your Website?
by Bay Yolal in Circuits > Arduino
2251 Views, 13 Favorites, 0 Comments
How to Read Temperature Data on Your Website?
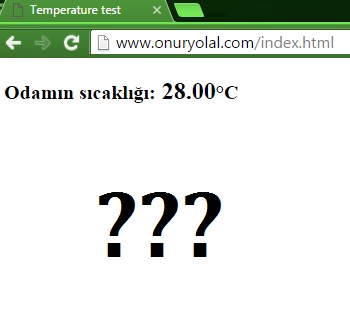
Today, I am going to show you how to read temperature data from DHT11 humidity and temperature sensor is attached to Arduino UNO which uses ethernet shield to send temperature data to your personal website! This sounds perfect! Let me measure my room's status to put this information directly to my personal website. Don't worry, I will tell you how to do all of these. Are you ready? GO!!!
The need list:
1. Your computer
2. Arduino UNO
3. USB type A to type B cable to attach your Arduino board to your computer's usb slot
4. Arduino ethernet shield
5. DHT11 temperature and humidity sensor
6. Tiny bread board
7. Tiny three cables
8. Ethernet cable (Long enough from your modem to your Arduino board
Bonus: If it is needed, external power supply for Arduino UNO (You may use 9V battery with adapter pin)
Develop Your Software
1. Download Arduino IDE from arduino's website.
2. Install Arduino IDE on your computer
3. Check the attachment from this step's files, name is arduino_code.ino.txt download it and copy&paste the codes onto Arduino IDE's page
NOTE: The extention name ino is a kind of program for your Arduino board. When you double clicked on it, Arduino IDE opens. Also you can open Arduino IDE at first, then open txt file to copy all codes onto your Arduino IDE's screen. Arduino IDE is for compiling your codes in order to upload your codes to Arduino boards.
4. On Arduino IDE >> Tools >> Boards >> select Arduino/Genuino UNO
5. On Arduino IDE >> Port >> Your Arduino board's COM number (Also there will be Arduino board name)
NOTE: If there is no port, you need to plug in your Arduino board to your computer. Wait for next step please.
6. Click on verify button on Arduino IDE to detect any errors so far.
7. If there are some libraries are missed, check four library attachments, if needed, on this step then download necessary libraries to your computer >> copy necessary libraries into C:\Users\**yourPCname**\Documents\Arduino\libraries folder
8. Click on verify button on Arduino IDE to detect errors from below panel on Arduino IDE to understand what was the problem.
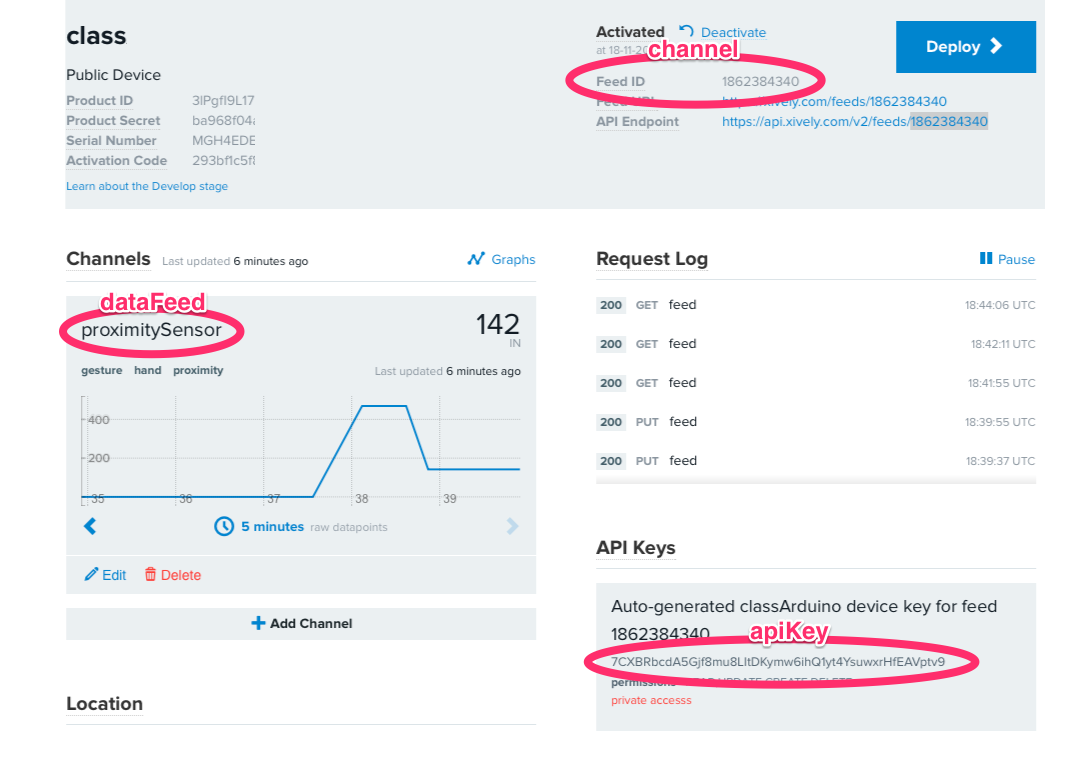
9. Go to Xively.com and take an account. After you finished, go to https://personal.xively.com/ to login.
10. On that page >> Add Device >> Input Device Name, Device Description, select public device >> FEED ID is needed and API Keys is needed.
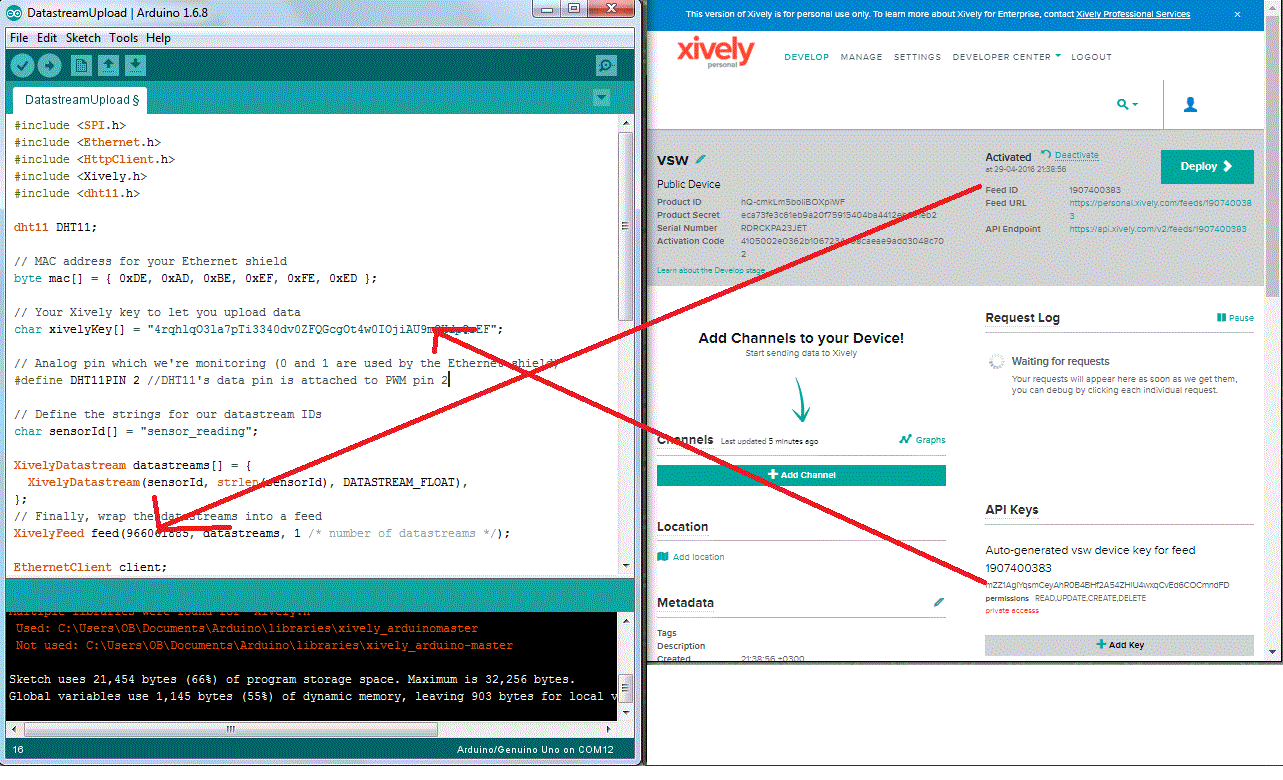
11. Change Feed ID in your Arduino codes with yours. (Check the picture is attached on this step)
12. Change API Keys in your Arduino codes with yours. (Check the picture is attached on this step)
Prepare Your Hardware
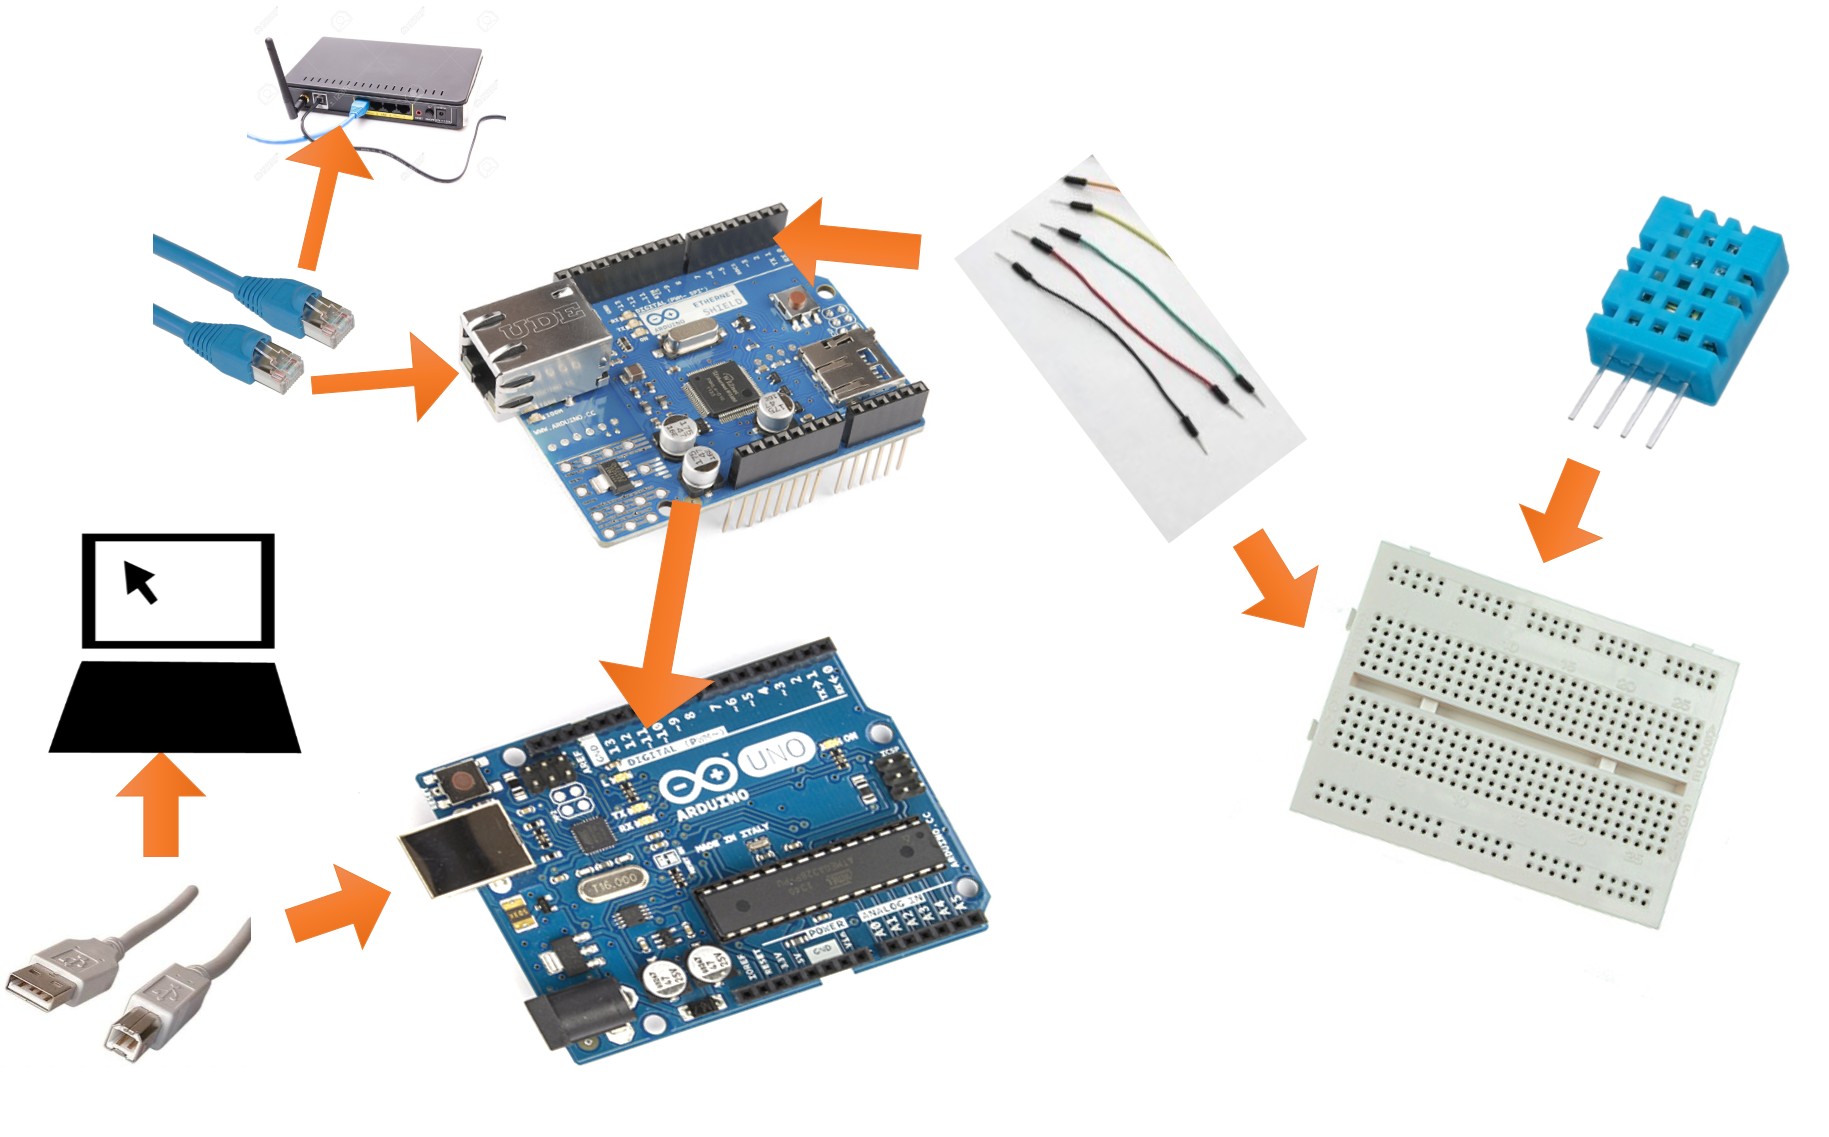
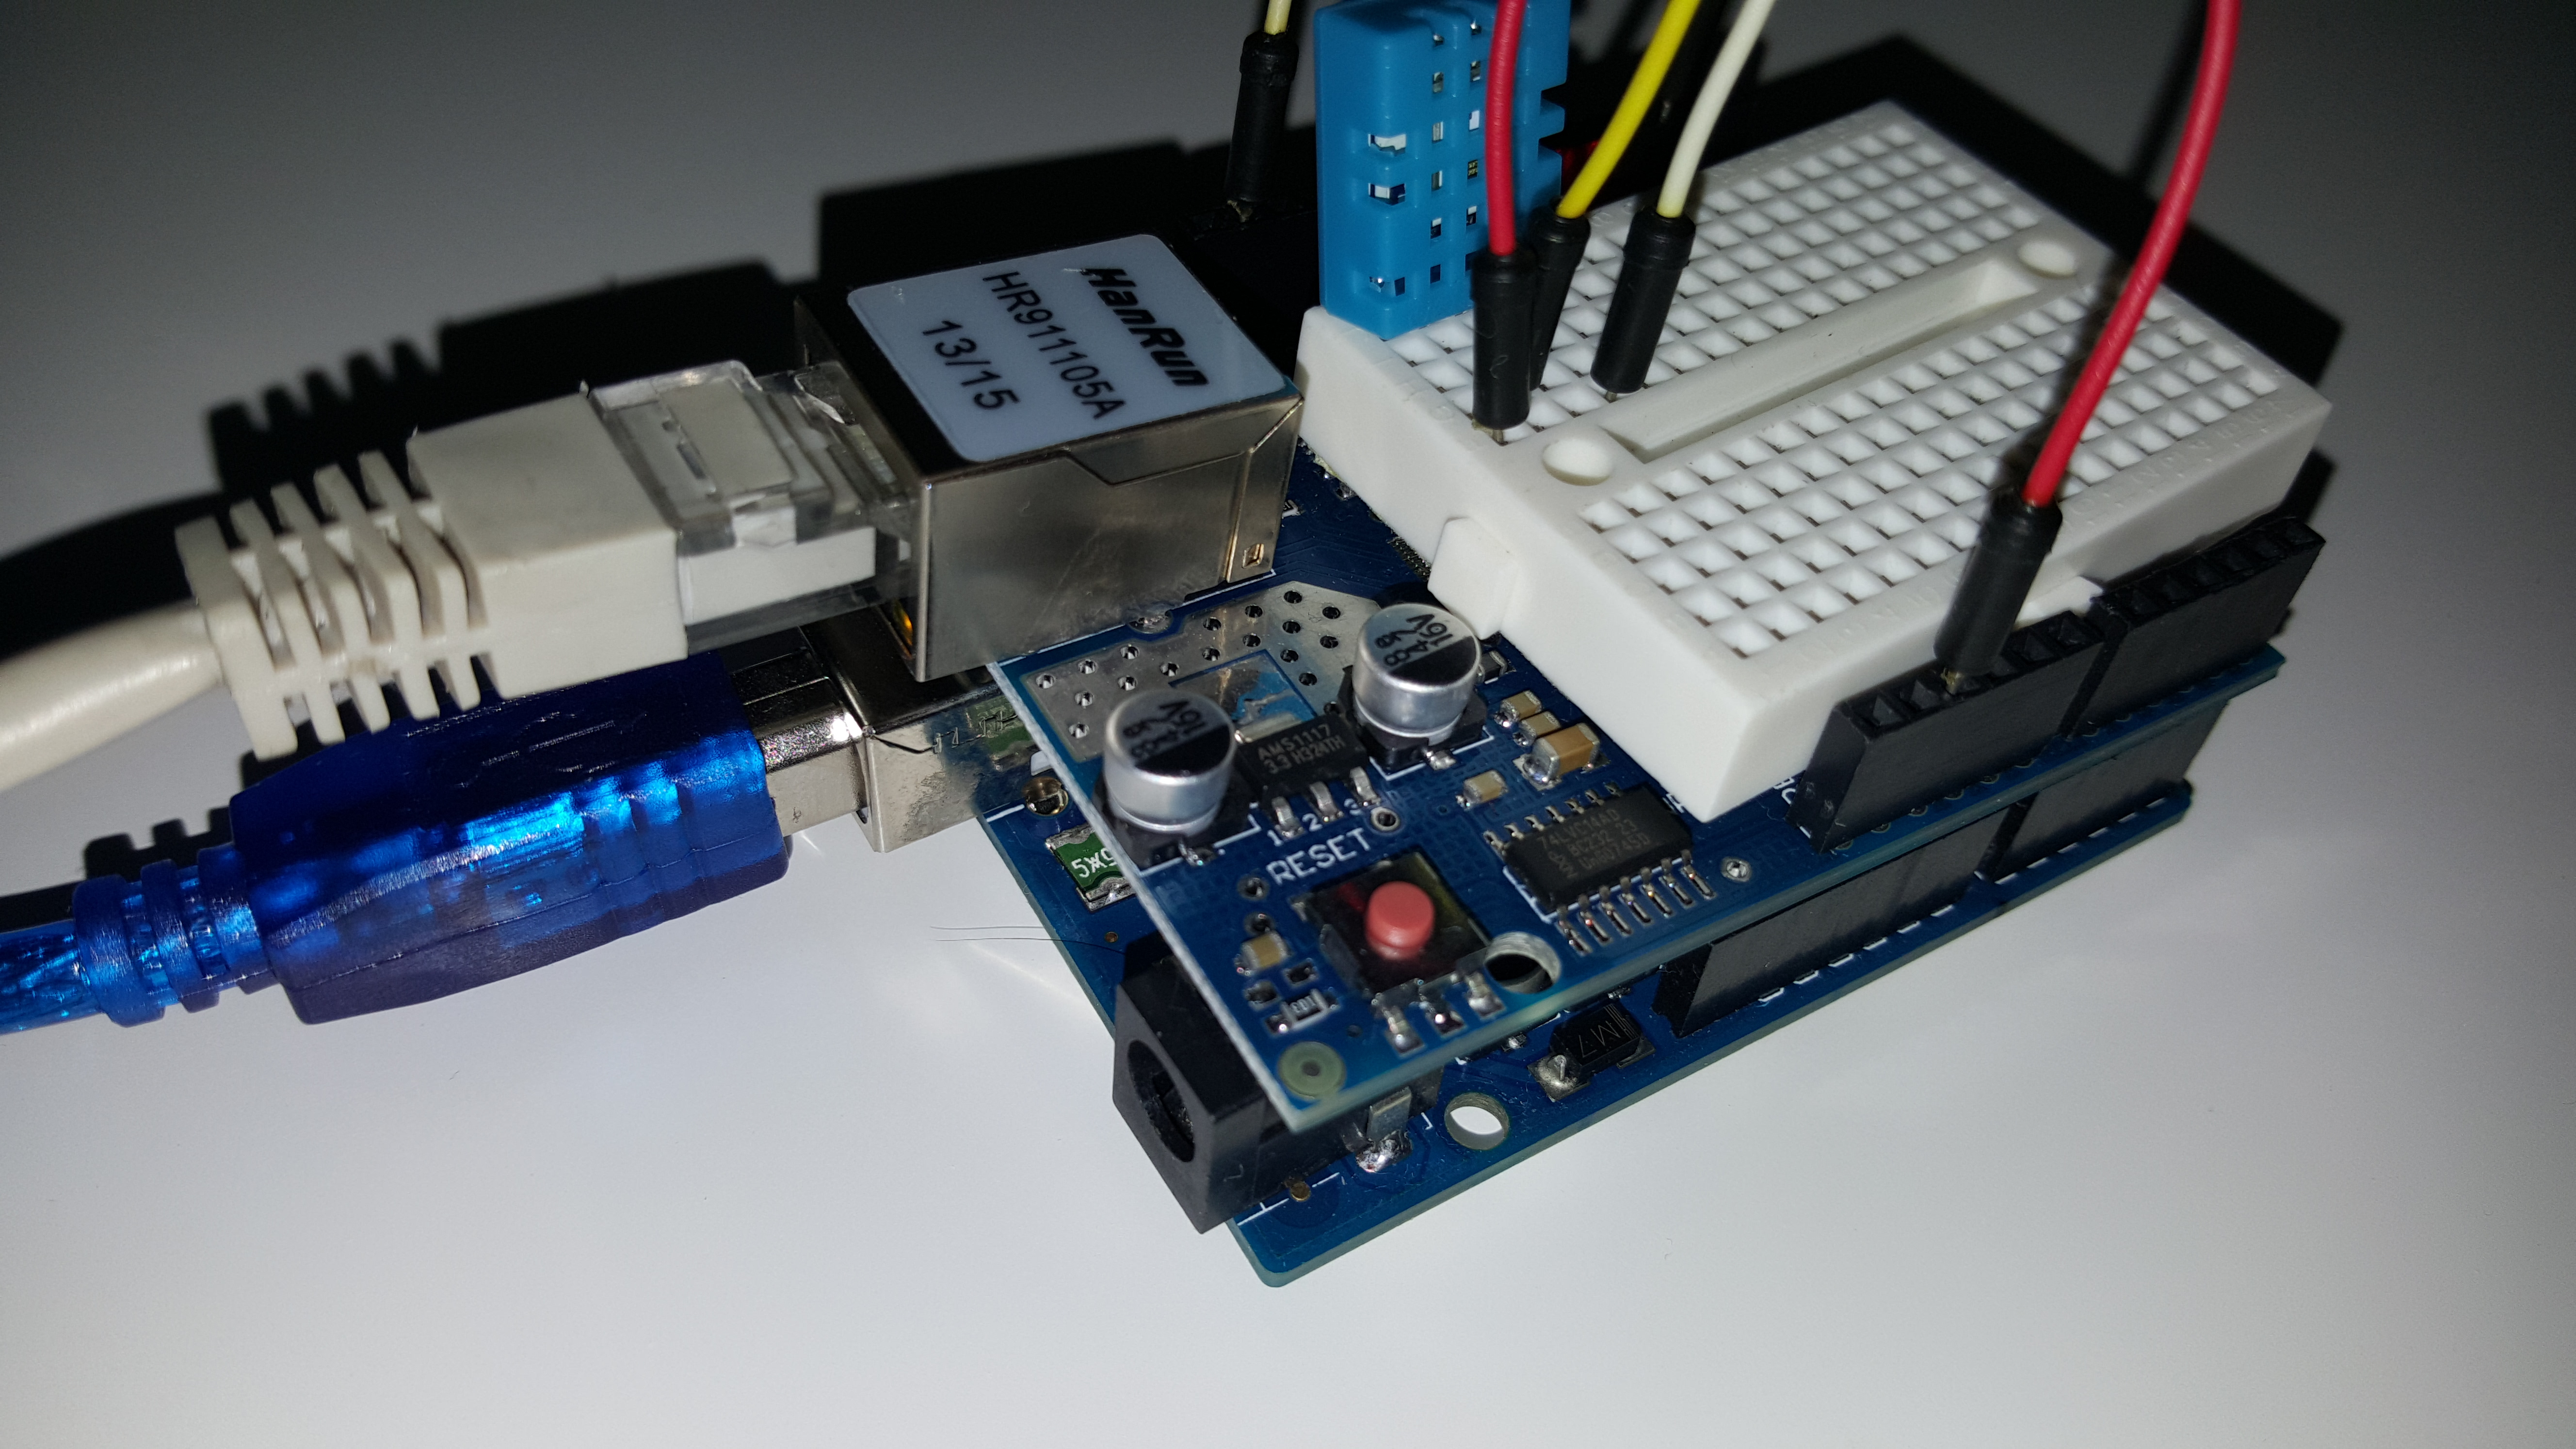
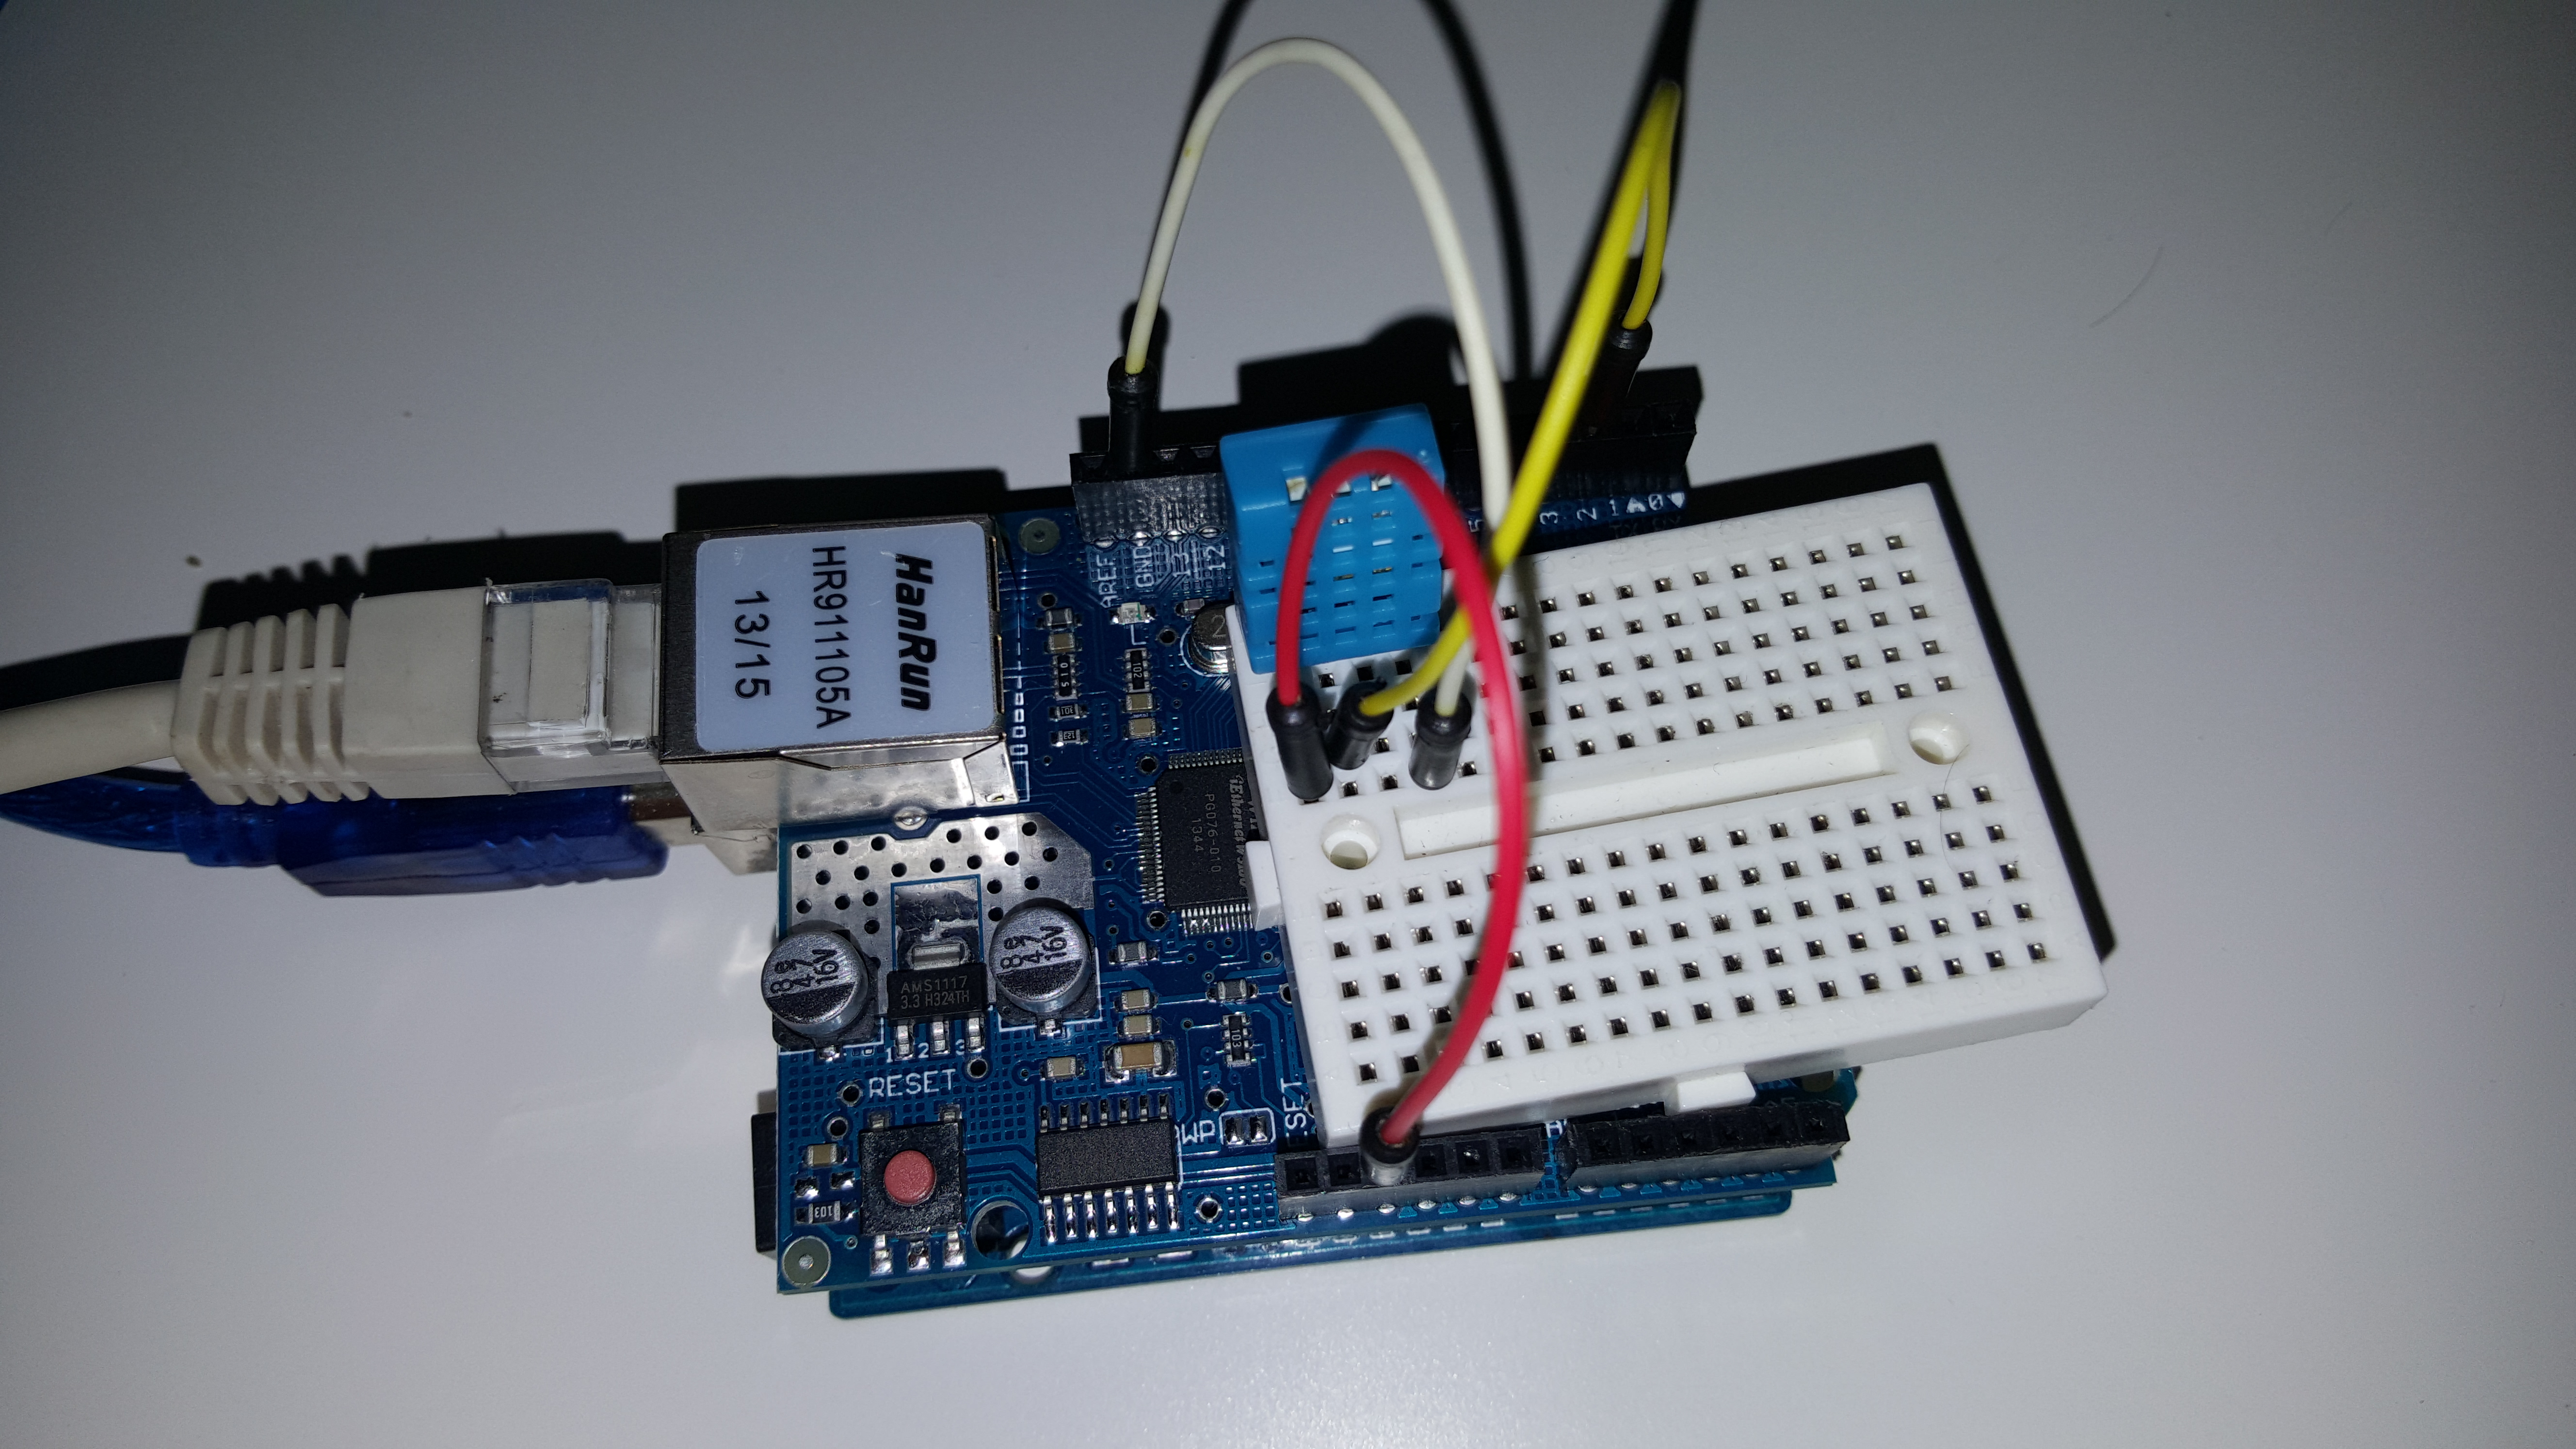
1. Put usb type b cable to Arduino UNO board,
2. Input ethernet shield onto Arduino UNO board.
3. Input ethernet cable's one way to ethernet shield
4. Input DHT11 sensor to tiny bread board
5. Put tiny cables into tiny bread board where DHT11's pins are attached. (Check the picture)
DHT11 pin 1 = 5V Arduino
DHT11 pin 2 = Pin 2 (pwm) Arduino
DHT11 pin 4 = GND Arduino
Note: DHT11's pin 3 is no needed. The sentences on DHT11's side is back, turn it, the left pin is number one = pin 1.
6. Put other sides of tiny cables to 5V, GND, PWM pin 2 of Arduino side, use ethernet shield's pins as the same with Arduino UNO board.
7. Insert ethernet cable's other pin to your modem's one of LAN port.
8. Put usb type a cable to your computer.
Note: Check the schematic diagram to follow the connections. (Check the picture)
Get a Personal Website
There are a lot of option to buy domain and hosting. Domain is your website's name generally ends .com .org and .net; hosting is a term used for your domain's file's holding side. You put your html files to your hosting (server) you access your website to see server's files to get rendered to understand a web page.
You can take this service from any Domain/Hosting service providers. You can open your personal website. I did this in 2011. The domain name should be unique and no one could take again with the same extention.
Now, I am using my personal website to put temperature value. To do this, your service provider should give you FTP (File transfer protocol) username and password to access httpdocs folder to modify index.html website.
1. Go to your FTP account and login with username and password.
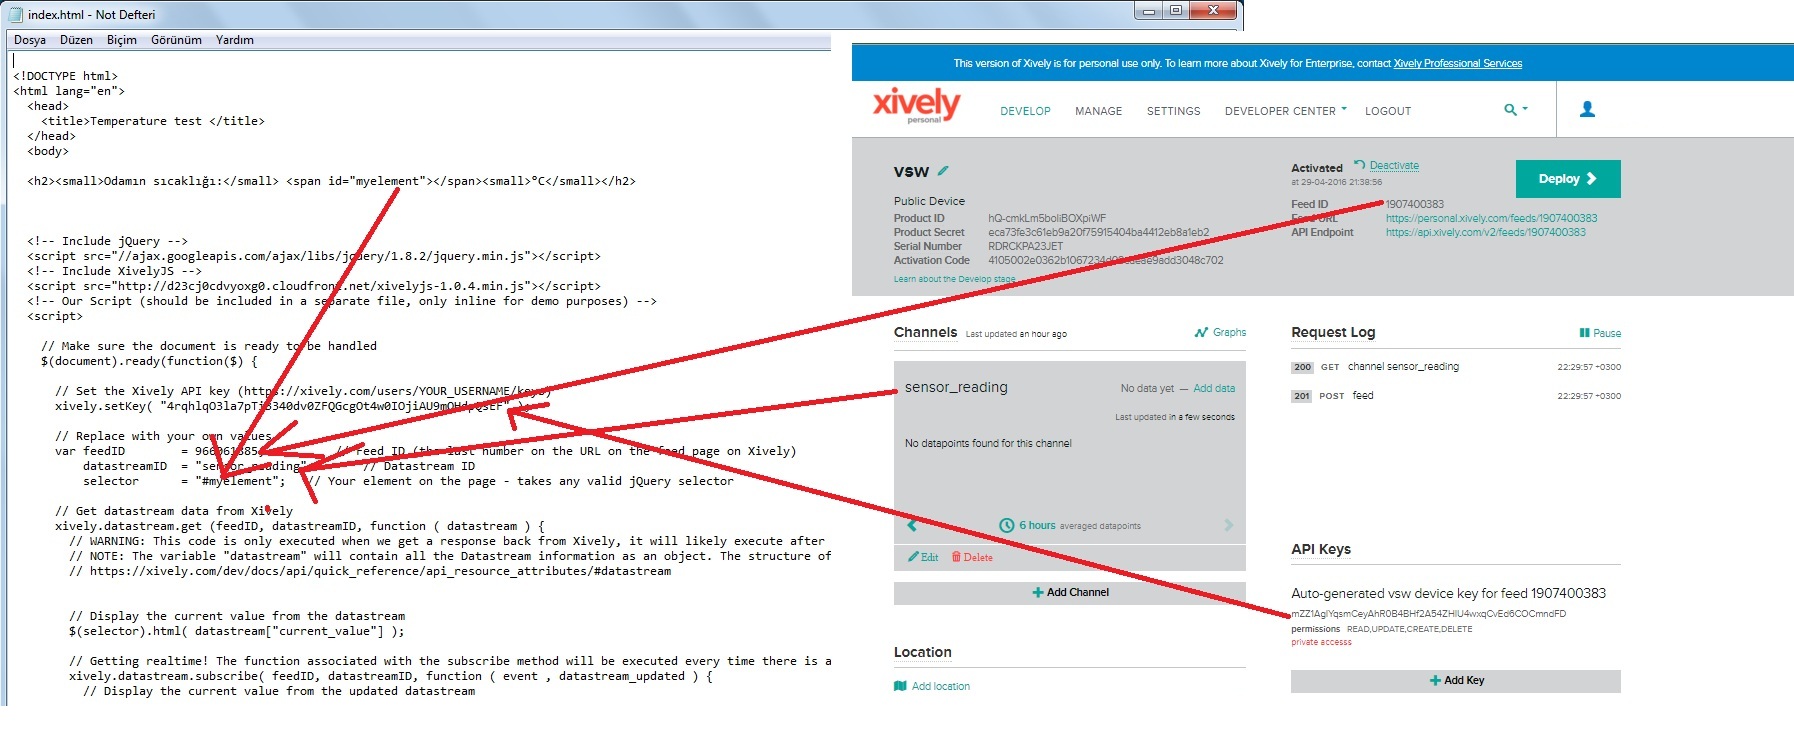
2. Modify index.html file with notepad which I attached on this step's attachment, as you got API Keys and FEED ID, use these and modify your HTML page.
3. When you changed 4 parameters on HTML page, move this index.html file to your FTP
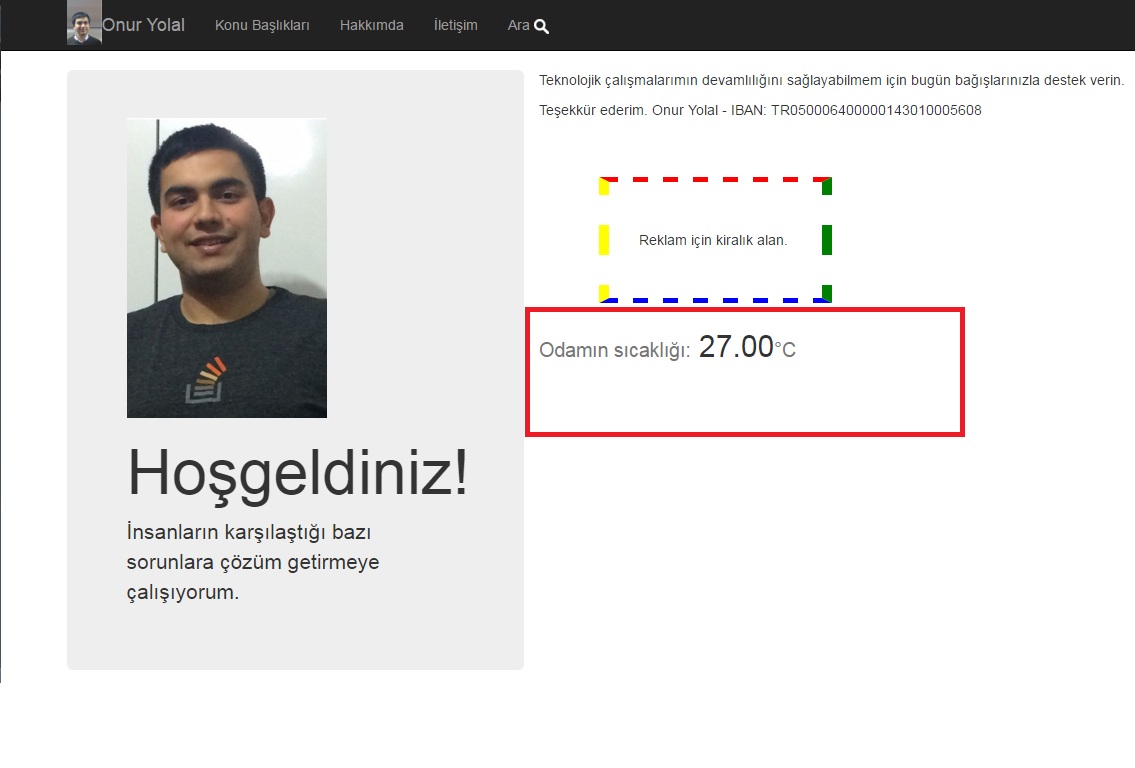
4. Go to your website and check the DHT11's temperature value.
For demo, visit my website and learn what the temperature in my room is :)
Downloads
Notes
onuryolal.com1. There is float value 27.00°C indicating, but I couldn't change it as integer 27°C to see as integer.
2. Xively.com's service is for personal usage, if you want to use for other purposes, you need to buy commercial account.
3. There are a lot of different boards to do this job instead of using ethernet cables, but I wanted to use this to learn.
4. You may use DHT33 or DHT22 instead of DHT11
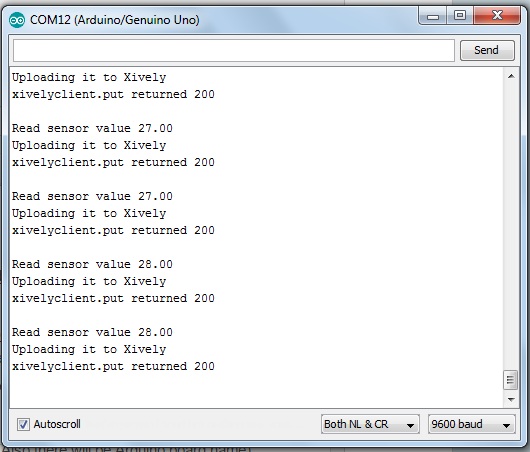
5. While system is running the serial monitor is like in the picture, check it.
6. Anytime you can update the value by changing delay() time on Arduino code.
7. You can see my room's temperature 7/24 online by visiting onuryolal.com !
.
That's all !
BONUS: Reading This Instructable
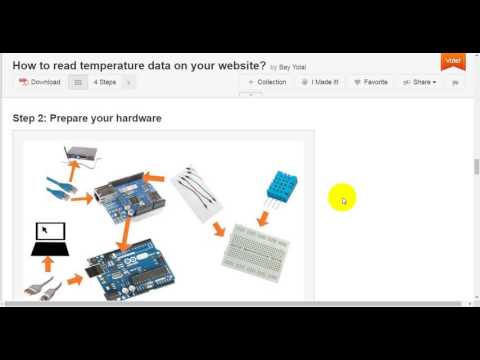
NOTE: This instructable's step is aimed for visually impaired people to hear the sentences to learn what's going on here. Watch the video, it explains all steps.