How to Re-bead a Tire

The materials needed to re-bead a tire include 1 can of starting fluid, penetrating oil, a lighter, a jack, a socket set, a breaker bar, an impact wrench, a tire tester, and an air compressor.
Step 1

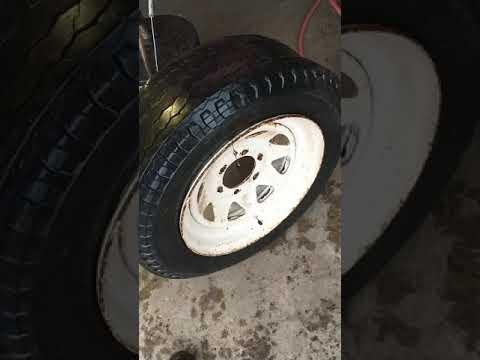
Position the jack under the axle of the flat tire and take tire off. To do this, first find a socket that fits the lug nuts and go around the wheel and get them all loose. Then use the impact wrench to take them all off and remove the tire. Lay the tire on a flat surface, away from flammable objects, and remove the valve stem cover.
Step 2
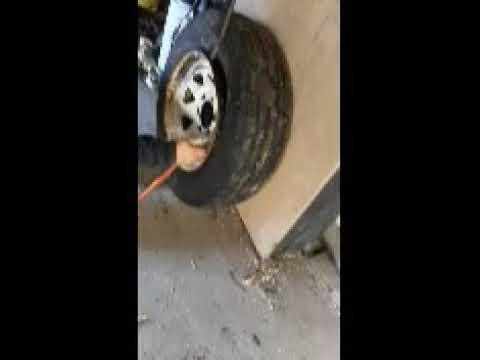
Spray starting fluid into the bead edge around the tire. Attach air hose to the valve stem and slowly pump air into the tire while you carefully light the starting fluid with the lighter. The quick explosion will set the bead between the edge of the tire and the rim instantly. Quickly fill the tire with air and replace the valve stem cover. Use a tire tester to make sure you don’t over or under-fill the tire. Carry the tire back to the vehicle, be careful because the rim might still be hot.
Step 3

While the rim is cooling off, spray lug nuts with penetrating oil so they thread on easier.
Step 4

Put the tire back on the vehicle and match the holes on the rim to studs on the axle. Lightly tighten the lug nuts before releasing the jack and lowing the vehicle to the ground.
Step 5

Use the impact wrench to go around in a crisscross pattern again to tighten all the lug nuts. After the lug nuts are on, and the vehicle is lowered to the ground, use the tire tester again to check the pressure. Check all the lug nuts to make sure they are all on straight and are tight. Check to make sure the valve stem cover is on tight. Check the bead to make sure that it held and inspect the tire to make sure it is not damaged and is safe to drive on.