How to Quill a BUTTERFLY | Design Your Own Butterfly Quilling Pattern
4236 Views, 52 Favorites, 0 Comments
How to Quill a BUTTERFLY | Design Your Own Butterfly Quilling Pattern
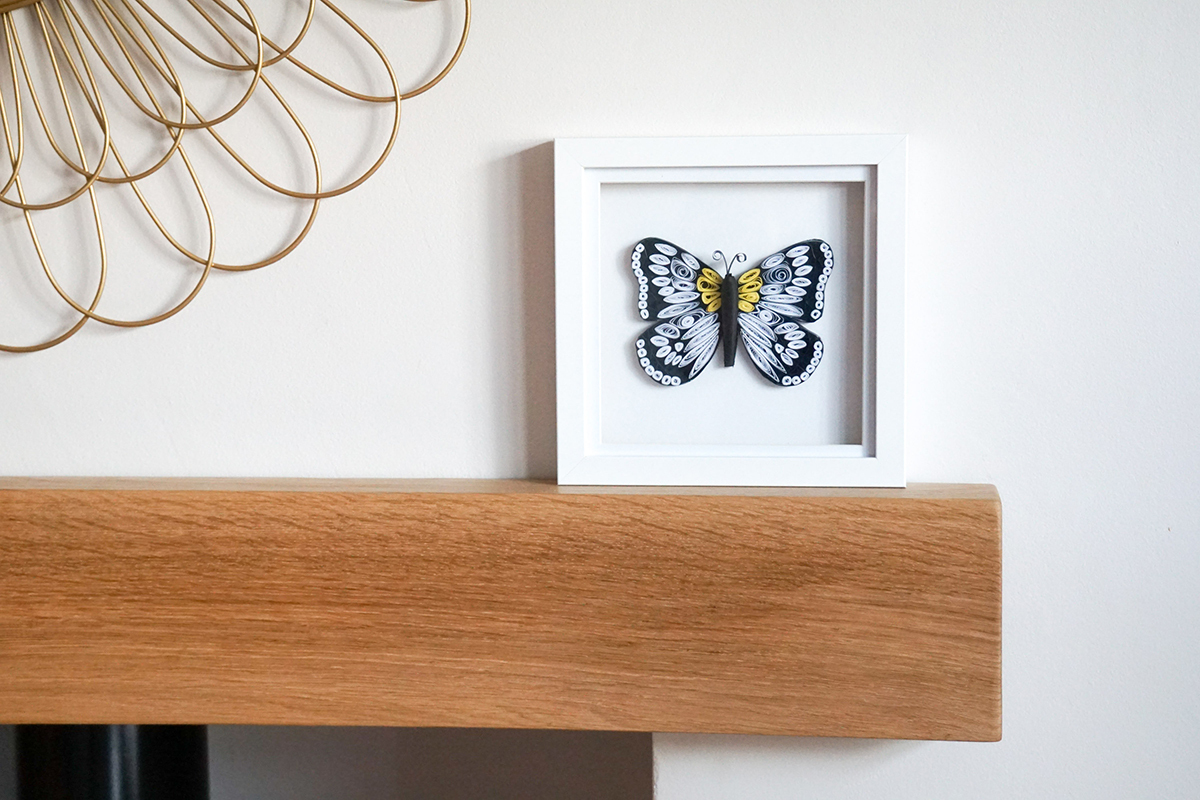
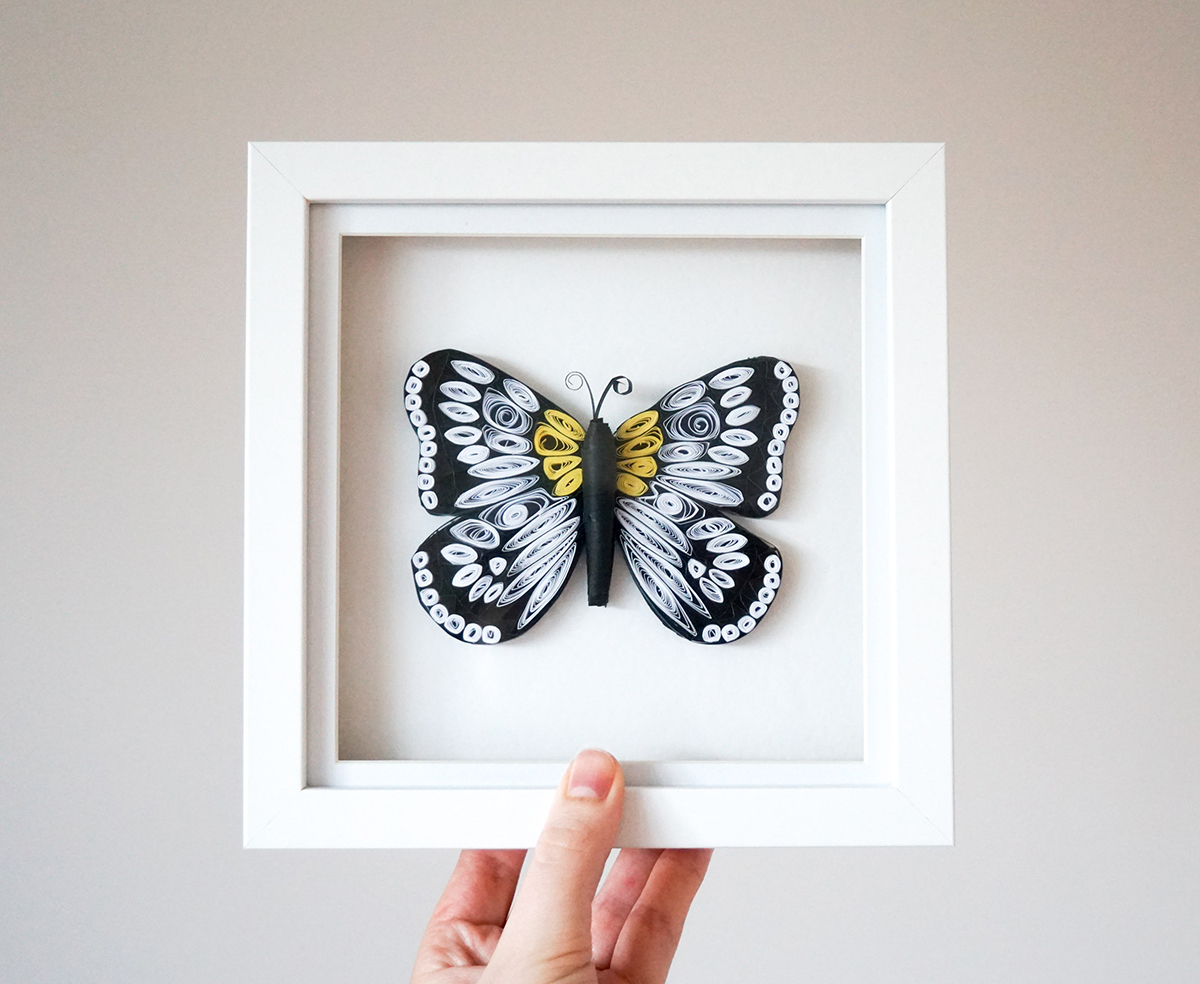

I've seen some beautiful papercrafts dotted around the internet, and I particularly like seeing intricate quilled art. So I thought I would try and not only quill a butterfly, but start from scratch and design my own pattern...and teach you how to do that as well!
I hope you enjoy my Instructable :)
Supplies
- Paper strips; I used 5mm pre-bought black and yellow quilling strips, and I made my own white strips from A4 white printer paper.
- A4 pieces of paper; a few white, and one black
- X-acto knife & cutting mat; you'll need these if you need to make your own paper strips, or need to cut other pieces out.
- Shadow box; or another means of displaying your work
- Card; I used 2 small pieces of thin card - one white and one black.
- Cork block (or cork memo board/piece of foam) & pins (optional)
- Printed-out template (see above); I printed the butterfly so that it measured 11.75 cm across at the widest point
- Pencil
- Ruler
- Scissors
- Quilling tools; slotted tool, quilling needle, and tweezers
- Glue; I used PVA glue
Start Designing Your Butterfly
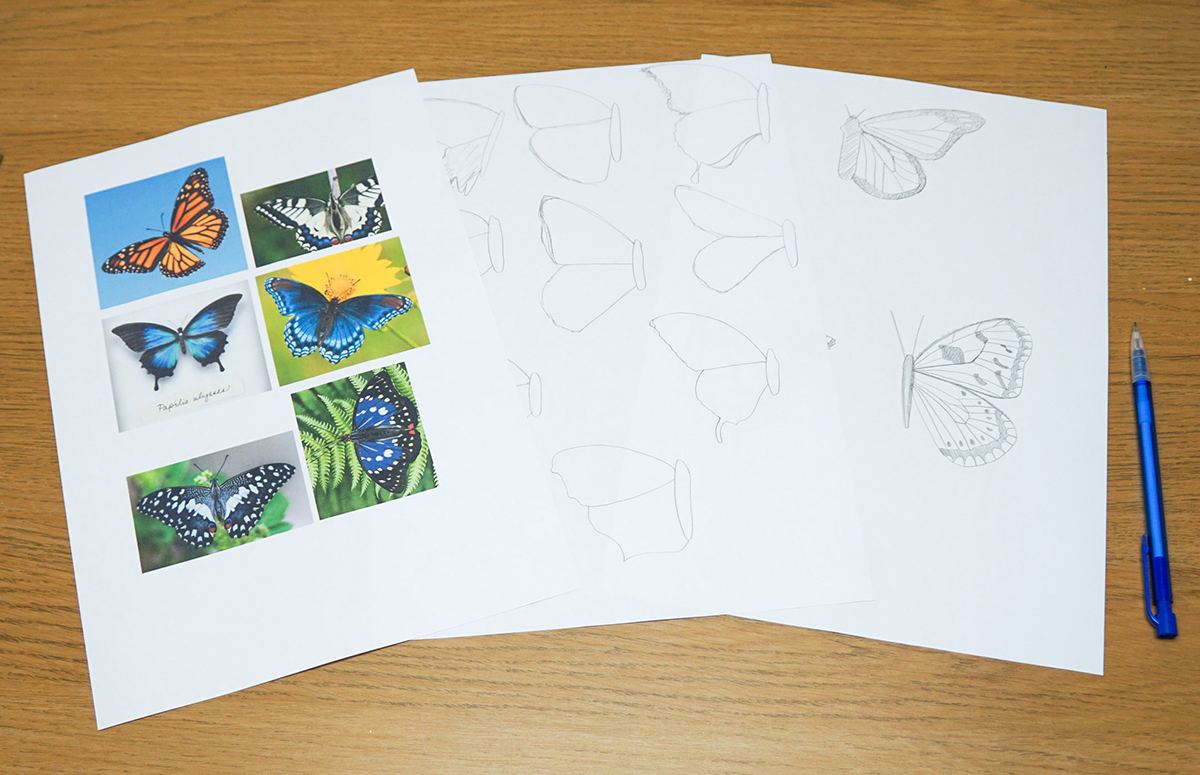
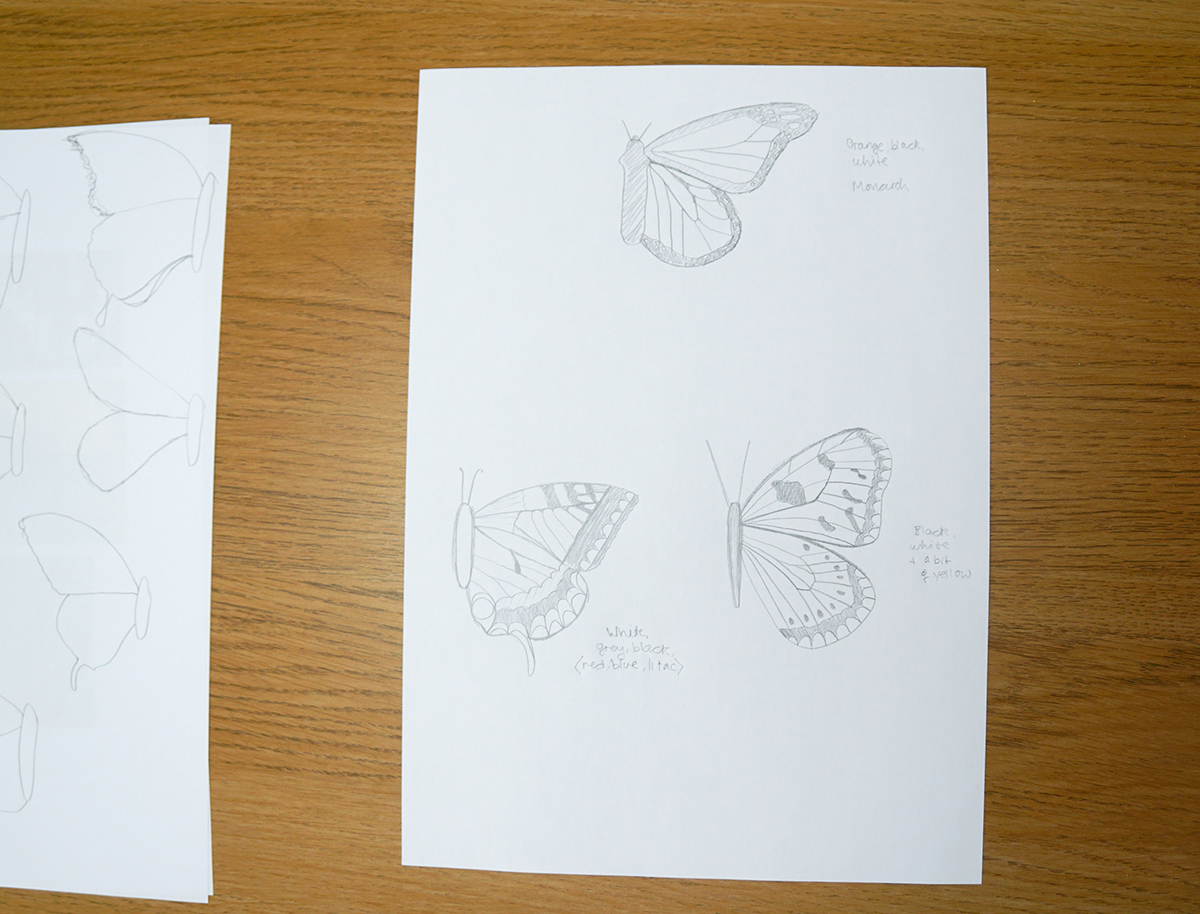
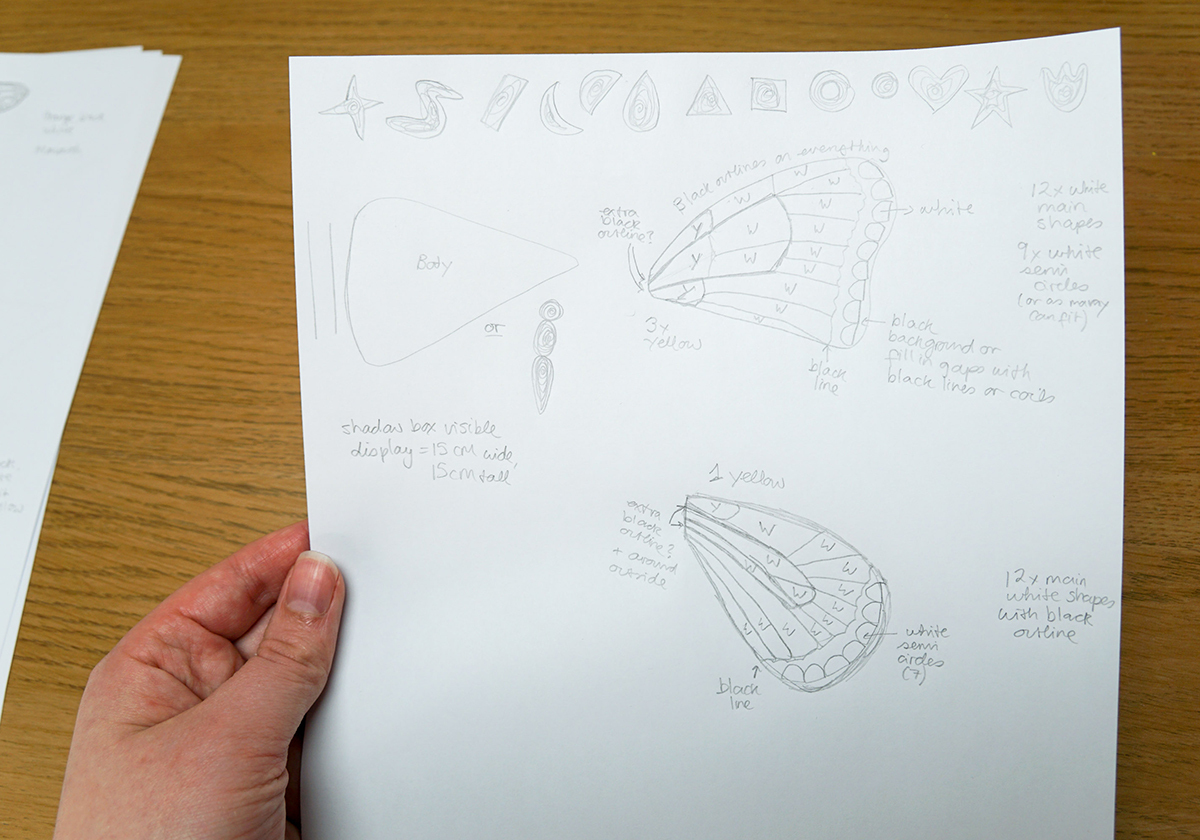
If you'd like to just use my template to quill a butterfly, feel free to do so and skip to step 3!
Otherwise, you'll need to gather some inspiration for your design first. I used Google images and Pinterest to find photos of butterflies and I gathered my favourites in a Word document. I printed a range of them out too.
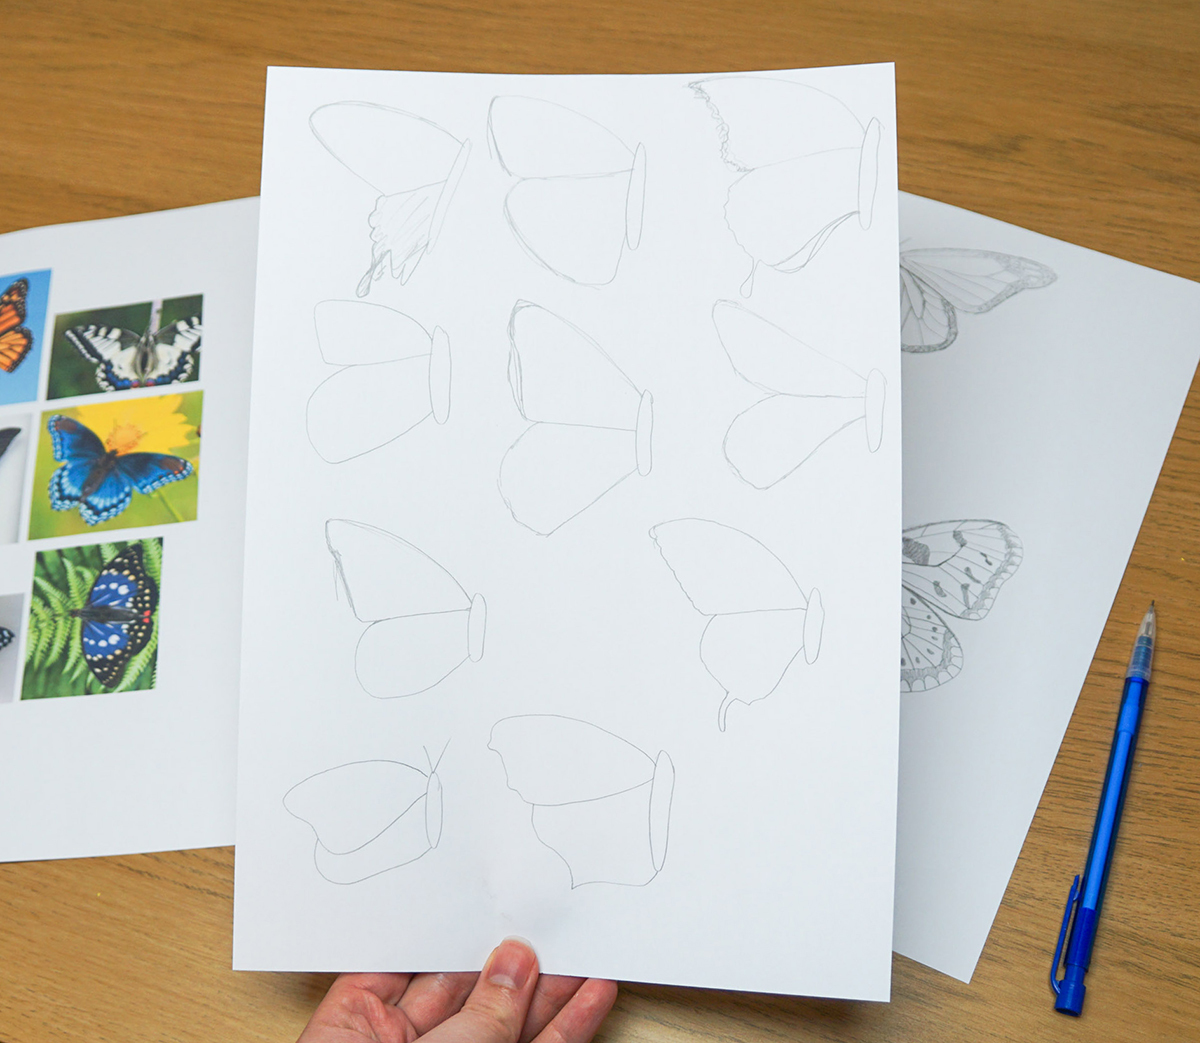
I would then recommend sketching out some a range of butterfly outlines. This will get you used to drawing butterflies, and will allow you to properly see the range of shapes there are....the silhouette of your design is very important to the overall look of the project.
Choose your favourite butterflies to move forward with.
I chose my favourite 3 butterflies, and proceeded to sketch 1 wing of each of them in more detail. Particularly focus on how the wings are split up into different segments and colours. The easiest ones to make into a quilled design are ones with distinct segments.
Then choose the one you want to use going forward. I chose the butterfly at the bottom right of my page, which featured 3 different colours and many segments. You can simplify the design however much you like; you don't have to use every colour accurately, or quill every single segment for instance.
Create the Template
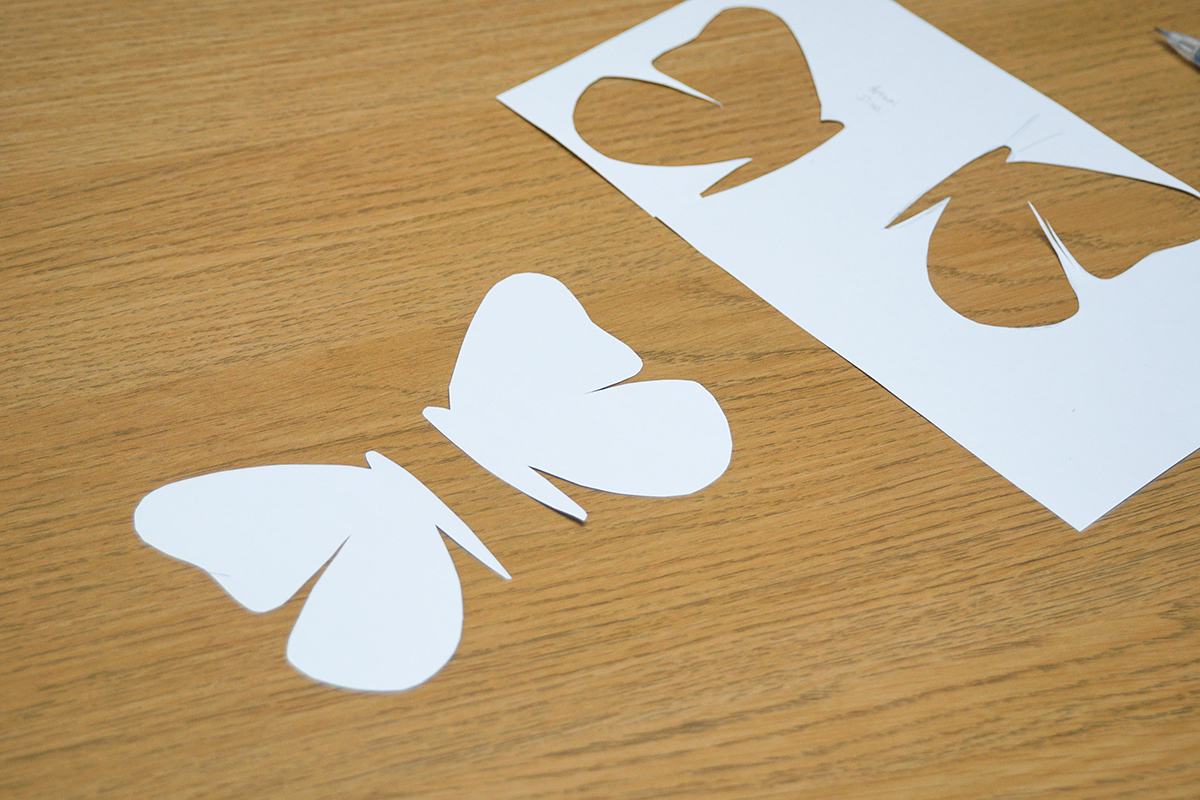
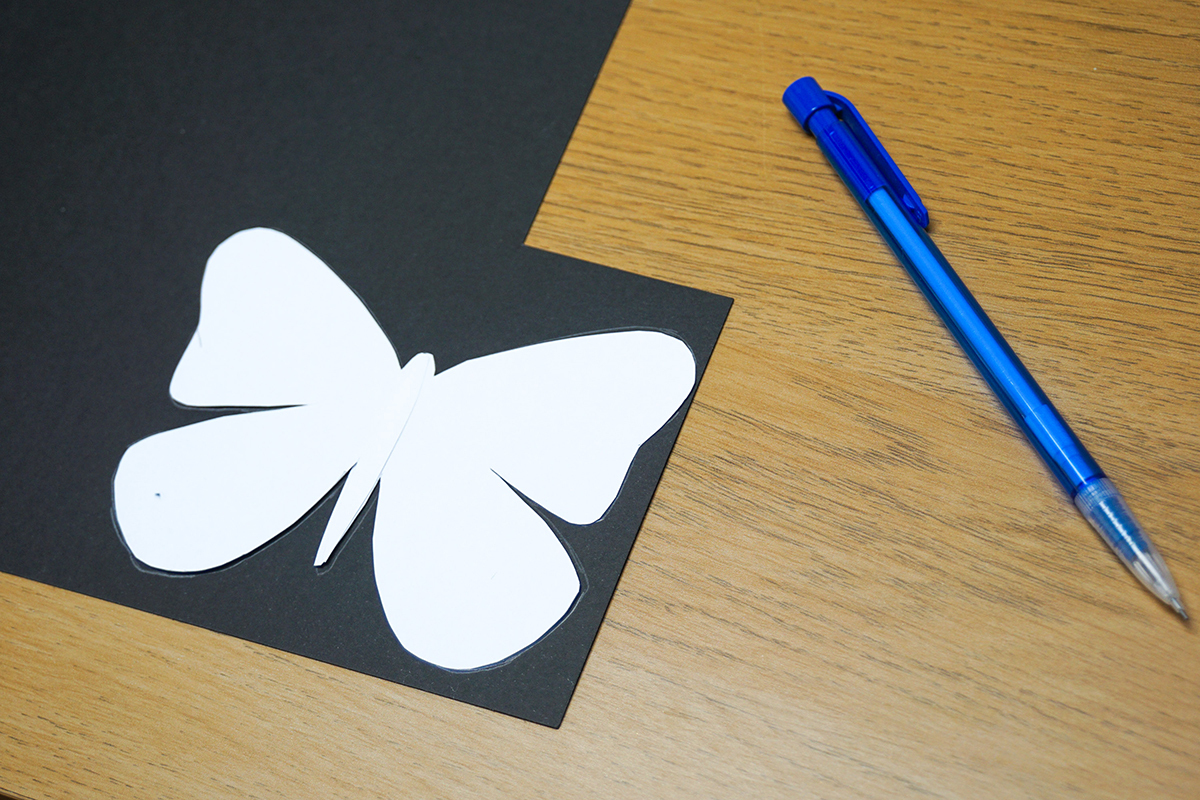
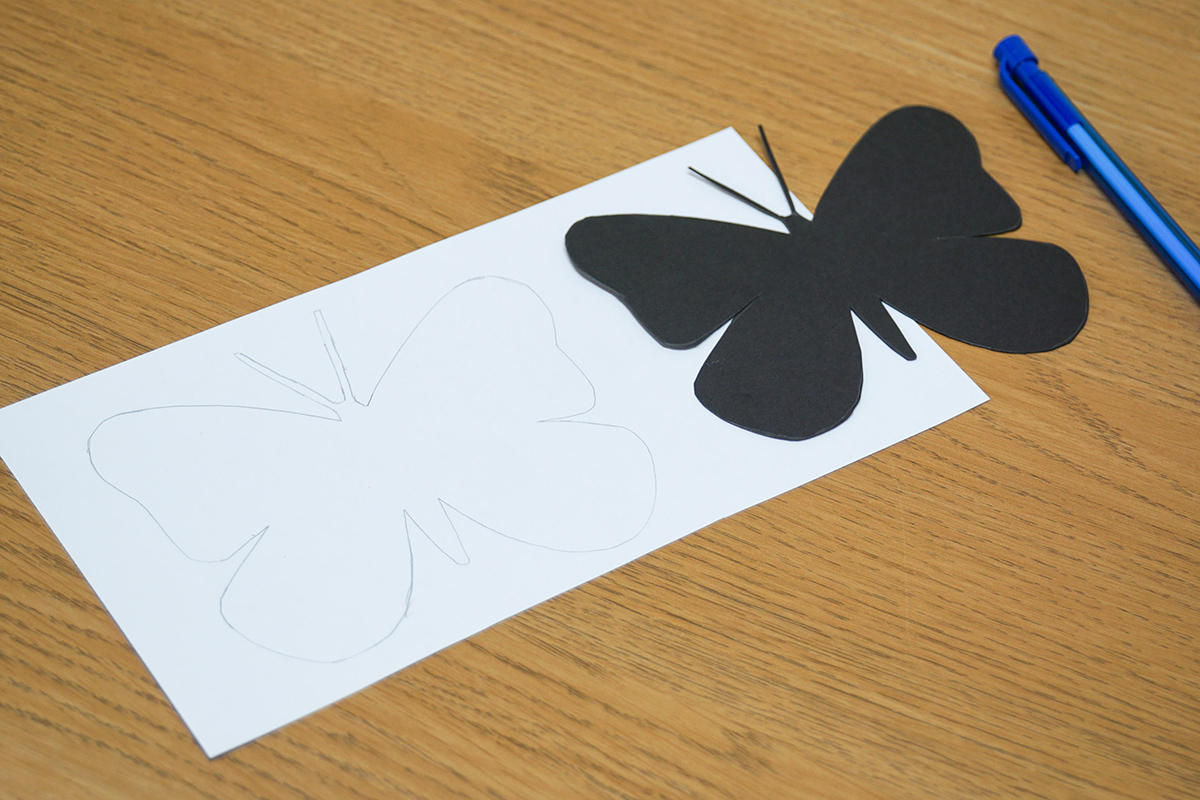
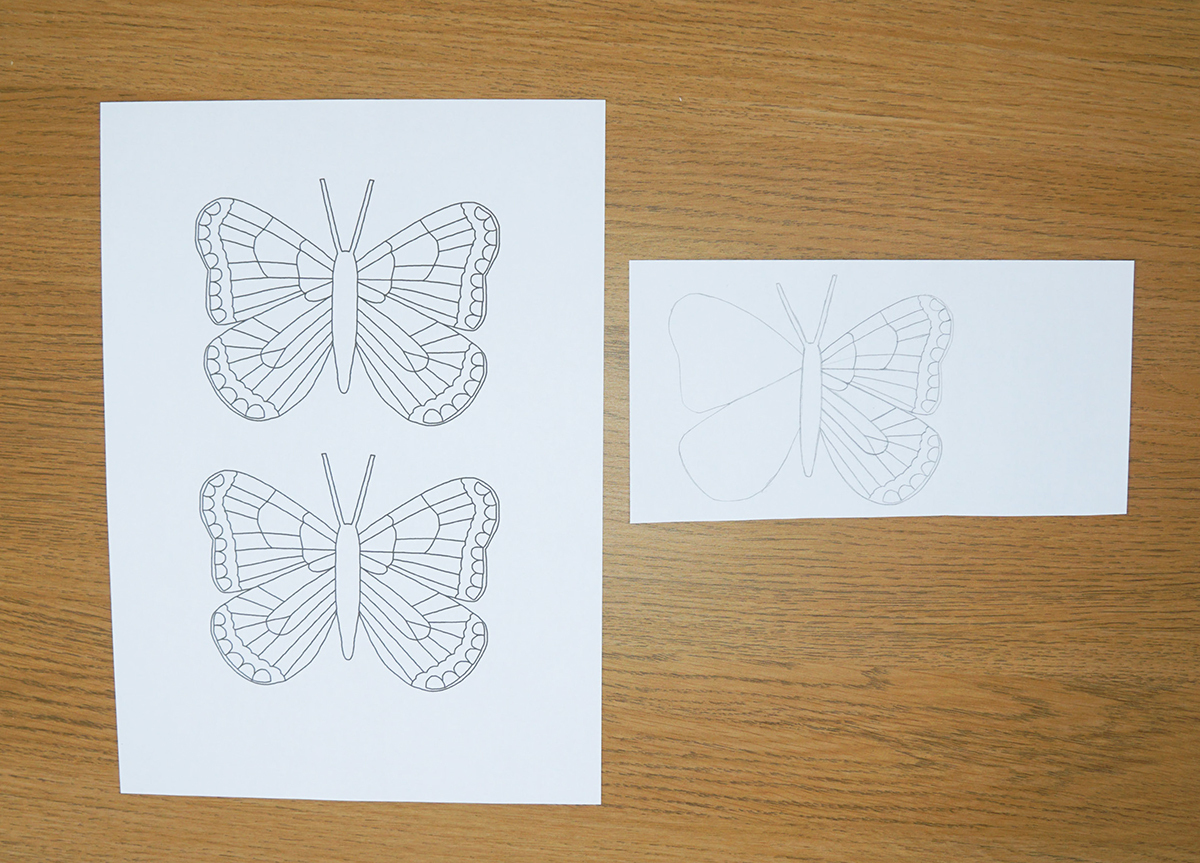
So now you will need to break the butterfly design into sections and individual shapes:
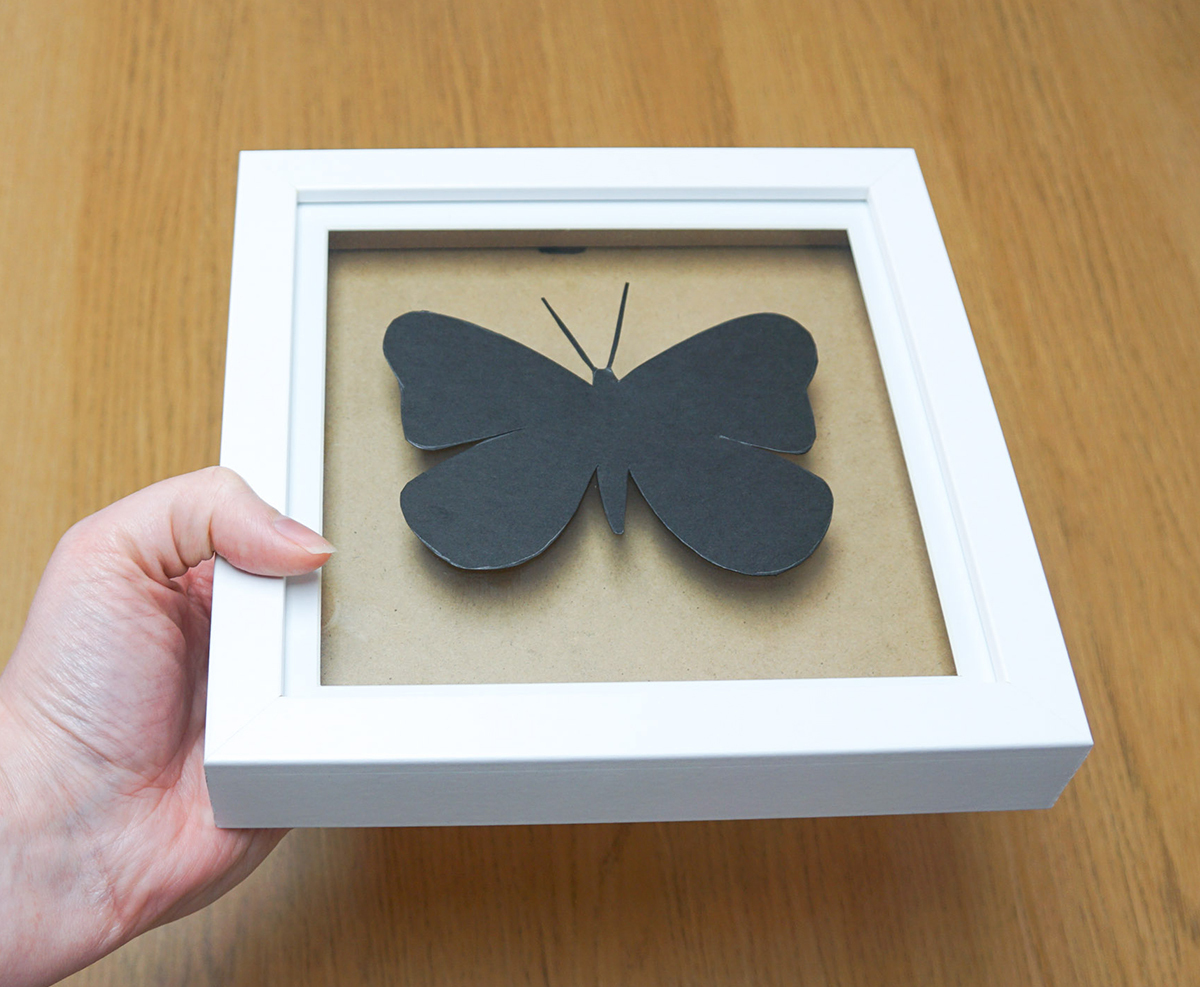
- Begin by deciding how big your butterfly should be limited to. I am displaying the finished butterfly in a shadow box, which has a visible display that measures 15 cm x 15 cm. This is what helped me decide on a size.
- Draw out the outline of half of your butterfly (actual size).
- Cut out this butterfly-half, flip it over onto paper, draw around it and cut along this outline. This will give you 2 halves of the butterfly; mirror images of each other.
- Join these halves together, draw around them onto paper, and also draw around them onto black card (for the backing) and cut this shape out.
- Take the full butterfly outline you just drew onto paper and split one wing up into segments that match the butterfly reference photo...but simplify the design into simple shapes to make it easier to quill.
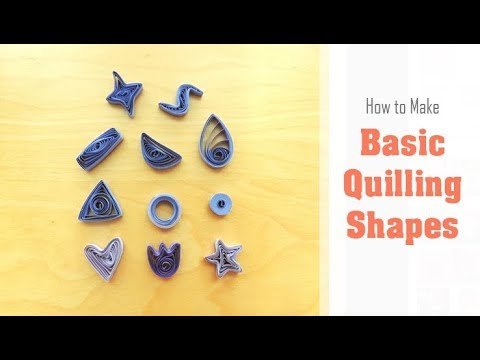
Whilst you're drawing these segments, keep in mind what shapes are possible with quilling. See the video above for a variety of available shapes you can use, and how to make them.
Picture each segment as a coil. These coils can be tight coils or loose coils...they could be made using 1 colour or many colours together....and they can also be shaped by hand into triangles, rectangles etc.
Apart from the antennae and body, almost everything else will be a coil. You can also add 'walls' of paper wherever you want a single line or border. This will just be a paper strip glued onto its side edge.
* * * *
Once you have one wing drawn out, trace it onto another piece of paper, then turn it over and trace it again to create a mirror image...therefore producing an entire butterfly that is symmetrical down the centre. To trace, you can hold the pieces of paper onto a window, or use a lightbox, or you could use tracing paper.
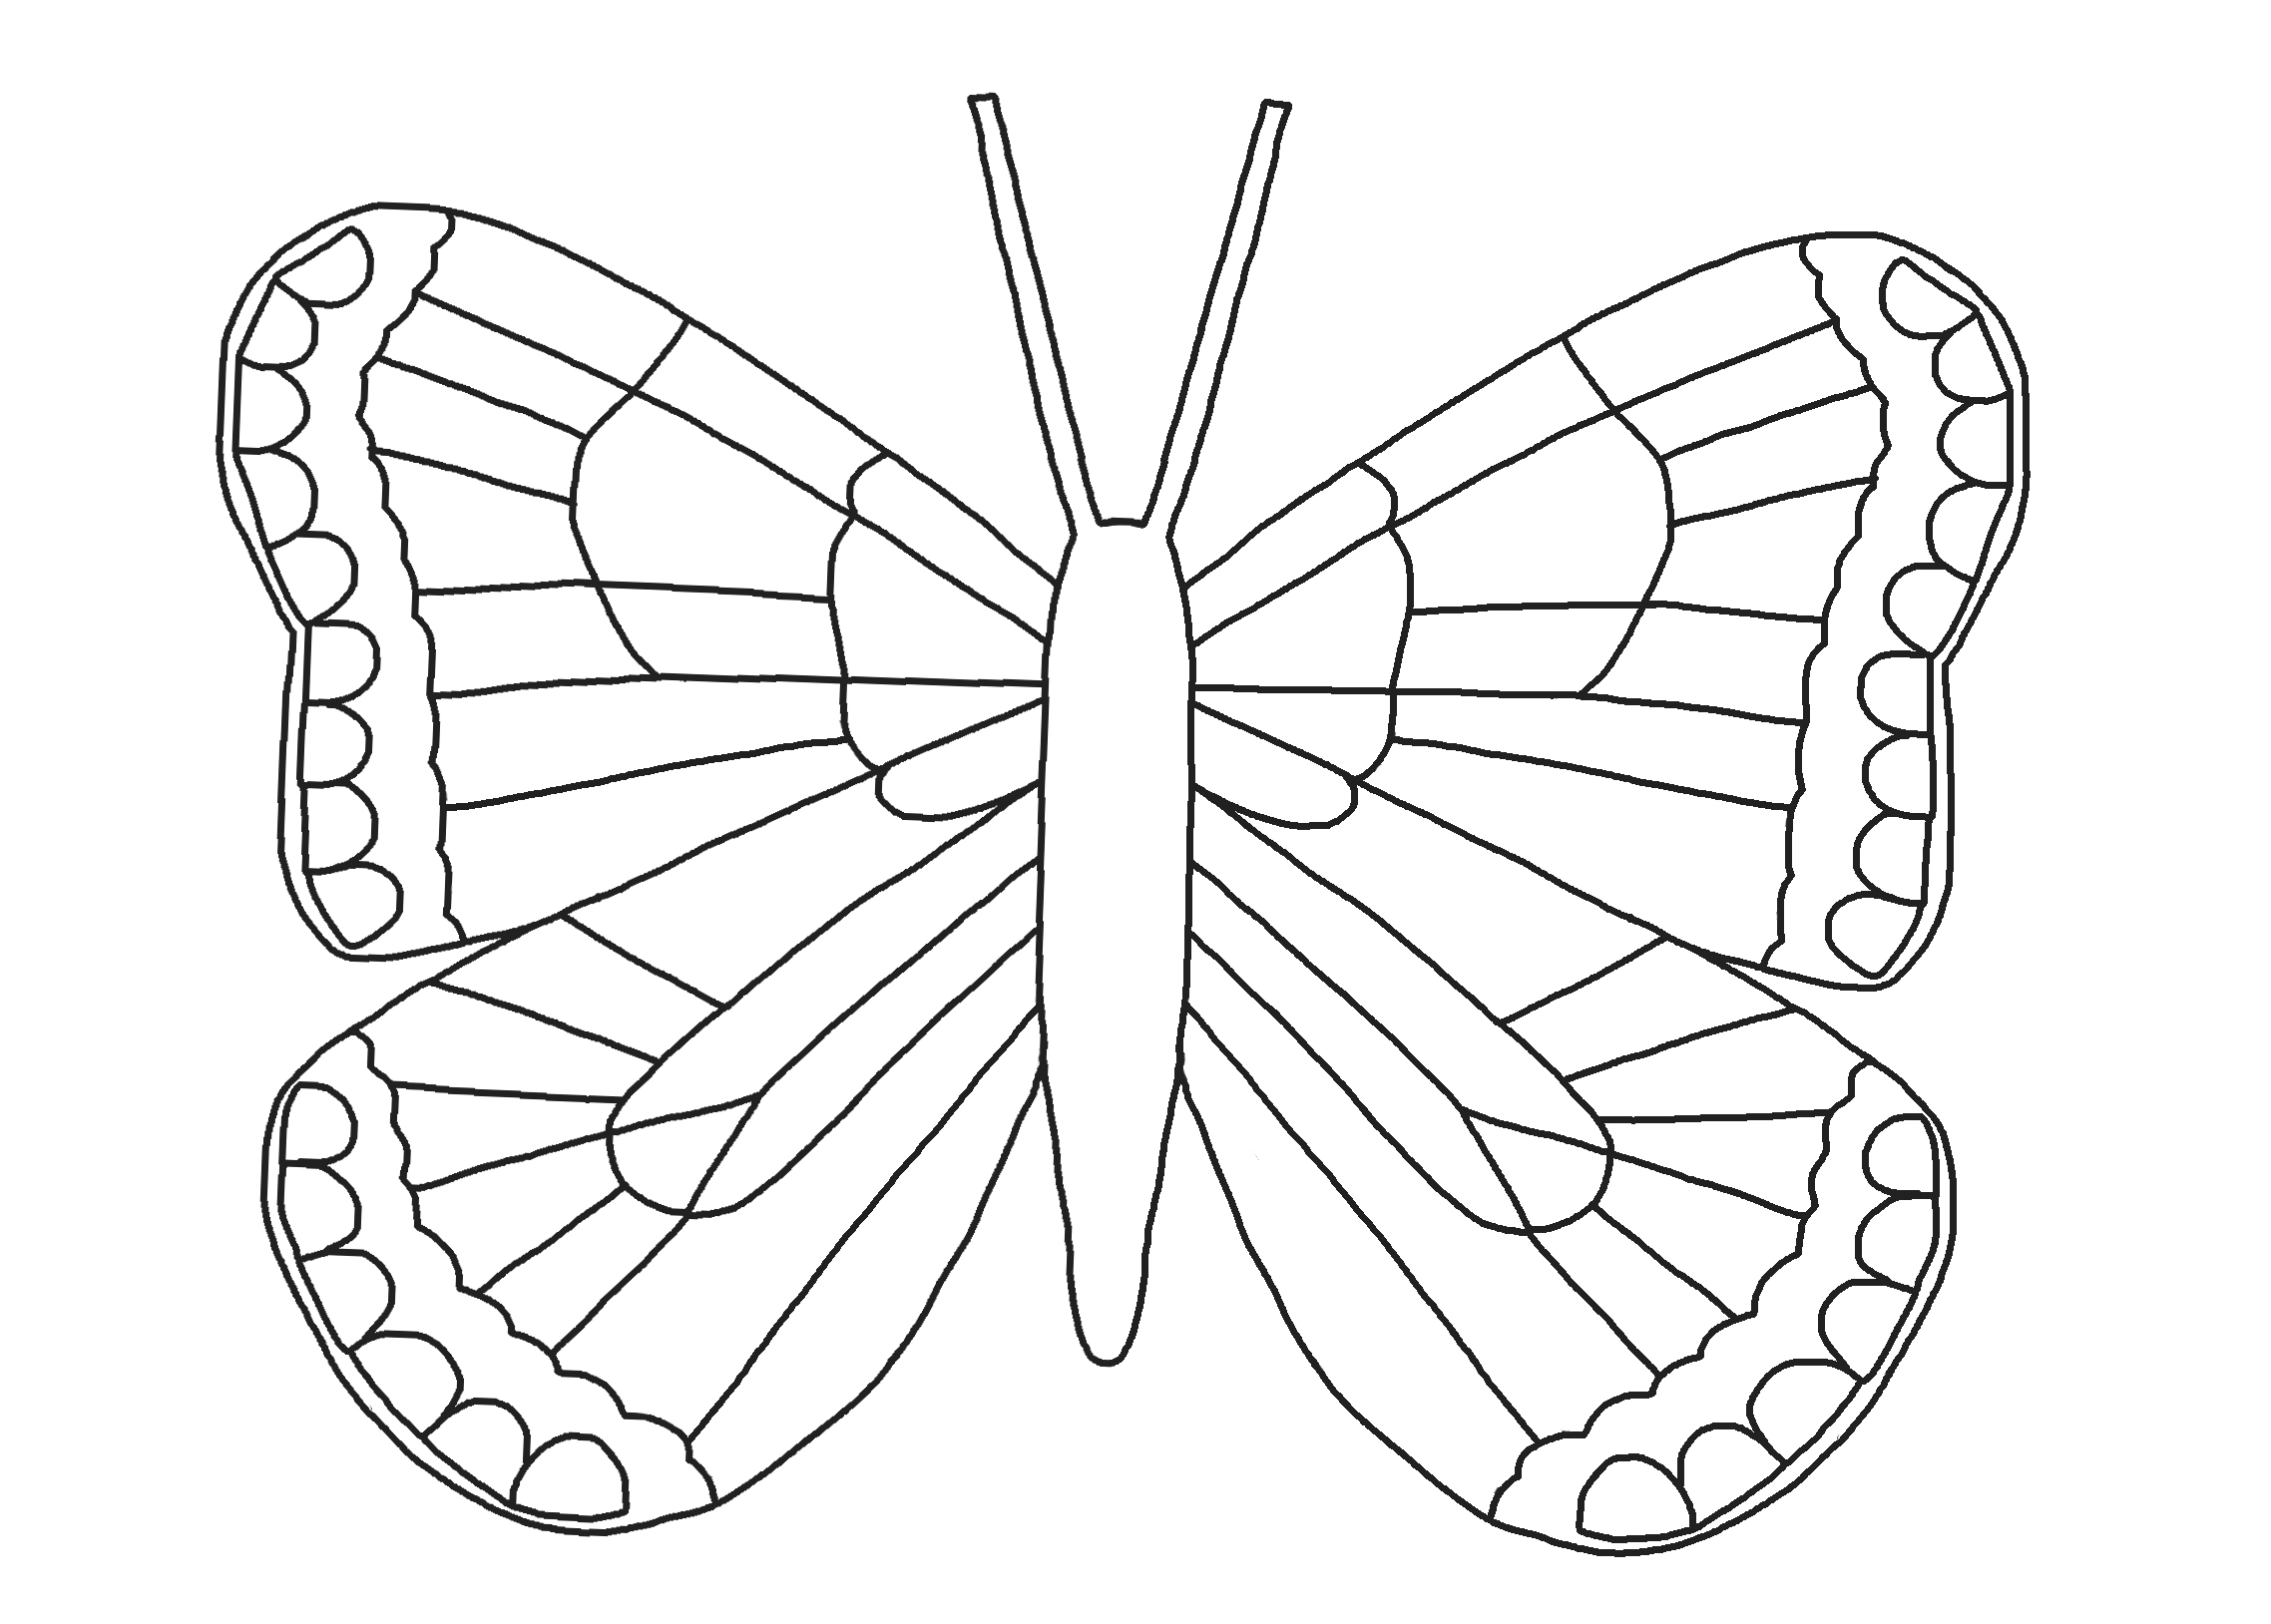
Then photograph this pattern or scan it into a computer and print it out..or photocopy it, or trace it all again. You'll want 2 butterfly templates for this project.
If you have software such as Photoshop you can do as I did and scan the half-butterfly into the computer, trace the outline digitally, mirror the image to create a full buutterfly, and print it out twice. Tracing digitally means that the lines are clear, and you can keep the template forever.
Sorting the Paper Strips
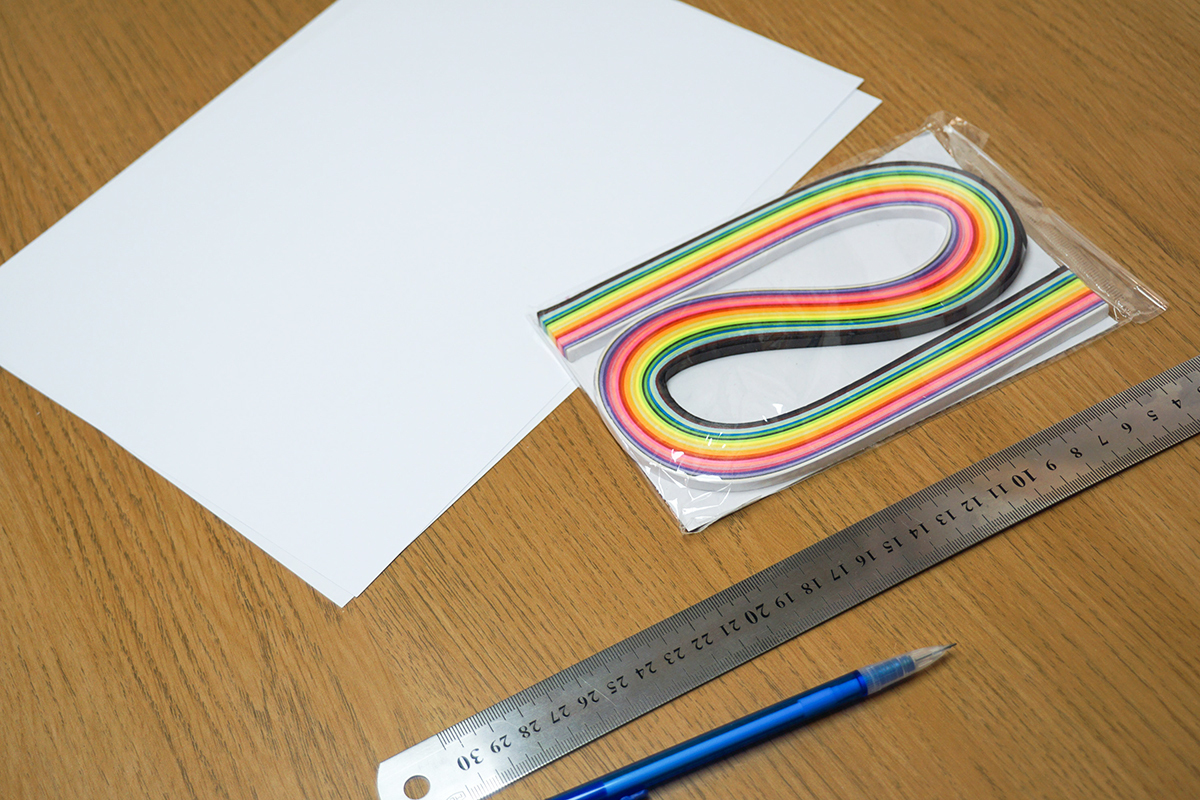
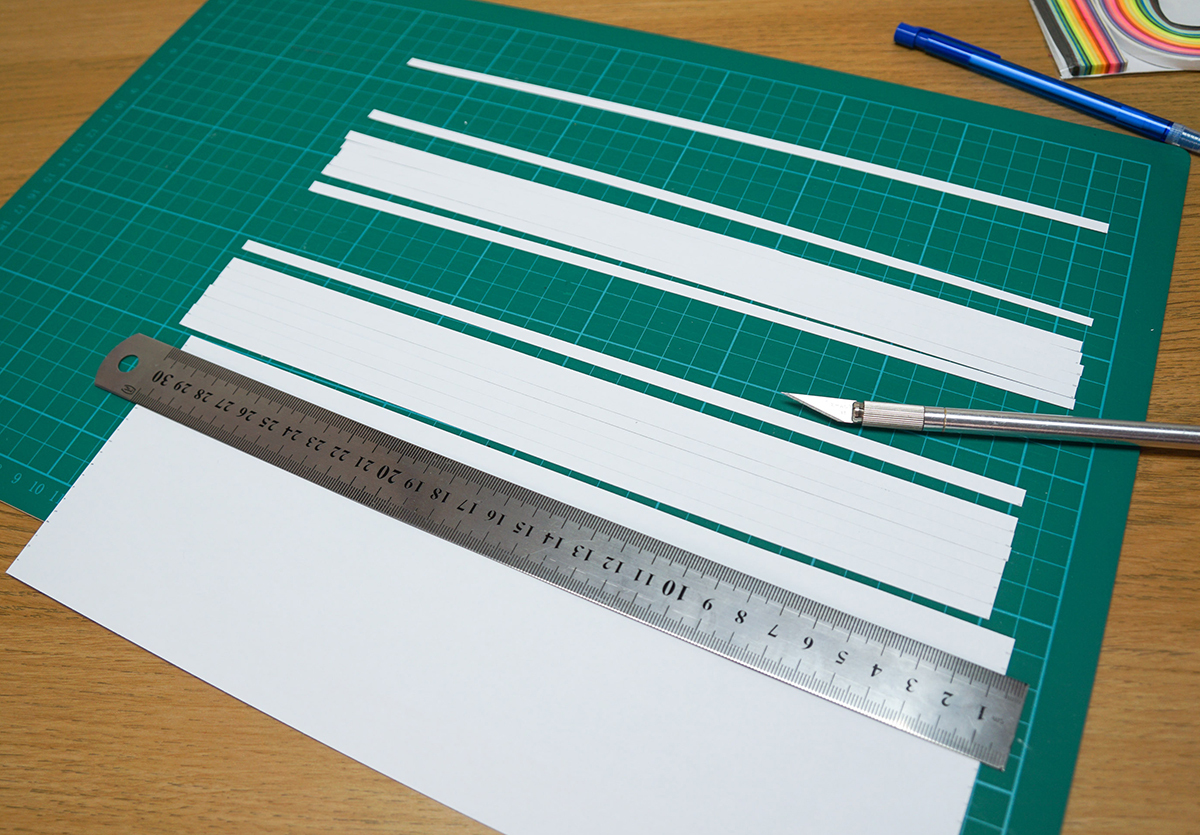
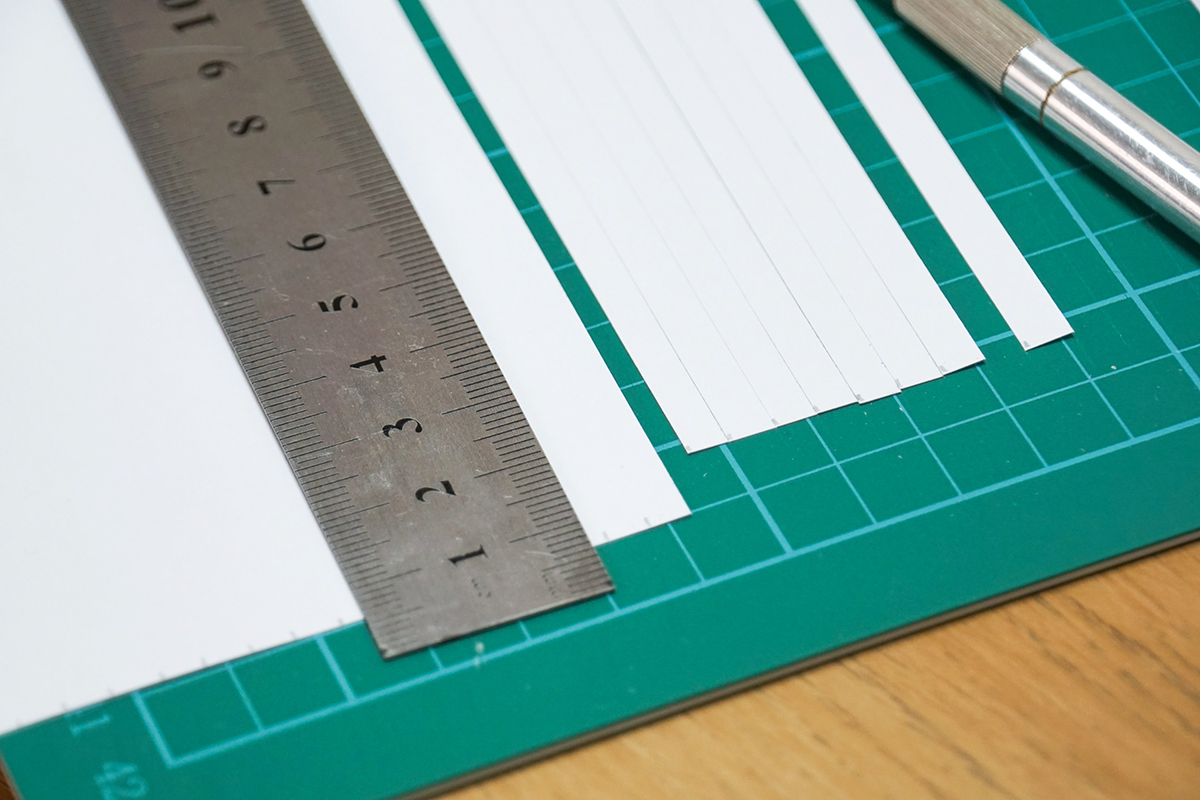
If you have a set of pre-cut quilling strips then you're all set! However, if you need to make some of your own, then you'll need to cut those out now.
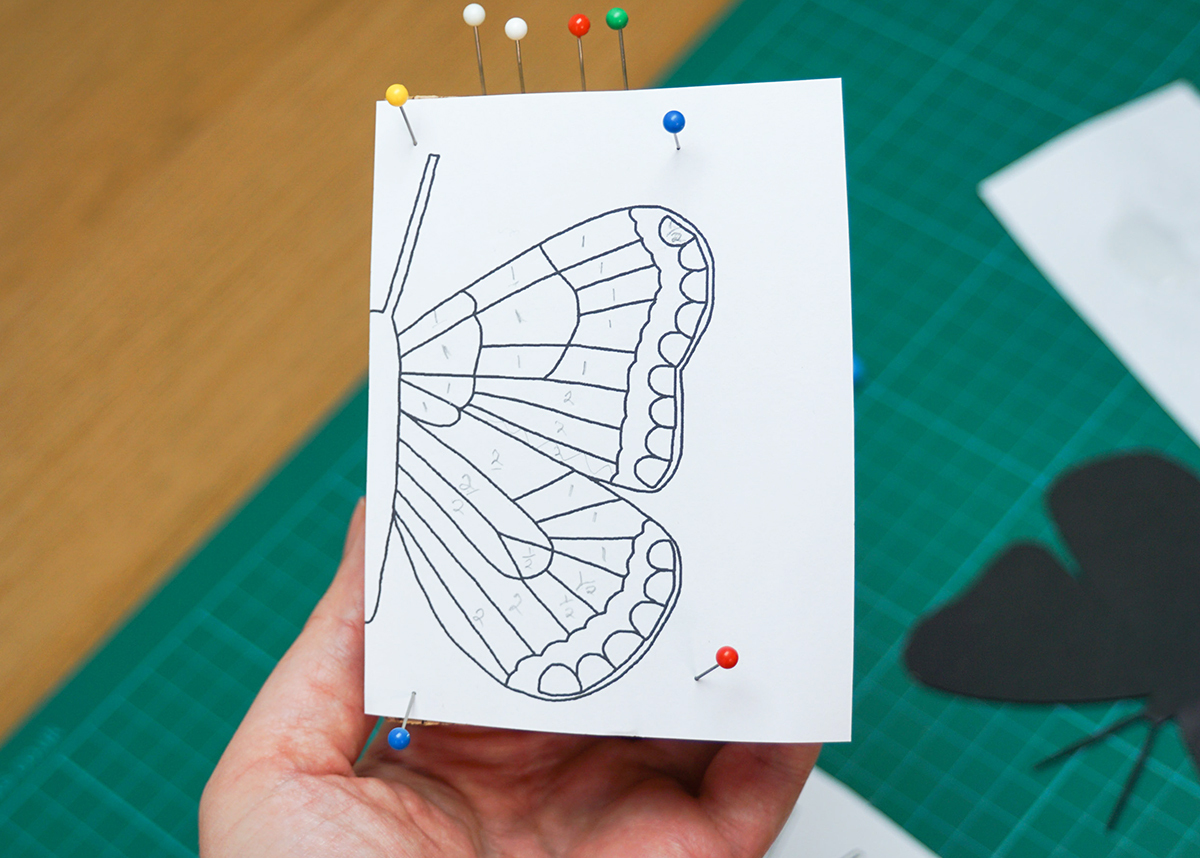
It will help if you work out how many of each colour strip you will need. You'll see above that I wrote 1/2, 1 or 2 on each segment of the butterfly template to tell me how many paper strips will be used in each segment.
I simply decided this by thinking about how loose or tight I wanted the coil to look in each section (you can always do a test-run of a couple of segments), and also looking at how big the segments were. Smallest segments = 1/2 paper strip inside, largest segments = 2 paper strips inside. You can always change your mind as you go so don't worry too much about this!
I needed approximately 68 white paper strips (plus 8 yellow, and 4 or 5 black).
This meant I needed to cut 2 A4 sheets of white printer paper into 5 mm wide strips.
I measured and marked every 5 mm along each short edge, then placed a ruler between the first 2 marks from the long edge, and cut between them using an X-acto knife. Make sure you have a cutting mat underneath of course.
I repeated this across the sheets of paper.
Setup
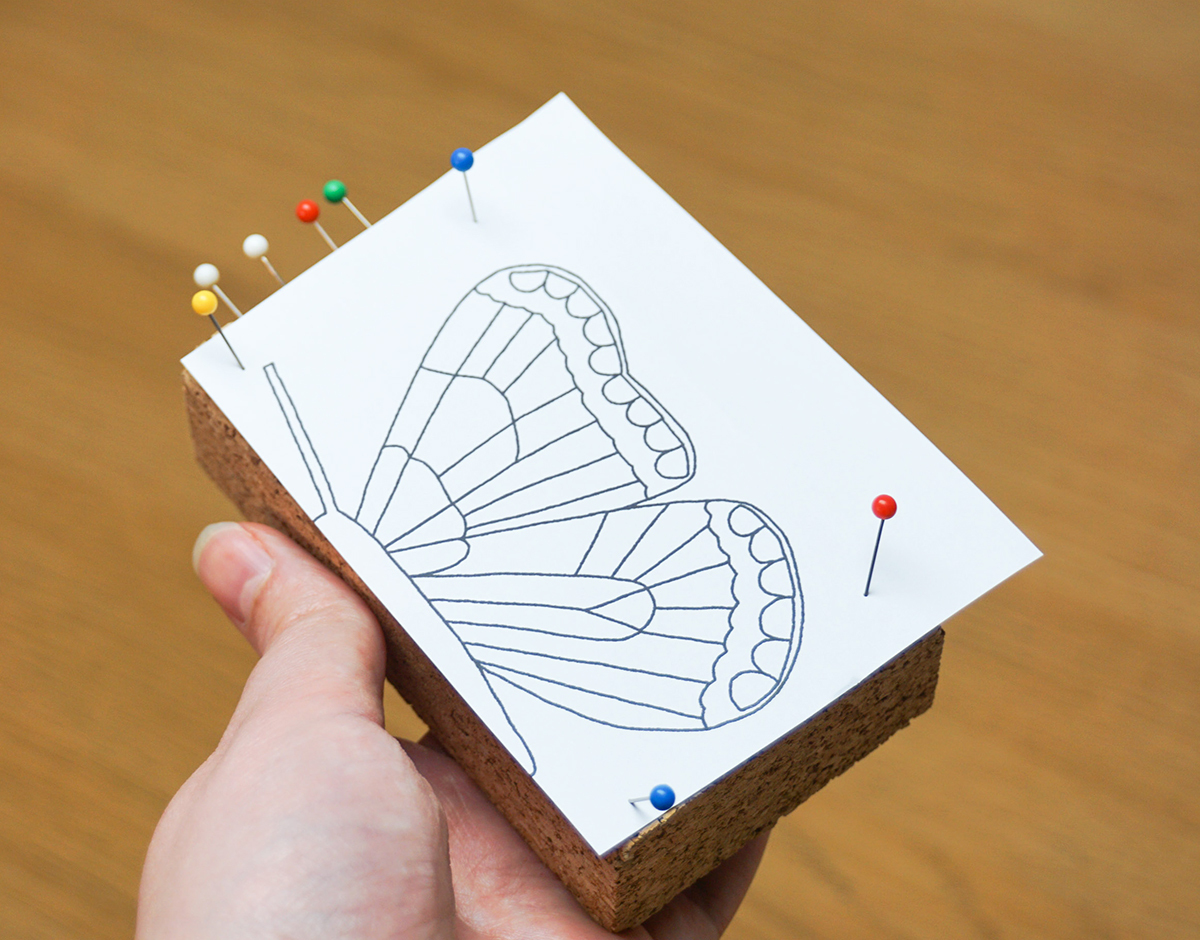
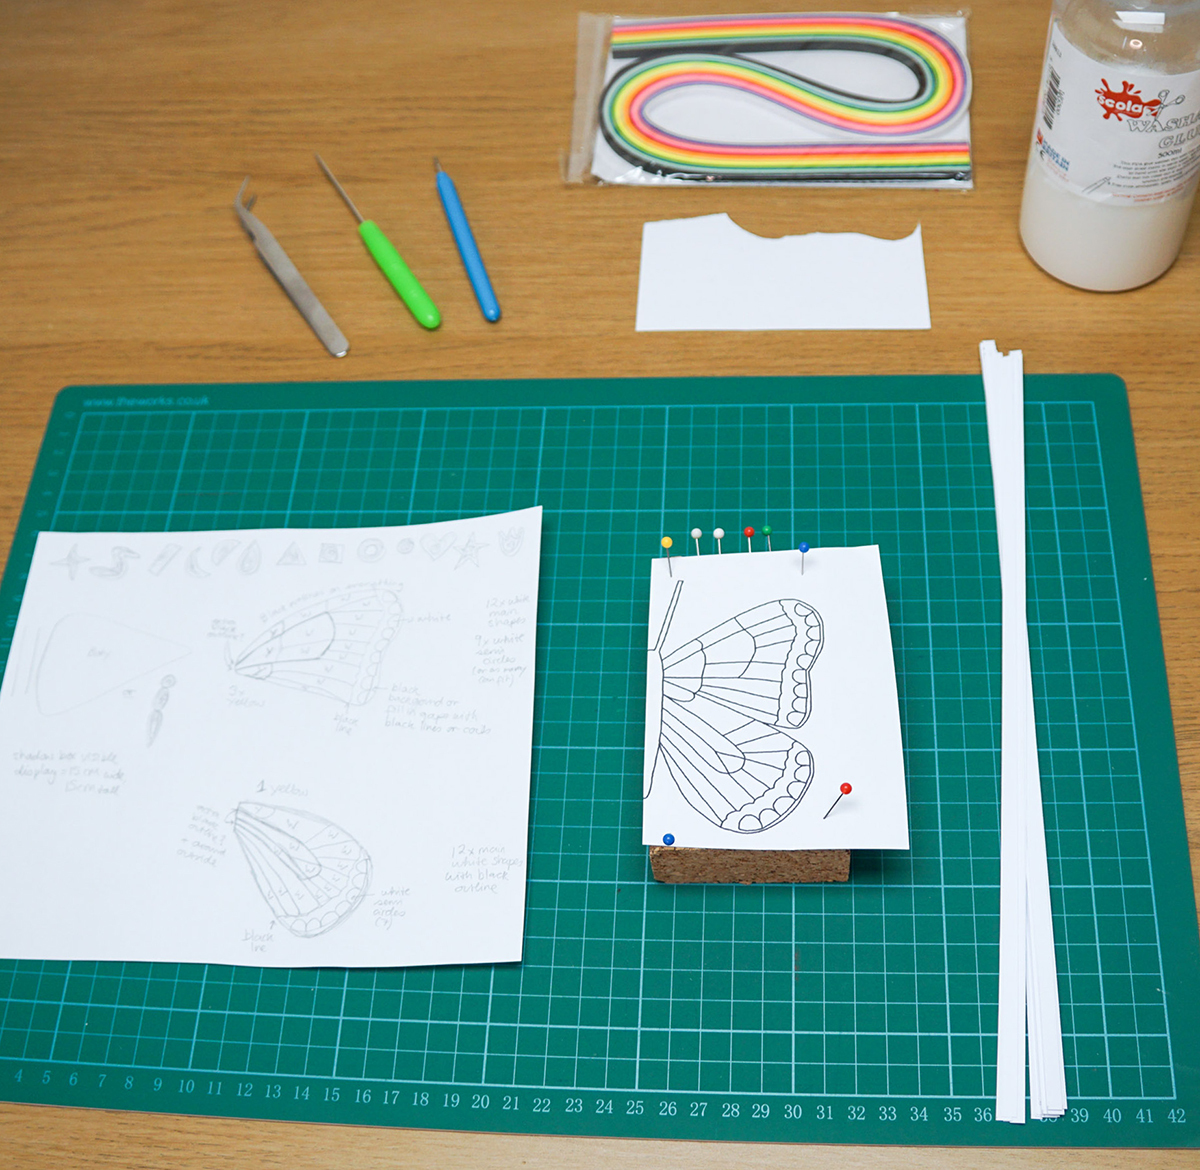
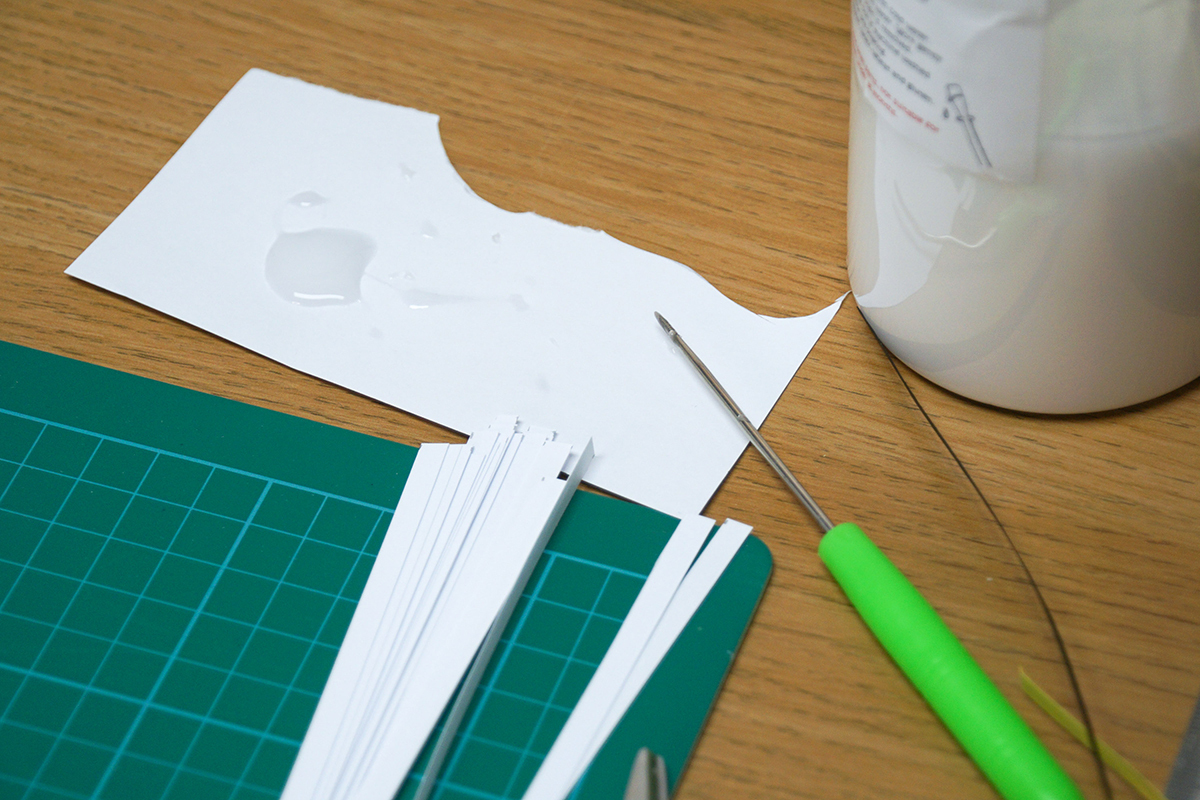
I pinned half a butterfly template onto a cork block. This is just to keep the template held still and flat, whilst still being portable. Also, even though I didn't use this method myself, you can pin paper strip coils and borders in place using pins when you're working on them if you wish.
If you don't have cork, you can just temporarily tape the template onto a flat work surface instead.
You will need to have a little PVA glue out ready too. You can keep it in a plastic pot, or you can put some onto a scrap of paper like I did. I'll be using a quilling needle to transfer glue onto the paper. If you don't have one you can use a toothpick or similar instead.
Making the Semi-Circles
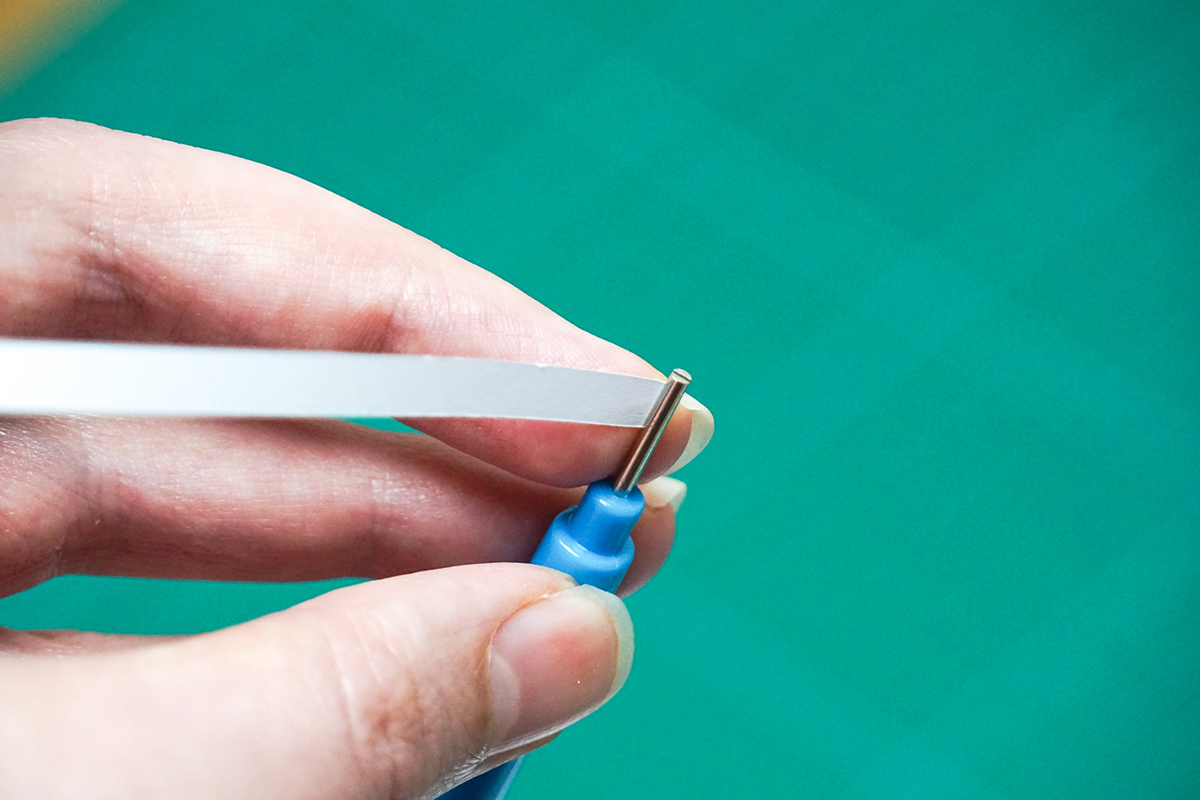
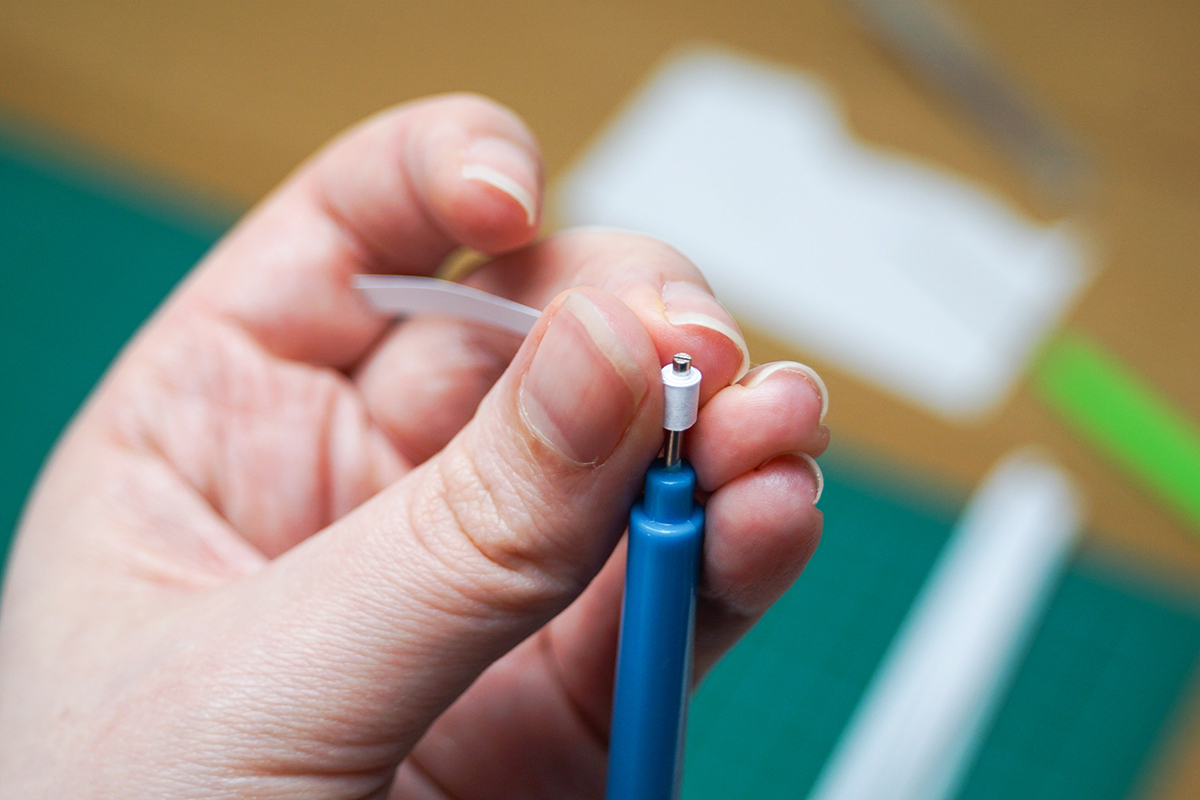
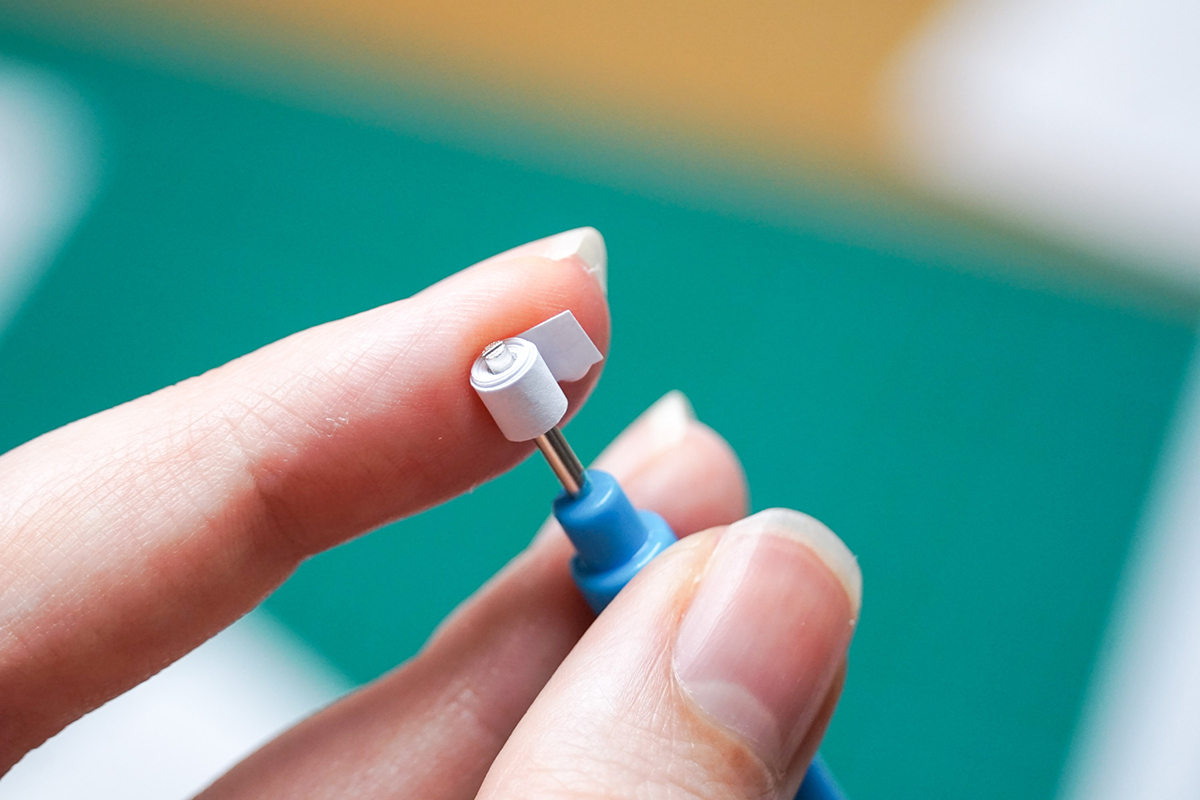
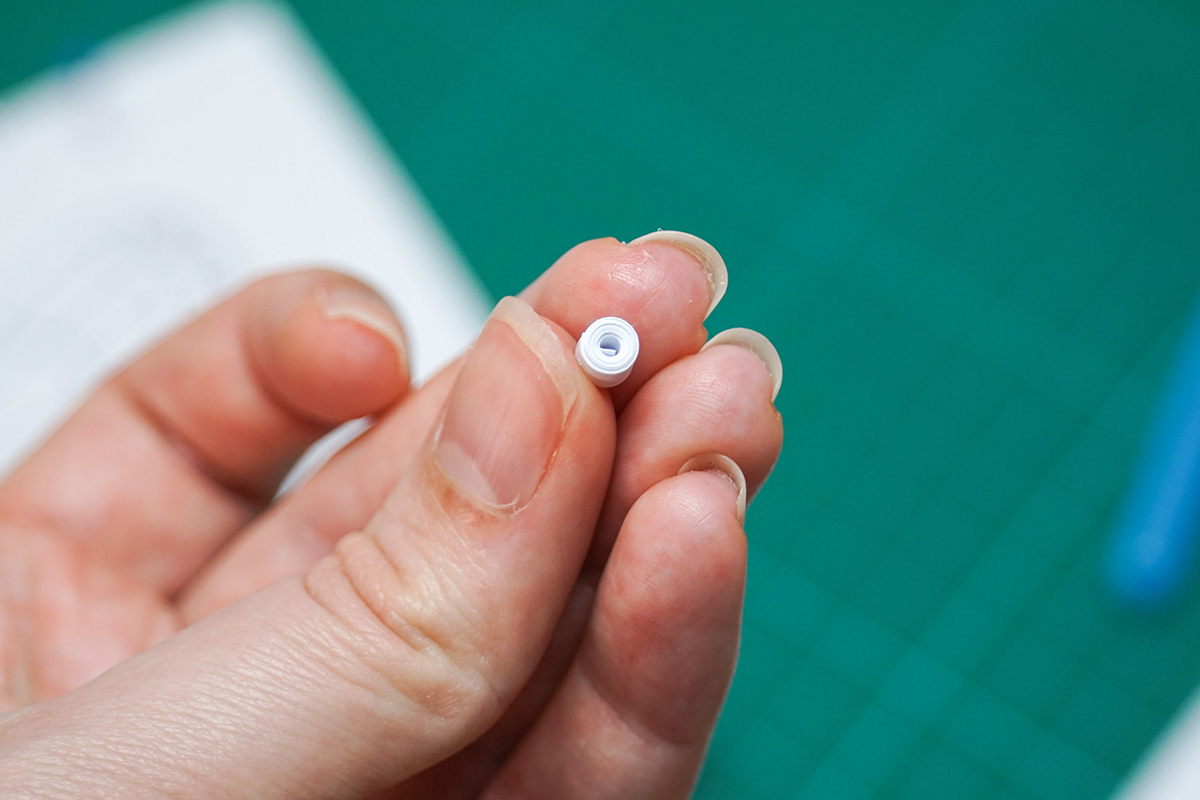
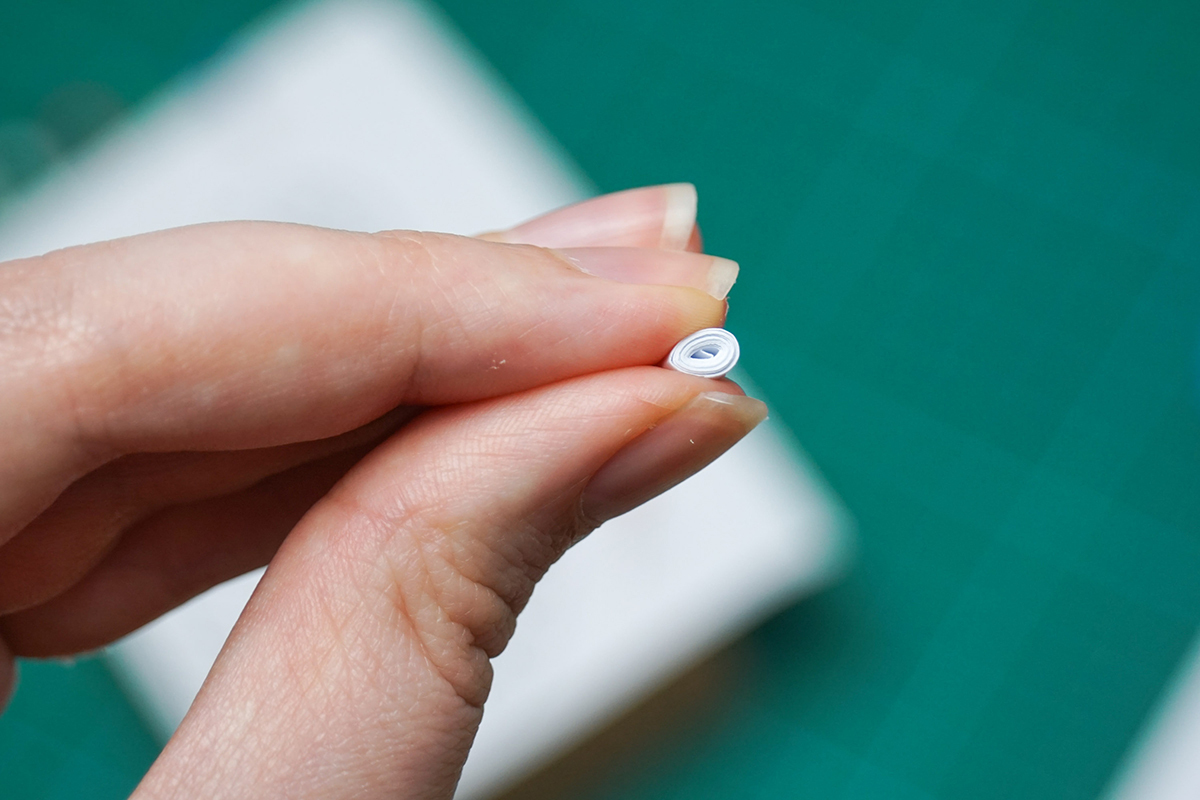
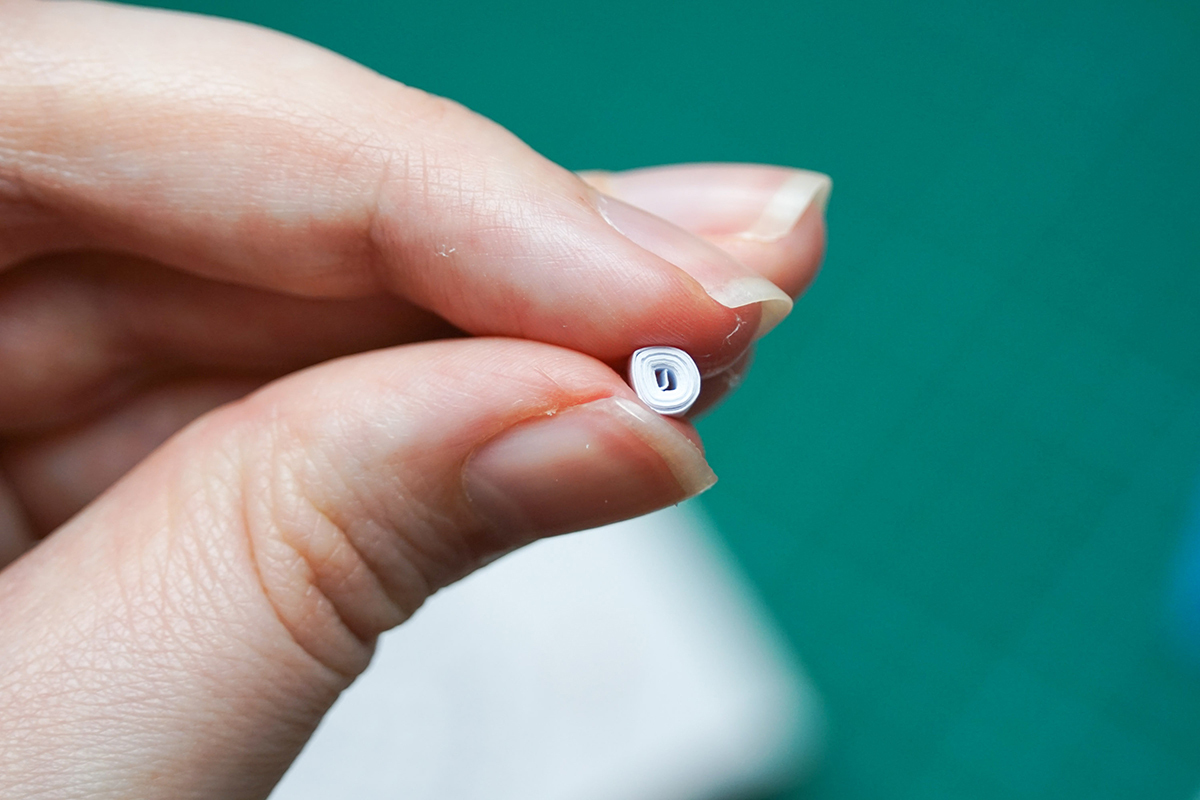
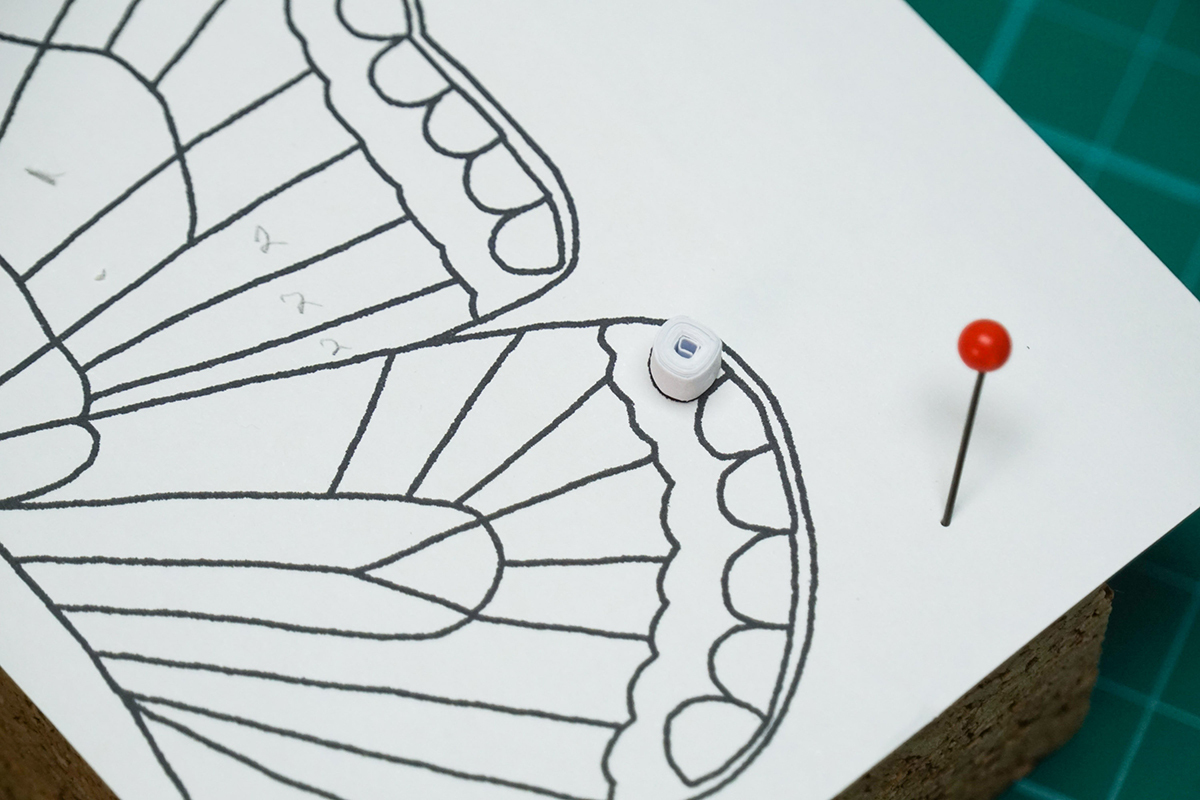
Down each edge of my butterfly template I have many semi-circle shapes ...although 'circles with a flat side' might be a better description :)
To make these, take a white paper strip made from A4 paper, and cut it in half.
Place one end in a slotted quilling tool and rotate the tool whilst holding the paper taut.
This will create a tight coil. Use a tiny amount of glue to attach the end of the paper strip to the coil.
Then squash the coil into the semi-circle shape you want. To do this I pinched 2 'corners' on one side of the circle.
Repeat this to make all of the semi-circles you need.
Note: When you have finished making segments, place them onto the other copy of the paper template so that you know which ones you have made and you have them all in the correct positions.
Create the Contained Segments
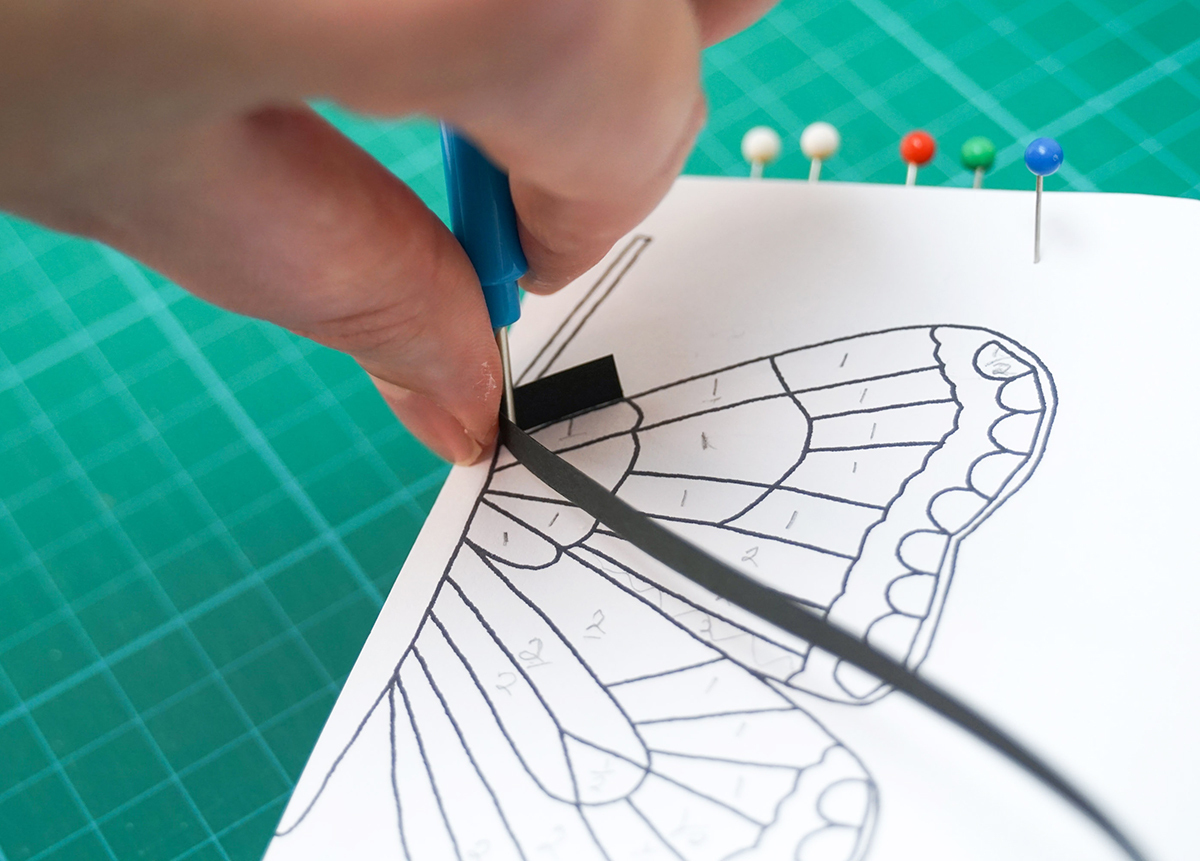
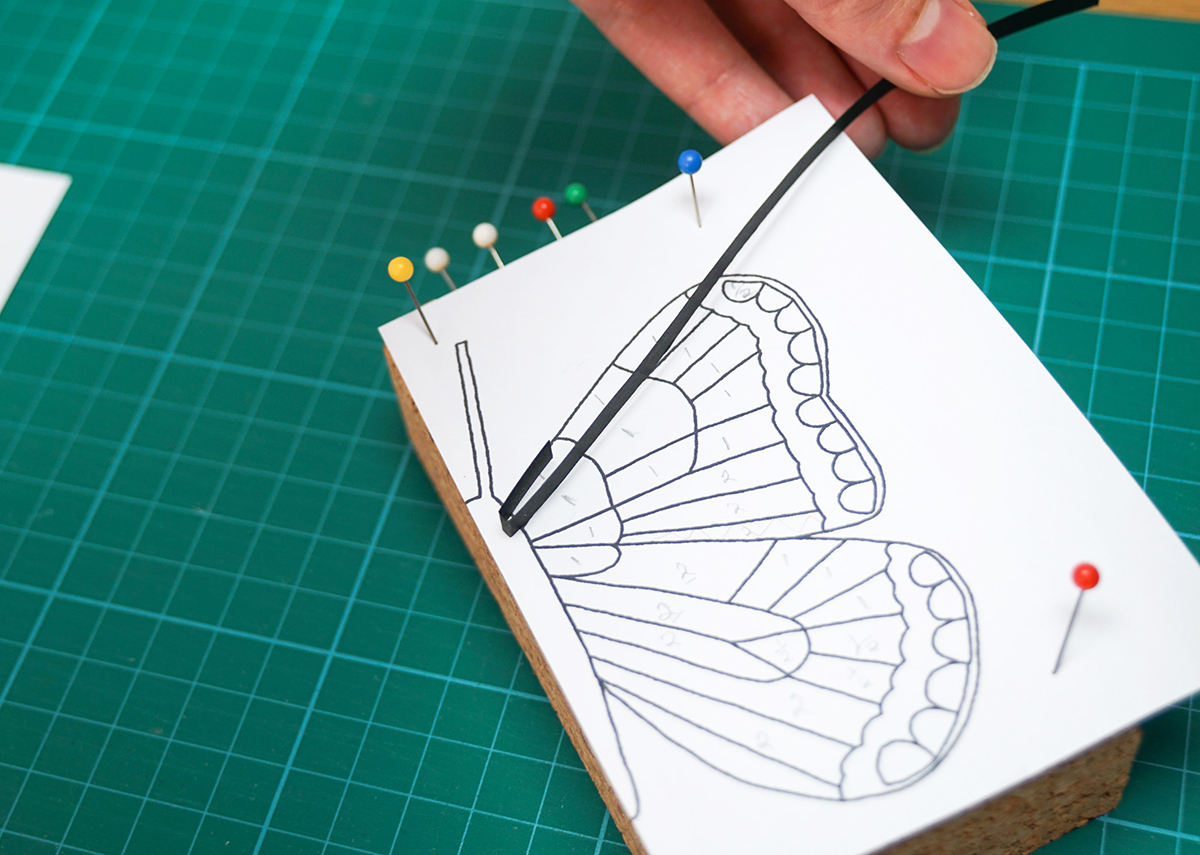
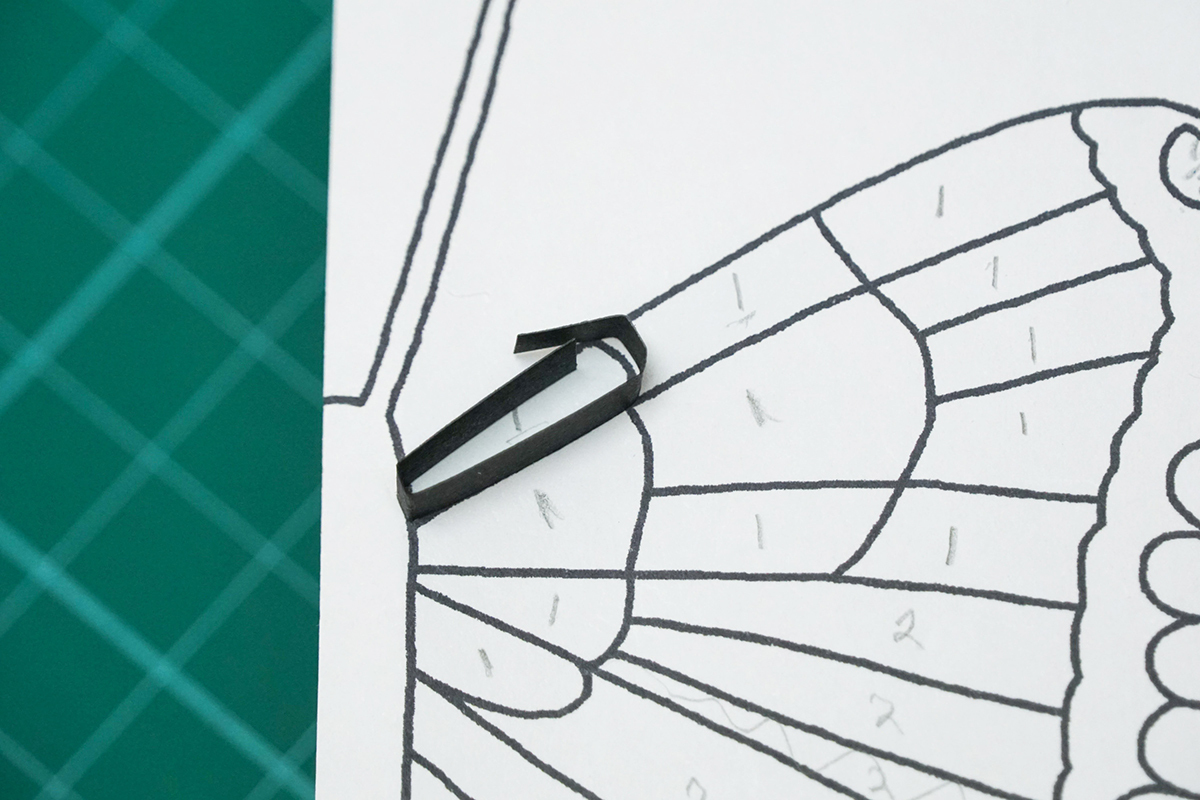
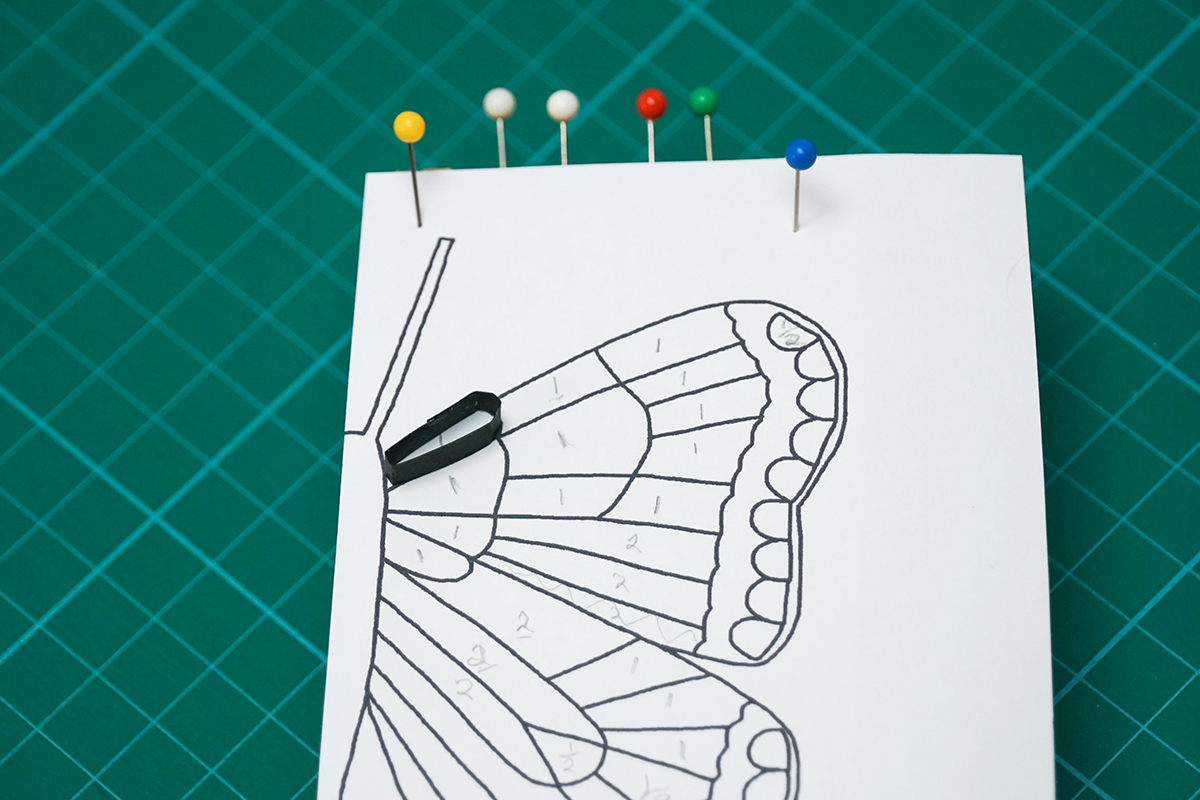
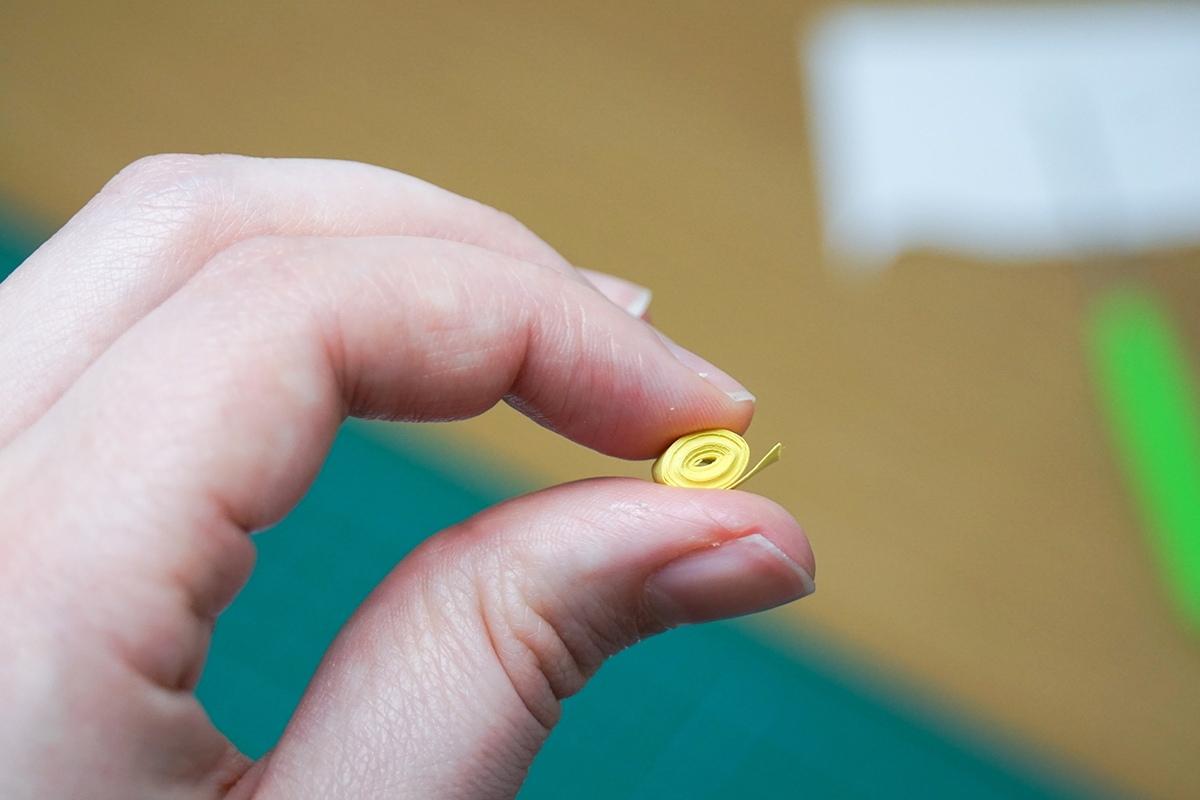
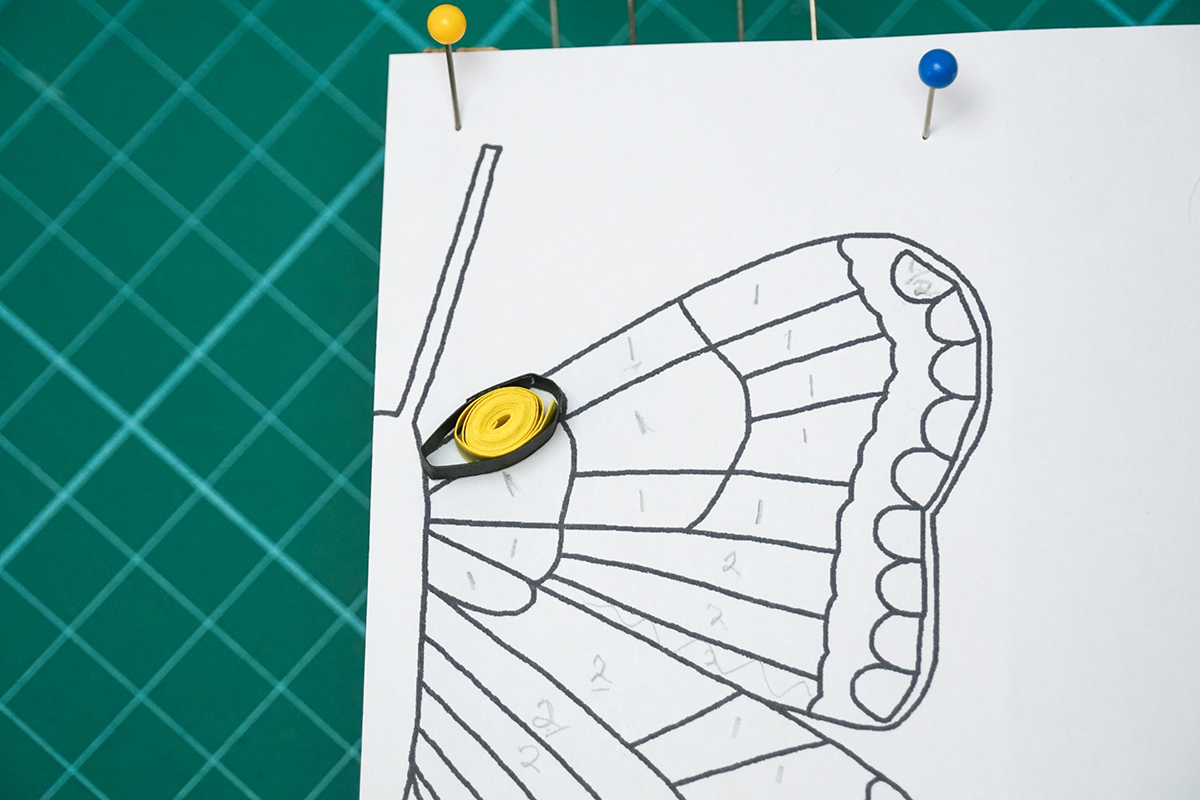
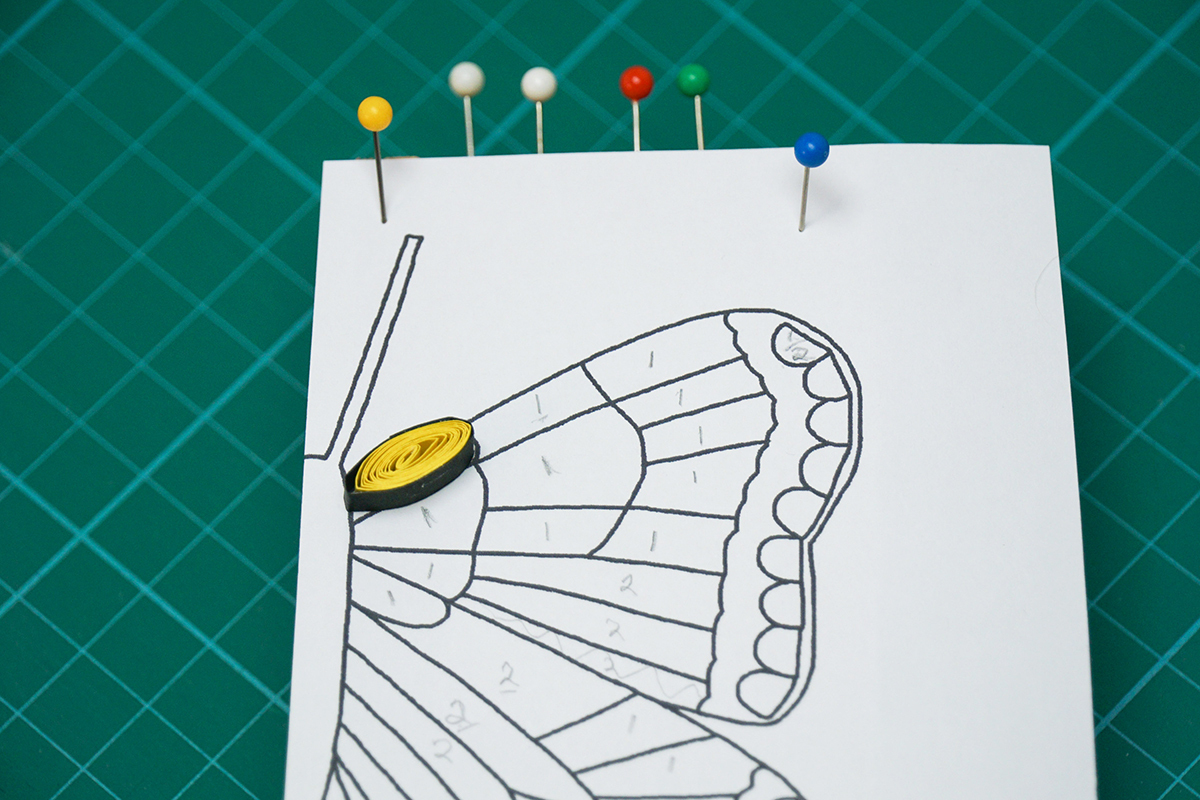
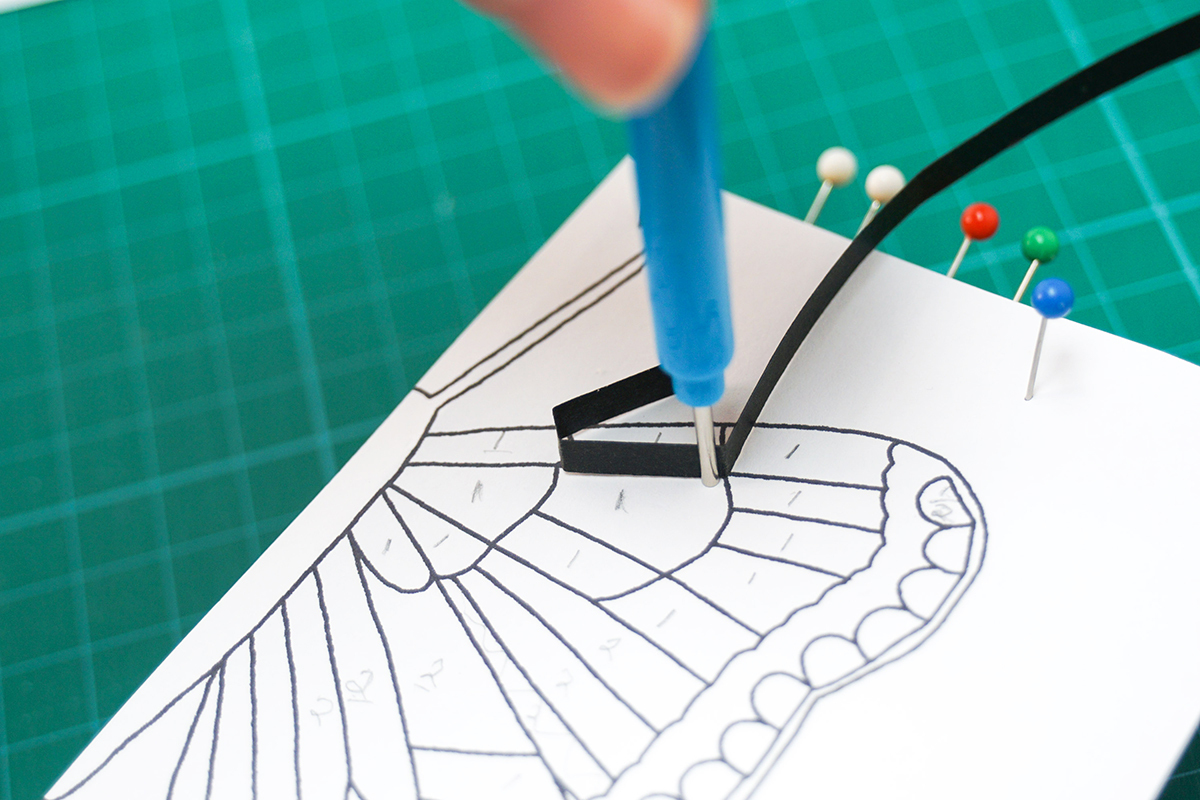
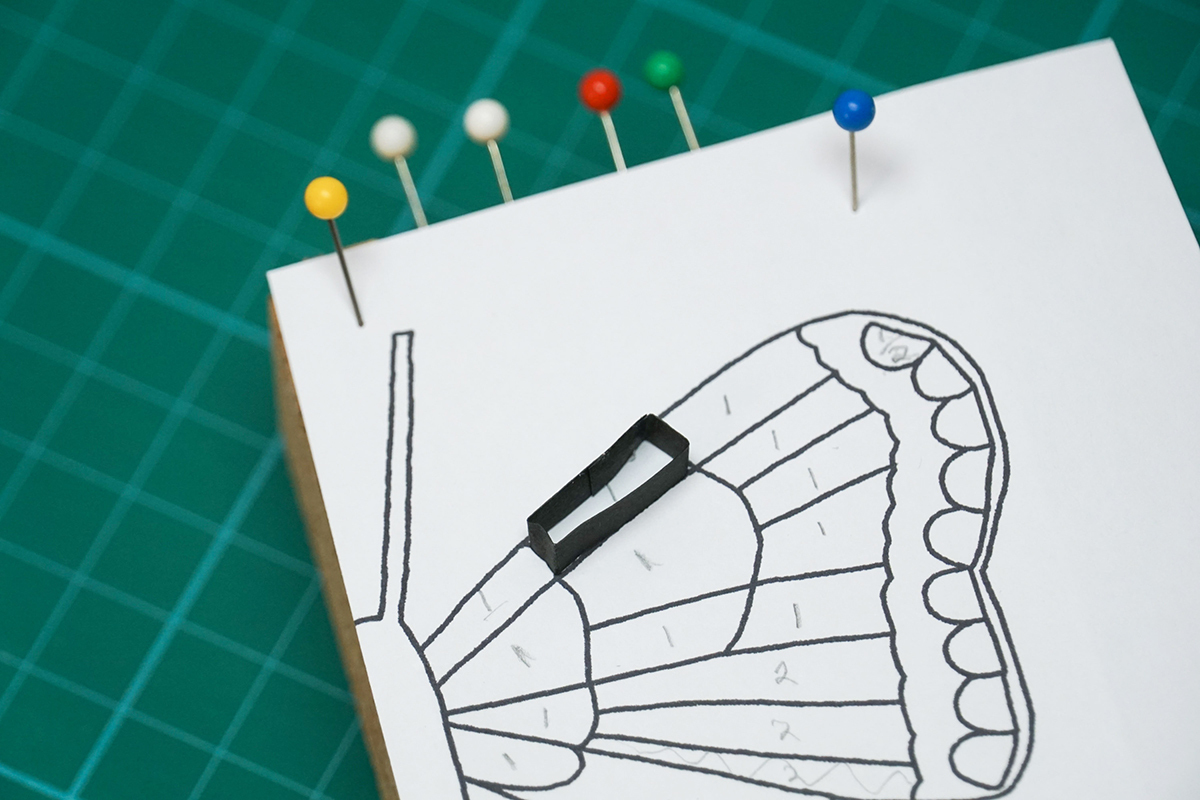
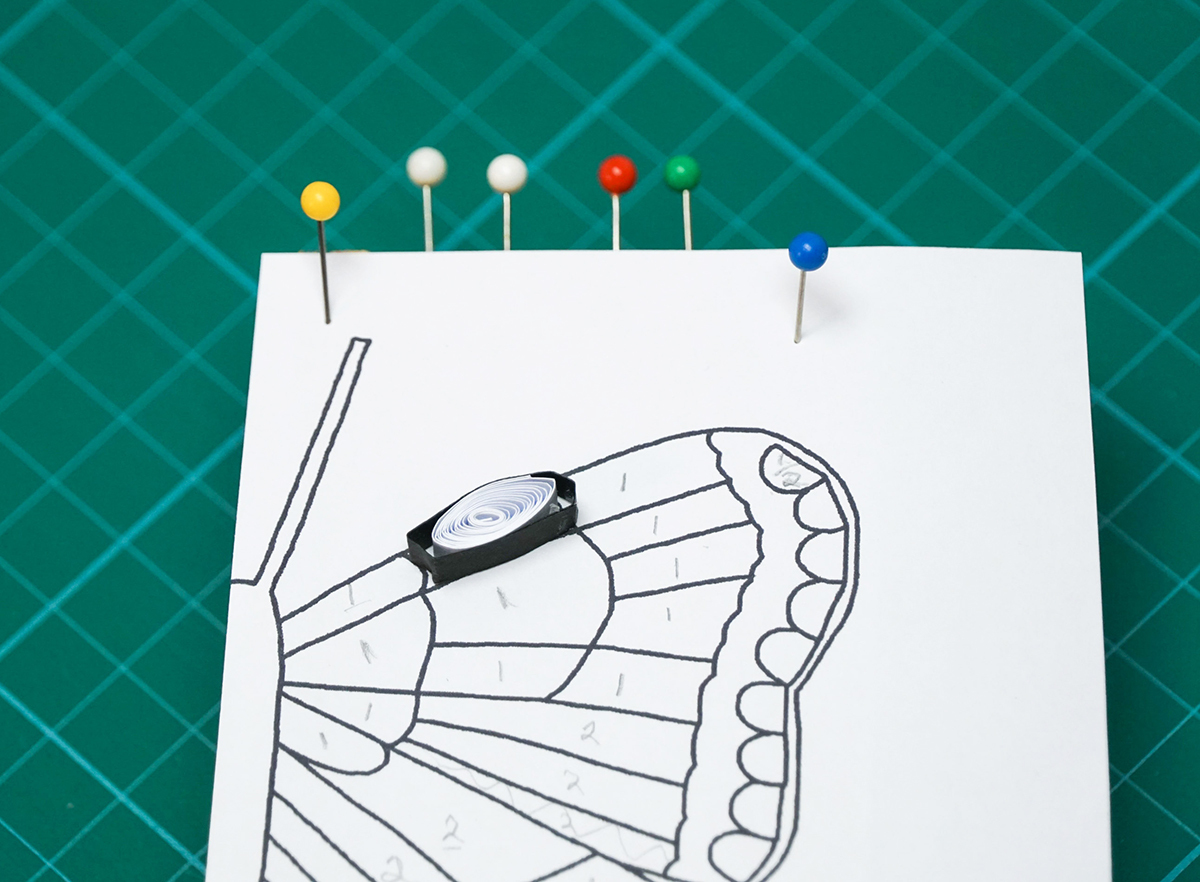
This step is about how to make the segments that have a black border all of the way around, and which consist of 1 paper strip.
First, you need to make the border, so you'll need to shape a black paper strip into the shape of the segment outline.
To shape the paper, use a slotted tool to help you fold sharply. The paper strip needs to follow the outline of the segment.
To join the ends of the border together, leave a small overlap of paper. Glue the ends together.
You should then have a border that matches the outline beneath.
To fill this border, make a coil using 1 paper strip and your slotted tool. Don't glue this coil closed, but instead put a tiny amount of glue at the end of the paper strip, but on the outside of the circle.
Then put the coil inside the border.
Unwind/unravel the coil inside the border to fill it, then reshape the border if you need to so it's the same size as the segment again.
Repeat this for all similar segments.
Open-Ended Segments
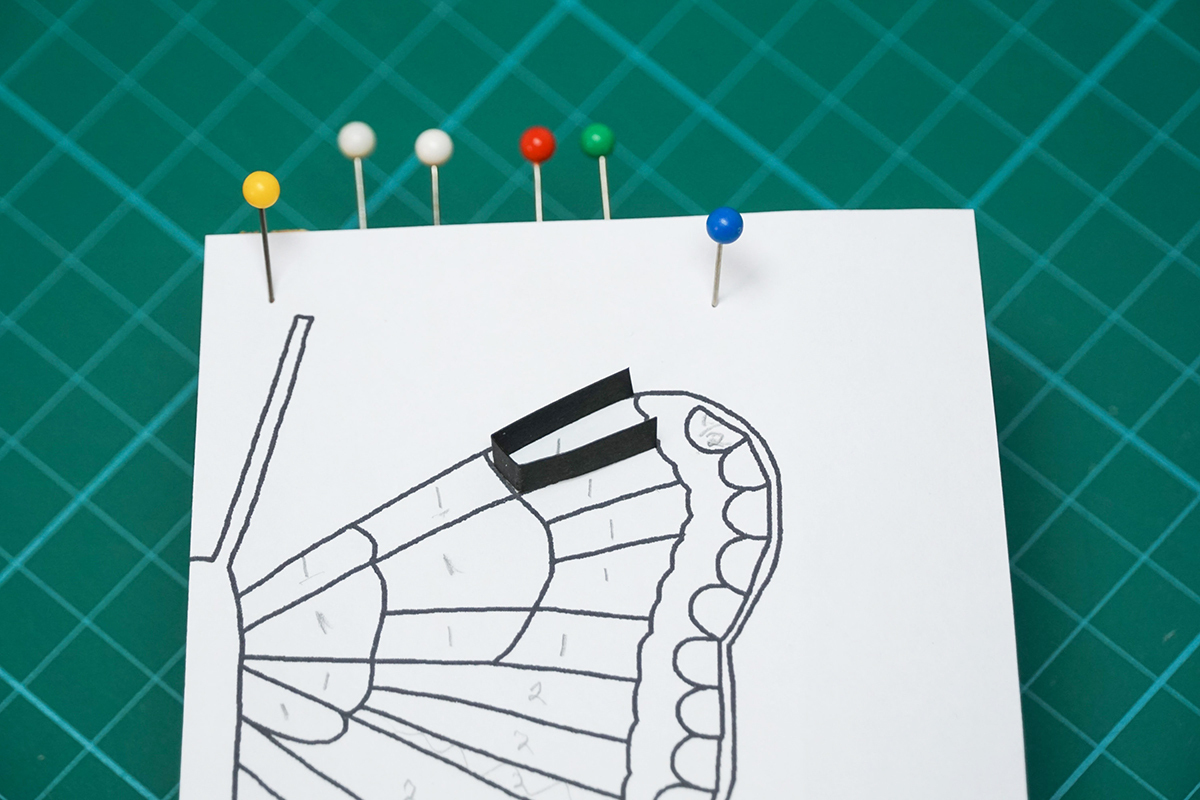
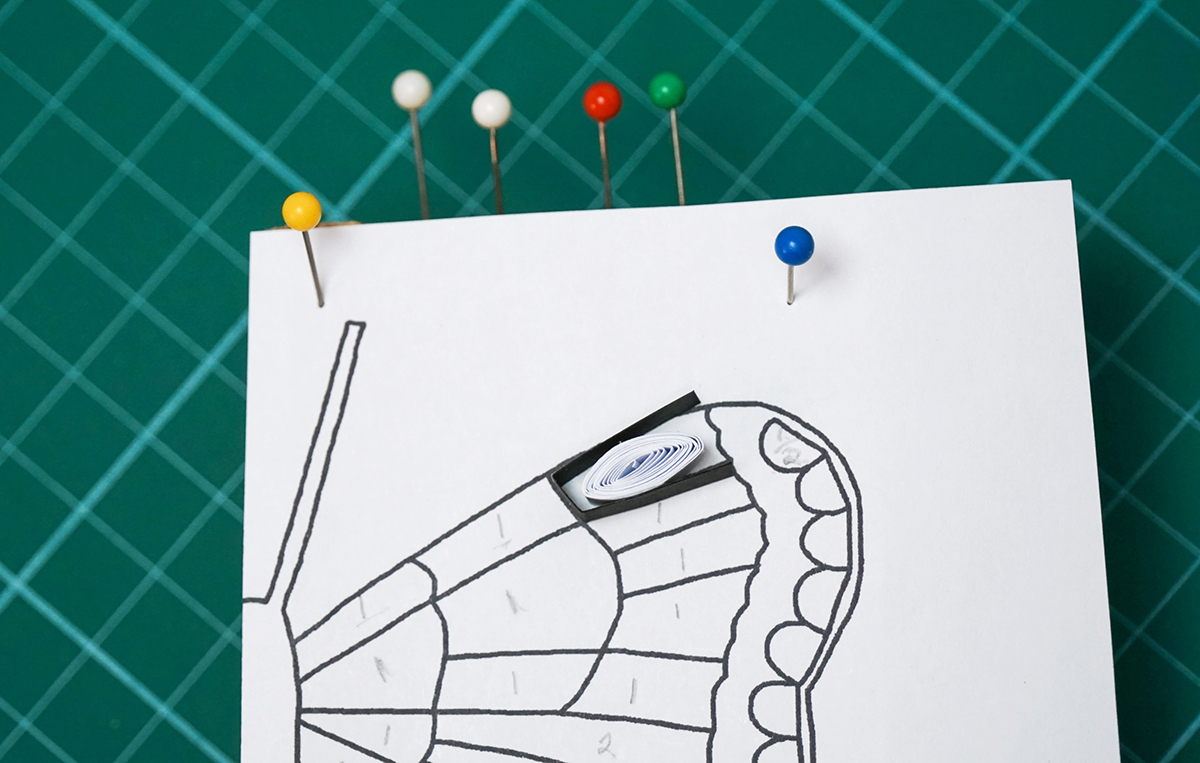
The outer line of segments don't have borders on one of the edges, and the reason for this is that I'll be adding a paper wall down this edge at the end. So for these segments, you simply use your slotted tool to make a 3-walled black paper border.
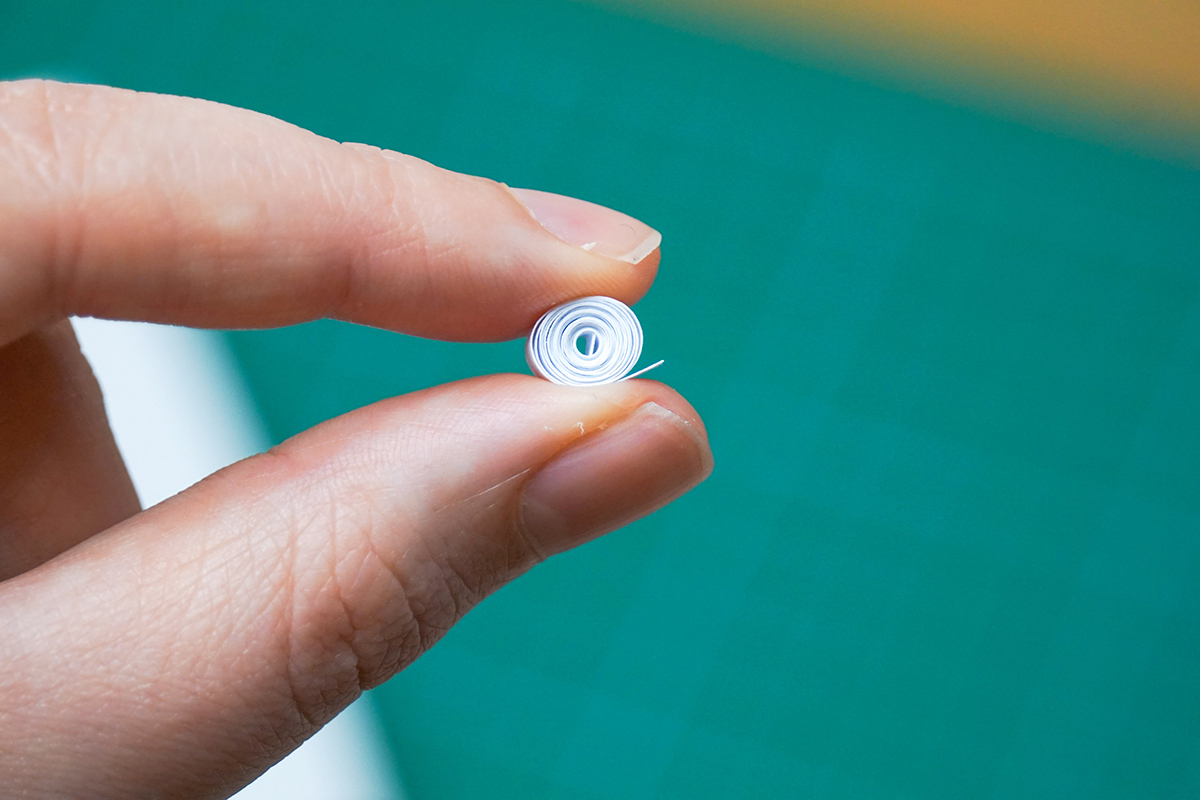
Then make a coil in white. Let the coil slightly unwind between your fingers and glue the end of the paper strip onto the coil to stop it unwinding further. The amount you unwind depends on how big you want this coil to be, but you won't be unwinding them very much at all.
Squash the coil and glue it inside the border.
Making the Small Triangles
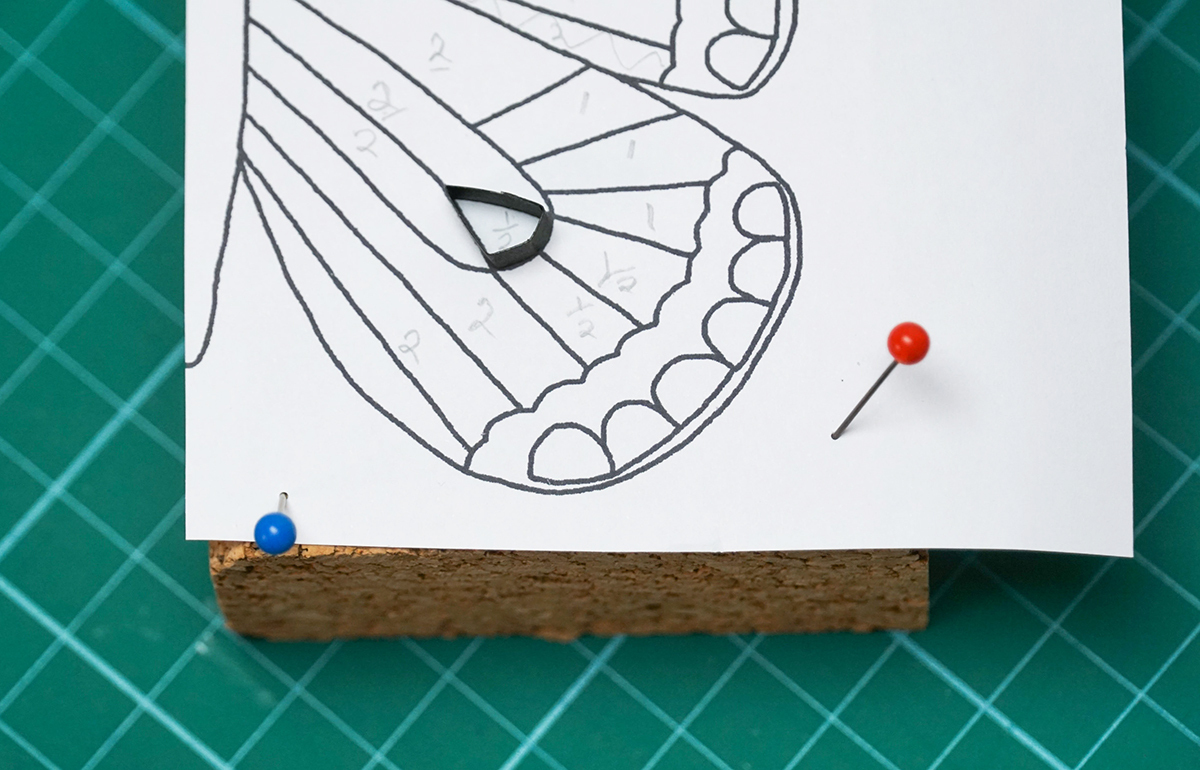
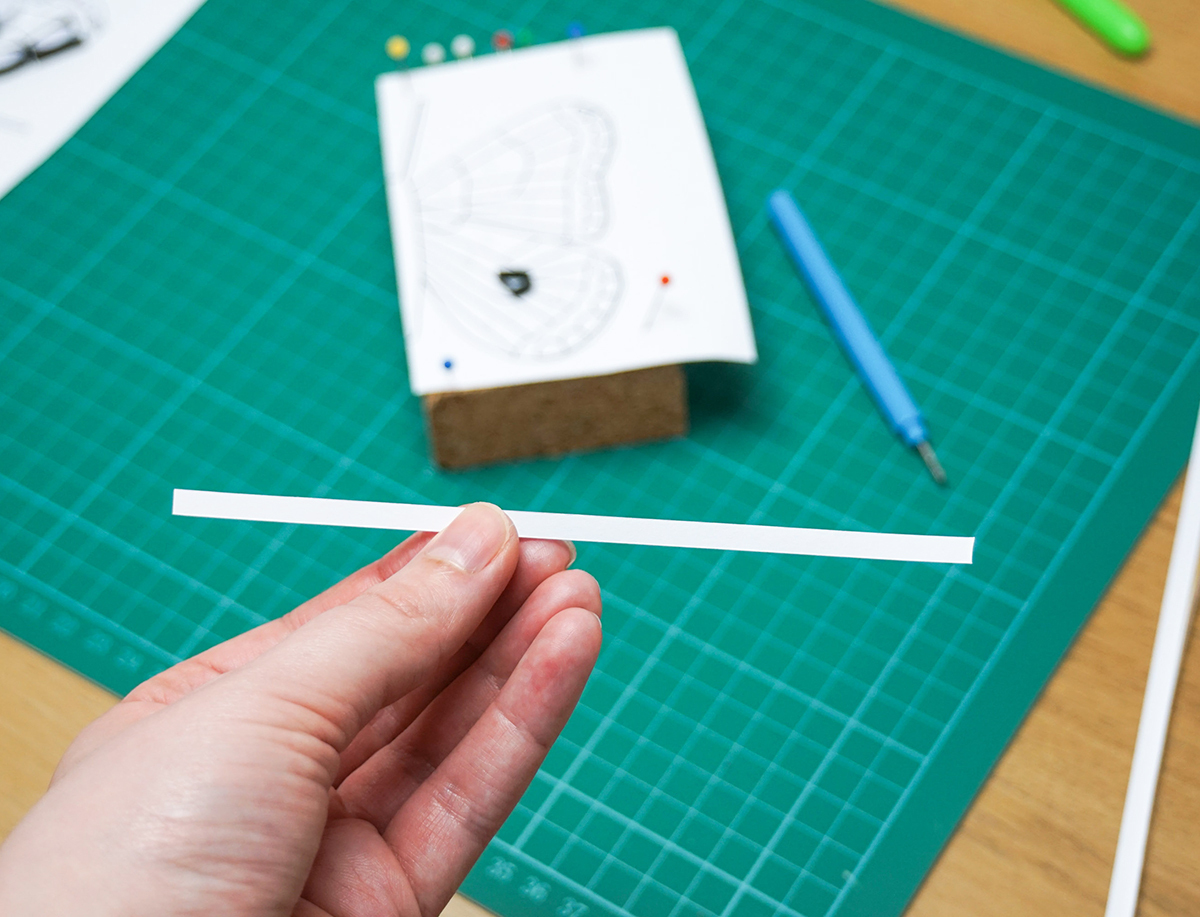
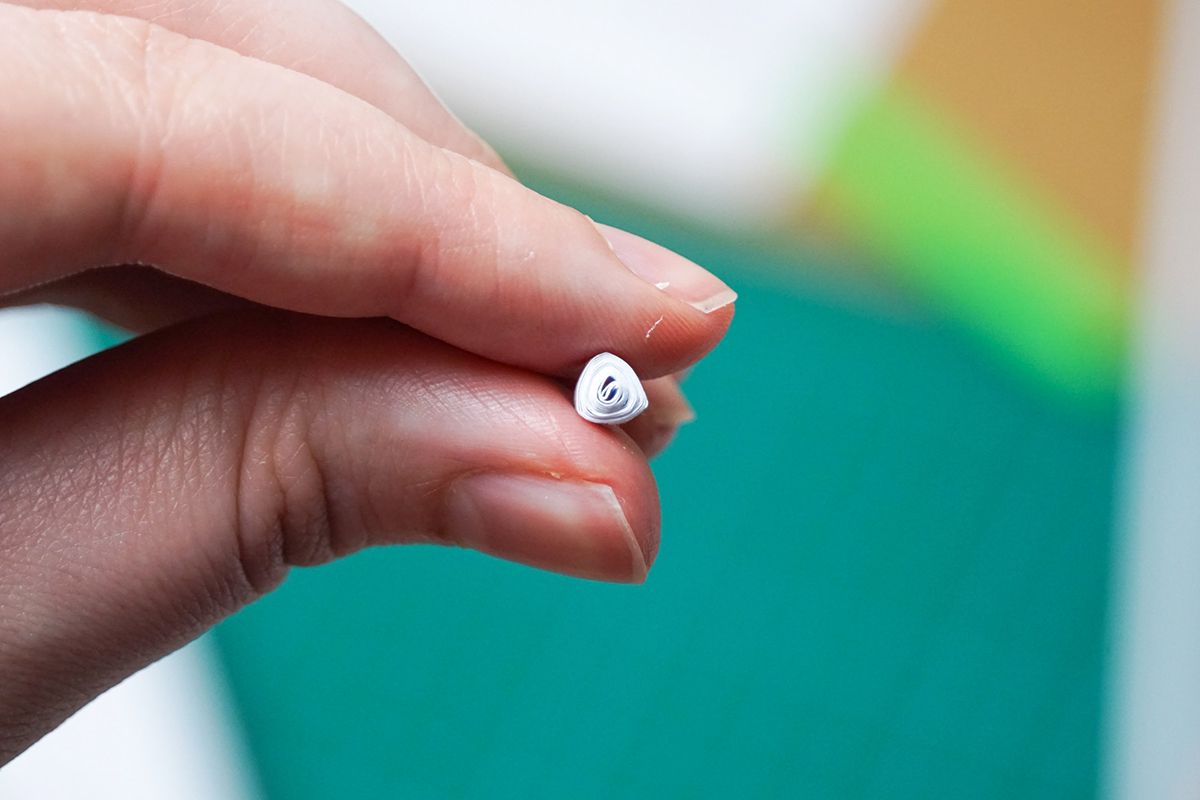
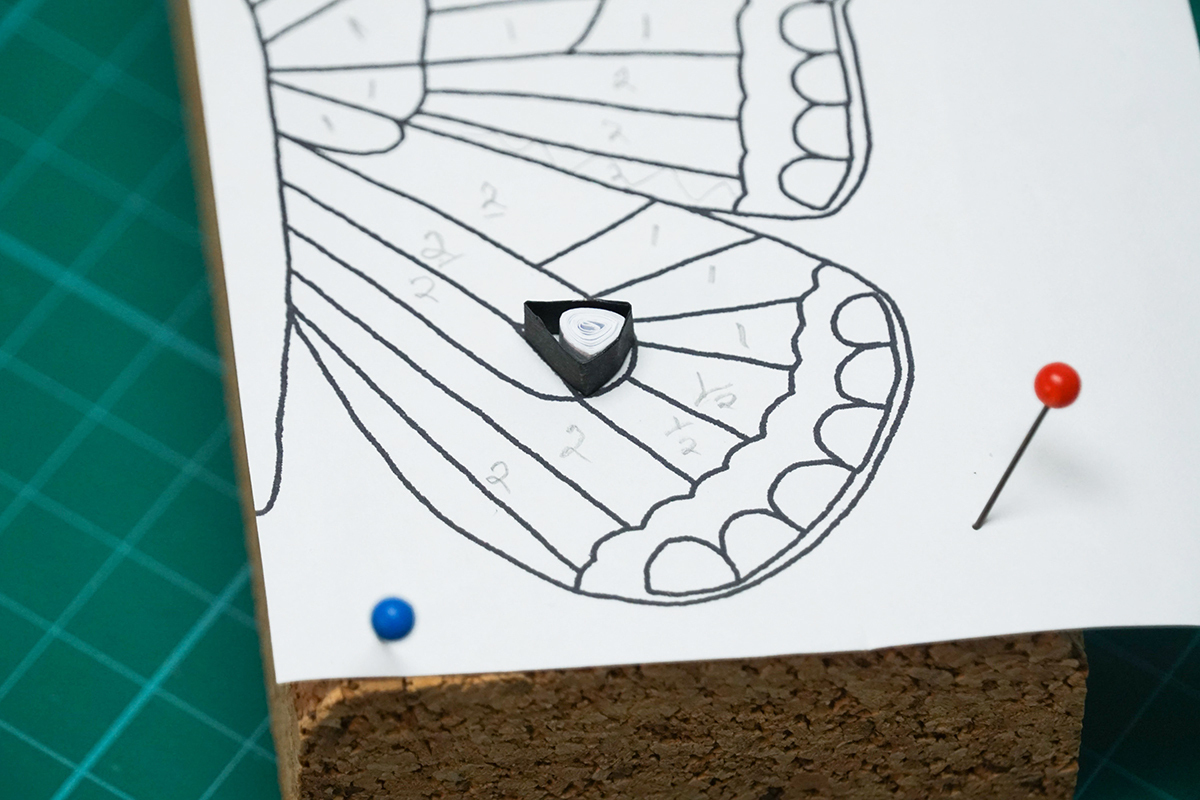
For this, you'll first need to make a triangular border in black, and glue the overlapping ends together.
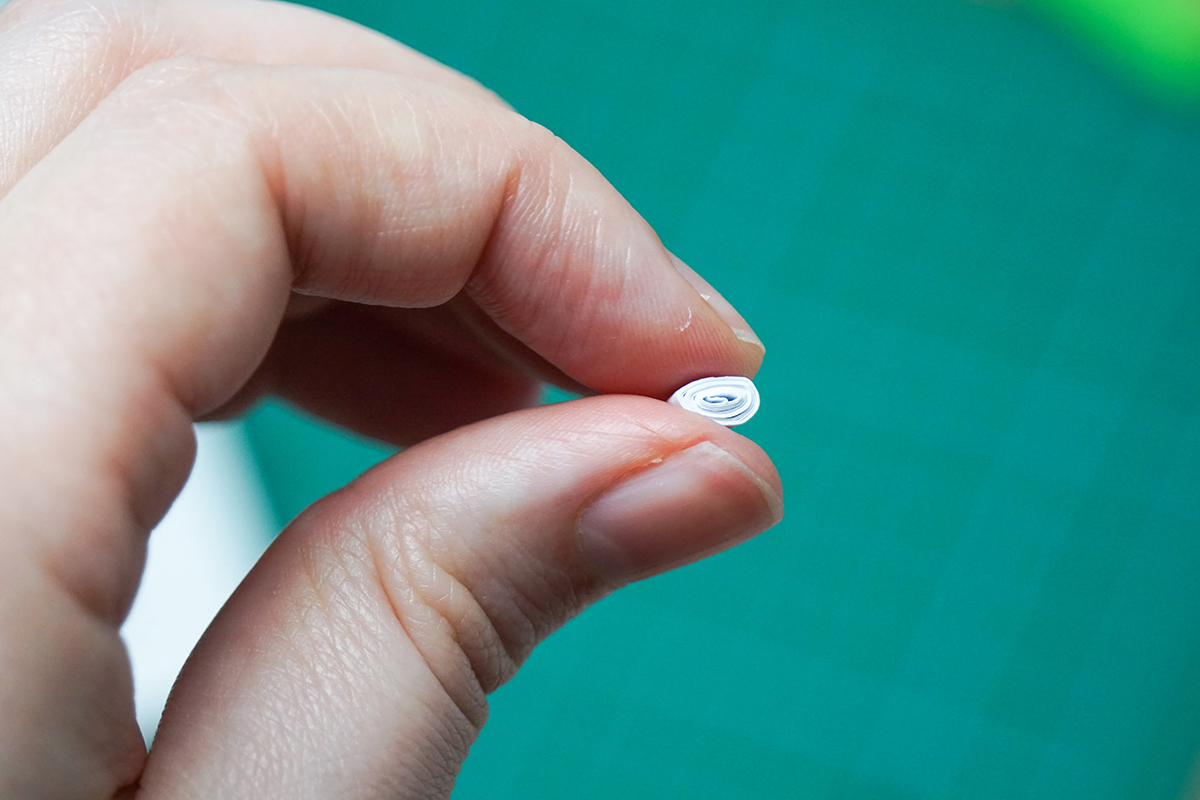
Then cut a white paper strip in half and use your slotted tool to turn it into a tight coil. Glue the end of the paper strip in place.
Use your fingers to pinch 3 'corners' in the circle to make a triangle shape.
Glue the coil inside the border.
To Make an Eye Shape
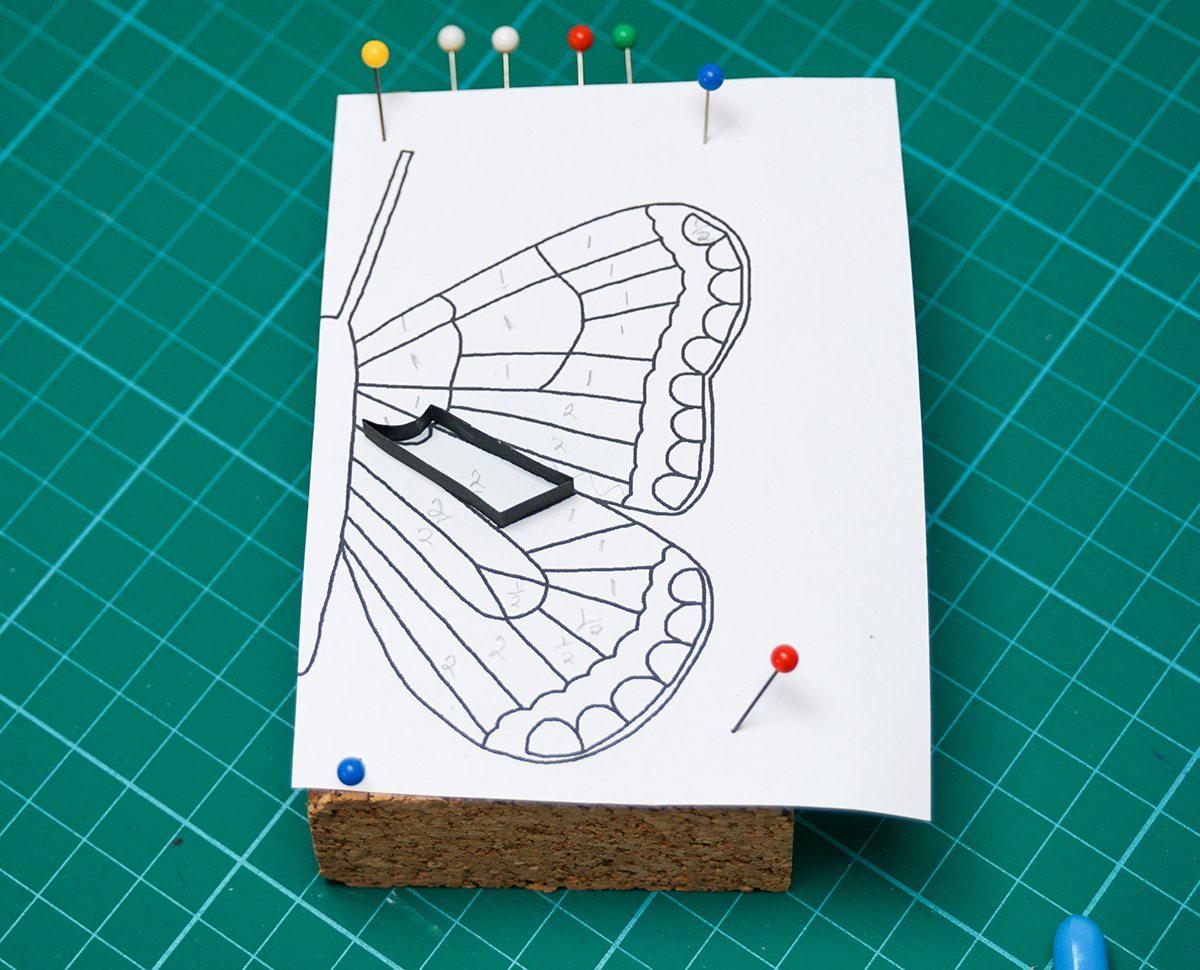
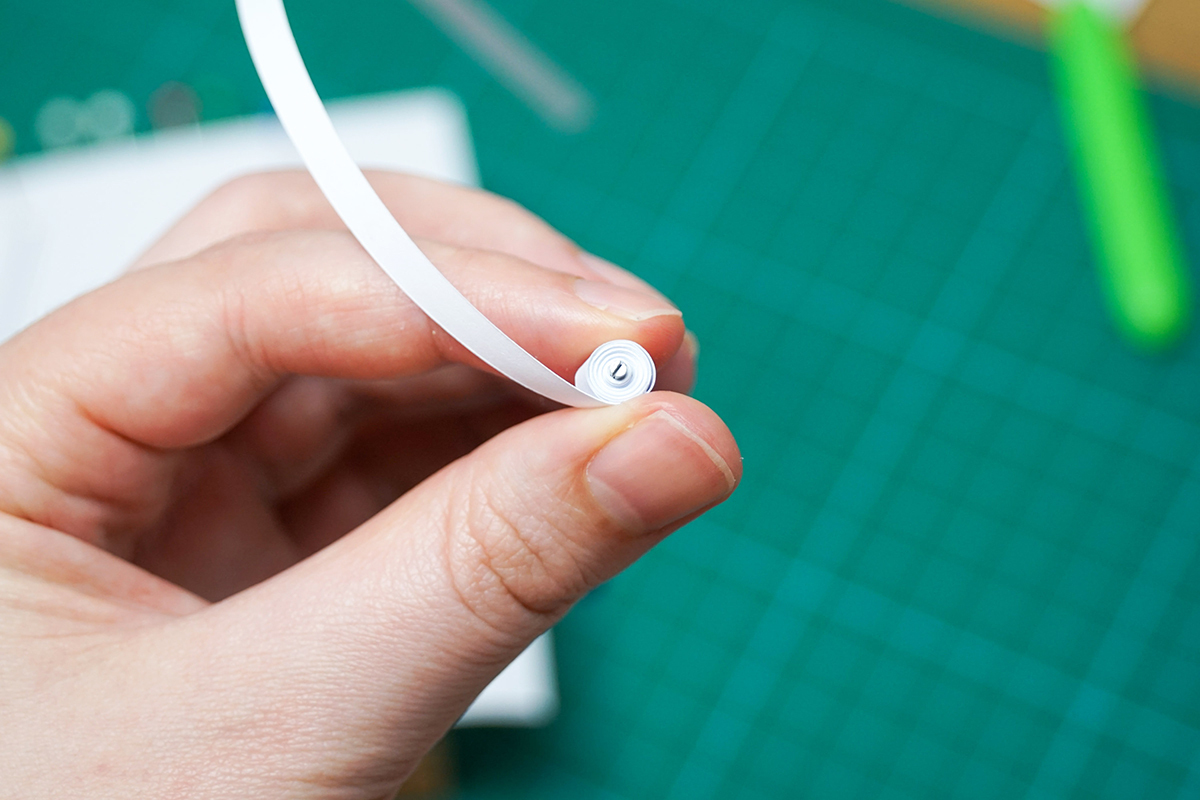
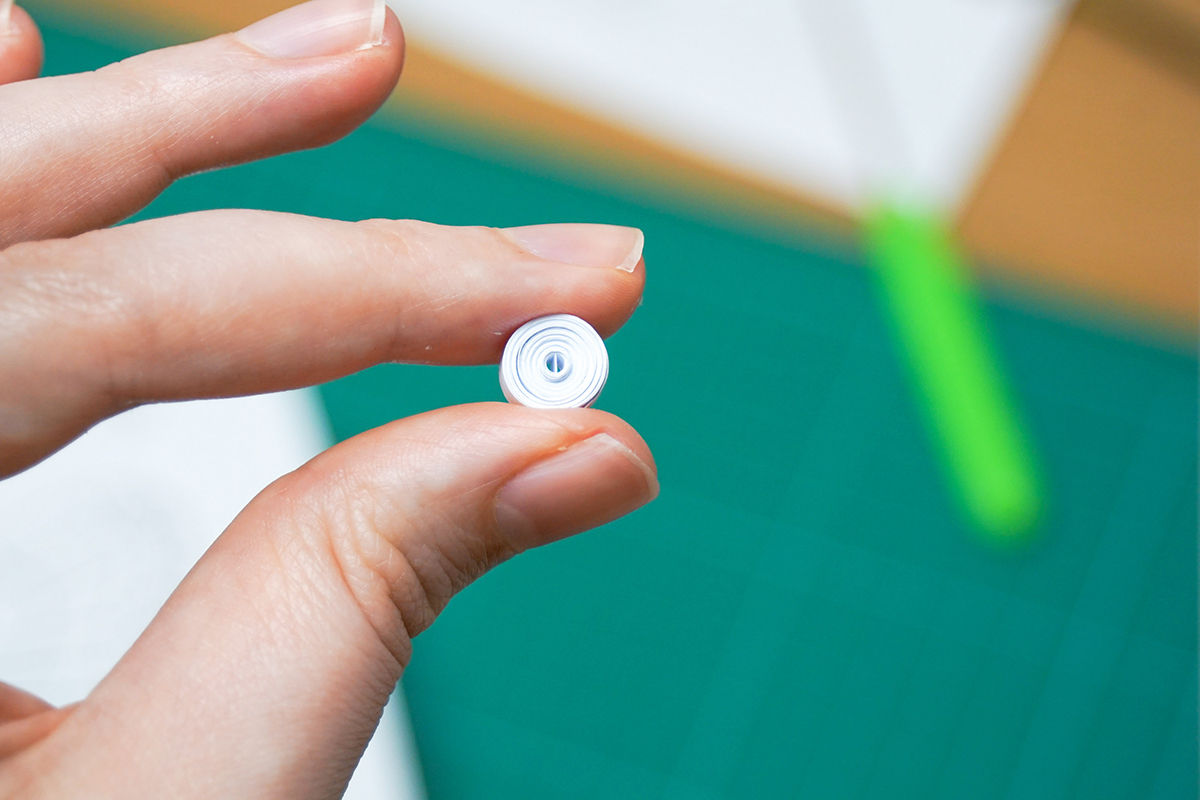
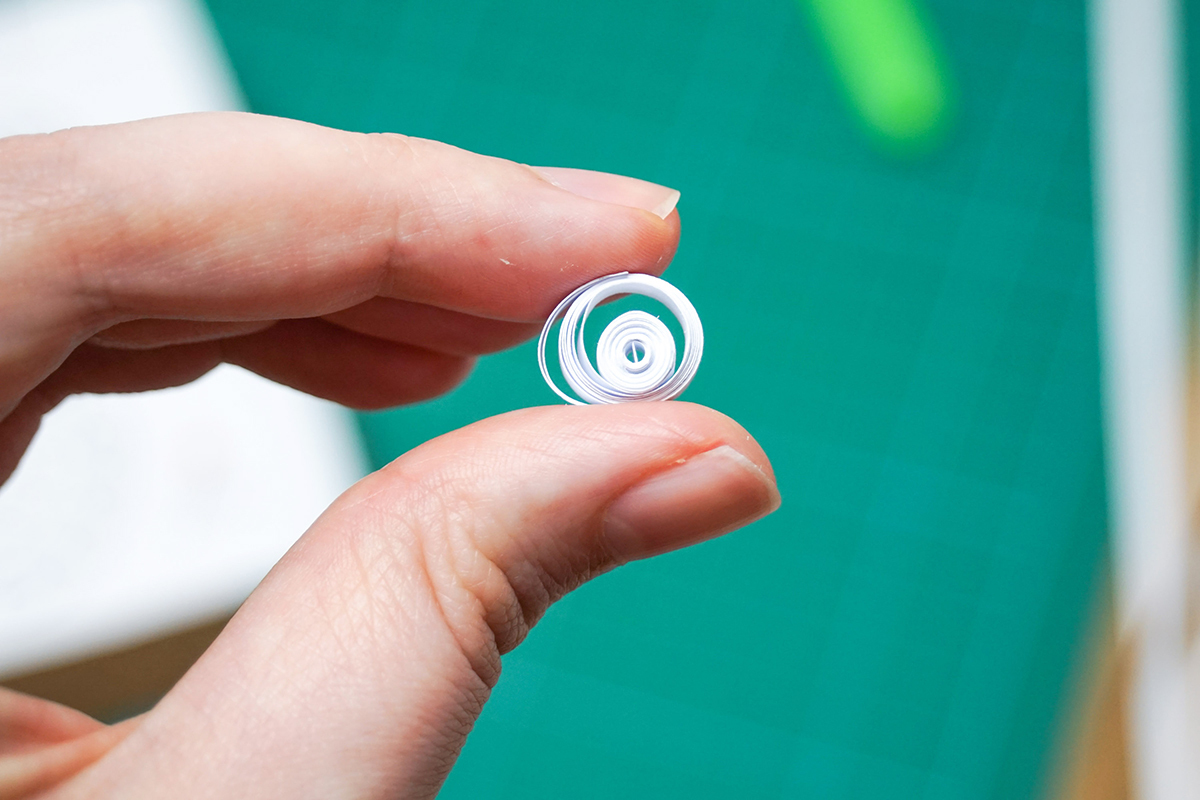
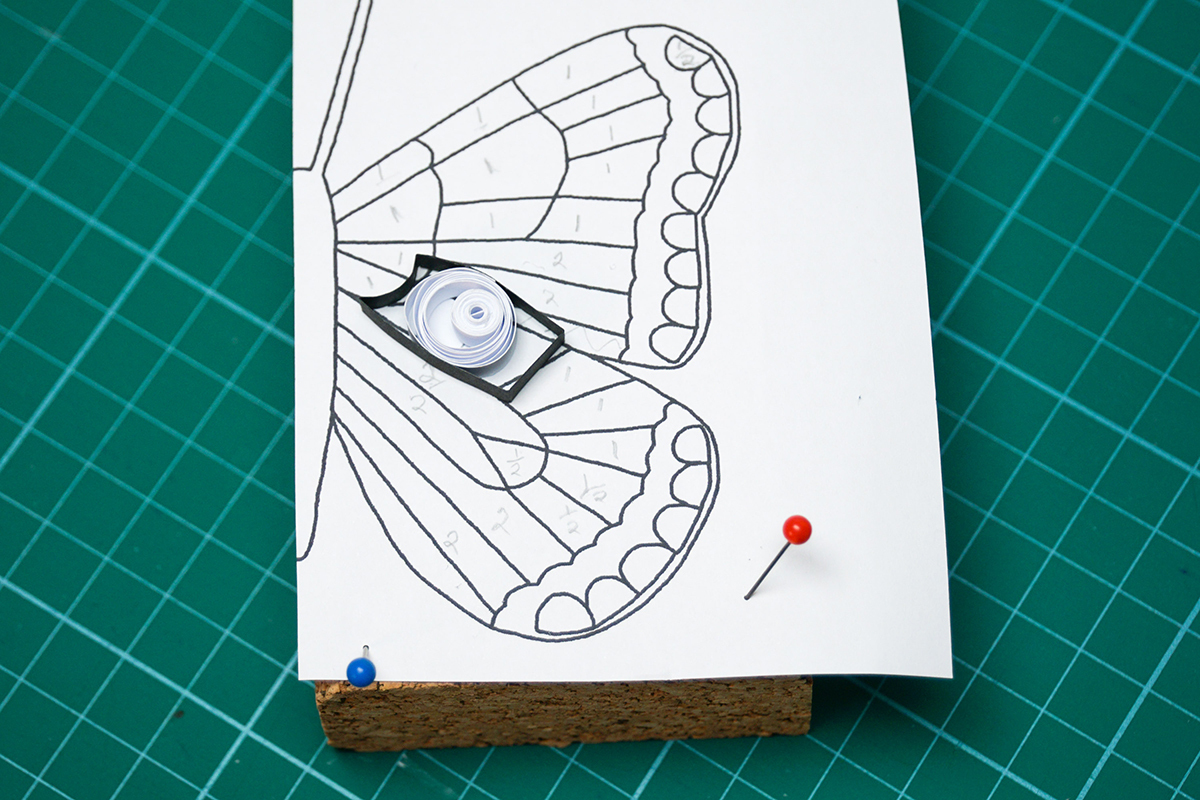
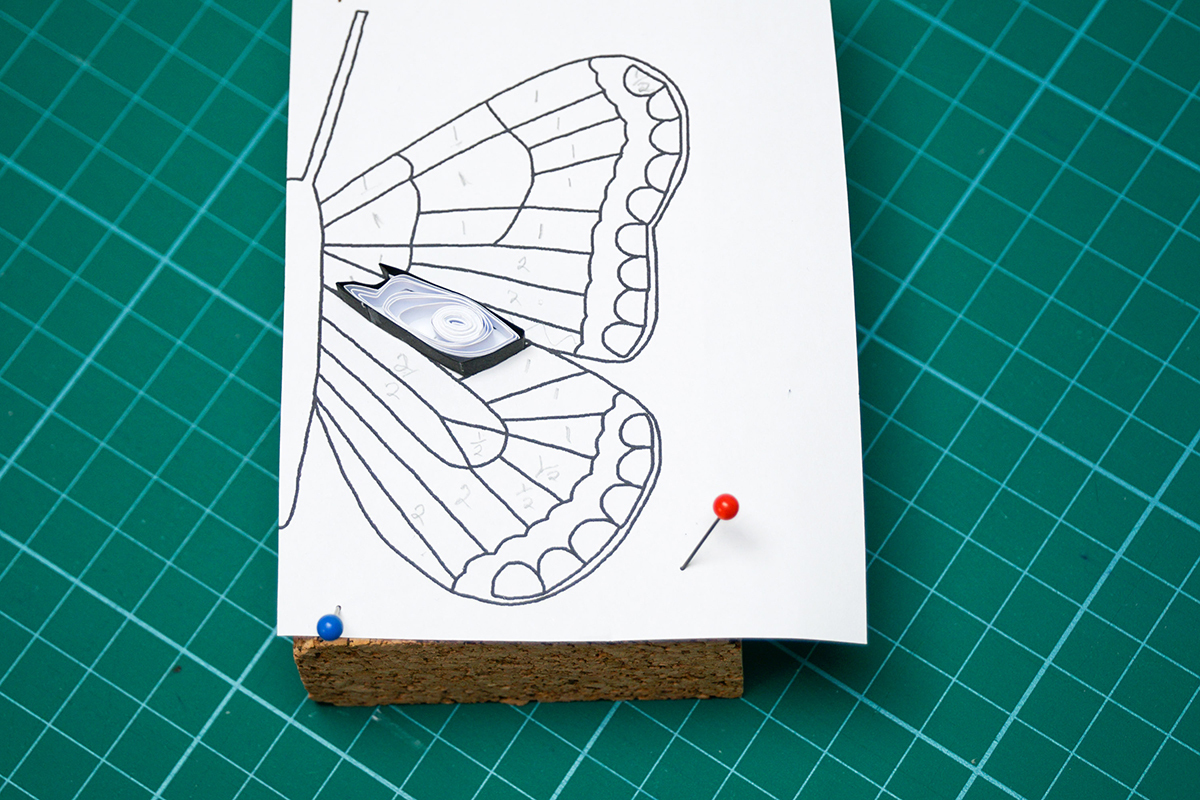
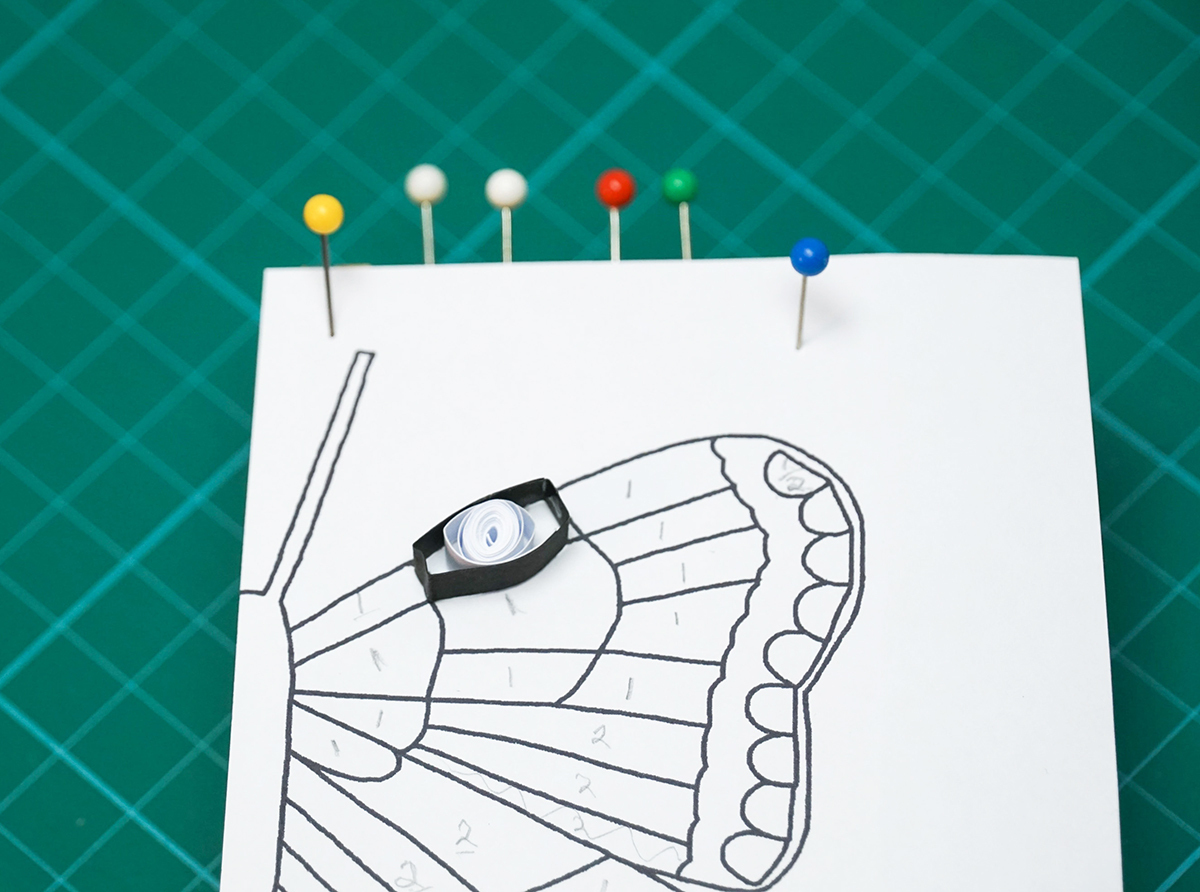
For the segment shown above, I wanted an 'eye' shaped coil instead for a bit of variety.
To do this, I made a black border as usual.
Then I made a tight coil using 1 white paper strip and glued the end of the strip in place.
Then I glued the end of another paper strip to this tight coil and continued winding it around in the same direction as the first coil. I didn't glue this paper strip in place though; instead I let it unwind a little and put a dab of glue on the outside of the end of the strip.
Then I put the coil inside the border and unwound the outer coil to fill the space. I needed to reshape the border a little bit too.
Open-Ended Segments With 2 Paper Strips
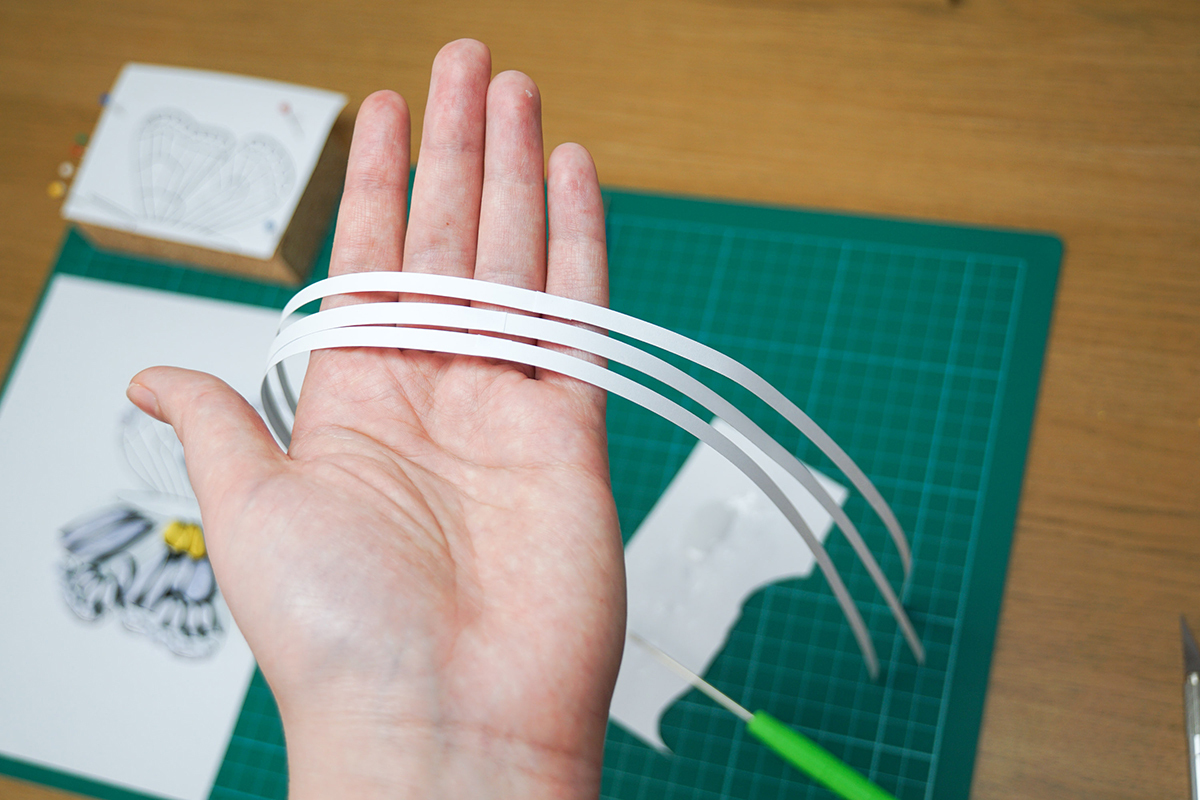
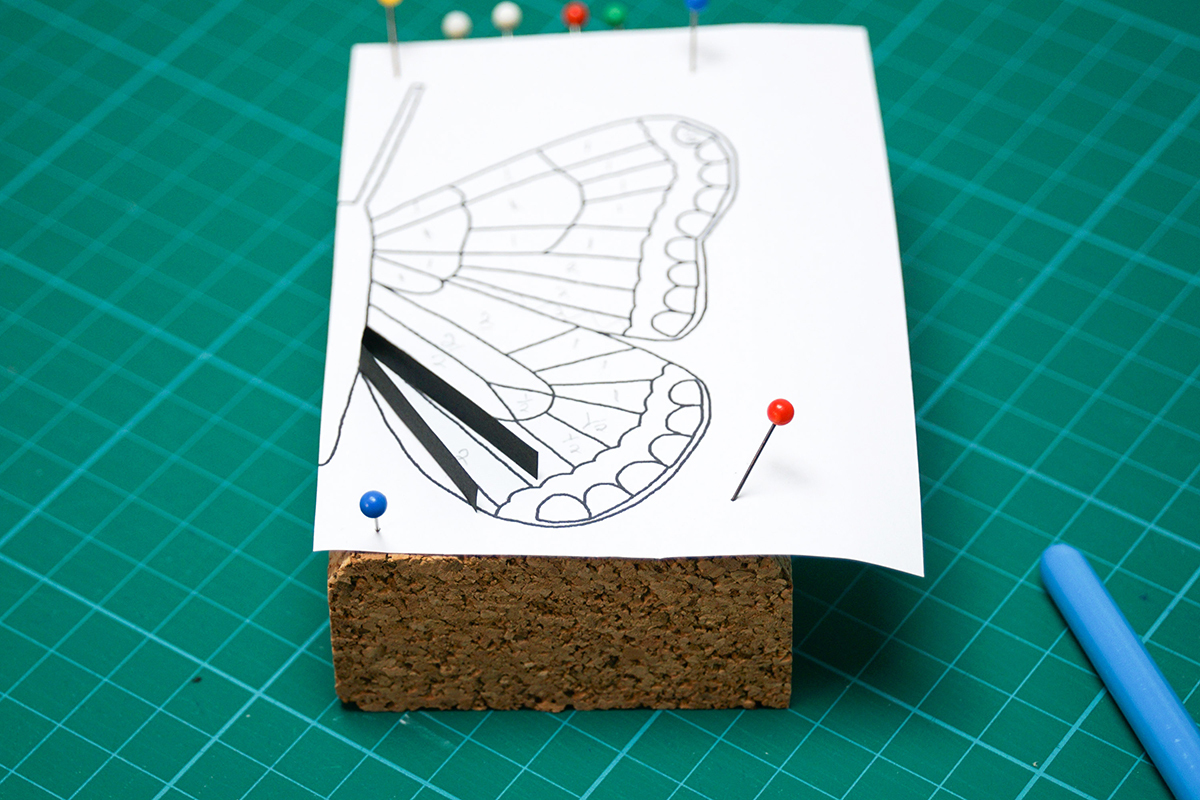
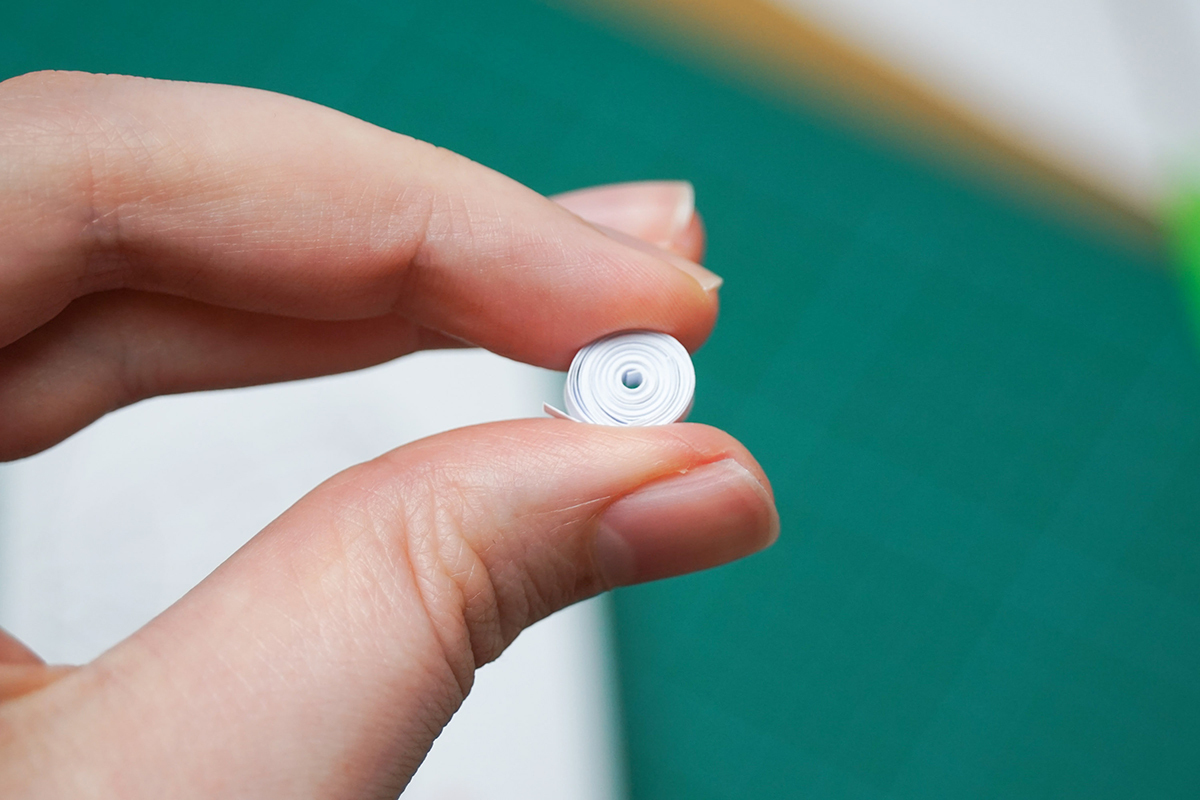
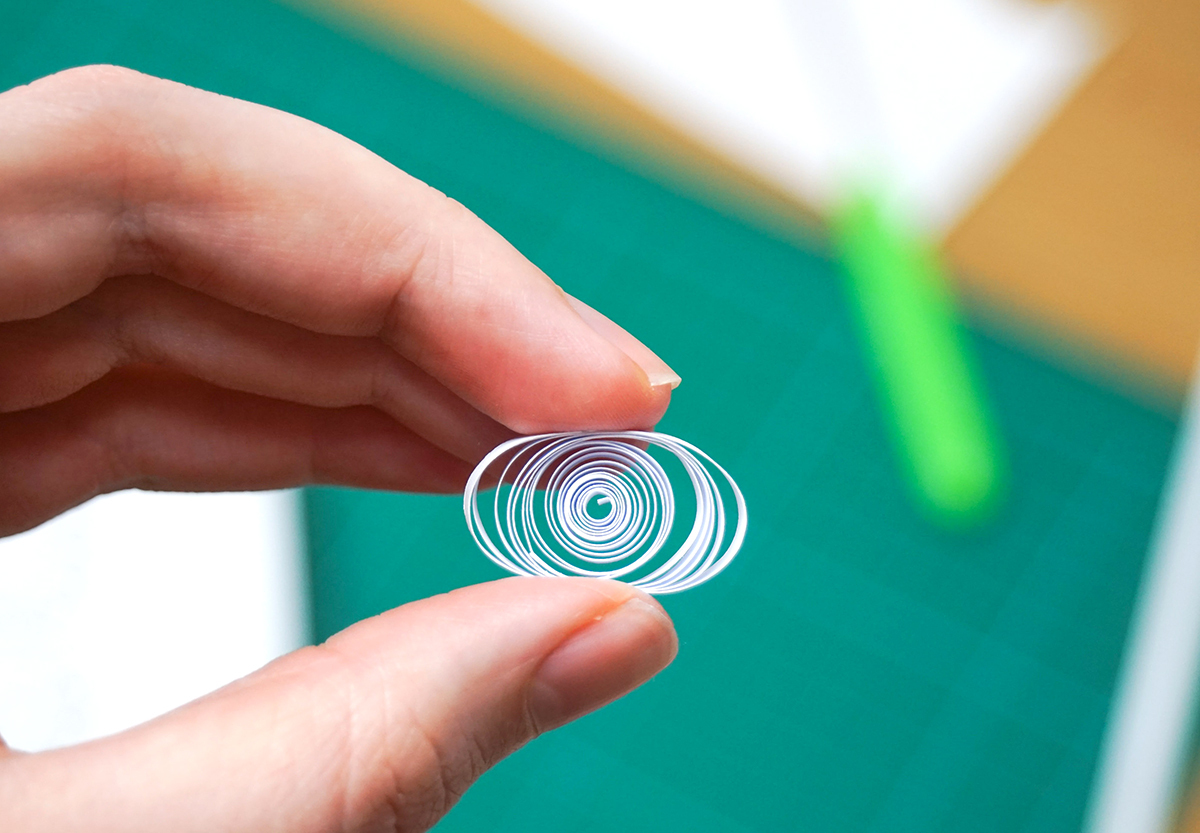
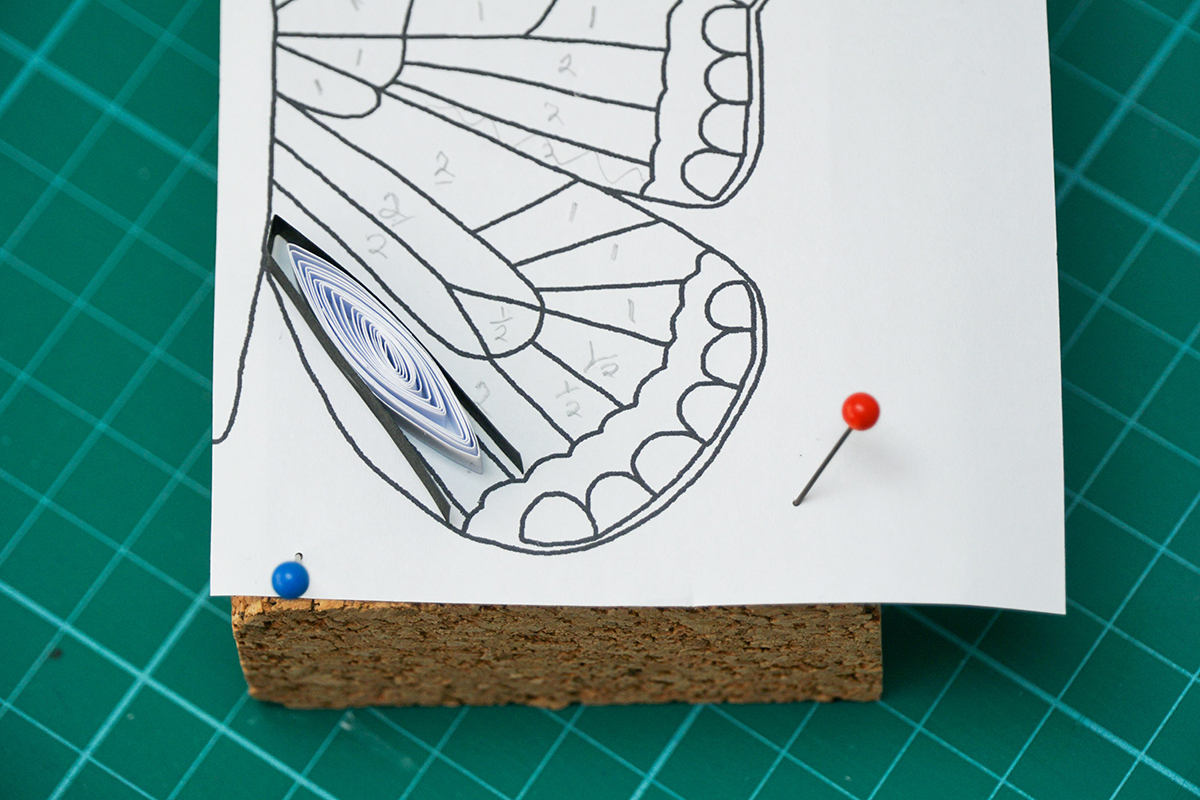
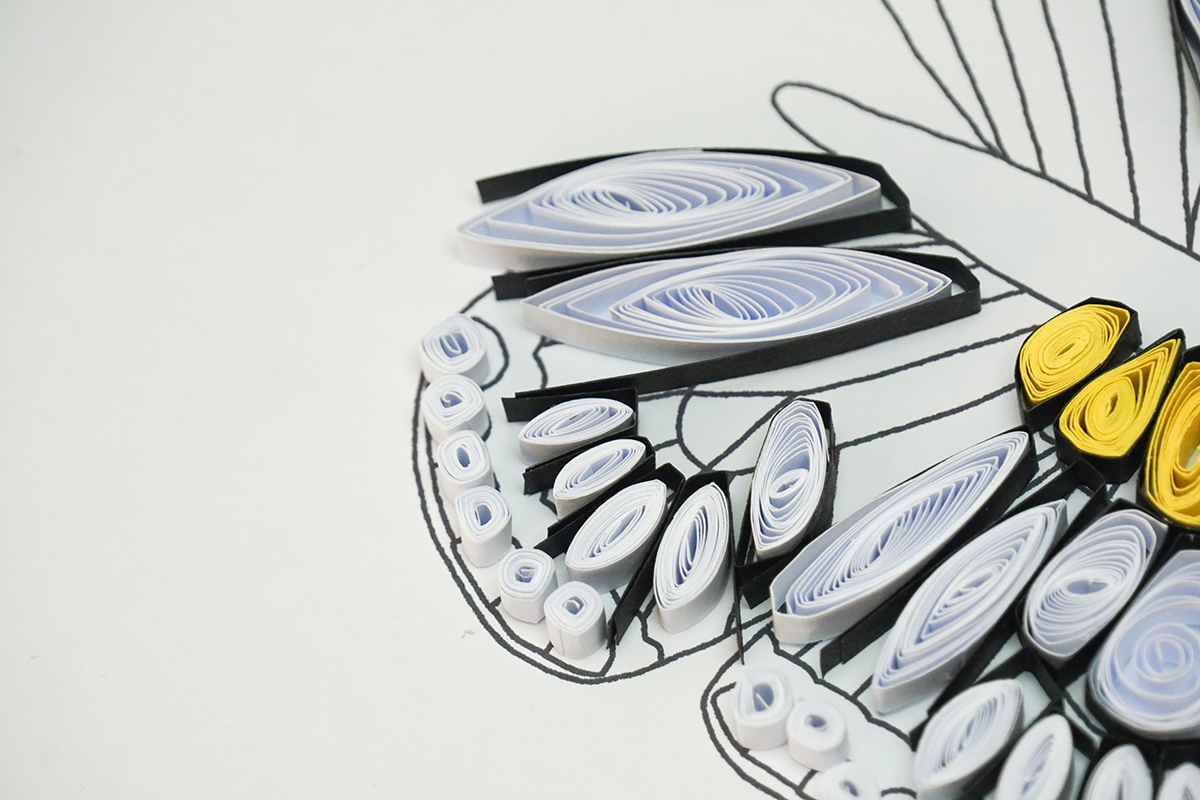
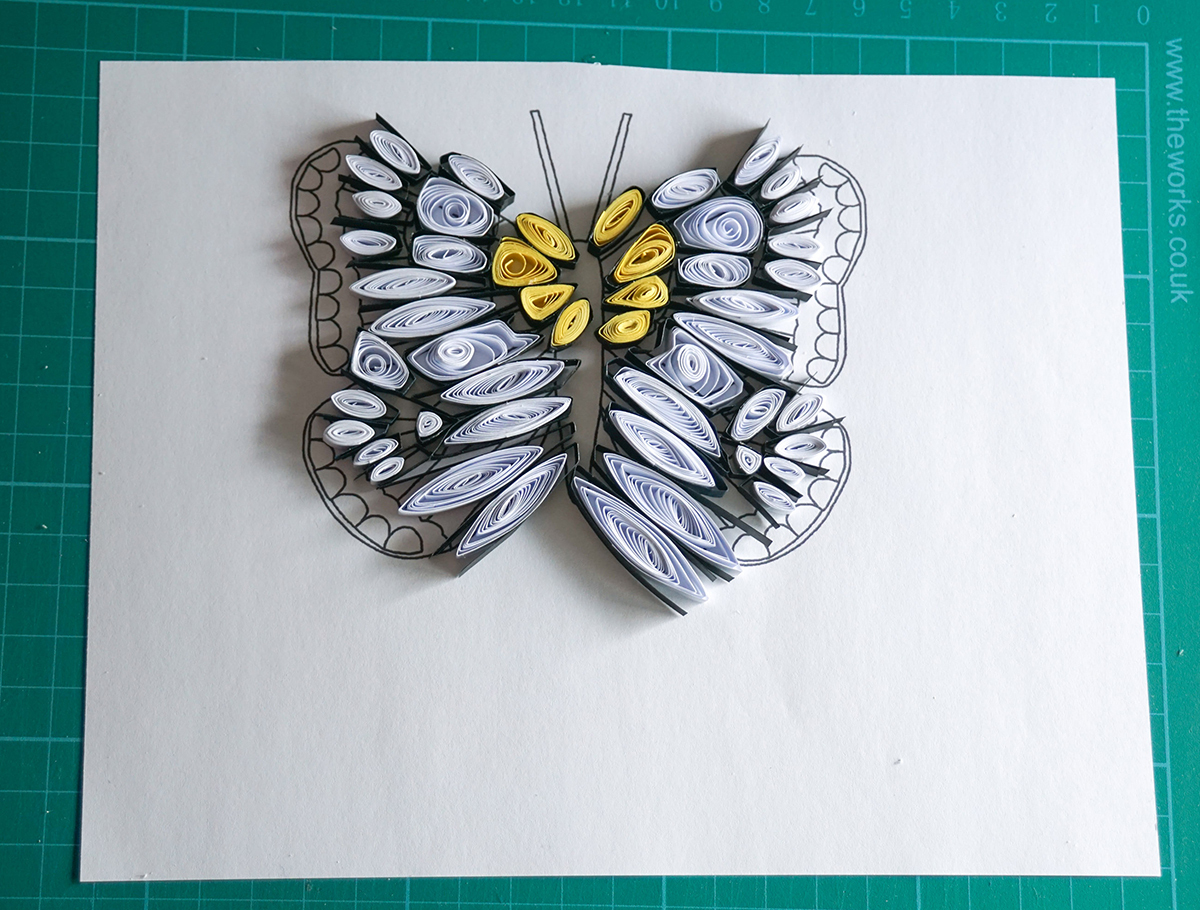
When you're making larger coils that involve 2 paper strips, you need to first glue 2 paper strips together. To do this just glue the end of one to the end of another with a slight overlap.
Then, once you've made the black 3-sided border, you turn this extra-long paper strip into a coil.
You then need to let the coil unwind evenly until the coil is big enough that, when you then glue it and squash it into an oval, the coil is approximately the same length as the border.
Then glue the coil inside the border.
You should now be able to make all of the segments.
Transfer the Segment Outlines
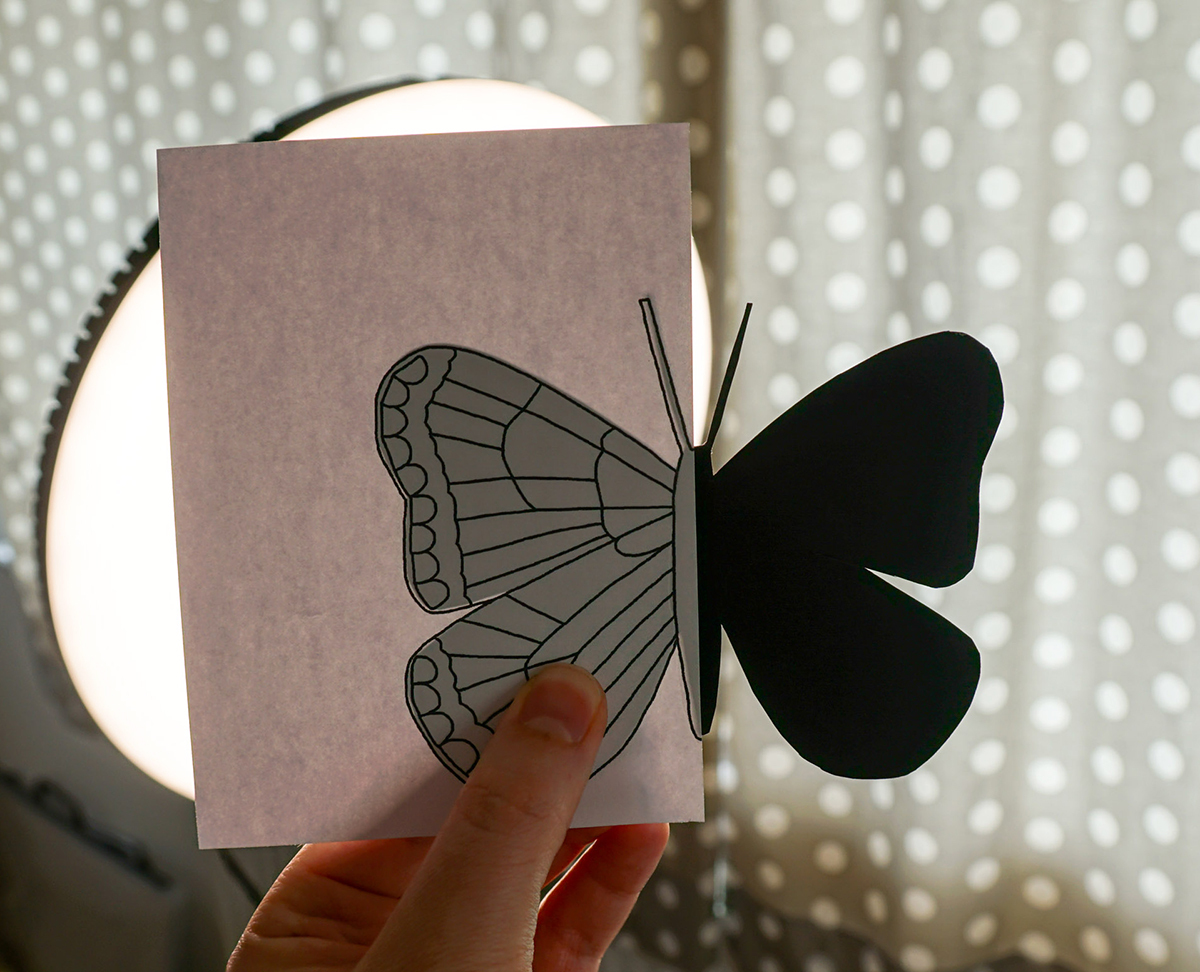
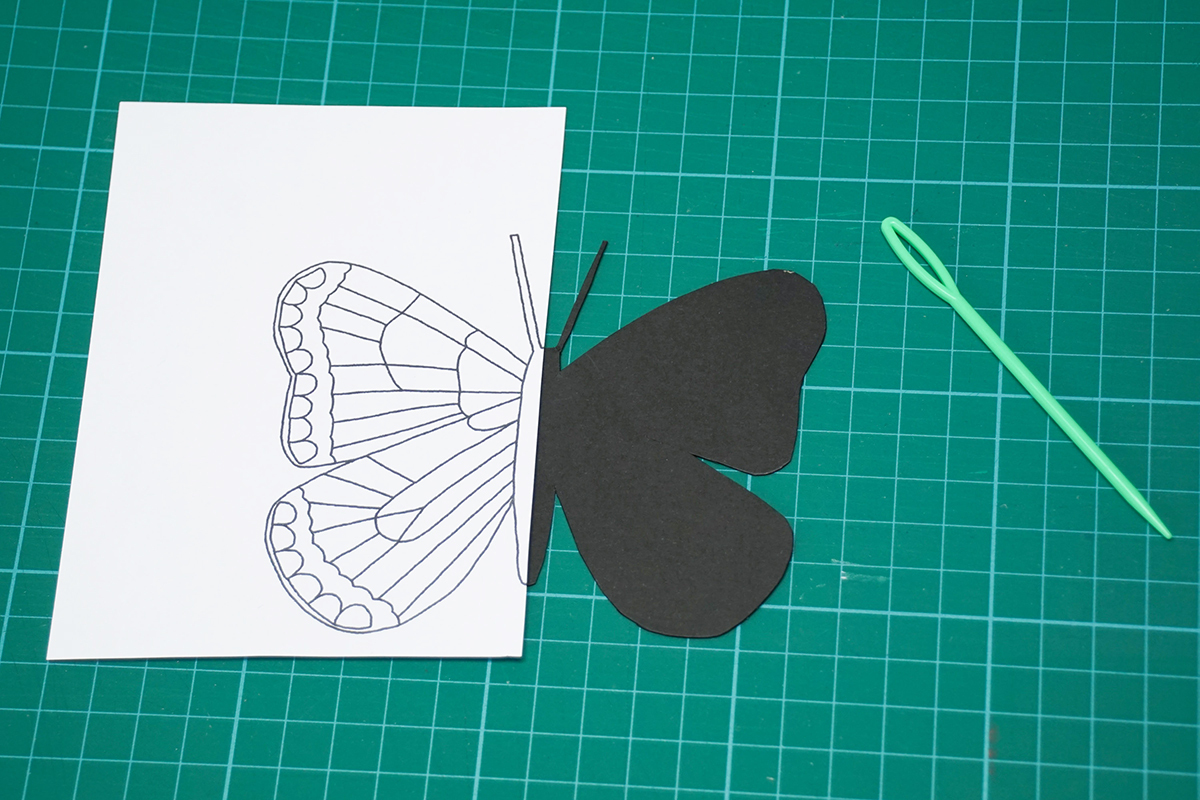
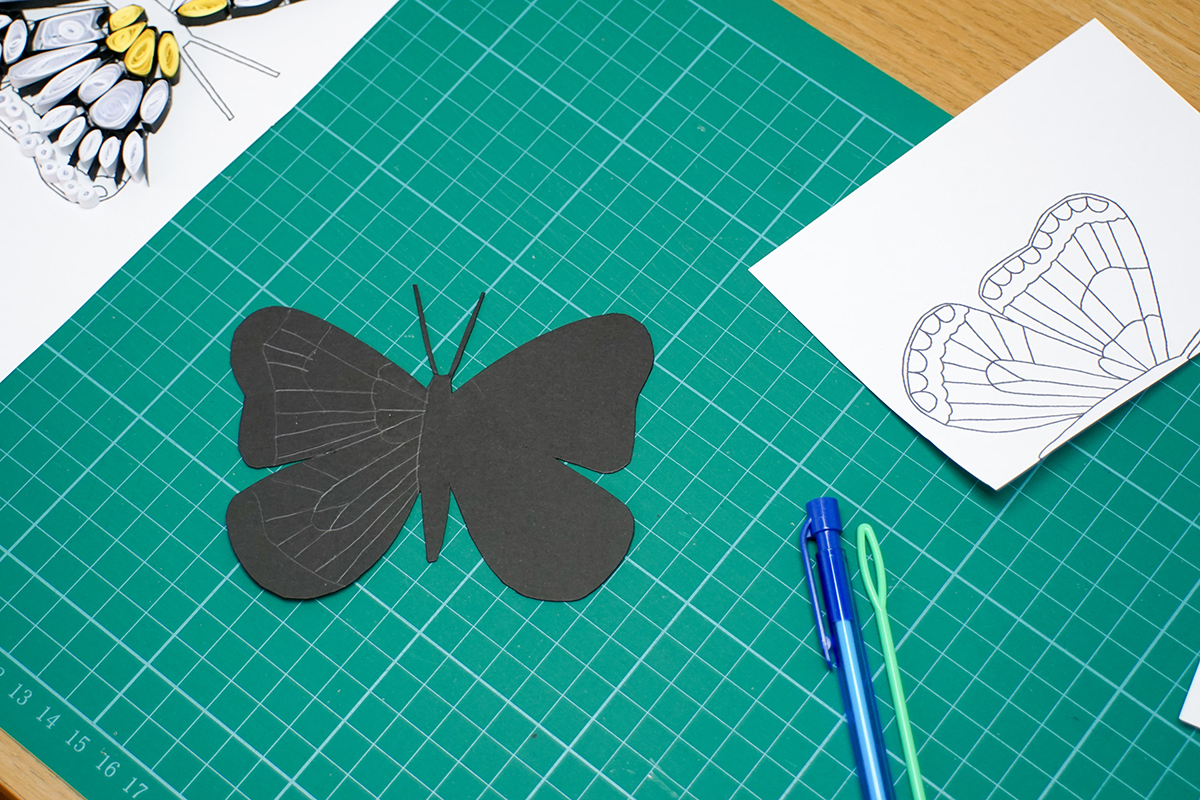
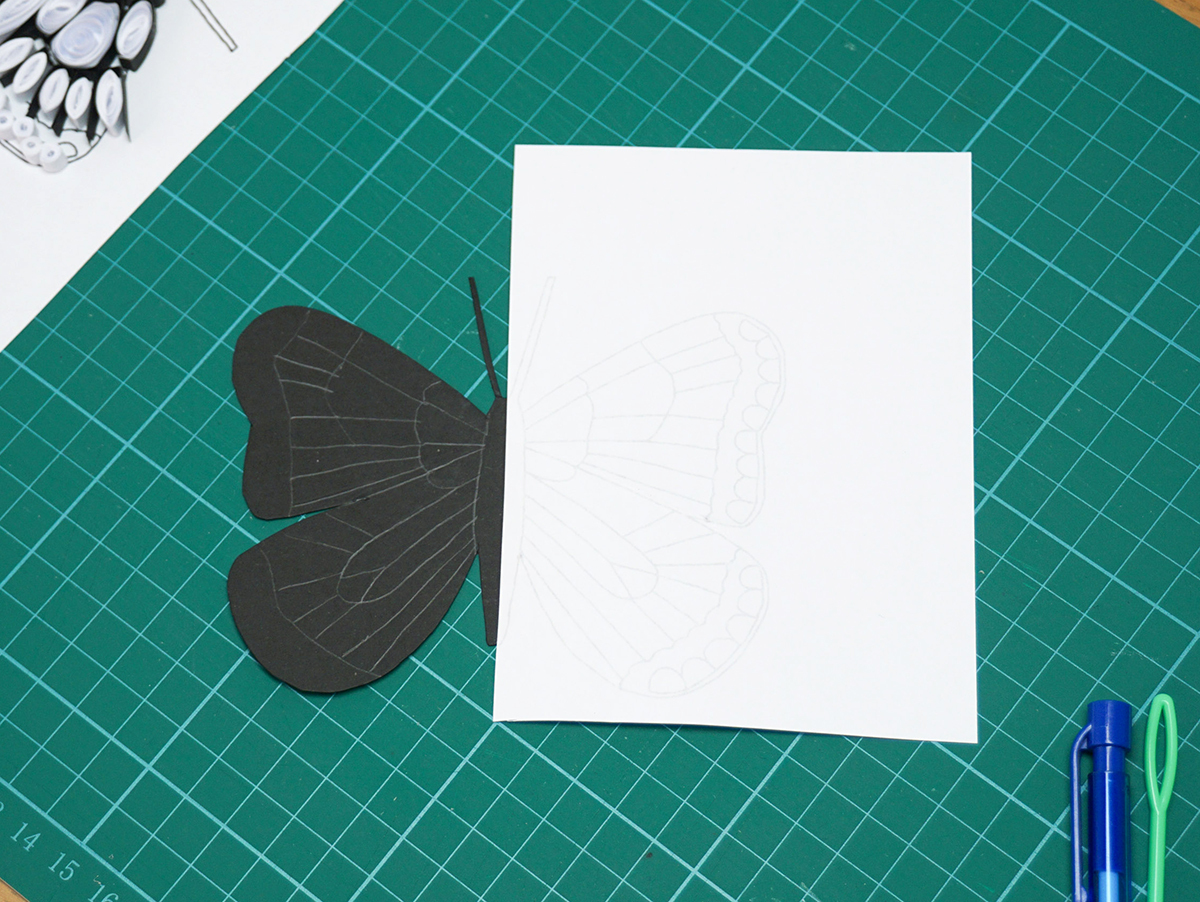
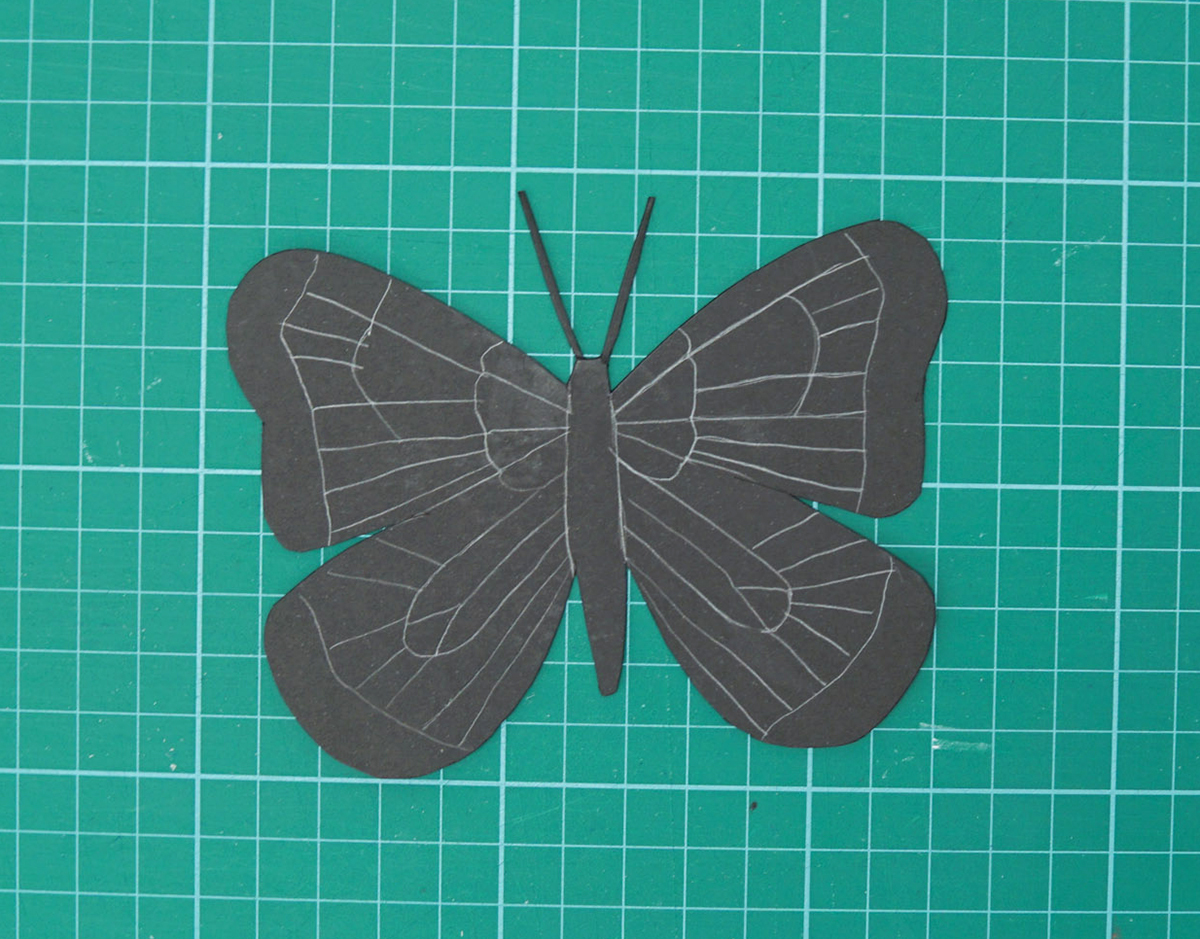
In order to know where to place the segments on the black backing card, you will need to draw the design onto this black card.
So take your half paper template (the half not attached to the cork block) and line it up over the corresponding wing of the black card. You can do this with a full template instead if you have one handy.
You can hold this up to a window or a light to see that it lines up accurately.
Then use a blunt pencil/yarn needle/pen - anything like that - and trace over the template outlines. This will indent the lines into the card below.
Draw over these lines with a pencil so you can see them properly.
Then flip the paper over to the other wing on the black card and repeat this again.
Assemble
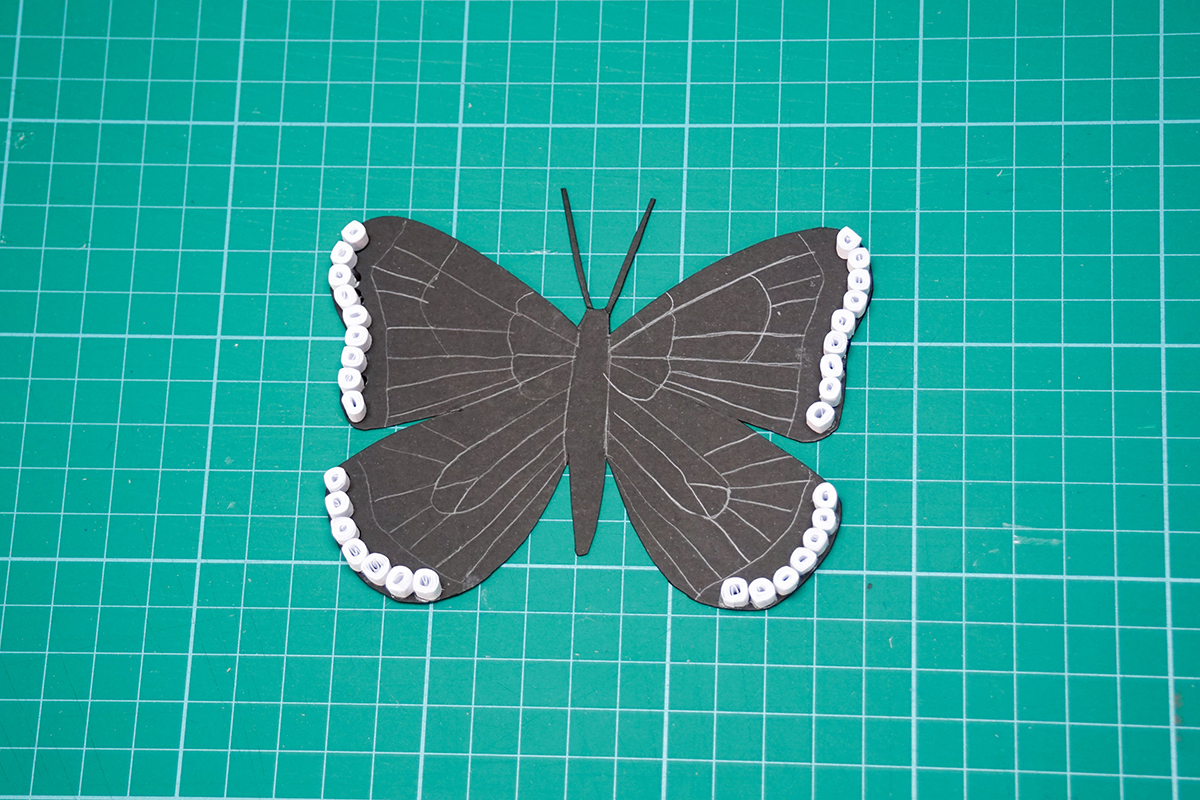
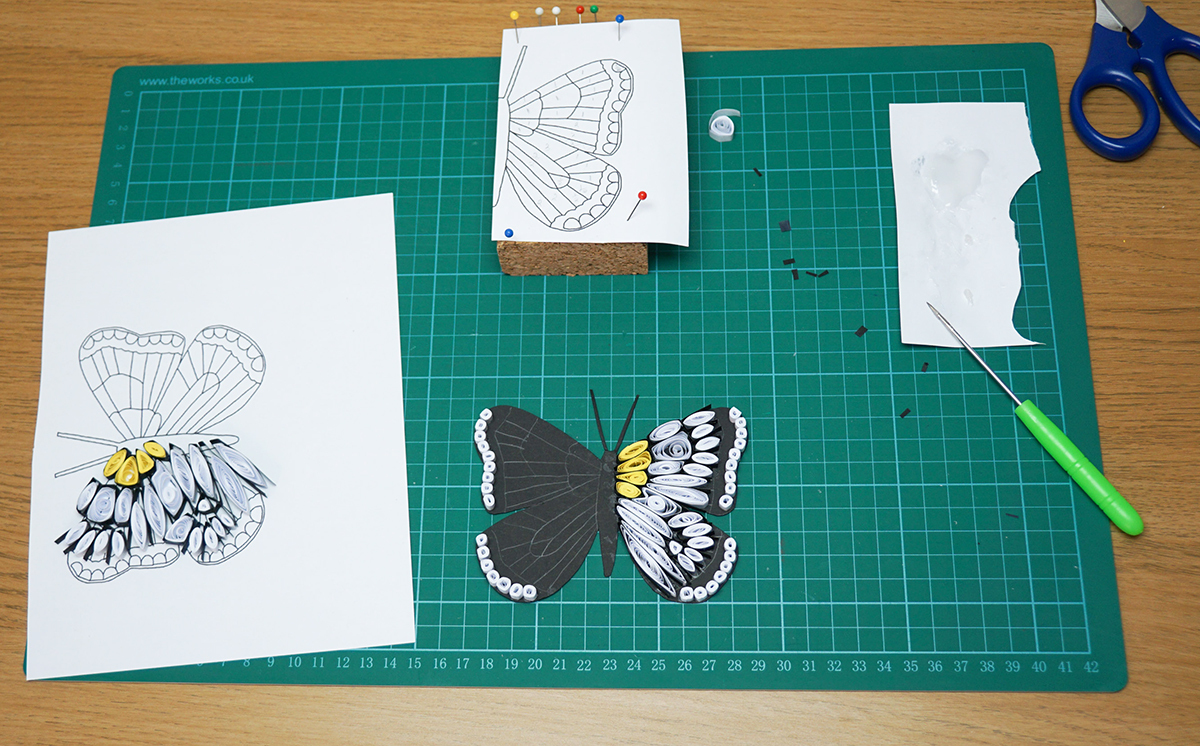
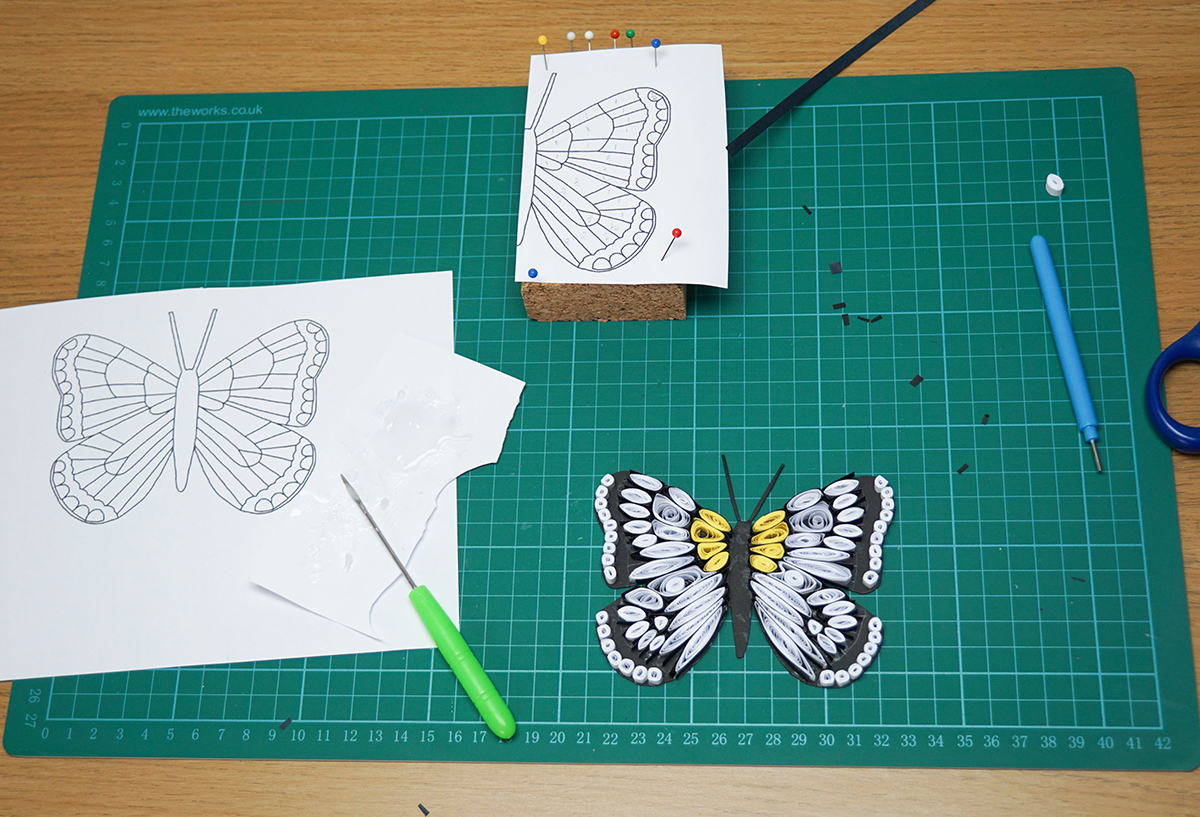
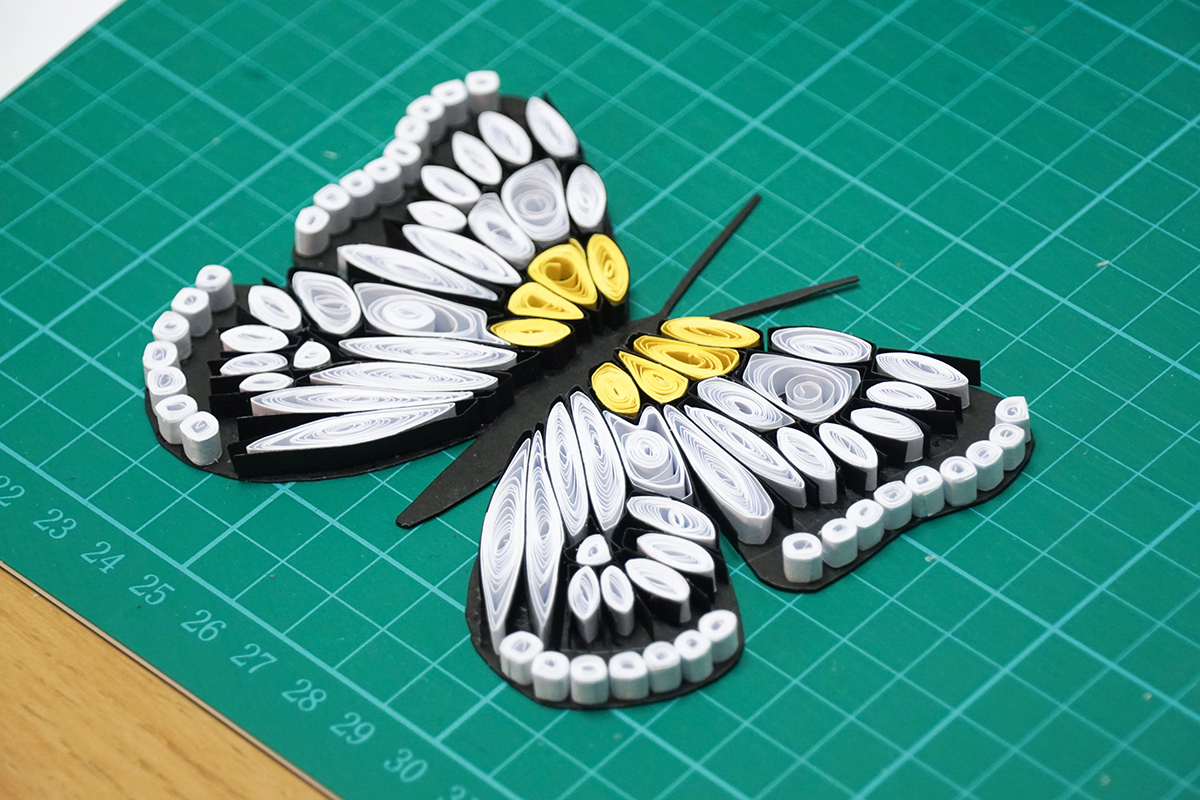
Then it's time to glue every segment into place on the black card.
I recommend starting with the semi-circles first, then carry on from the centre outwards.
Make the Body
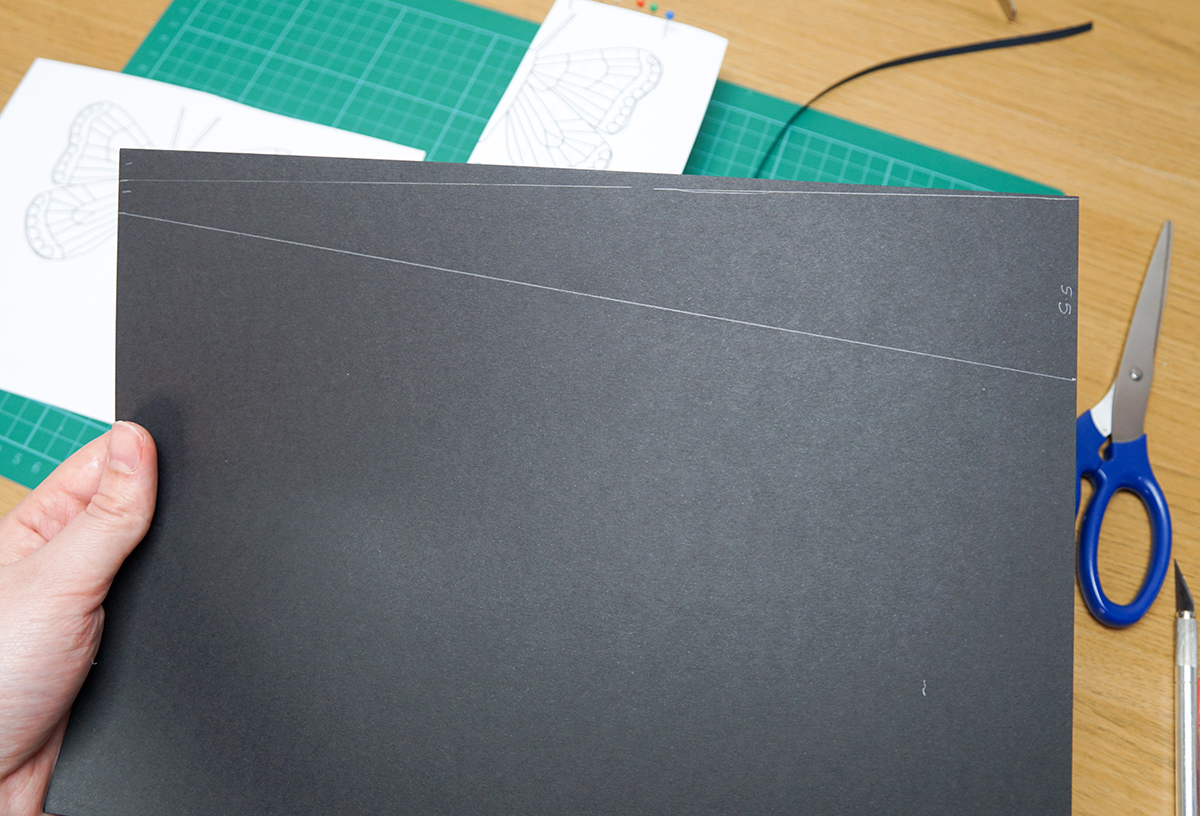
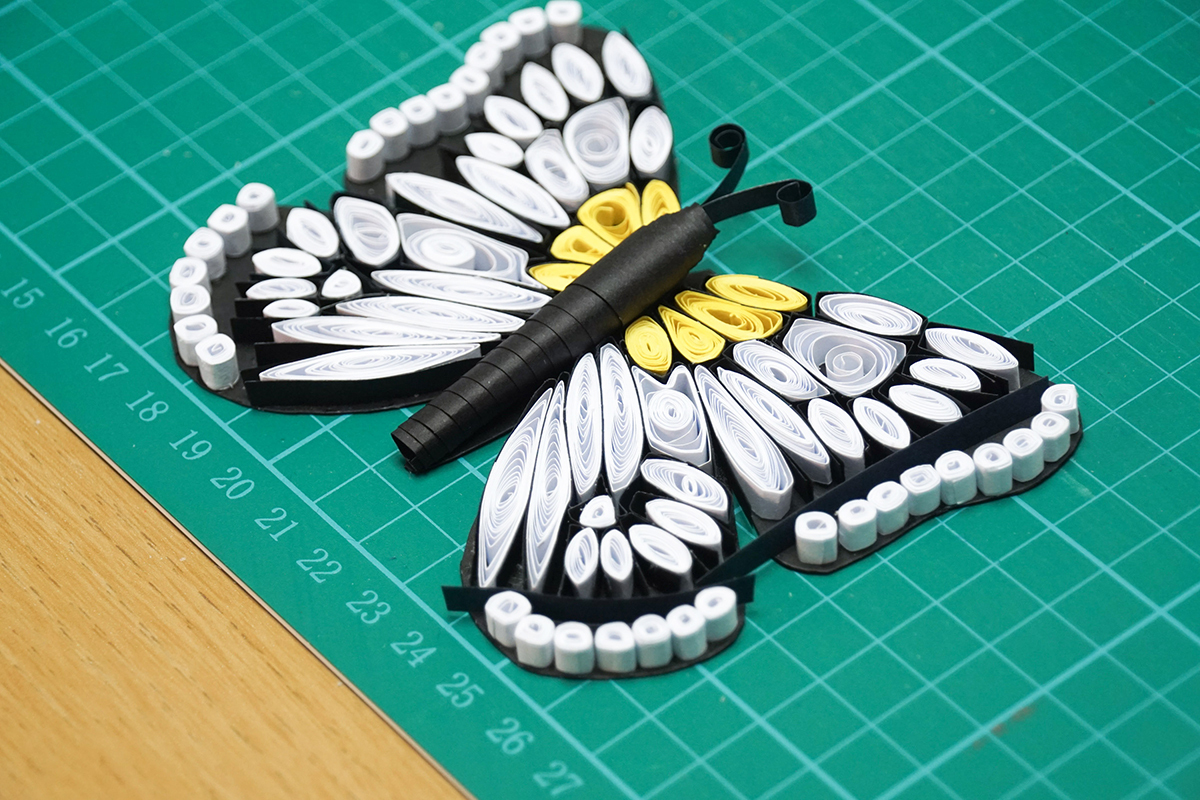
From an A4 sheet of black paper, cut out a shape as shown, where one end is 5.5 cm wide (the same length as the body of the butterfly), and the other end is 1 cm wide and placed 1 cm from the long edge of the paper.
Cut this shape out.
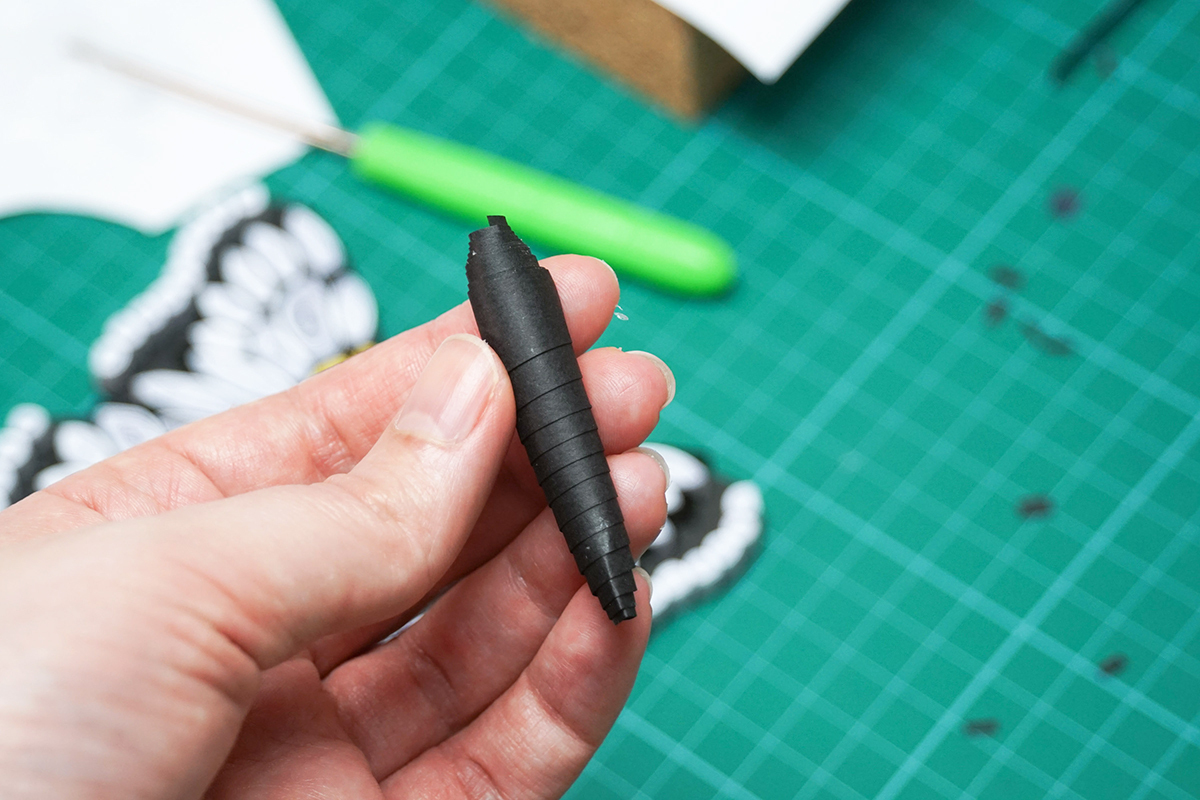
Use the needle tool or an awl to start coiling the wider end of the paper shape. Then just use your fingers to coil it all into the body shape as shown. Add small amounts of glue as you coil, and glue the end down once you've finished.
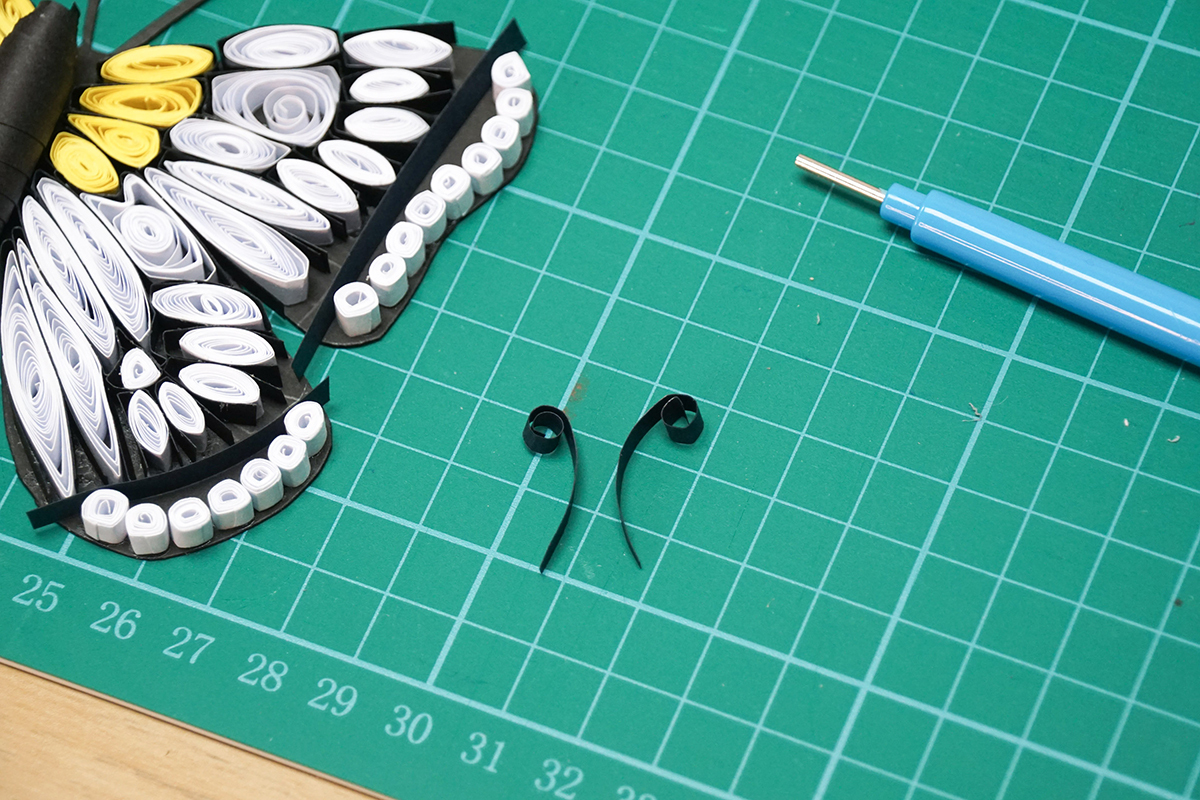
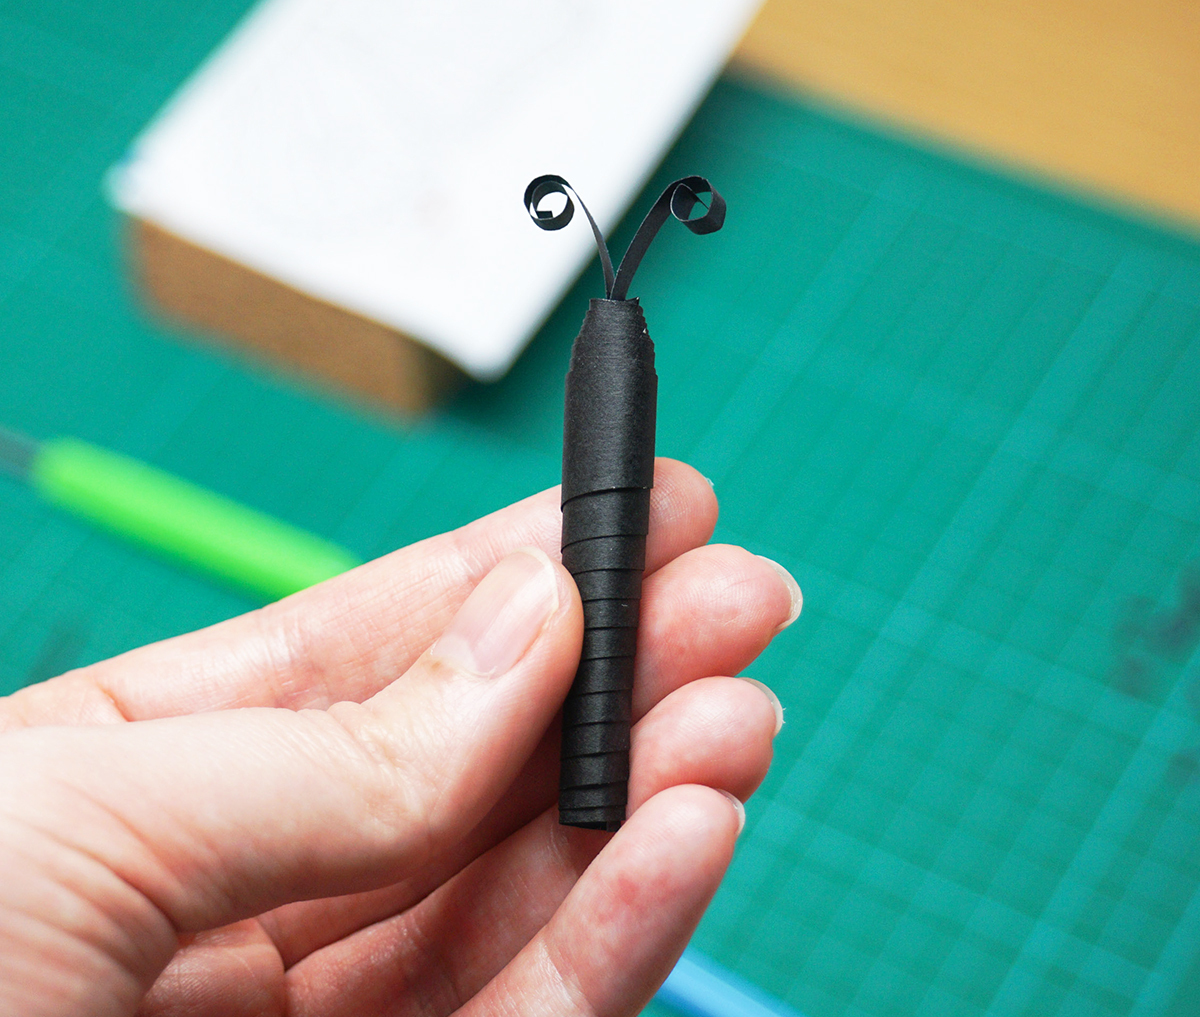
To make the antennae, cut 2 thin lengths of black paper (approx. 3 mm wide) and coil the ends. Glue these inside the bulkier end of the body.
Glue this body onto the butterfly wings.
Add Paper Walls
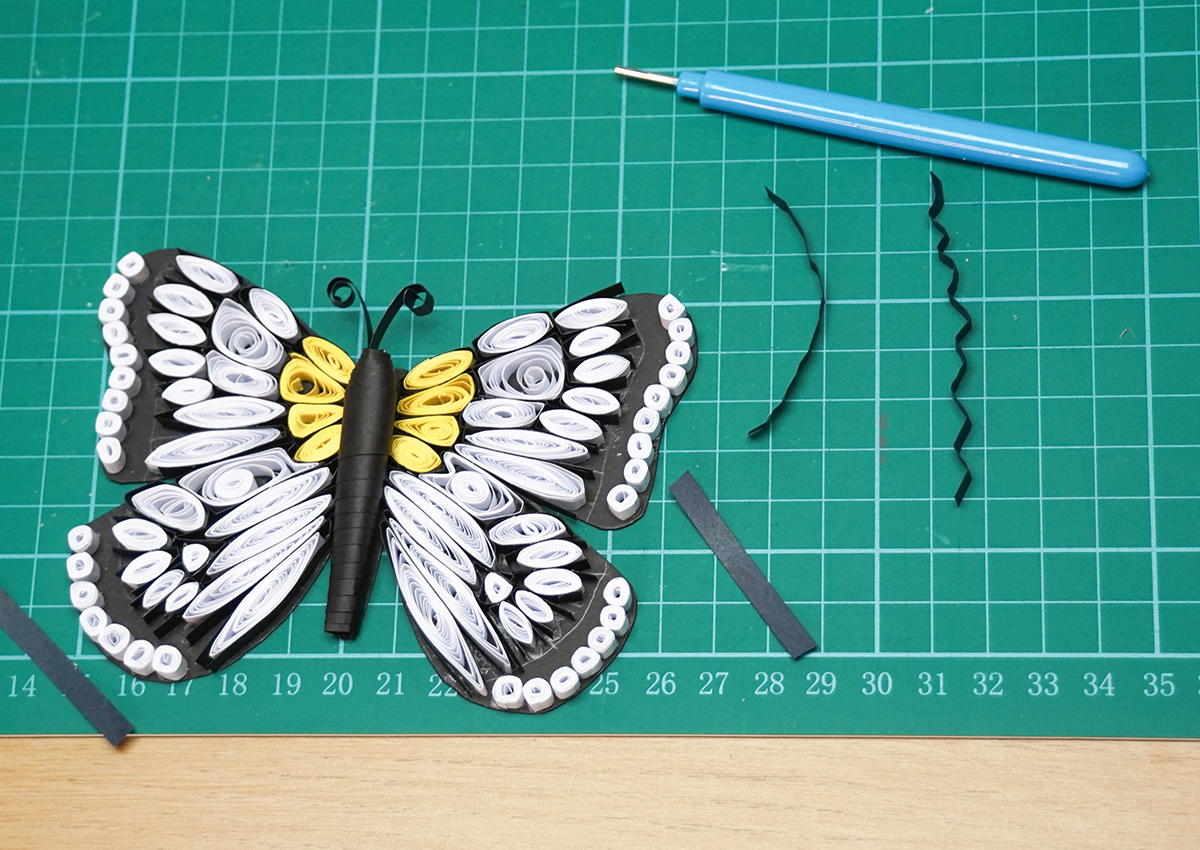
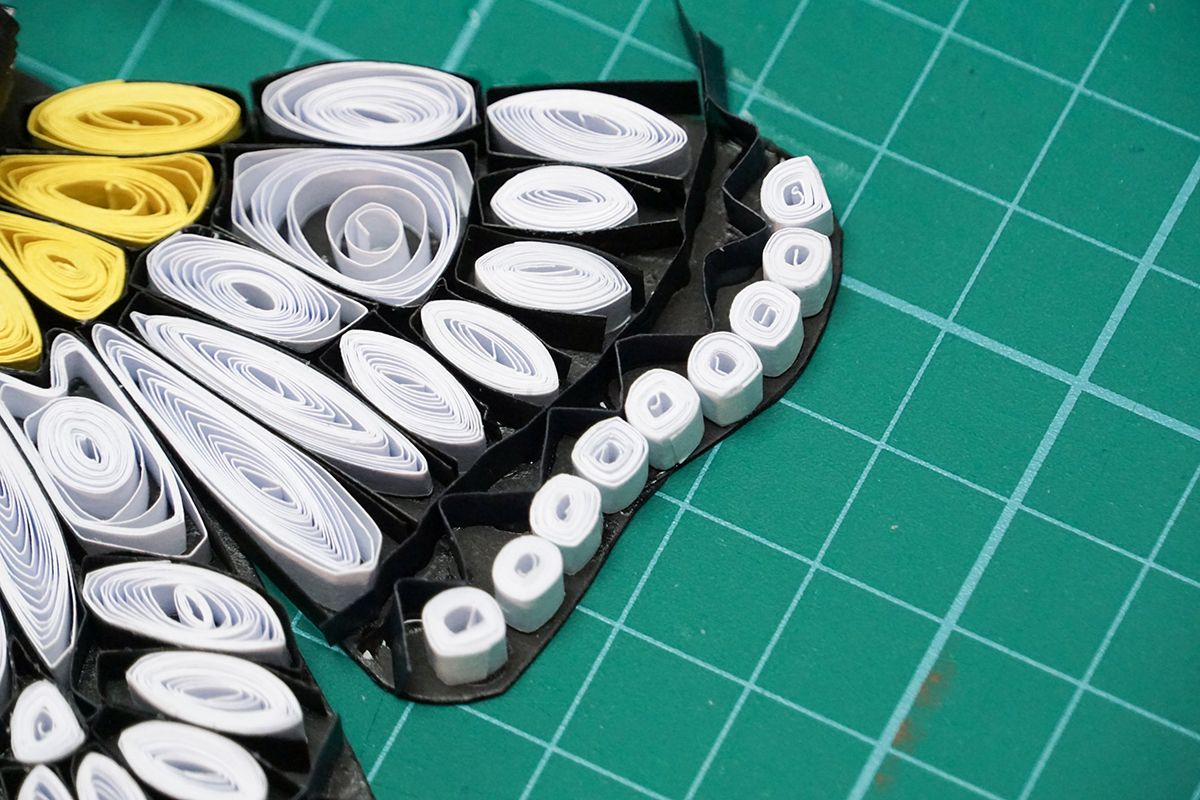
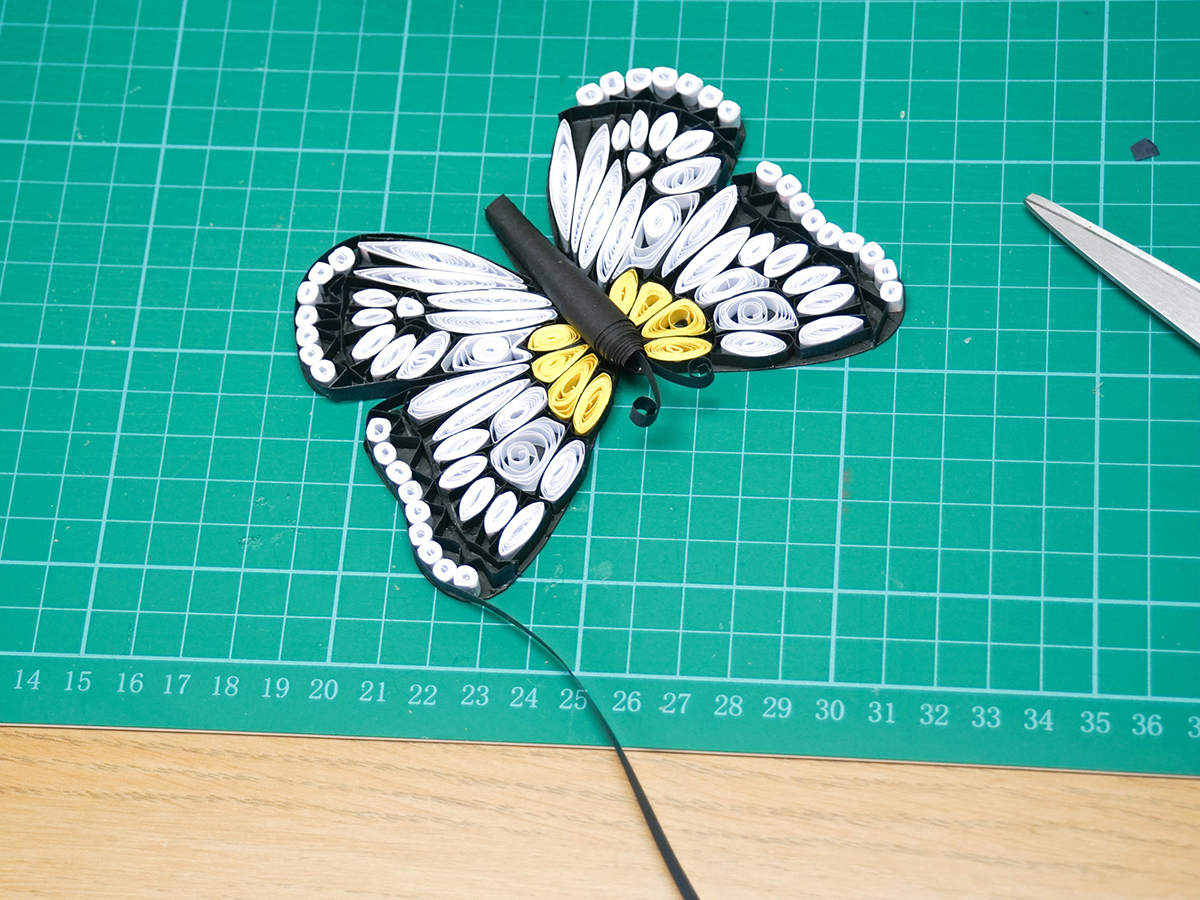
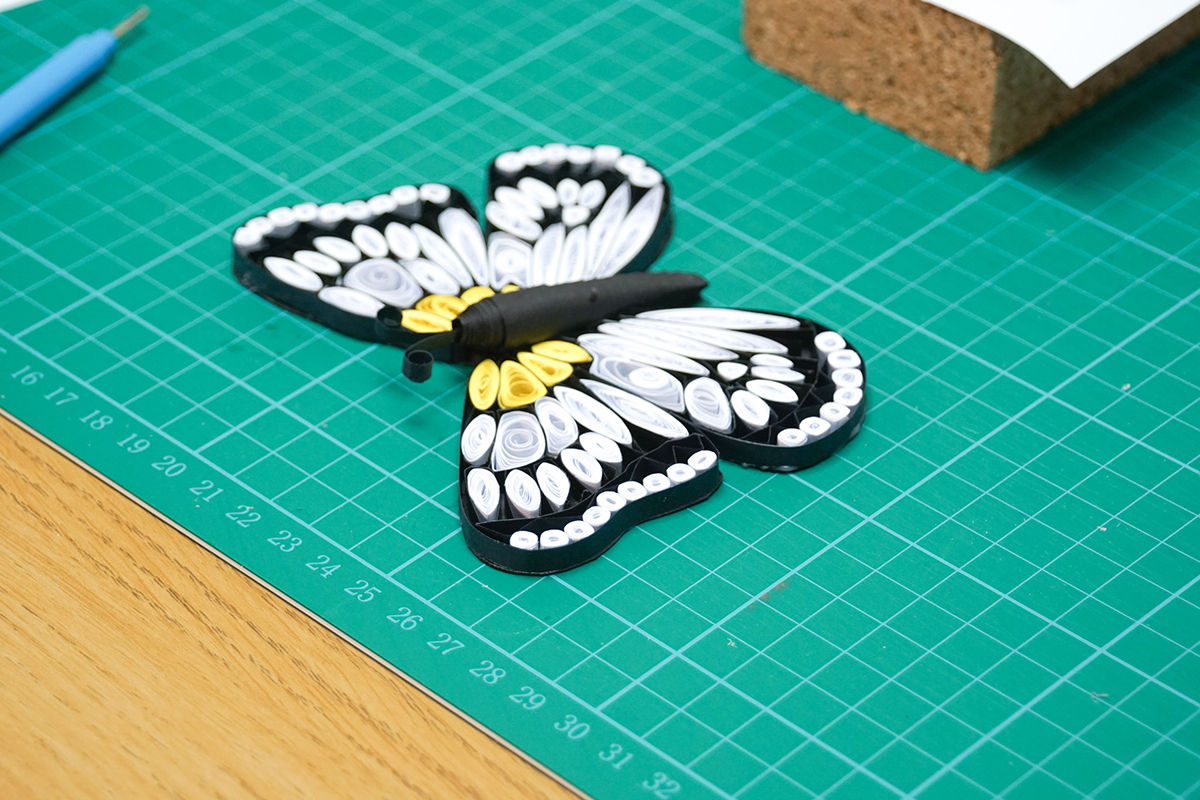
To finish, I added black paper strips into the gaps on the wings. In each of the 4 gaps I added 1 crinkled strip and 1 zigzag strip. I made the textures using my slotted tool.
To attach them, simply add glue to the bottom edge and stick in place.
Once dry, cut off the excess paper.
And lastly, I added a black paper strip all around the outside of the wings, again by using glue on the bottom edge of the strip. You can also add glue between this strip and the outer coils to help adhere it.
Mount Your Quilled Art
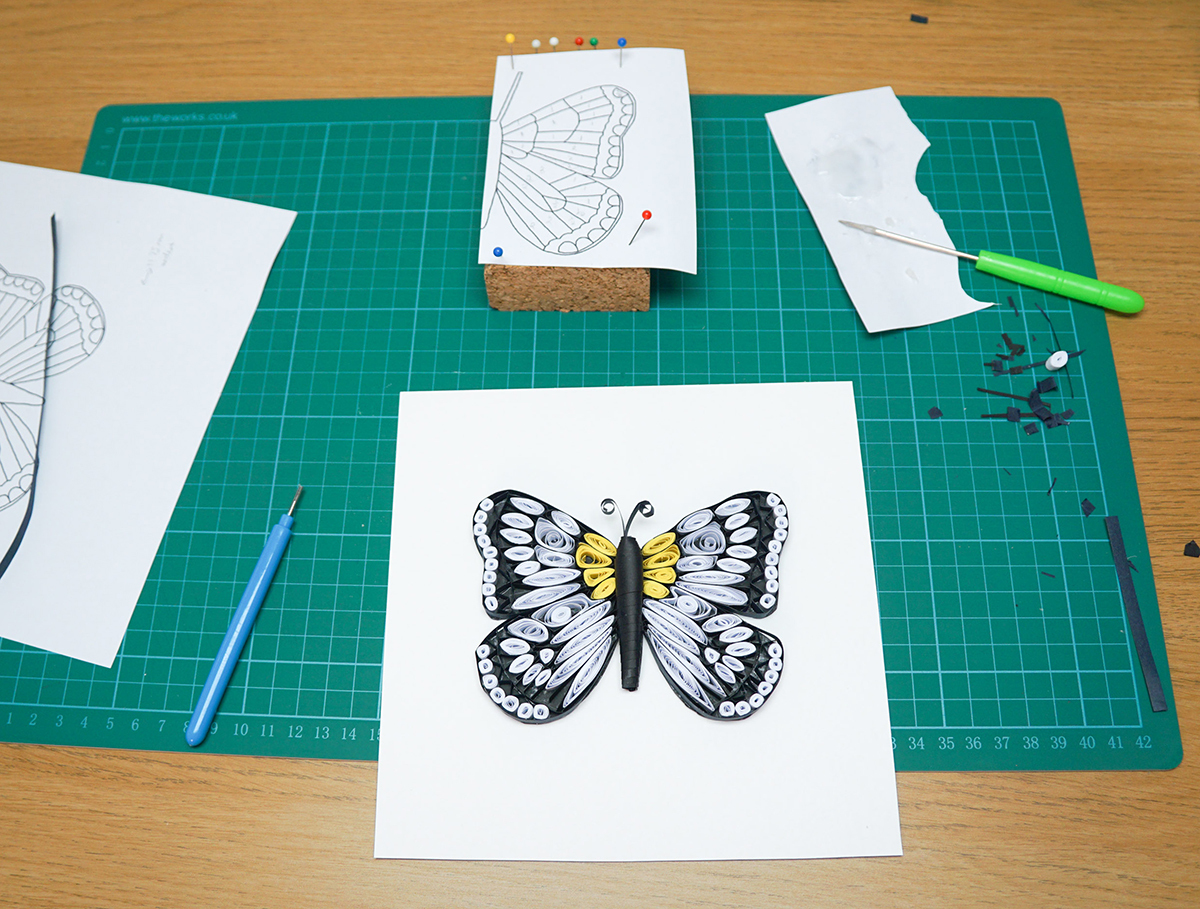
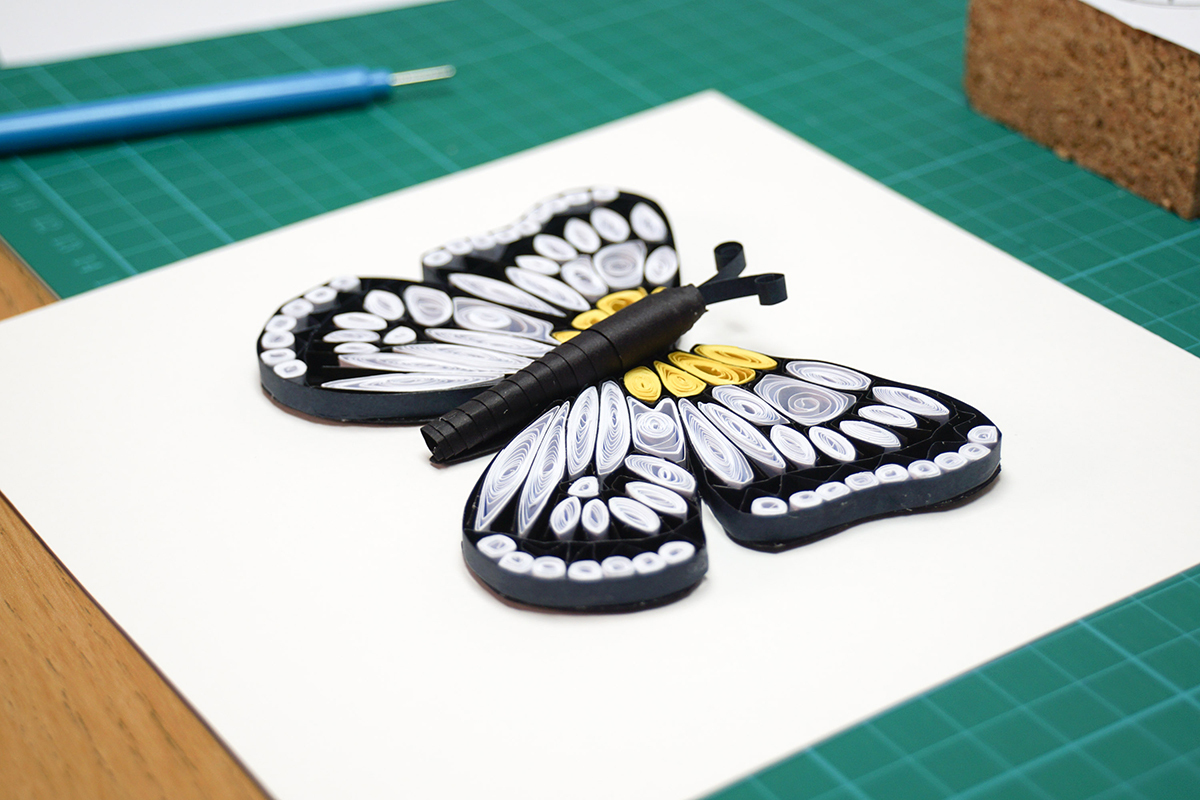
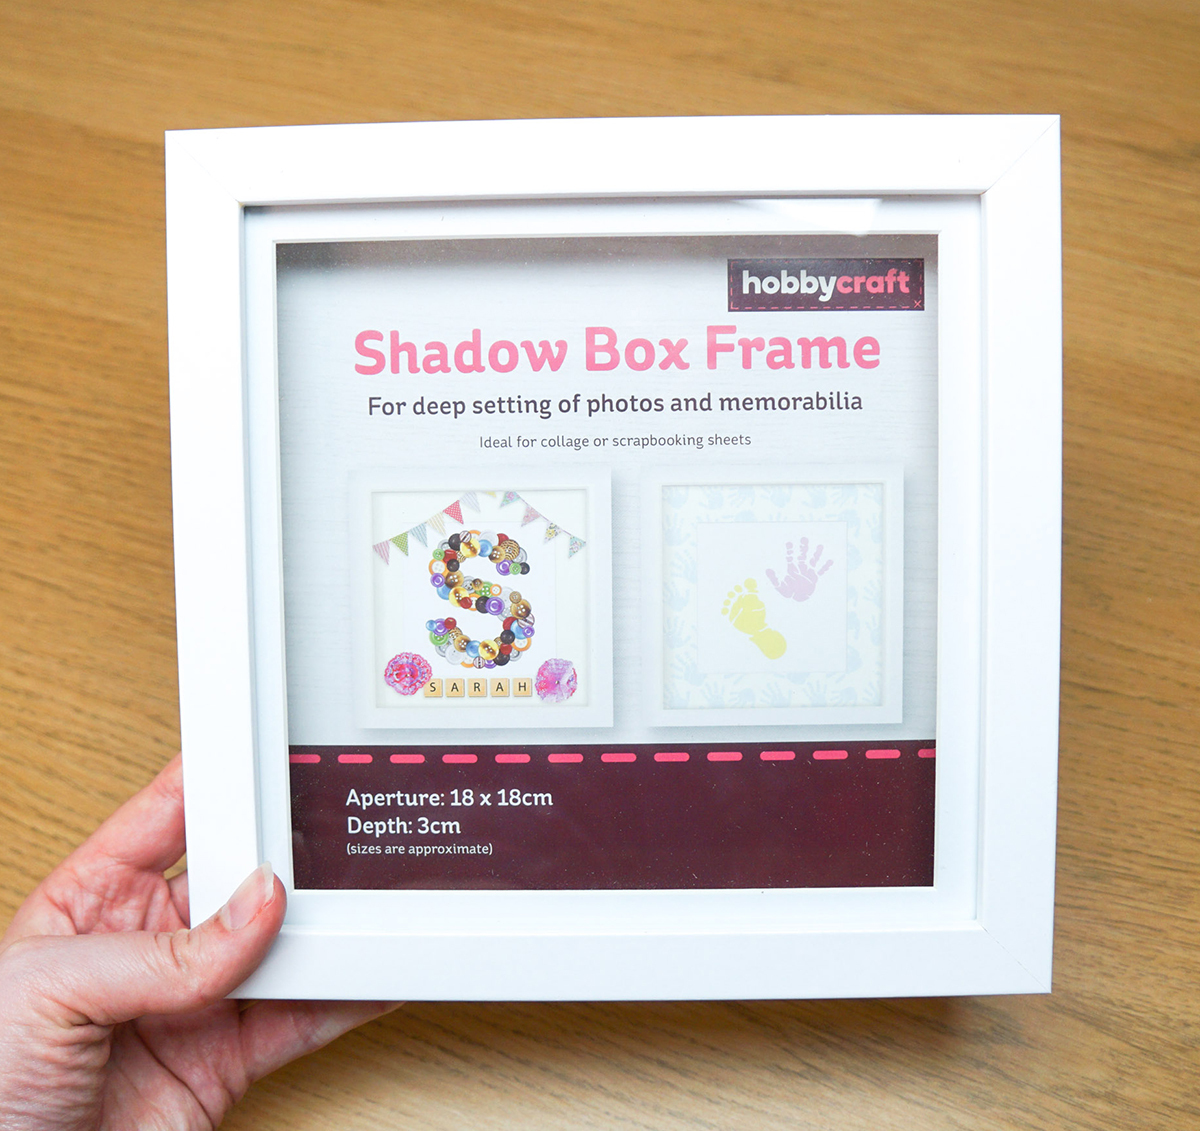
Cut out a piece of card that will fit perfectly inside your shadow box.
Then simply glue the butterfly onto the centre of this card and insert it into the shadow box.
Finished!
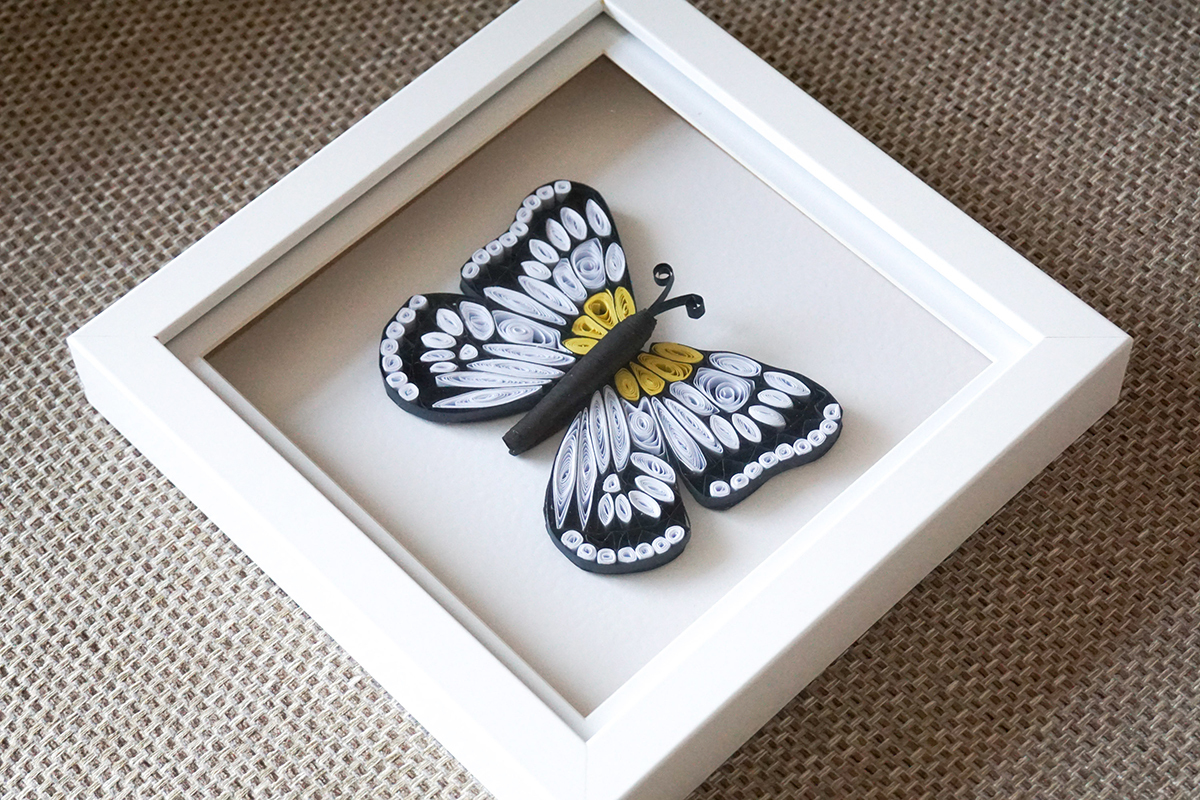
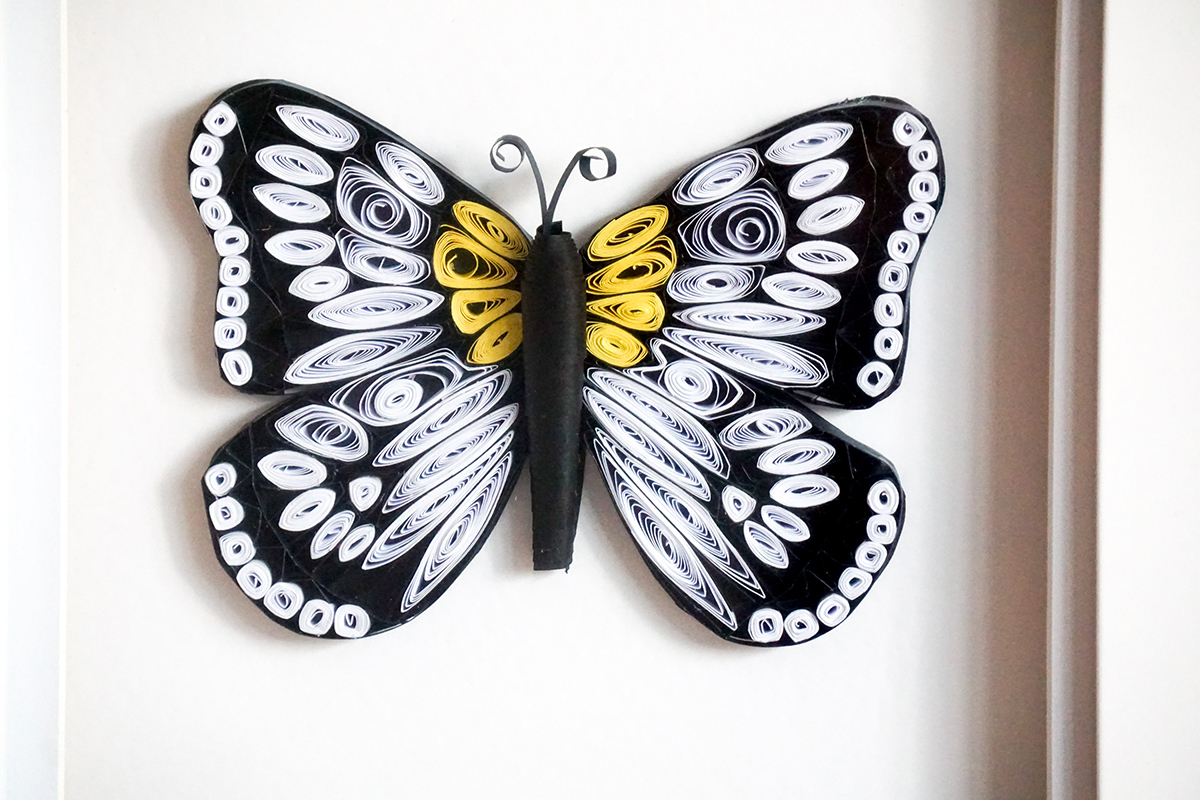
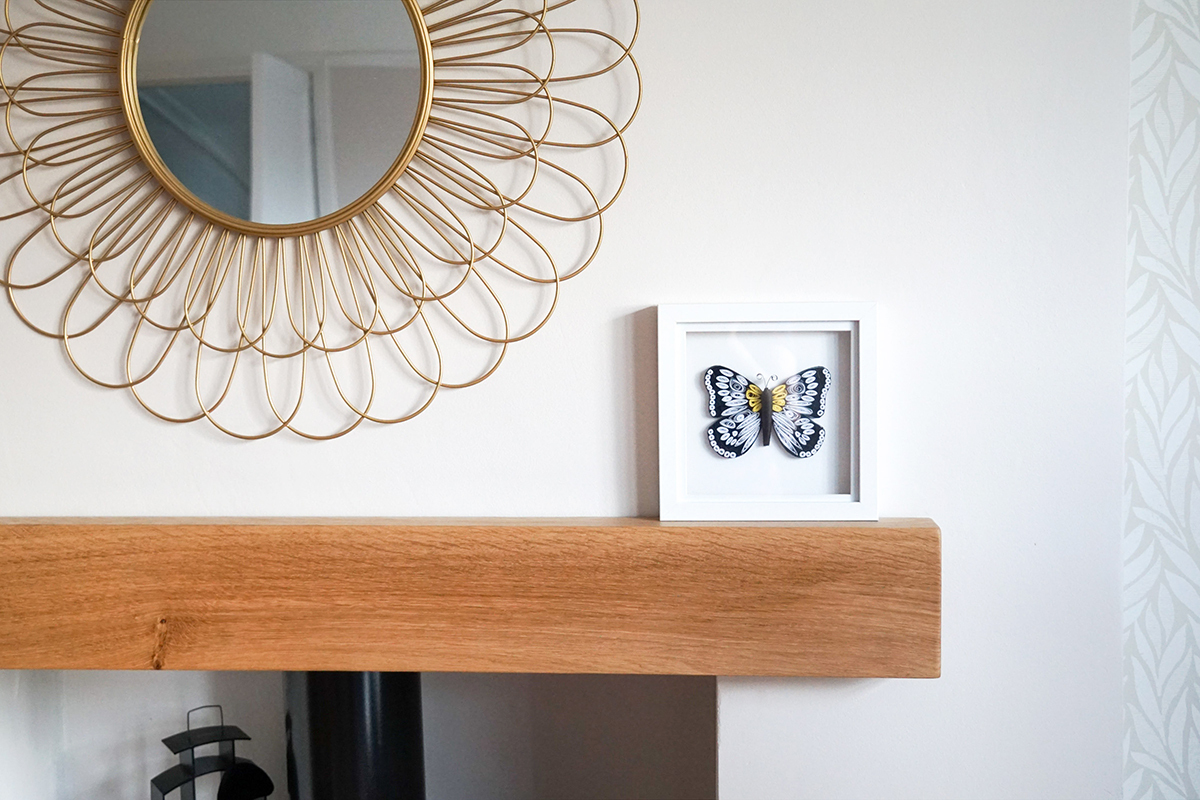
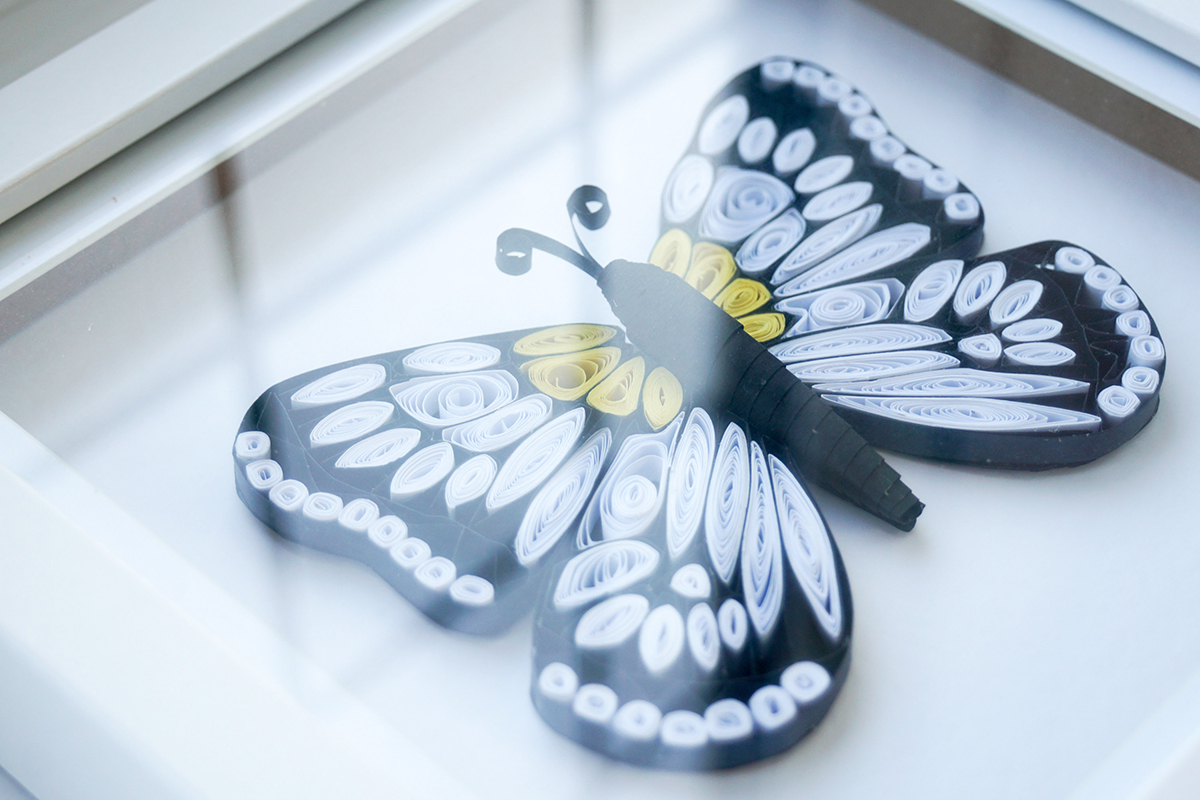
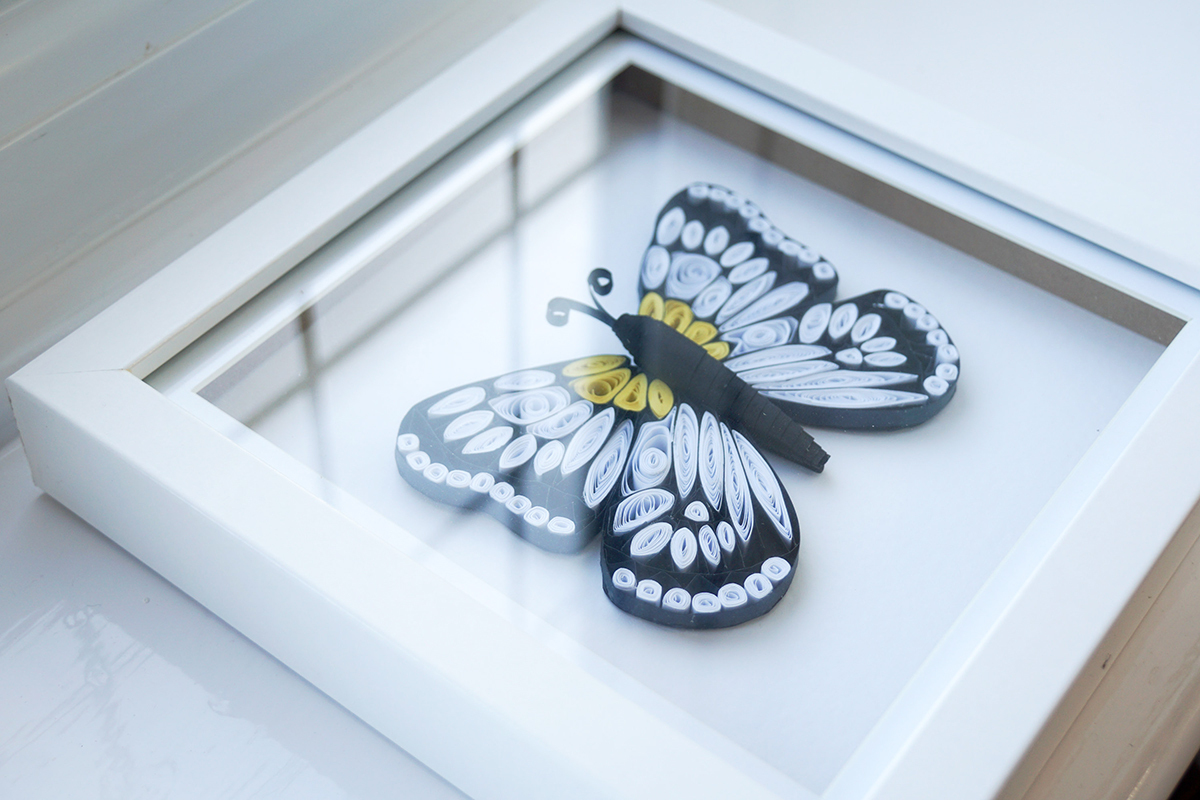
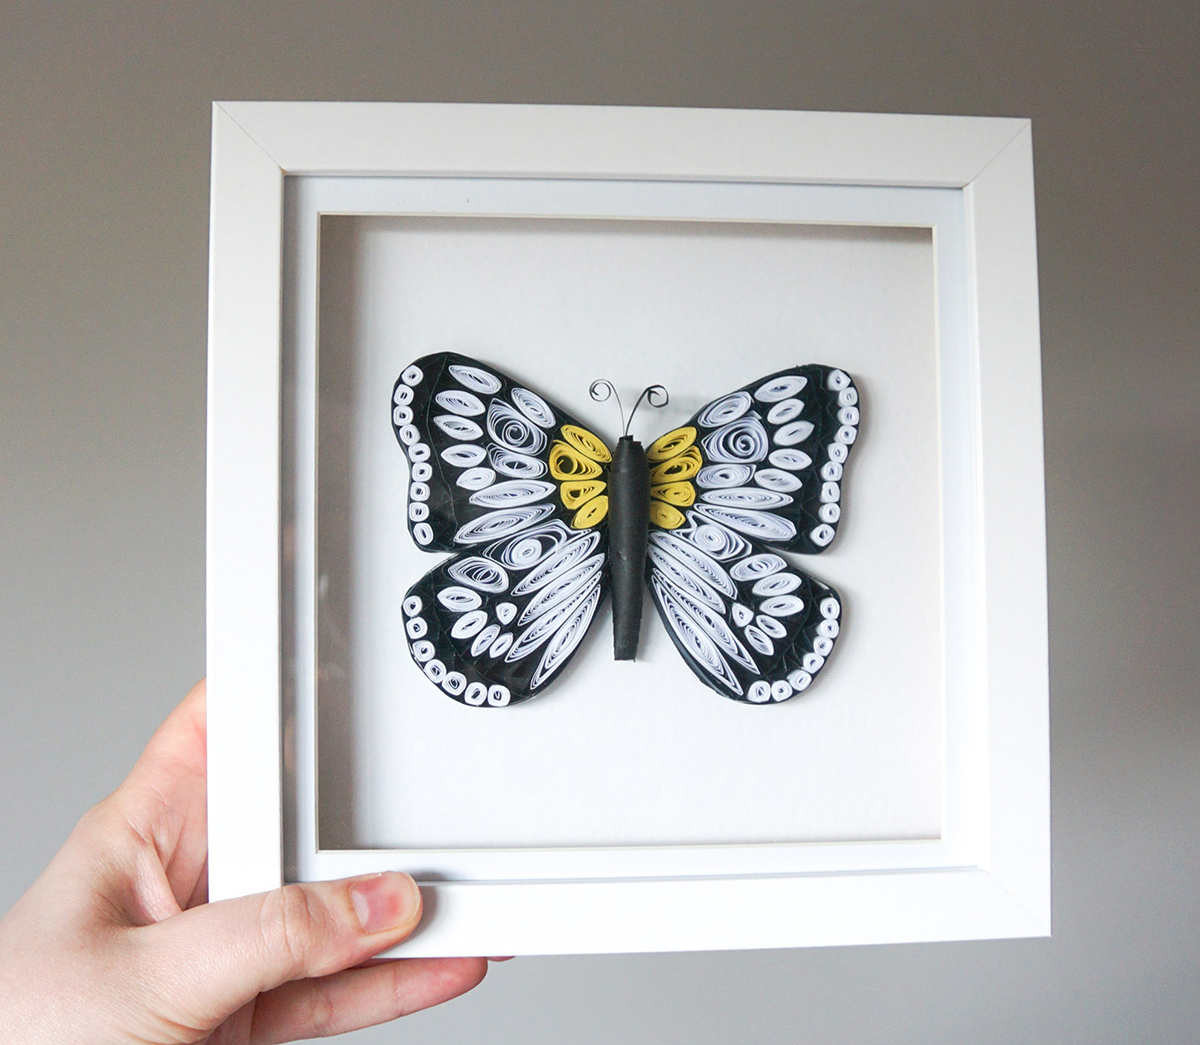
I hope you like it :D