How to Program Raspberry Pi Pico With the Arduino IDE
by EDISON SCIENCE CORNER in Circuits > Microcontrollers
2011 Views, 5 Favorites, 0 Comments
How to Program Raspberry Pi Pico With the Arduino IDE
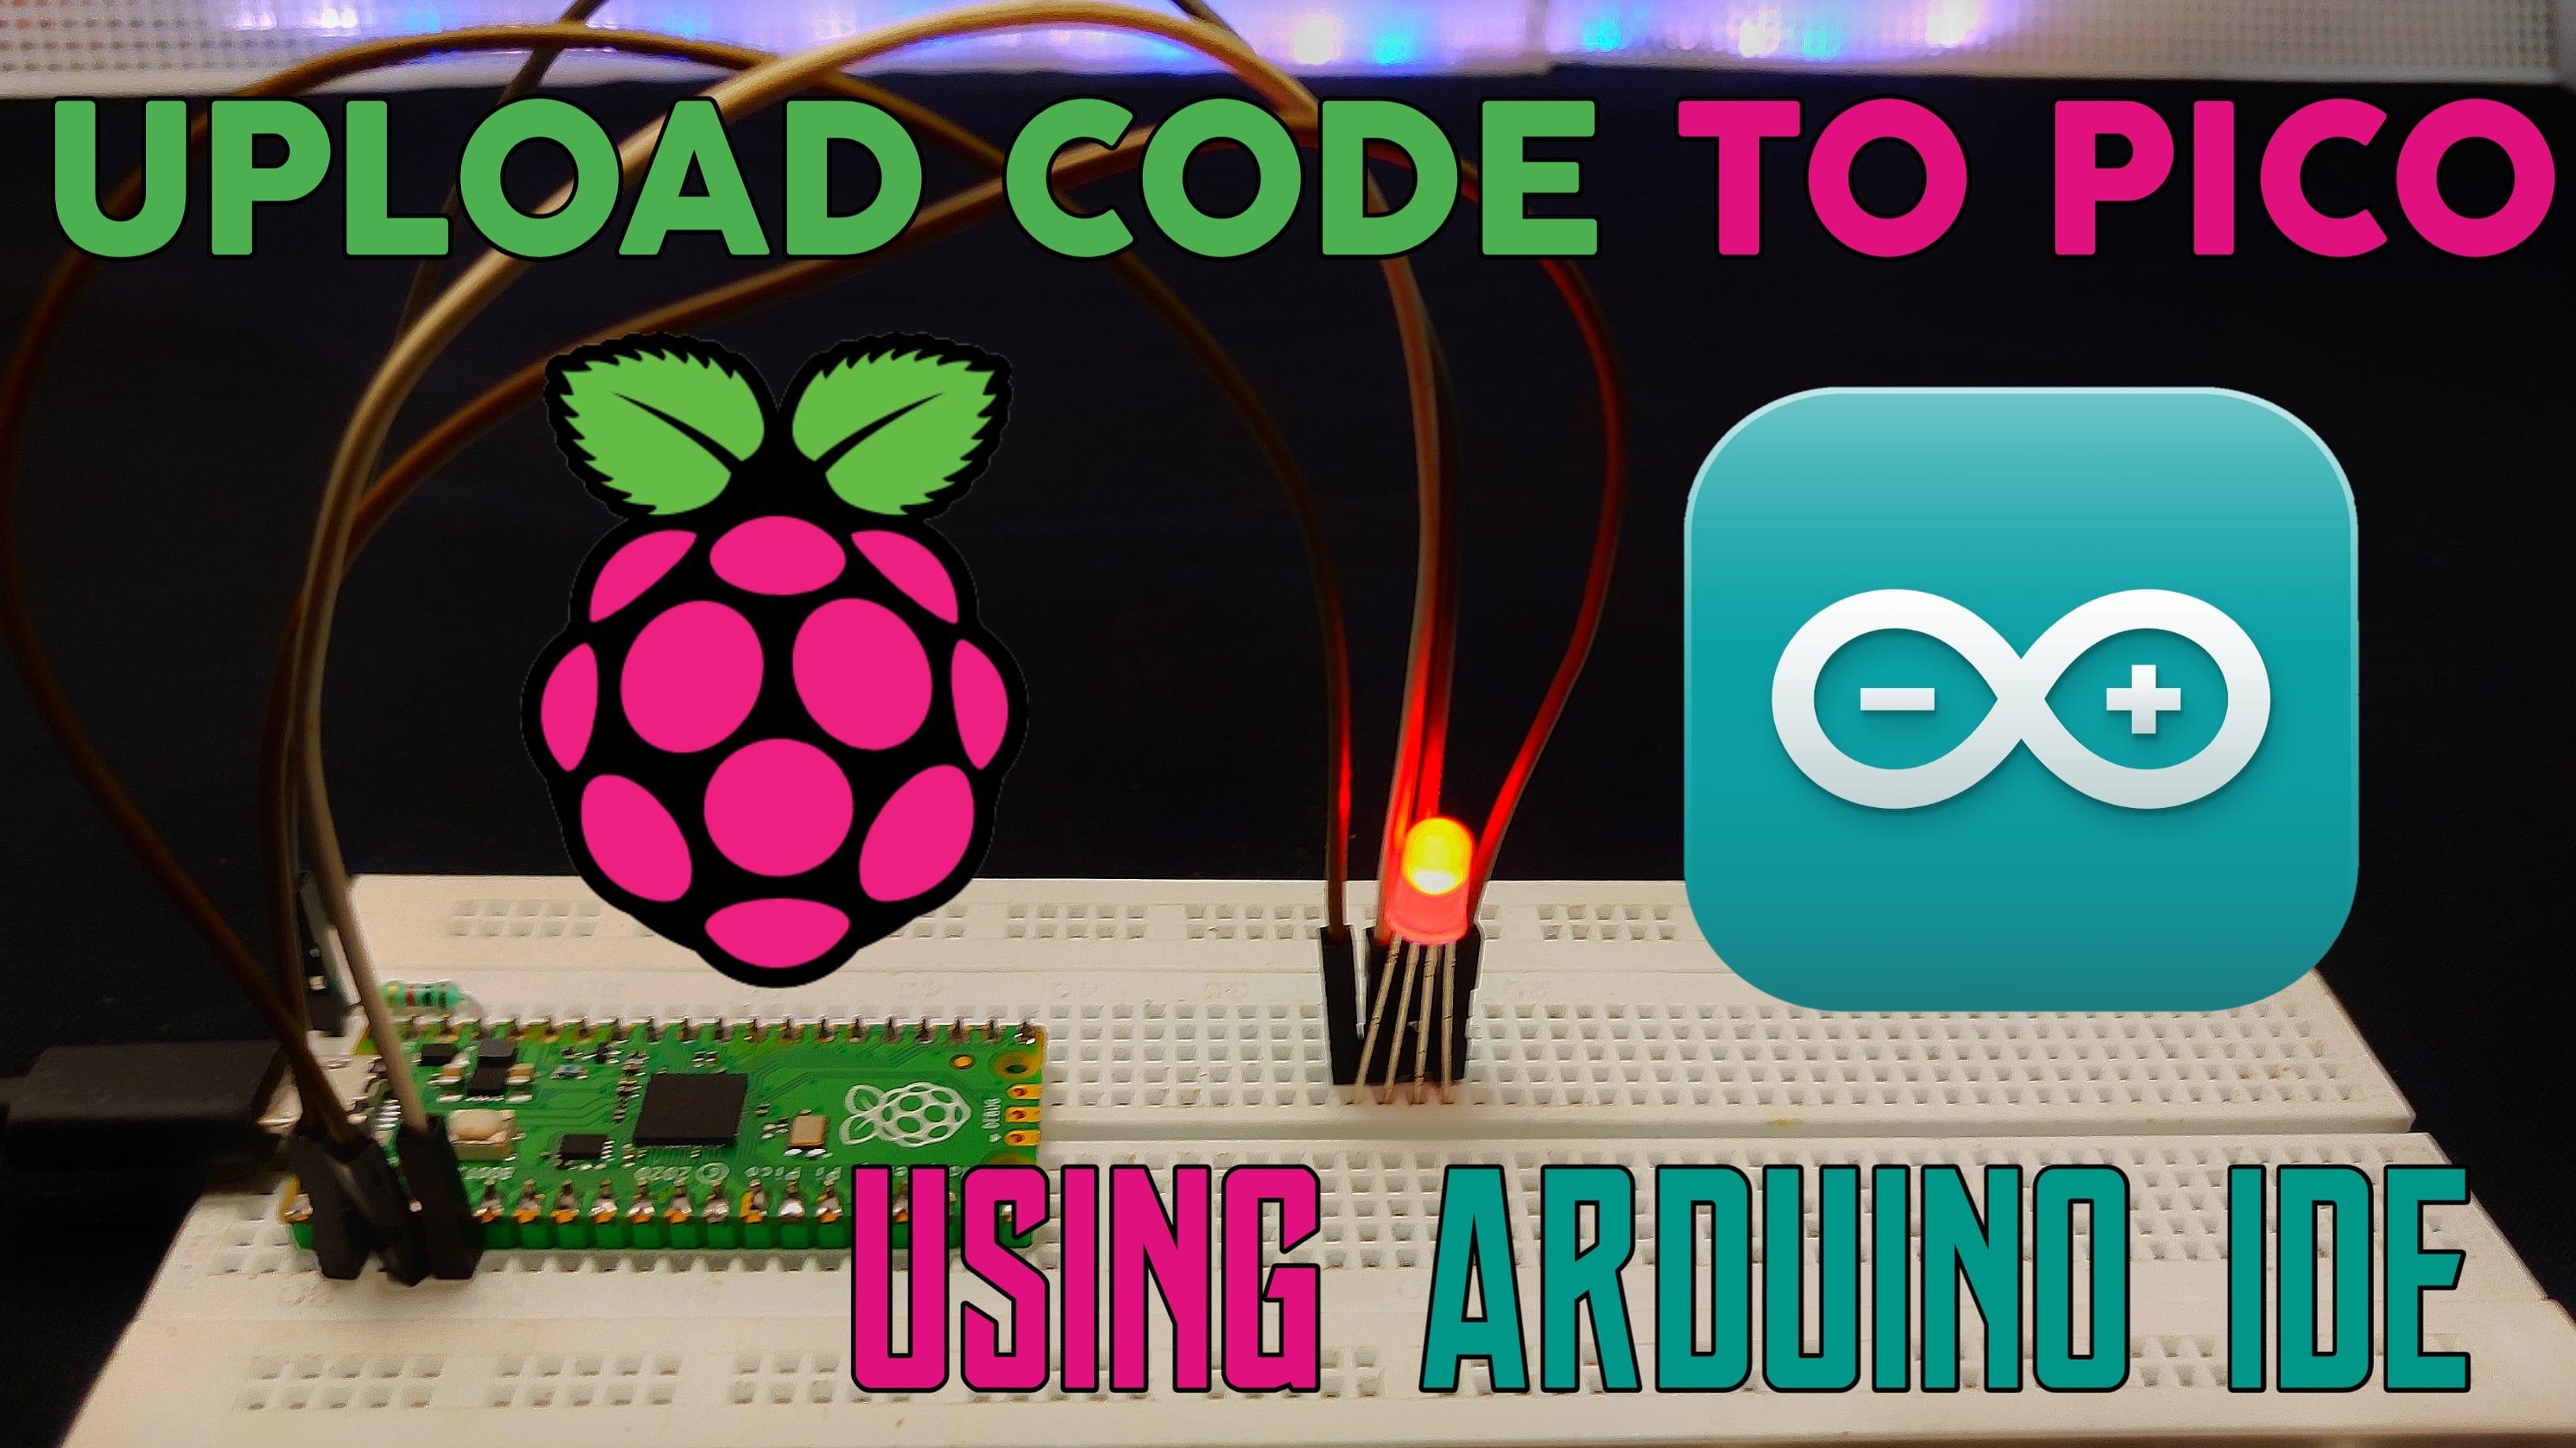
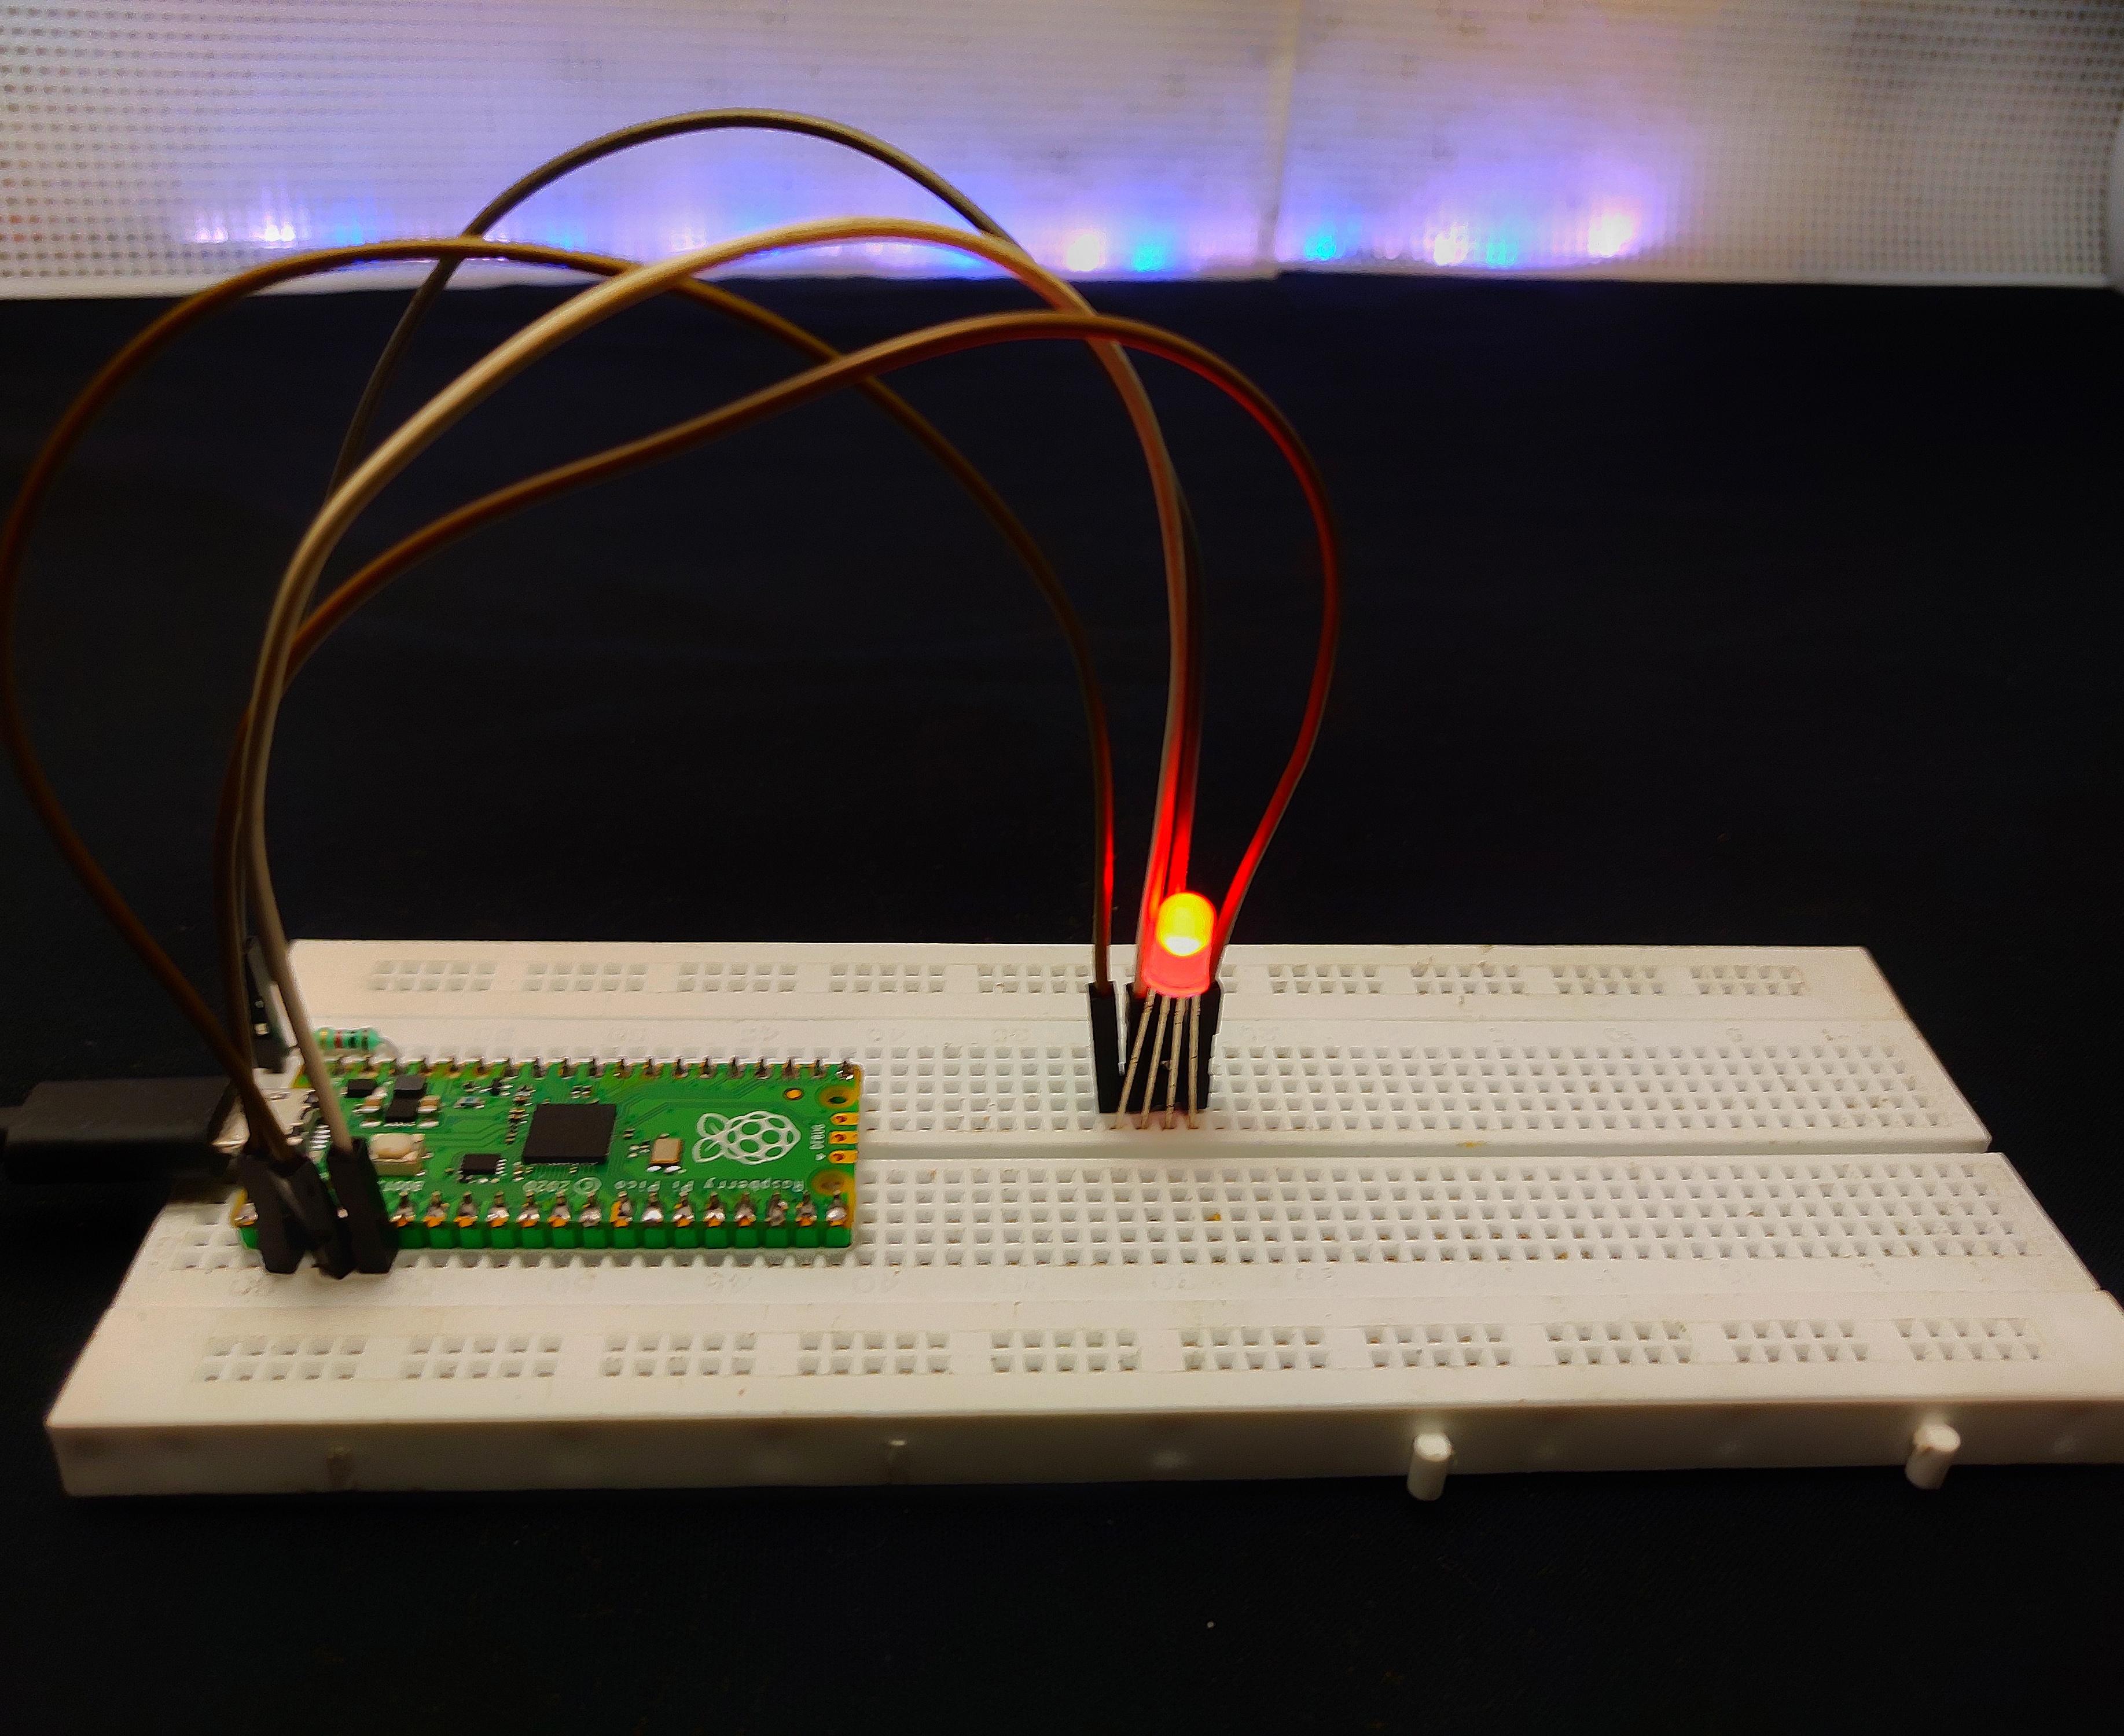
In this tutorial. I am going to show you how to upload code to new raspberry pi pico using Arduino IDE
Things Needed
- Raspberry pi pico
- USB cable
- Arduino IDE
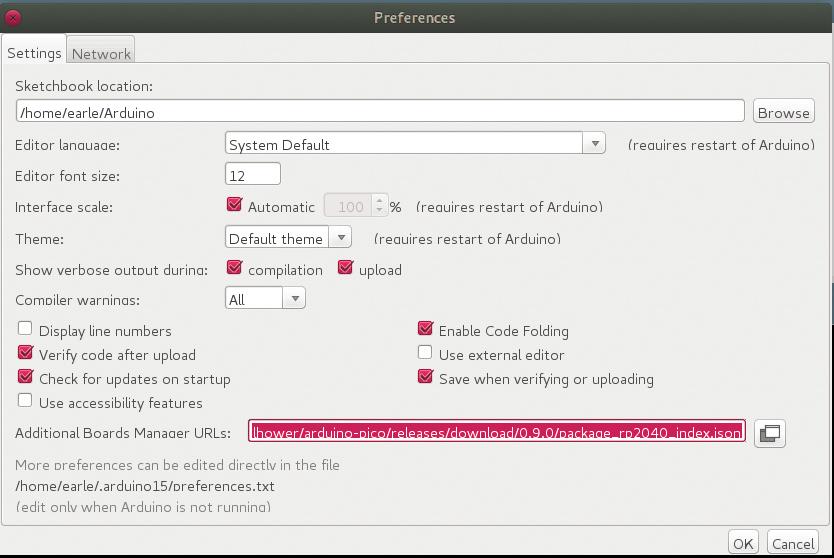
First add the board manager URL for that go to
Open Arduino IDE then go to files preferences and paste this link
https://github.com/earlephilhower/arduino-pico/releases/download/global/package_rp2040_index.json
On additional board manager URL.
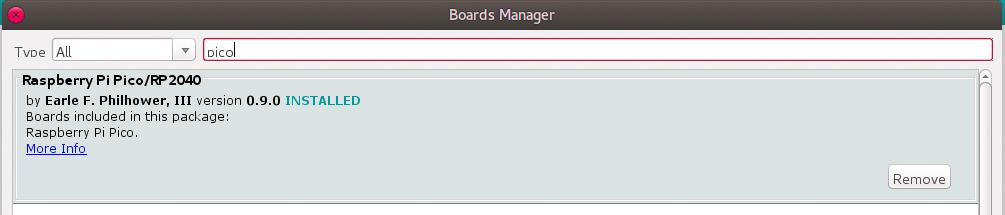
Now go to Tools >Boards >Board Manager
Then search pico in the search box and install it
Now all set. Now we can upload code to pico like any other boards.