How to Program Attiny2313 and DIY Development Board
by DIY Tutorials in Circuits > Electronics
1636 Views, 12 Favorites, 0 Comments
How to Program Attiny2313 and DIY Development Board
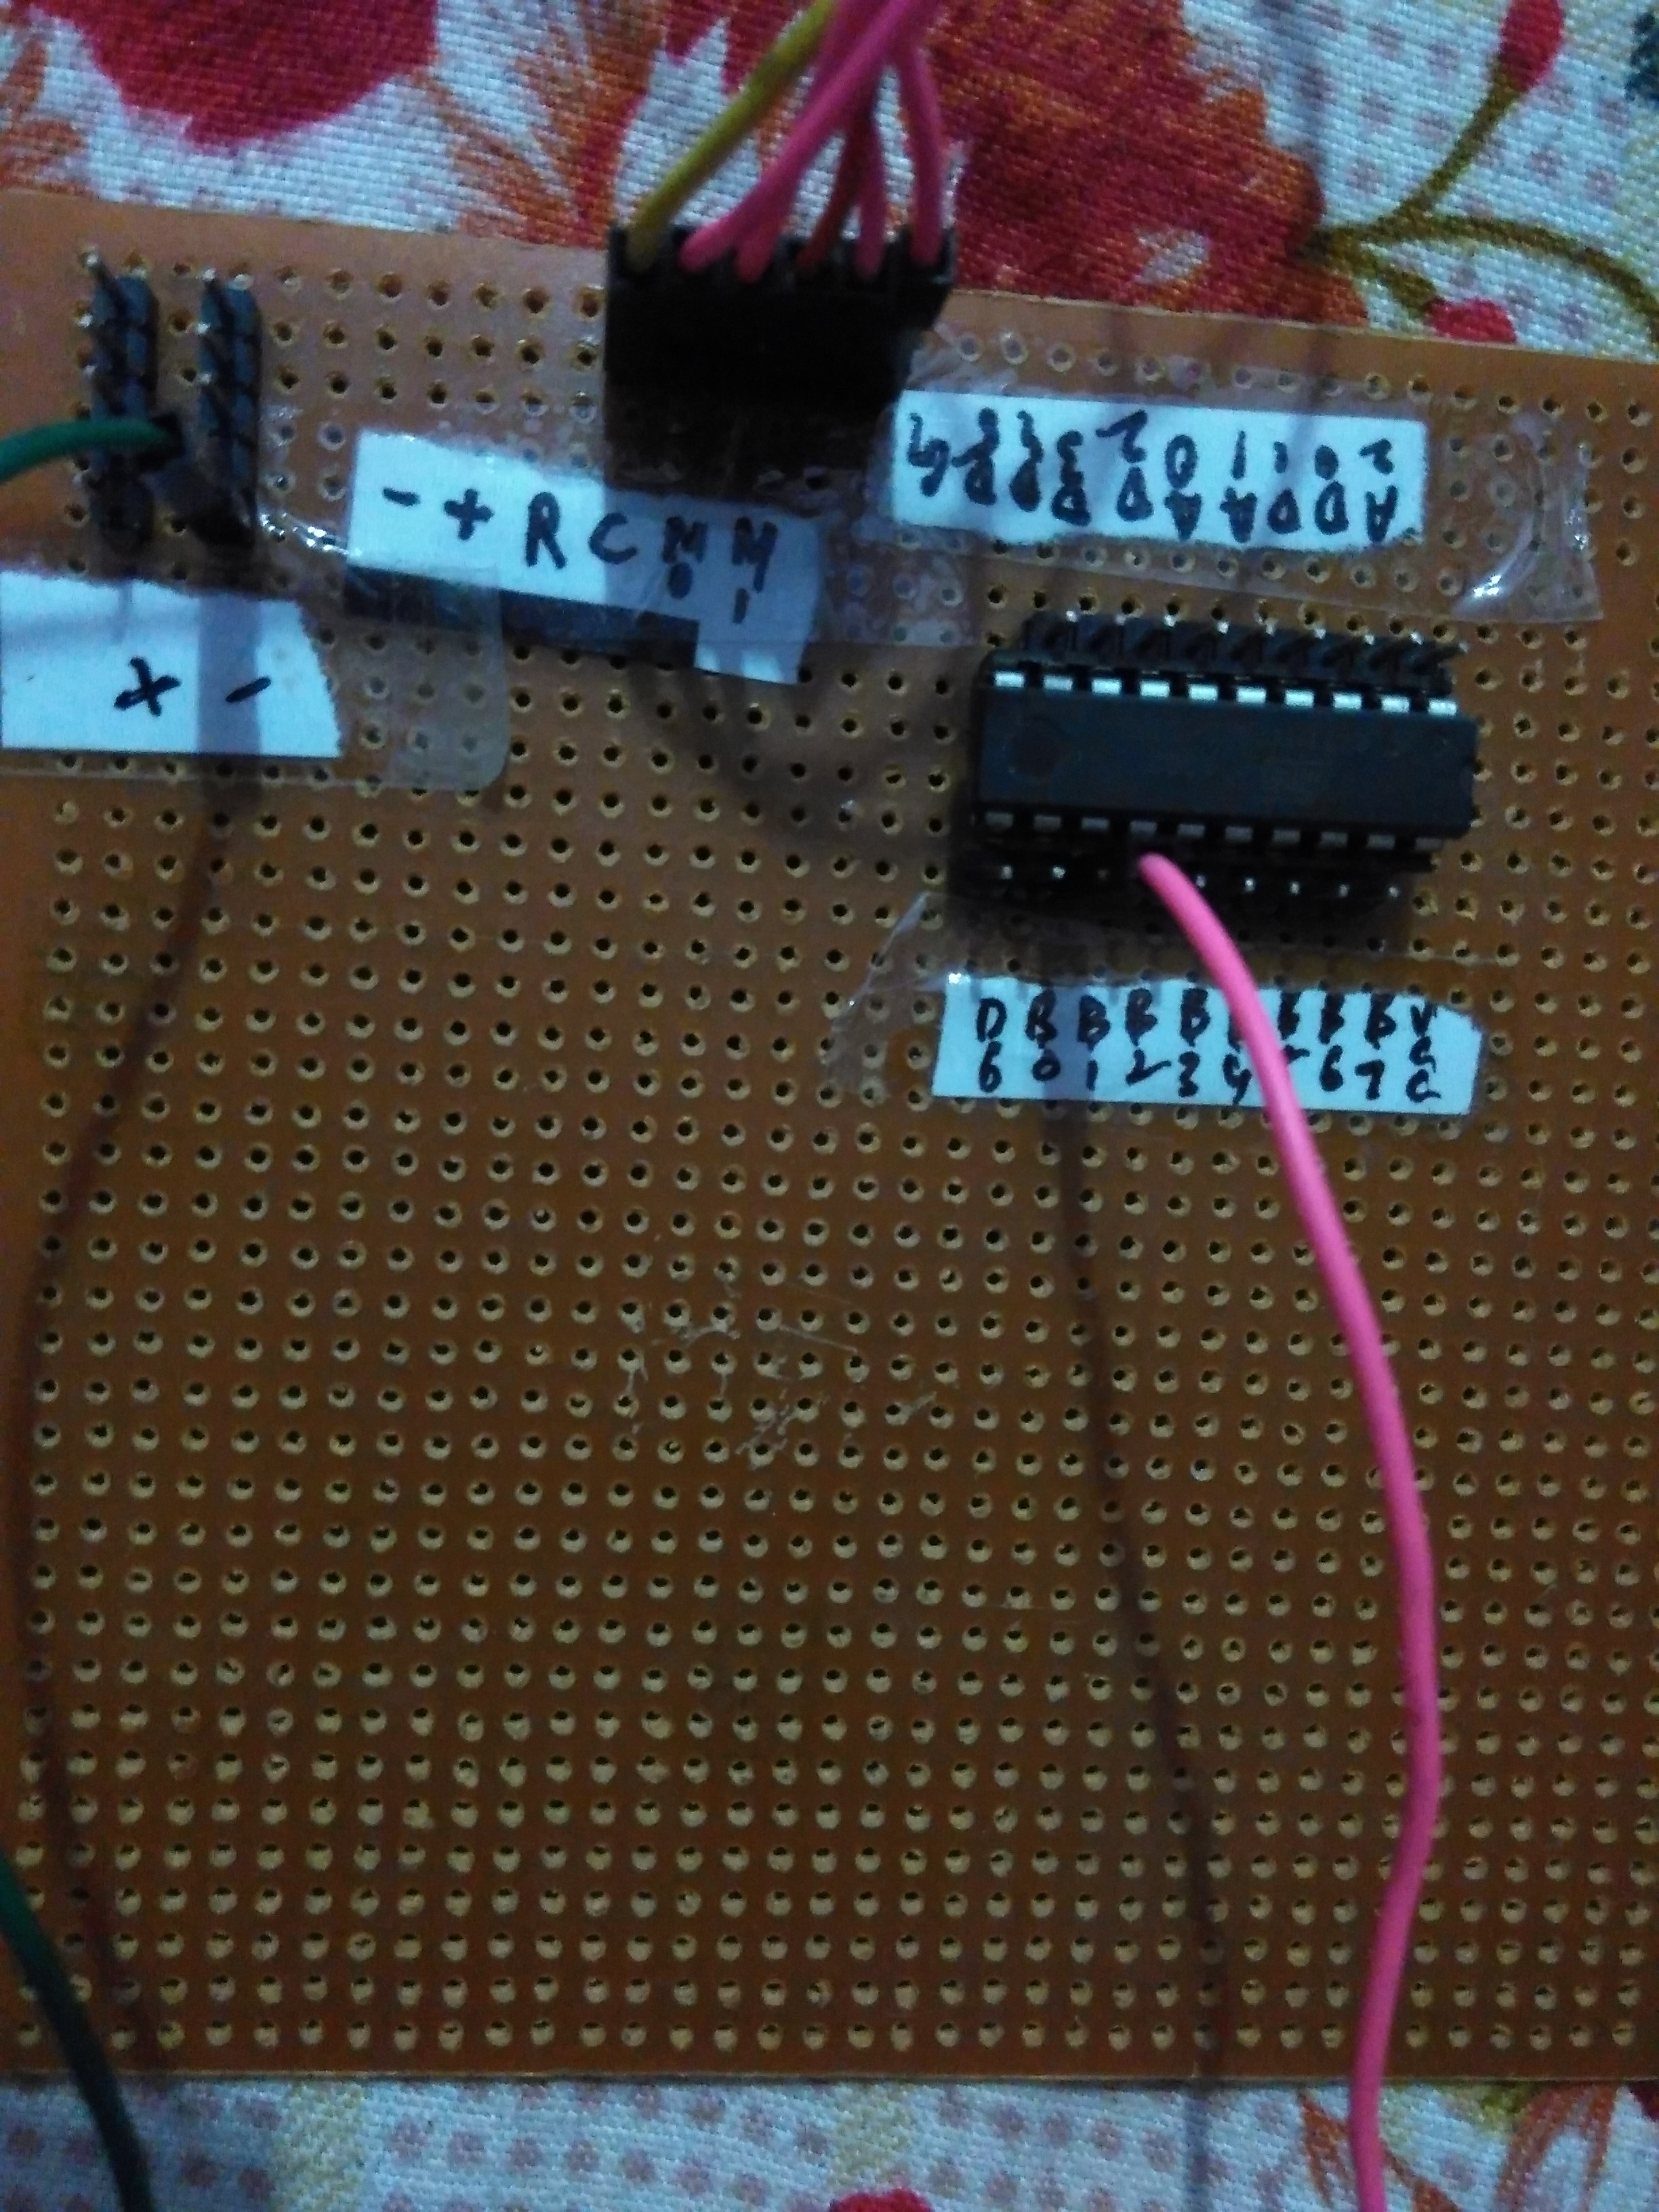
In this tutorial, we will learn how to make DIY development board of attiny2313 on perfboard. And how to upload program on it.
How to Program Attiny2313
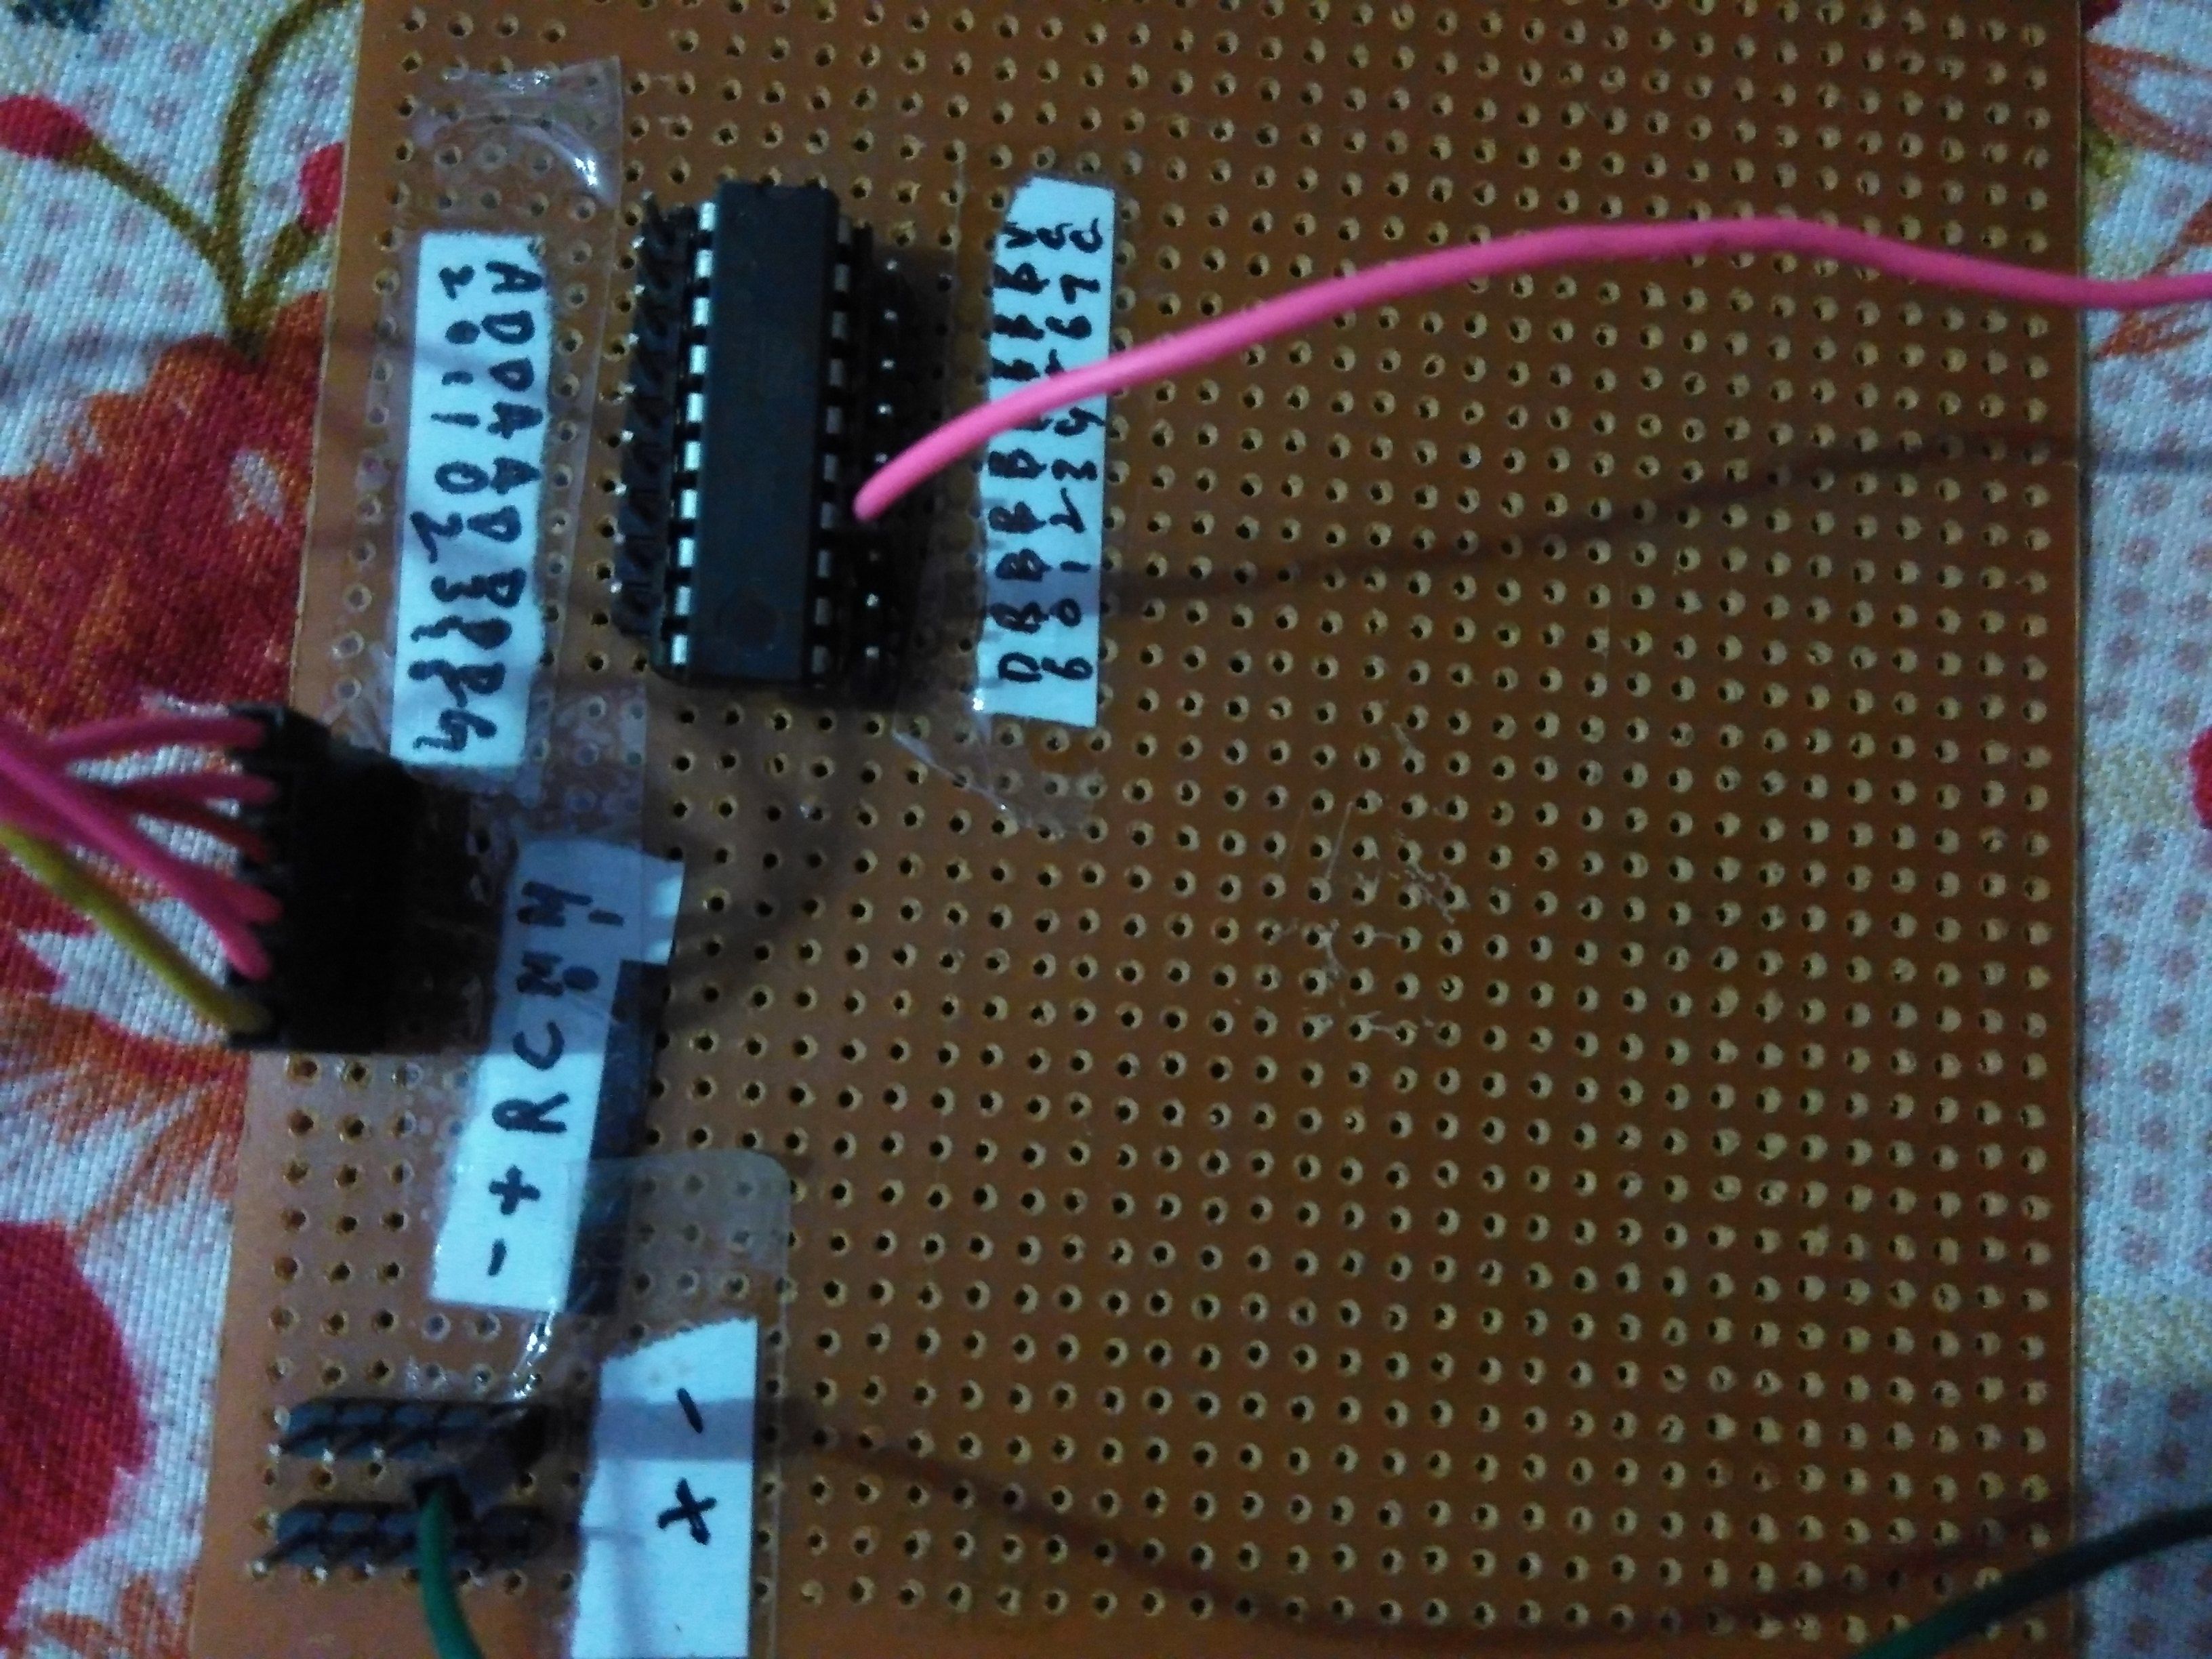
First of all, Attiny2313 is a 8-bit low range microcontroller from Atmel. It's a 20-pin IC (DIP, through hole package).
It have internal rc oscillator that supports frequency 1 MHz, 2 MHz, 4 MHz and 8 MHz
List of components:
- Attiny 2313 with ic base
- Perfboard
- Male header
- Female-female jumper wire
- USBasp programmer
- AVRdudes
- AVRStudio (any version, I am using version 4)
- USB cable type-B
First of all, make development board for attiny2313 as given in the figure.
Connections
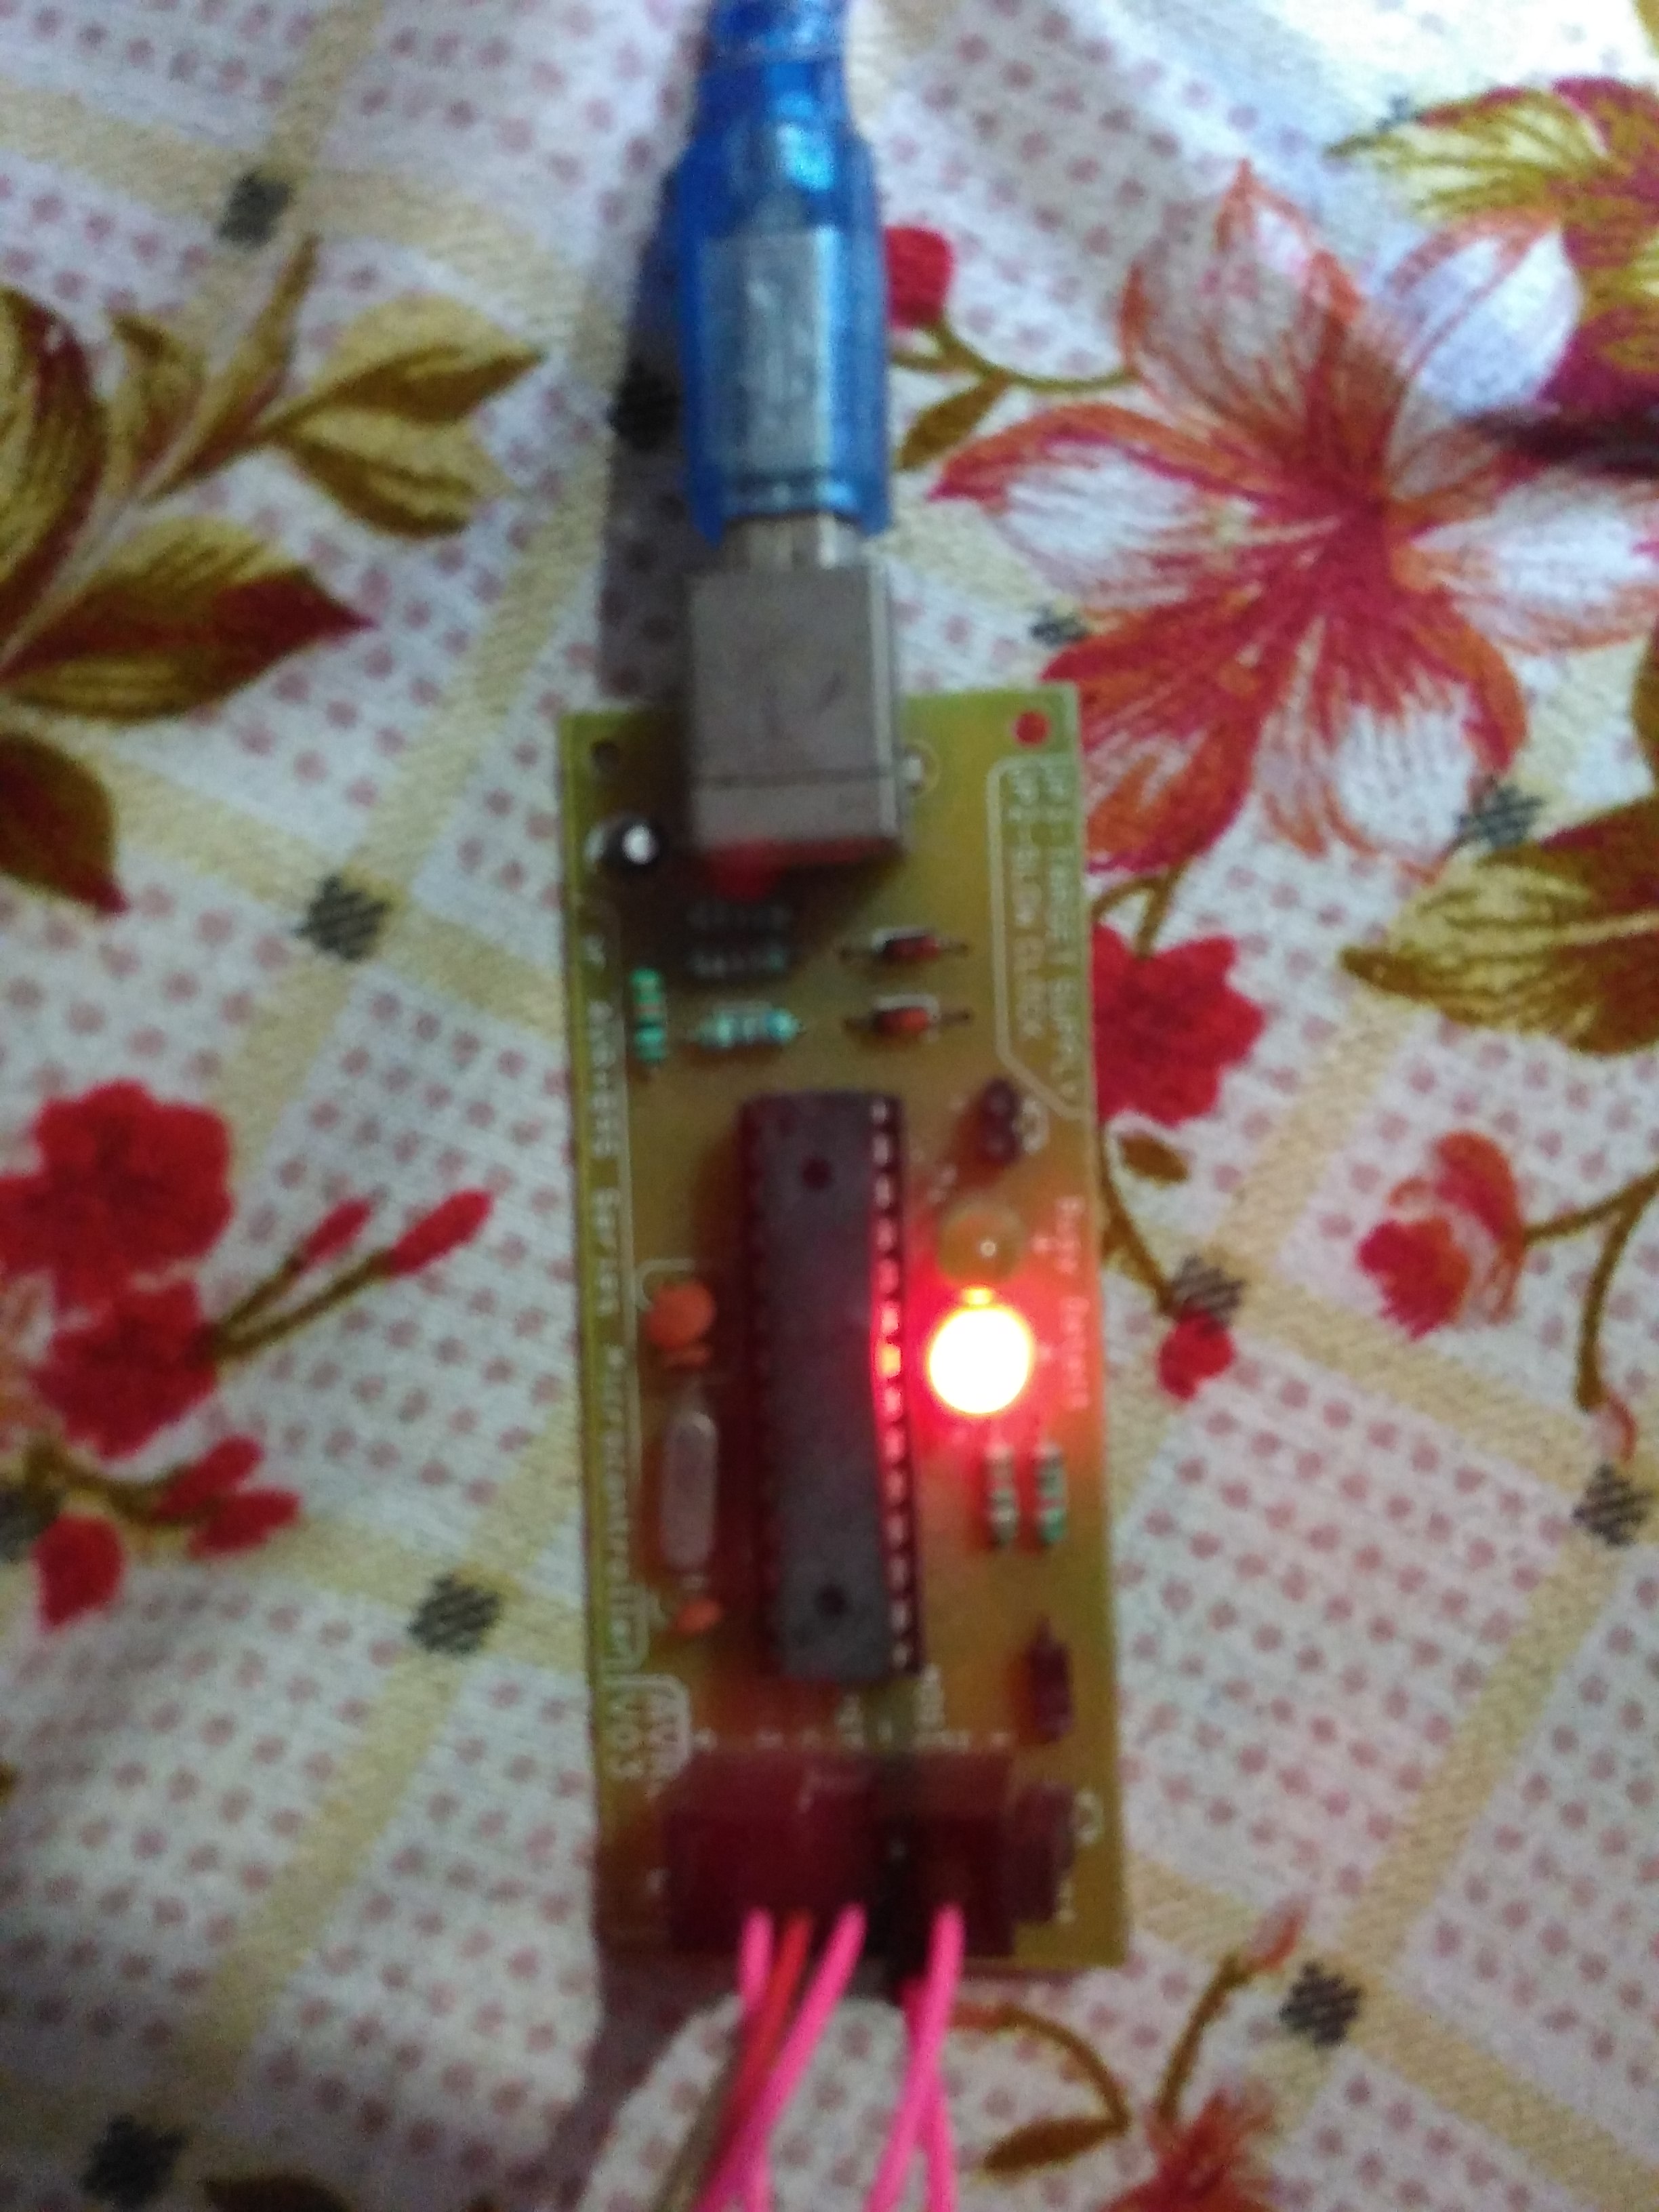
Make connections as follows:
USBasp Attiny2313
GND ========> GND (Pin no. 10)
VCC ========> VCC (Pin no. 20)
RST ========> RST (Pin no. 1)
MISO ========> MISO (Pin no. 15)
MOSI ========> MOSI (Pin no. 14)
SCK ========> SCK (Pin no. 16)
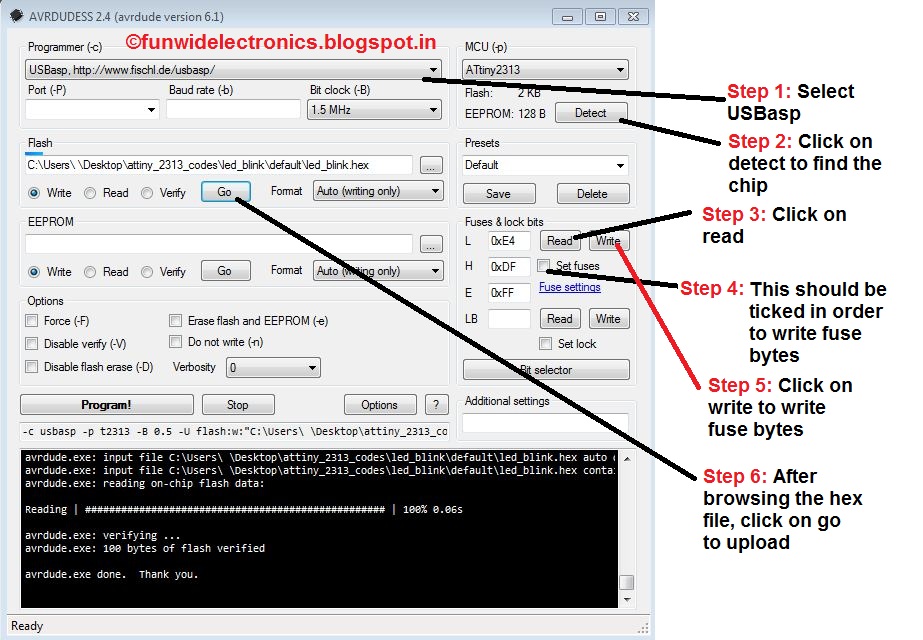
Once the connection is done, connect USBasp programmer to laptop/ PC. Open avrdudes, and follow the steps and given in the picture.
Open avrstudio, and copy the code in the editor. Compile the hex file and upload it using avrdudes.
Downloads
Final Connection
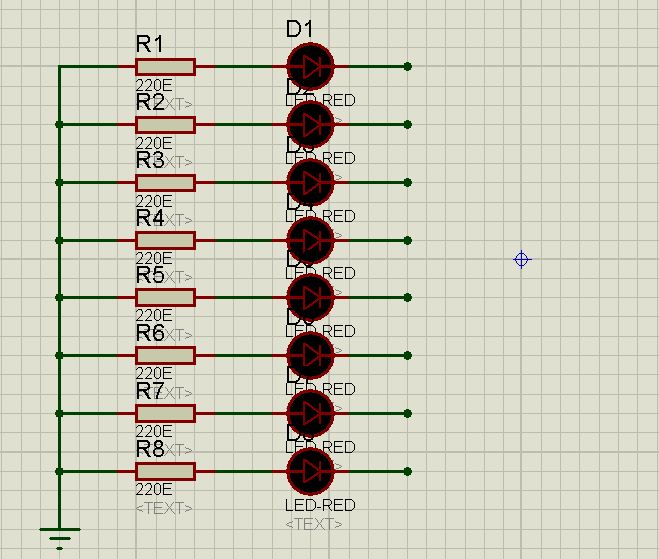
Add led array to the attiny 2313 development board. Cathode of all the led's are common and is connected to the ground of the development board.
A series resistor of 220 ohms is connected for limiting the current.
Leds are connected to portb.
Hope you had enjoyed the tutorial !!
Thanks for visiting this tutorial