How to Photoshop a Group Photo
by ReidT1 in Circuits > Cameras
13142 Views, 77 Favorites, 0 Comments
How to Photoshop a Group Photo
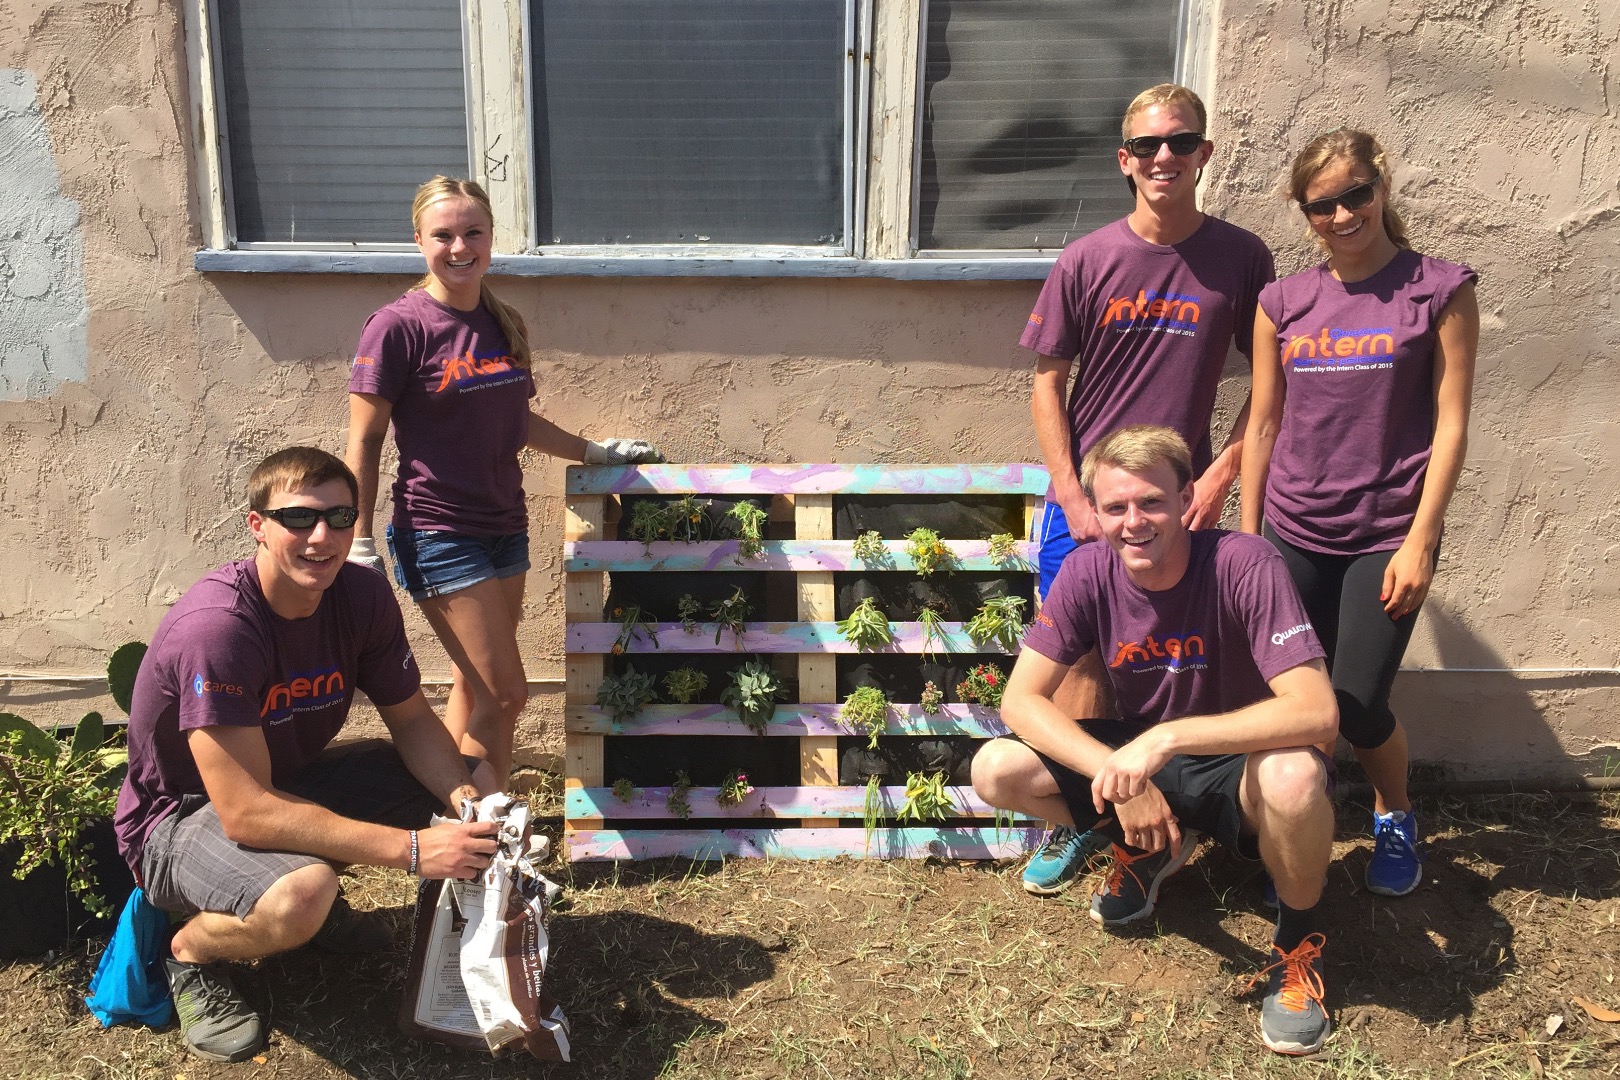
Everyone struggles to take a perfect group picture the first time. Thankfully, there is a way to merge multiple pictures in Photoshop.
This Intractable will go over how to merge two pictures to make the perfect group photo.
What is required:
- At least two pictures from a group photoshoot
- Adobe Photoshop Elements 12, set to Expert Mode
Taking Pictures
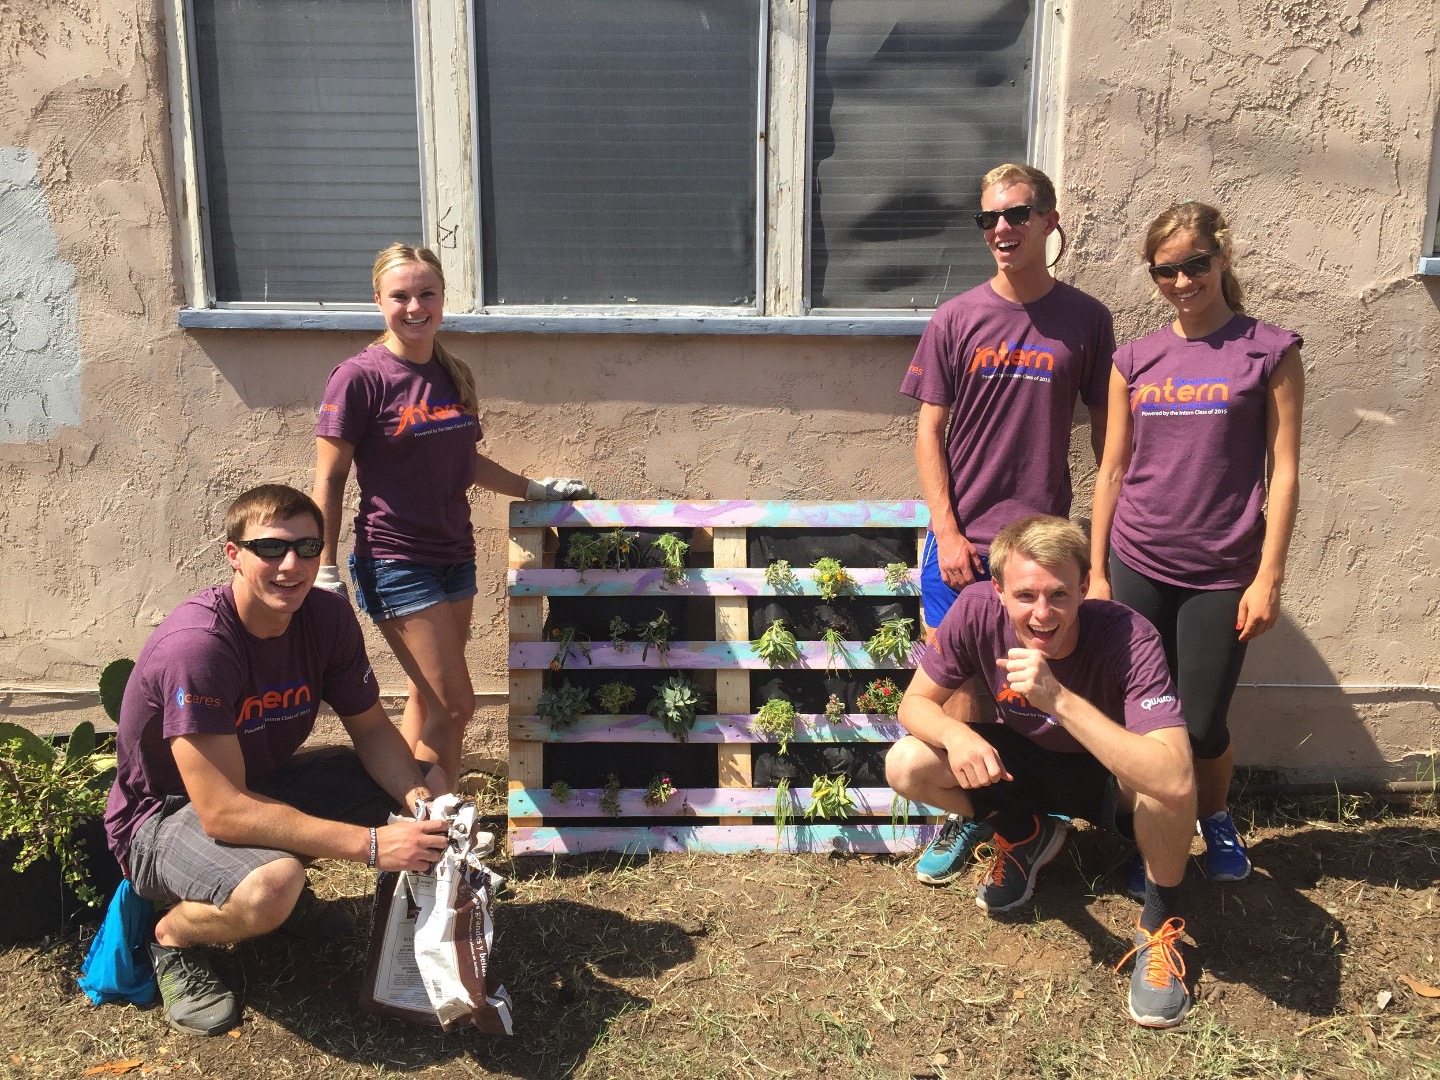
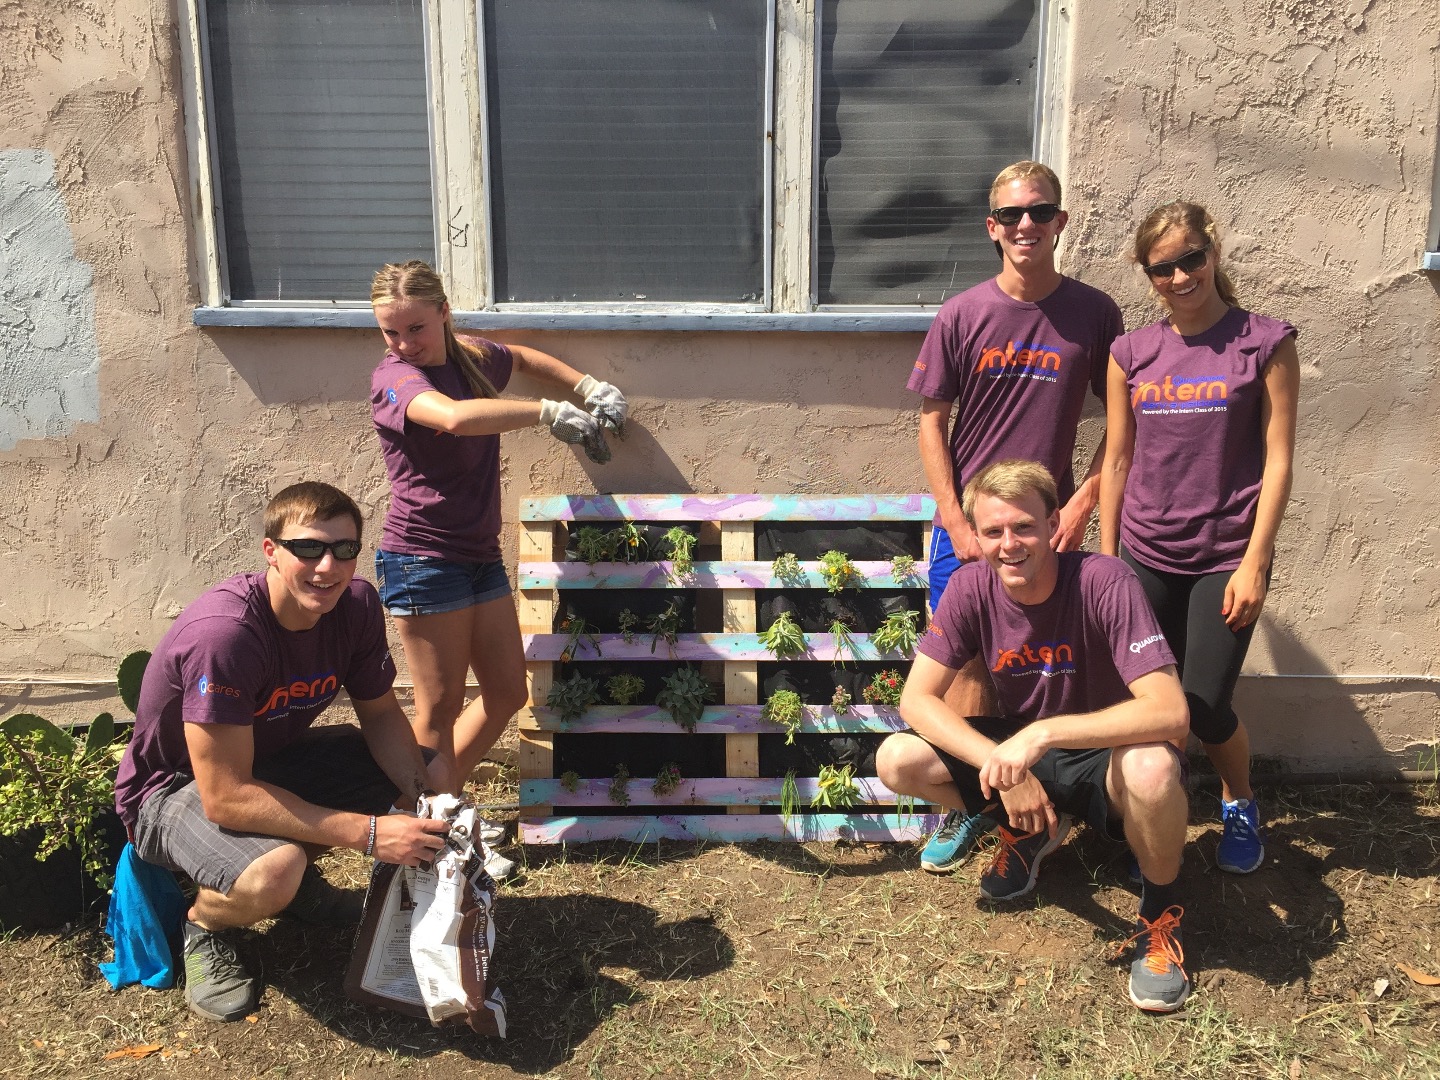
The first step of being able to create a perfect group photo is thinking about it when you take the pictures. It is very difficult to have everyone in a picture doing the right thing exactly at the right moment. Thankfully, photoshop can help solve this problem.
An important aspect of making a group photomerge work correctly is taking multiple pictures of the group. This is important, because you need to be able to pull different aspects from each picture to form the perfect group photo. I would recommend taking at least four or five pictures. The more photos you have to work with, the easier the merge.
Once you have the pictures taken, go through each of them and figure out which aspects from each picture you want in the final photo. You also need to select the one that is closest to what you want the final picture to look like. In this example, I have narrowed it down to two pictures. The first one has the two men on the right not looking or paying attention and the second picture has the women on the left not paying attention. I have selected the first picture as the final picture. So, I will show how to fix the two men in the picture.
Open the Pictures
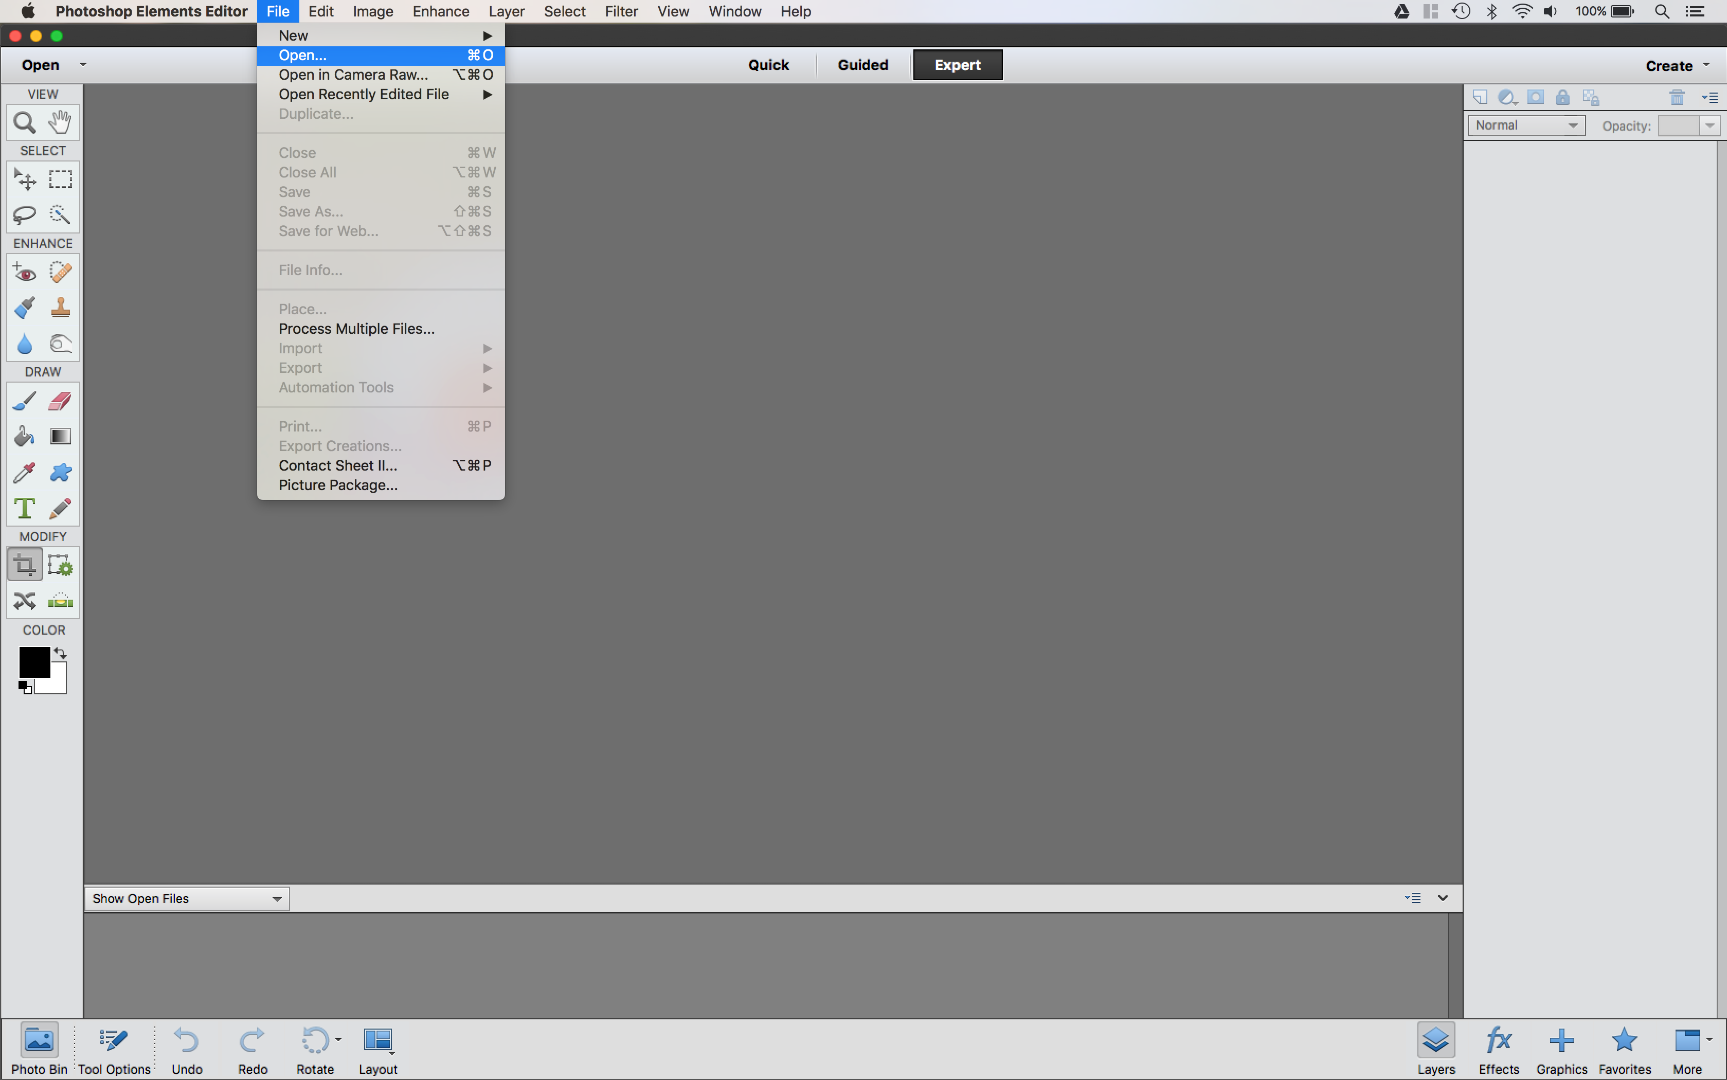
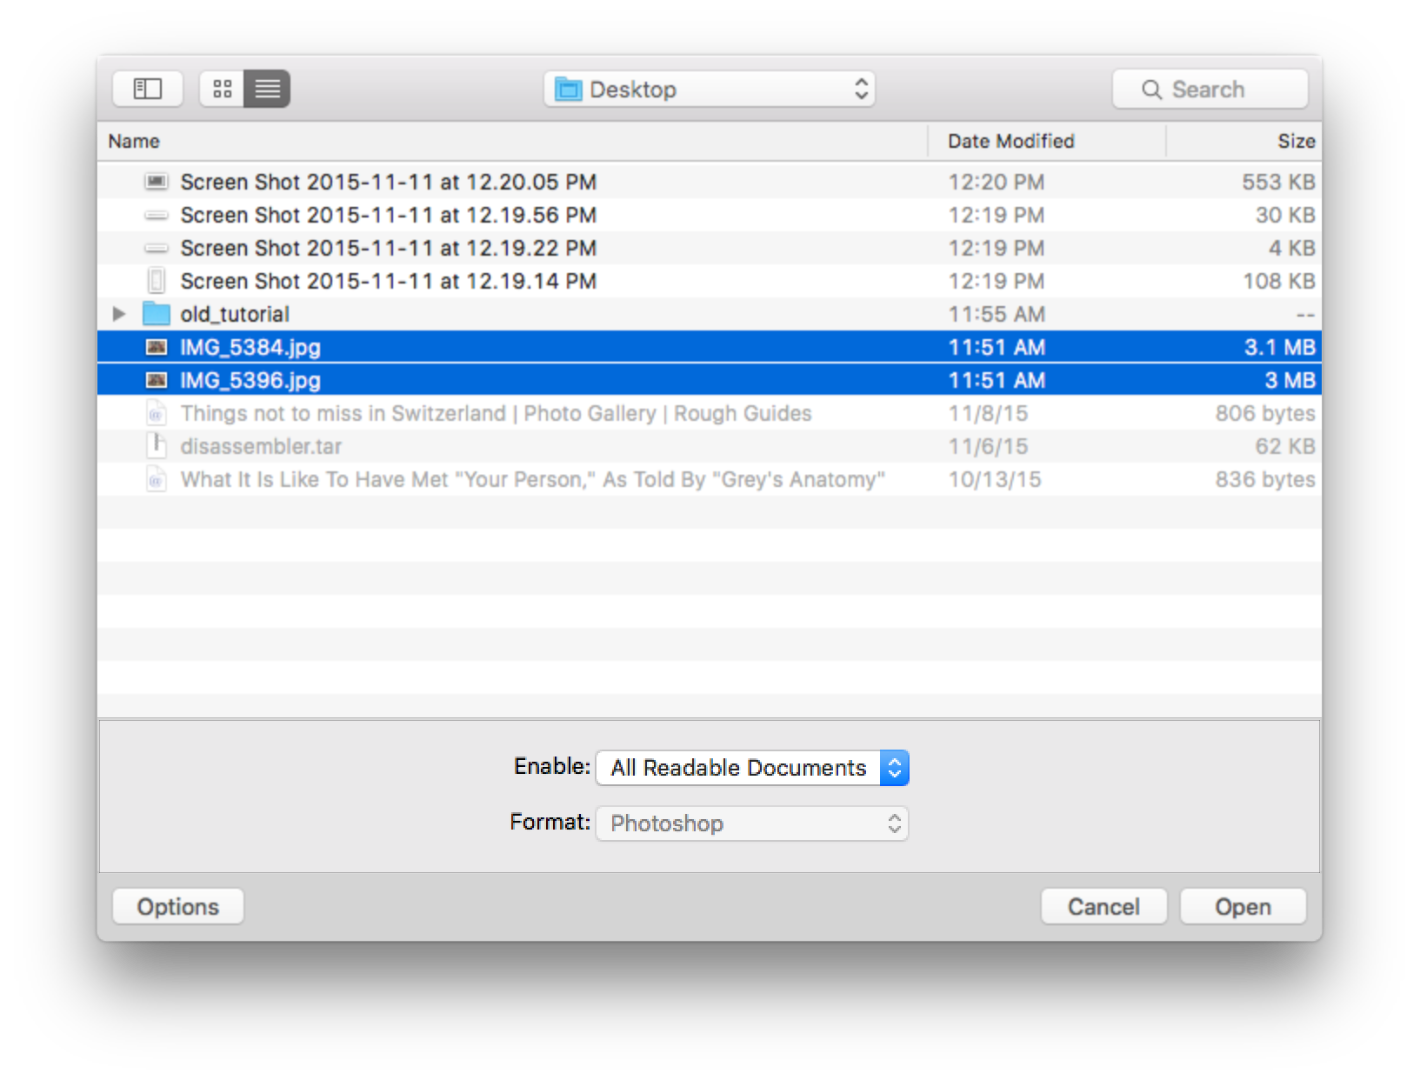
In Photoshop, go to the menu bar at the top and click on File>Open. From the popup box, find the pictures on your computer that you will use. Then press open to have them imported into Photoshop. One of the images will be displayed in the main window. The second image is accessible by clicking on the tab of the other image name at the top of the page.
At this point, double check that the pictures you imported are the correct ones because we will start merging them in the next step.
Starting the Photomerge
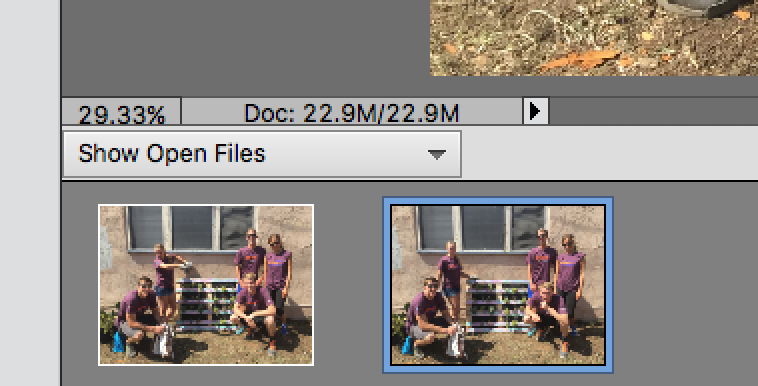
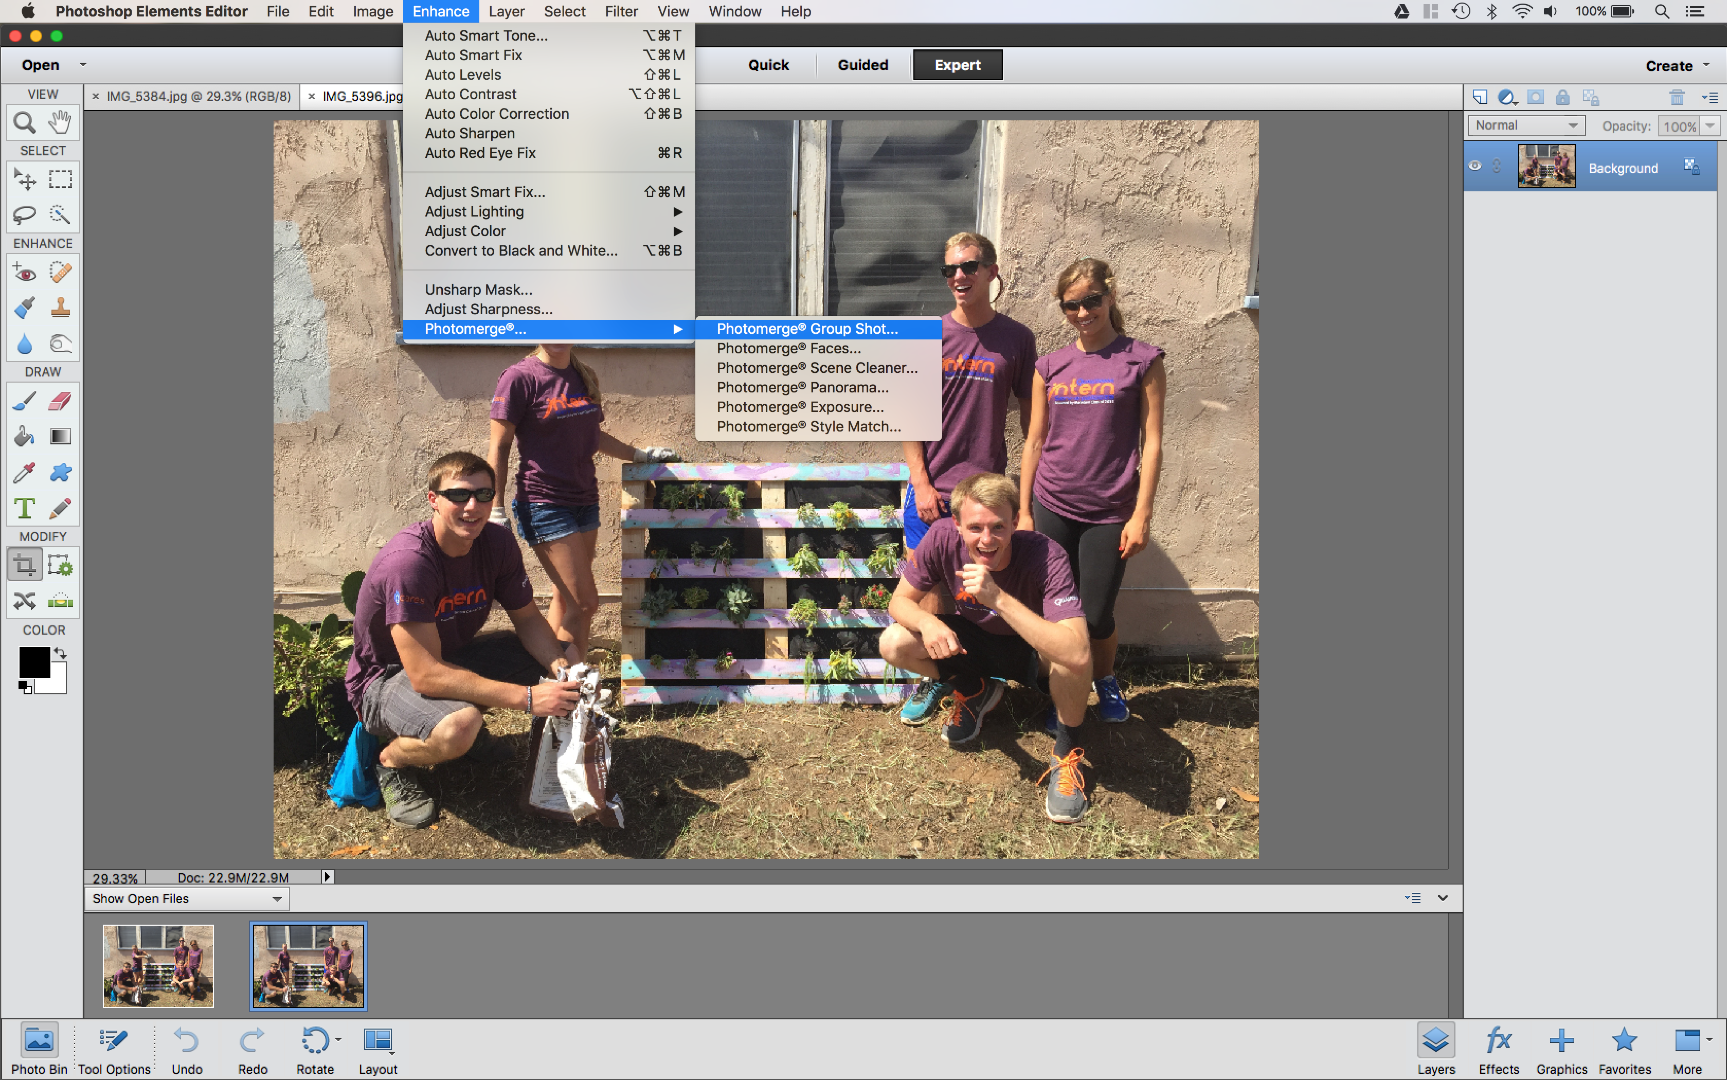
At the bottom of the Photoshop window, you will see the two files that we have open. Holding down Command, click on both of the images. This will select them both and allow us to merge them.
Next, from the menu, go to Enhance>Photomerge > Photomerge Group Shot...
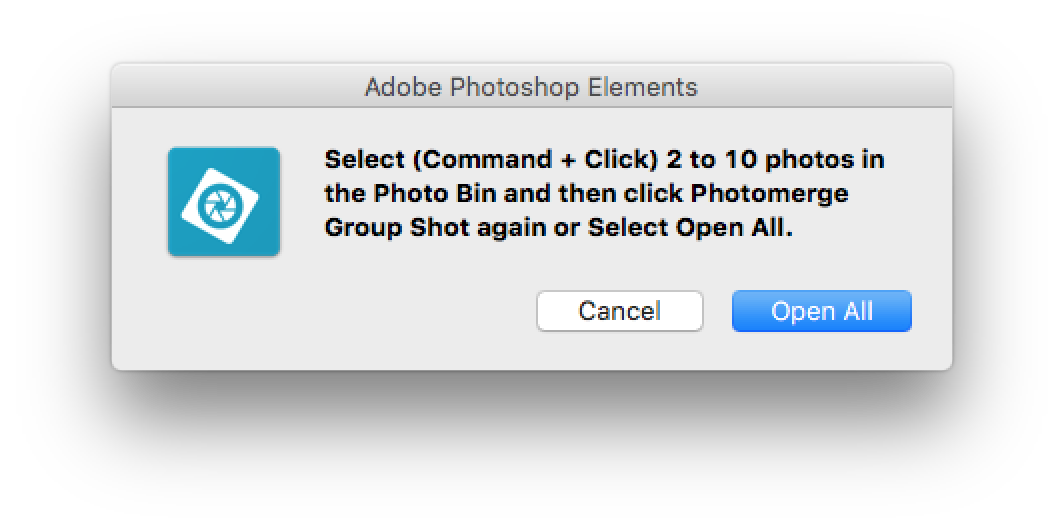
This will open up a new screen which will start the Photomerge. You may receive a pop-up message that asks you to select the photos, you can select Open All.
Align the Photos
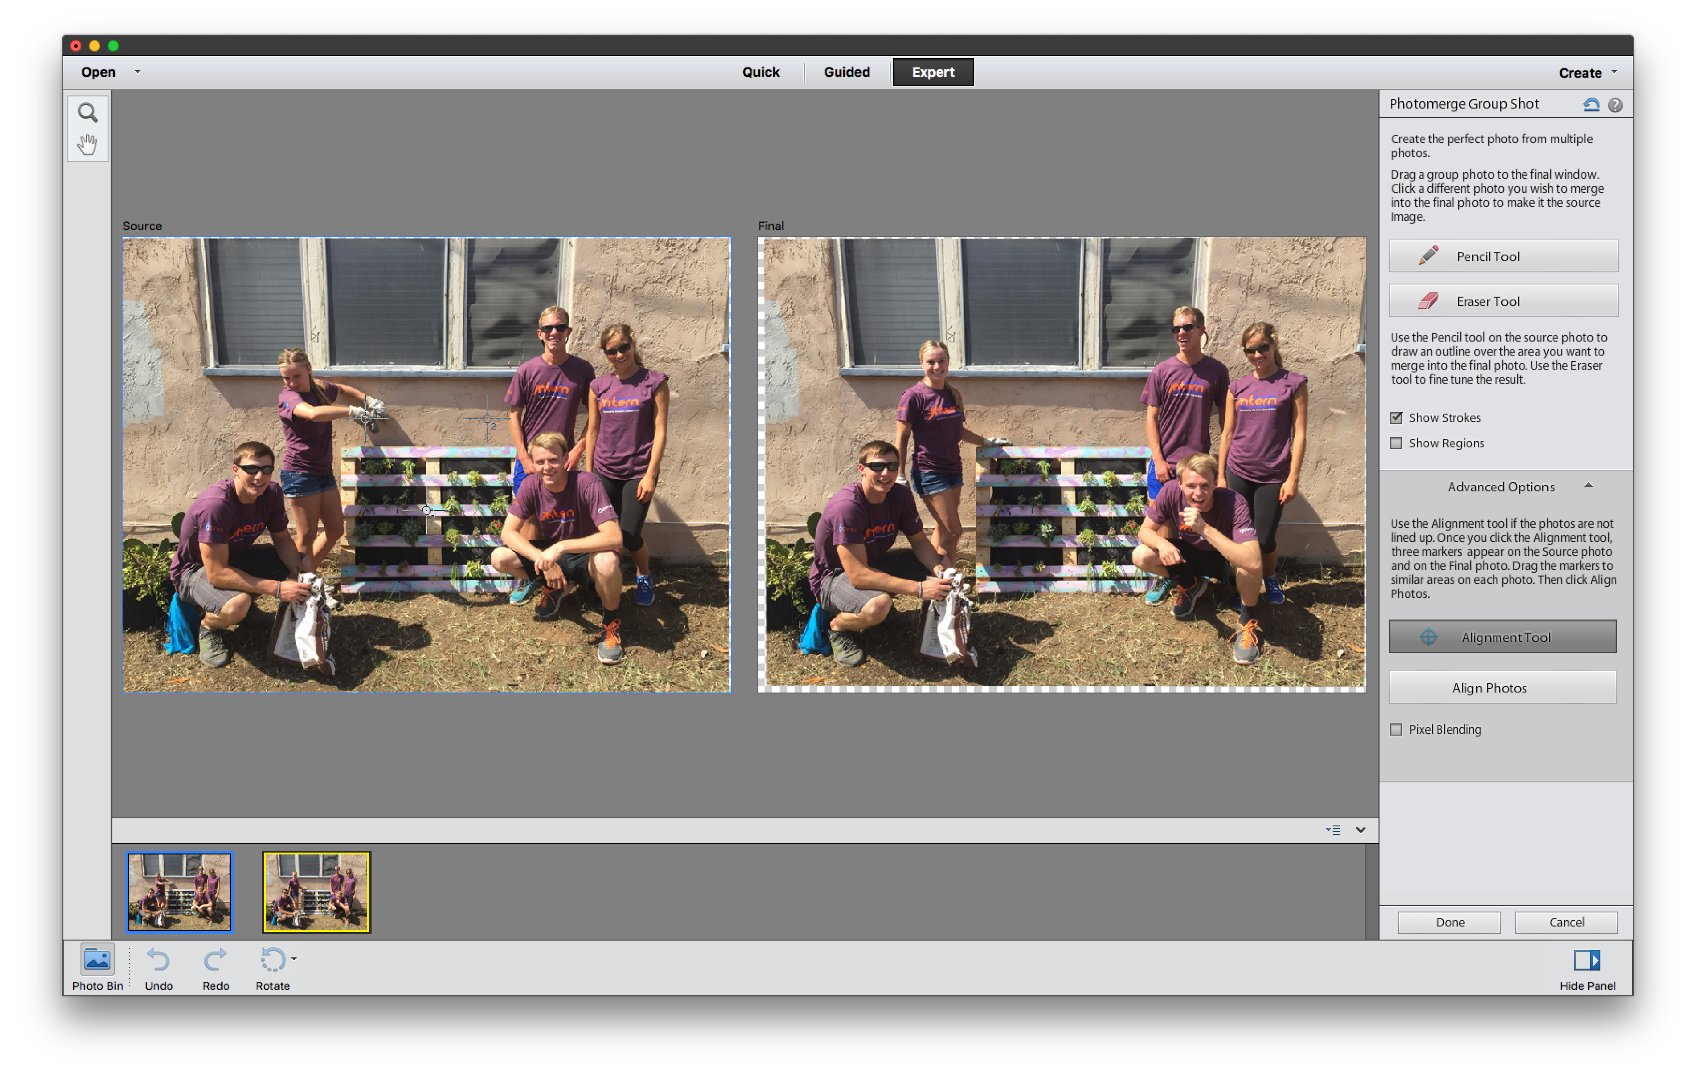
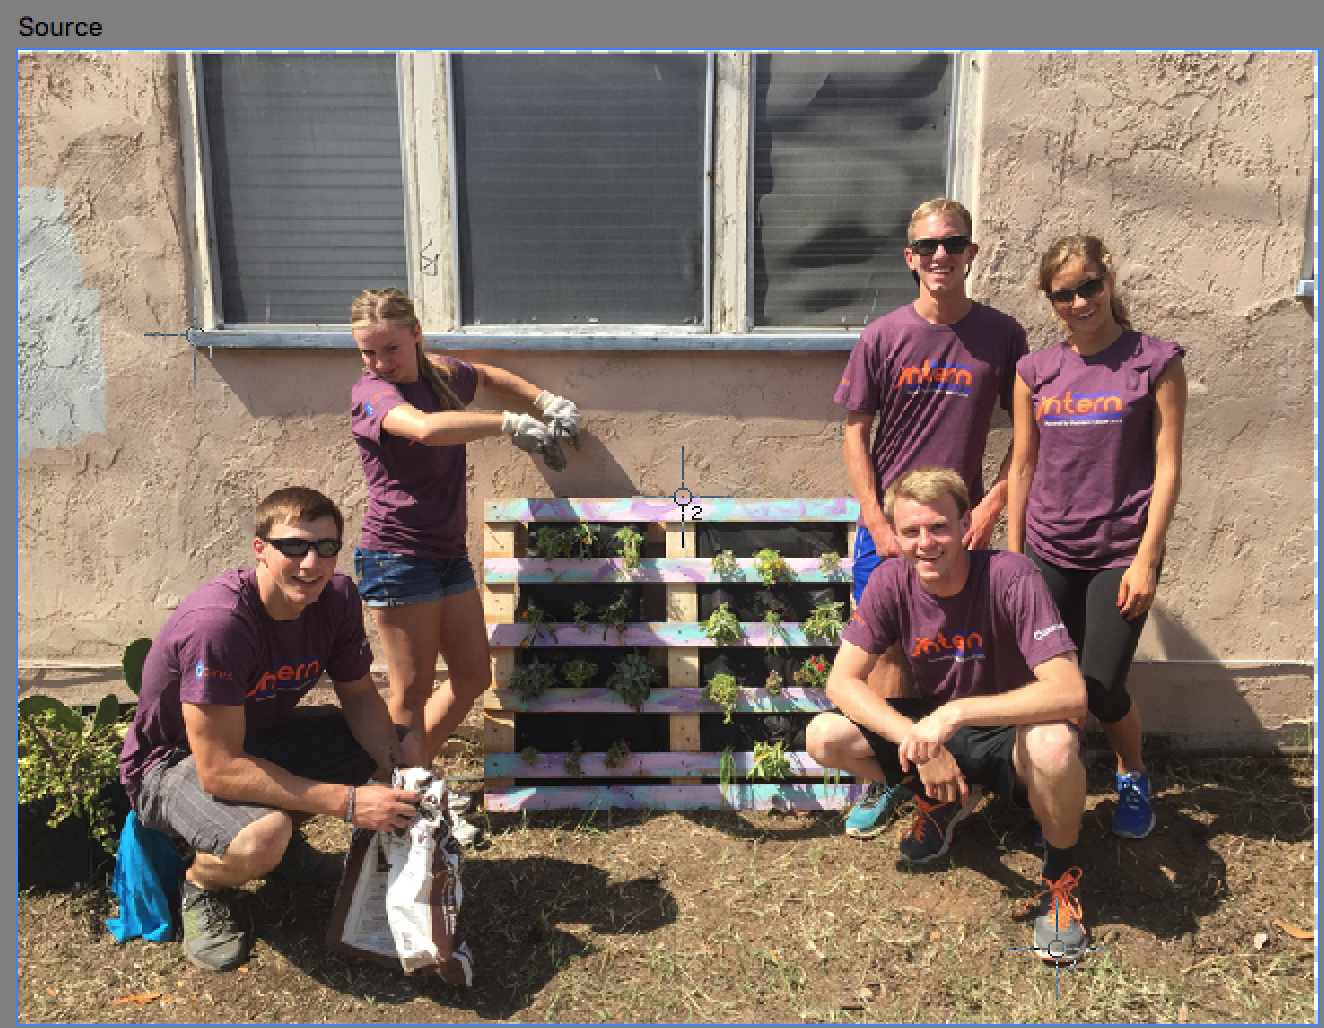
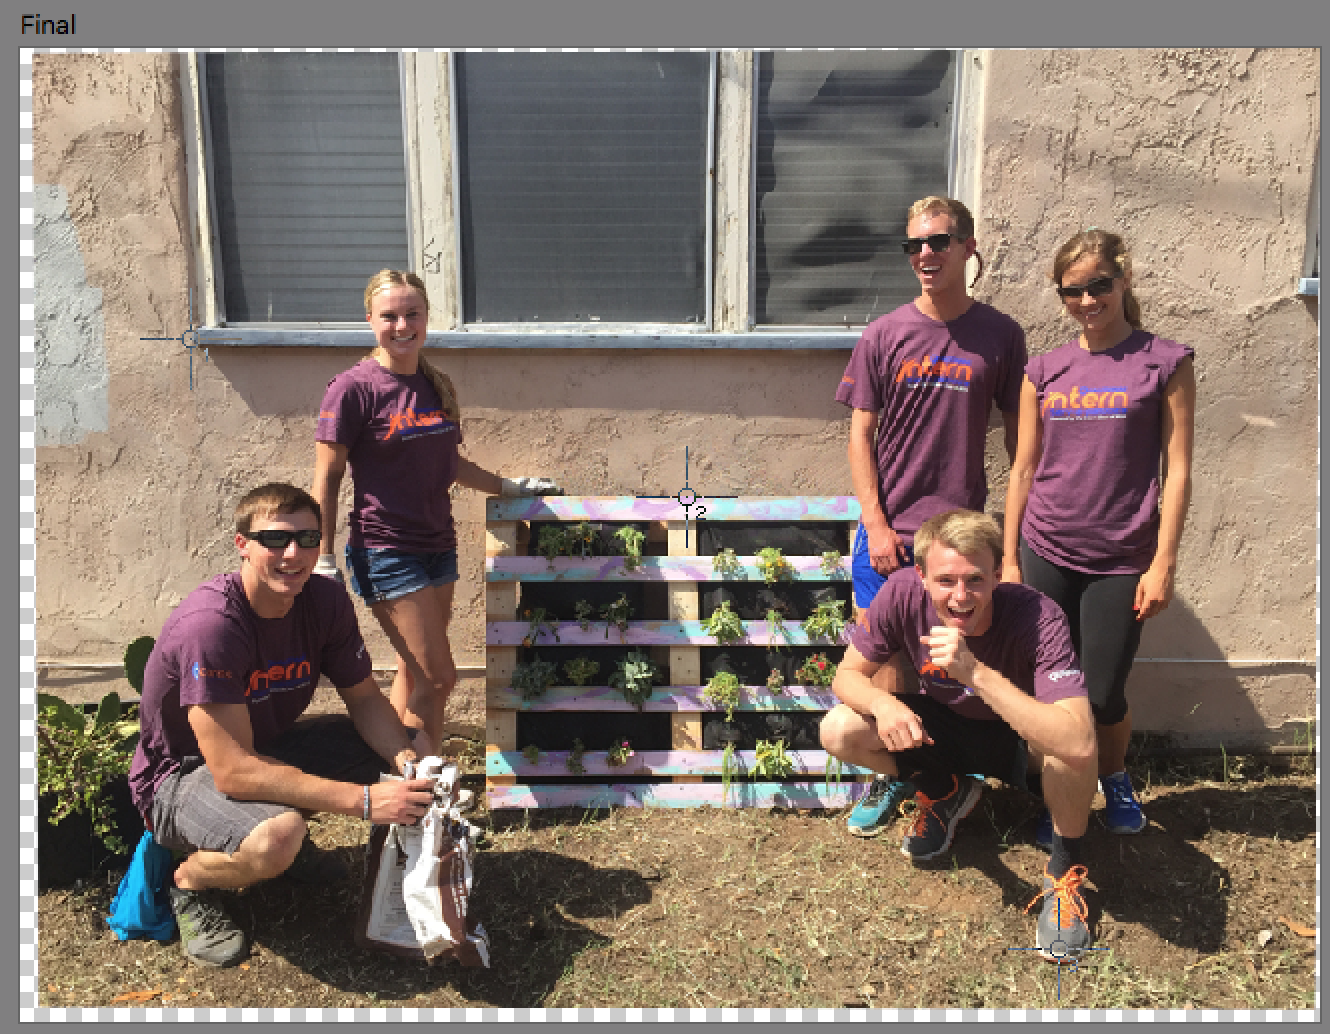
Once we are in the Photomerge screen we need to drag the final picture to the final box and the other image to the source box. The pictures are available at the bottom of the screen. Simply click and drag them into the respective boxes.
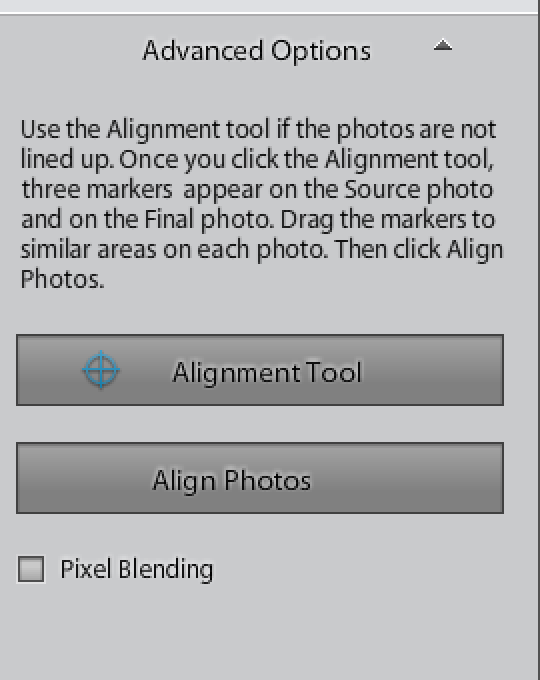
An important part of a successful photomerge is aligning the two photos. This allows Photoshop to understand the different angles and perspectives of the two pictures. Since they were taken at the same time and at about the same position, there are only slight differences in the two pictures. To align them, press Alignment tool from the right sidebar. It may be under Advanced Settings. After you click the tool button, there will be three cross hairs labeled 1, 2, 3. Grab each of them with your mouse and place them on three unique aspects of the picture that will not change during the photomerge. For example, I placed one on the bottom left corner of the window sill, the top middle of the pallet, and on the bottom right man's shoe.
Make sure you place the correctly numbered crosshairs on both of the pictures. Once you have finished placing the crosshairs, press the align photo button from the right sidebar.
A border around the Source or Final pictures might emerge, and that is completely normal. We will remove this later.
Merging the Photos
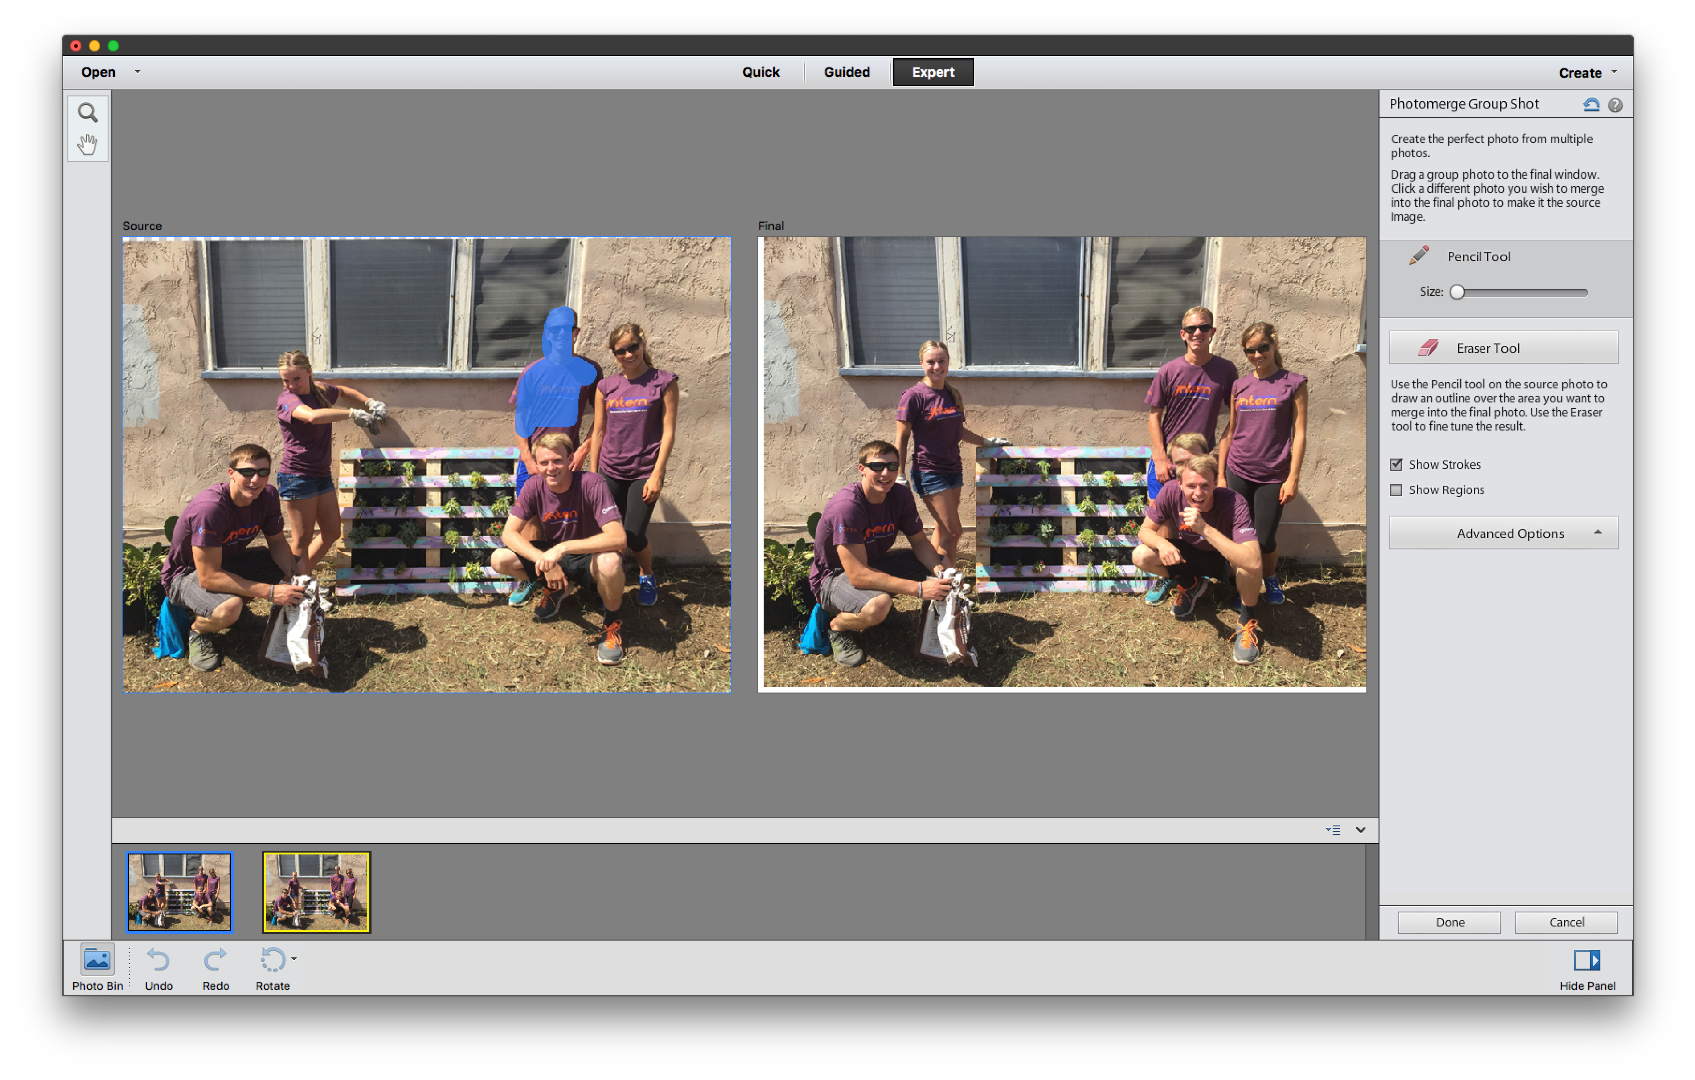
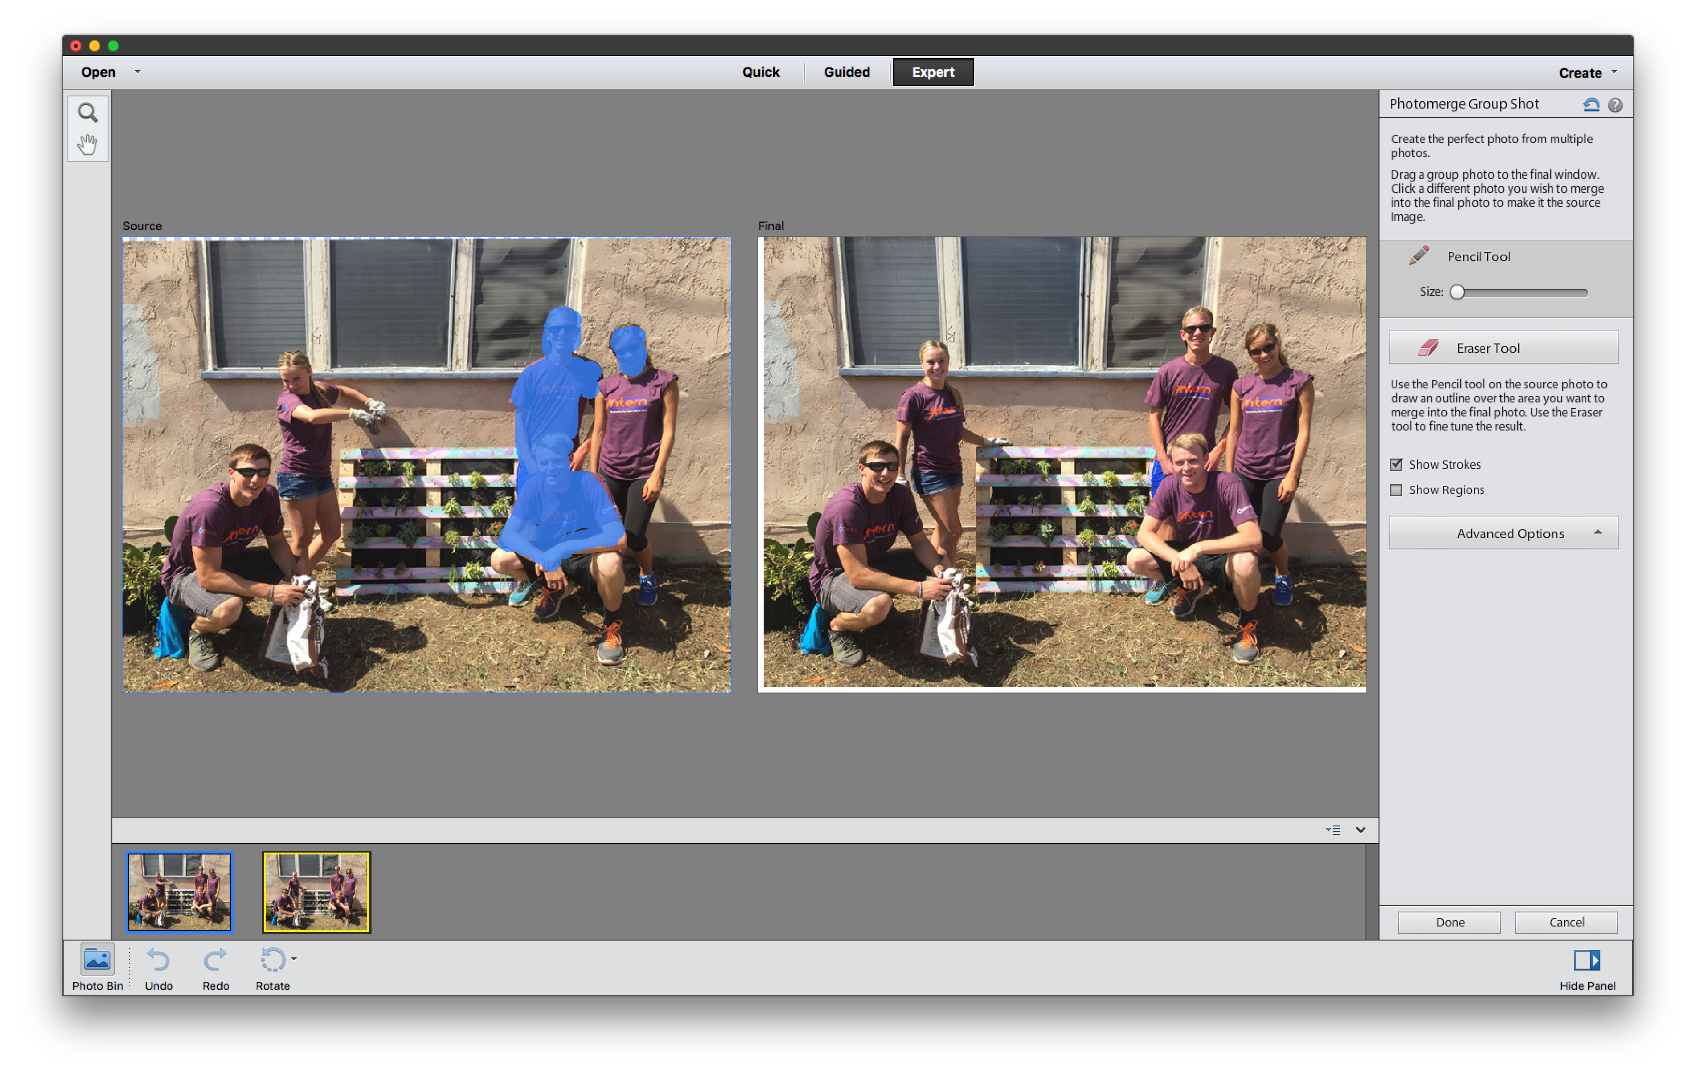
Now that we have the photos aligned, we can begin the actual merge of the two photos. To do this take the pencil tool on the right sidebar and start outlining the two men that we want to replace on the Source picture (picture on the left). This will take the parts that you pencil in and replace them on the final picture. You will notice, as you start selecting the parts of the picture that it will automatically update on the final.
It does change more than just the penciled area. It expands to blend the rest of the picture so that there are not artifacts of the photoshop. Continue highlighting the different parts of the picture that you want to move from the source to the final.
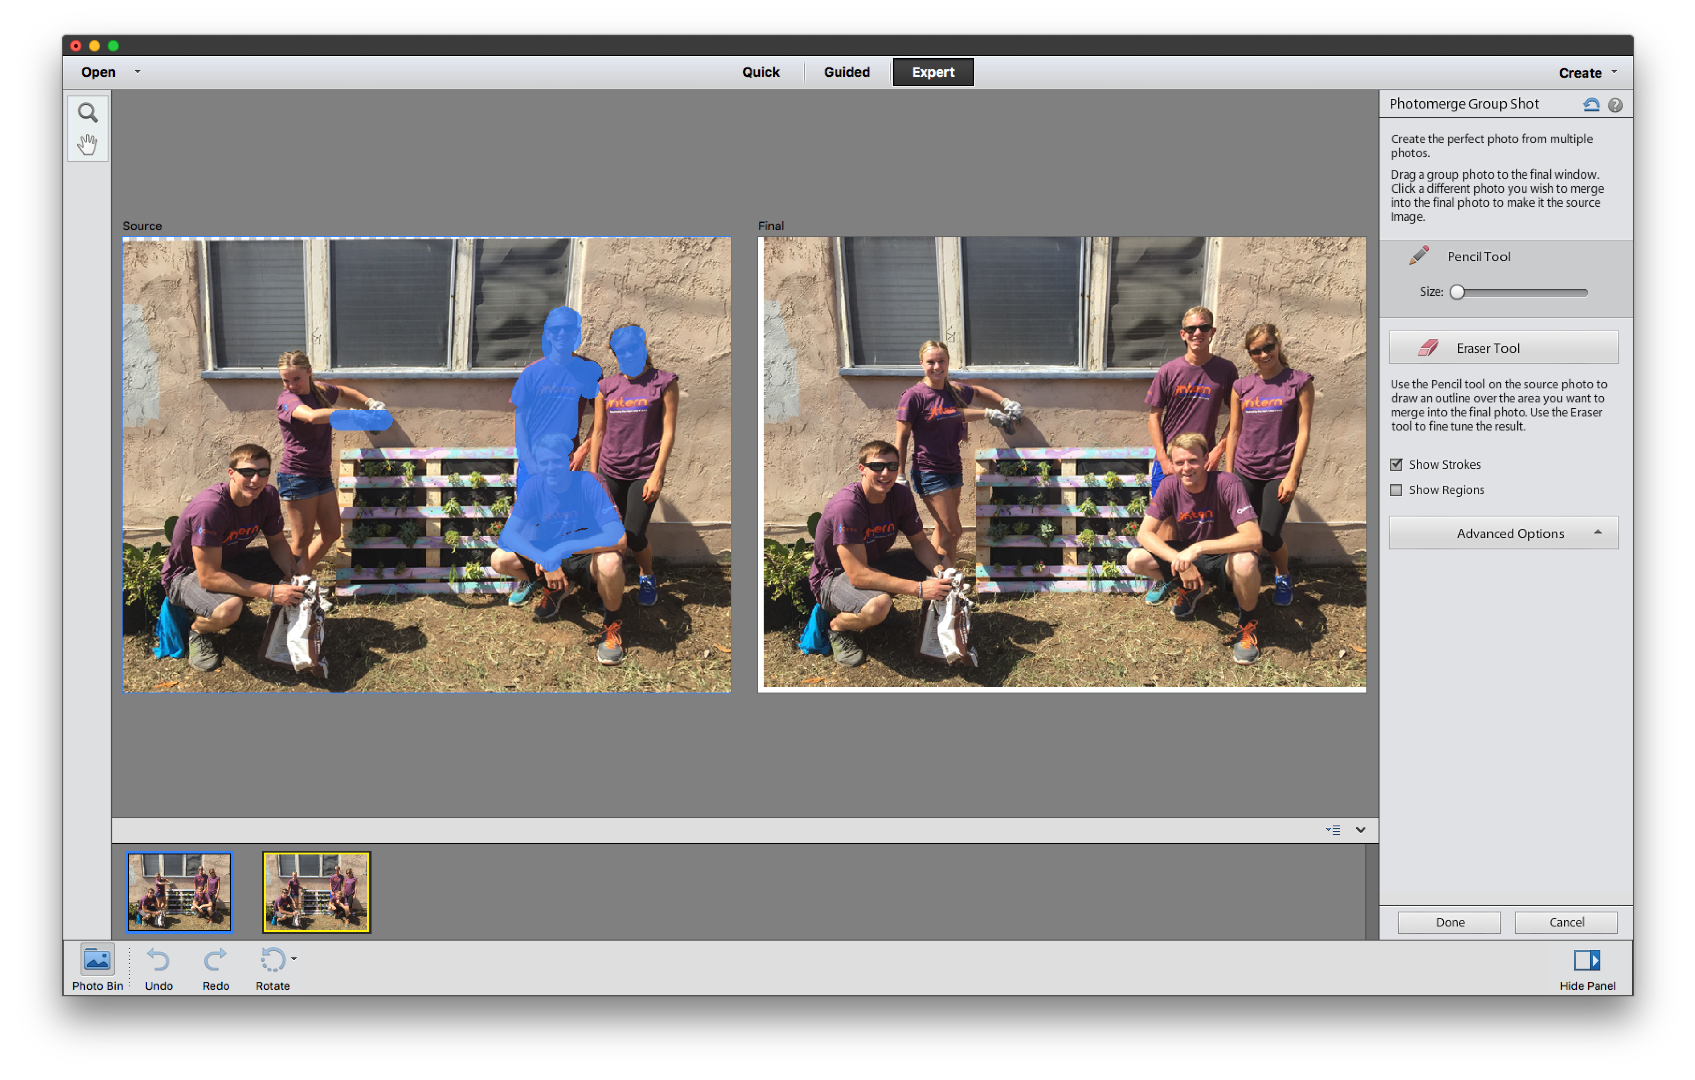
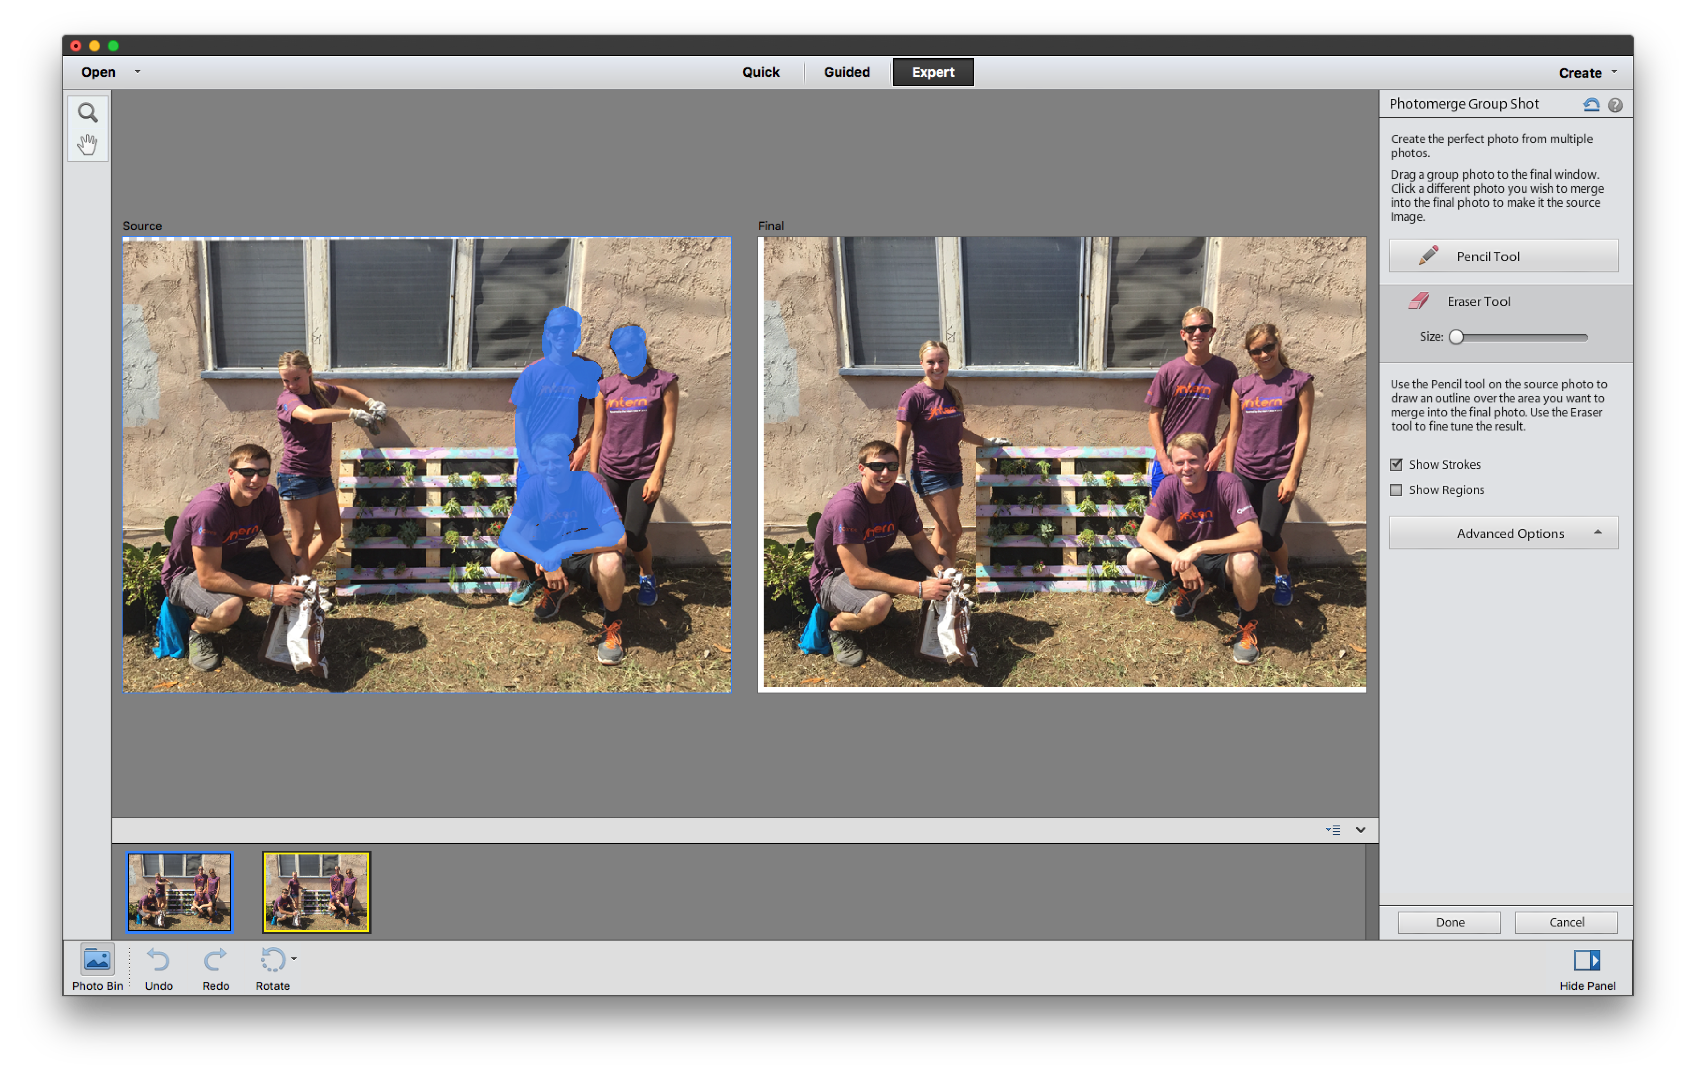
If you highlight too much or a part that you do not wish to merge, use the eraser tool on the right side bar and erase the highlighted blue on the source image. This will undo the changes you made through highlighting. For example, I highlighted the women's arm to demonstrate that it will try to merge that aspect. I can use the eraser tool to erase the blue highlight and it will return to normal on the final image.
Final Touches
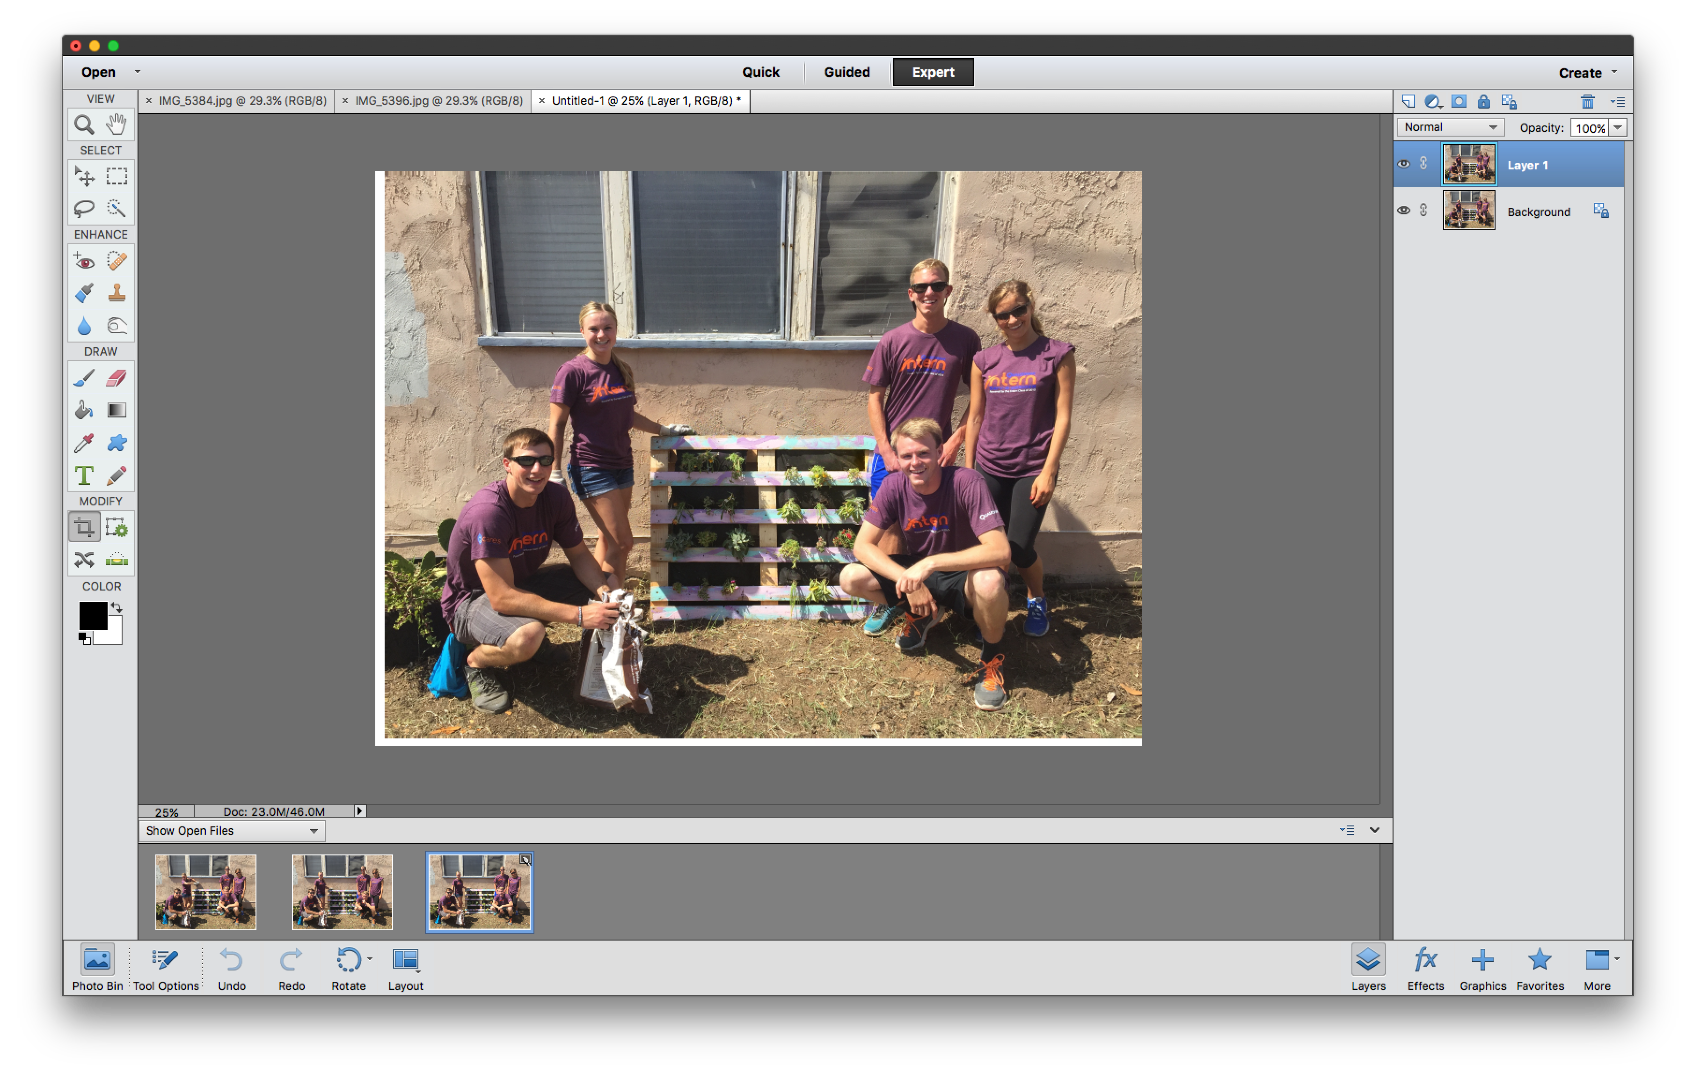
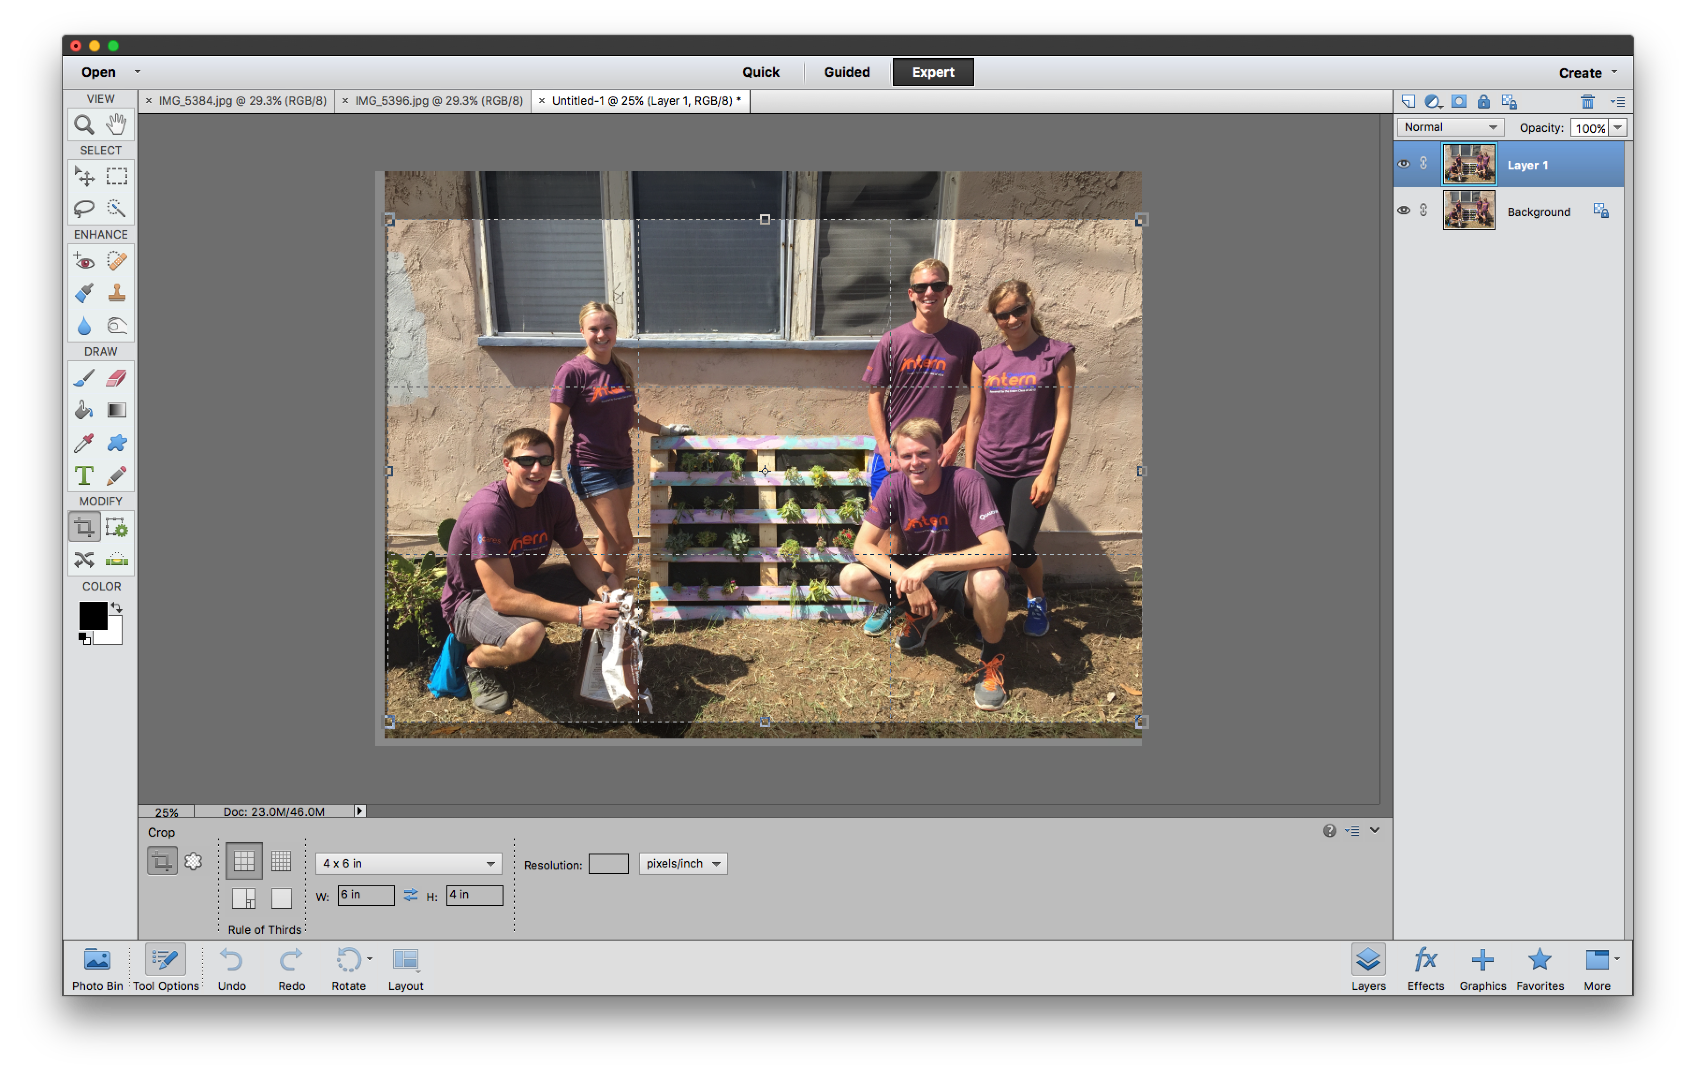
Now that you have fully merged all of the aspects of the two photos that you want, we can finalize the picture. To do this we will press the Done button on the right sidebar. This will save the changes and create a new file in your Photoshop browser. You may notice that there is still a border around the image from when we aligned the photos. We can remove this by selecting the crop tool from the left side bar.
Dragging the tool over the image will create a dancing ants borders around the image. Use the constraints at the bottom menu bar to create a specific photo size. I prefer to use a 4x6 size photo, so I set the constraints to Height: 4in and Width: 6in.
Once you are done cropping, select the green check mark to save the changes.
Saving the Picture
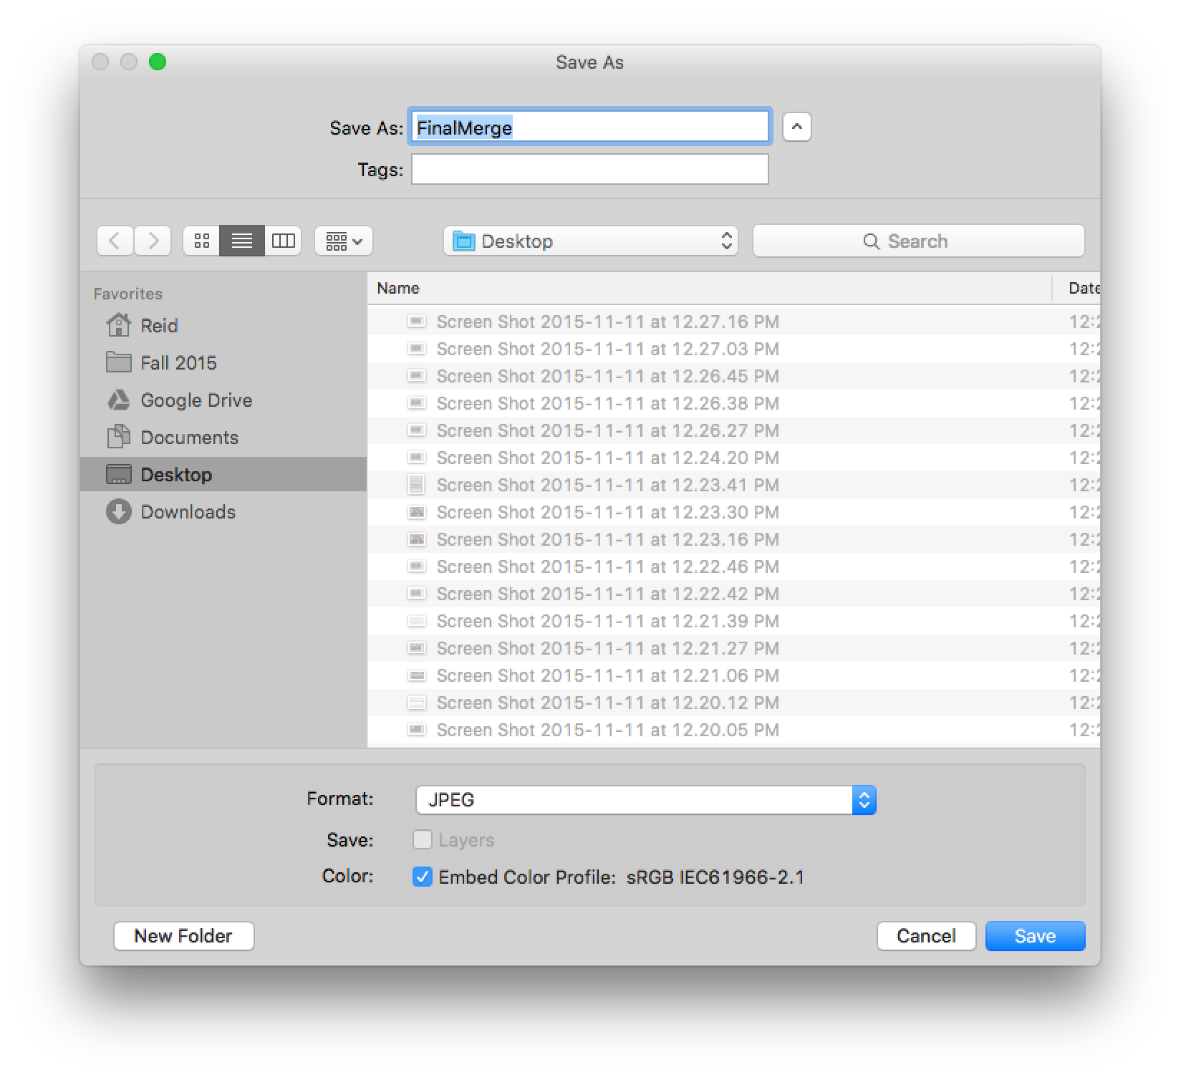
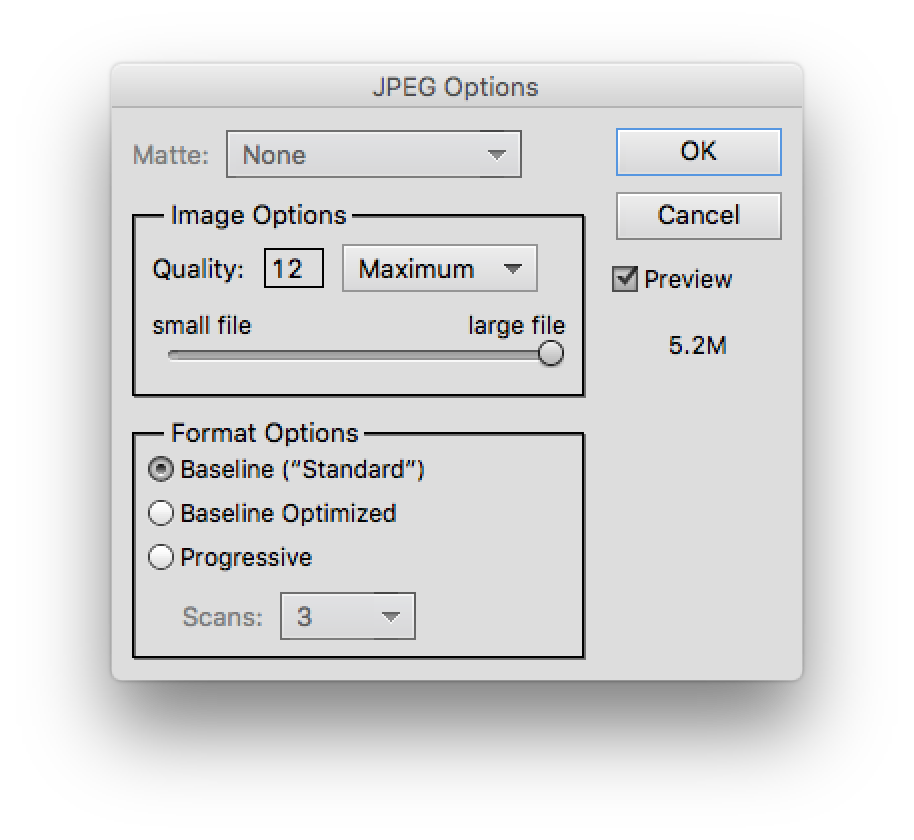
Now that we have successfully merged the two photos, it is time to save them as a jpeg. Go to the menu bar and select File> Save As... A popup window will appear allowing you to choose a save location and name for the file. Once you have named the file and choose a folder, make sure you select JPEG From the Format drop down. Next, press save and another pop-up window will appear. Make sure the Quality is set to 12 and press okay.
Now, you have successfully created a Photoshopped group picture.