How to Paint Tabletop Miniatures
Are you interested in painting tabletop miniatures but look at the details of experienced painters and think you could never do that? Well, you definitely can do it! It only takes following some simple steps (and practice) to be able to get a finished miniature that you can be proud of.
Also, if you're not sure that you want to invest in some of the more professional supplies for miniature painting, then don't worry. This Instructable will show some ways you can try miniature painting out with some DIY supplies.
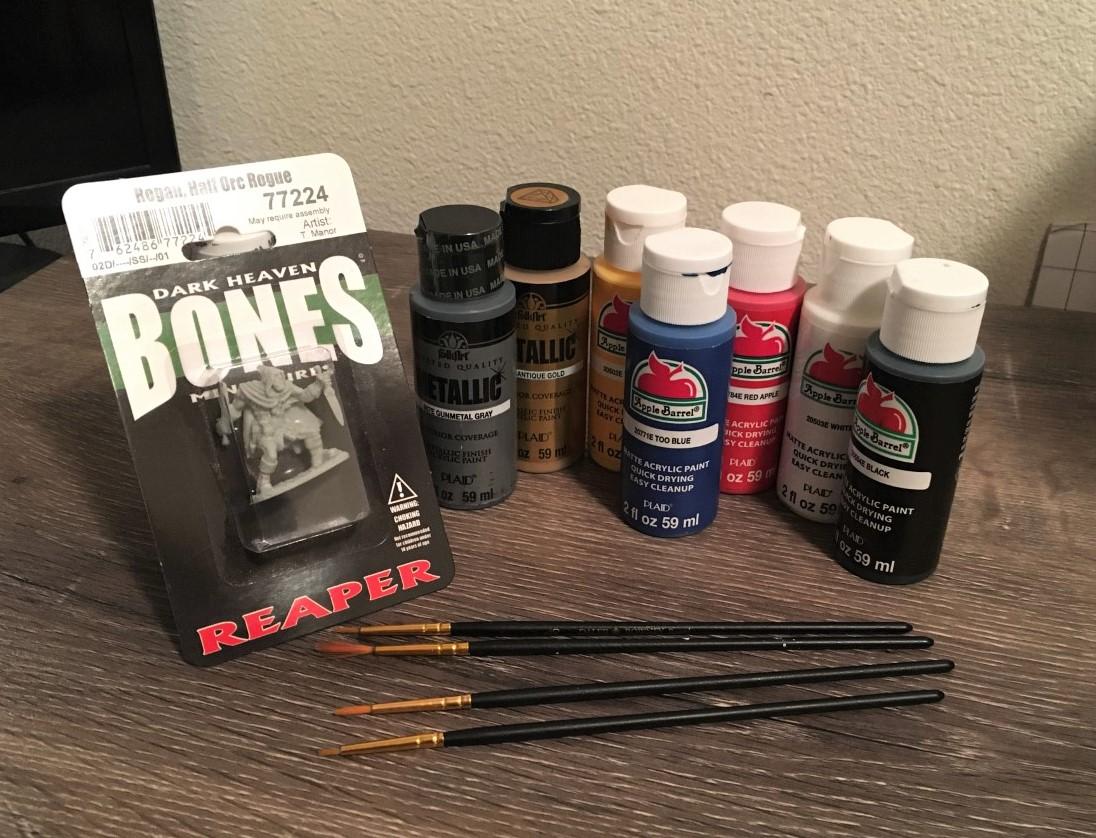
Supplies
- acrylic paint
- small brushes
- a miniature
Painting Handle

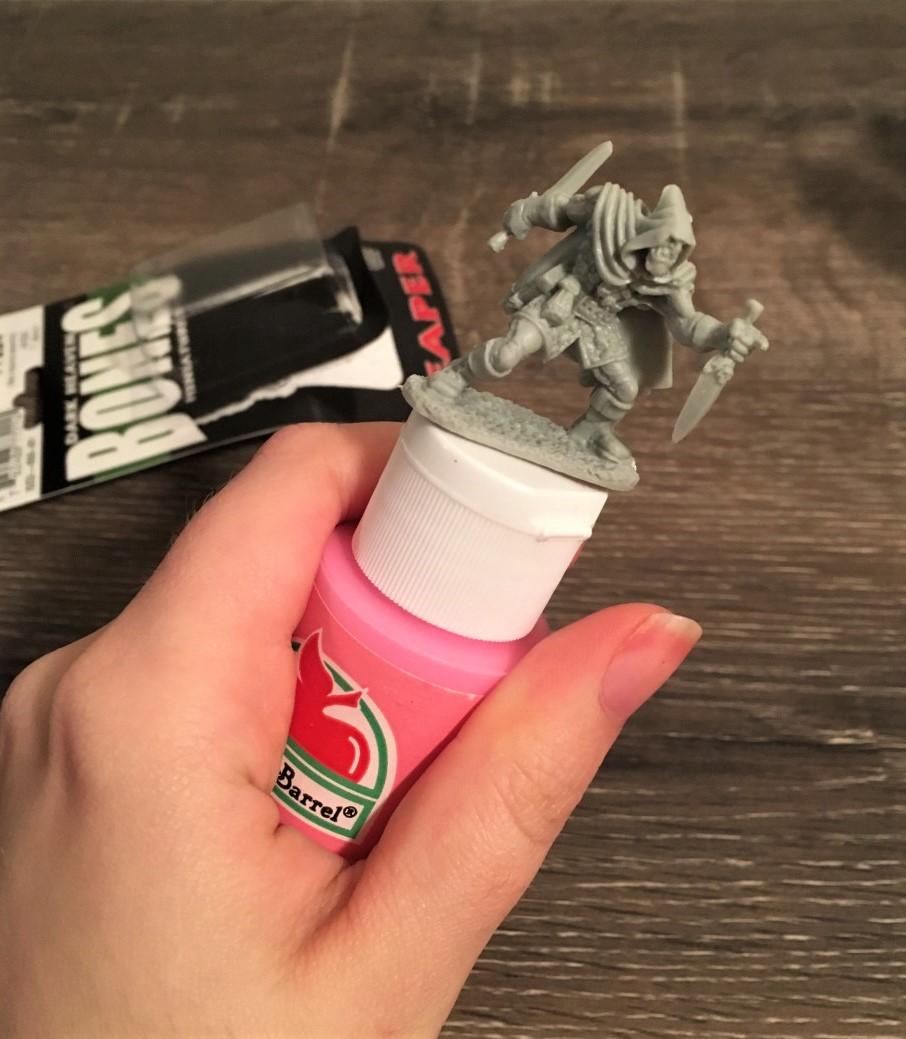
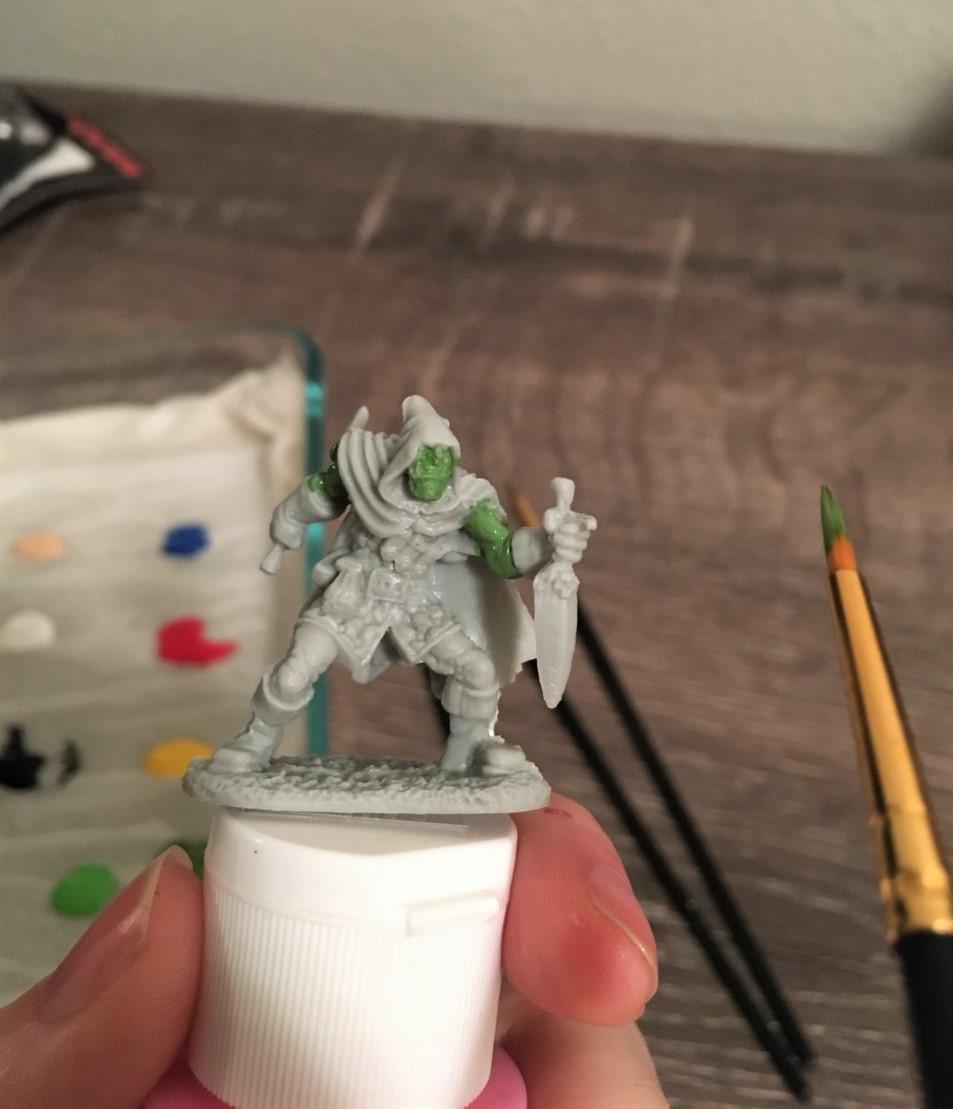
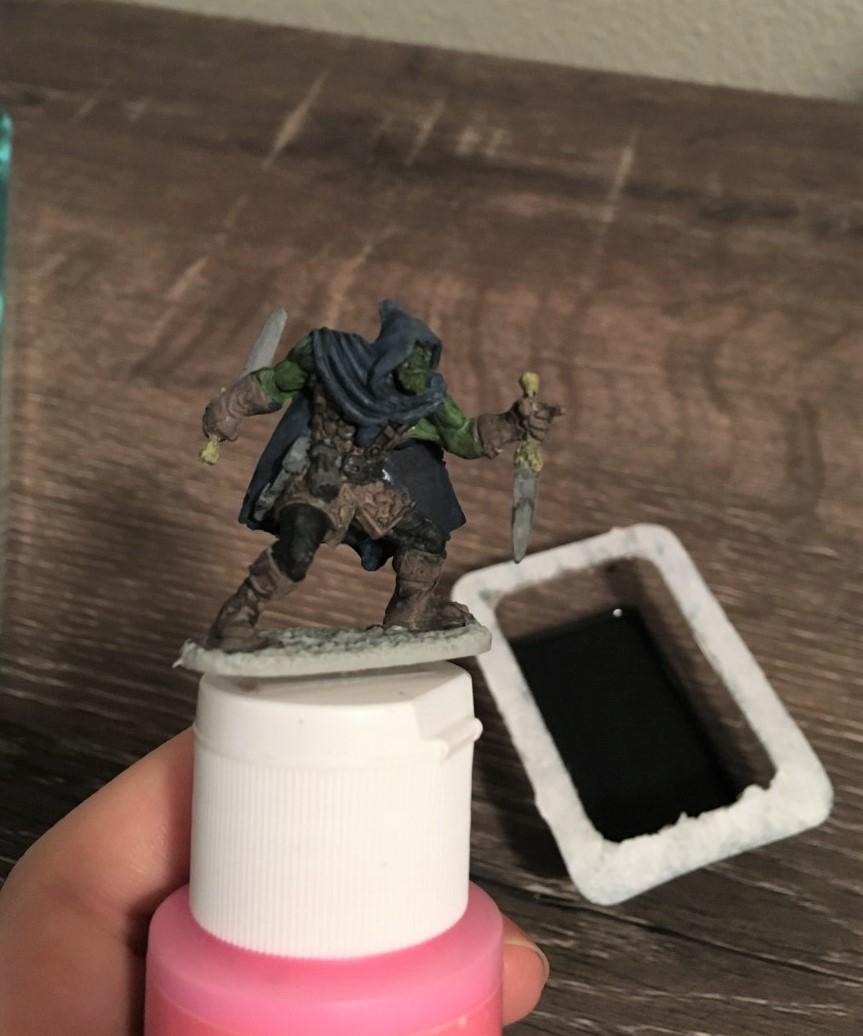
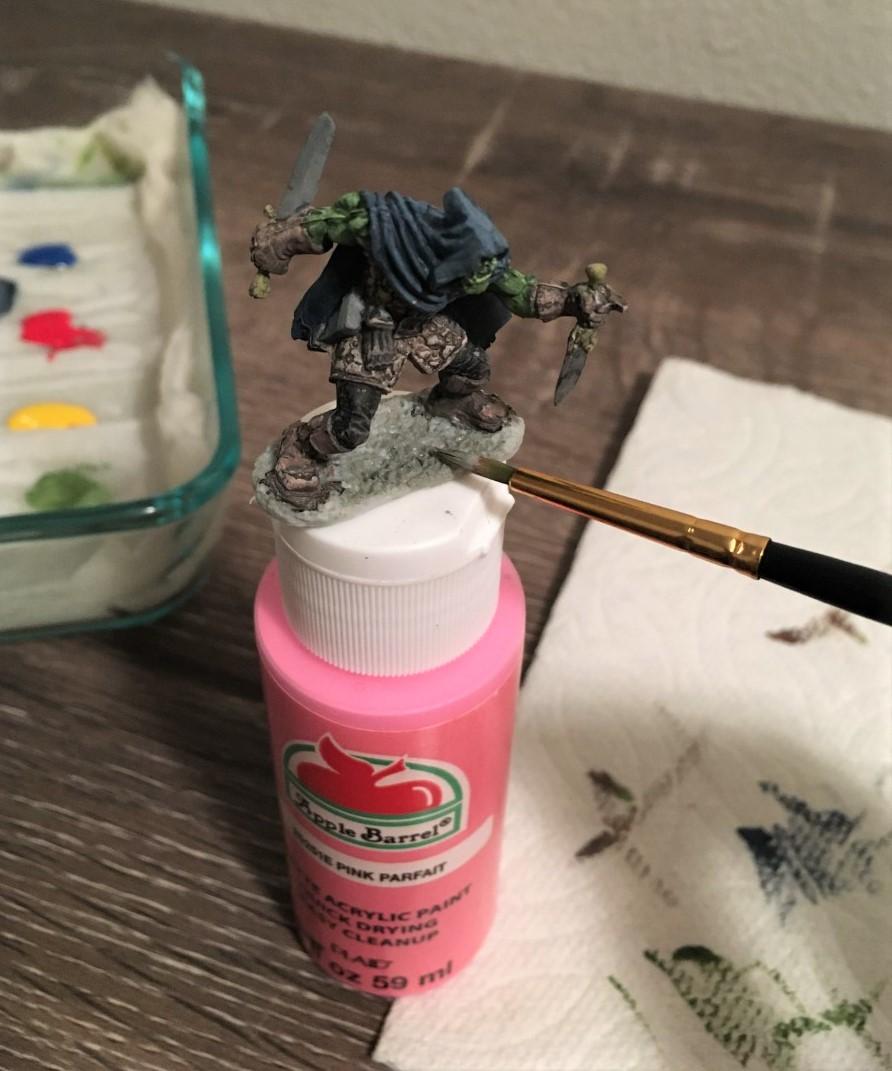
First, you'll want to make a painting handle or holder for your miniature. This will hold your miniature while you paint it so you have more freedom of movement while painting. It will also reduce the strain on your hand and prevent you from needing to hold on to the miniature and risk accidentally touching the paint.
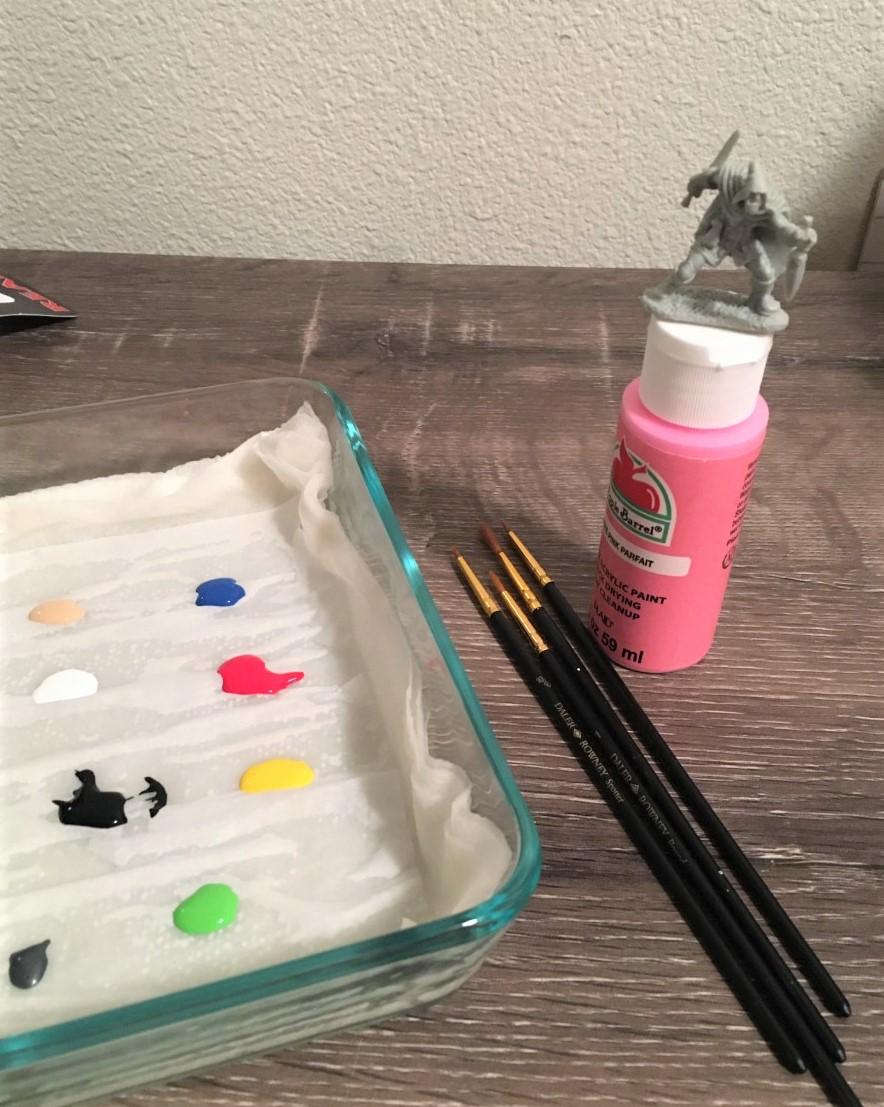
There are manufactured painting handles you can buy online or at a store, but they are also easy to DIY. I made one by simply sticking a piece of tape to the top of one of my paint bottles and attaching the mini on top. You could use any cylindrical object you have at home that fits comfortably in your hand and adhering your mini to it with tape or sticky tack.
Wet Palette

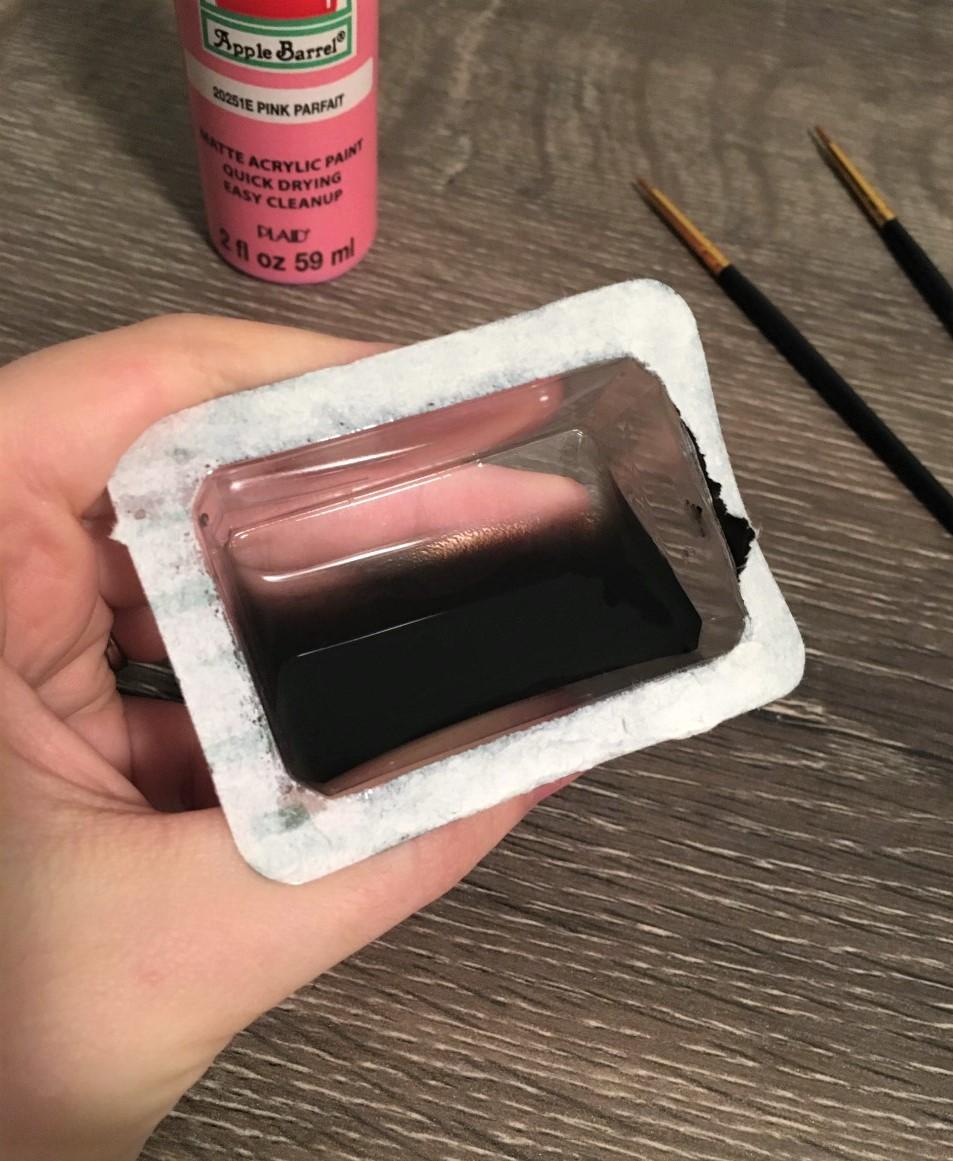
The next thing you'll want to create in preparation of painting your miniature is a wet palette. A wet palette will prevent your paints from drying out while you take your time painting. It also helps to keep your paint thin and makes it easier to mix colors.
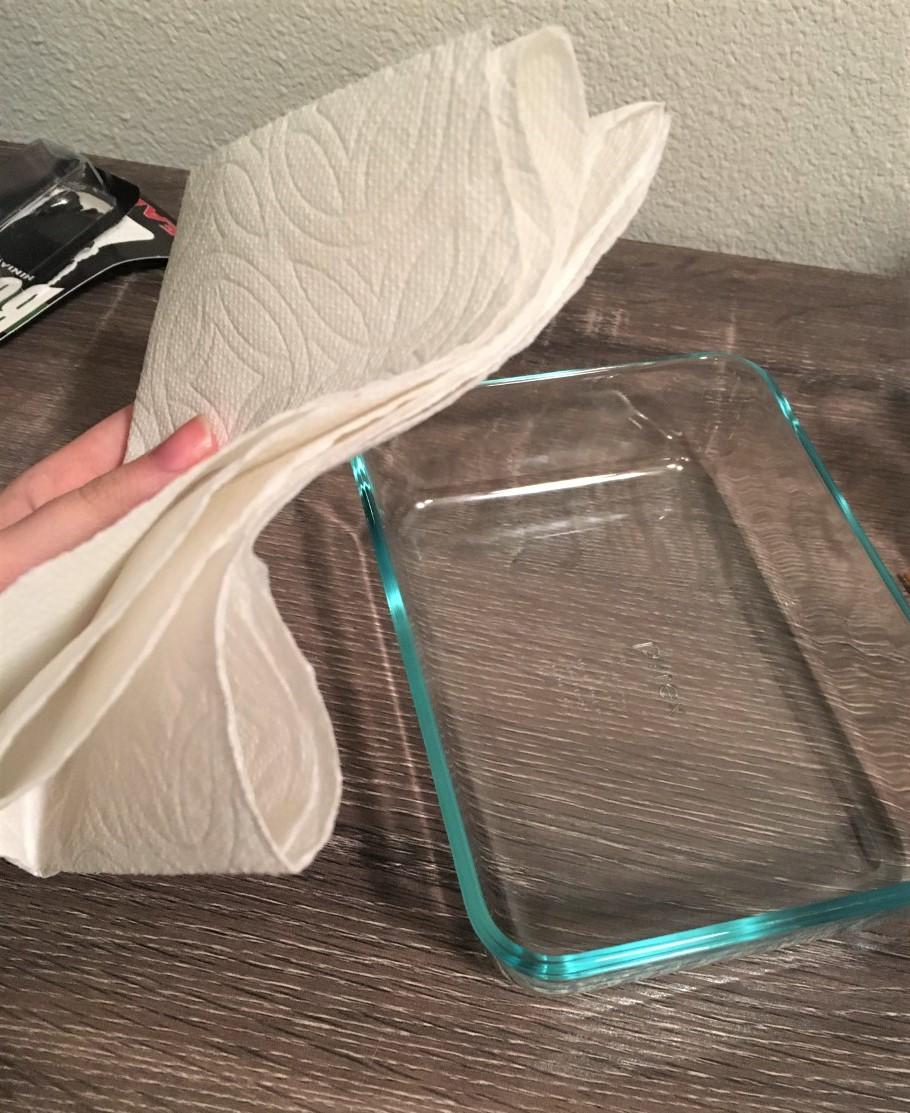
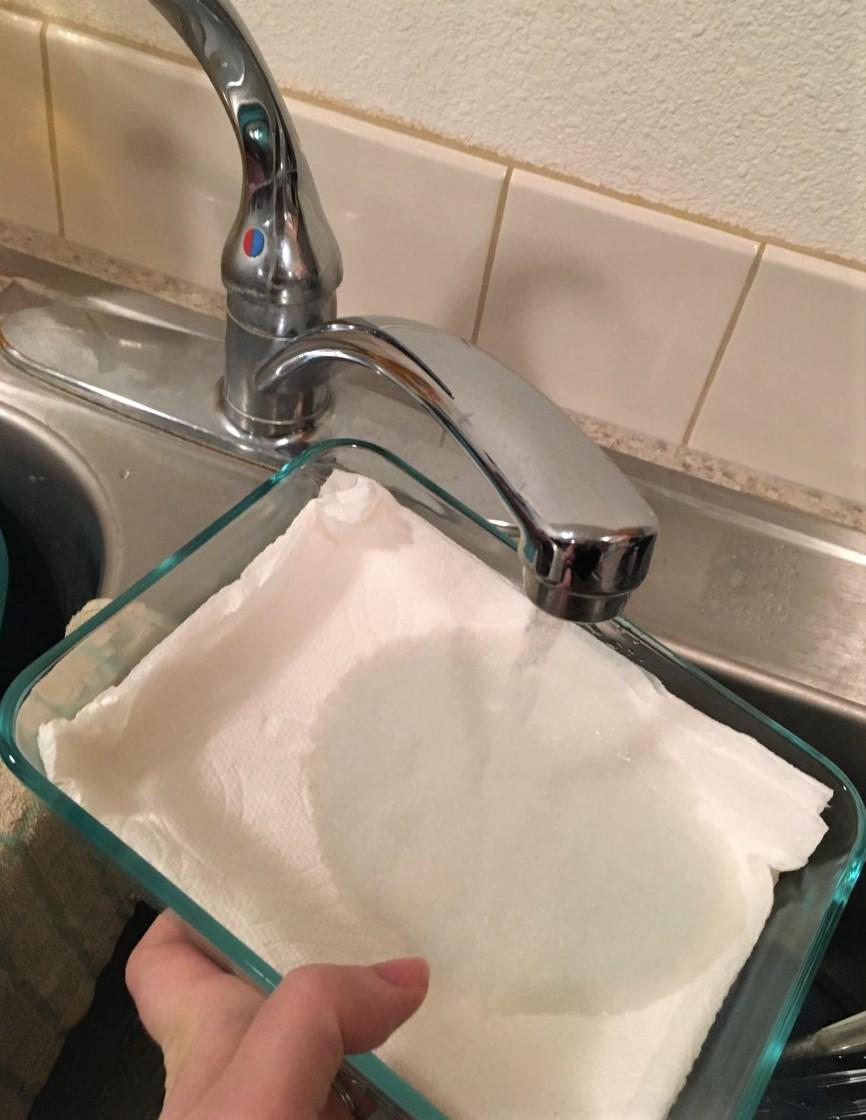
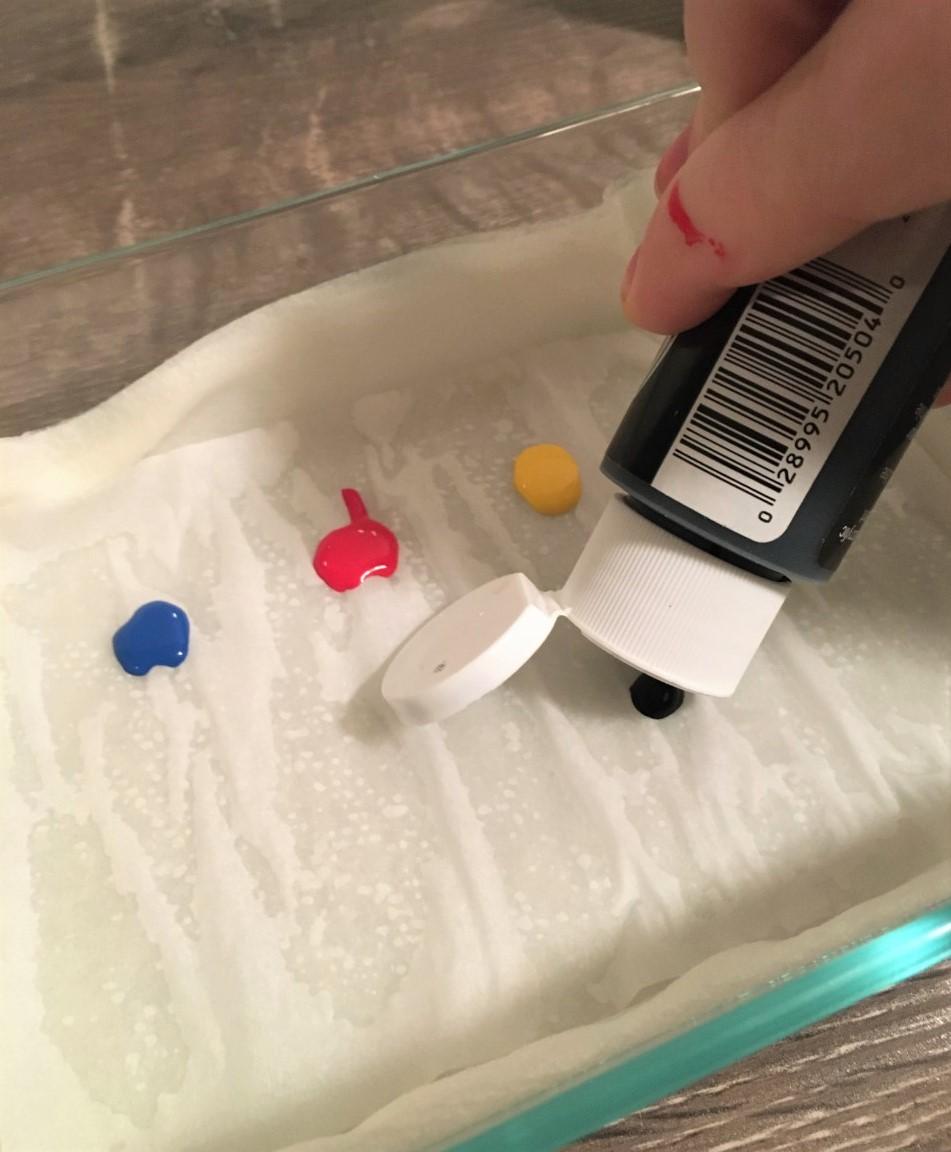
You can also buy manufactured wet palettes or if you're not ready to make the investment yet, you can DIY one. I made mine by placing some folded over sheets of paper towel in the bottom of a small dish and soaking it with water. Then, I placed a sheet of parchment paper over top and squeezed little blobs of all the paints I planned to use on top of the paper.
Base Coat
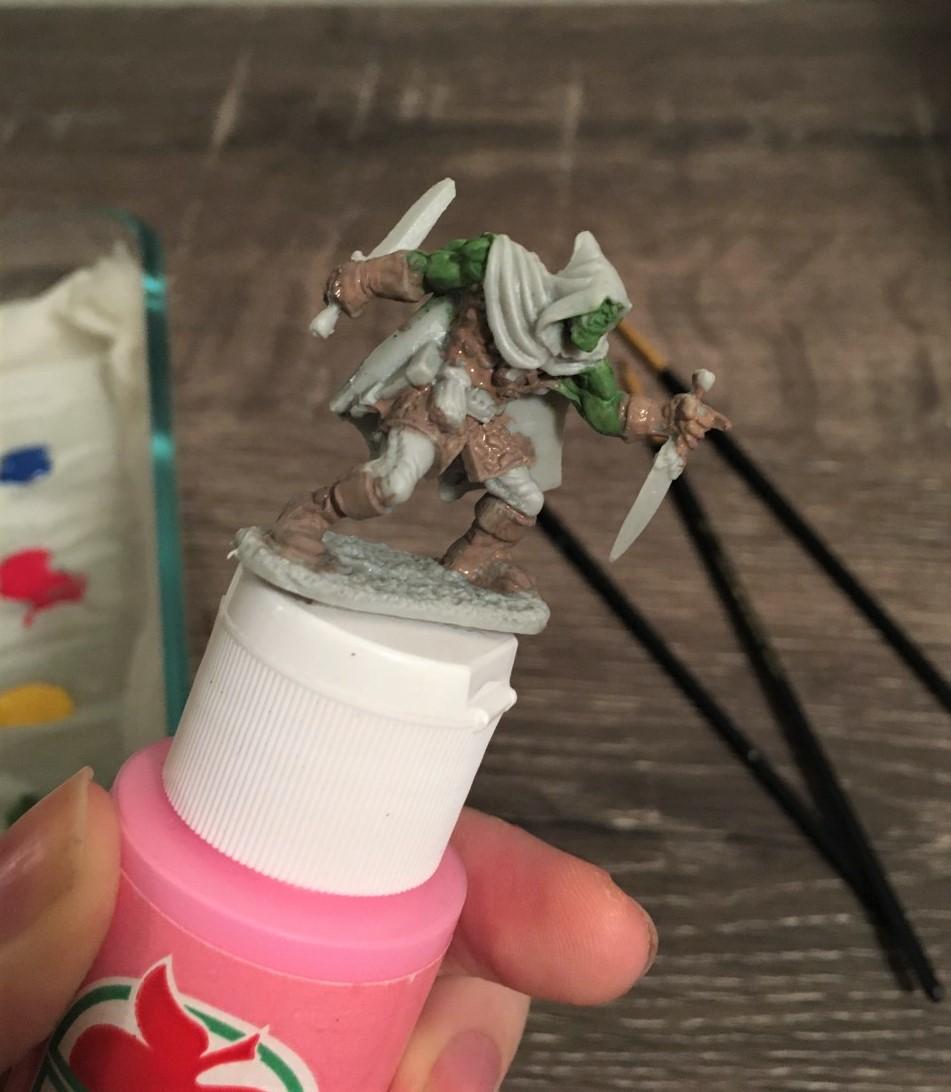

First, you'll want to block out the base color of each part of the miniature starting with the deepest level and working outwards. Most often the skin will be the deepest level with clothes being on top of that and accessories last. It's important to paint in thin layers so you don't lose the details of the sculpture under thick coats of paint. And it's okay to be a little rough with this first base coat of paint and to touch up the sloppy bits as you work outwards.
Note: I like to use miniatures that come primed and ready to paint. If your miniature is not pre-primed, you'll need to spray it with a coat of primer and let it dry before starting to paint.
Dark Wash
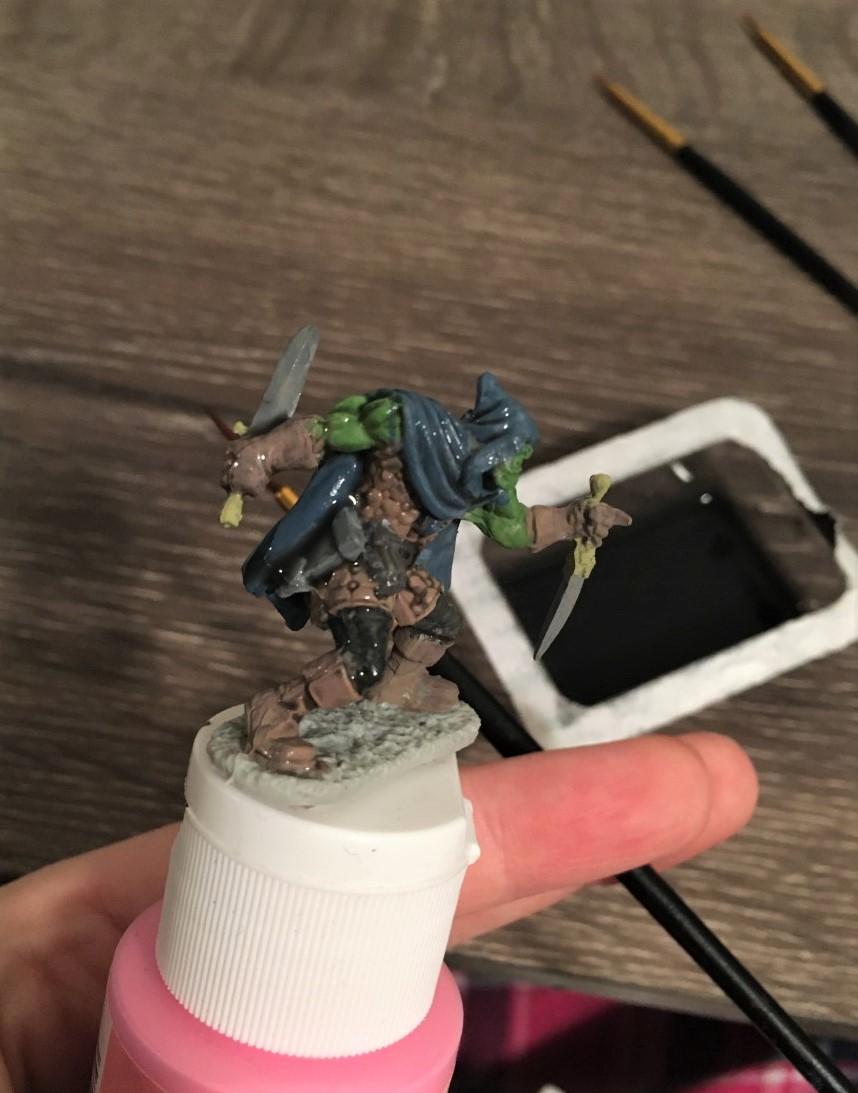
Right now, the paint job looks a little flat. But that's going to change once we add a wash. A wash is thinned out paint that will pool into creases of the miniature creating shadows and contrast. You can buy ready-to-use washes specifically made for painting miniatures. I've made my own by diluting black acrylic paint in water. After your base coat is dry, you'll want to brush the wash over your entire miniature making sure the pigment gets into the creases and details.
Drybrush Highlights
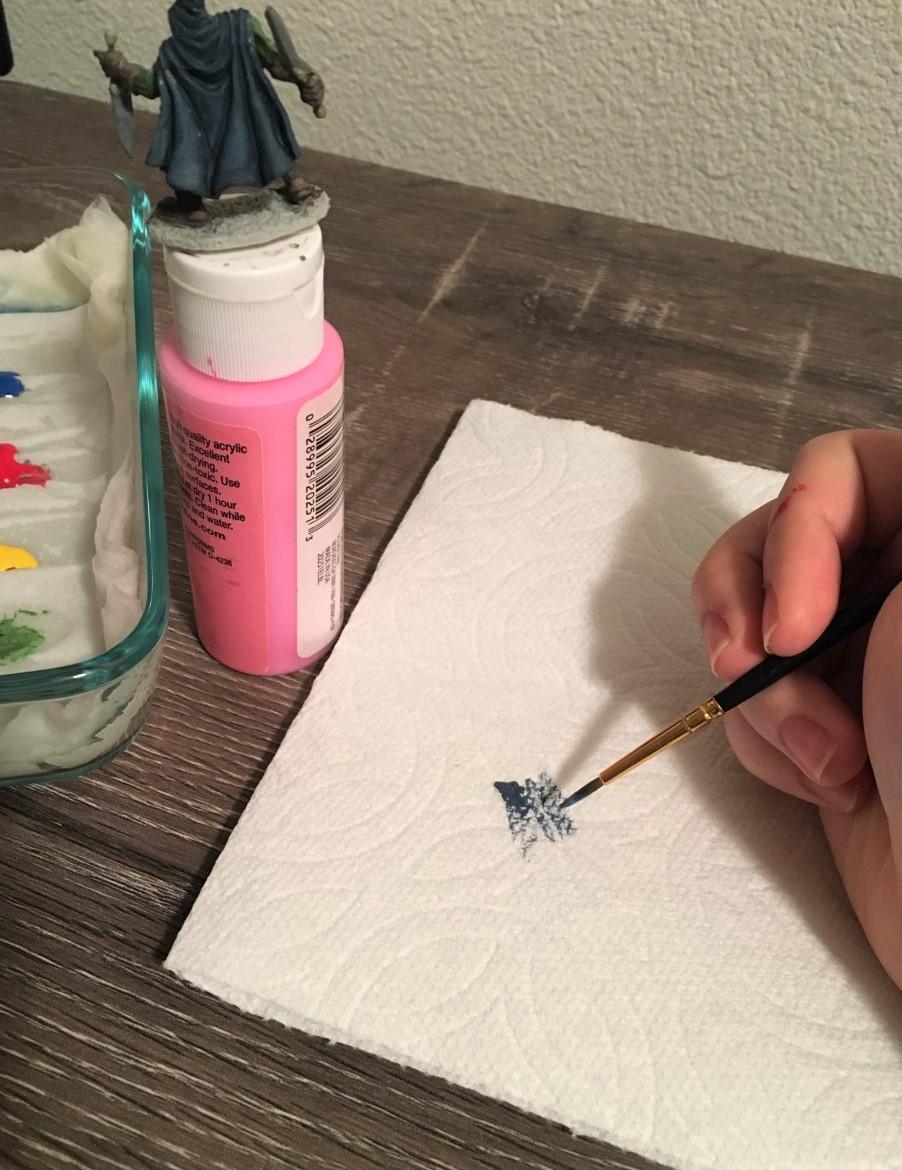
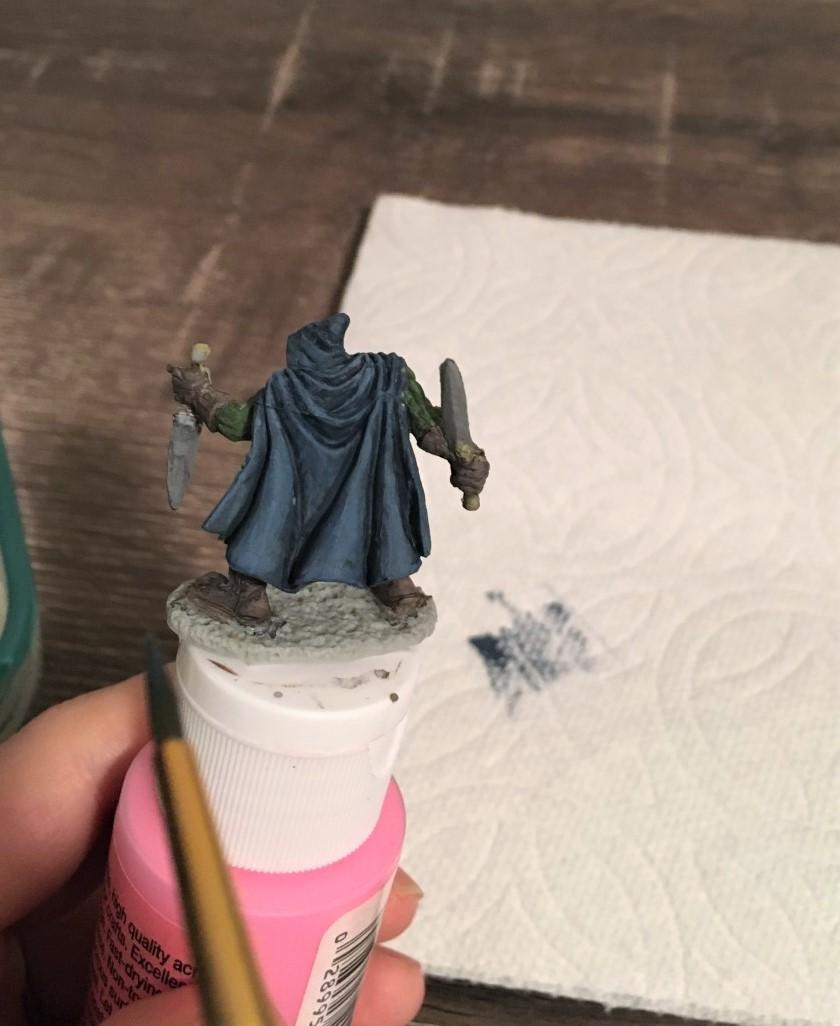
After the wash has dried, your miniature is probably looking kind of dark. No worries - we're about to use dry brushing to add highlights and more contrast! Dry brushing is a technique that uses a brush that has had most of the wet paint removed but still holds some pigment. Dip your brush in the same paint you used on the base coat for an area of the miniature. Brush some of the paint off onto a paper towel so your brush is more "dry". Then, lightly brush across the high points and details of the miniature to create a highlight.
After that first layer of highlight has dried, I like to go back to my palette of base colors and add just a bit of white to each color to lighten it and do another round of dry brushing to add even more contrast.
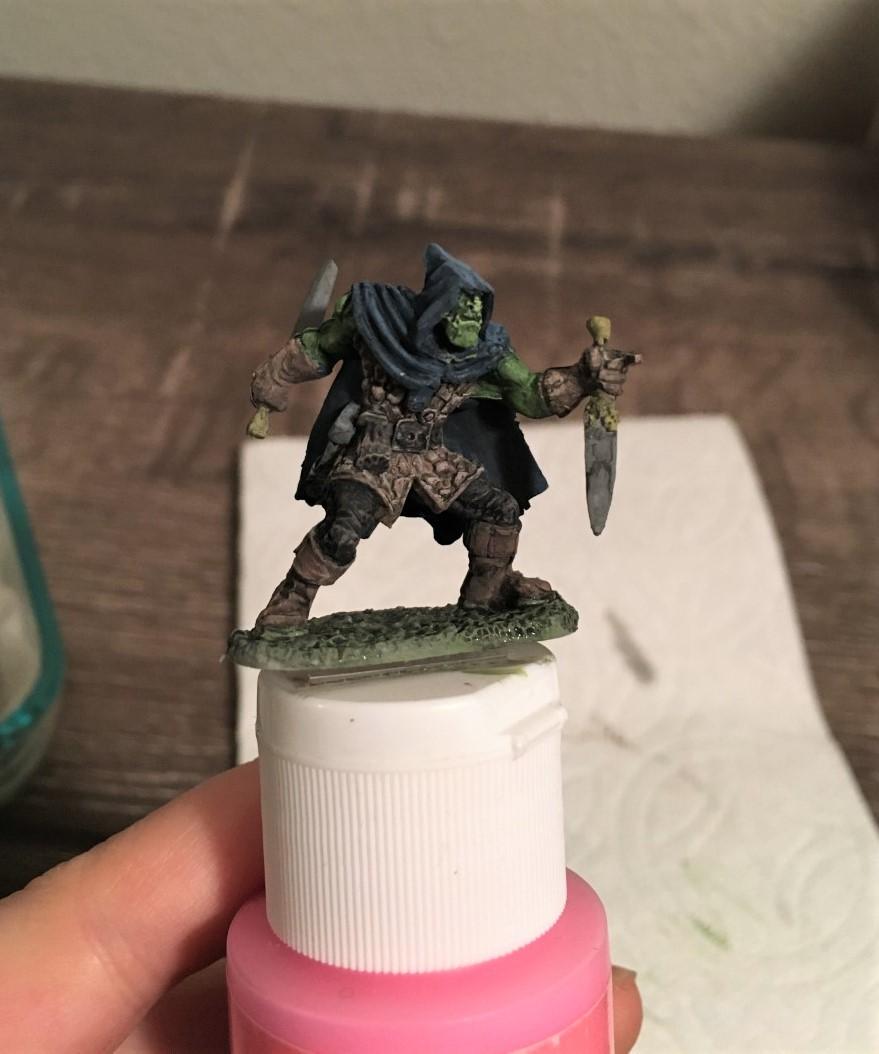
Base and Details

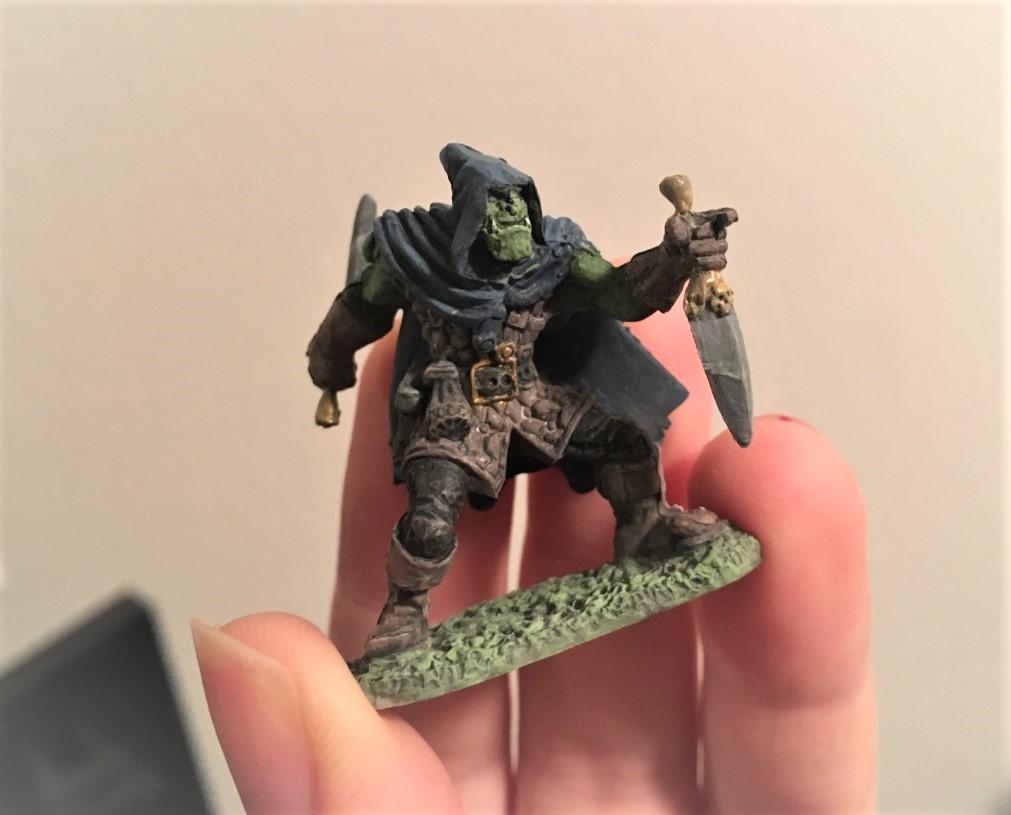
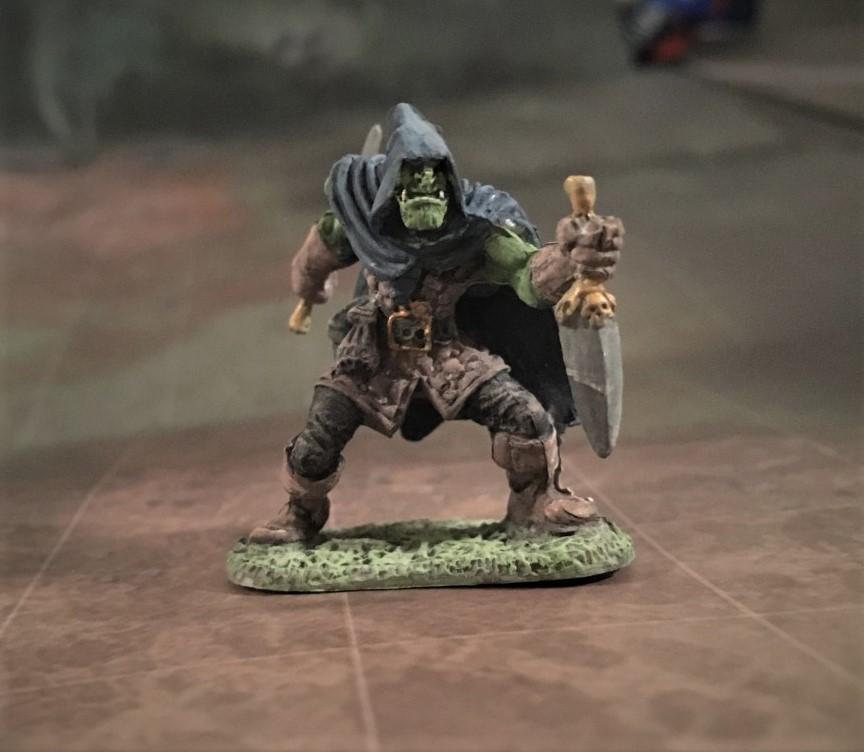
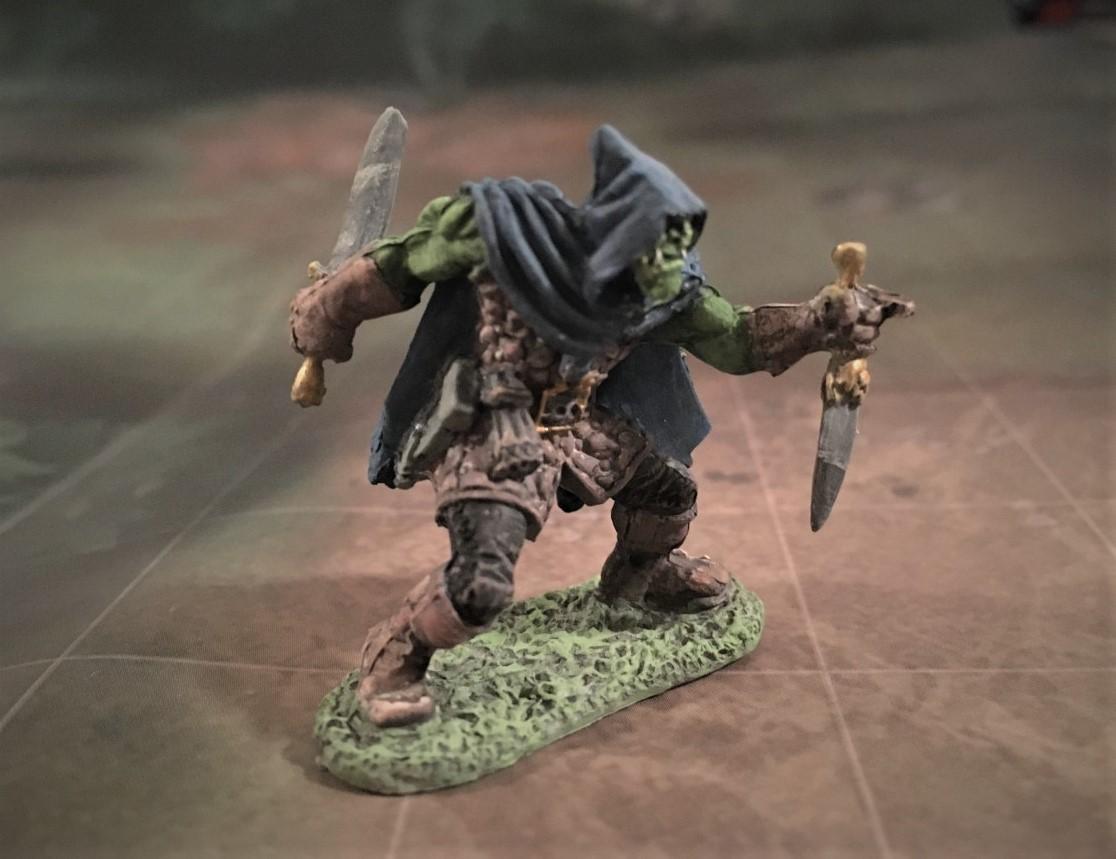
Now, all that's left to paint are any small details that need touched up. And don't forget to paint the base the miniature is standing on too.
Your miniature is now tabletop ready!