How to Model and Print a Sneaker
by iwillspy13 in Workshop > 3D Printing
10749 Views, 129 Favorites, 0 Comments
How to Model and Print a Sneaker
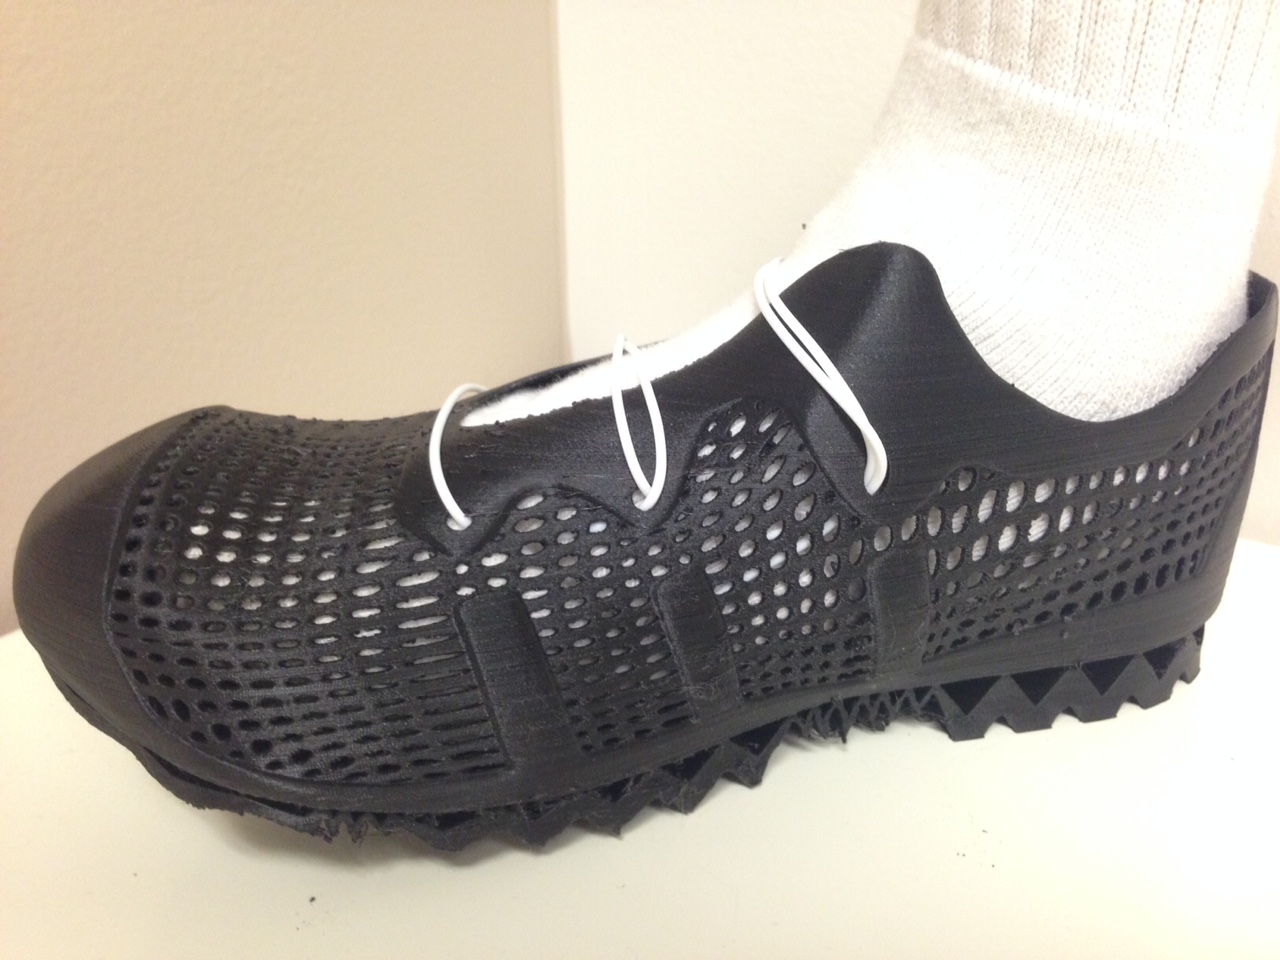
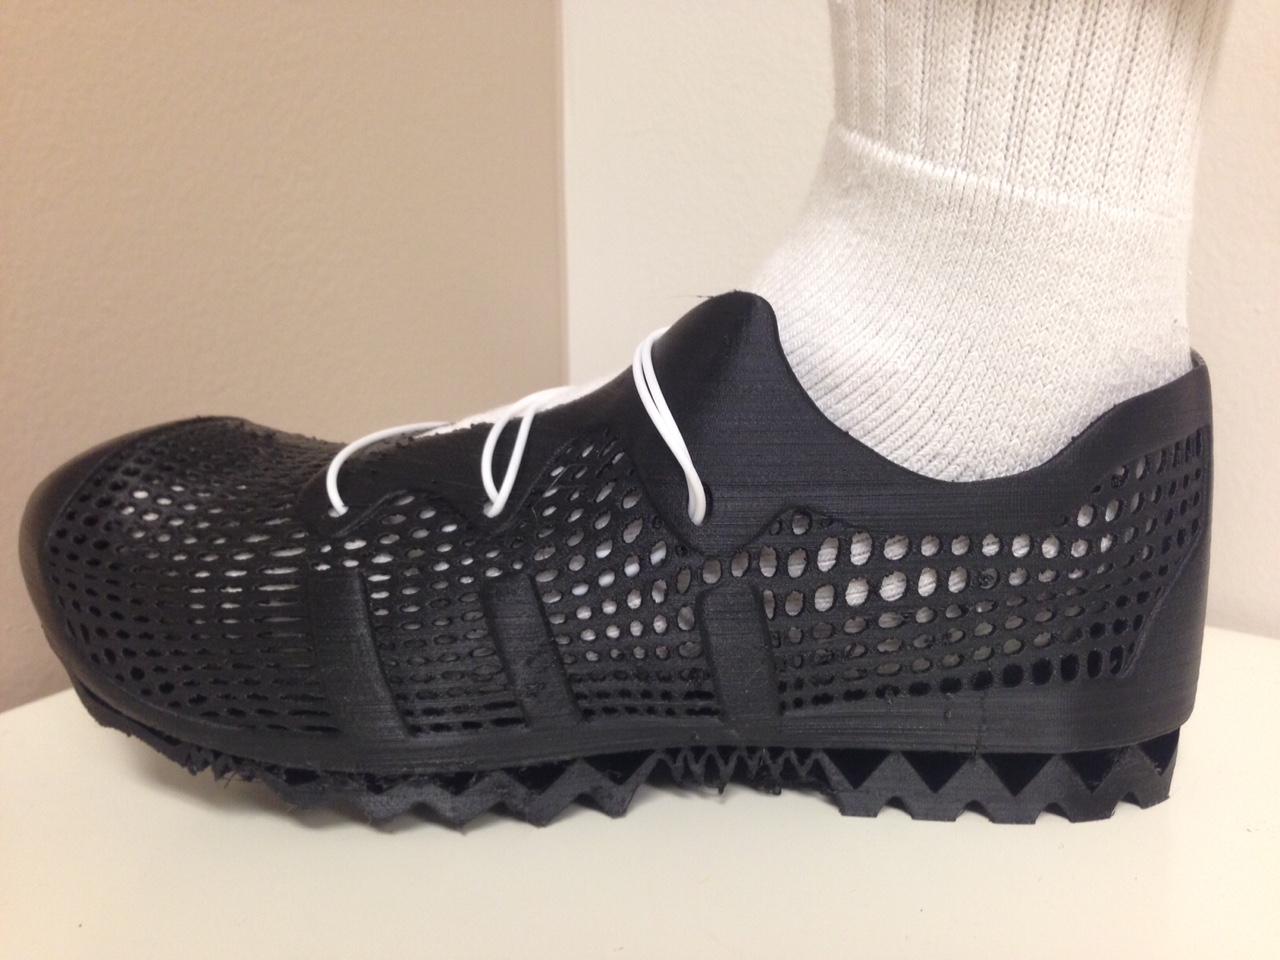
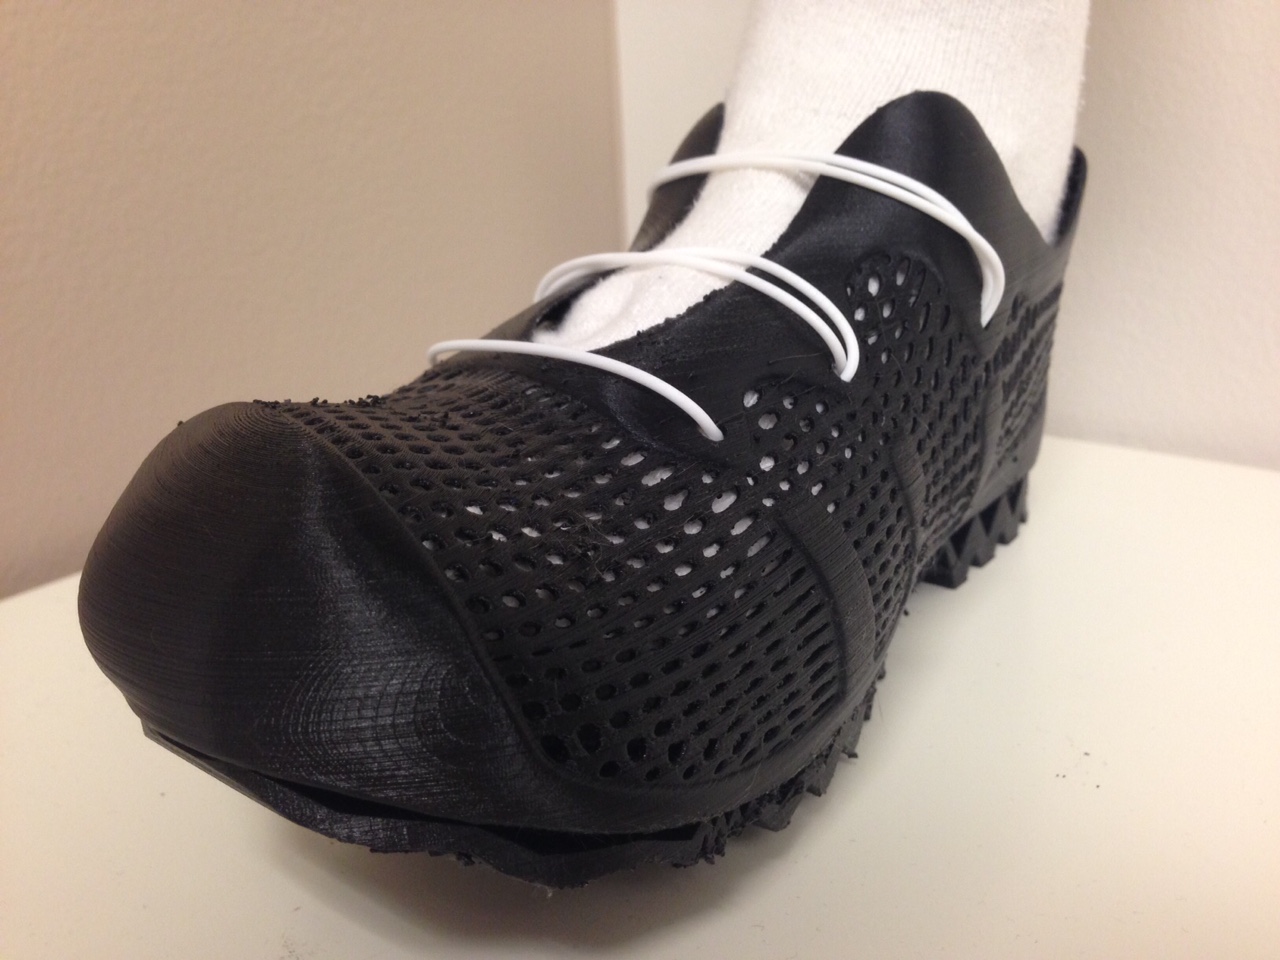
In this Instructable I will take you through the process I used to design, model, and print a sneaker. This was the final project for my Product Design class, and it took a long time and a lot of hard work. So this is not a weekend project, this will take you awhile. But the effort is totally worth it. The satisfaction you'll get from creating something from nothing, and then being able to put that something to use is unparalleled. I'm not going to go through every step I took to create my specific design, because I don't remember every step I took, and because the whole point of this is to design your own sneaker or shoe. Most of this work is on you. I will not teach you how to use the modeling software, but I will give you some tips. I'm here as a helpful guide along the way, giving tips and suggestions. I'm sharing my experience with the hope that you will be able to learn from it and build upon it. So, let's get started!
Getting Started- What You'll Need
Here's a list of things you'll need to follow this instructable:
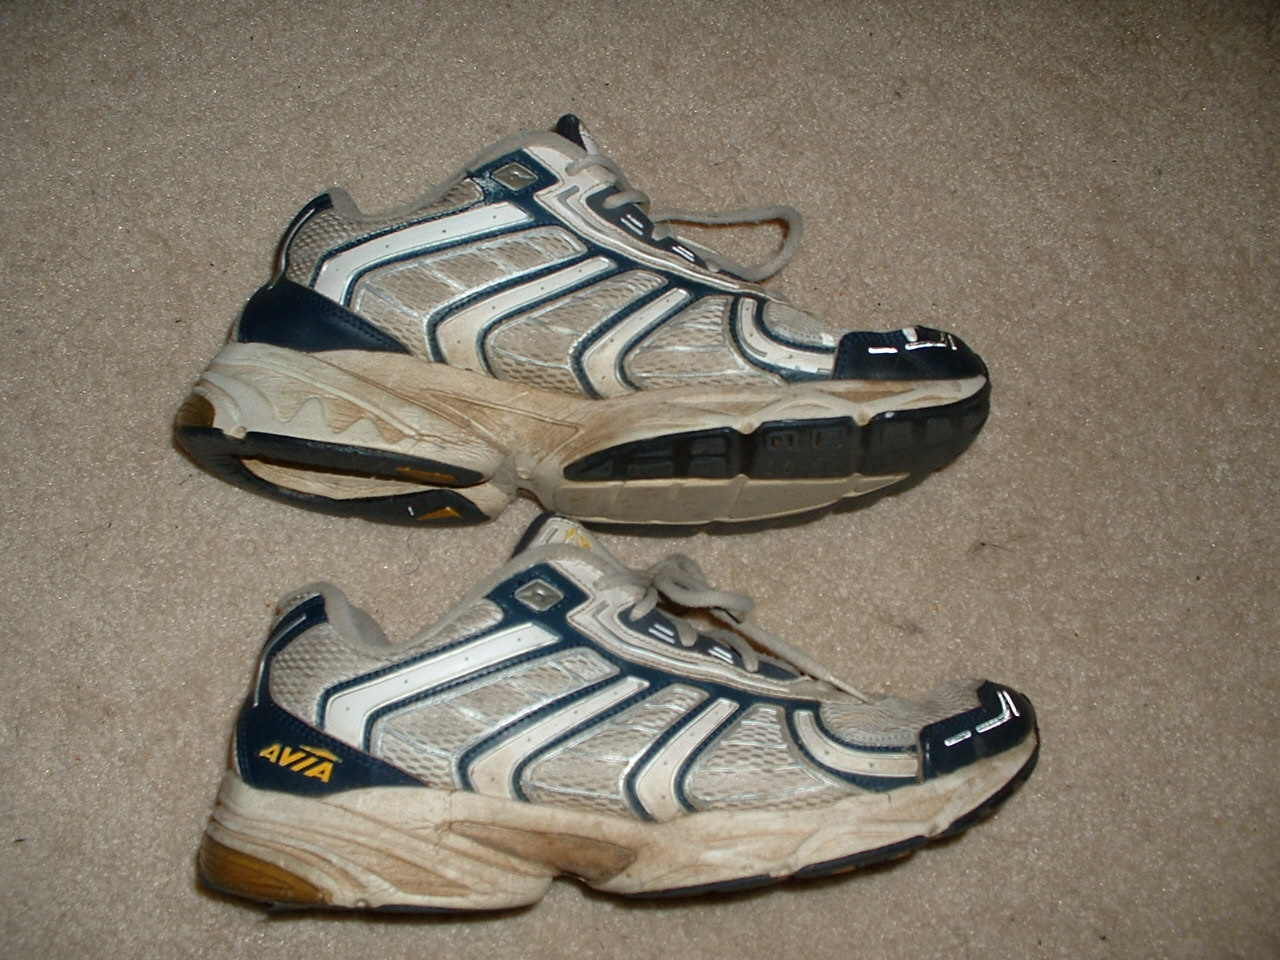
- an old shoe similar to what you want to design
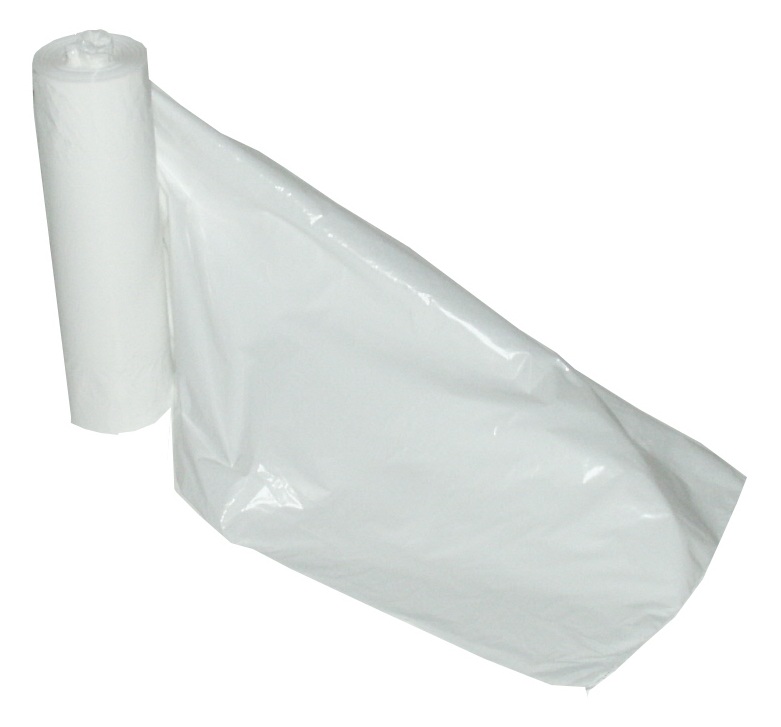
- a plastic bag
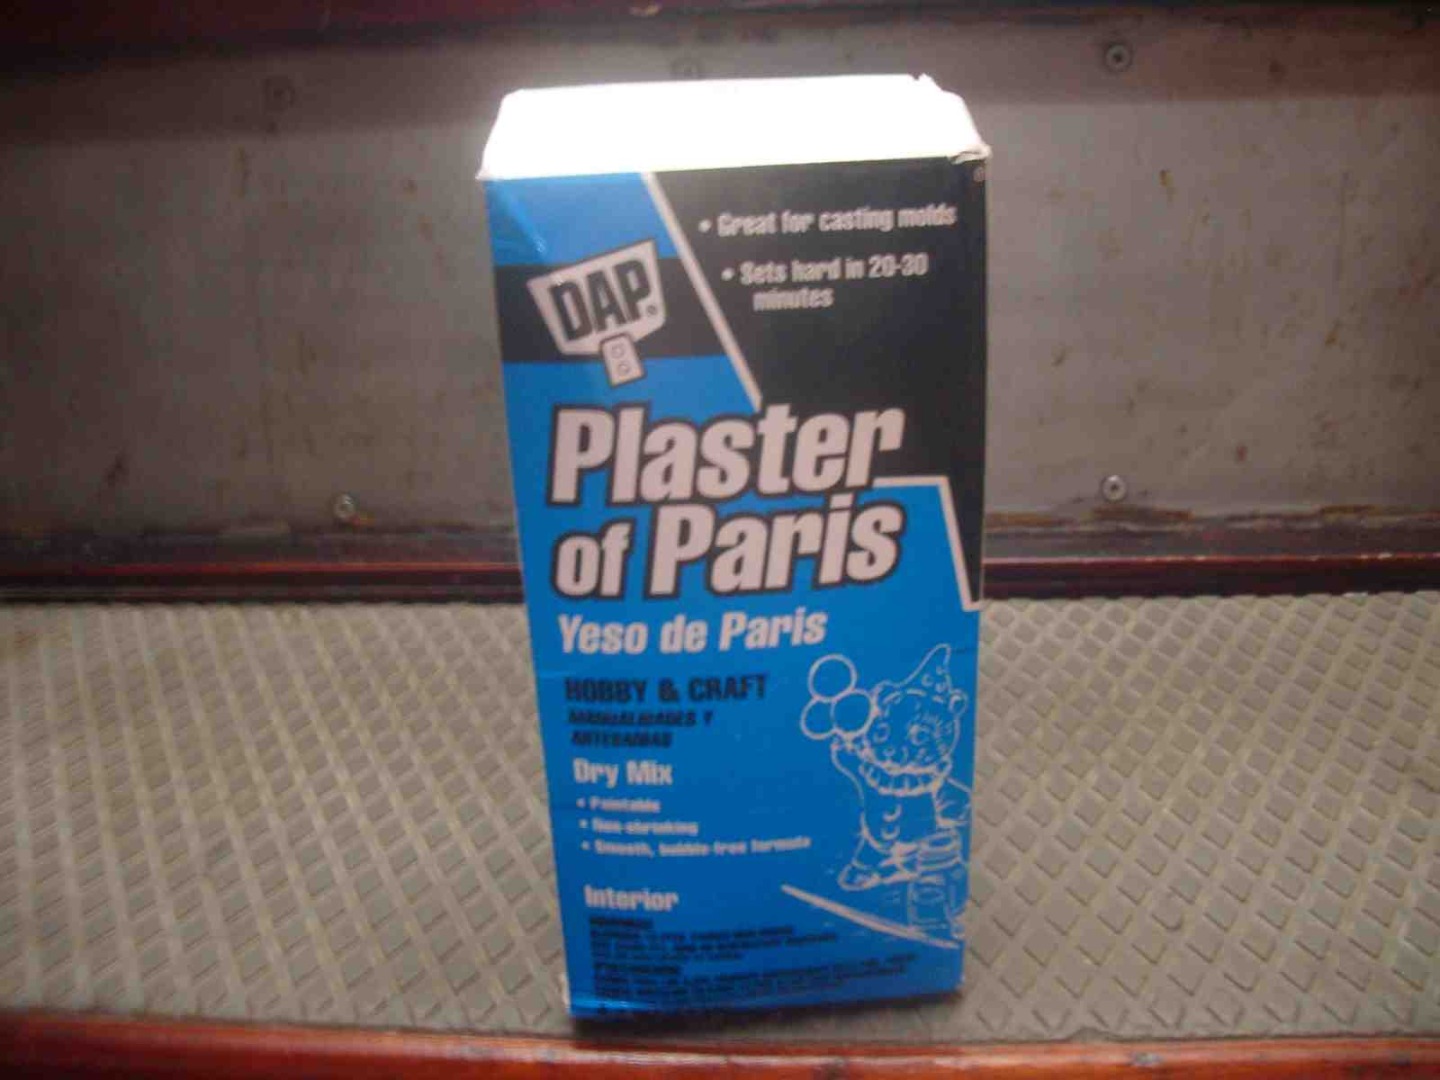
- plaster and all the materials necessary to make it
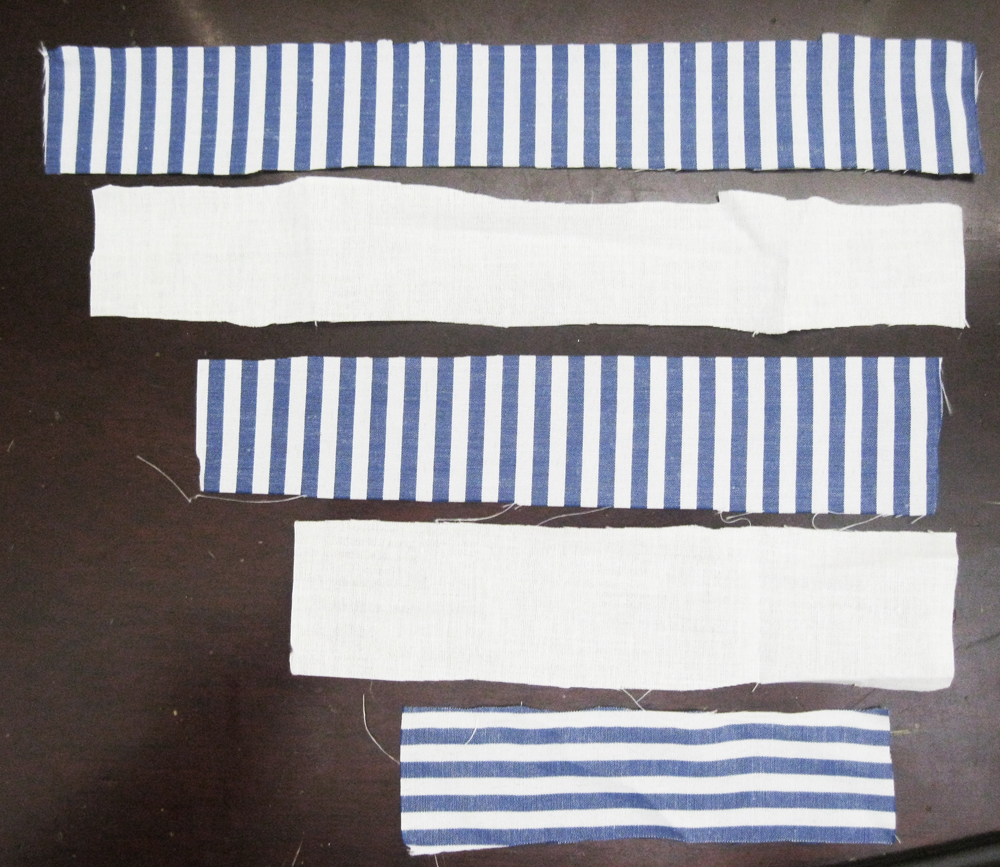
- scrap strips of fabric
- a camera or smartphone
- a computer with a 3D modeling software, preferably 3DS Max
- access to a 3D printer
I may have missed a few things but these are the essentials. If you're confused about the first four bullet points, just wait until the next step. It wall all become clear.
Creating a Shoe Last
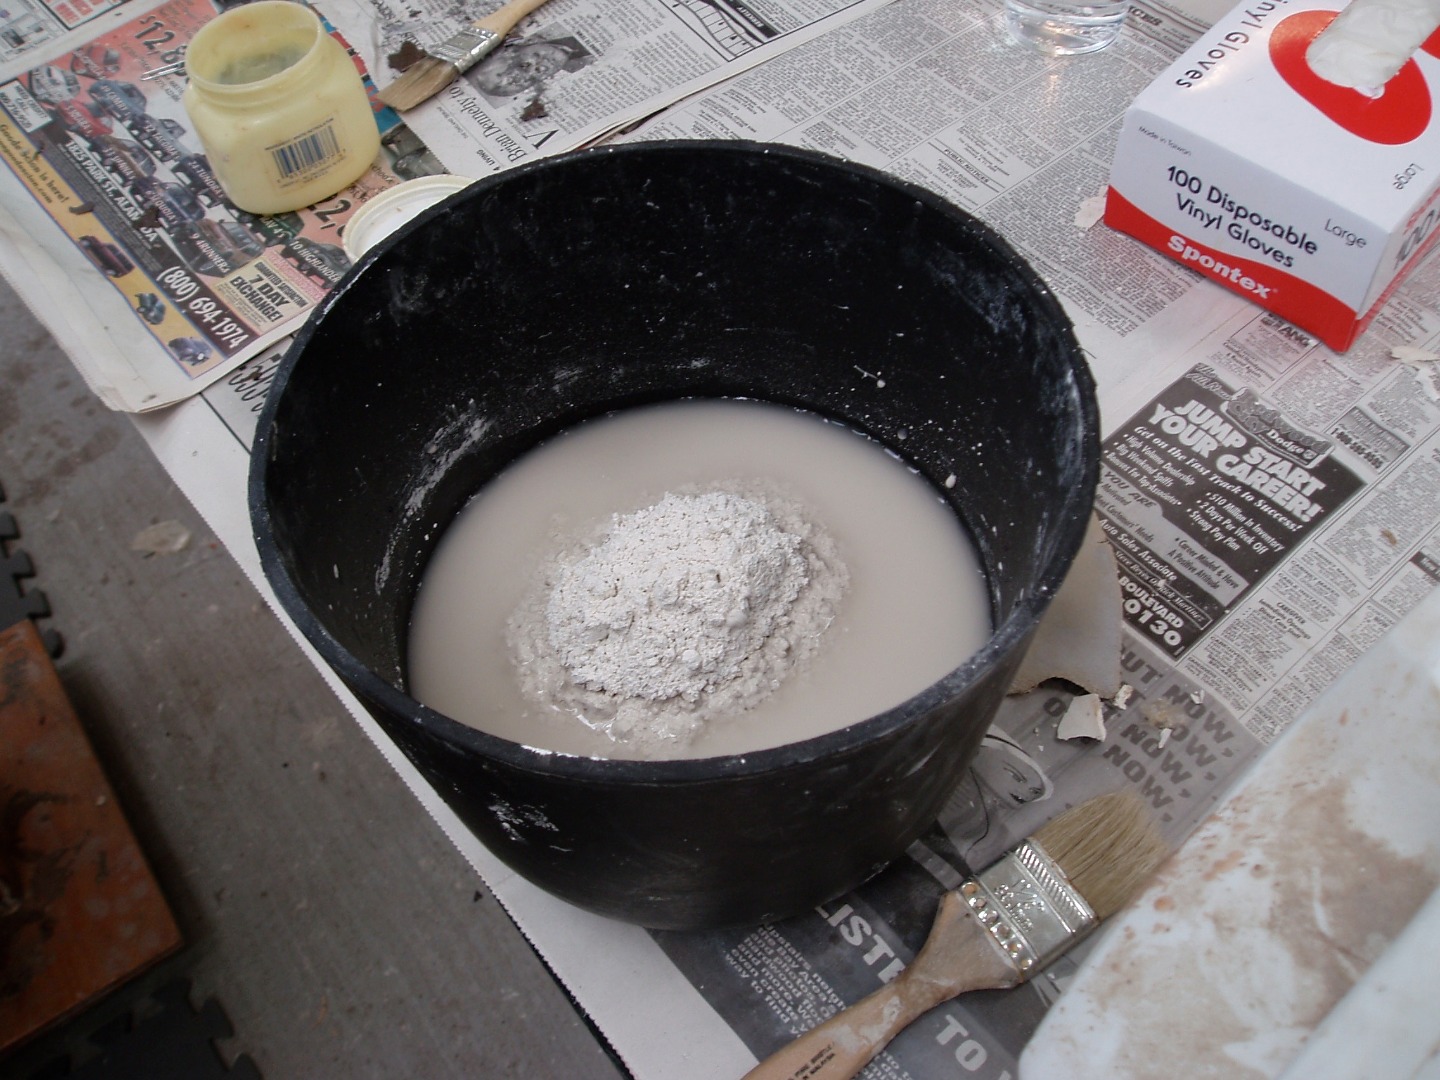
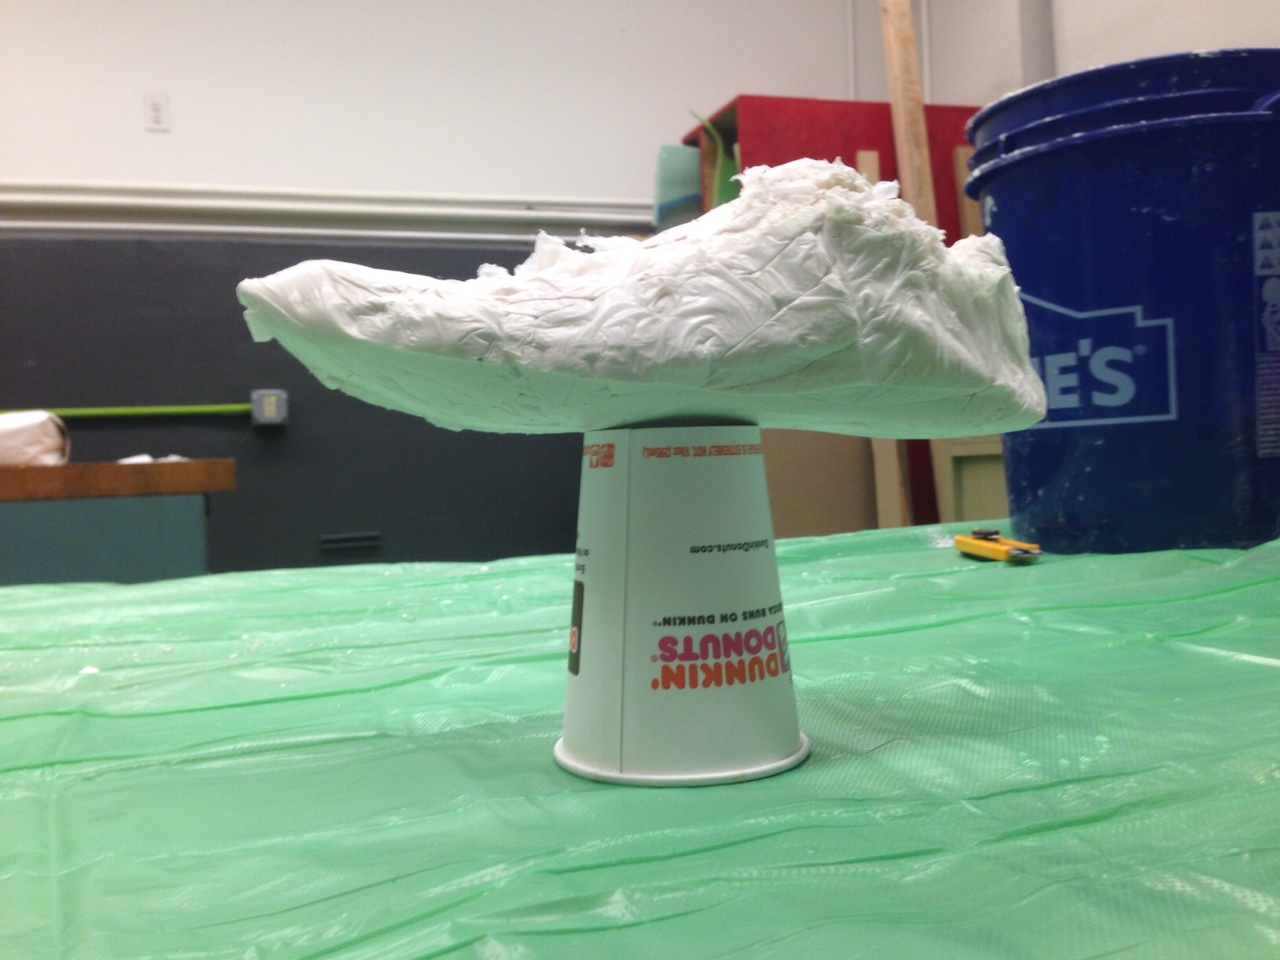
The first step I took in designing my sneaker was creating a Last. A Last is the form around which a shoe is built; it is the inside volume. They are usually carved from wood but we are going to make our own out of plaster.
First you need to think about what kind of shoe you want to make. A formal shoe? A sneaker? A high heel? A sandal? Whatever it is, find an old shoe that is similar in shape to what you want to design. This instructable is targeted for those making sneakers, but it's applicable to any type of footwear. They might get plaster on them, so make sure you're okay with that. I used an old pair that were pretty dirty and destroyed to begin with. If you don't have an old pair that is similar to what you want to design, go to a thrift store and buy something cheap.
Once you have your old shoe, set up a work area: lay down plastic or newspaper, prep a your plaster- get a mixing bowl and water, etc. Now get a plastic bag, I used a garbage bag but a ziploc or supermarket bag will work fine. Since ziploc bags are thicker, they will have less detail, and might miss some areas of the inside of the sneaker. However, the last will be smoother so you will be able to remove the bag. A thinner bag like a garbage bag will have more detail, but the bag will fold making it near impossible to remove without ruining the casting. So decide what you think will work for you. You can always use both shoes and try each. Stuff the plastic bag into your sneaker, making sure it makes it all the way to the toe, and that there is a decent amount of it still sticking out of the sneaker. Make sure that the sneaker is tied as if it were on your foot. This will give the most accurate casting of the area your foot takes up inside the sneaker.
Now take your bowl and fill it with some water, use your best judgement on how much you need. Take a handful of plaster and sprinkle it into the middle of the bowl of water. Keep doing this until the plaster doesn't dissolve into the water and forms a little mountain in the middle of the bowl. (you can use the ratios given on the bag of plaster but this method worked for me). Once you get to that point, stick your hand under the water, spread your fingers, and shake back and forth. Do not bring your hand in and out of the water, this will aerate the plaster and create unwanted air bubbles.
Once it is well mixed, carefully pour it into the shoe, making sure the plastic bag that is sticking out is sticking upward, acting a bit like a funnel. Keep pouring until it is about 1/4 full, then pick the sneaker and balance it on the toe and hit it against the table. This will get rid of any air pockets and force the plaster all the way to the toe. Repeat this until the sneaker is full and the plaster is starting to overflow.
Allow time for the Last to dry, then remove it from the sneaker. In order to do this, I had to de-lace the sneaker and wiggle it out. Depending on your shoe, you may have to do the same, or even cut it out.
Start Designing
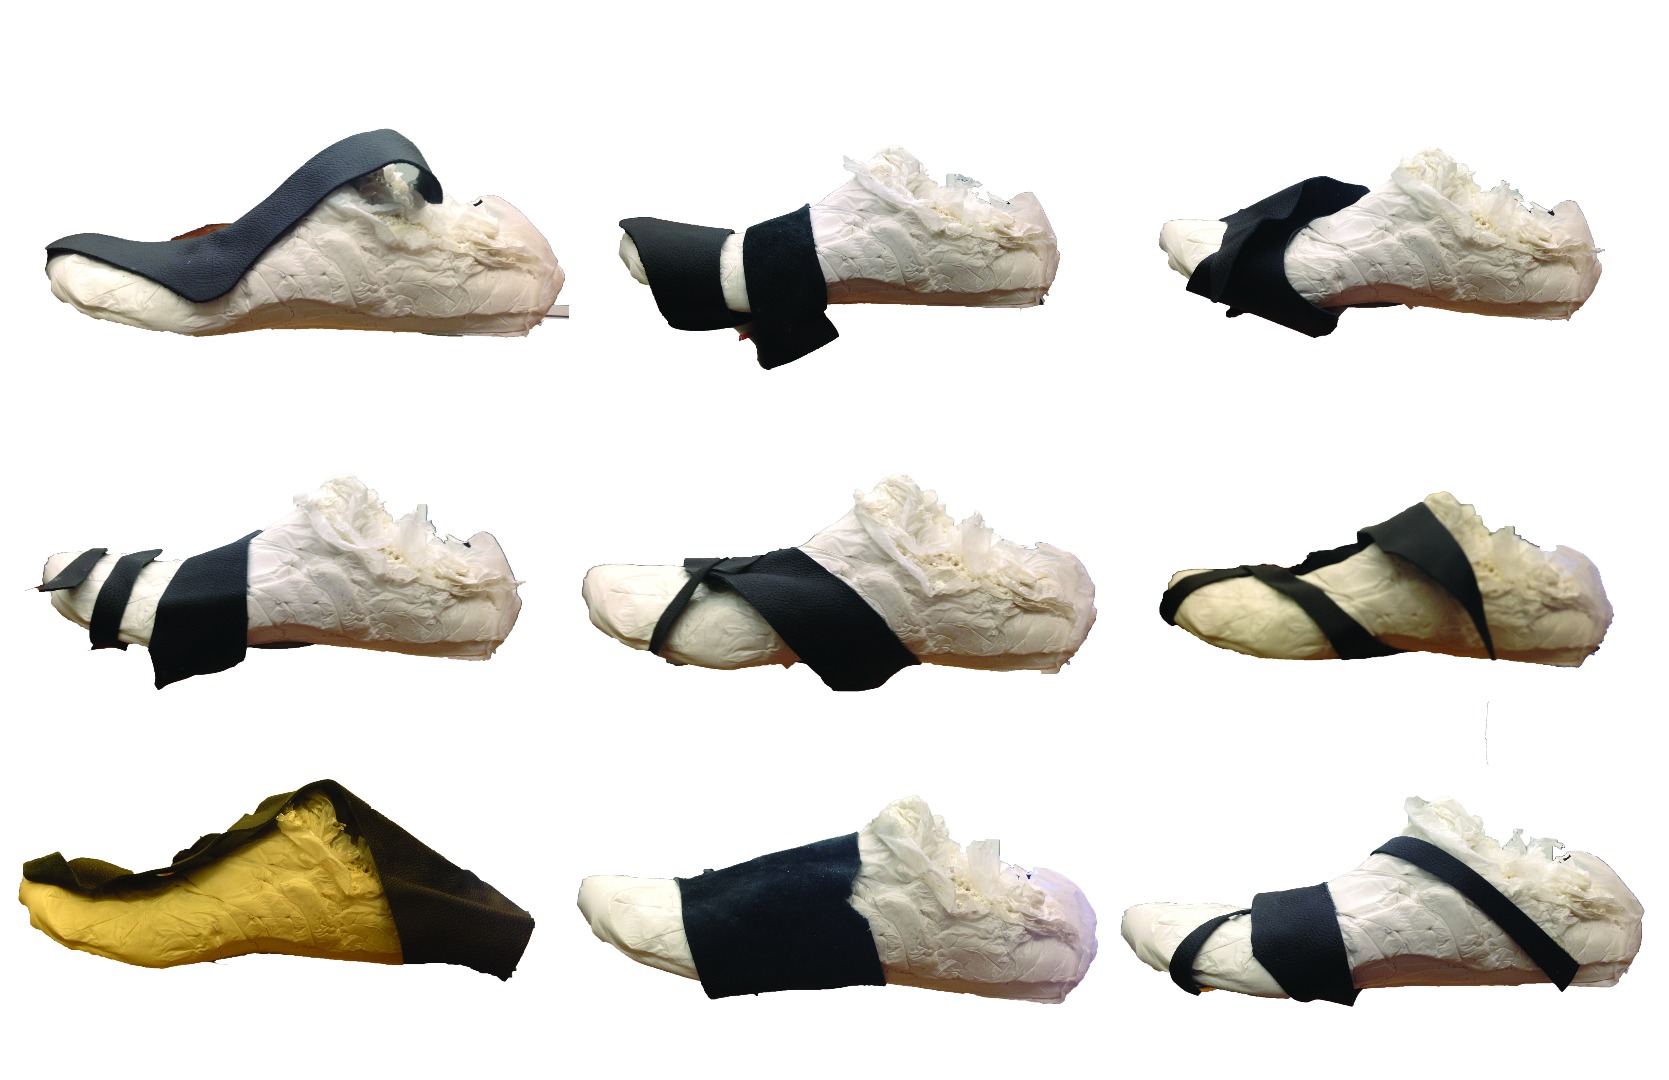
Now that you have your Last, you can start creating your design. Take your last and prop it on something, I used a cup. If you are doing a high heel, make sure you prop it up in the orientation it is meant to be worn (at an angle, as if the heel were attached).
Take some scrap fabric strips and lay them over the shoe in different orientations. The fabric can be anything, a ripped up t-shirt, pleather, whatever you have laying about. It can even be strips of tinfoil or plastic bag. Drape it over the last and take a picture in profile. Repeat this with different drapings a few times, 10 times is enough, but do as many as you want. You don't have to put a ton of thought into this, this is just a way to help generate design ideas.
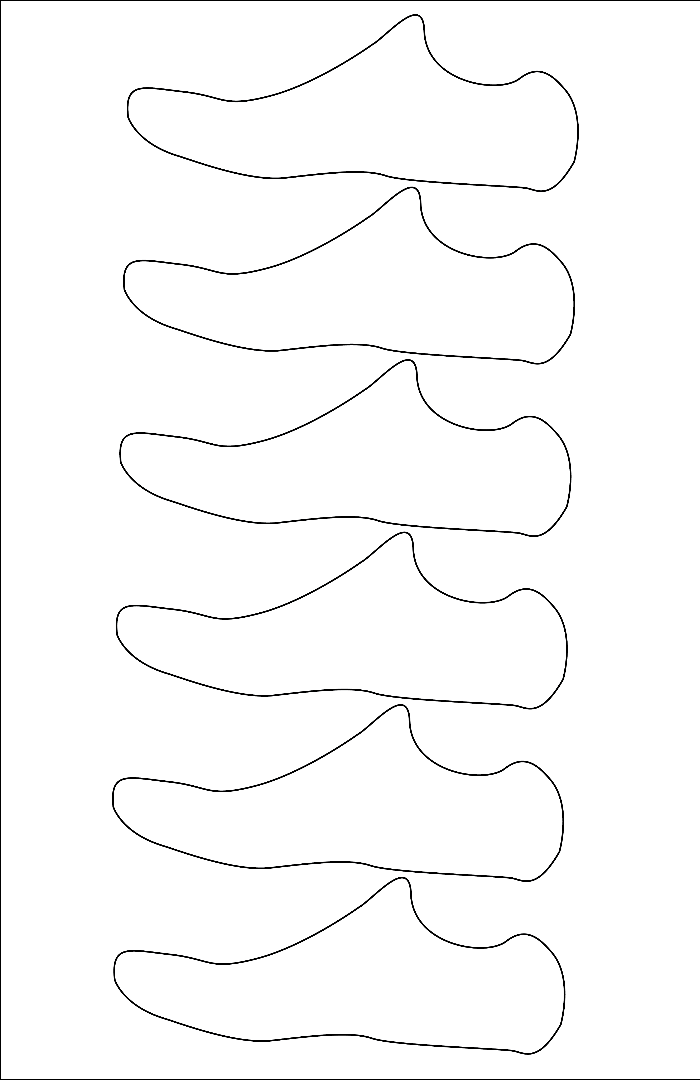
Once you're done, take a look at all the pictures you took and pic your two favorite ones. Trace the outline of your last, either by hand or using a program like Photoshop or Illustrator. Copy this 5-8 times on a piece of paper, one piece for each shoe. Then using the two pictures you picked out, draw variations on your drapings. Your first drawing should be based off the photo, the second one should be based off the drawing, and so on and so forth. You're sort of playing Telephone, but with drawings. This will help get the creative juices flowing, and hopefully inspire your design.
Once you've finished, pick your favorite or favorites and start making some final design sketches off of those. Don't be afraid to stray from the original concept, let the ideas flow freely. The worst thing you can do when designing something is getting tunnel vision. Never get too attached to one idea. Draw your design sketches in multiple views: side, top, bottom, front. This will help paint a better picture of what your sneaker will look like. My professor wanted everyone in my class to design a shoe inspired by a company of our choosing. So my sneaker was inspired by adidas. Once you've picked a final design to go with, you're ready to go digital.
Creating a Digital Last
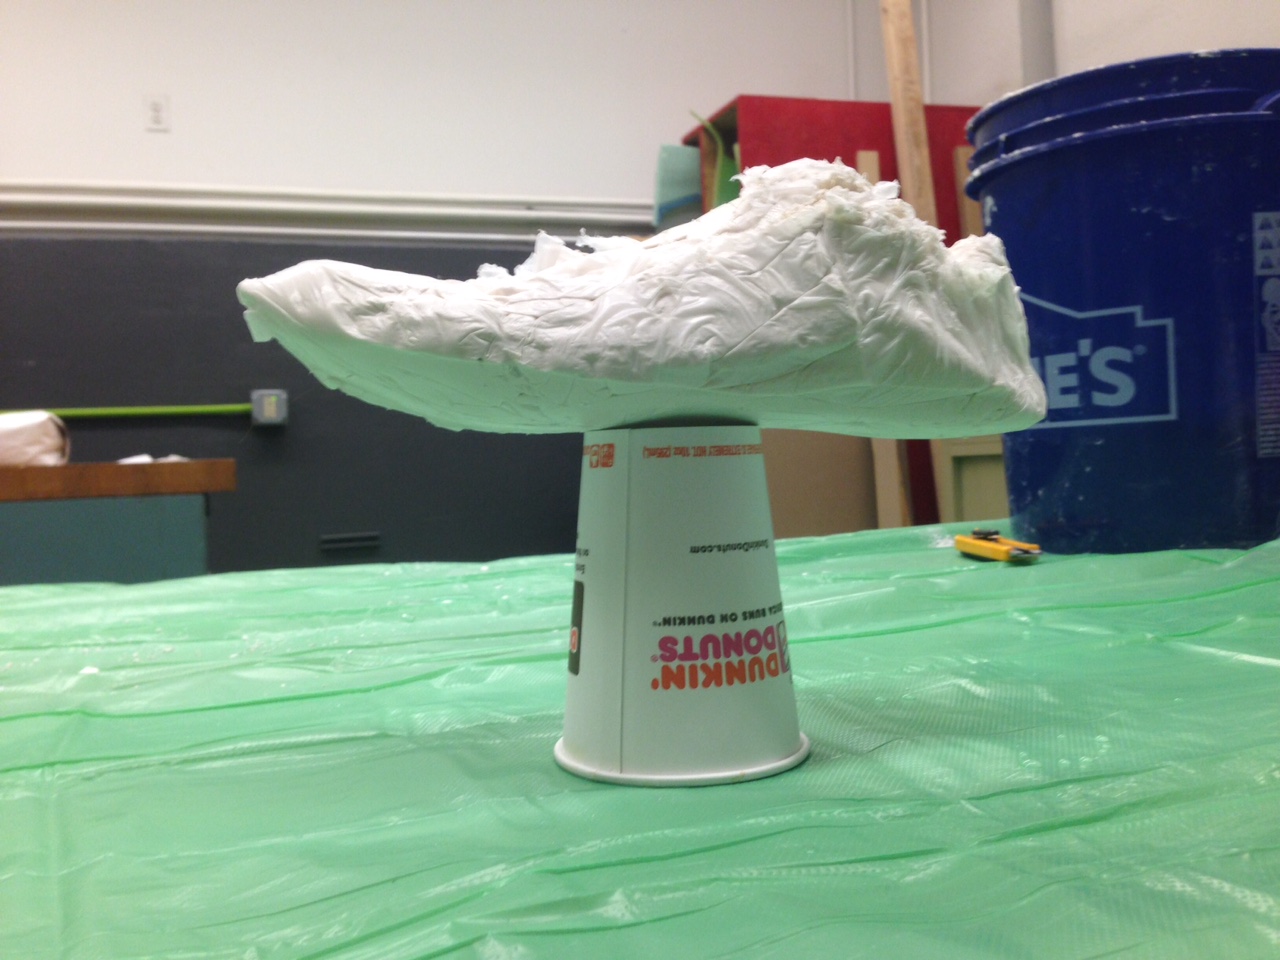
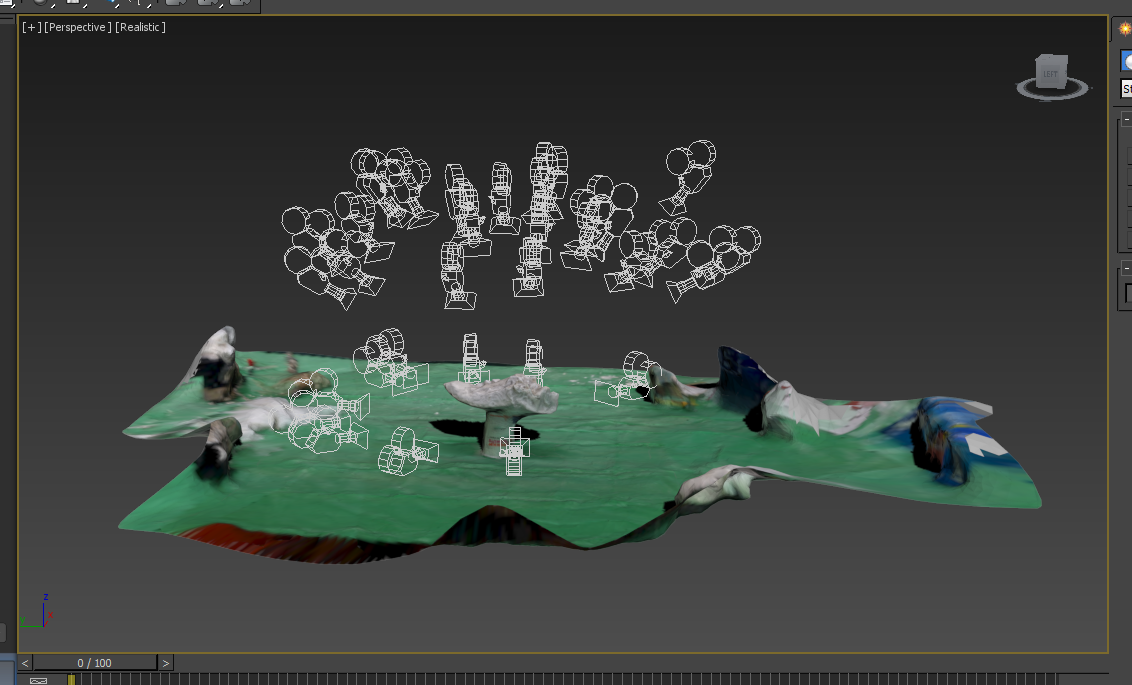
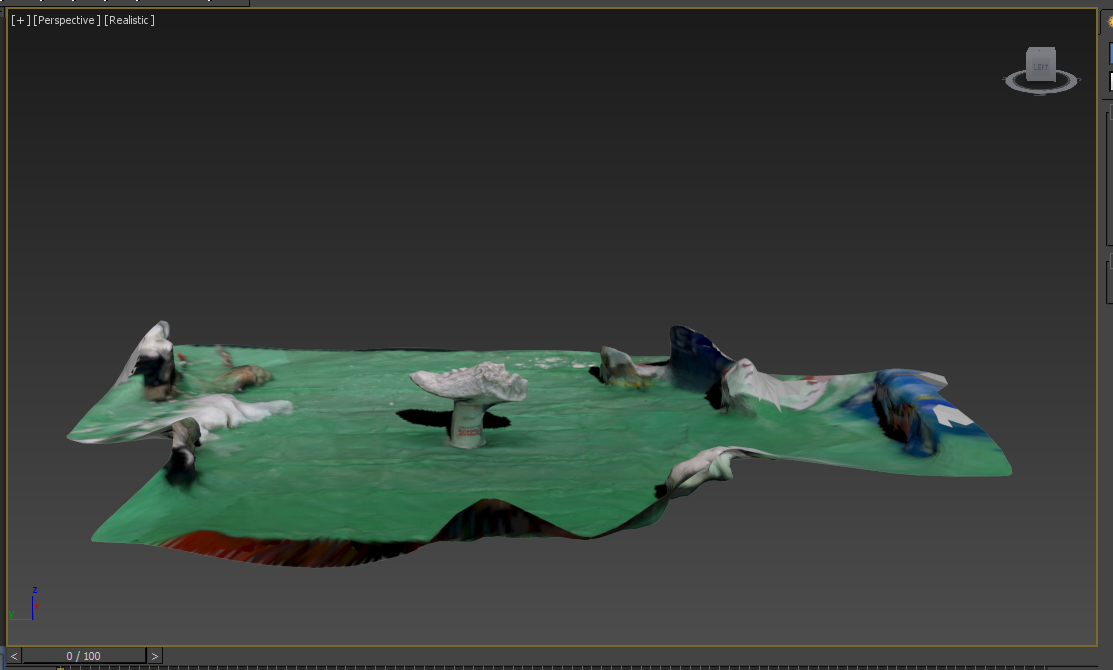
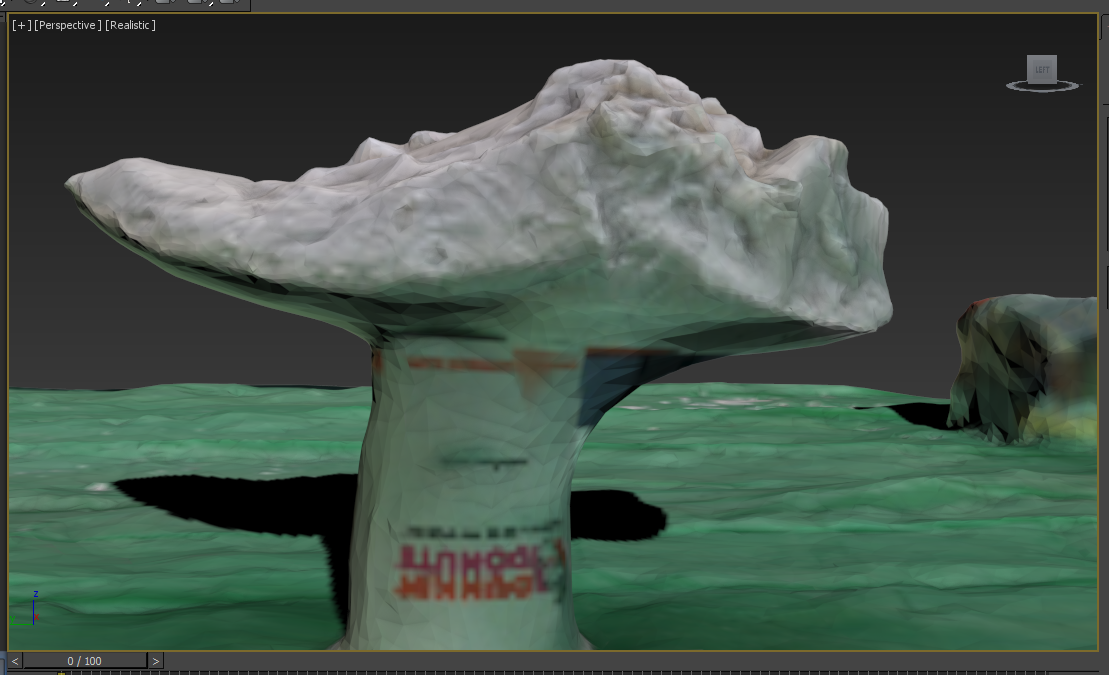
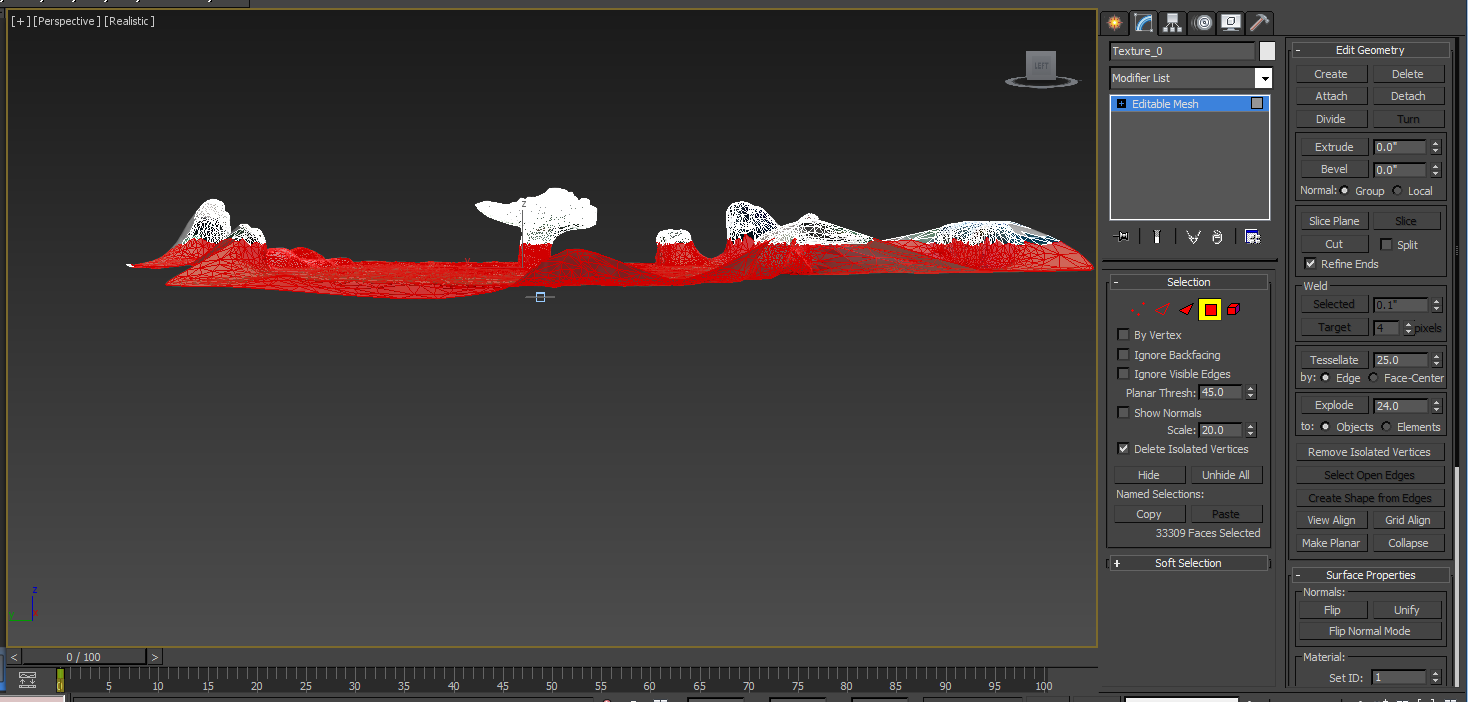
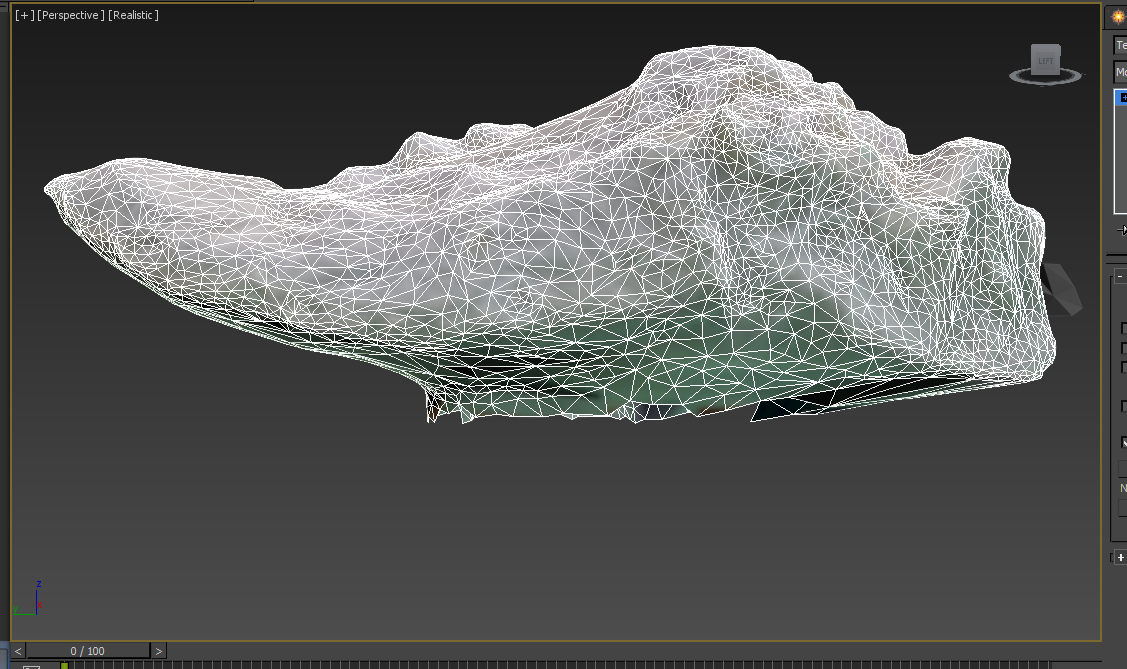
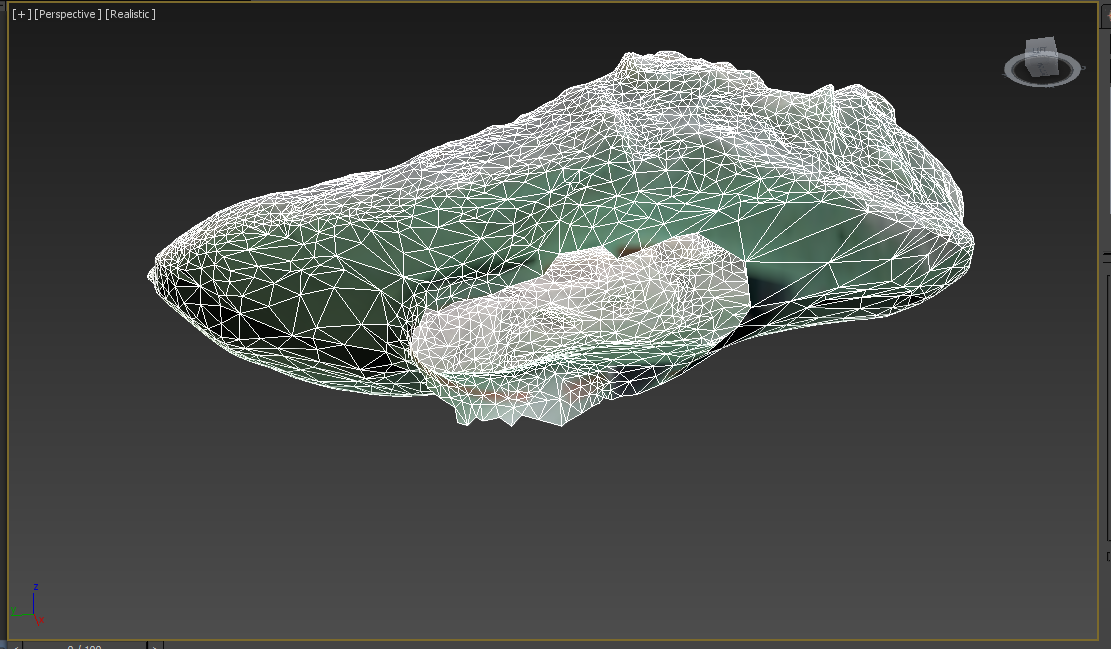
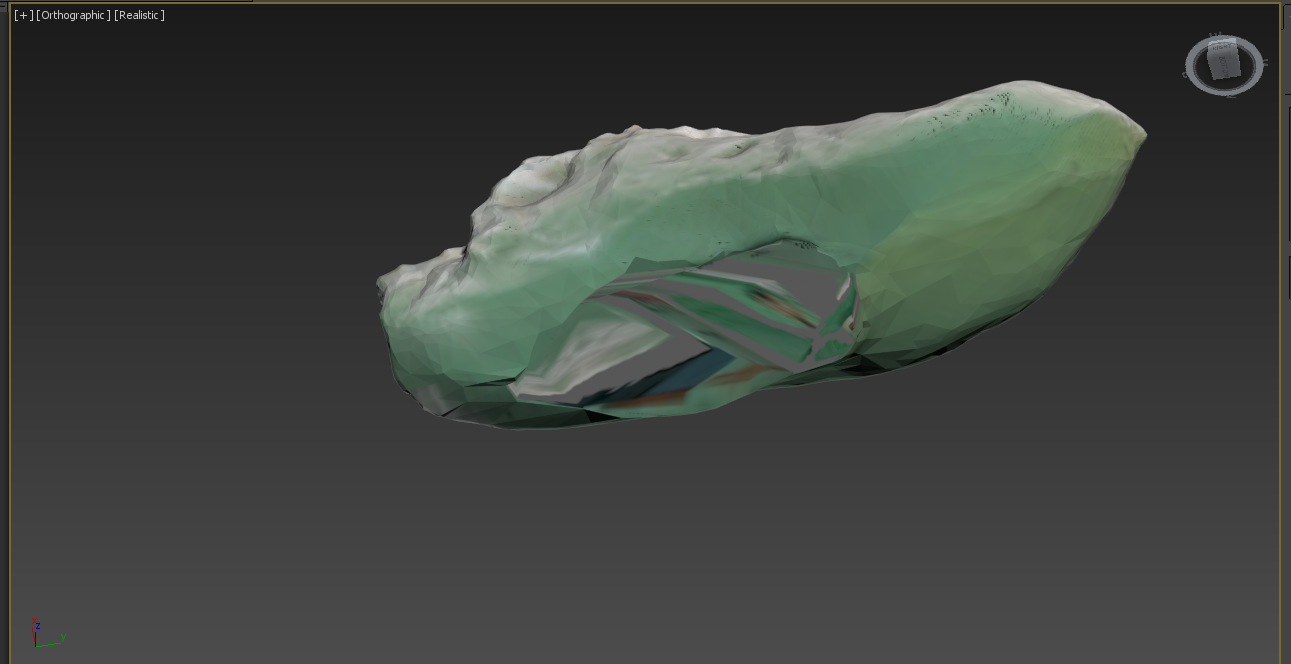
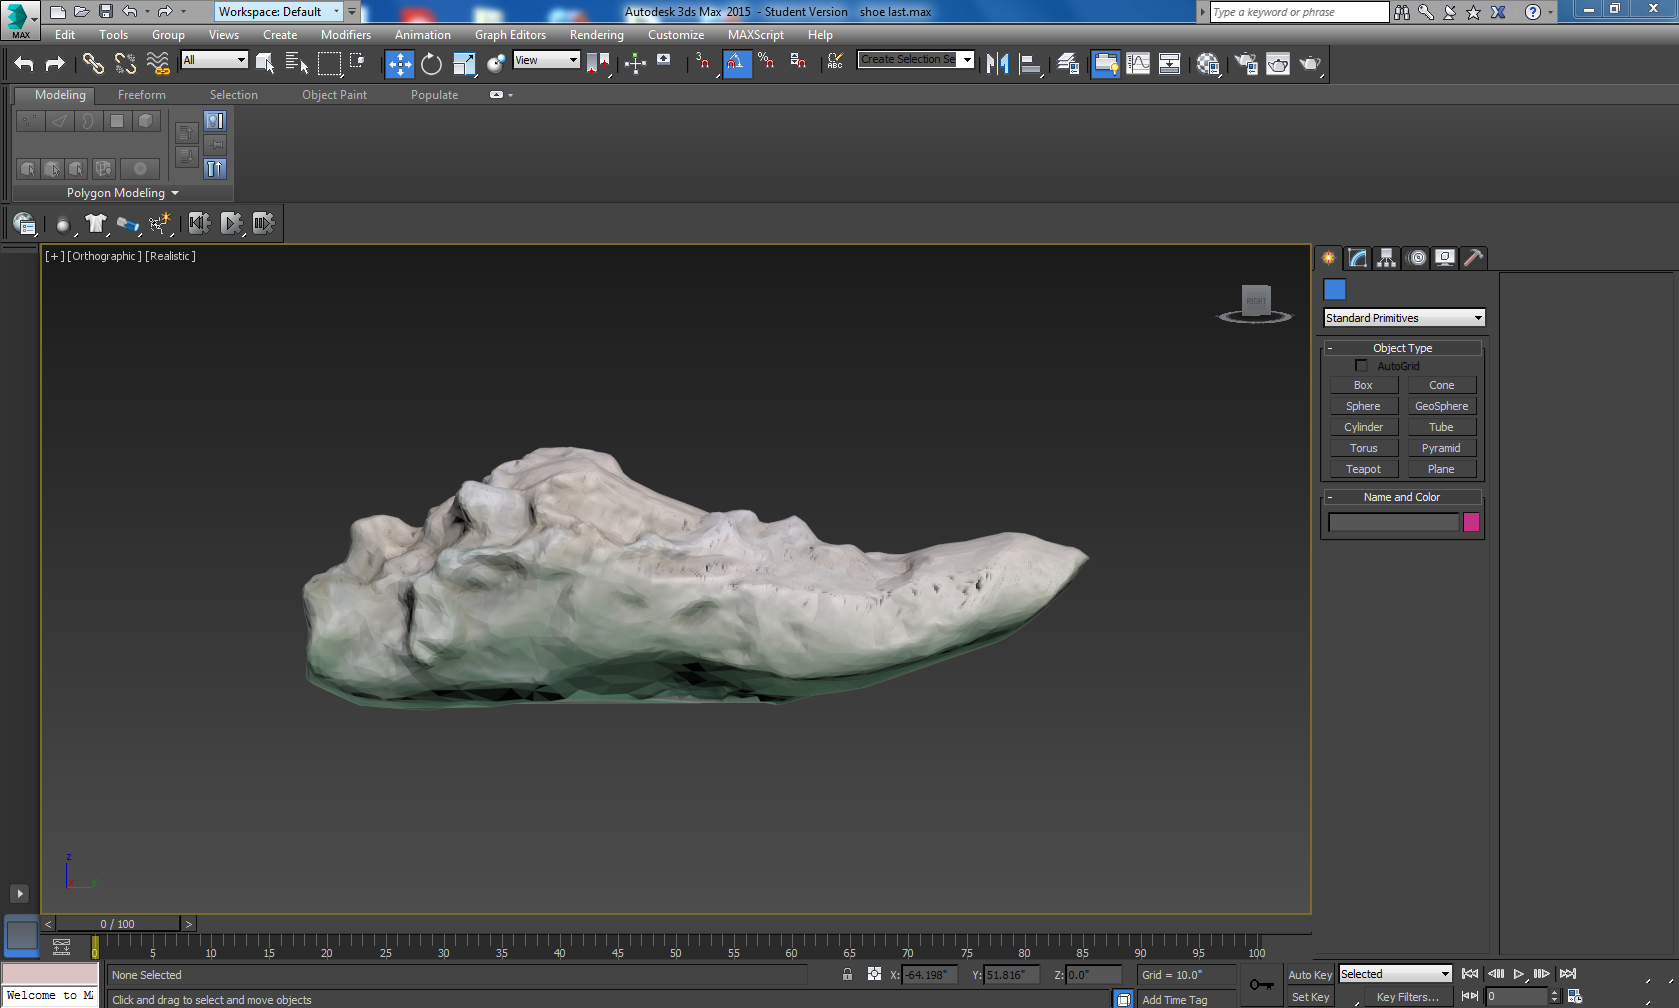
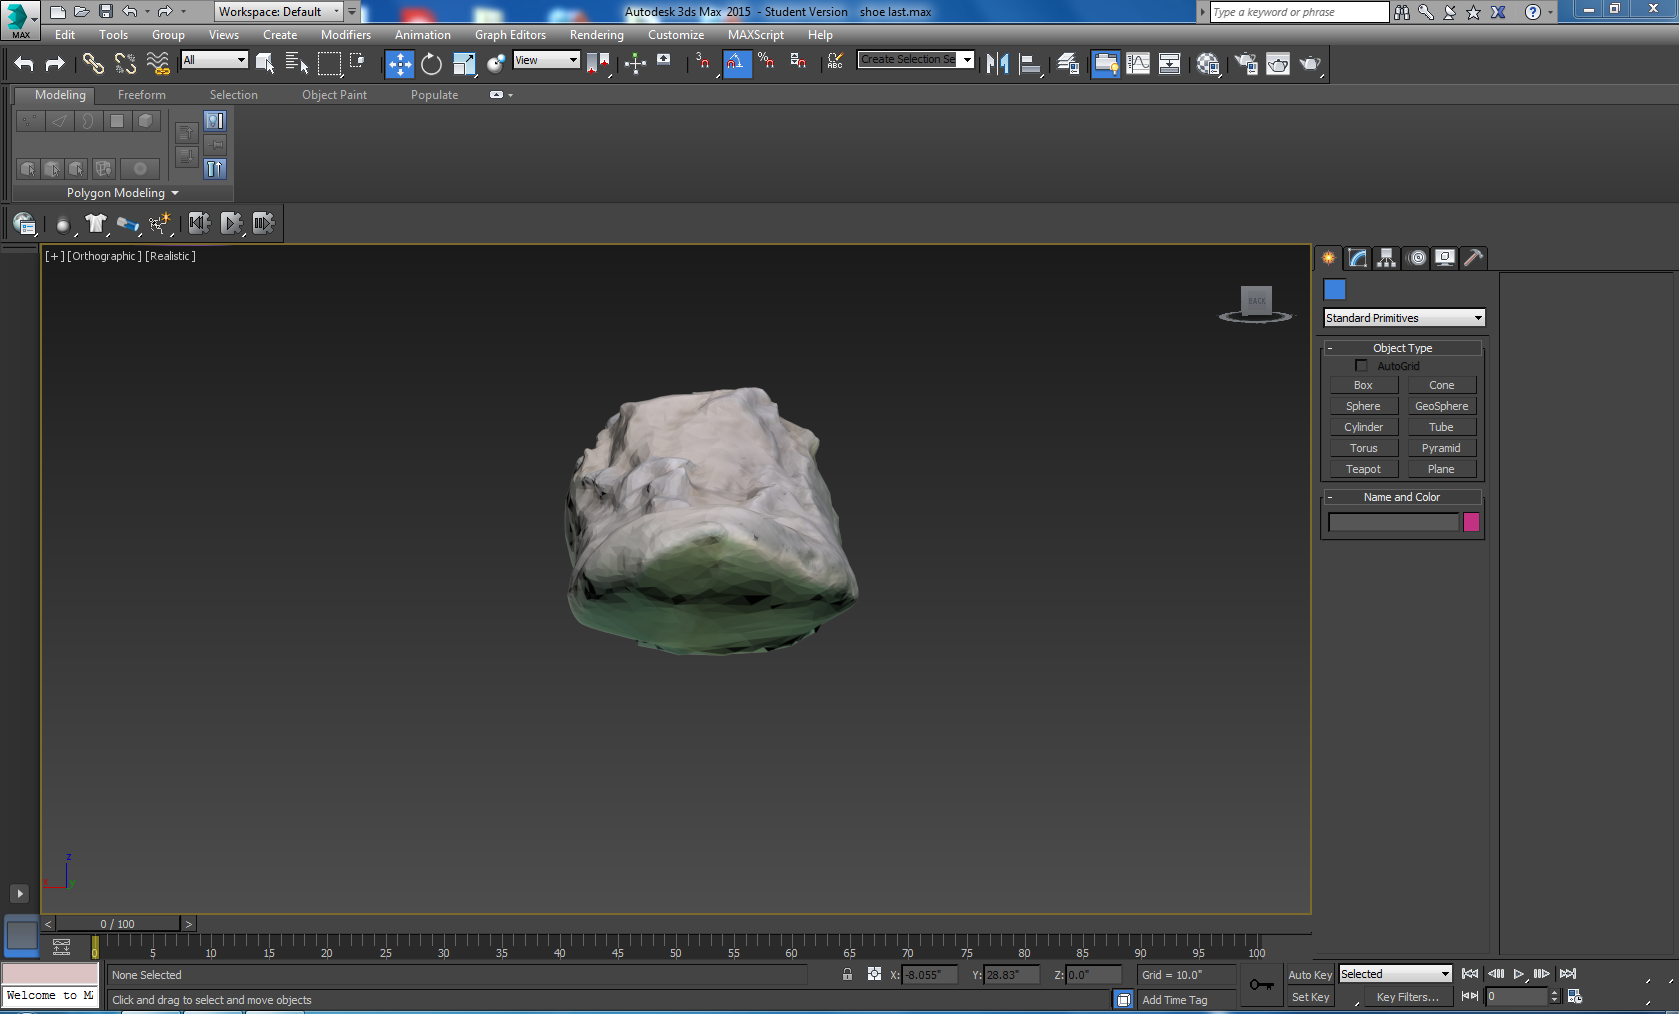
Now it's time to move your design to the computer. But first we need to transfer our plaster Last onto the computer so we can model around it. To do this we are going to use a program called 123D Catch. To use this program, you take a bunch of pictures all around an object from three different heights, and plug them into the program. Then it will stitch all the pictures together and spit out a 3D model that we will then use to model our sneaker.
Take your Last and prop it up off the table. Use something small, like maybe a candle stick holder. All I had around was a cup; if you use a cup make sure the bottom of the cup is holding up the Last, this will make it easier to modify the 3D model later. Make sure the table is fairly free of other objects. Now there are two ways to use 123D Catch. You can either download the phone app, or the desktop app. I used the desktop app, but feel free to choose whatever works for you. The phone app will help you take the pictures at proper angles, so if you feel uncomfortable doing this without help, maybe the phone app is for you. Before you start taking pictures, make sure that you can walk around the table freely. You don't want to move the model while you stay in place because 123D Catch uses the background to help create the model, so it needs to see the surroundings from all angles. What you want to do is take three sets of pictures. One set angled from above looking down, one set looking straight on at the same level, and one set from below looking up. There should be a little less than 40 photos total.
So take your pictures either using the phone app, or just a camera or smartphone and the desktop app and load them into 123D Catch. It will take a little while to process, but once it's done, you will have a 3D model of your last that you can load into 3DS Max. The model will have some of the background as well as whatever you used to hold the cup up. It will also show cameras to signify where the original picture was taken from. So delete all the background, whatever was holding the Last up, and all the cameras. Once that is done cap the hole in the Last. You may have to manipulate the polygons around the hole a bit to make it look better. Then measure the length of your physical last and scale your digital last to match. Once that's done, you're ready to start modeling!
Start Modeling
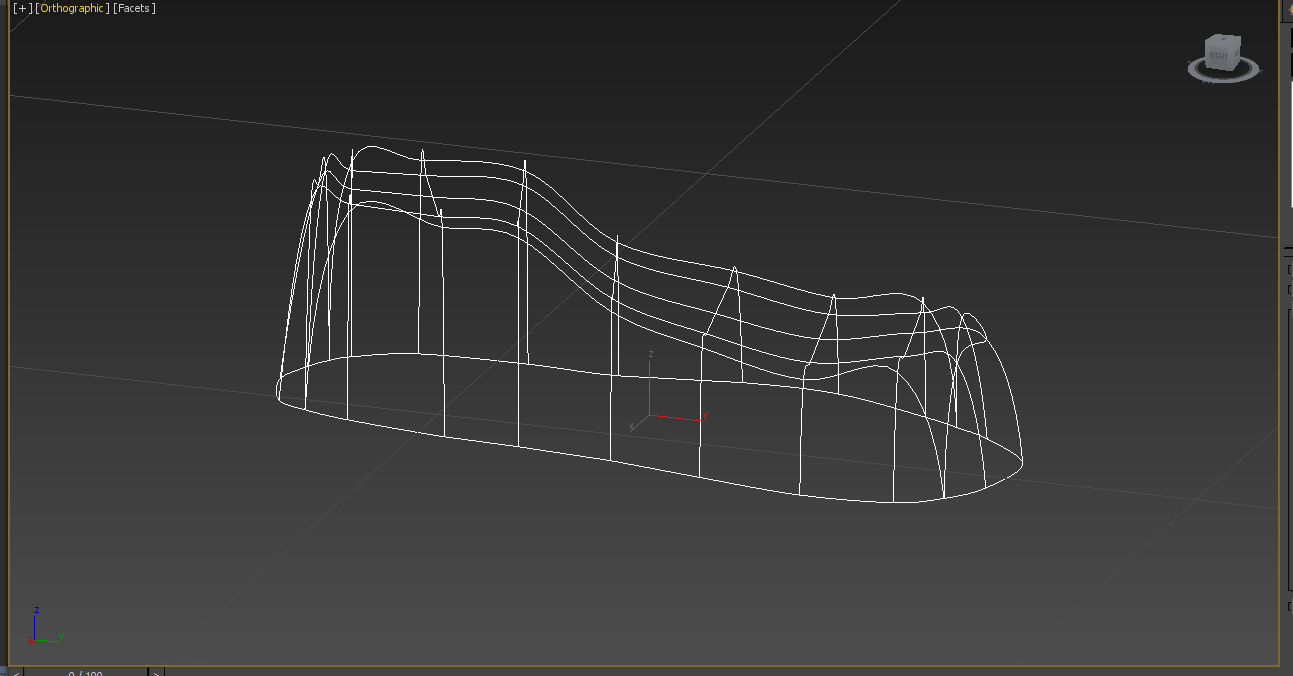
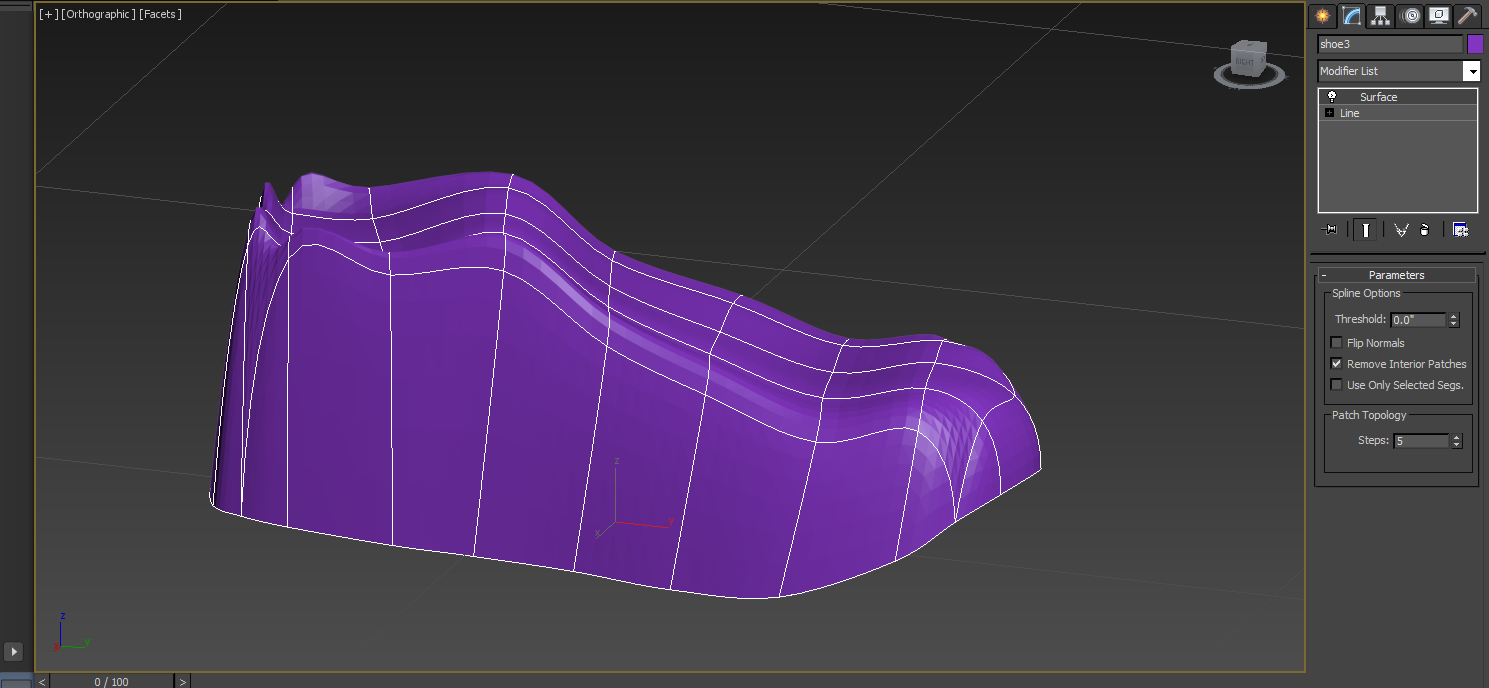
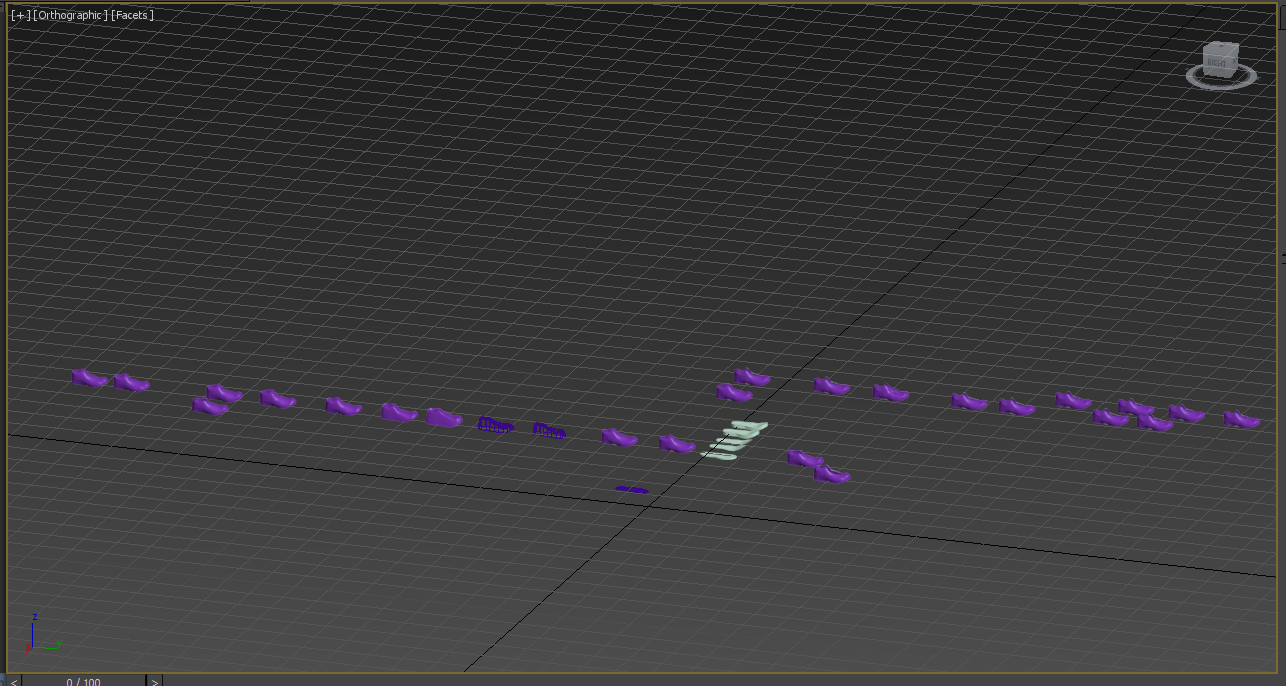
Now that you've got your digital last and a design in mind, it's time to start modeling! Now because everyone's design is going to be different, all I can do here is share a little bit about what I did and some tips that might help you.
So I decided to do my sneaker in two parts, separating the main body from the sole and bottom tread. This made things a little difficult toward the end, so the decision is up to you.
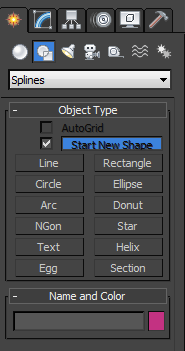
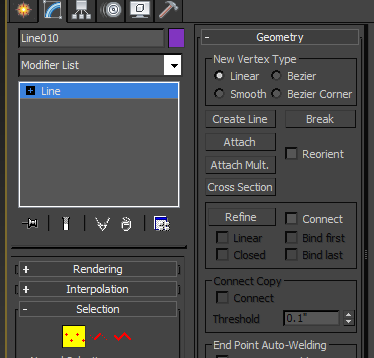
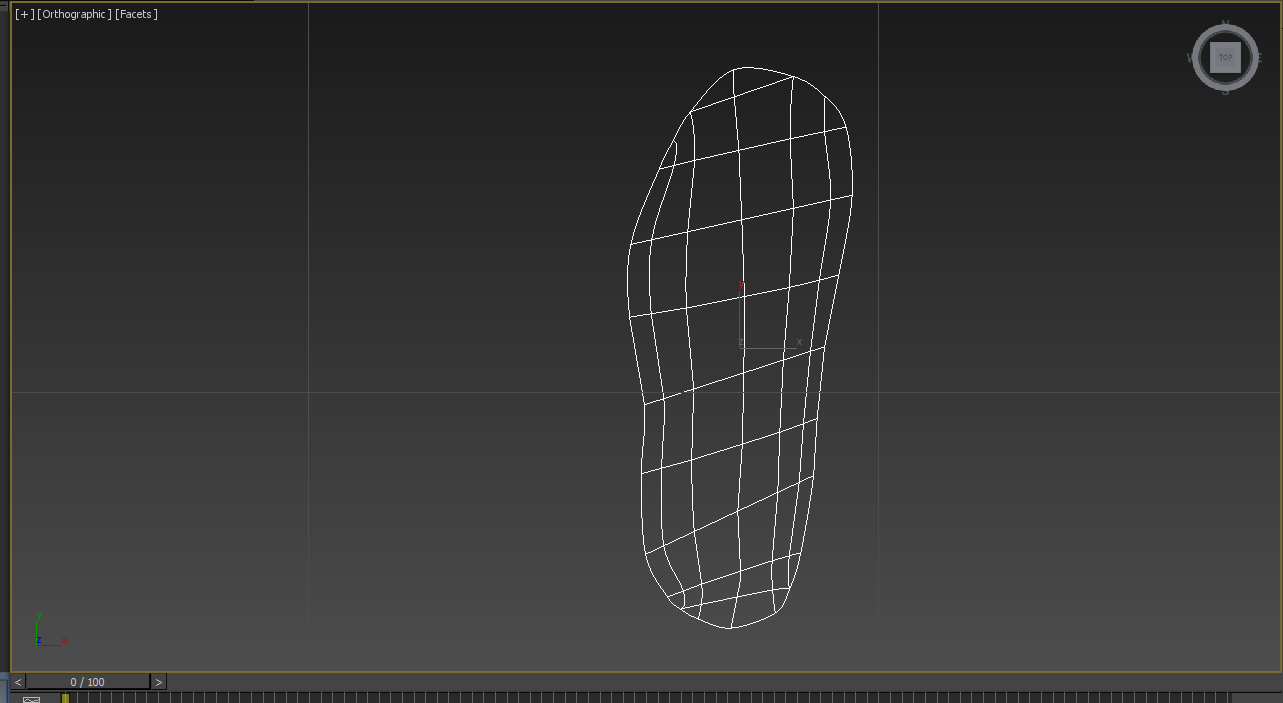
So my first try I attempted to model the sneaker by manipulating and editing a box, but that just wasn't working. So I ended up modeling it by making a wireframe structure and surfacing that to give me a more manipulable object. To do this, I took my last and looked at it from the bottom, then traced the outline by going into the shapes section of the Create tab and selecting line. Put as little or as many points in there as you want, you can always add more later if need be. I based my technique off of this tutorial that Autodesk put out on how to model a Knight chess piece, so I suggest you give that a look. Basically you use Refine and Connect to make a web of points and lines that can be the moved to create your desired shape. Now if you want your sole/treads to be attached to the main sneaker from the beginning it should be pretty simple to do. After you've positioned all your points, start the process of refining and connecting again on your initial outline. This will create a bottom surface to your shape when you surface it, which you will be able to manipulate into the sole and treads without having to boolean them on later.
So once I did that, I added a surface modifier and started moving points around to create the shape of my sneaker. You will need to edit the Bezier curves on some points to smooth out the surface of the shape. After that, it's just tweaking the shape, adding an edit poly, manipulating polygons as needed (adding, subtracting, extruding, etc), and slapping on a Mesh Smooth. I'm assuming that the readers of this Instructable are familiar with 3DS Max, or whatever modeling program is available to them. I will not be going step by step, because I want you to create your own designs, express your creativity.
I tried my best to avoid booleaning any shapes onto my sneaker, and I was able to finish the model with having to do only a few. If you do the sole/treads separately, those will need to be booleaned on, so be sure all your shapes are closed and have a Shell modifier, otherwise the boolean will fail.
Now here is the most important tip I can give you when modeling a complex object like this:
MAKE COPIES!!!
Before you make any big changes in your model, make a copy of that iteration by holding shift while you move the object. Make sure it is a copy, not an instance, otherwise it will show the new changes you make on both iterations. Doing this saved my life a bunch of times, so I highly suggest you do it. But having a ton of objects in your file will slow done 3DS Max immensely, so once that starts to happen, take your last couple of iterations and copy them into a new file. When I was finished modeling, I had four separate files with at least 20 iterations of my model on each. My files take forever to upload; I would suggest limiting each file to about 10 iterations or so, unless you have a really powerful computer.
Another tip is once you have a base shape of your sneaker/shoe, make a test print to make sure it fits. You don't want to go through the whole modeling process just to find out your sneaker doesn't fit. It's much better to catch these things early on in the process, so do as many test prints as you need. I did about 5 throughout my design process to test the fit and look, but I should have done even more. I also made a few mini prints to test any wacky design ideas I had. It's a lot easier to judge a real physical object than a computer generated image, so keep that in mind.
Once you have your model done, and an STL Check modifier. This will alert you to any problems with your model that would prevent it from printing properly. Problem areas will show up in red. It won't always catch everything, but it's a great tool that saved me a lot of time.
3D Printing
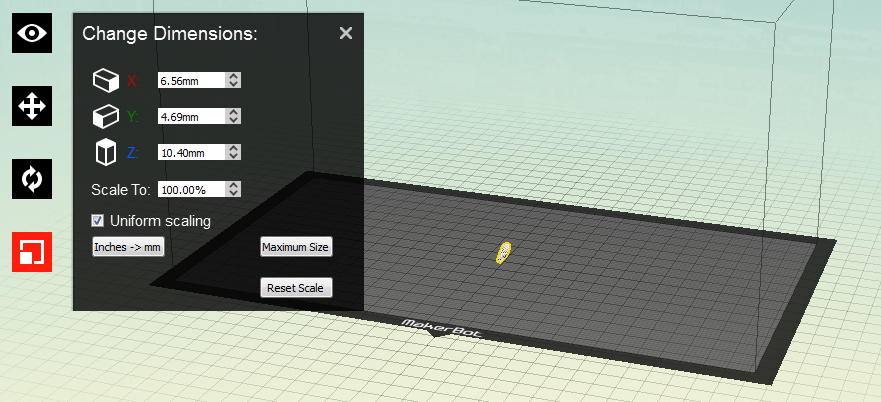
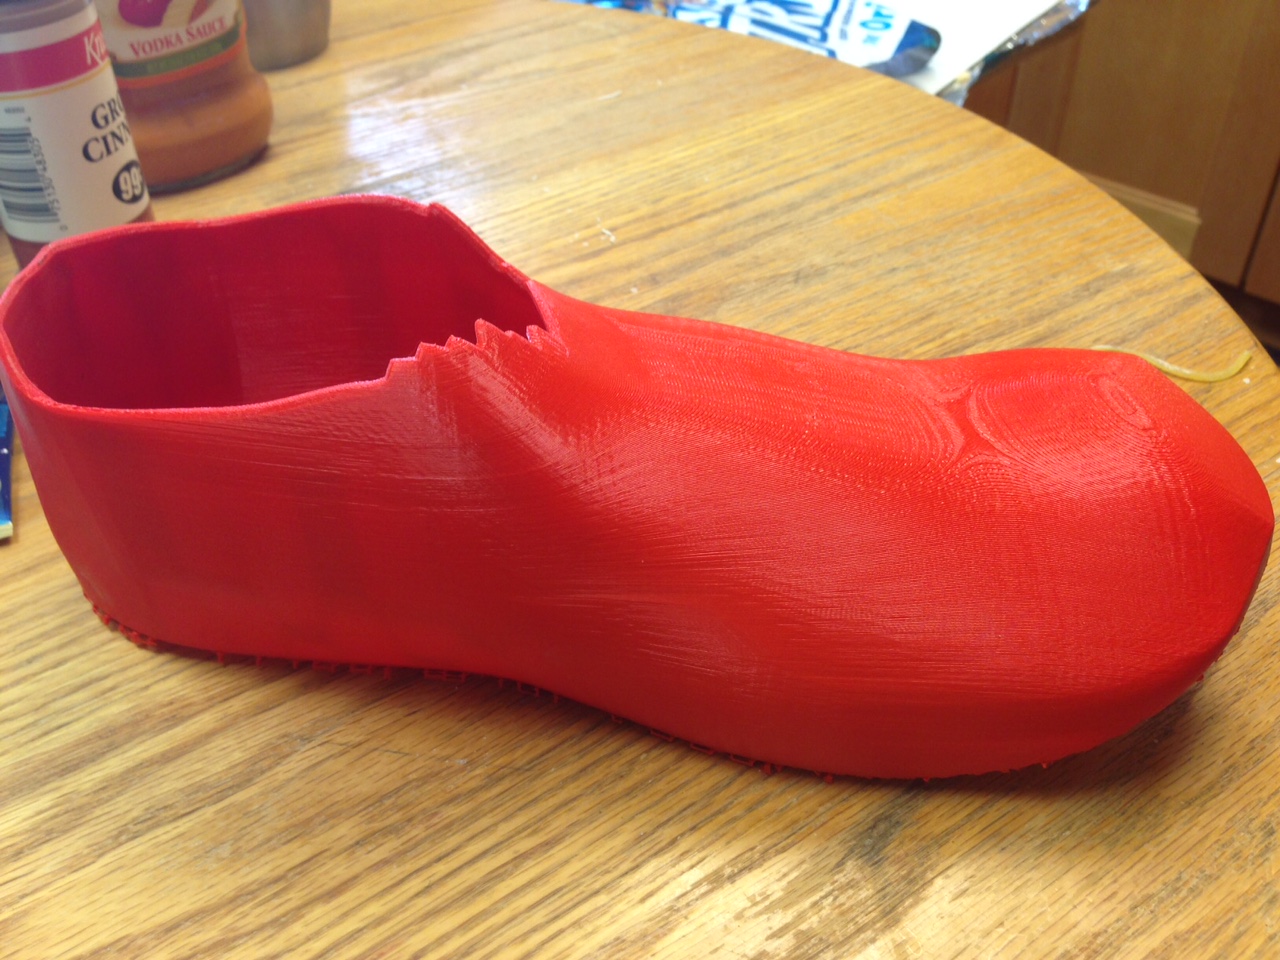
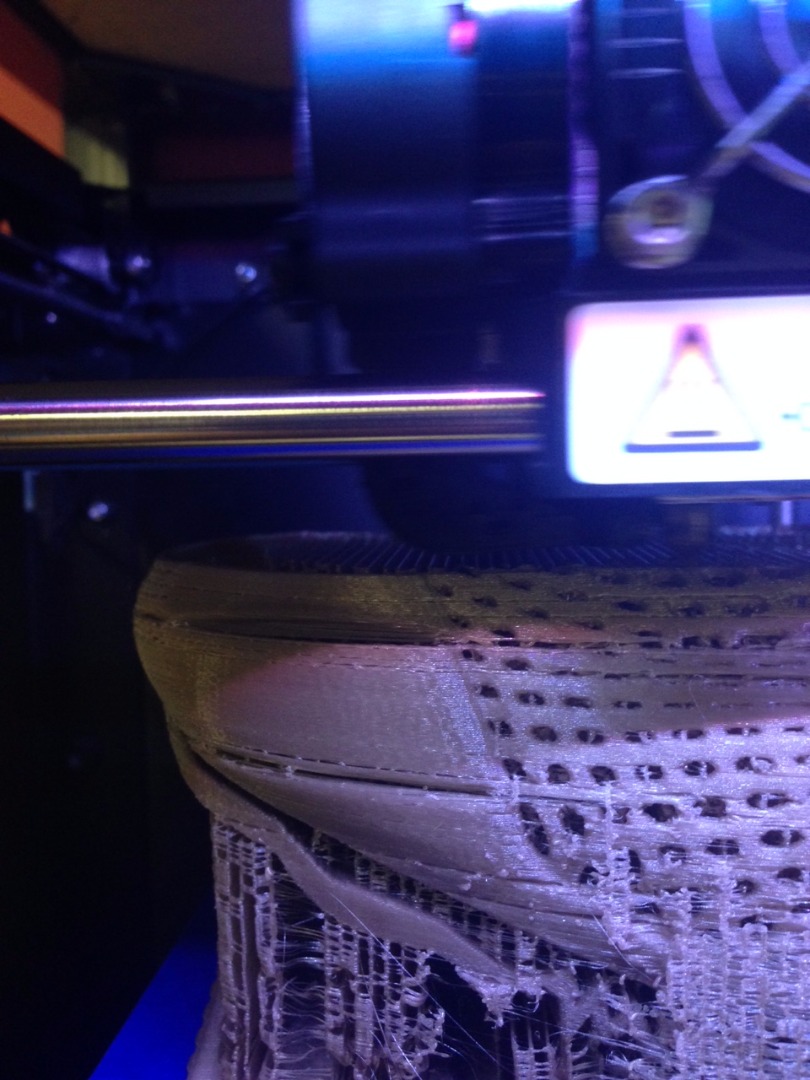
Congratulations! You've finished modeling and now you're ready to print your final model. There isn't alot to say for this step, because if you have access to a 3D printer, chances are you know how to work one. But I'll say some stuff anyway.
Select your object and export it as an .stl file. Make sure you don't accidentally select all objects in your file, that's happened to me before and it's really annoying. Load the .stl into whatever 3D printing prep program works with your printer. I had access to a Makerbot Replicator 2, so I used the Makerbot Software to prep my file. Make sure you select you model of Makerbot, otherwise things will be all wonky. When you bring your file into the program, it probably won't show up full size, so make sure you click on "Inches->mm" option in the scaling option menu. This will bring your object to full size. Do the equivalent of this if you are using a different program.
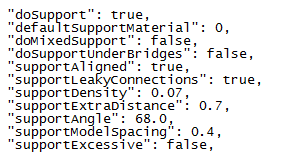
Now chances are your model will need a lot of support material, especially if it's a mostly closed object like a sneaker. So I highly recommend you edit the amount and density of support material. In Makerbot, you need to go to Settings, and click on Create New Profile, then Edit Profile. This is a text file, so open it in Text Editor, or Notepad, or whatever it is you have. Find the section that that deals with support material, and make sure supports are turned on. Then change around the spacing and amount of supports by either bringing the number up or down. I've added a picture of what my settings are, I suggest you start with that and edit them to your needs. You can check what the support material will look like by looking at the print preview. Also, change the orientation of your model to see what will give you the least amount of support material. Additionally, I highly endorse adding a raft to your print; it helps a lot with minimizing warping of your object. And if a raft doesn't help with warping, move your model slightly about the build plate, so that it is held up entirely by support material. This will increase build time and clean up but it will prevent any warping of your print.
Now it is possible that your model may not properly fit on the build plate. There are a couple of ways to deal with this. The easiest is to experiment with the orientation of your model; put it at an angle, on it's side, vertical instead of horizontal. Whatever works for you. The other option is a little more difficult. If no alternative orientation works, you'll have to go back into 3DS Max and slice your model into separate pieces, and figure out a way to make them connect. Because I didn't have to do this, I don't really have any tips for that, but I suggest you search online for any techniques other people have used to connect sliced pieces of a single object.
Another thing to take into consideration is what type of material you want to print in. You can print in regular PLA, but there are tons of other filaments out there to try. Ninjaflex is a brand of filament that is very flexible, which is a good option for sneakers. There is also a wood-based filament, which is another cool option. Do some research and see if anything out there would work for you!
If you're printing a test print, use the standard PLA, no need to waste your special filament. Make sure you do LOTS of test prints. This is a complex object and you will make mistakes. You may also have failed prints. If that happens, check if your build plate is level, or if it is the machines fault in any other way. If not, go back into your .max file and check for any problems there.
Finished Product!
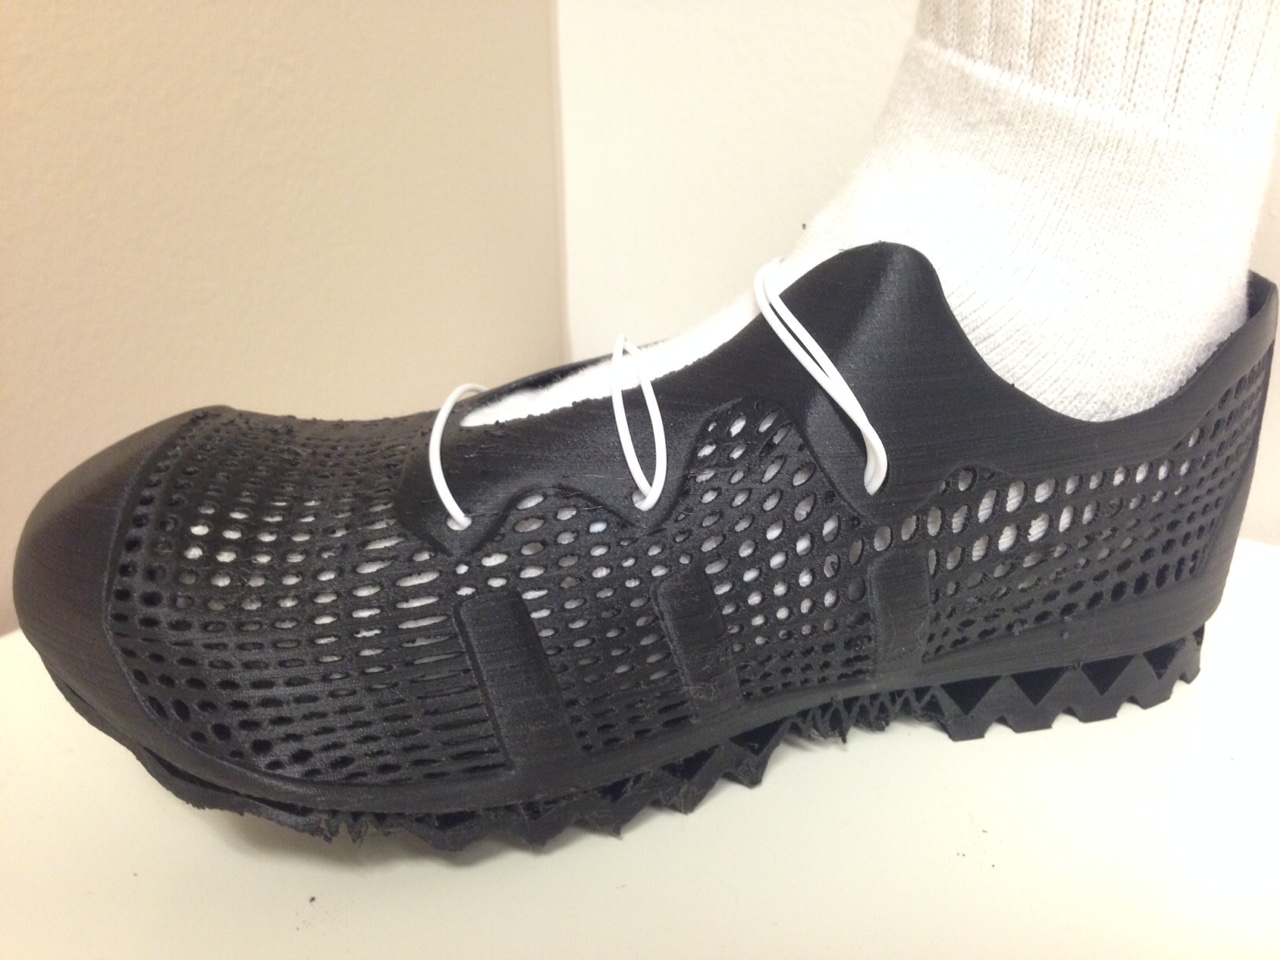
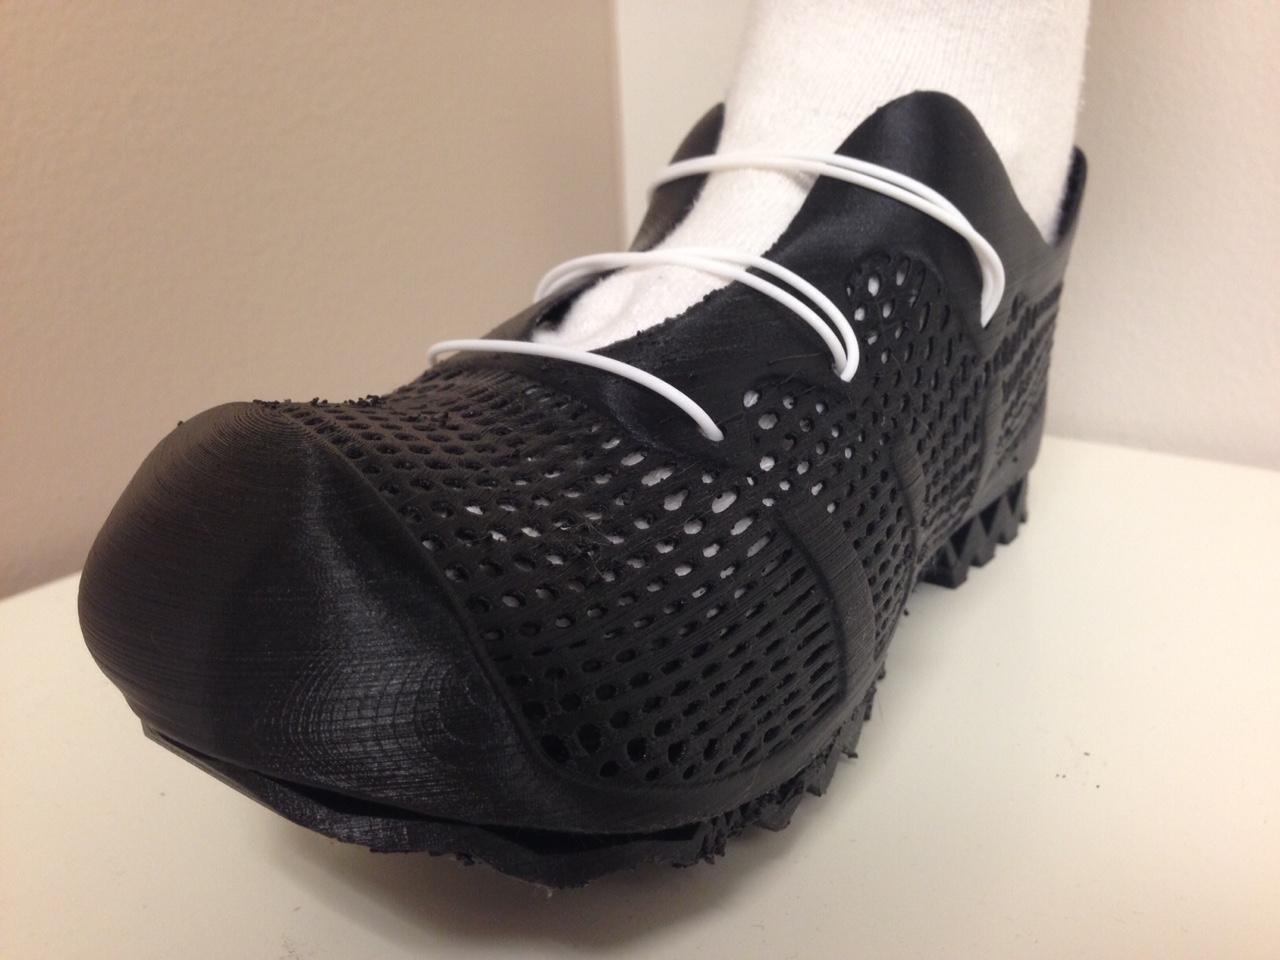
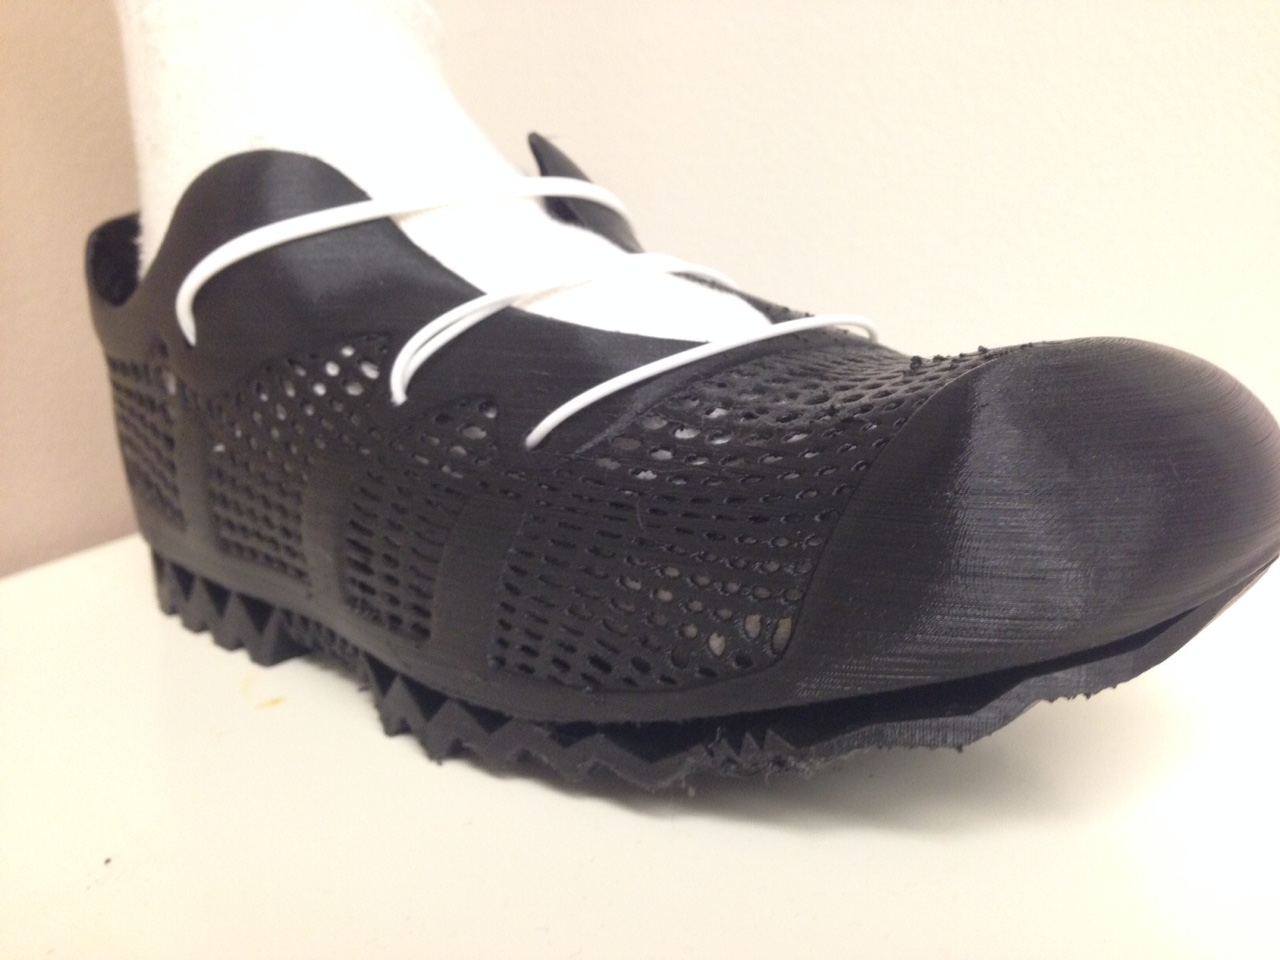
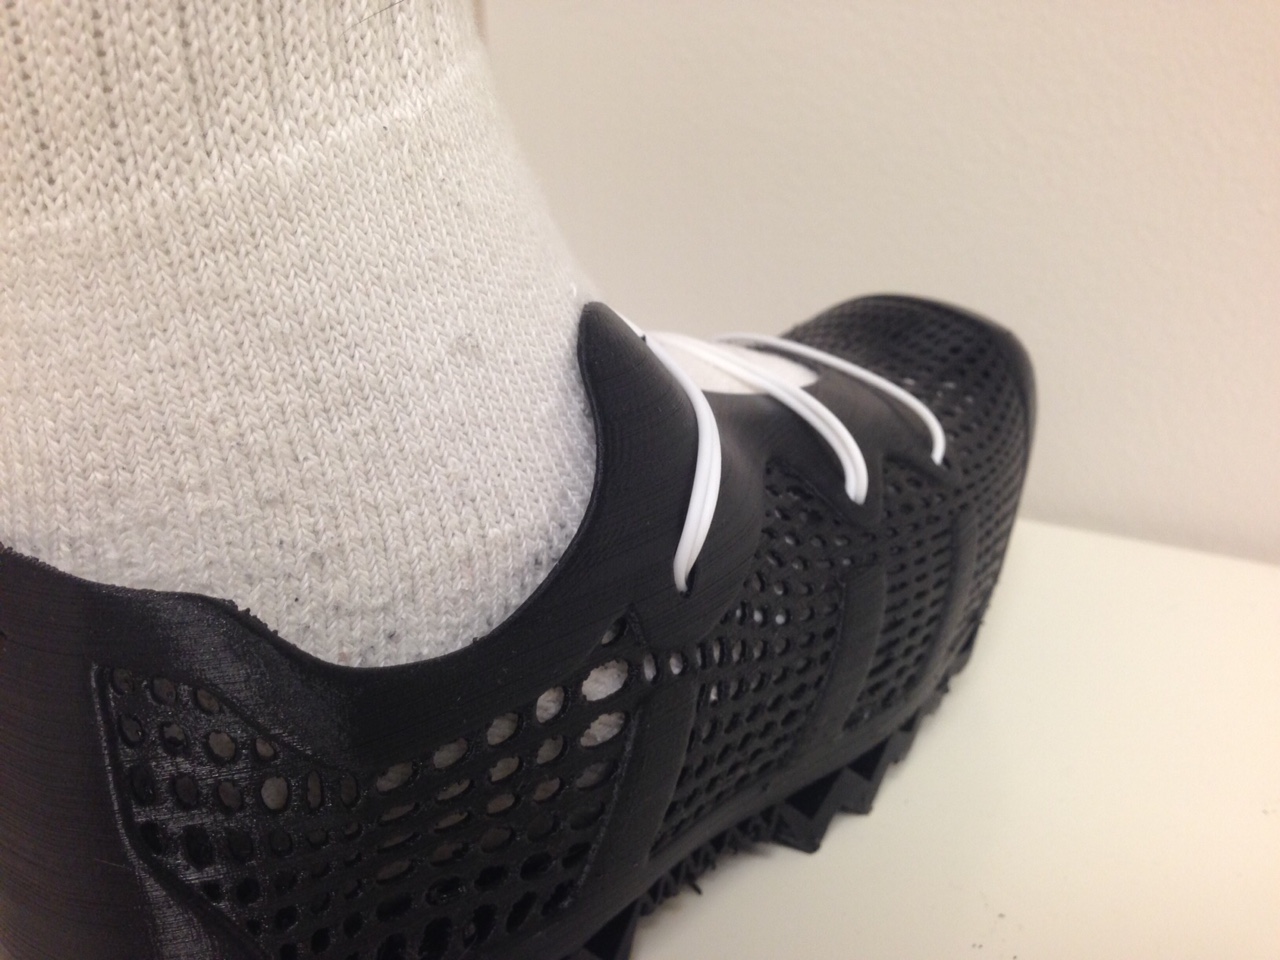
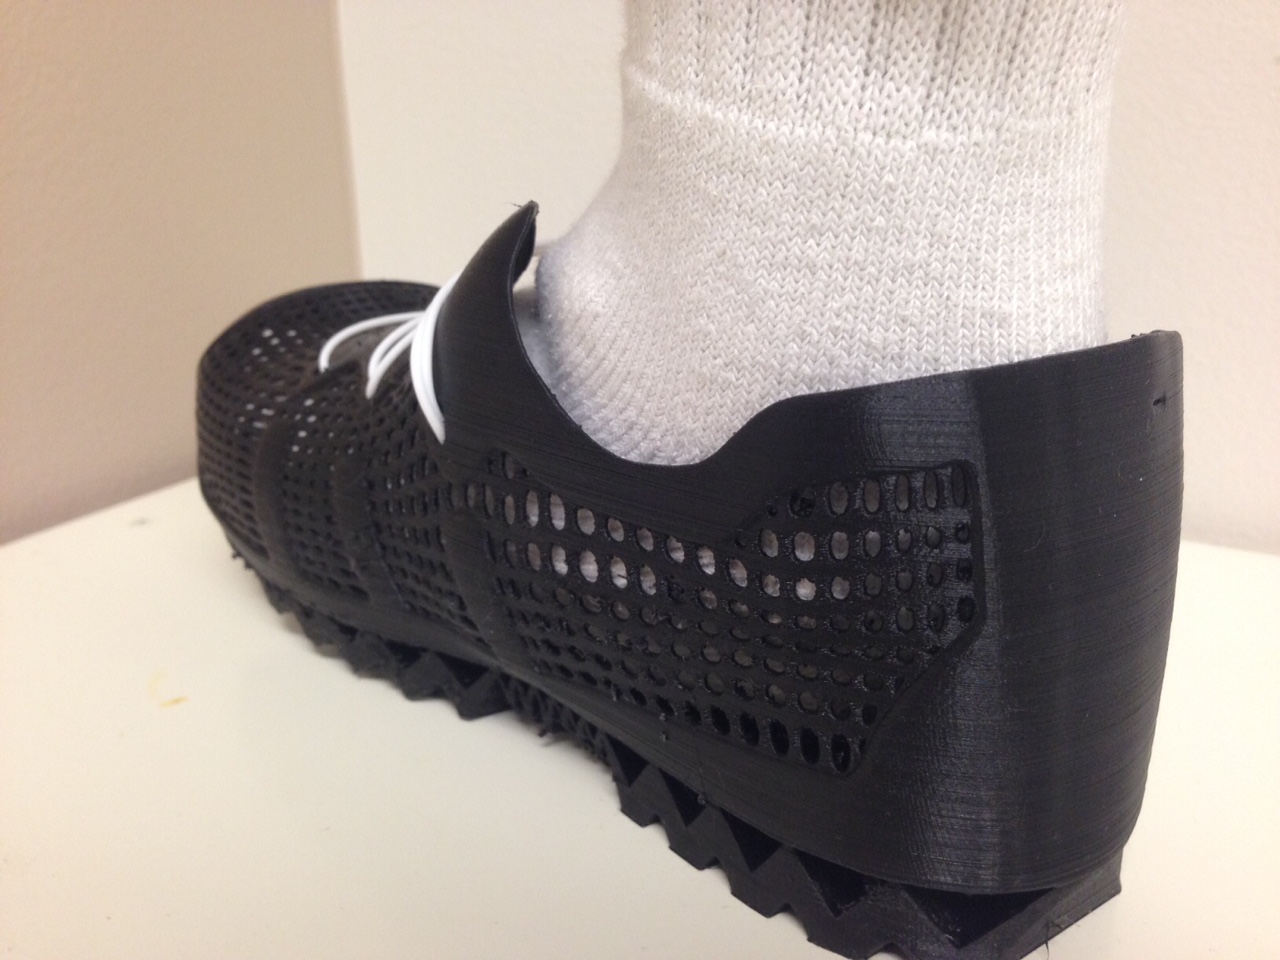
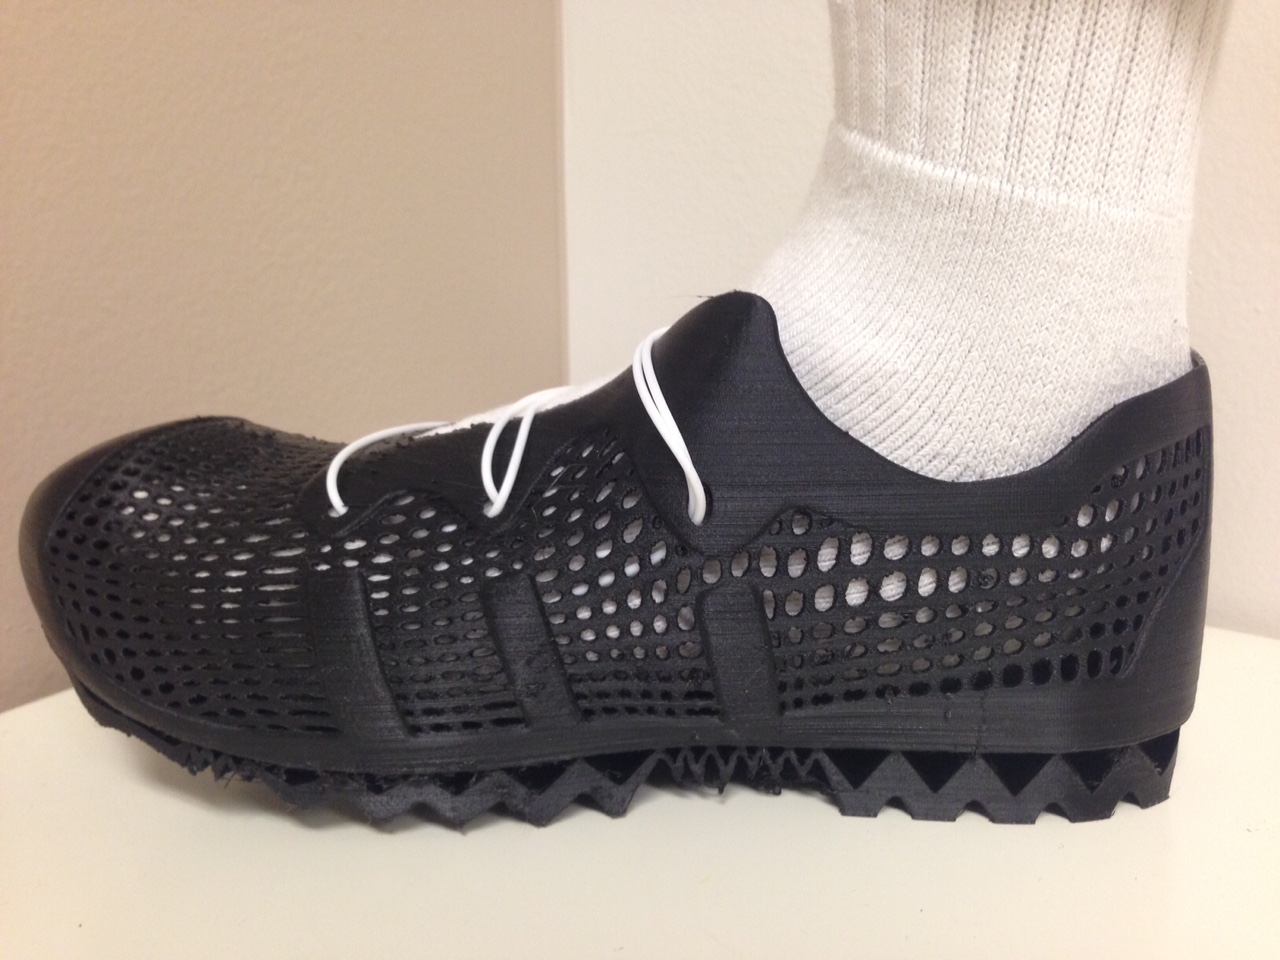
So if you've done every step, you should have a finished sneaker/shoe, and that's pretty cool! I had a lot of fun designing, modeling, and printing my sneaker, and I hope you guys enjoyed reading this, and enjoyed the process yourself if you decided to make a shoe. I'm sorry I couldn't give more exact modeling instructions, but this Instructable isn't about how to model my sneaker, it's to act as a guide for your own creative process. But if you have any questions, please comment and I'll see if there's anything I can do to help. I'd also love to see your designs! Post pictures or links so everyone can see what can be done with this Instructable. If you'd like to print my sneaker you can go here to Thingiverse to download the file. While you're there, look around at my classmate's designs. Just search "shoe" and you should be able to find them all.
This Instructable is being entered into the 3D Printing Contest, so if you're reading this while voting is still open, please vote for me! I hope you enjoyed my Instructable, and I hope it helped inspire you to make your own 3D printable shoe!