How to Maximize Bitmaps in Eagle
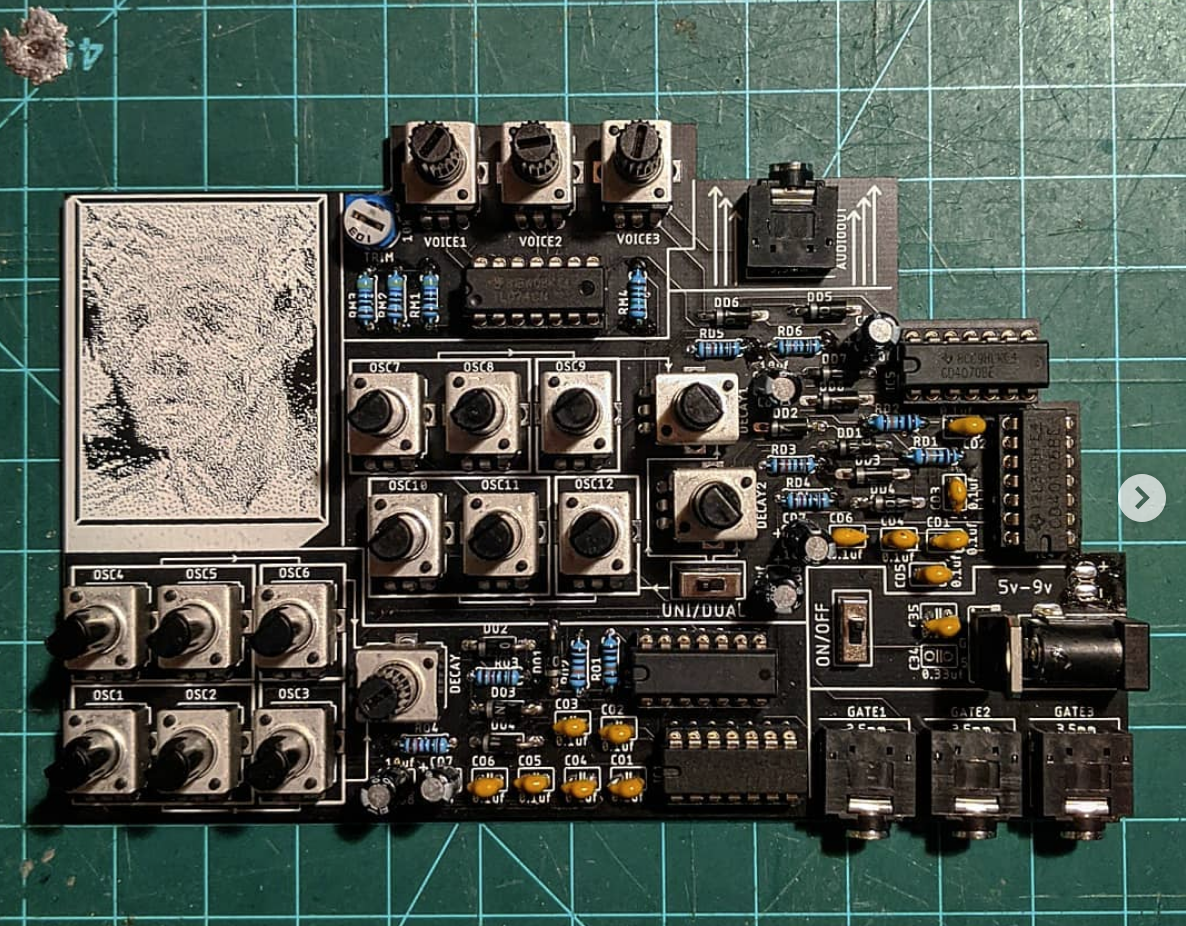
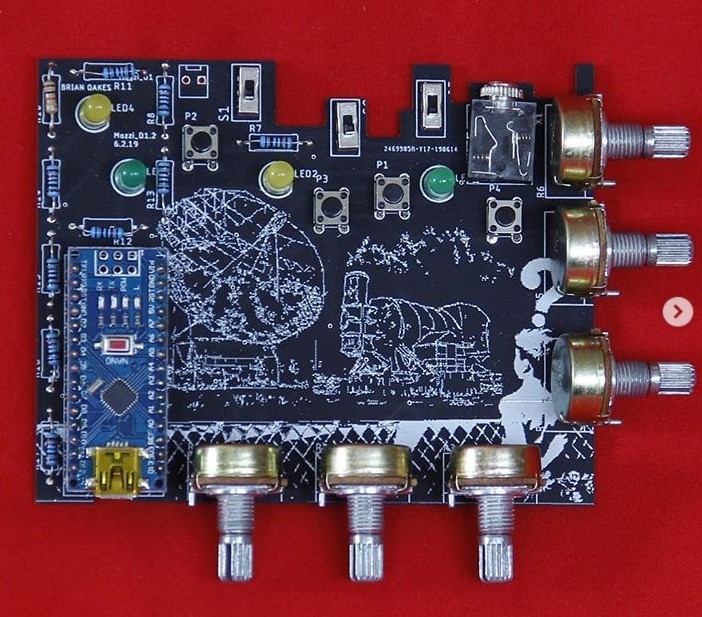
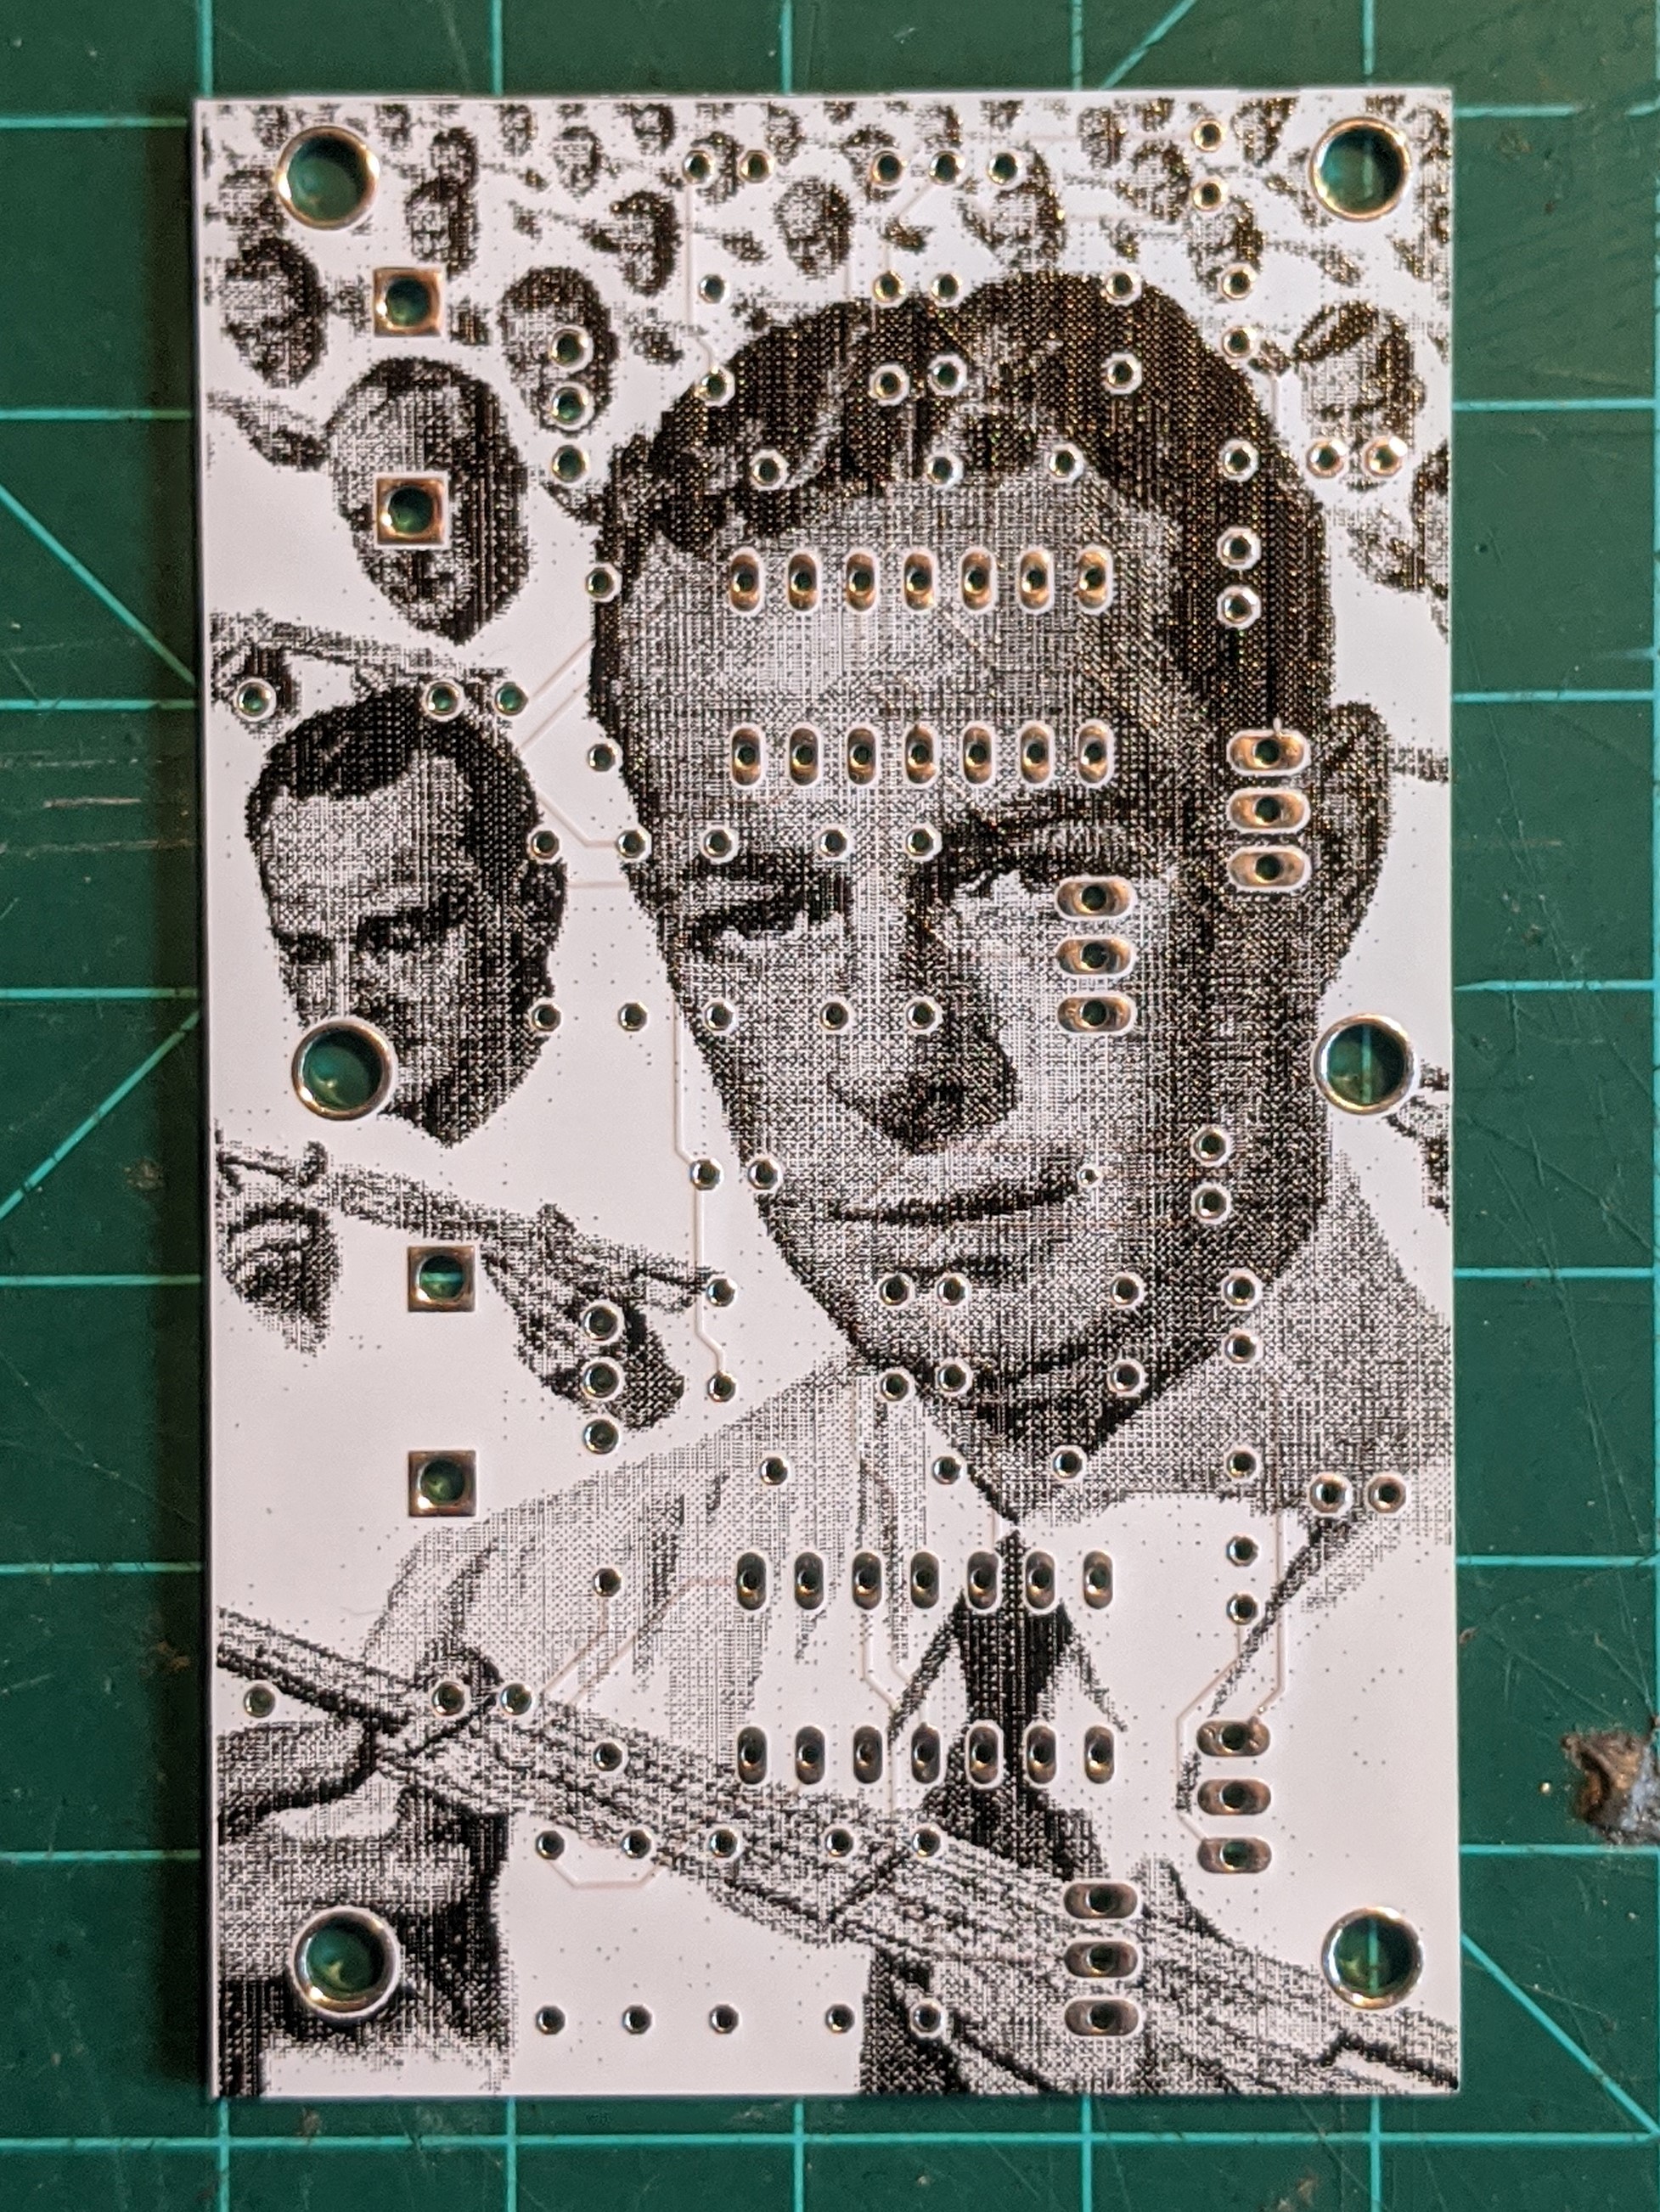
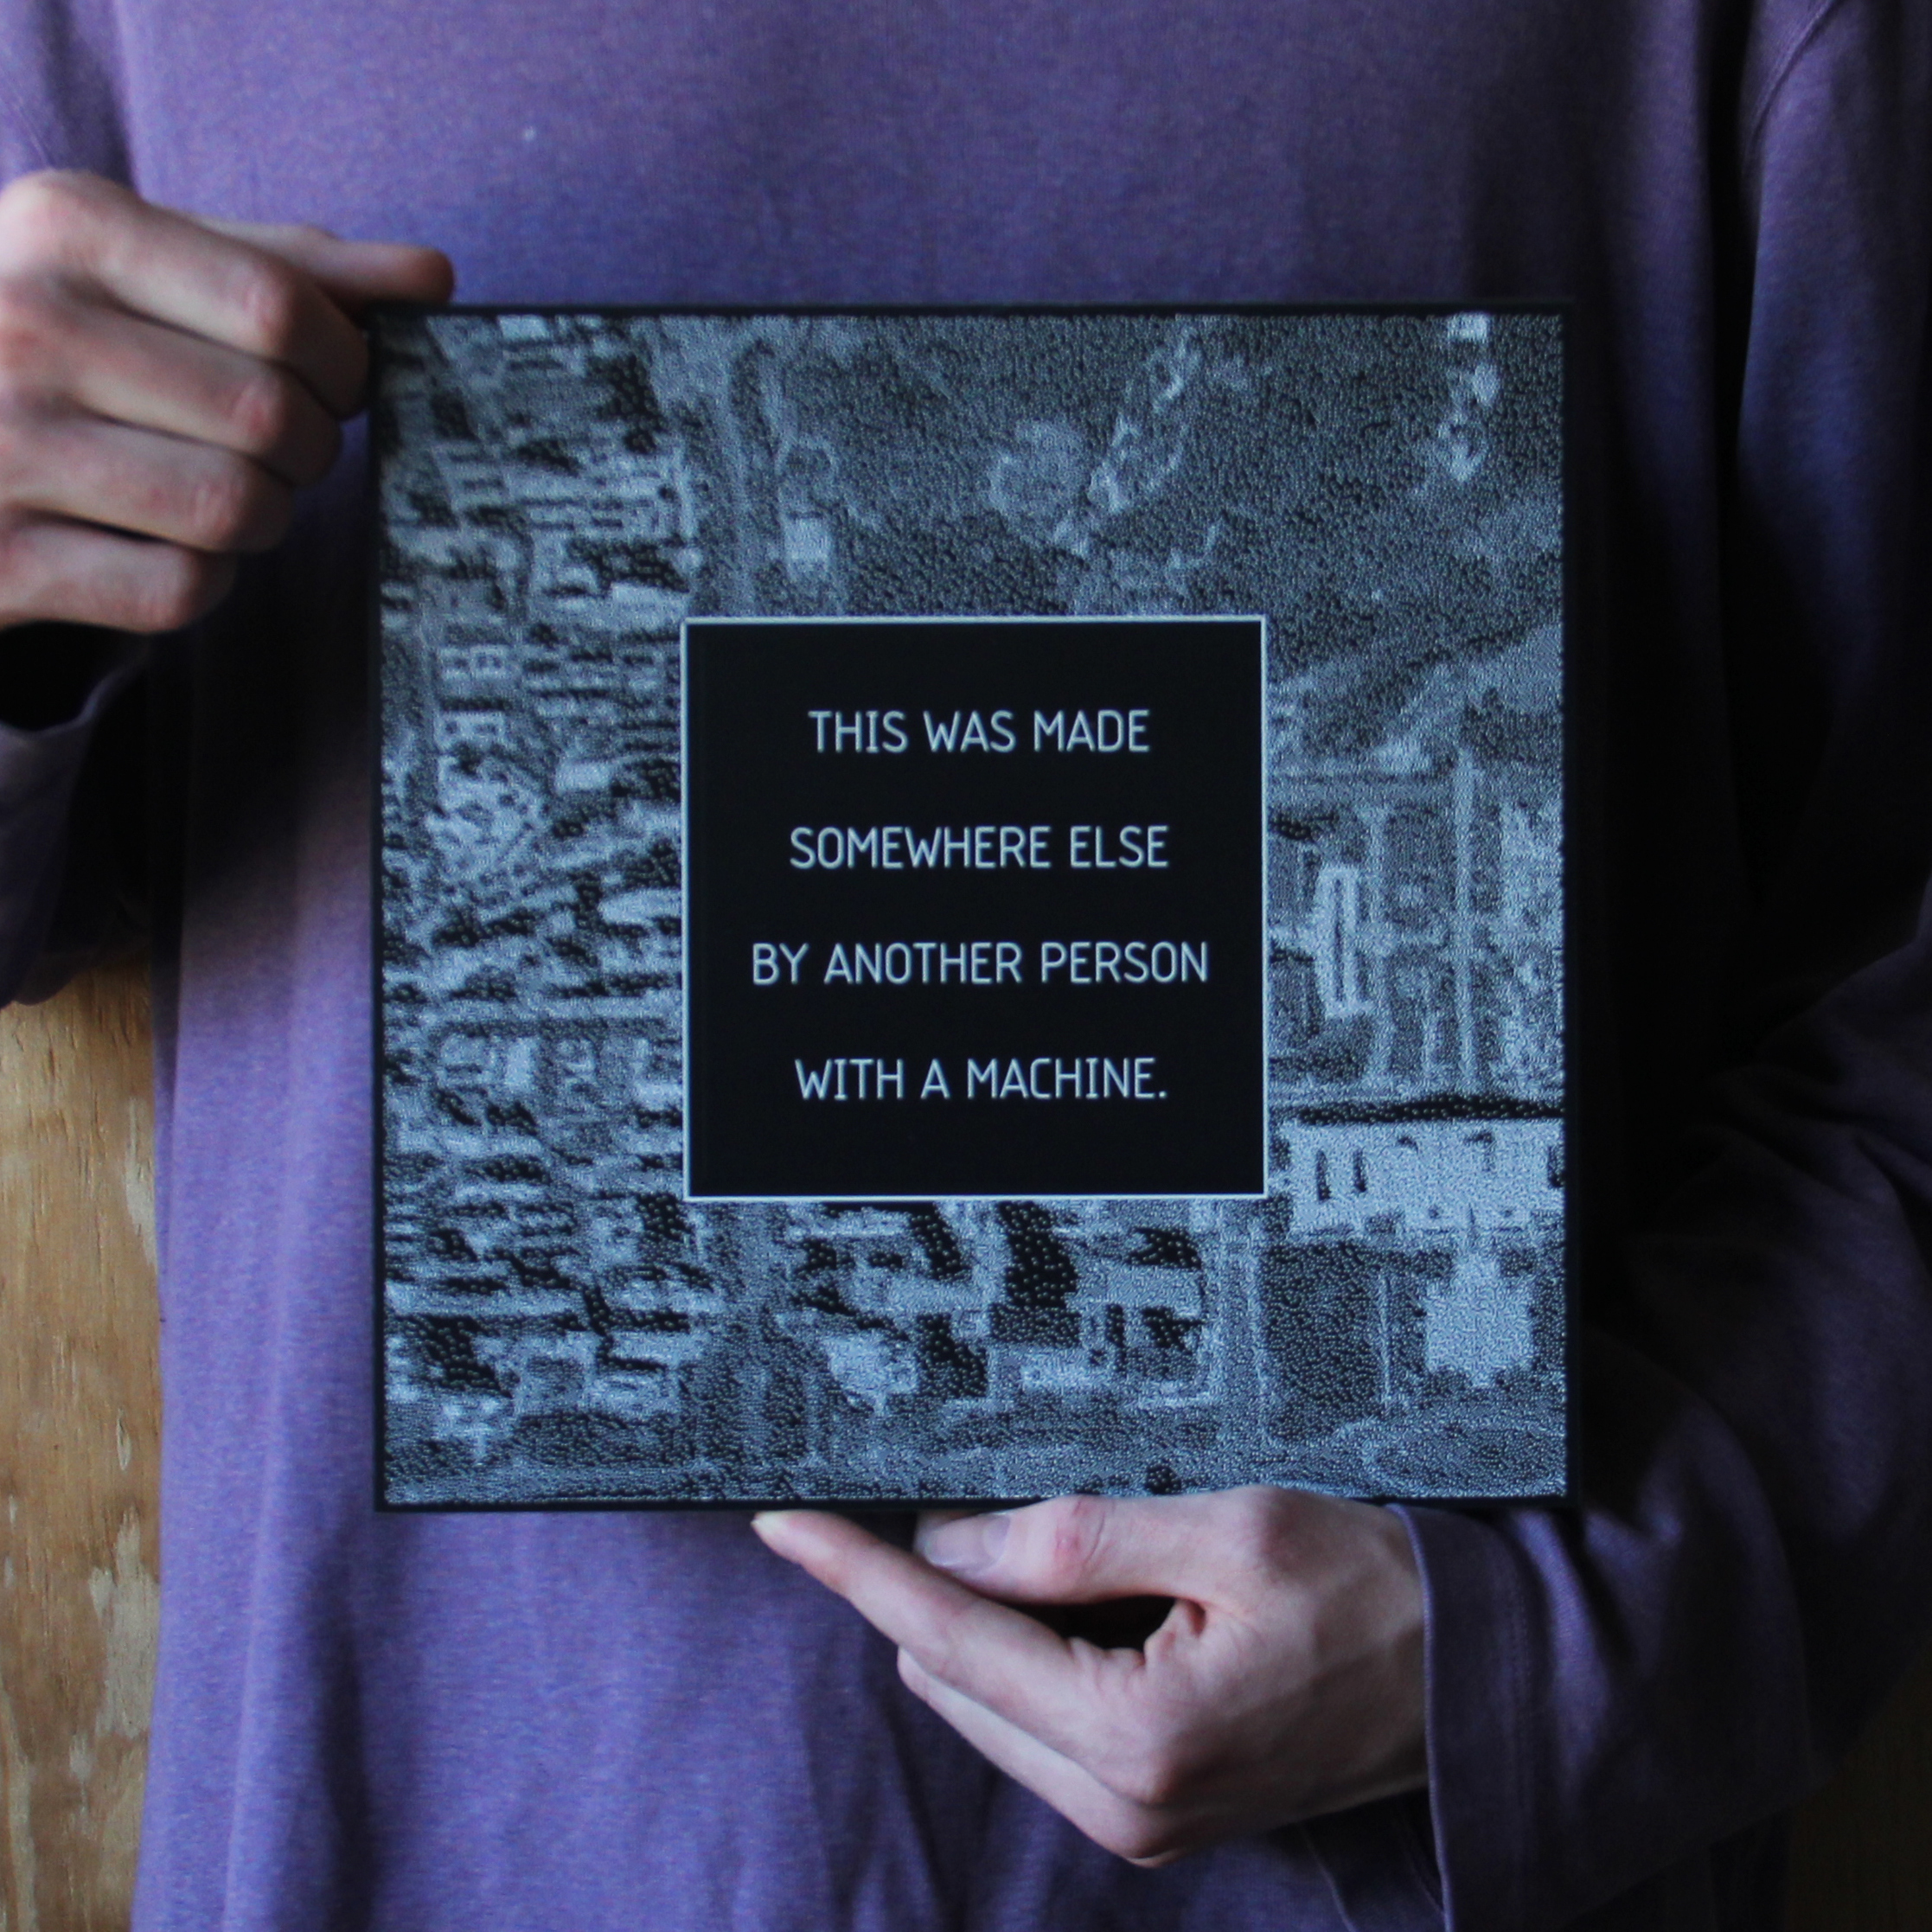
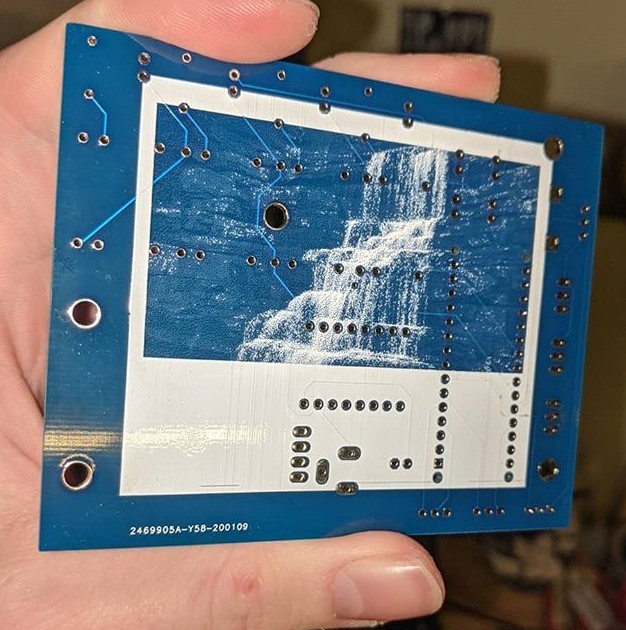
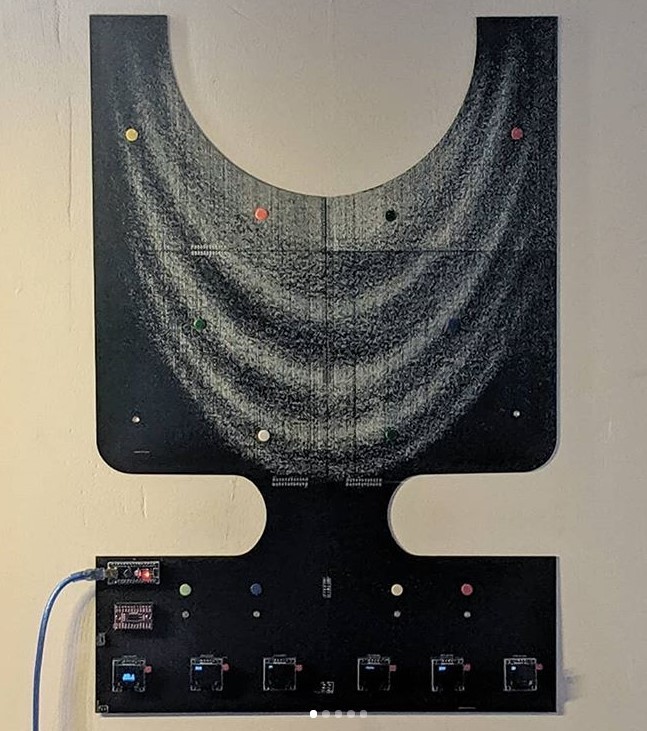
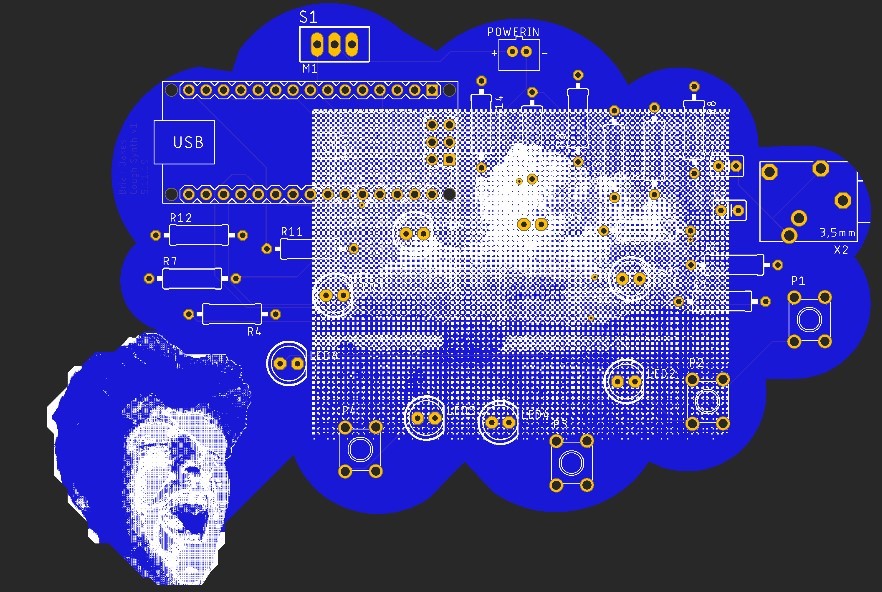
With the cost of manufacturing professional circuit boards getting cheaper and cheaper, it seems like now is a great time to get into PCB design. Online communities help smooth out steep software learning curves and provide a plethora of schematics, designs and extensive knowledge. However, I feel there should be more of an emphasis on the visual forms being produced by this exciting movement. If we are going to truly utilize this massive global infrastructure, let's at least try to inspire some design dialogue! Whether you want to include a fancy logo on your board, or cover the back of your PCB with a frame from your favorite sci-fi film, this tutorial will help you bring your bitmaps to the next level using Autodesk Eagle and Photoshop.
Supplies
-PCB Software (I'm using Eagle but the basic ideas can be applied to other software)
-Photoshop (I am using Photoshop CC from 2018 but the version shouldn't make too much of a difference)
Get Board Dimensions From Eagle (pay Attention to Units!)
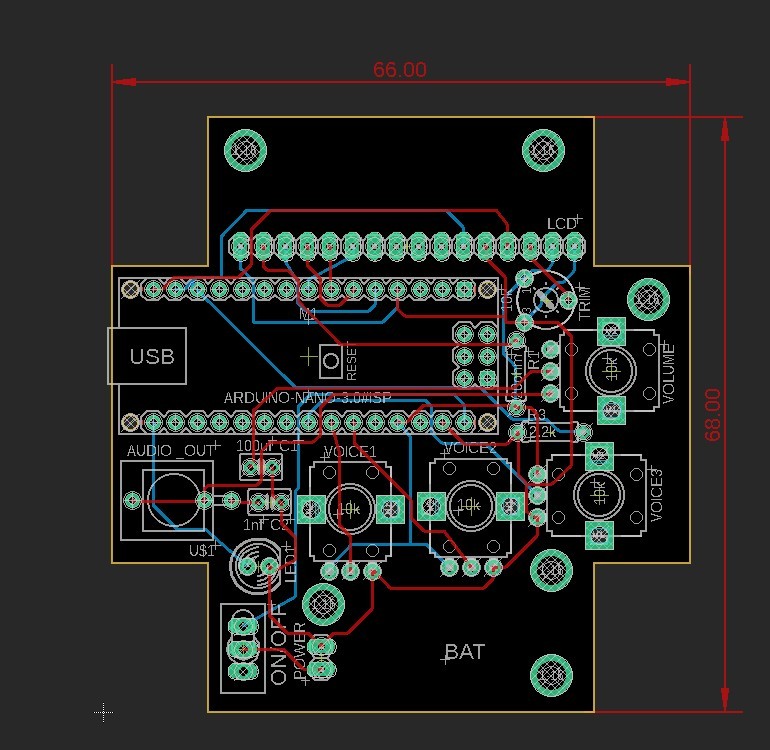
The first thing we want to do is get the dimensions of our board. If we are just planning on working in a small section of the board, we can just grab the max size we have available. When working with boards that have unusual shapes, I will take a screenshot of the board and import it into my Photoshop document as a background (just remember to hide this layer when exporting your final bitmap!)
NOTE: pay attention to the units of your Eagle document!!! (I always use MM because it carries to Photoshop)
Create a New Photoshop Document With the Required Dimensions
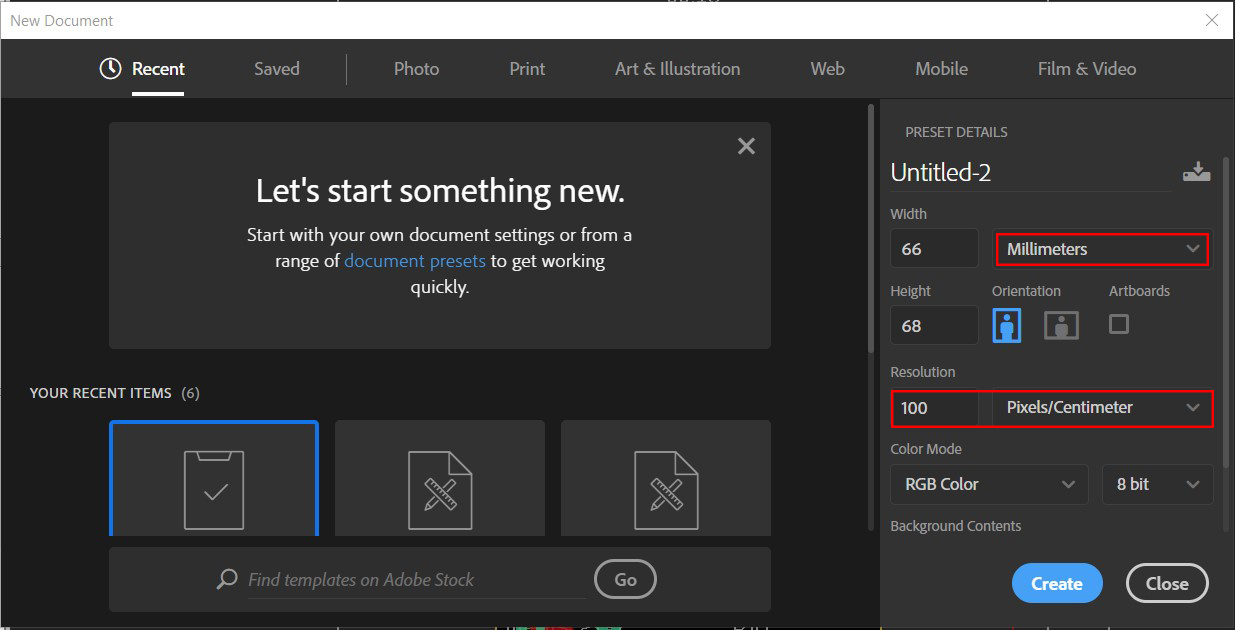
I use JLCPCB for all my board orders and I find that setting the resolution to 100 pixels per cm to be the best when moving from Photoshop to Eagle. These settings are by far the highest resolution I can get before overwhelming their machines.
REMEMBER TO CHOSE THE SAME UNITS IN PHOTOSHOP AS IN EAGLE!
Once you have the document setup, import your image, logo or drawing
Edit the Image to Make It Work As a Bitmap.
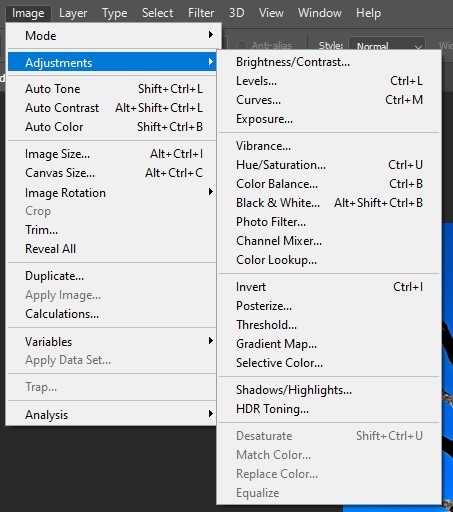
Sometimes going from a full color, hi-res image to a small, 2 tone bitmap can be tricky. This is the part that takes some creative thinking and planning. Pulling down the "Image" menu and playing around with some of the options in "Adjustments" tab is recommended. I almost always go for "Brightness/Contrast" and "Hue/Saturation". It also isn't a bad idea to play around with the "Posterize" option (this doesn't always work for images with gradients but can really help simplify images that have a lot of color values going on). "Threshold" can also be a helpful tool if your image is already 2 toned.
Play around with this step a lot!
Don't forget to save you Photoshop document!
Put the Image in Grayscale Mode
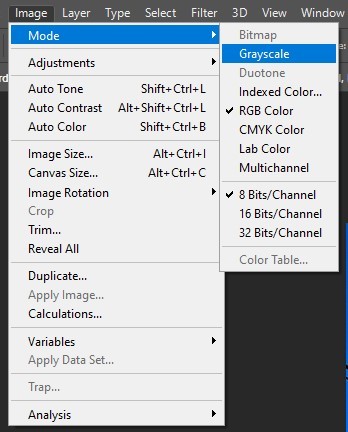
Once you have your image at a good place, change it to "Grayscale" mode. This can be done by going to "Image" -> "Mode" -> "Grayscale".
I highly recommend you save multiple files along the way in case you need to go back and tweak something (if you open a file that is in grayscale mode, you wont be able to go back to being full color and an file in bitmap mode wont be able to go back to grayscale mode)
Convert the Image to a Bitmap
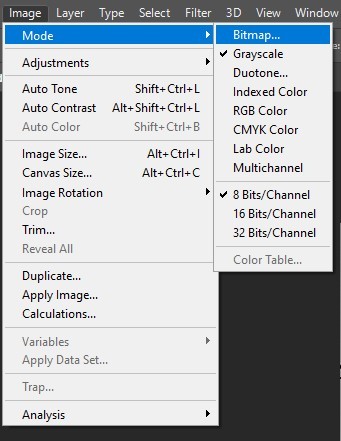
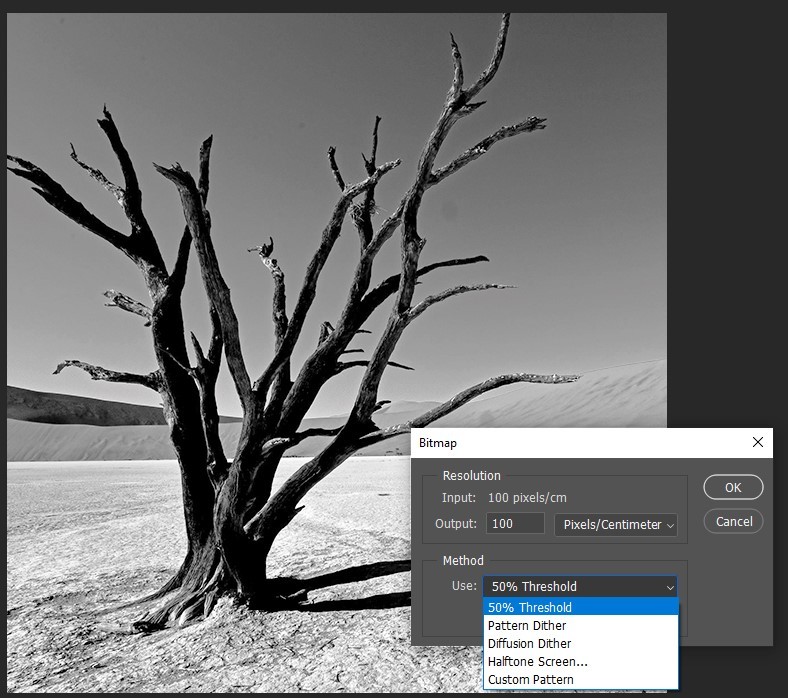
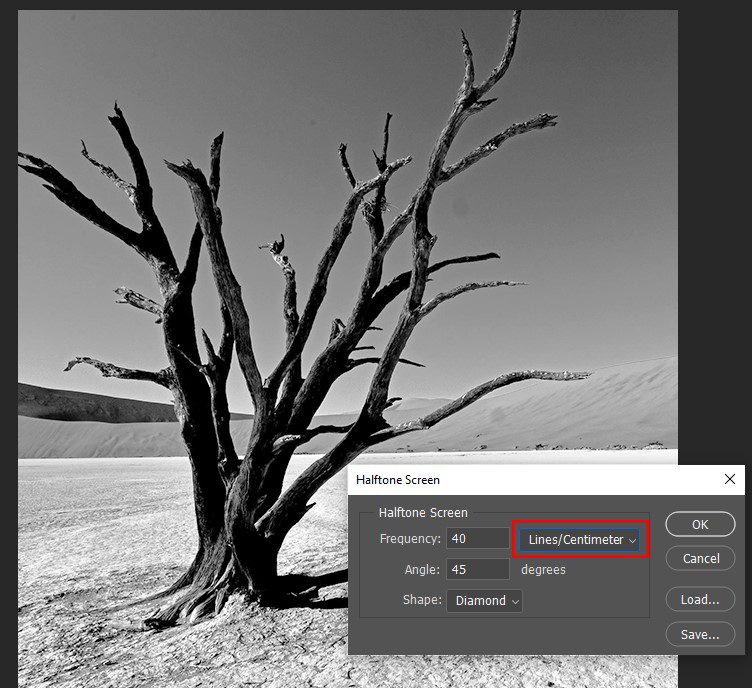


To set the document to bitmap mode go to "Image" -> "Mode" -> "Bitmap".
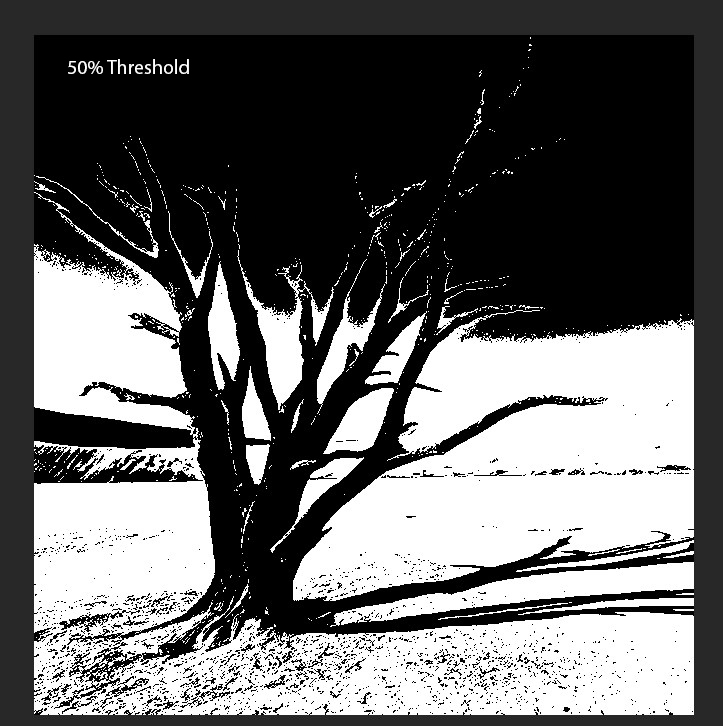
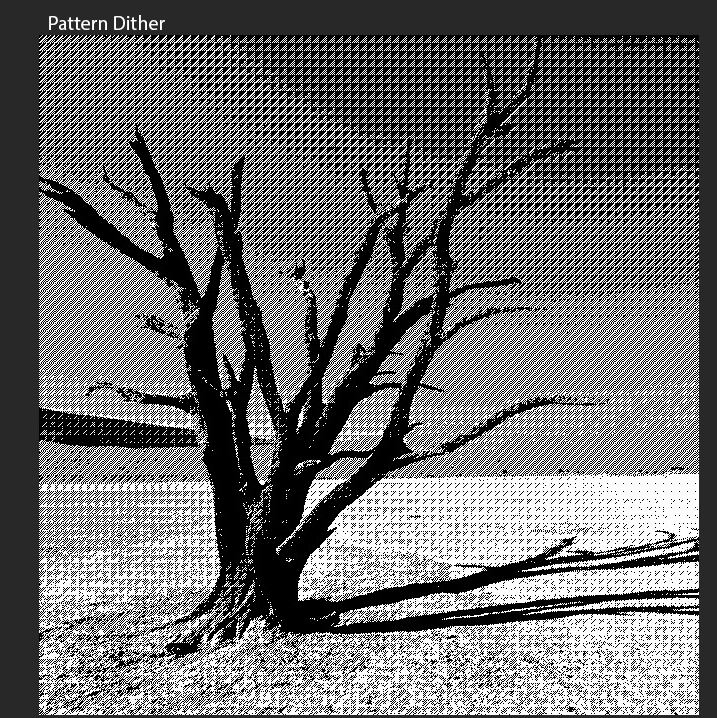
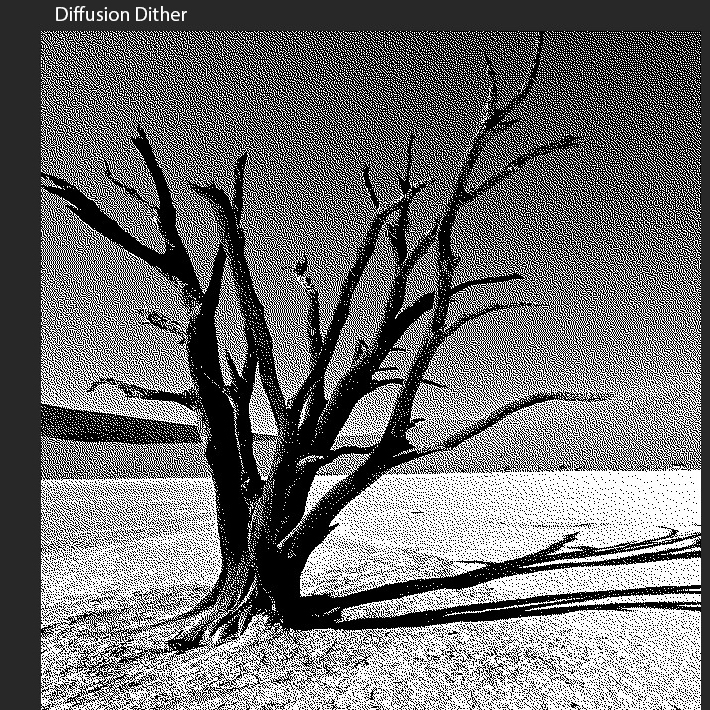
Here is where you can experiment with how the bitmap renders, a diffusion dither will look very different than a 50% threshold. (I've included examples of different options)
Experiment with how you want the final image to look! If you pick the "Halftone Screen" option, try playing around with the angle and shapes for different results.
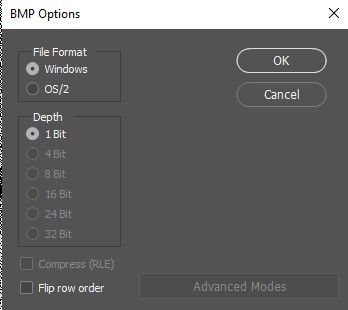
Once you get the bitmap somewhere acceptable, save it as .bmp. Go to "File" -> "Save as..." -> "Save as type: " -> "BMP"
Make sure your file format is "Windows" and your Depth is "1 Bit"
Import the Bitmap Into Eagle
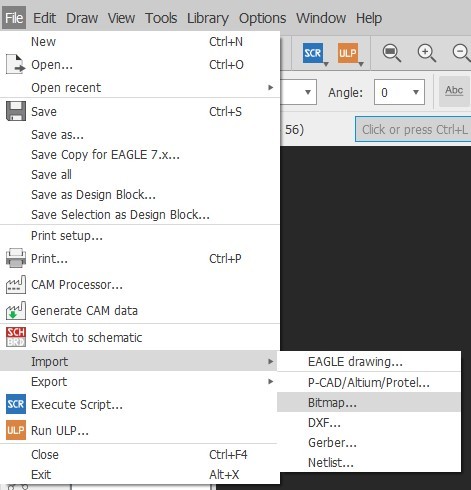
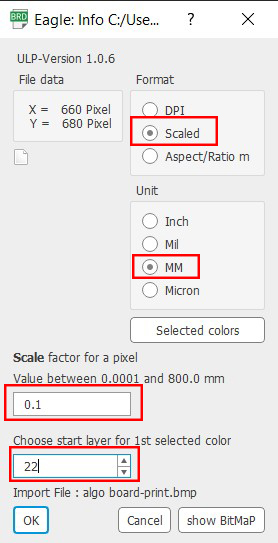
Before Importing the bitmap, make sure your eagle file is ready. If you are doing a big image on a layer that already has a lot of components, it might be a good idea to move the entire board away from the origin in case the bitmap needs to be deleted and changed. The bottom left corner of the bitmap will render from the documents origin (marked by the little cross in your document). Make sure you know what layer you want to get the bitmap on before you start the import (this can be changed later if you make a mistake but it is worth noting). I usually put my bitmaps on the "tPlace" or "bPlace" layer so it is included with my silkscreen when I export my gerber files.
In order to import the a bitmap, go to "File" -> "Import" -> "Bitmap". navigate to where you saved your bitmap and select the file.
Import Settings:
Make sure you select "Scaled" under Format and "MM" under Unit. The Scale Factor should be set to: "0.1"
Note on color selection:
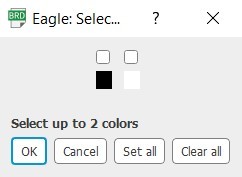
You should take note on what color you want your final bitmap to be. When selecting a color from the prompt it's important to note that whatever color you select is what the software will think your silkscreen color will be. For example, if you are importing onto the silkscreen layer and know that on the final board your silkscreen will be rendered in white, you want to check the box under the white color, otherwise your bitmap will be inverted. You only need to select one color.
The final board I am making in this example will have a black silkscreen on a white board so when selecting the color, I check the box under black.
This might sound confusing so I recommend trying to import with a small, simple bitmap before wasting time on a long import only to find out the color is inverted. Also look at your board in a gerber viewer to make sure everything has been imported correctly (more on that in the next step).
Let the Bitmap Render
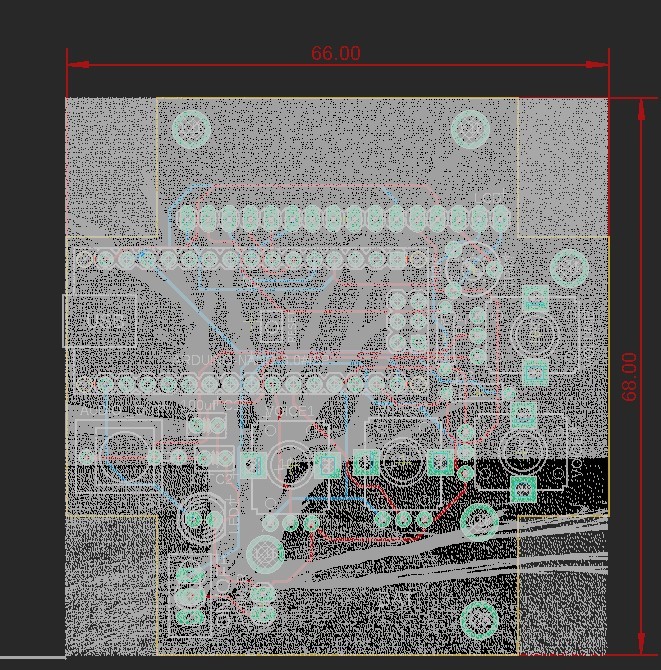
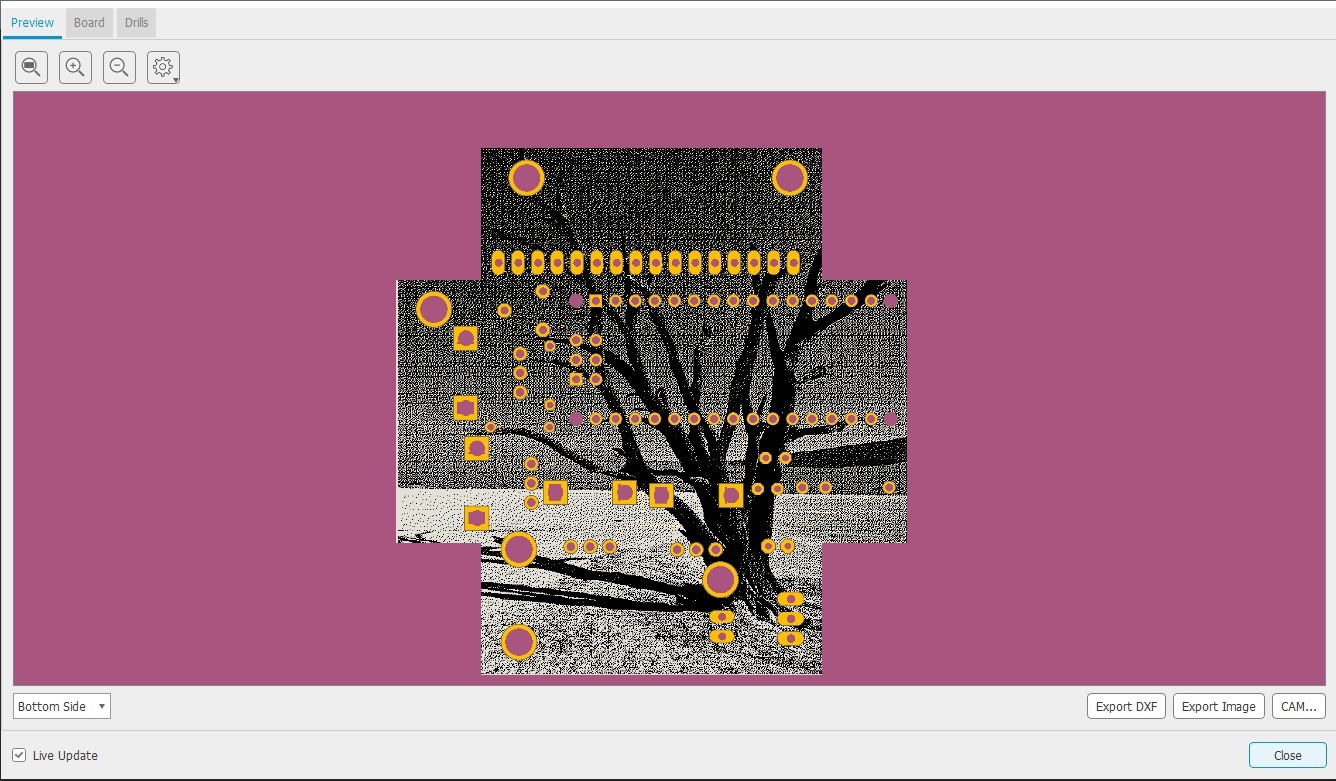
It can take a little while for Eagle to render the bitmap into your file depending on how big your bitmap is and how many other programs you have running on your computer. Give it some time, check the news or grab a coffee.
Once you have the bitmap loaded in, see how it looks on the board. feel free to adjust it, trim it or change its layer so that it fits your desired outcome. You can go back to your Photoshop files to tweak parameters and re-upload edited bitmaps until you get to the proper look. (make sure you delete old, unused bitmaps before exporting gerber files to avoid large files.)
Before placing your circuit board order, I highly recommend you look at a manufacturing preview. Eagle has one built in but its also a good idea to try online gerber viewers.
Going Further...
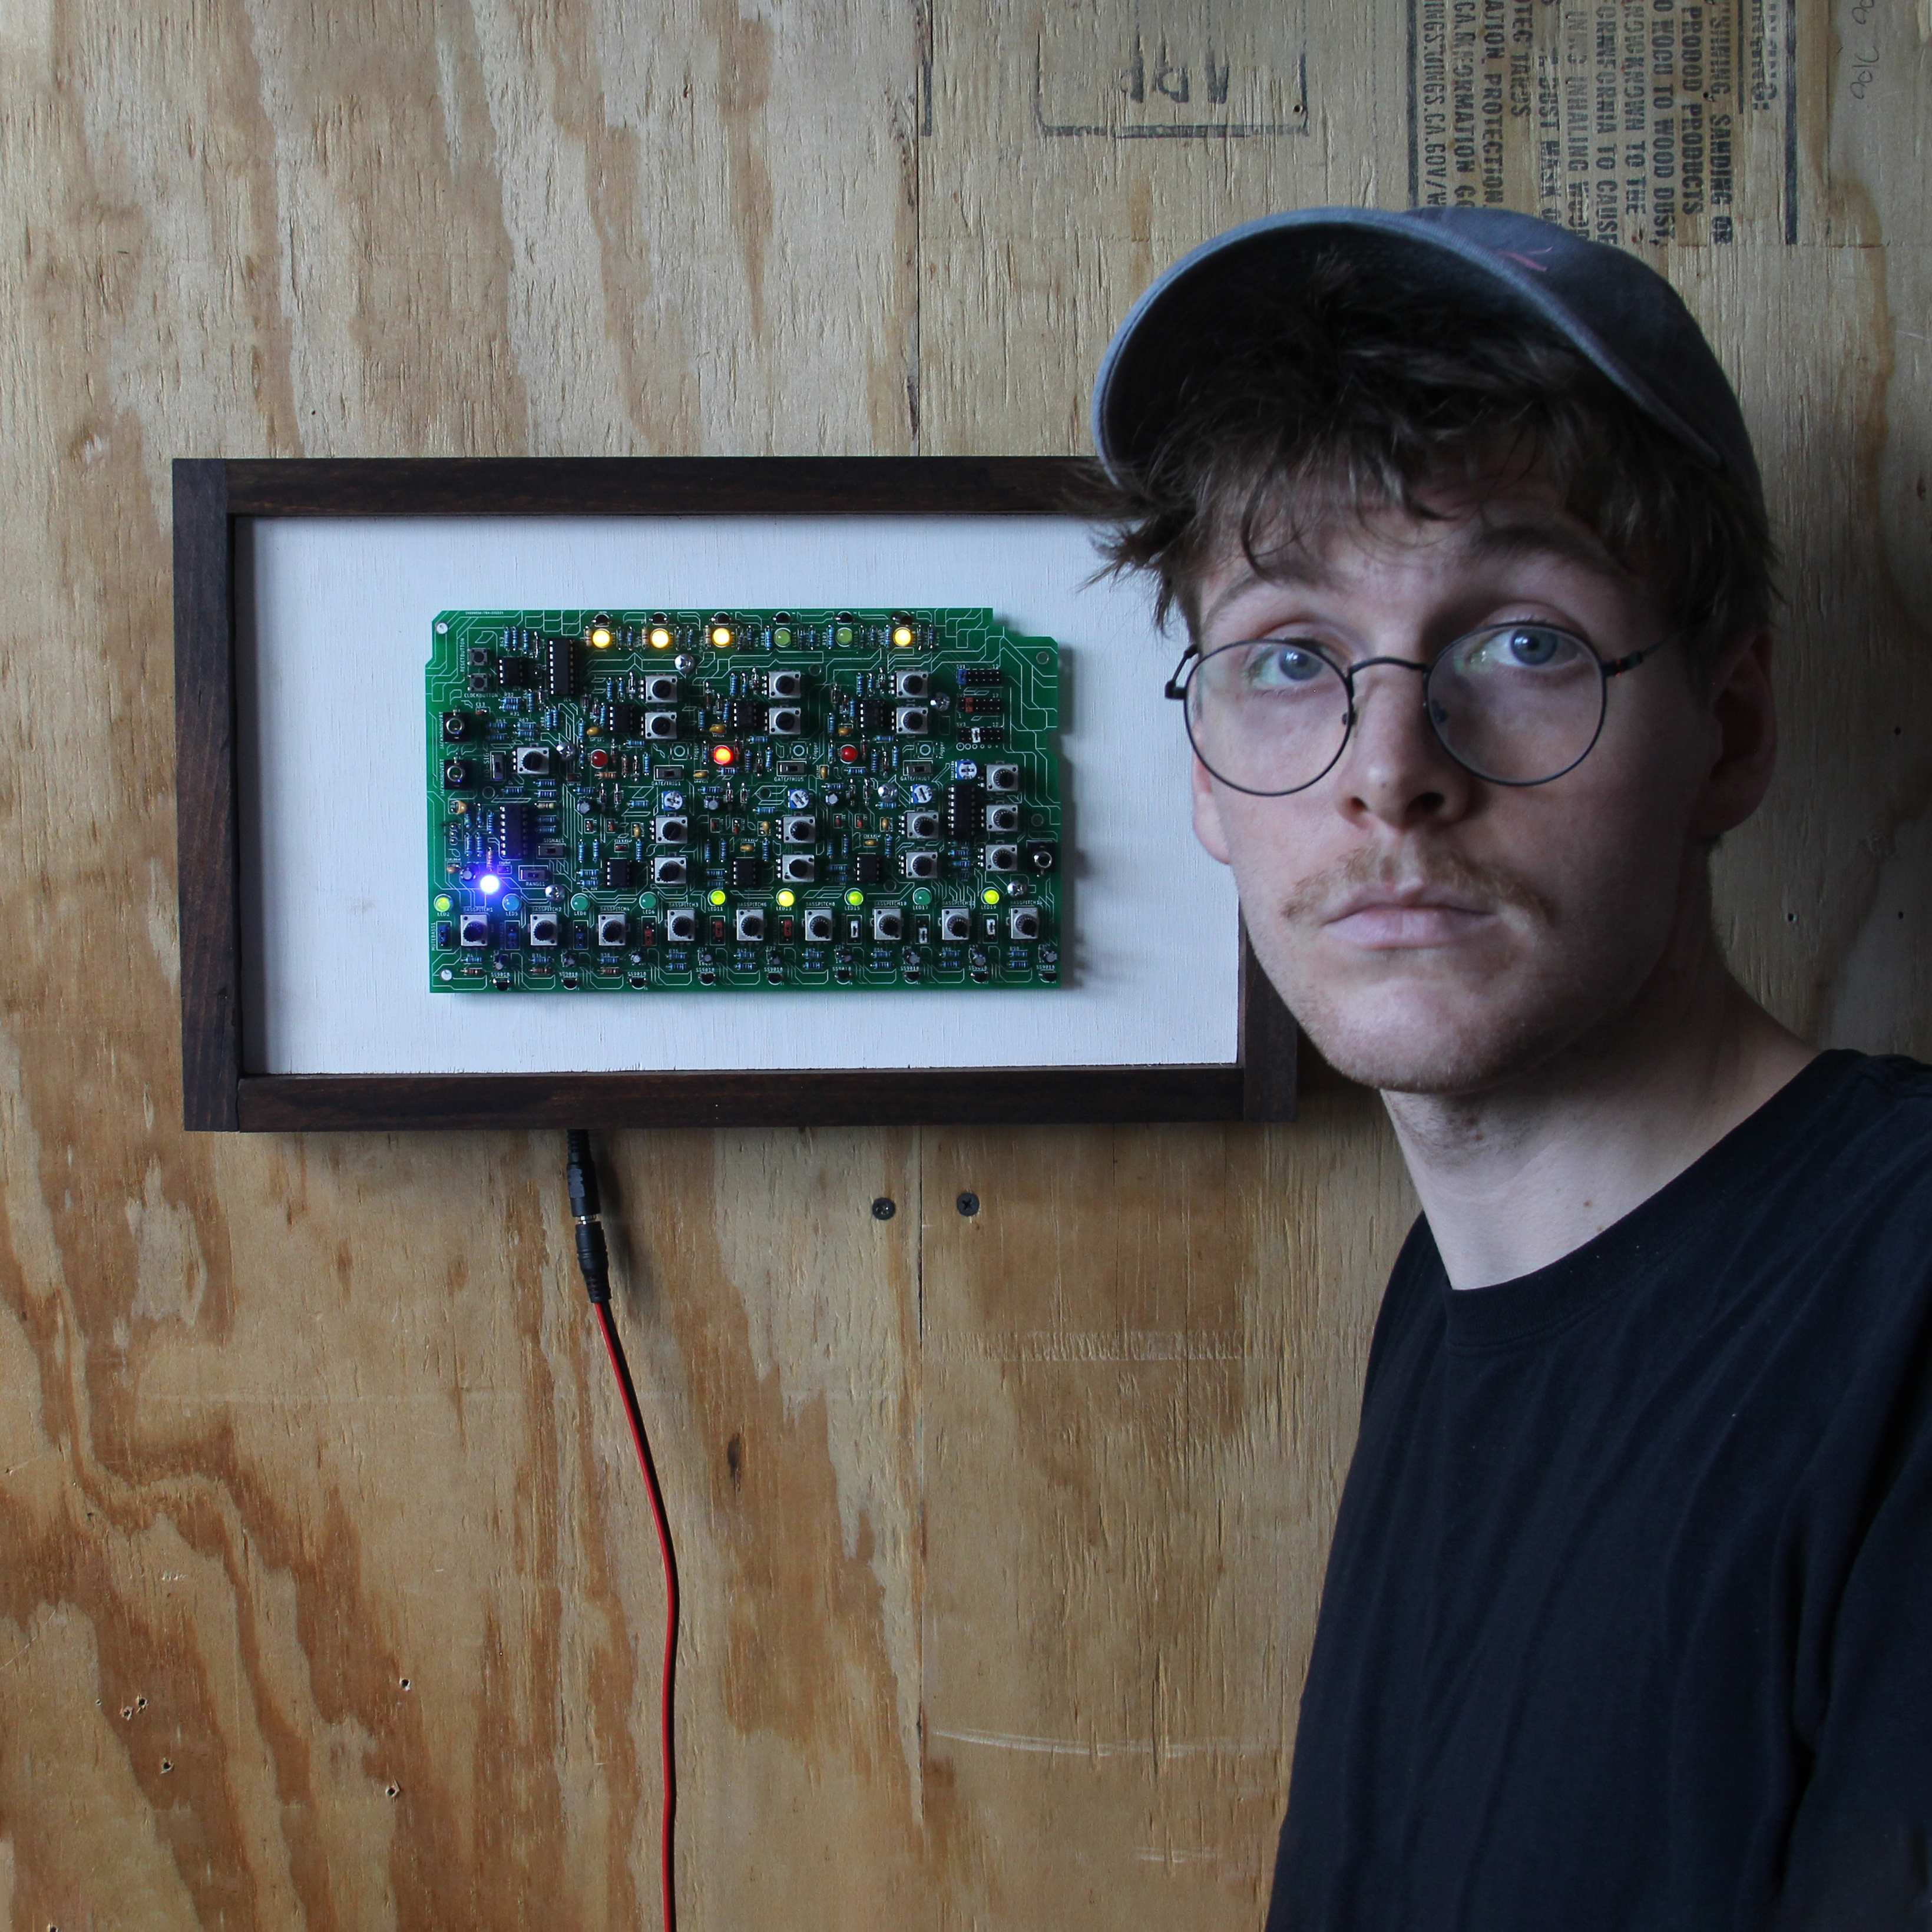
This process of maximizing the aesthetics of my circuit boards has been a really enjoyable way for me to try and contextualize my circuit board design alongside my art practice. I've been doing this for a little over a year now and I am still trying new things on each order I place. I have some of my larger circuit board centered projects on my website and I post a lot of process photos on my instagram. Some demo videos can be found on my youtube channel and if youre interested in purchasing some of the boards I have made check out my tindie store.
A couple other experiments that I am hoping to get into in the future:
-You could try importing the bitmap on different layers for different effects (maybe an exposed copper area or somewhere without soldermask)
-You could carry an image over multiple boards that all get stacked together with pin headers
-You could try importing vectors or dxf files for a different feel.
-To get more tones out of your image, you could try putting your bitmap over multiple layers! Try lining up your bitmap over tPlace (white or black), Top (a slightly darker tone of your solder mask color), and tStop (bare fiberglass board)! I haven't gotten too deep into this but there's a great hackaday article that gets deep into it!