How to Map of Your Wi-Fi Signal
by AustinL17 in Circuits > Wireless
15555 Views, 88 Favorites, 0 Comments
How to Map of Your Wi-Fi Signal
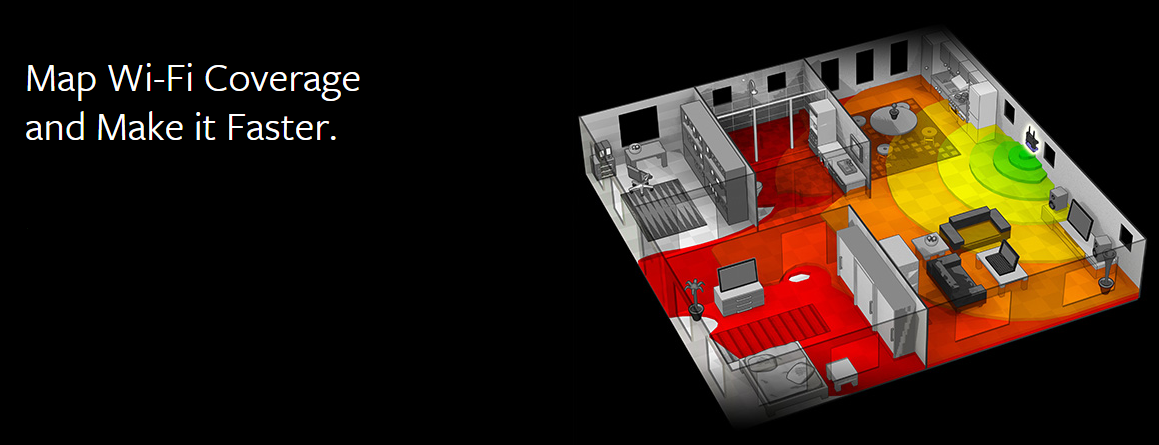
Stop guesstimating how strong you think your WiFi coverage is. See exactly where you signal strength is hot, cold, or somewhere in between, and create a heatmap of your WiFi signal. With this, you will be able to visualize the quality of the WiFi coverage within an area.
What You Need:
- A Laptop or tablet running on Windows
- A free copy of Ekahau HeatMapper
- An image/blueprint/sketch of the space you are mapping
- Access to WiFi
Getting the Download File
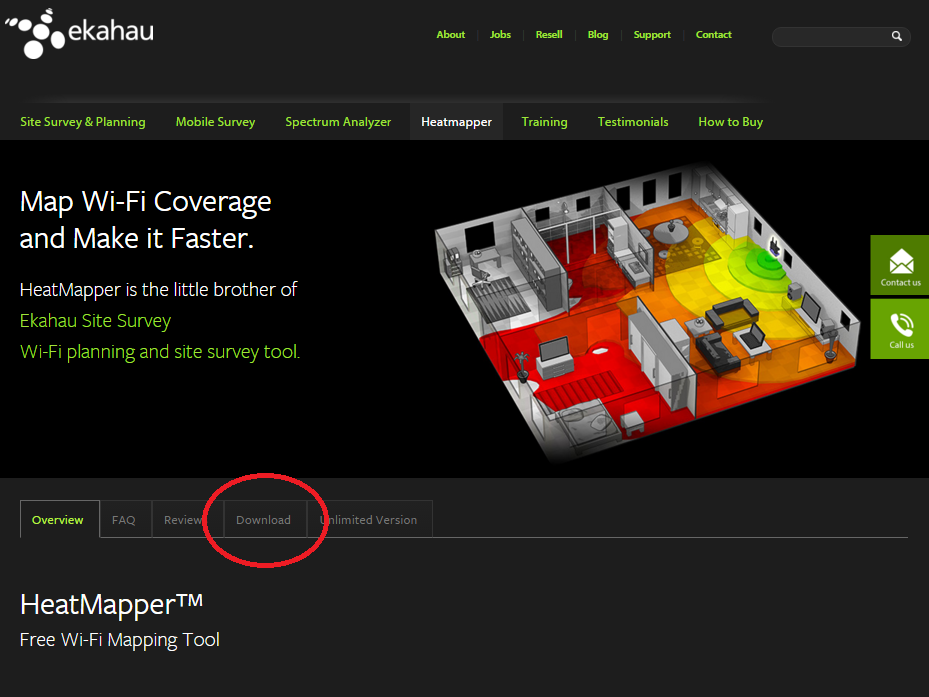
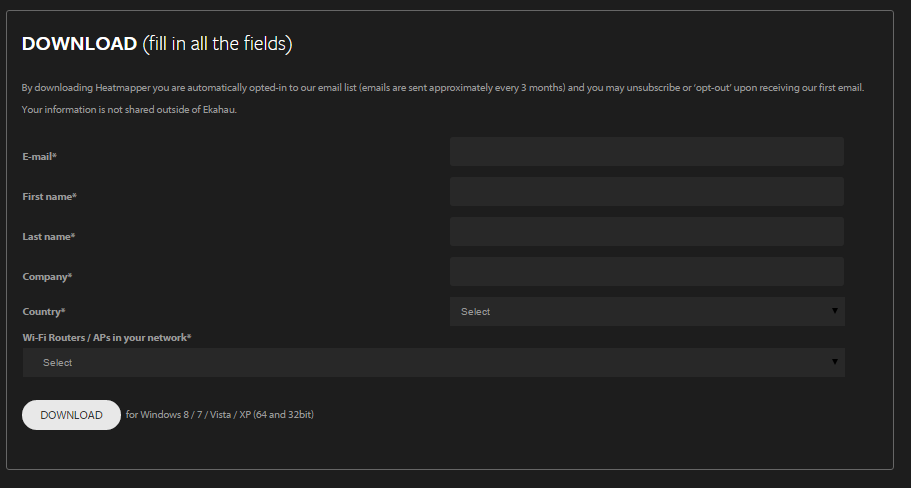
Click on the link to the Ekahau HeatMapper above. This will take you the download page for Ekahau's HeatMapper. Click the 'Download' tab. After filling in all the appropriate fields, you will be emailed a download link for the HeatMapper Software.
Install and Run HeatMapper

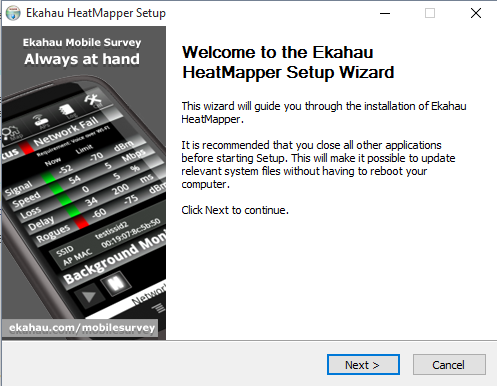

You should have been sent an email with a download link to the HeatMapper software. After clicking this link, you will be directed to a new page where you can download the software installation file. Download and run this. When HeatMapper is finished installing, it should automatically open.
Note: There are no specific options that you need to worry about when installing HeatMapper.
Find Your Floor Plan
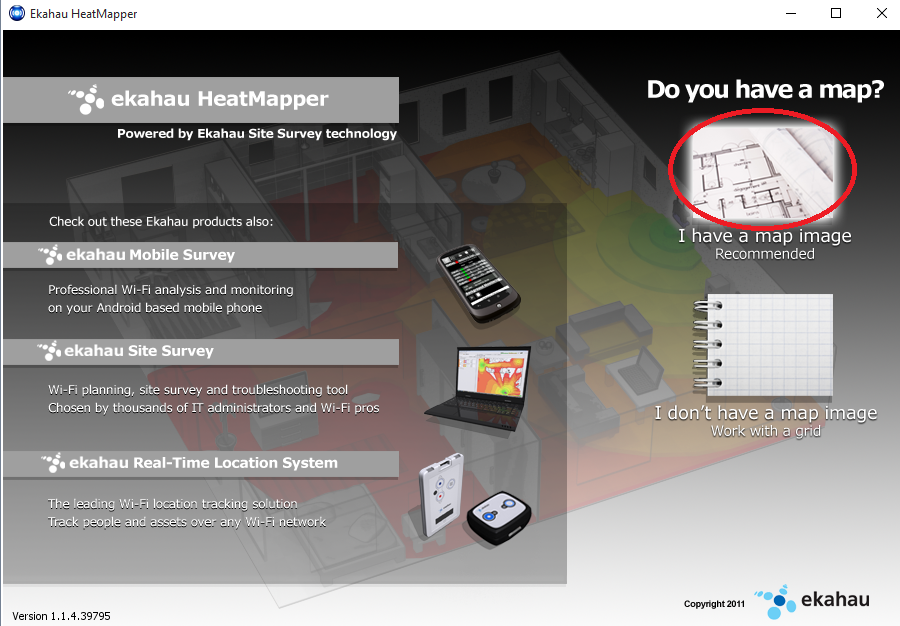
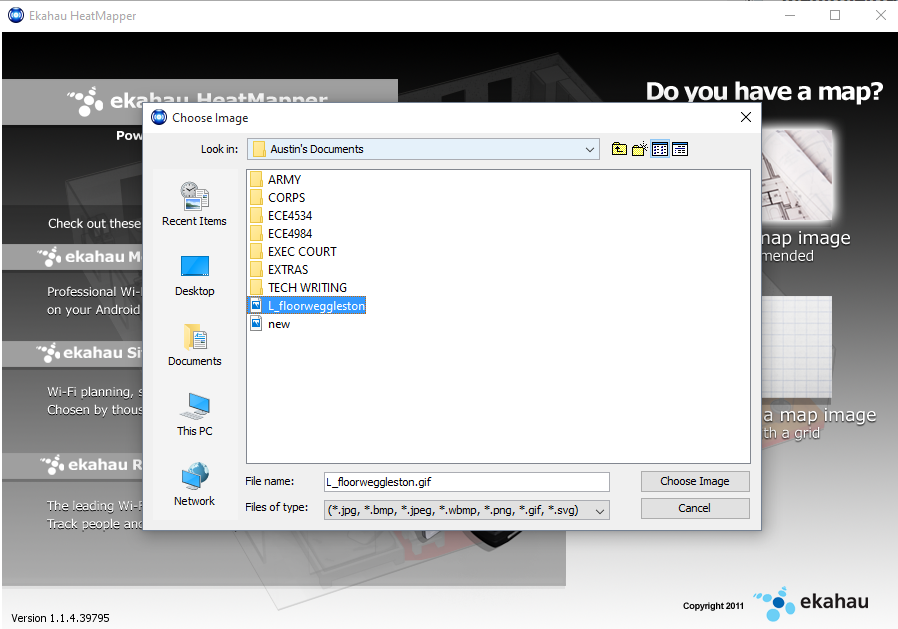
You now have the program open and running. Under 'Do you have a map?', click the image labeled 'I have a map image'. Now find and select the image for the area that you wish to map. You will then be taken to the heatmapping interface.
Note: If you do not have a map, you can select the option to work with a grid, or make a map yourself. It is highly recommended that you have some sort of image.
Understand How to Use the HeatMapper
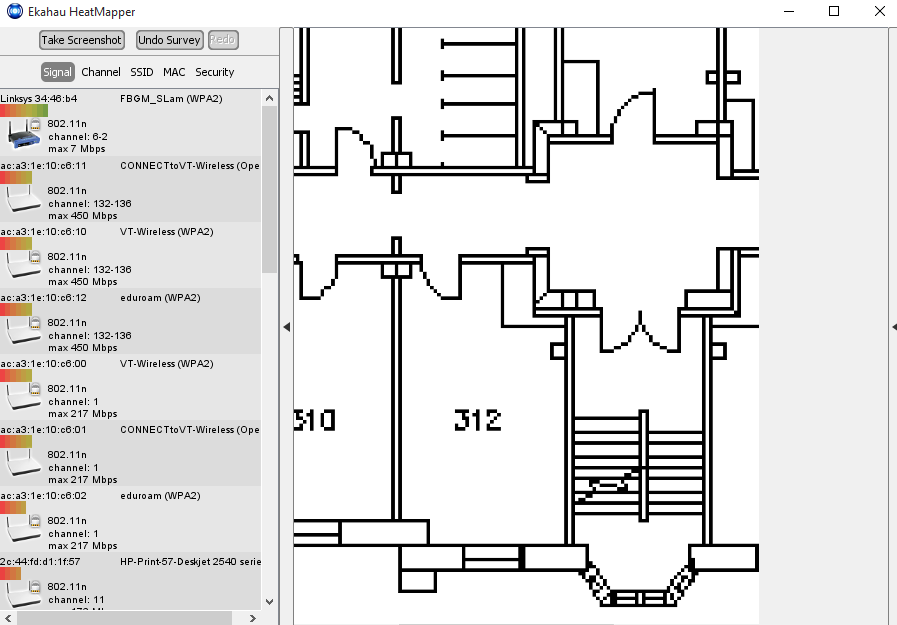
Lets break down this new window:
Your map image is loaded in the middle of the page. There are two tabs located to the left and right which can be expanded or collapsed. The tab to the right lists all available access points (WiFi routers) in your immediate area, and the tab to the left displays a help menu.
How the HeatMapper Works:
The program knows the strength of the WiFi signal at a given position, but does not know where you are relative to the map. In order for the program to figure this out, you will be required to walk the area of your map with your laptop/tablet and mark your location every few feet.
Before you begin mapping, you should plan out a general map of where you want to travel.
Note: A wireless access point (AP) is a device that allows wireless devices to connect to a wired network using WiFi
Map Your Area
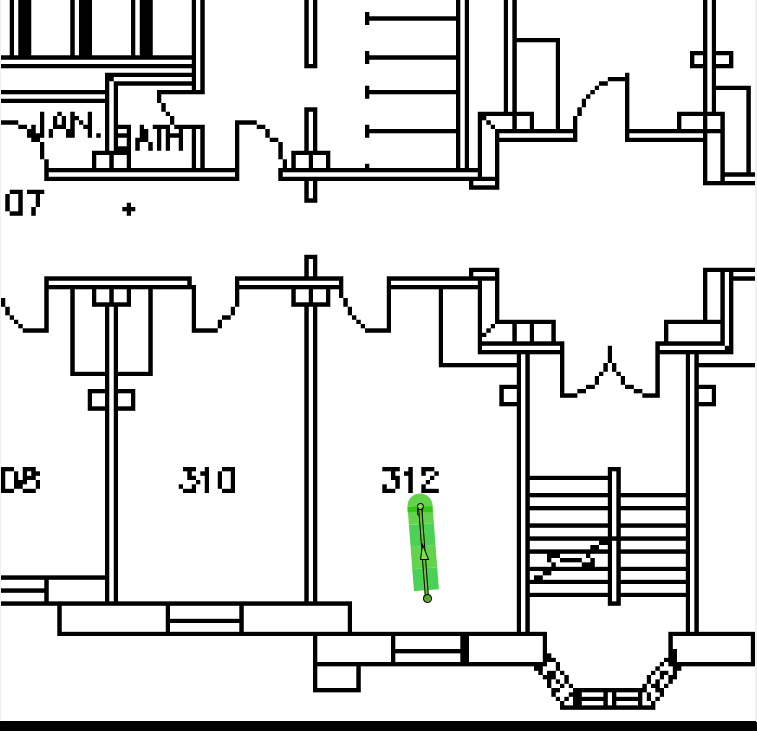
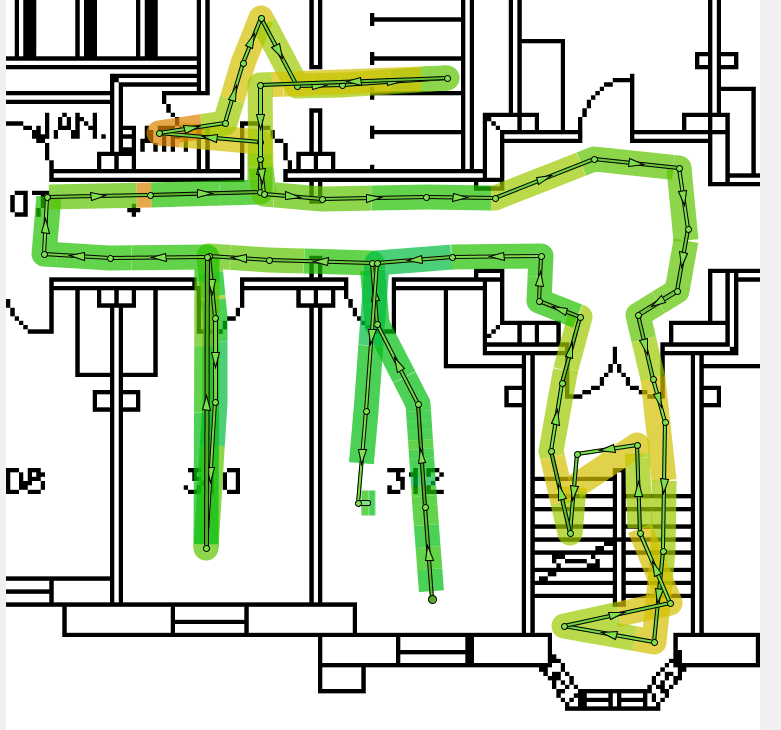
To begin, carry your laptop to a location on your map and left click the map where you are standing. A small dot will appear where you have clicked. At this dot, the program will gather the signal strength of all nearby access points. Proceed to walk around the area of your map, and every few feet, indicate where you are again by clicking on the your location within the map. You will begin to form a trail of where you have walked.
You can stop mapping at any time by right clicking on the map. By doing this, a heatmap will be laid on top of the image of your current map, indicating the strength of the WiFi signal within the area of the map.
Note: The more points you have along your trail, the more accurate the heatmap.
Understanding Your Heatmap
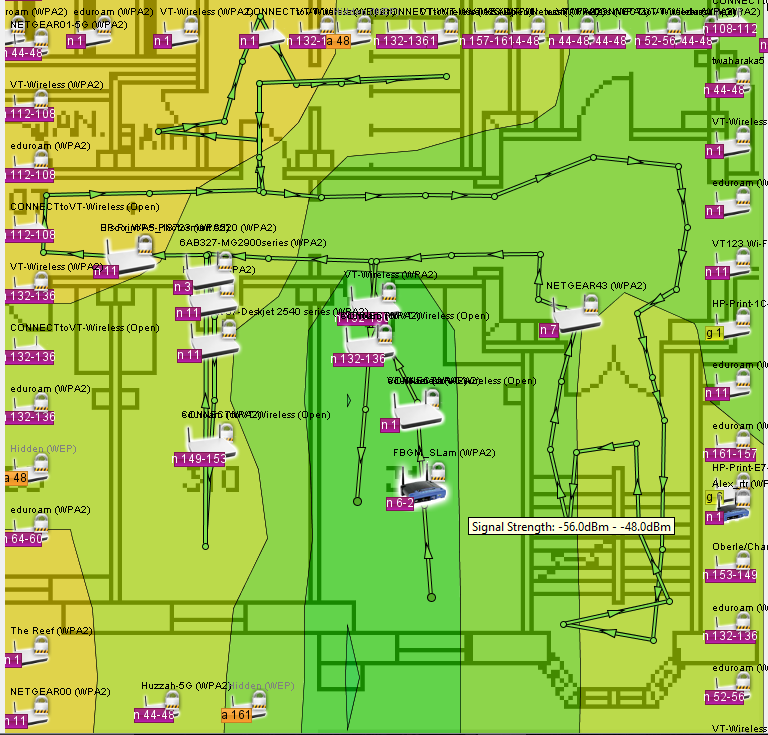
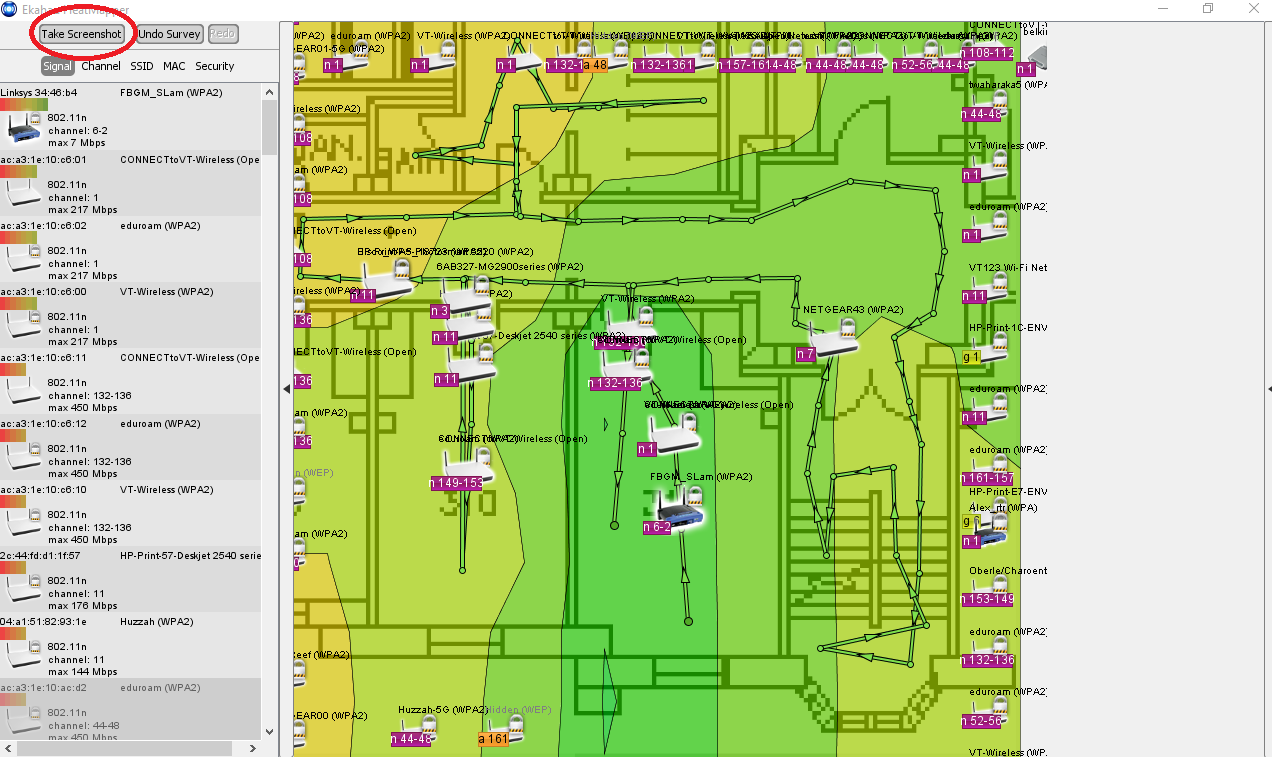
In the images above, you can see the heat map for the access point FBGM_SLAM.
The corresponding heatmap will show all available access points and their corresponding heatmap. To view a specific access point's heatmap, simply hover your cursor over that particular access point.
To save your heatmap, click on the 'Take Screenshot' icon on the upper left corner
Make Use of the Heatmap
Using you new heatmap, you are now able to visualize the range and strength of your WiFi signal. For here is tis each to optimize your WiFi network. Here are some solutions to improving a weak signal:
Move the access point: When doing this, it is important to consider the structure of the building, and any obstacles that may be in the way. Some pysical obstructions that you may need to consider are: solid walls and ceilings, drawers/cabinets, mirrors and glass, metal objects, and aquariums.
Add another access point: If you wireless is not covering enough space, then this is the best option. You can then create a heatmap containing both access points, and from there, determine the best places to put each access point.