How to Make Your Own Plastic Canvas With a 3D Printer
by KurtH3 in Craft > Fiber Arts
7552 Views, 40 Favorites, 0 Comments
How to Make Your Own Plastic Canvas With a 3D Printer
Plastic canvas is a staple in the craft community you can use it in conjunction with yarn to make just about anything.
Rather than buying canvas you can use your 3D printer to make your own and while you're at it, engineer in features to make assembly easier!
Make a Pattern (with a Design)
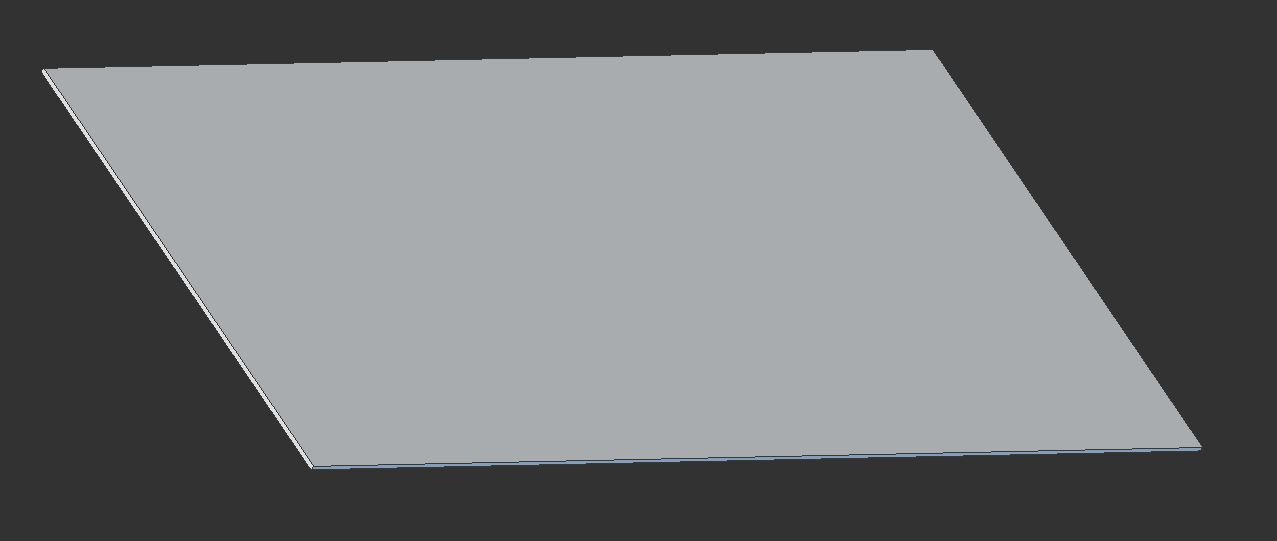
Normally you would cut a pattern out from a big sheet of plastic canvas but we're going to draw the patterns in CAD so they come out to size on the 3D printer - no waste.
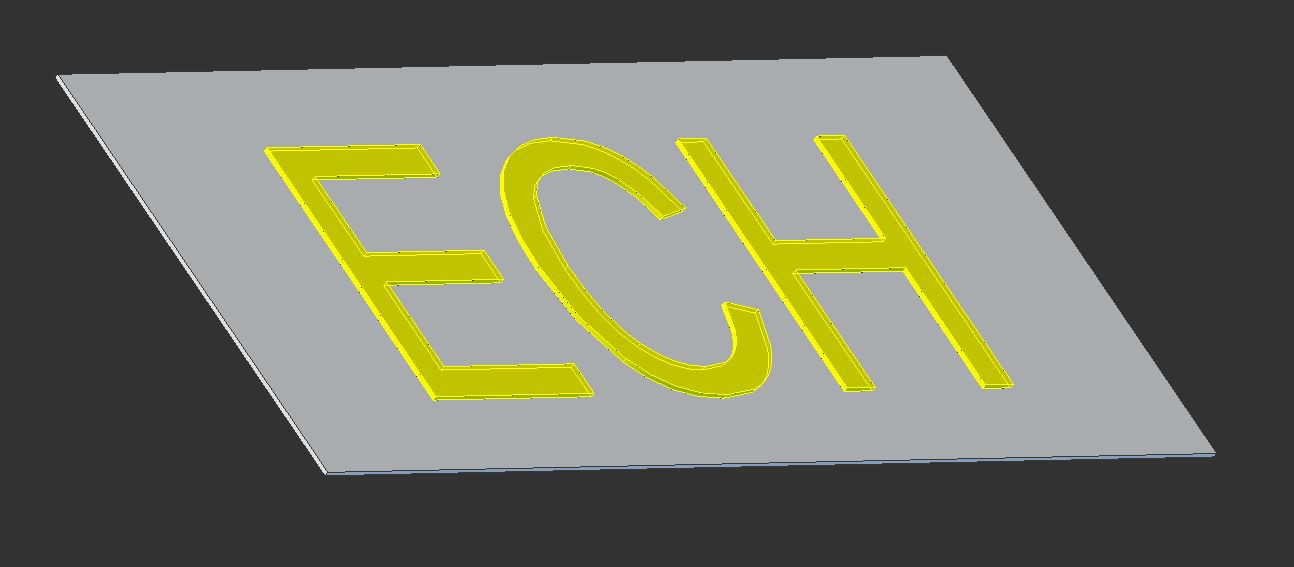
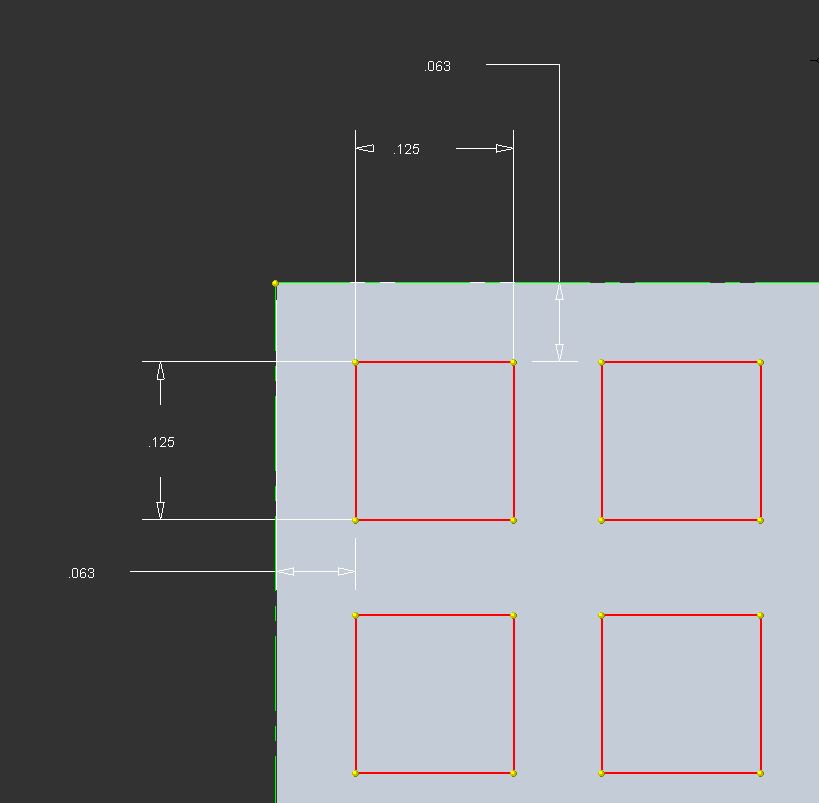
Mesh thickness varies but I made this one 0.04" thick
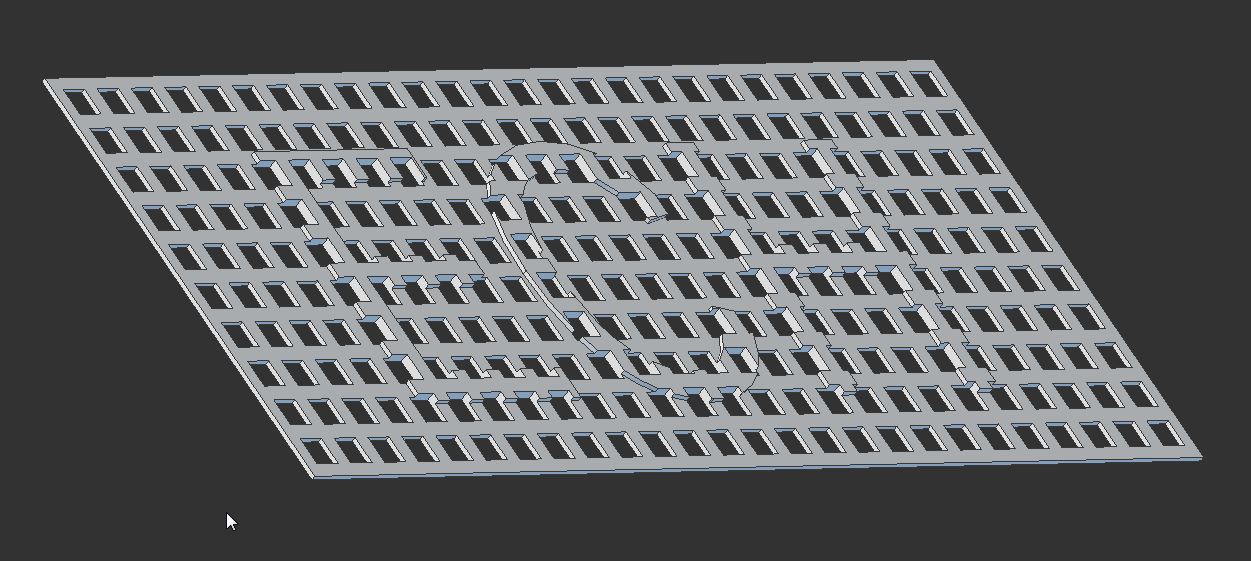
The other thing we're going to do here is extrude a pattern we want to follow with our stiching by adding an extra 0.02" on top of the 0.04" thickness we already have
Cut the Mesh
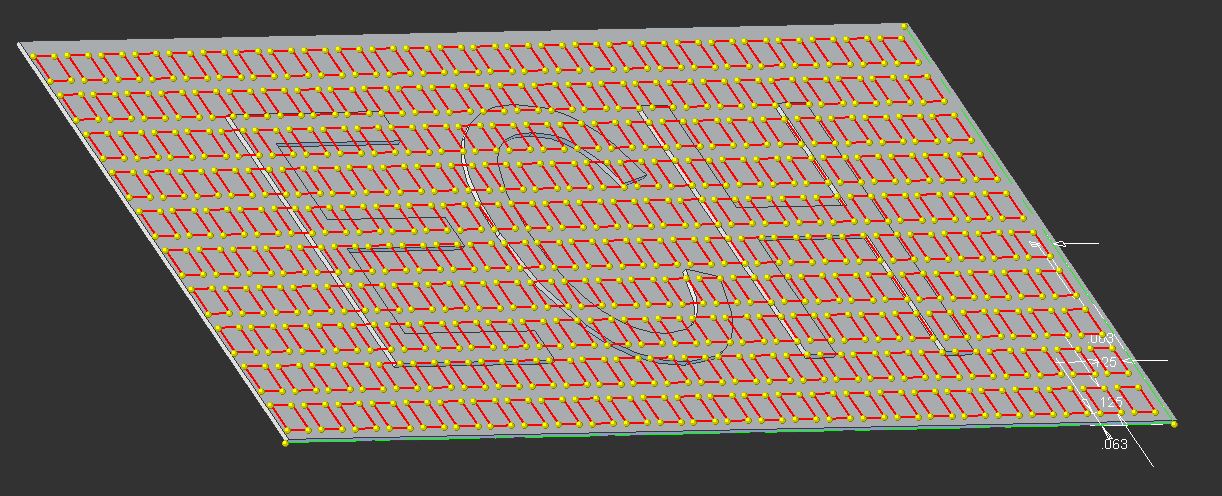
Most CAD packages make cutting the mesh easy with an 'Array' feature.
Just draw one box (this one is 0.125") andthe array function will replicate it in the x and y directions.
Again meshes vary, but I made the ligaments of the mesh 0.0625"
Make a Pattern (with Curves)
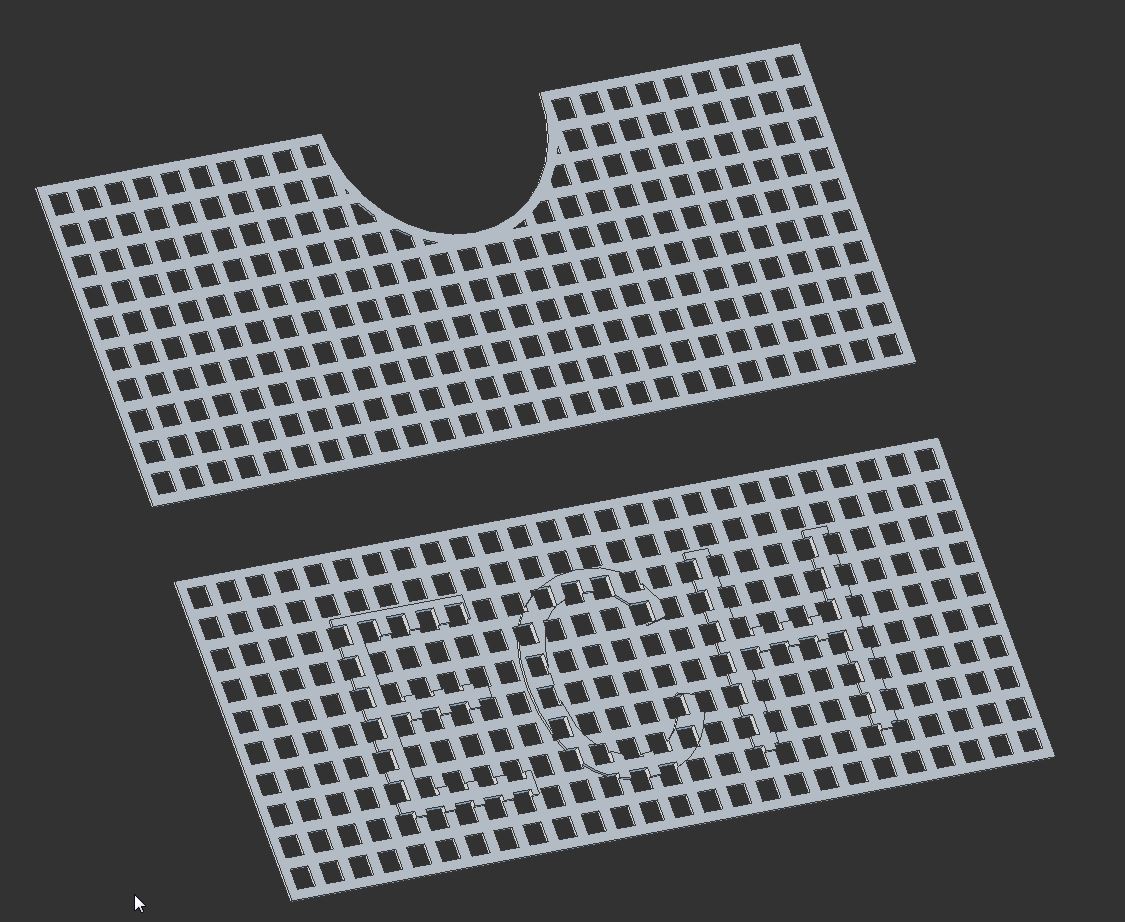
Curves are difficult to do using traditional plastic canvas because you have to follow the grid. Not with your 3D printed canvas - you can make perfect curves!
Make a Pattern (only the Ones You Need)
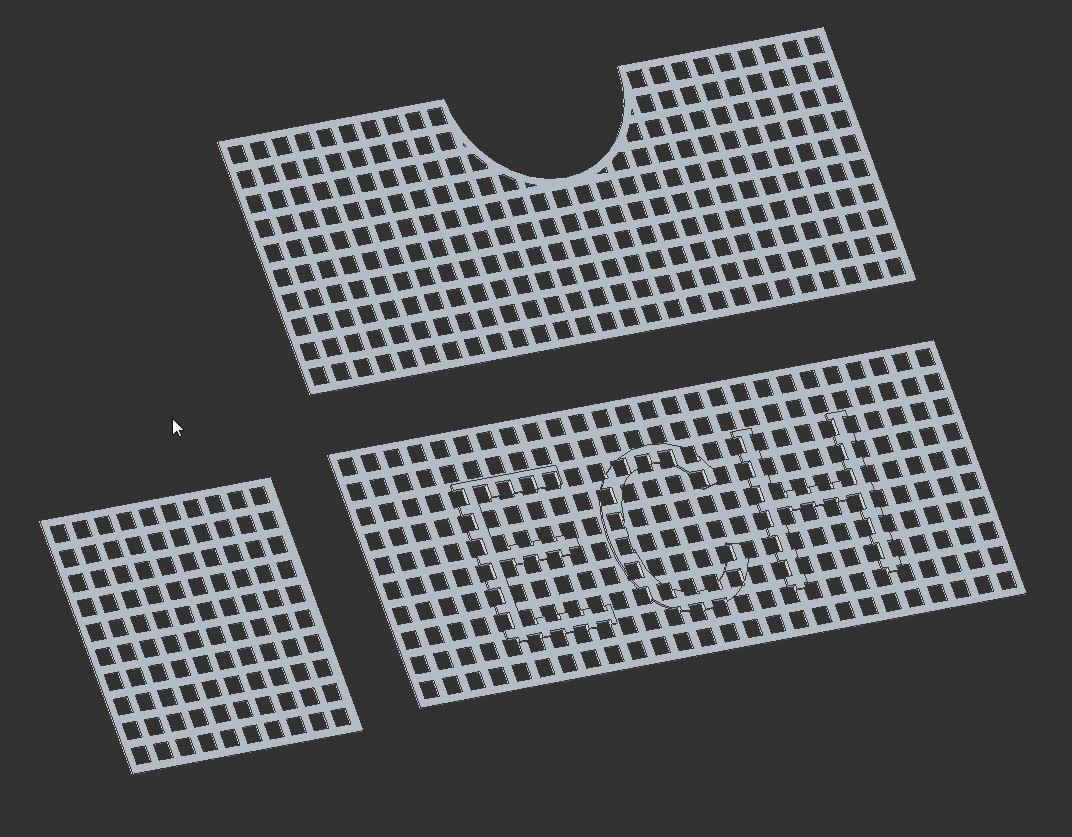
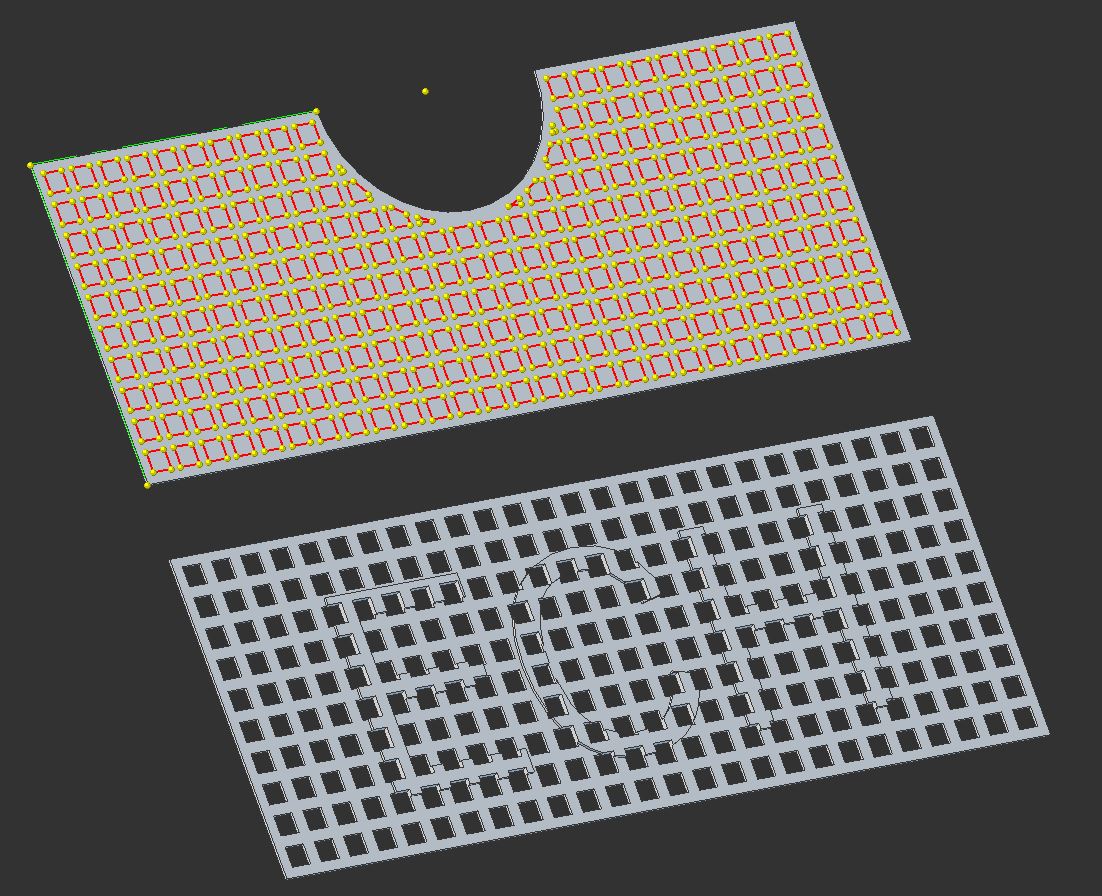
You only need to model each pattern once.
For our example we will need 2 sides, 1 front, 1 back and 1 bottom but all of those piece are covered with the STL's show in the figure.
Print Your Pieces One at a Time
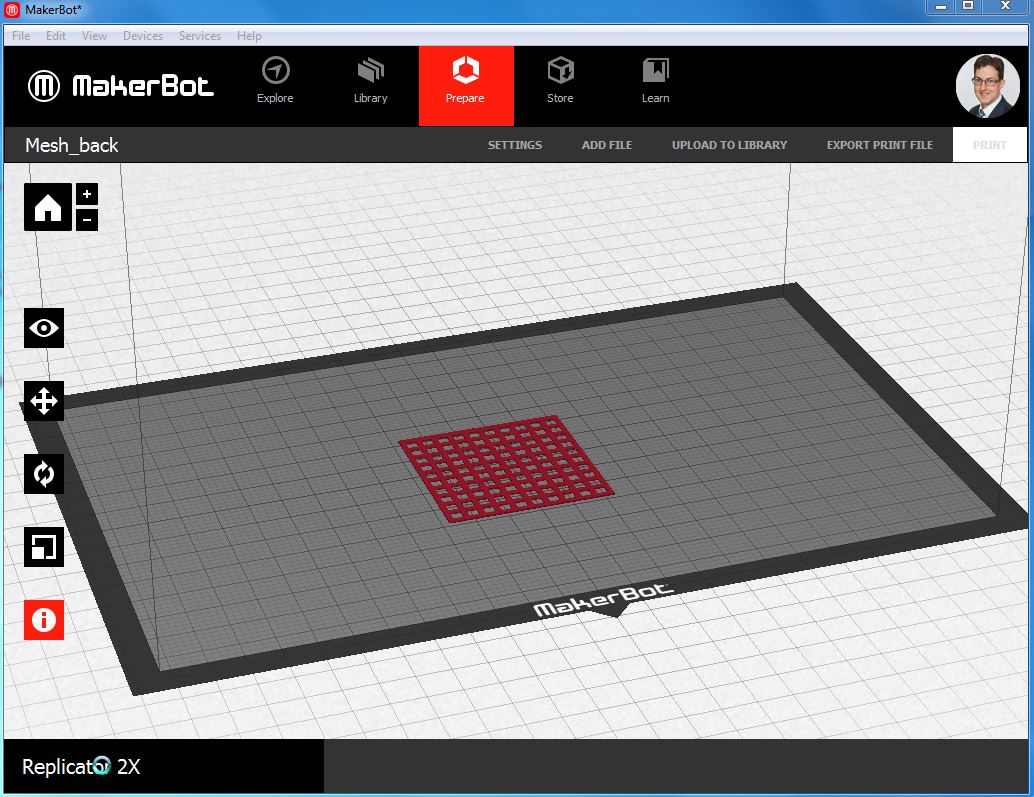
It might be tempting to lay all of your patterns on the build plate at once but this is actually a tricky shape for the printer so do just one at a time until you're really comfortable with it.
Lay Out Your Patterns
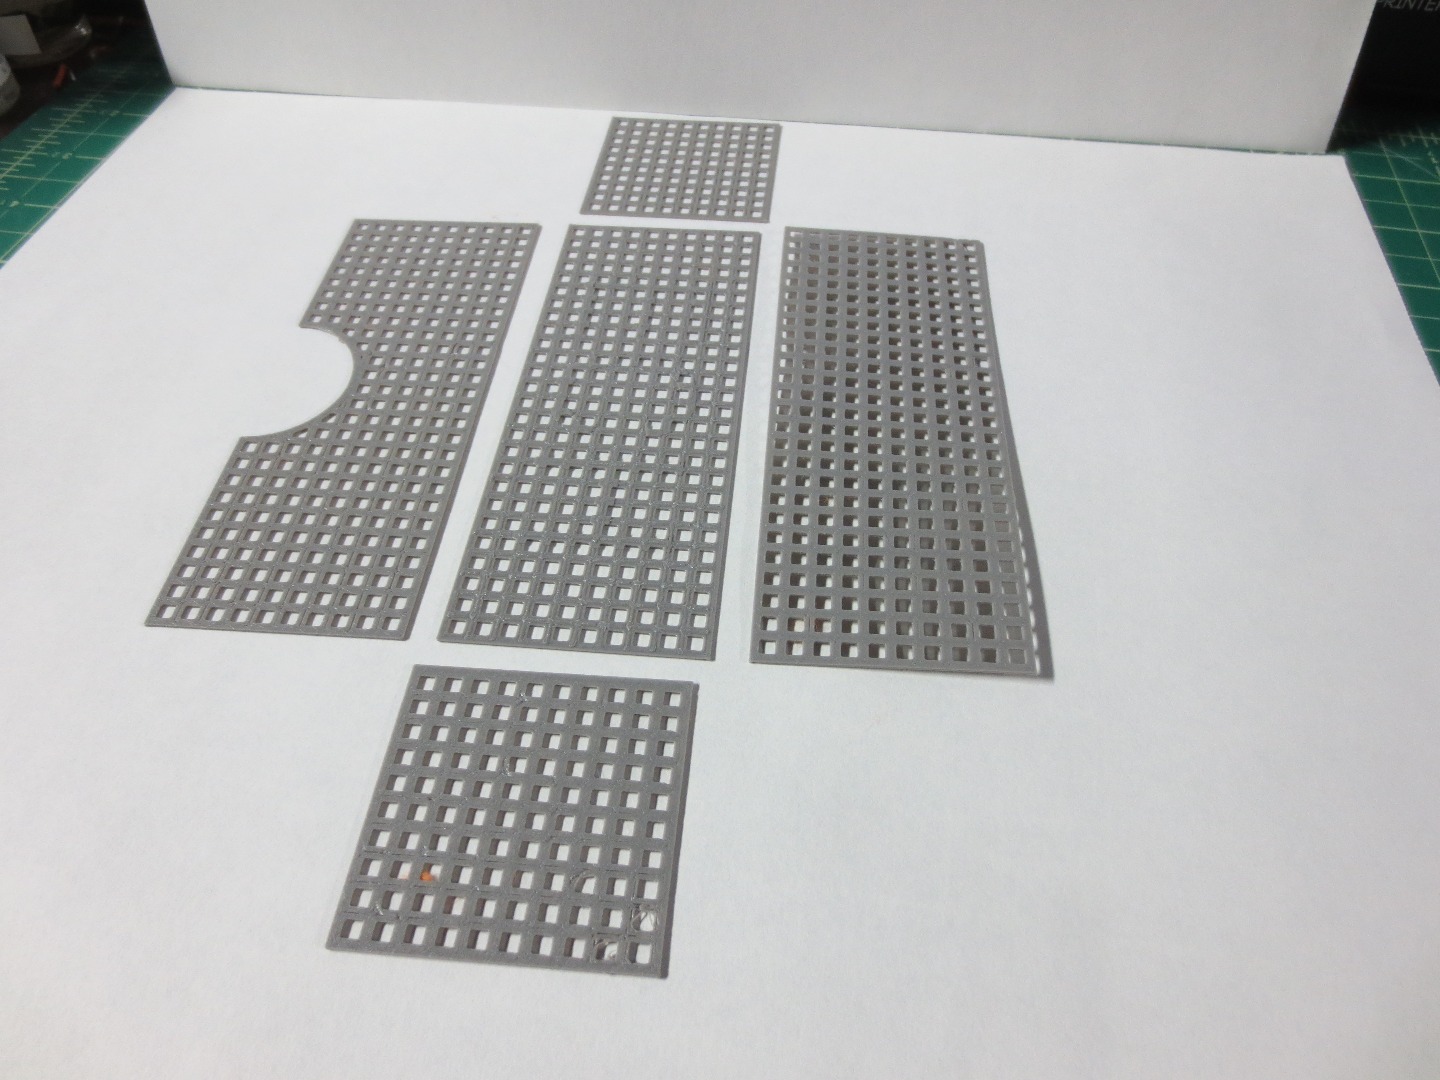
Not Cutting Required!
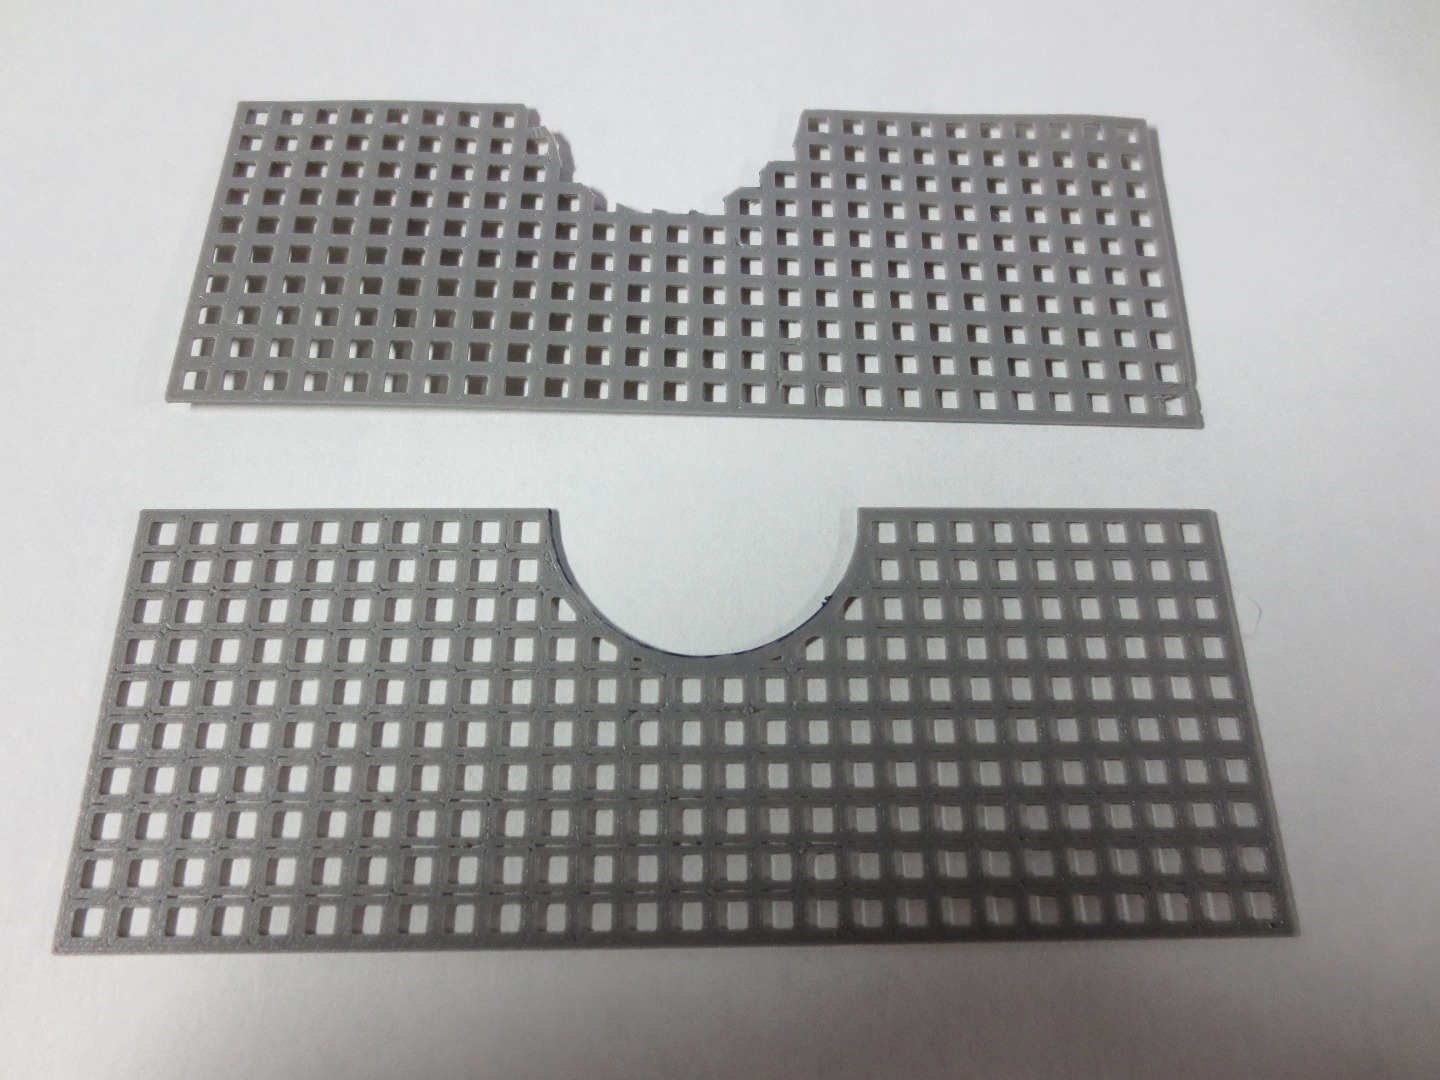
Here I've shown the piece we've designed next to a similar piece made the traditional way to illustrate the control the 3D printed canvas has in curved portions of the pattern
Trace Your Design
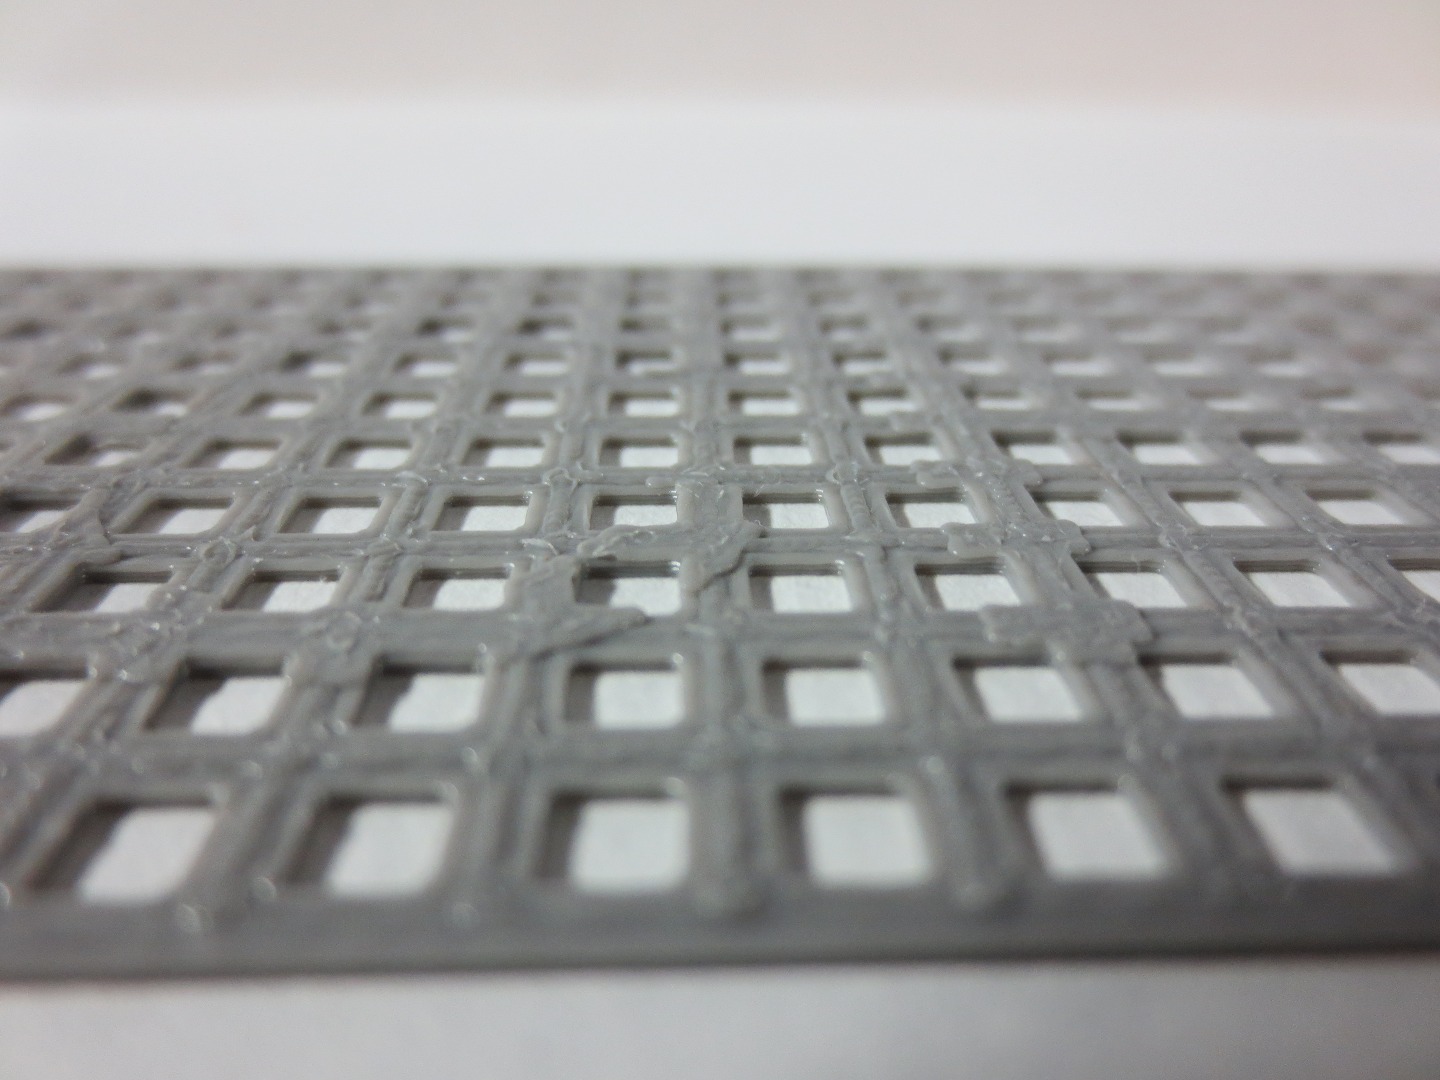
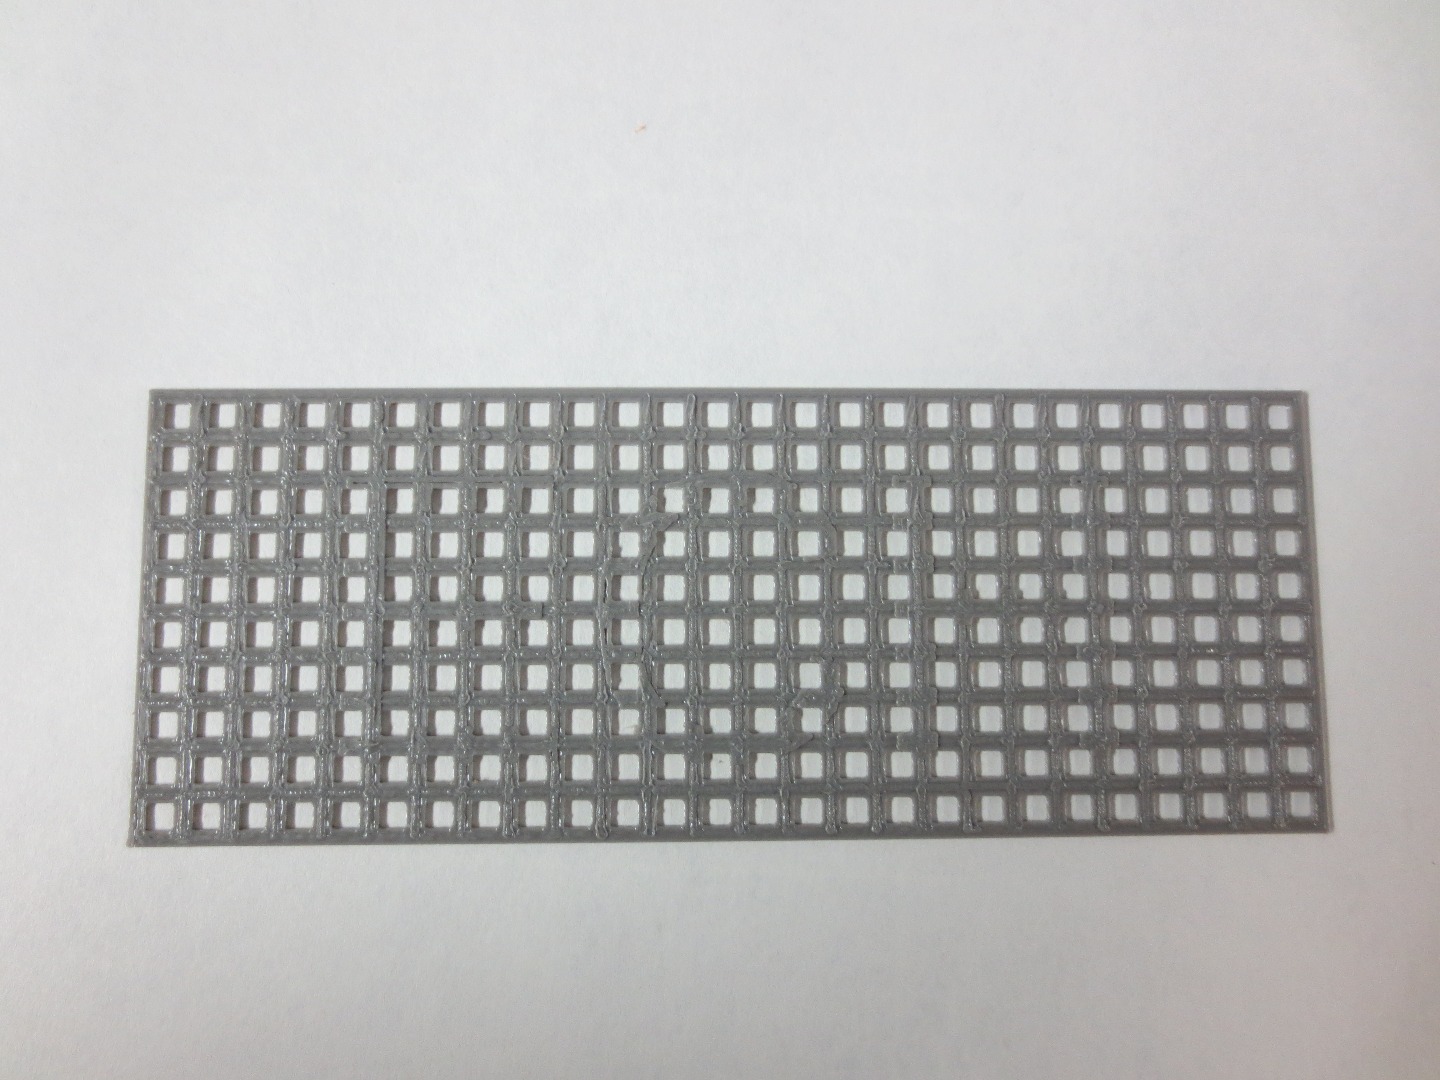
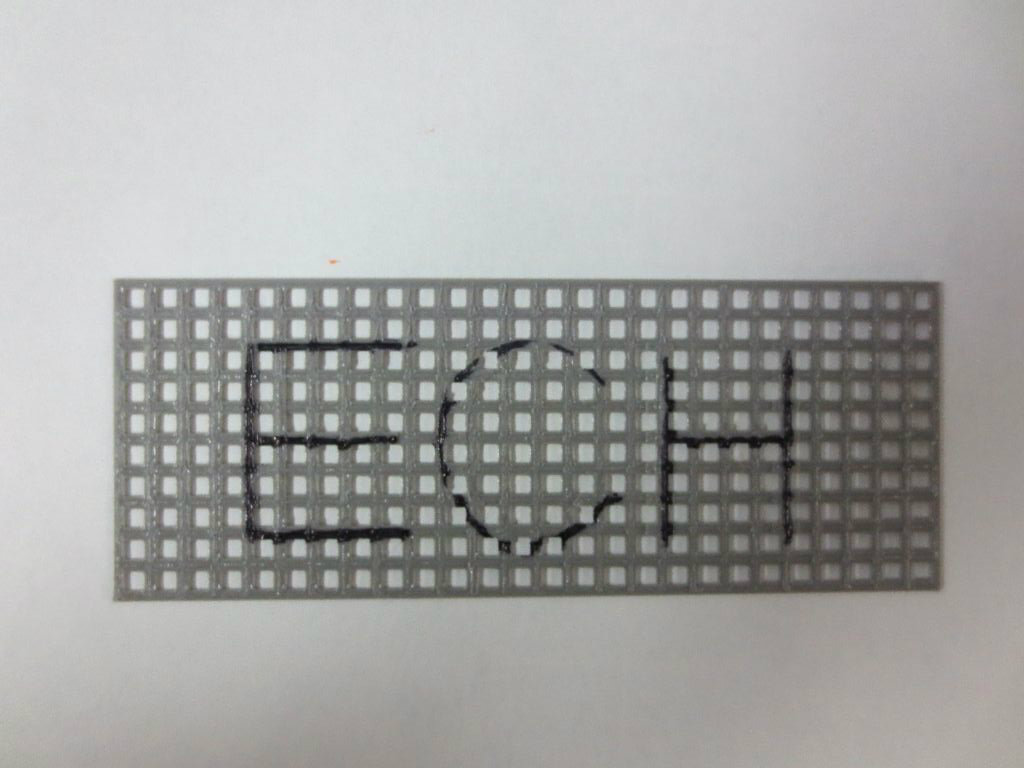
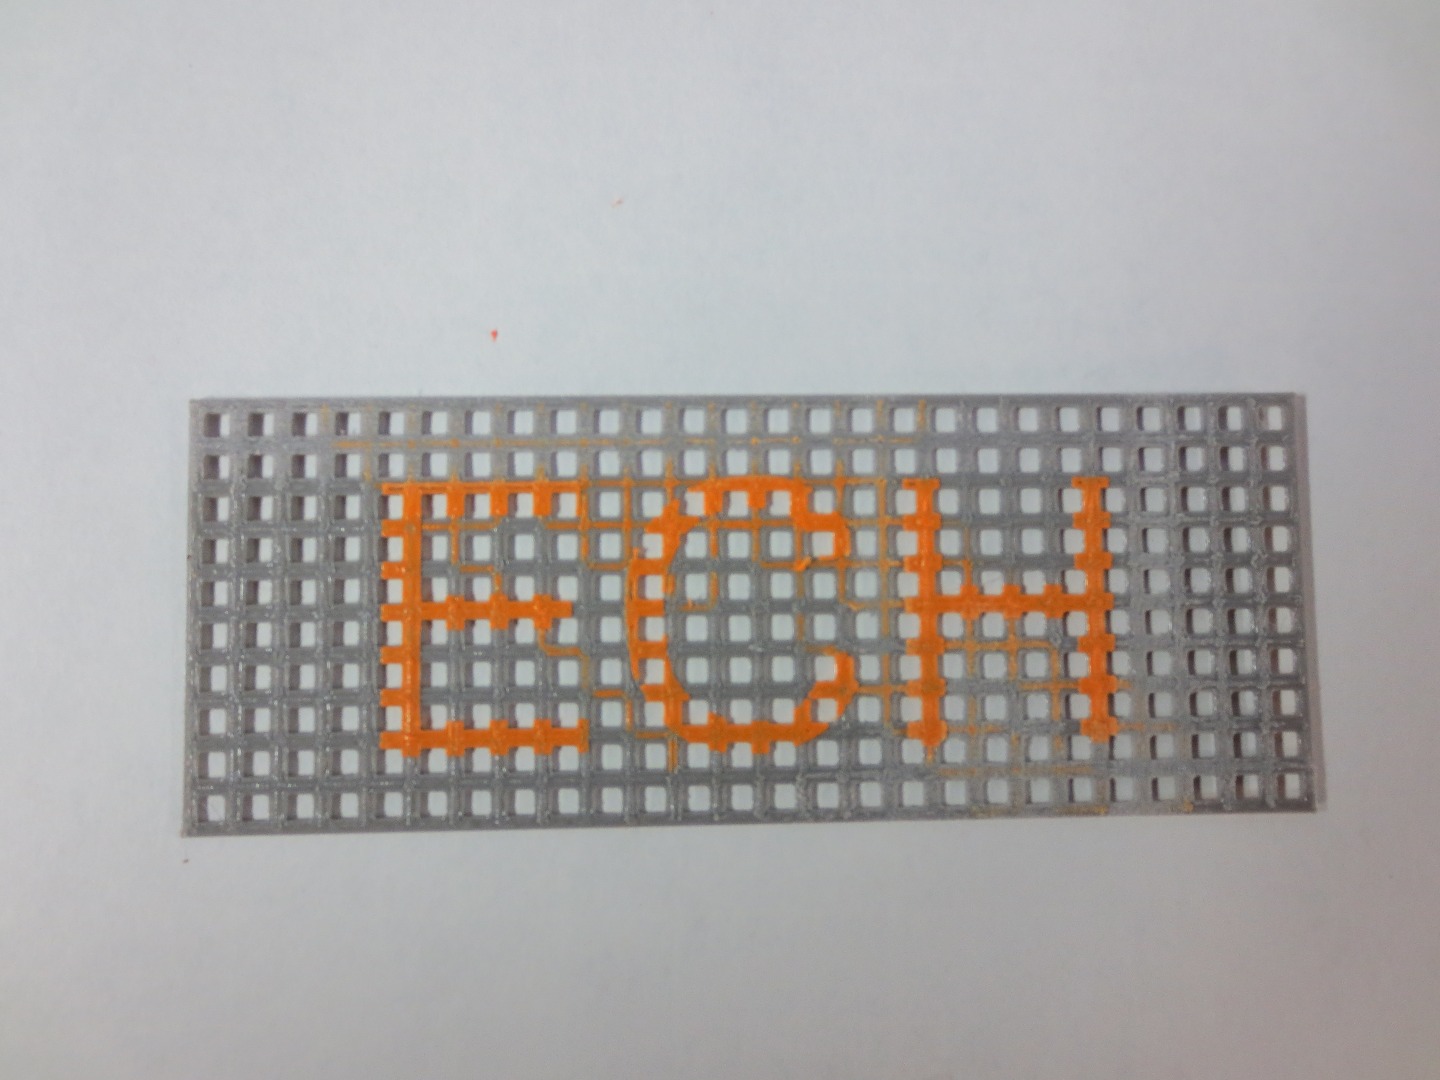
The raised design can be seen but not clearly enough to guide you during stitching.
Its a good idea to trace over it with a sharpie.
If you have a dual head printer you can eliminate this step by printing the extra layers in a different color(last photo)
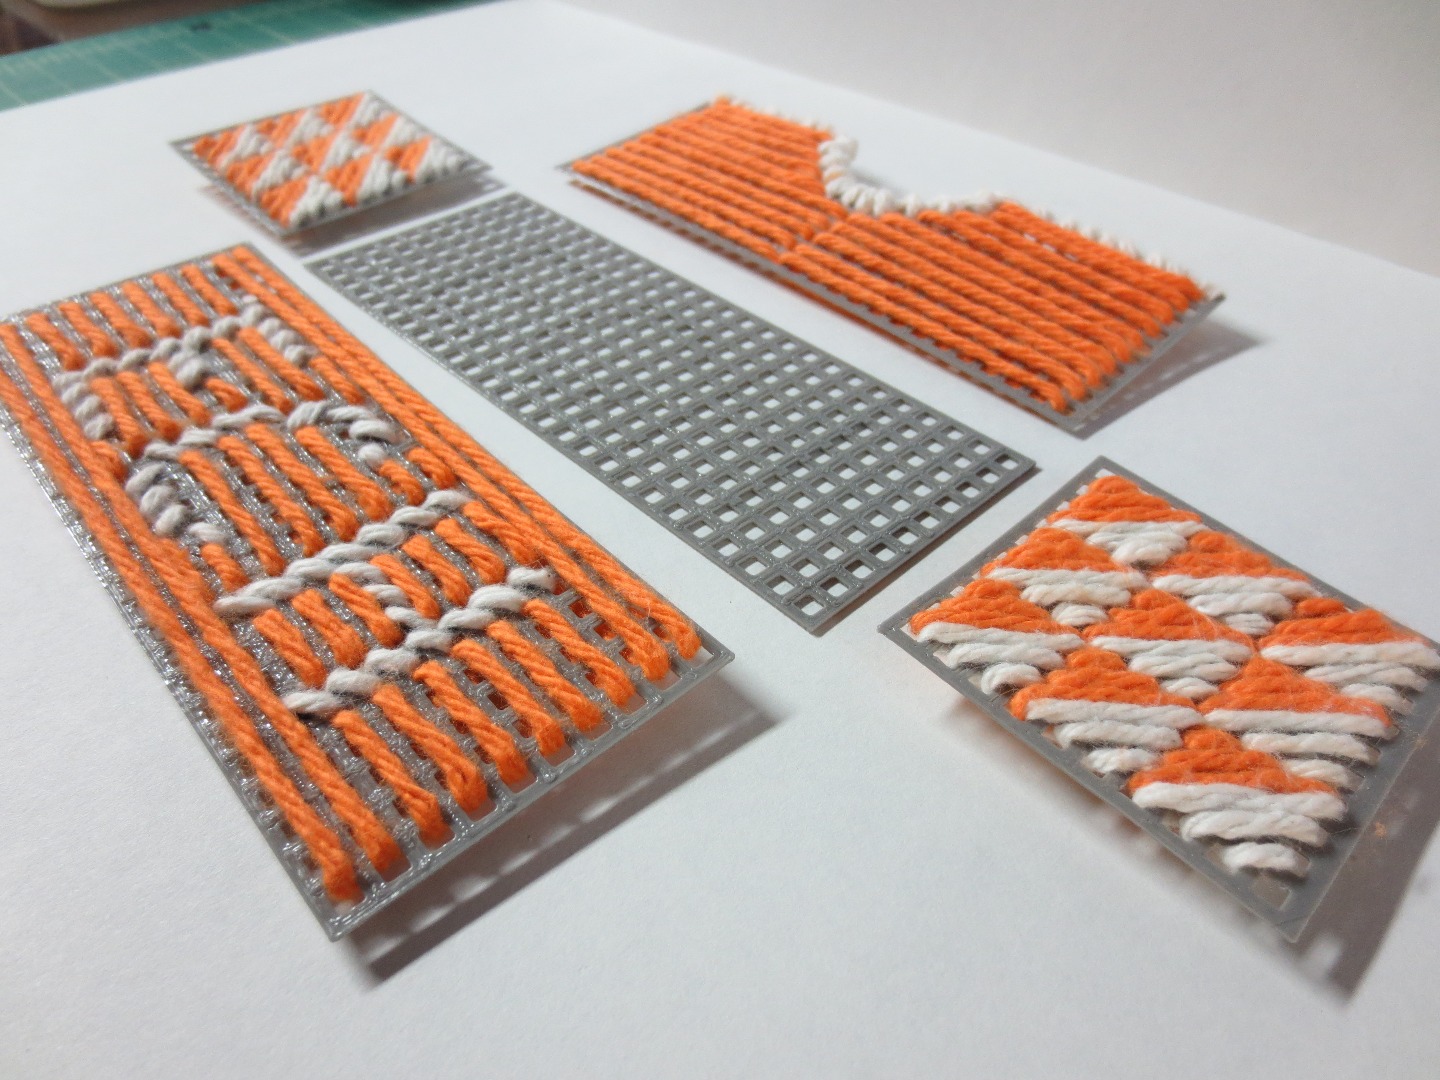
Stich Away
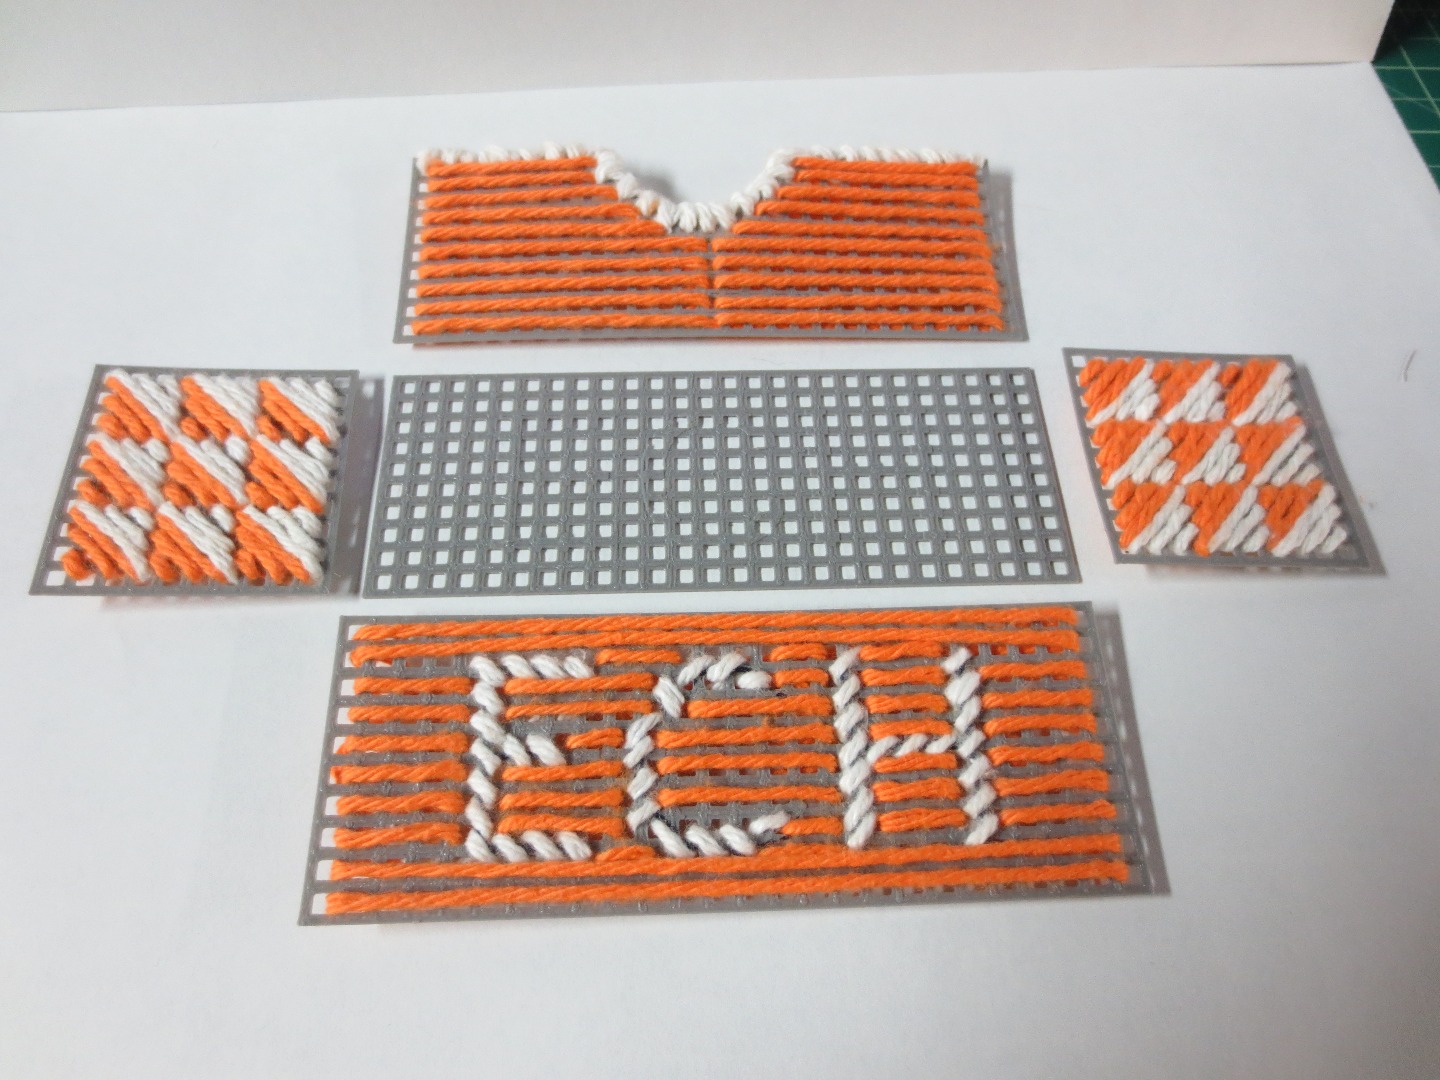
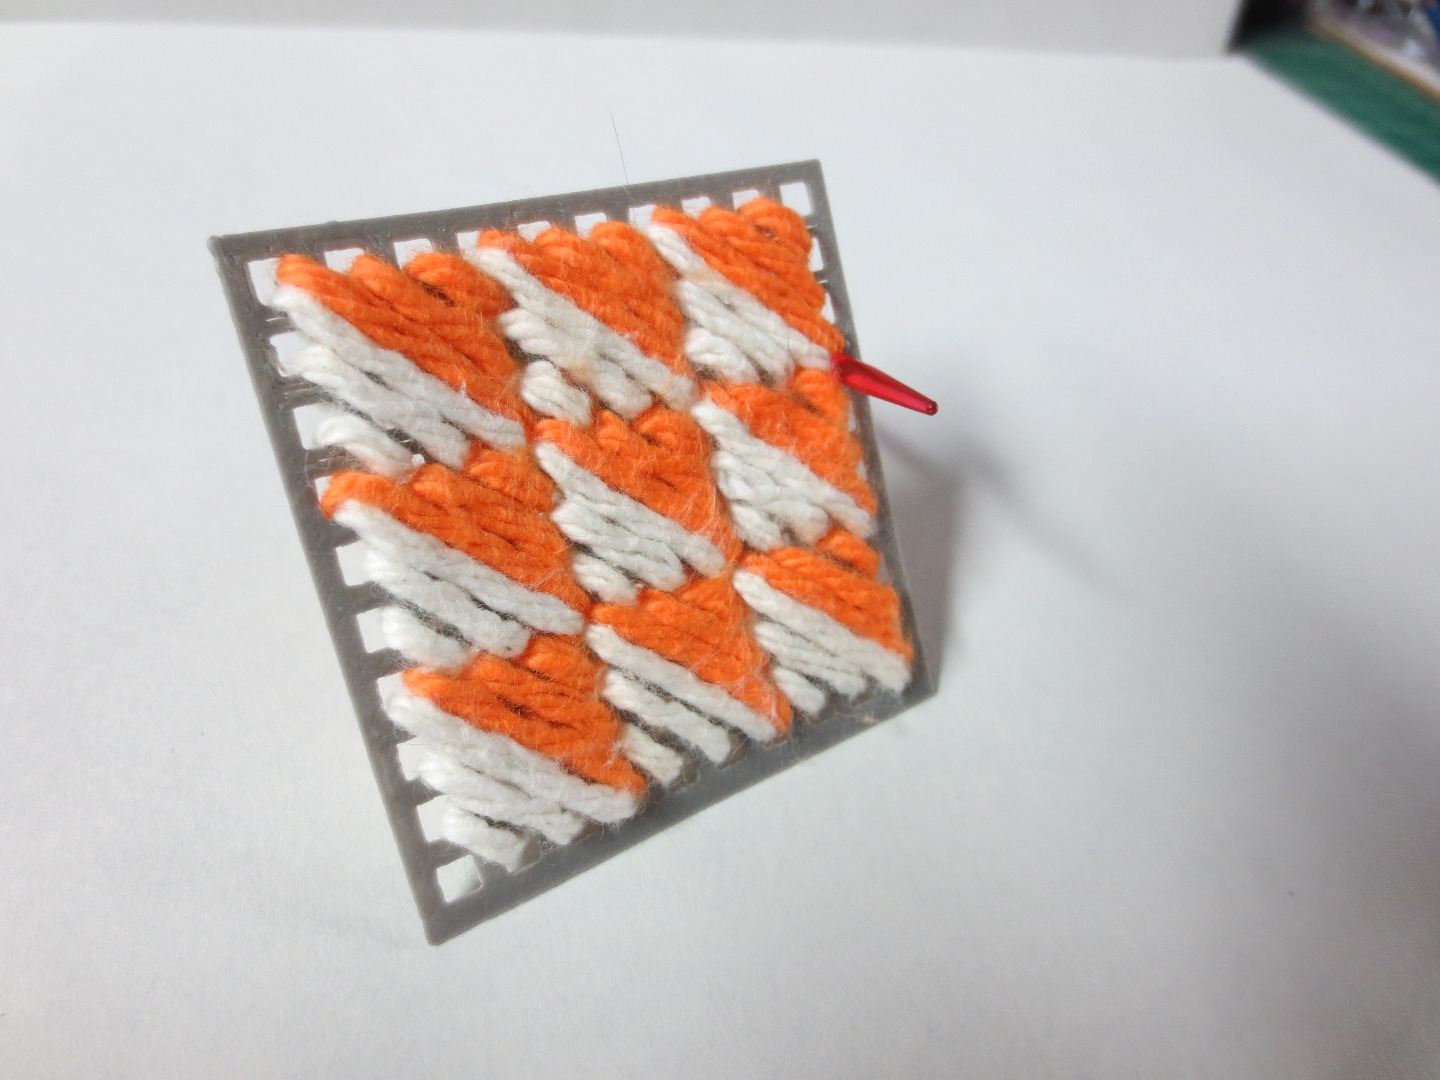
This Instructable is not intended to be a guide to stitching - I'm a hack at this and have admittedly taken some broad strokes here. But this should give you the idea!
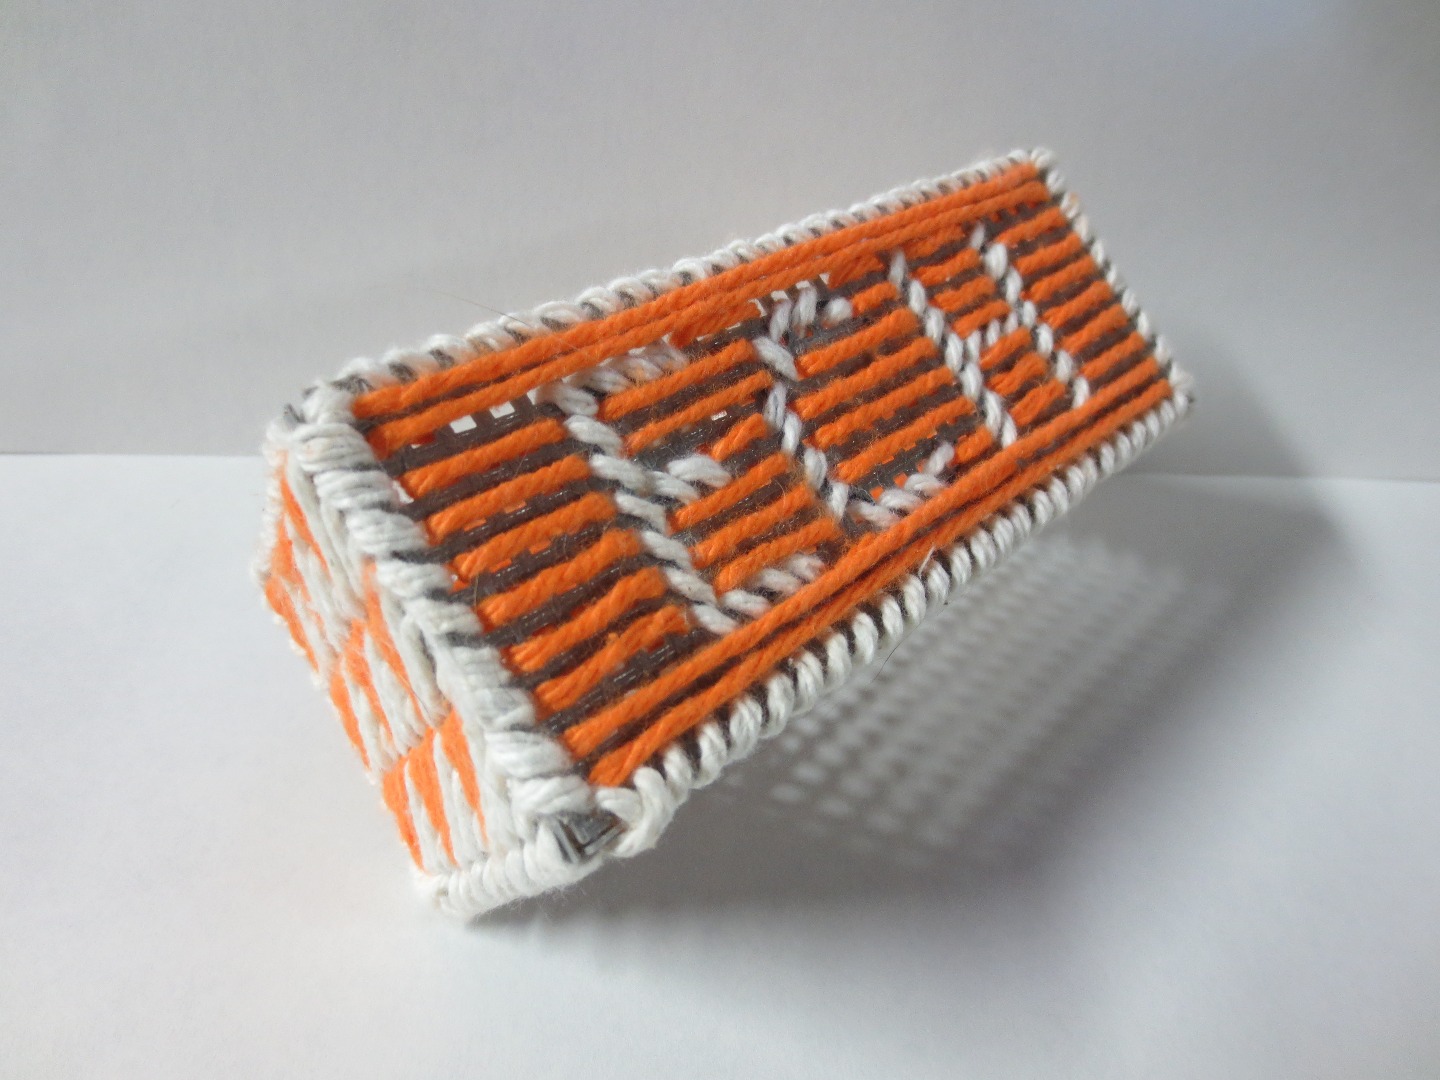
Finished Product
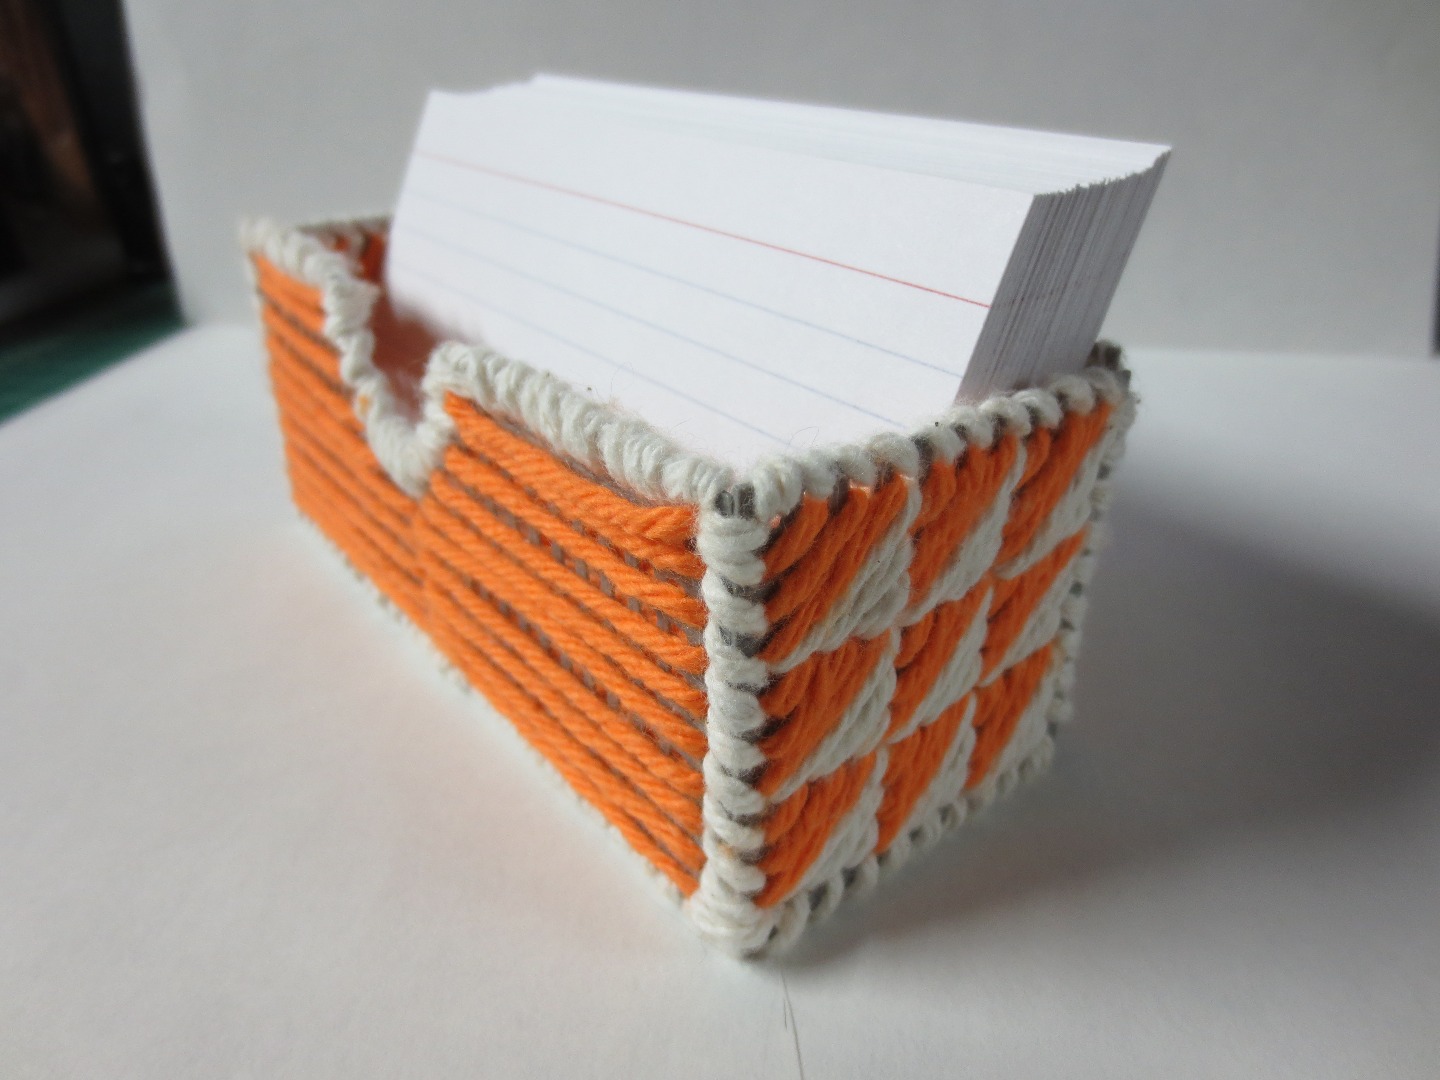

This is a 3 x 5 index card holder and is just an example.
This method of building your own plastic canvas patterns has more of an advantage if you are making many kits or projects with many similar parts because there is no cutting, the pieces you get are perfect and the design it built in.
I see this also having an advantage in a classroom setting where a more experienced person prepares the pattern for less experienced crafters. Enjoy.