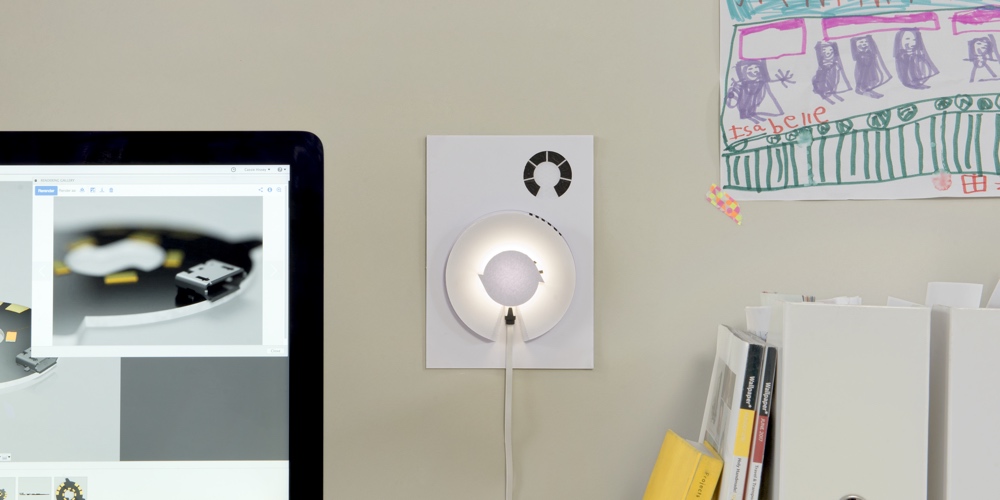
How to Make the Dimmer Lamp
by Bare Conductive in Circuits > Electronics
1547 Views, 8 Favorites, 0 Comments
How to Make the Dimmer Lamp
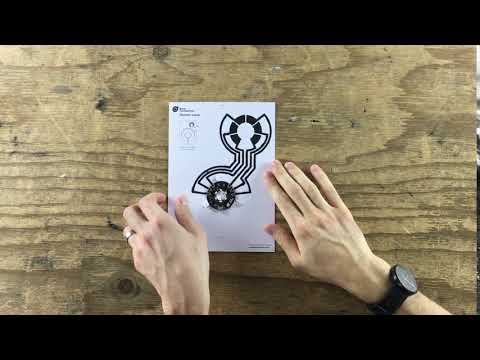
Whether you just completed the Electric Paint Lamp Kit Instruction Test Sheet or you want some visual reinforcement when making your Dimmer Lamp, this tutorial provides step-by-step videos to guide you in making the second of three lamps. All you need is the Light Up Board, an Electric Paint 10ml tube and the Dimmer Lamp template and lampshade. Enjoy!
We recommend going through the Instruction Sheet first to make sure you are confident in applying Electric Paint and attaching the Light Up Board before you get started on this template.
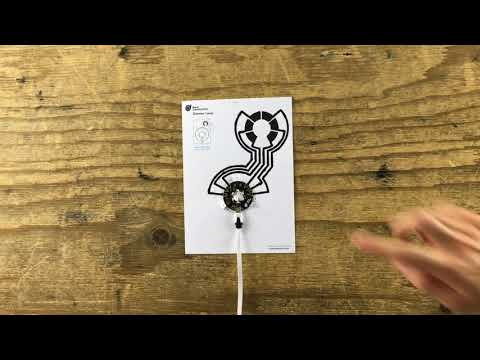
Apply Electric Paint

First, apply Electric Paint inside the grey outlines to fill in the switches. The paint takes about 15 minutes to dry and must be completely dry before you attach the Light Up Board. If you want, you can make the lampshade while you wait, just skip to Step 5 and come back later.
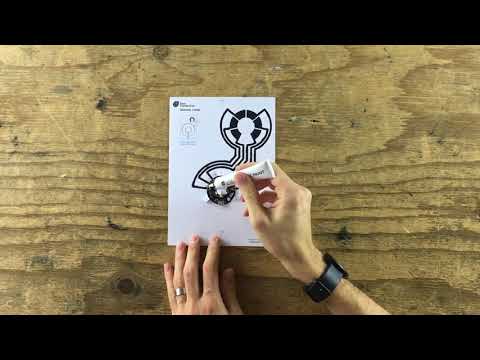
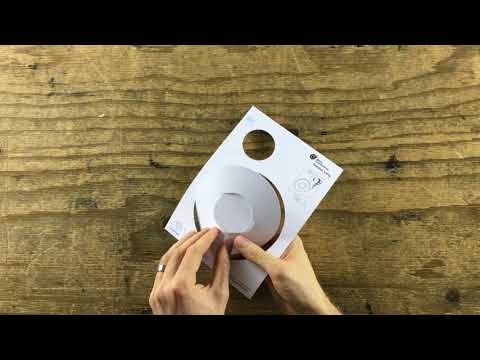
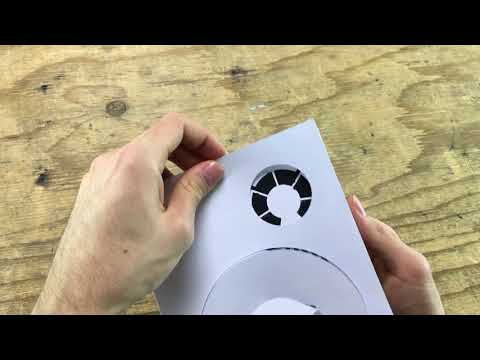
Attach the Light Up Board
Once the paint has fully dried and isn’t tacky anymore, it’s time to attach the Light Up Board. Use the Twisting Skills that you learned in the Instruction Test Sheet!
If you haven’t attached the Light Up Board before, check out this tutorial here .
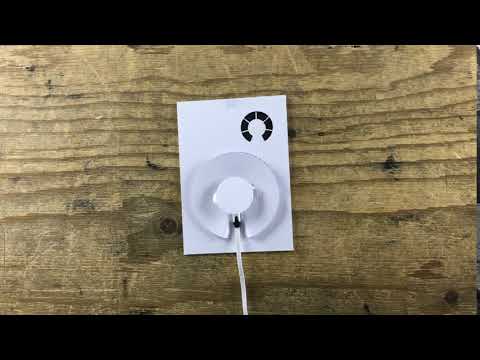
Cold Solder
With the board in place, you can now cold solder. Blob a droplet of Electric Paint inside each sensor. This will ensure a robust connection between your paint and board. After you have applied the Electric Paint, you need to wait another 5-10 minutes. Time for some tea!
Test
When everything has dried, you should give it a test! It’s important not to touch the sensors when powering up the board. So, when connecting the Light Up Board to a power source, it’s easier to connect the USB cable to the Light Up Board first and then into the power source.
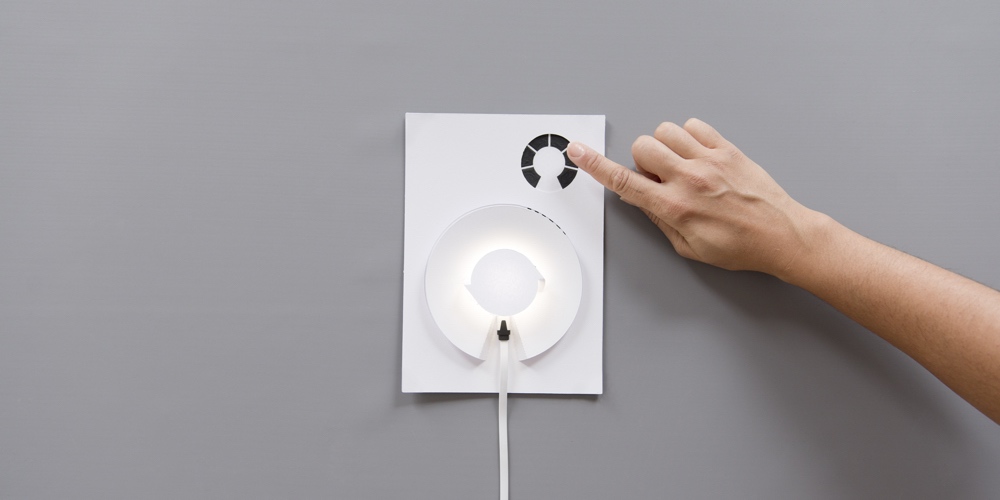
Try touching one of the switches. The board should now light up! Try touching the switches in a circular motion, the board should get brighter with each step. If each switch works you can disconnect the cable from the board for now. If it doesn’t work, please refer to the troubleshooting guide on the Instruction Test Sheet.
Fold the Lampshade
Now it’s time for the lampshade! If you look at the lampshade, you can see that it has two types of dashed lines on it. You need to either make “mountain folds” or “valley folds” for each of these, depending on the type of line. Have a look at the video to see how it is done. If your lampshade doesn’t have dashed lines printed on it, have a look here .
Attach the Lampshade
There are two tabs on the lampshade. These are used to attach the lampshade onto the template sheet with the Light Up Board. Simply slide the tabs into each corresponding slit. It might be easier to insert one tab at a time, either the top one first or the bottom one first, whichever way works best for you.
Turn the Dimmer Lamp On
You can now connect the USB cable to the Light Up Board again. Power up the board and touch the switches in a rotary motion, your lamp should light up. Congratulations, you made a Dimmer Lamp!
If it doesn’t work, please refer to the troubleshooting guide on the Instruction Test Sheet.
Hang Your Lamp Up