How to Make and Use a Green Screen
by flyingpuppy in Design > Digital Graphics
64596 Views, 72 Favorites, 0 Comments
How to Make and Use a Green Screen
There is nothing much to making a green screen for visual effects movie-making if you have a permanent place to install it. You can buy neon green fabric or tape together bright green (or blue) poster boards and tack them to a wall.
This instructable is for anyone who doesn't have a location that can be dedicated to movie-making and must use instead a portable and easy-to-store green screen.
Here are the instructions for making a portable green screen and the ideal lighting and setup for using it.
You will need:
Green poster board (at least 6)
Foam core board (at least 6)
Packing tape
Hook and eye tape
Hot glue & glue gun
Pieces of stiff foam or lightweight wood
Light bulb
Magenta permanent marker
In another instructable I will show how to use chroma keys in Windows Movie Maker along with the green screen footage.
Video: Portable Green Screen
Cheap Poster Board Green Screen
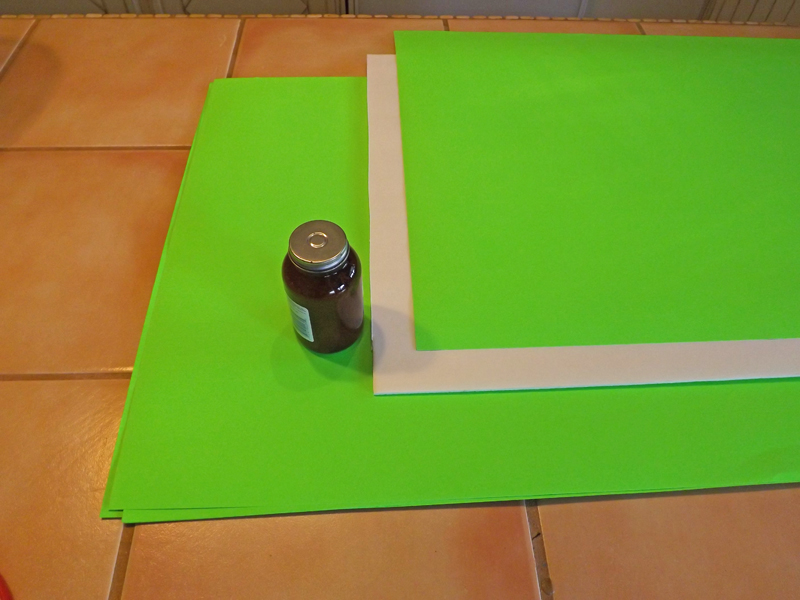
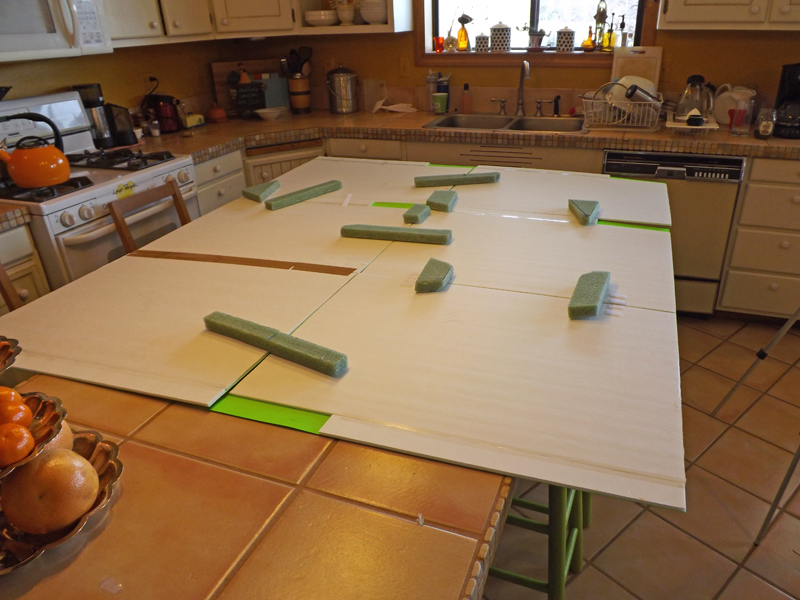
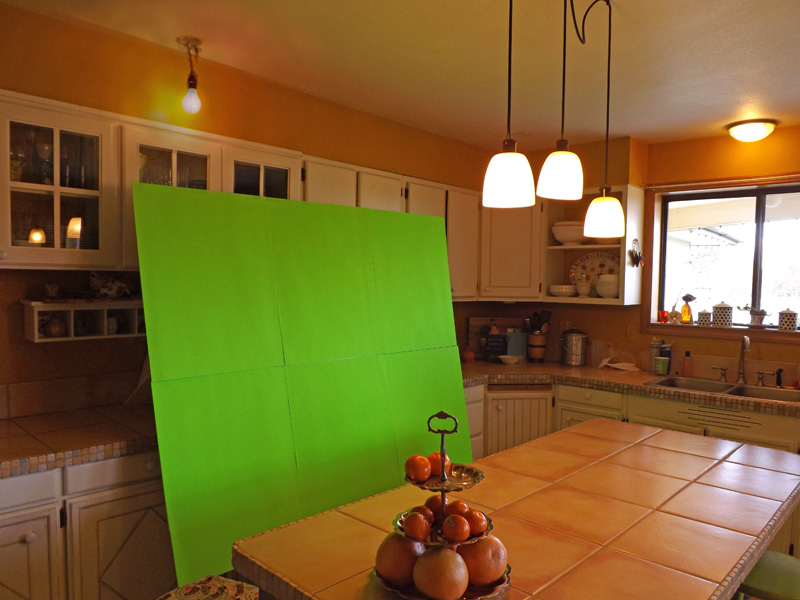
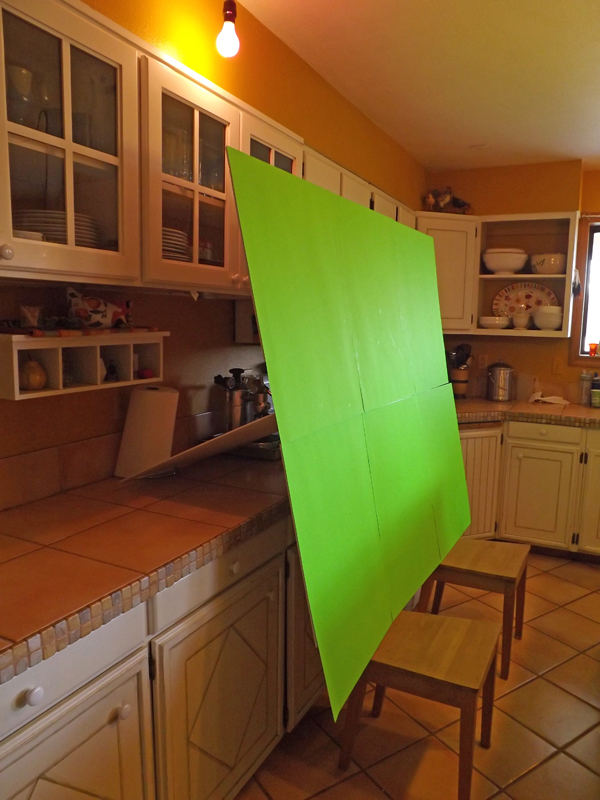
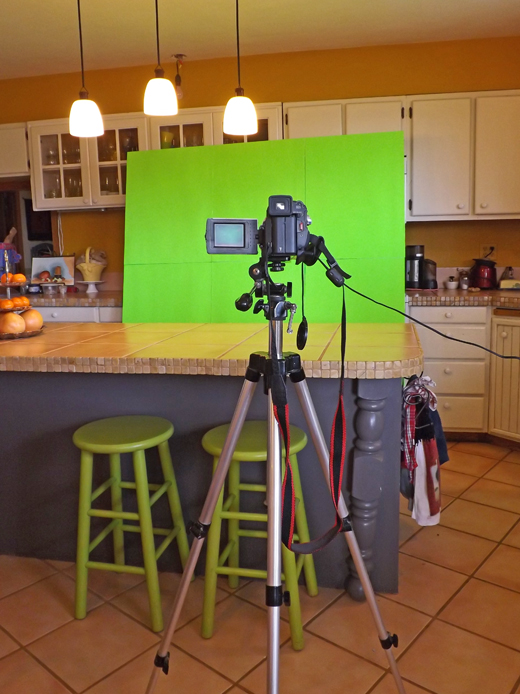
I made a six-panel green screen that can be taken apart and stored in a closet using poster board mounted on foam core--both purchased at a Dollar Store for a total cost of about $12.
The first step is to mount the poster boards onto foam core. You can use rubber cement or spray adhesive, and you may need to cut and piece together the foam core (as I did because they were a different dimension from the poster boards).
Secondly, make two small green screens by taping two panels together on the back side. Each panel should fold up to the size of a single poster board.
Thirdly, place all 6 (or more) panels together on a flat surface back-side-up and glue strips of hook and loop tape in a pattern that will unite all the panels into one large green screen. Snip the side of the hook and loop tape that is glued to the panels to they can be taken apart and stacked. Glue the opposite side of the hook and loop tape to something stiff--such as hard foam or lightweight wood slats. These will serve as ribbing for the mounted green screen (see images).
Note: I cut the foam core slightly smaller than the poster boards around the edges so the boards would overlap a bit when put together.
The Ideal Green Screen Setup

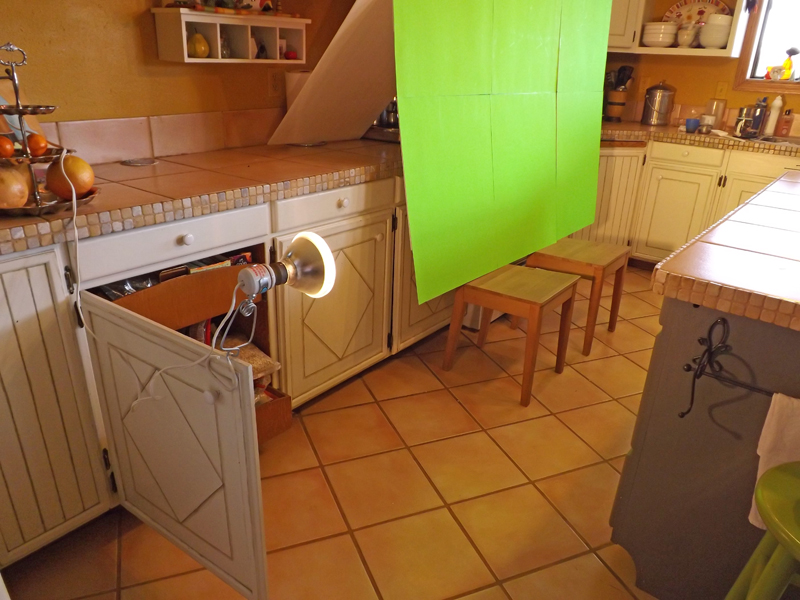

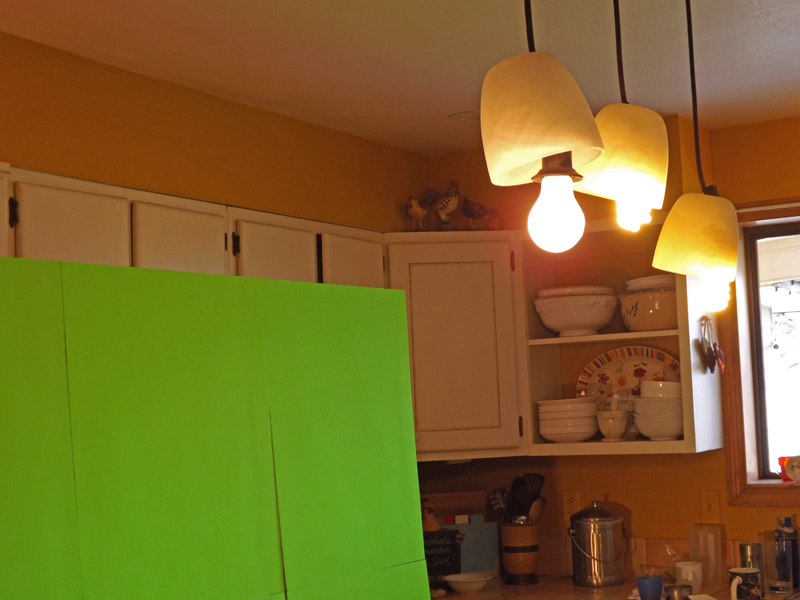
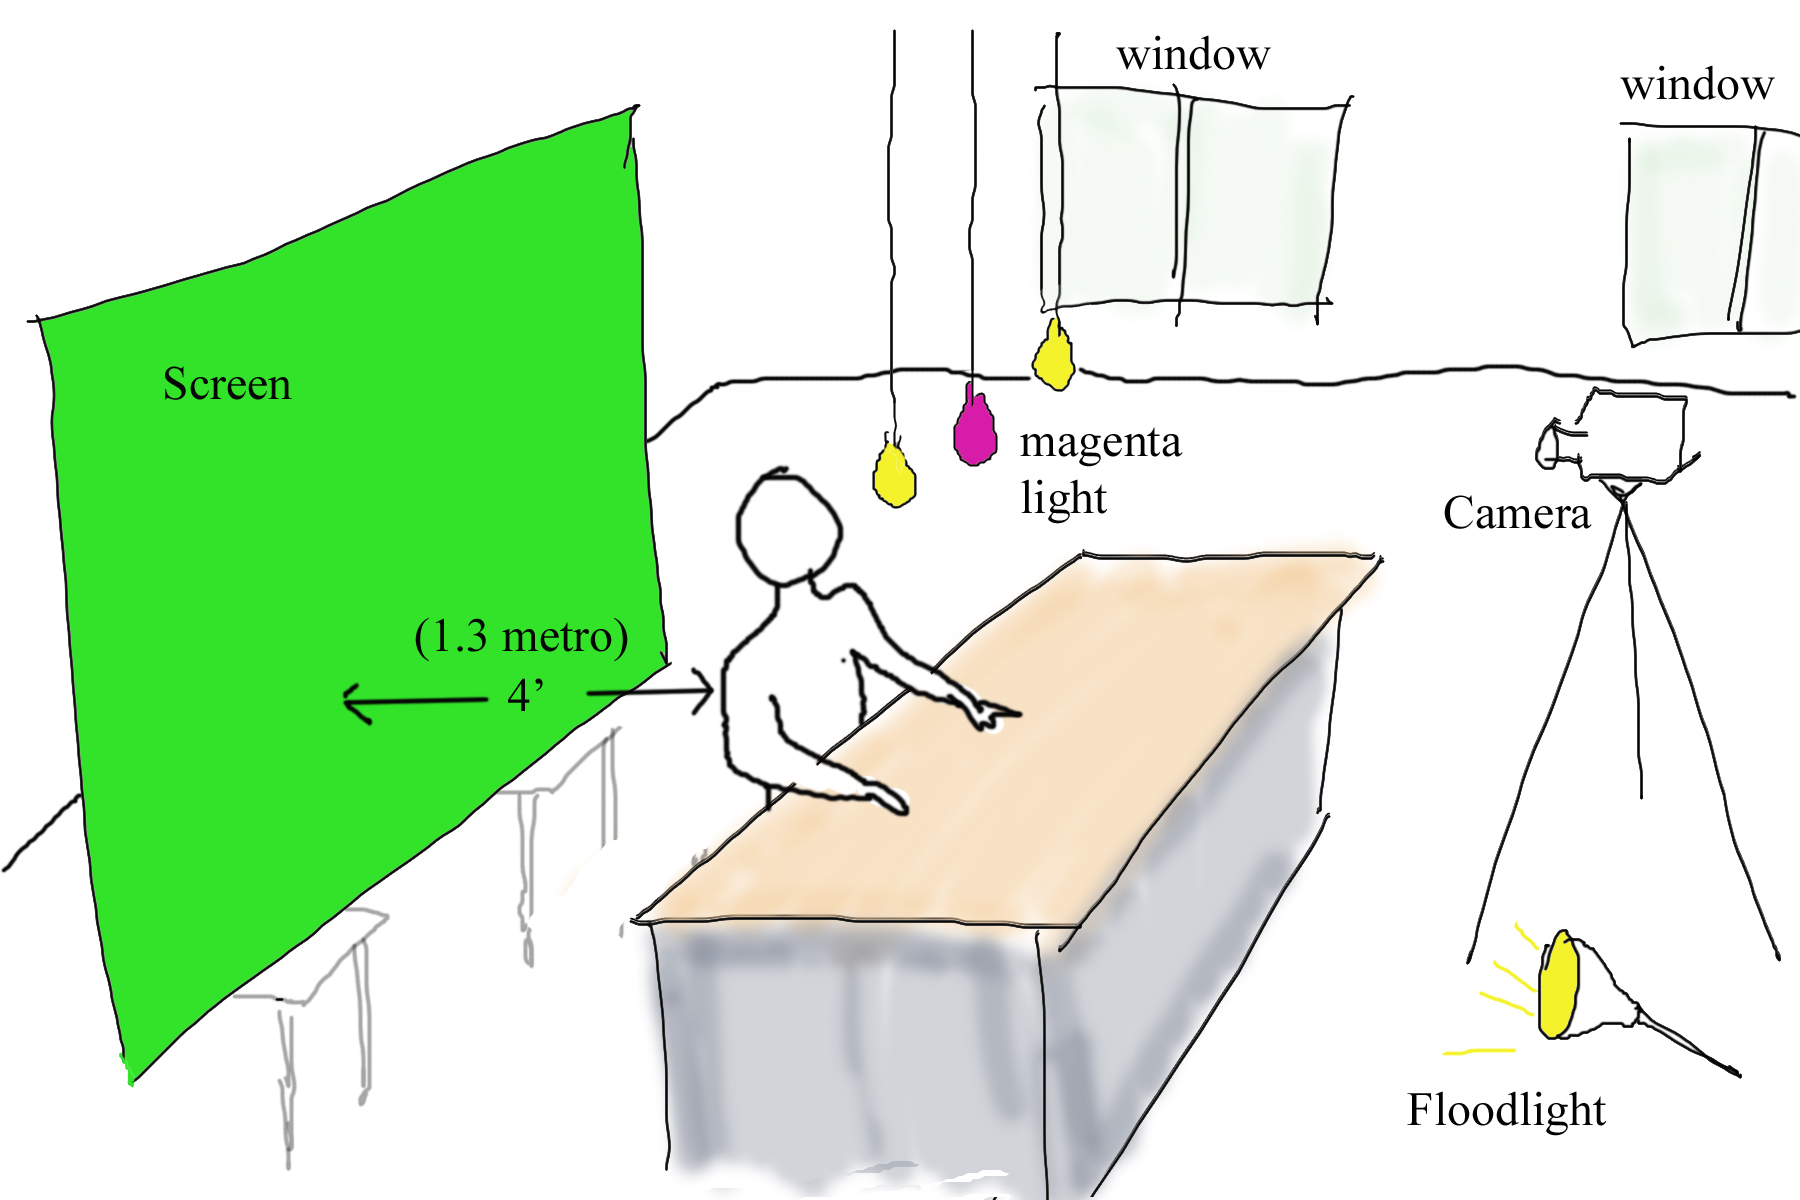
In the ideal setup, the subject will be ten feet away from the green screen with two flood lights lighting the green screen (placed behind the subject), and lots of light (including magenta) aimed at the subject separately from the green screen.
The biggest drawback I had in using my green screen was that I didn't have enough room to stand the ideal 10 feet in front of the screen. Because of the kitchen island, the most distance I could get between myself and the screen was four feet. At that distance, skin and fuzzy textures (such as my hair) will pick up the green from the screen and you end up with a green halo around the subject in the final special effects editing (see the tail end of the video in step 1). A lot of lighting on the subject can help, especially if you add magenta lighting on the subject.
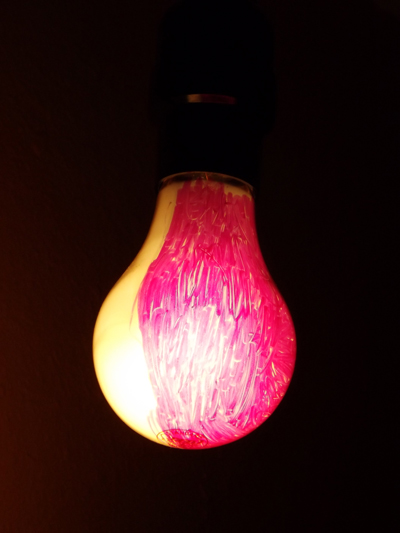
The purpose of the magenta light is to offset the green reflection on skin and fuzzy textures. Ideally, the magenta light would be behind and above the subject. To make a cheap magenta light, paint a light bulb with a magenta permanent marker. In my setup, I had a bank of three lights above the island which were directly above me as I filmed, and I stuck the magenta light in the middle socket.
The other drawback in my intro video was lack of lighting in general. On a sunny day, the results were better because of the light streaming through the windows. You can substitute for natural light with flood lights such as the one I clipped to a cabinet door here. Place your lighting in such a way that the subject does not cast a shadow on the green screen.
A discussion of chroma keys and how to use the green screen in Windows Movie Maker will follow. You can watch my first green screen movie here. You'll see in it every mistake a green screen movie can have!