How to Make an Outline on an Organic Image Using Adobe Illustrator
by Made Studio in Craft > Digital Graphics
7518 Views, 0 Favorites, 0 Comments
How to Make an Outline on an Organic Image Using Adobe Illustrator
![Screenshot 2023-07-09 115712.png](/proxy/?url=https://content.instructables.com/FSU/5HCU/LJVG3SZS/FSU5HCULJVG3SZS.png&filename=Screenshot 2023-07-09 115712.png)
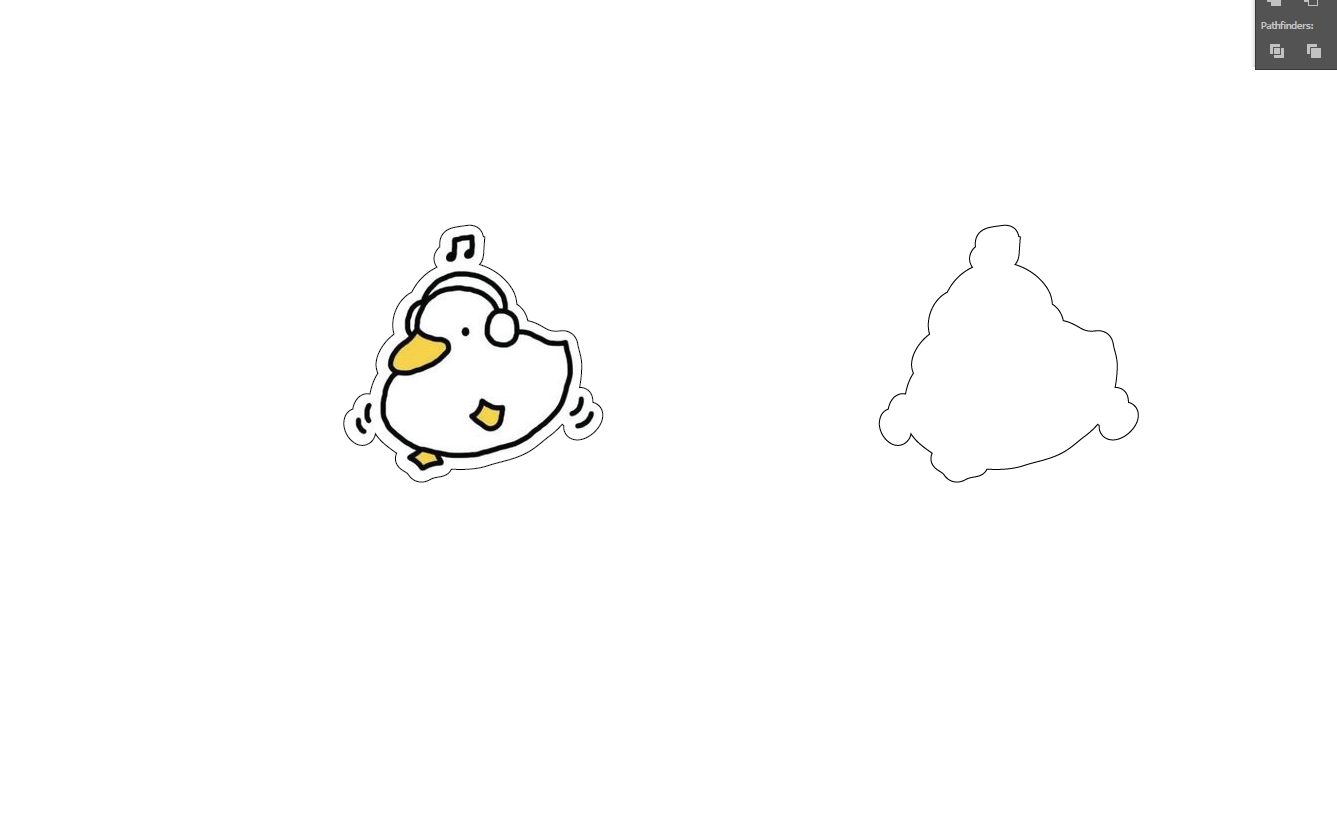
In this tutorial, we will be guiding you through creating an outline and offset path over an organically shaped image using Adobe Illustrator. This is especially helpful for use in sticker making and creating cut lines.
Supplies
Computer with Adobe Ilustrator Installed
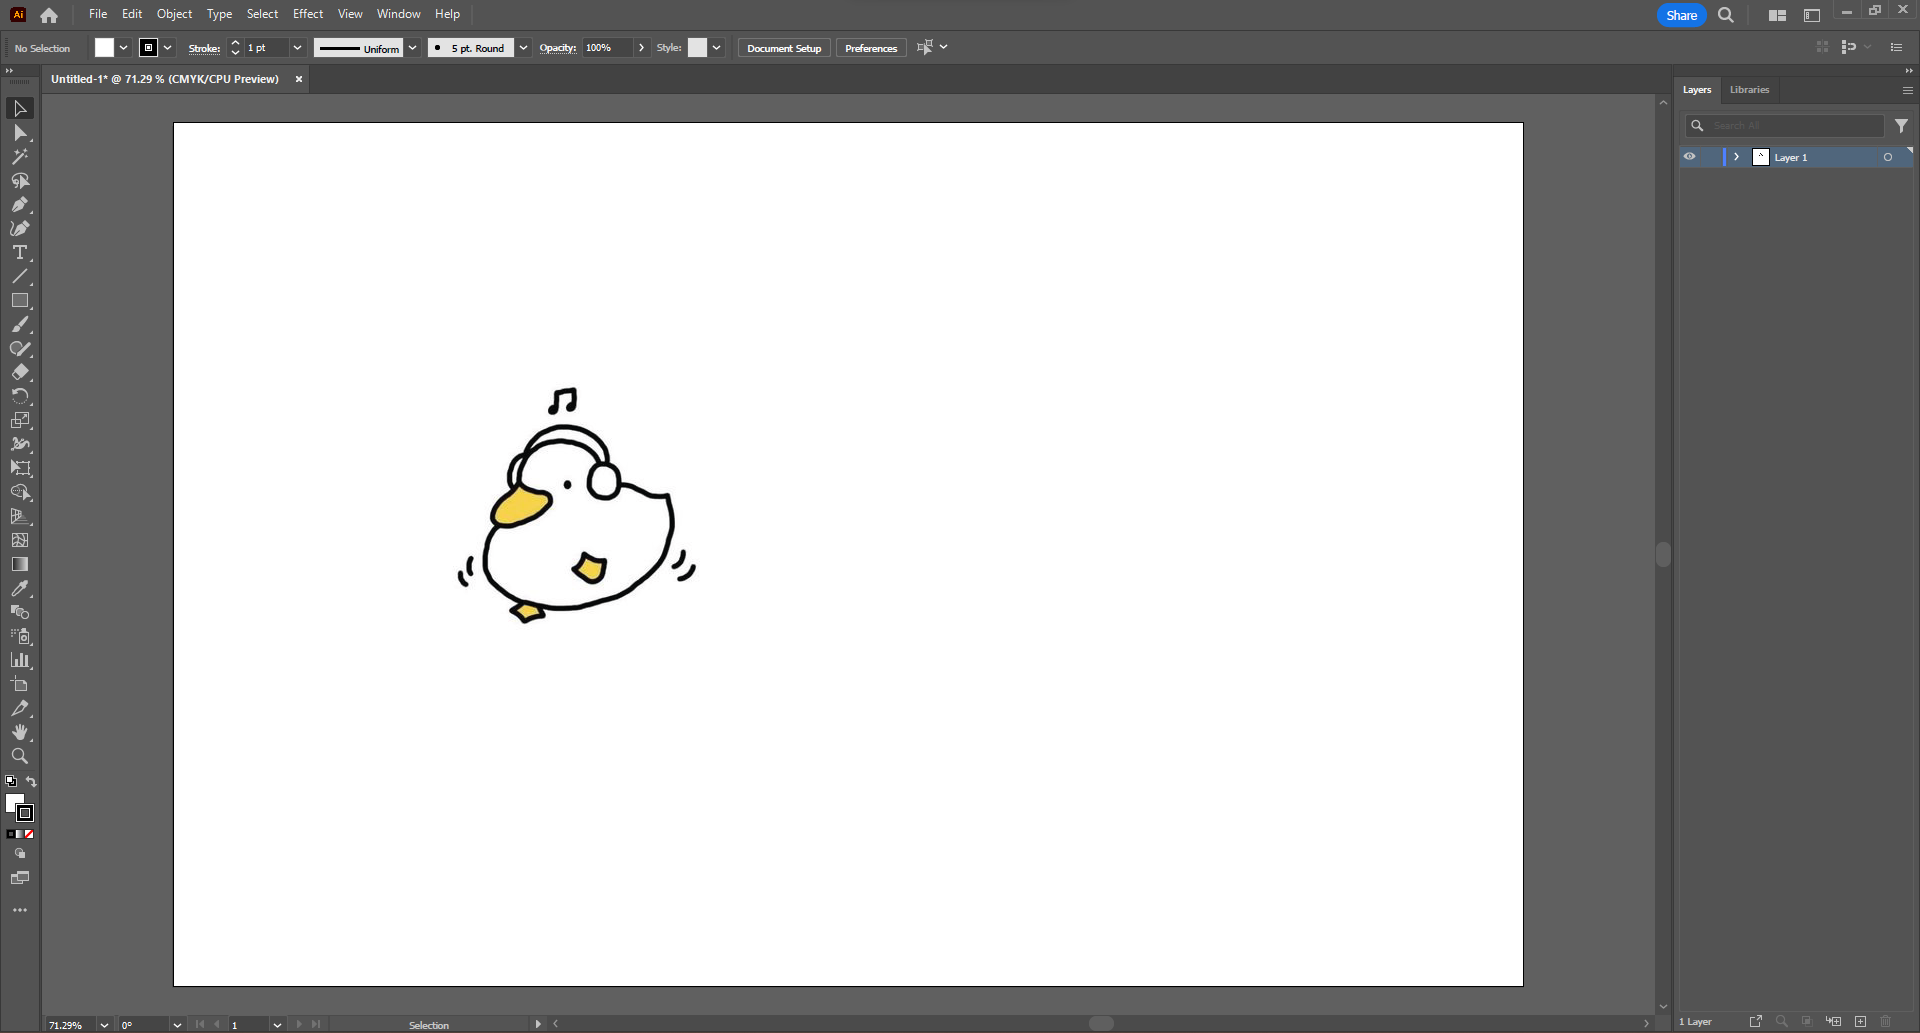
Make a Canvas
![Screenshot 2023-07-09 115109.png](/proxy/?url=https://content.instructables.com/FAU/WCK7/LJVG3T08/FAUWCK7LJVG3T08.png&filename=Screenshot 2023-07-09 115109.png)
Open up Adobe Illustrator and Click "New File" to begin choosing a canvas.
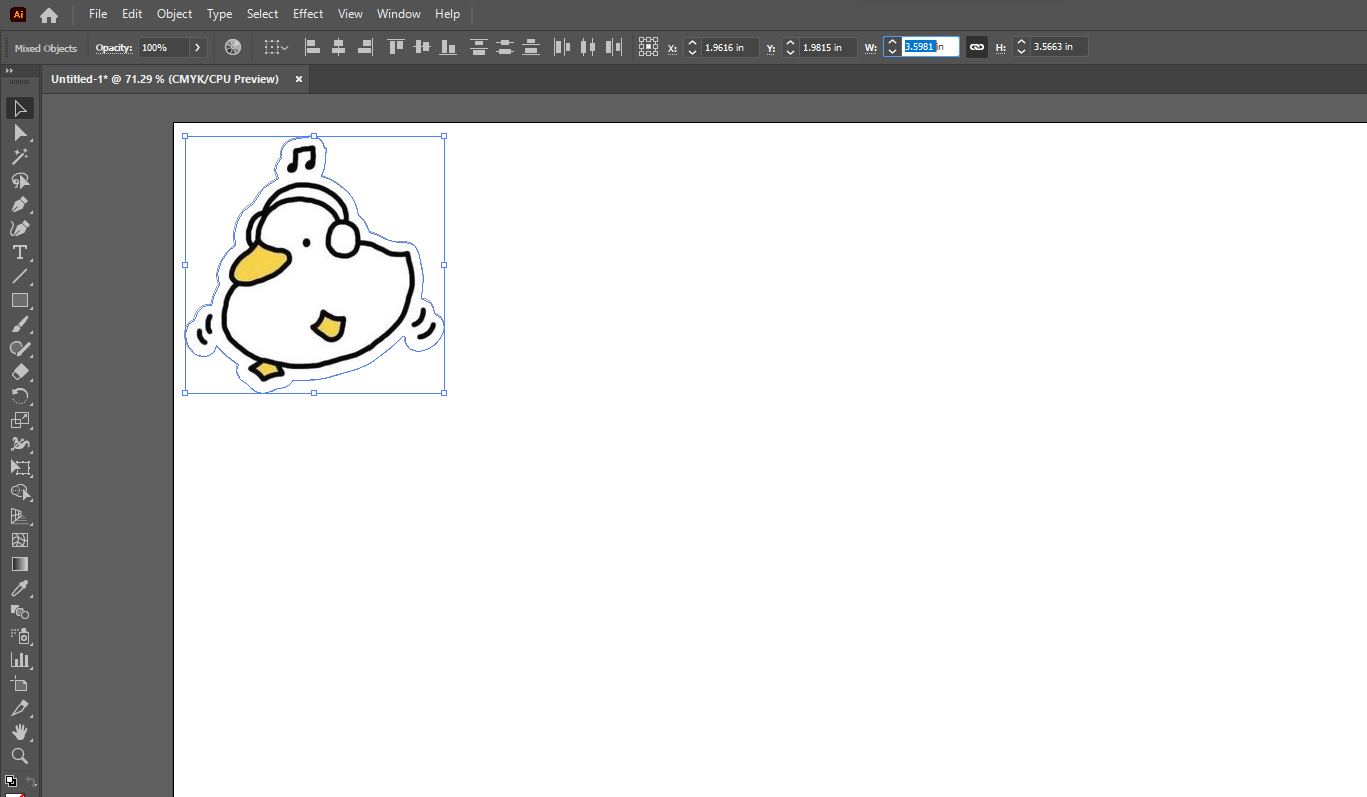
Insert Image: File -> Place
![Screenshot 2023-07-09 115203.png](/proxy/?url=https://content.instructables.com/FQ3/35WQ/LJVG3T07/FQ335WQLJVG3T07.png&filename=Screenshot 2023-07-09 115203.png)
![Screenshot 2023-07-09 115347.png](/proxy/?url=https://content.instructables.com/FCI/6WZE/LJVG3T06/FCI6WZELJVG3T06.png&filename=Screenshot 2023-07-09 115347.png)
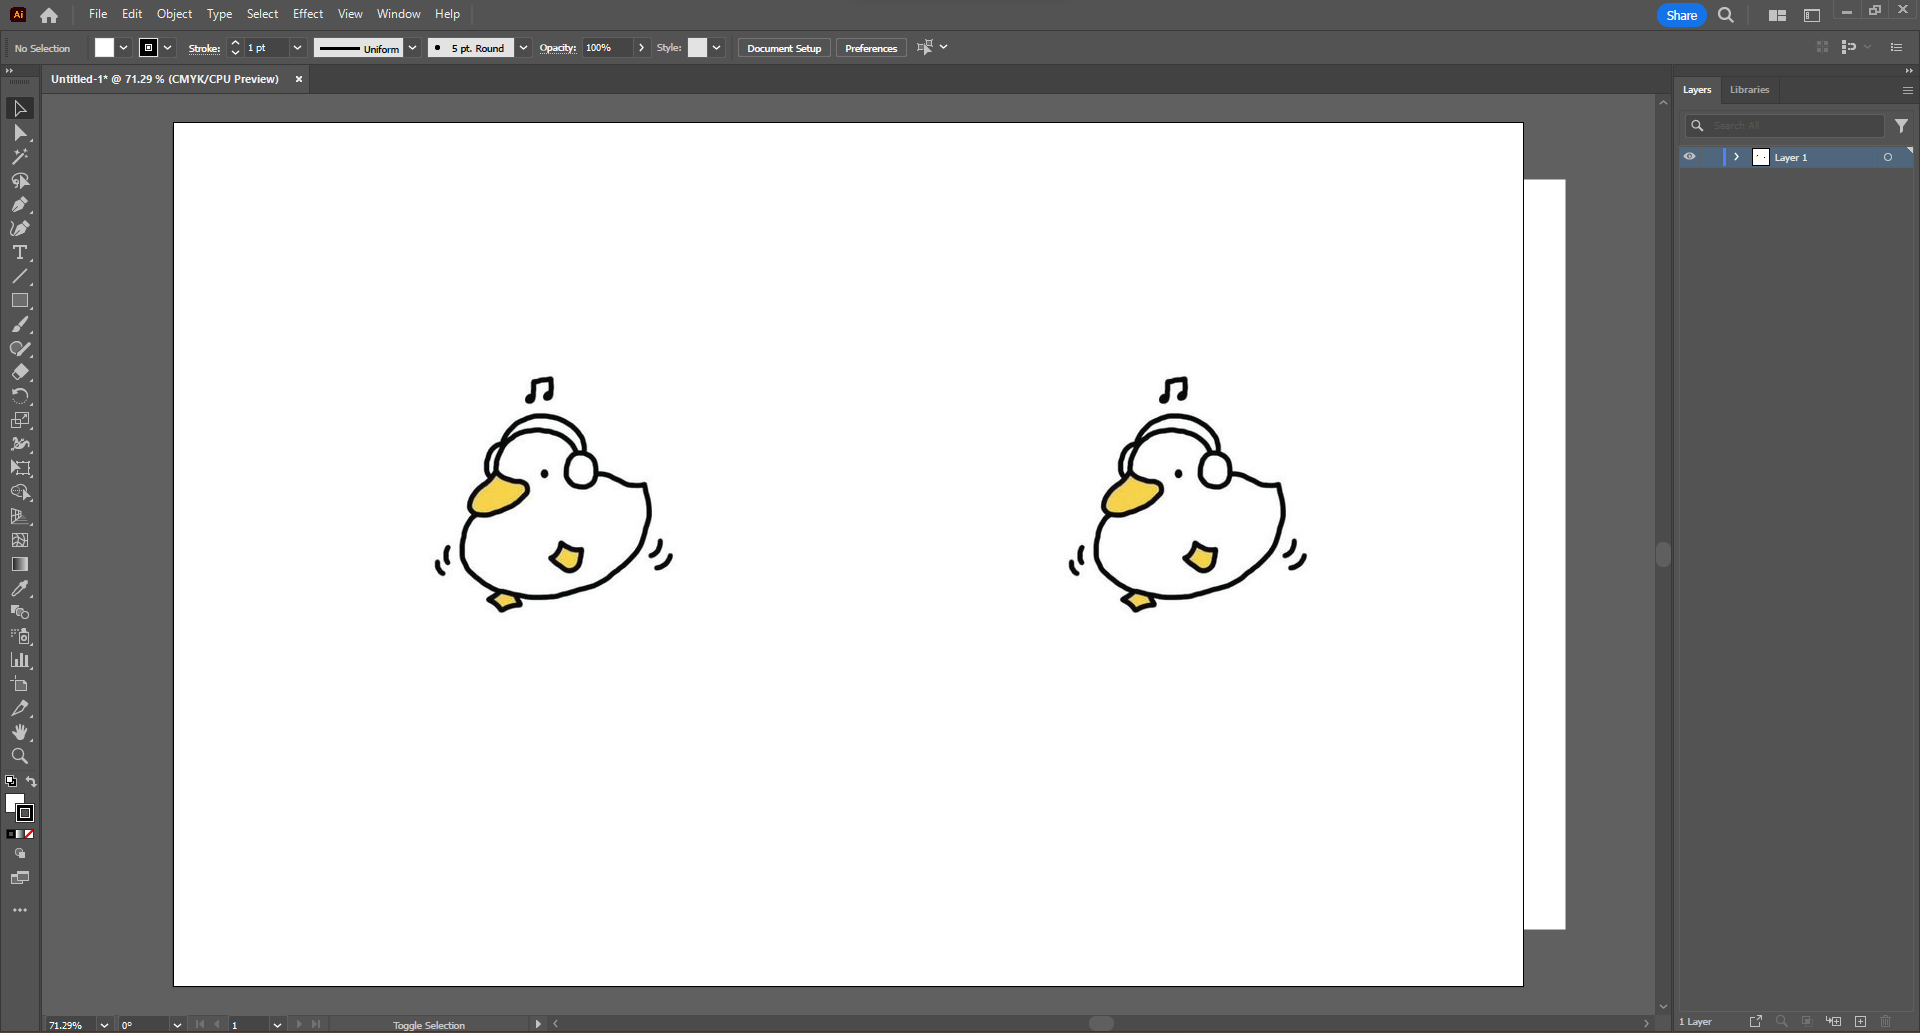
Make a Duplicate of the Image
![Screenshot 2023-07-09 115359.png](/proxy/?url=https://content.instructables.com/F3Z/SUFC/LJVG3T05/F3ZSUFCLJVG3T05.png&filename=Screenshot 2023-07-09 115359.png)
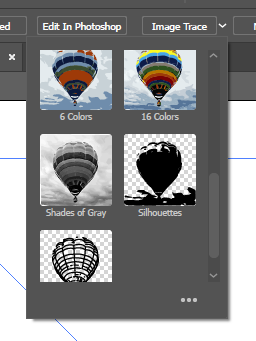
Choose One of the Images and Perform an Image Trace
![Screenshot 2023-07-09 115410.png](/proxy/?url=https://content.instructables.com/F6G/49DZ/LJVG3T04/F6G49DZLJVG3T04.png&filename=Screenshot 2023-07-09 115410.png)
![Screenshot 2023-07-09 115429.png](/proxy/?url=https://content.instructables.com/F5O/YI3G/LJVG3T03/F5OYI3GLJVG3T03.png&filename=Screenshot 2023-07-09 115429.png)
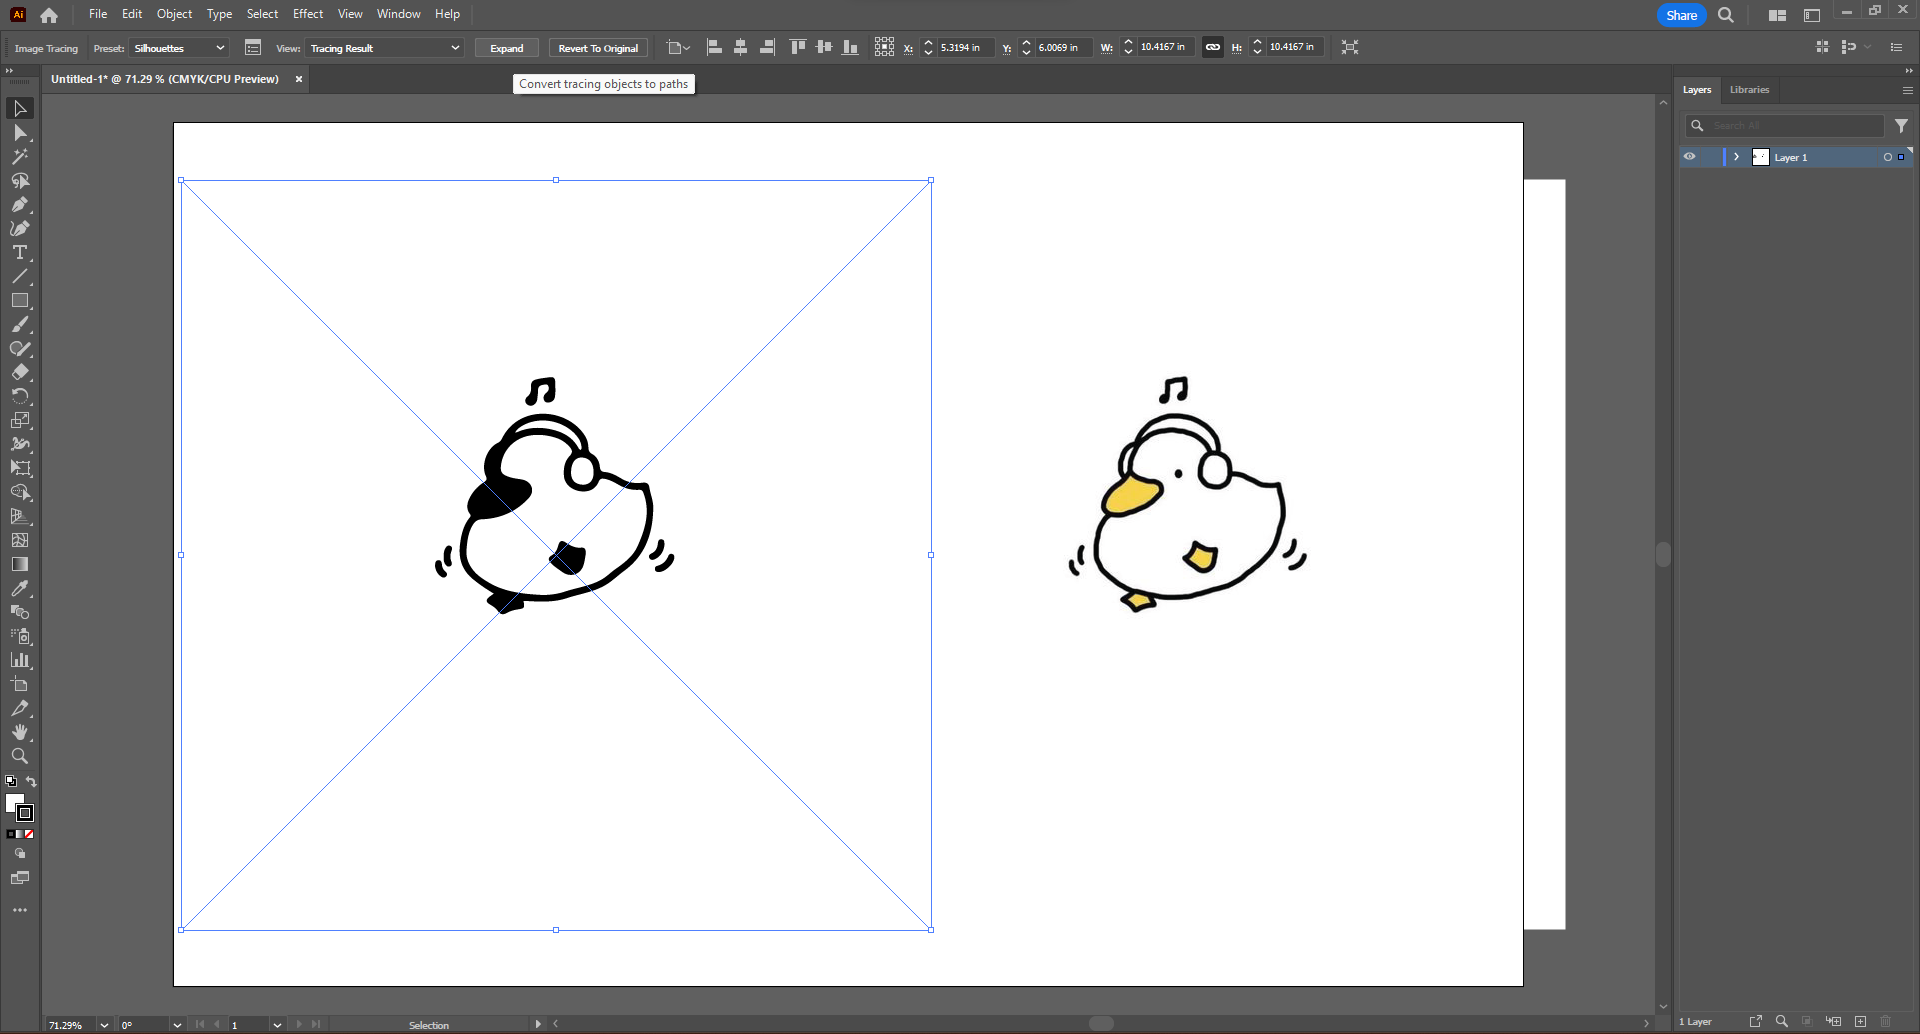
Expand the Traced Image
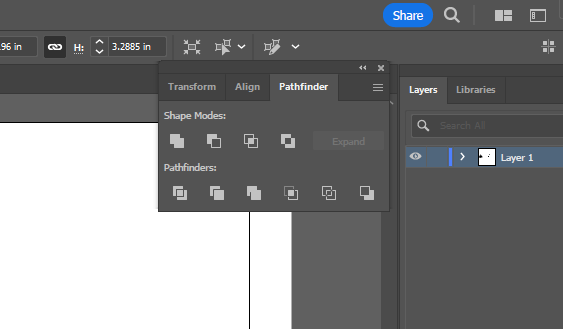
Open the "pathfinder" Window
![Screenshot 2023-07-09 115441.png](/proxy/?url=https://content.instructables.com/F85/TKYC/LJVG3T02/F85TKYCLJVG3T02.png&filename=Screenshot 2023-07-09 115441.png)
Merge and Unite the Image Trace
![Screenshot 2023-07-09 115456.png](/proxy/?url=https://content.instructables.com/FGV/F9RE/LJVG3T01/FGVF9RELJVG3T01.png&filename=Screenshot 2023-07-09 115456.png)
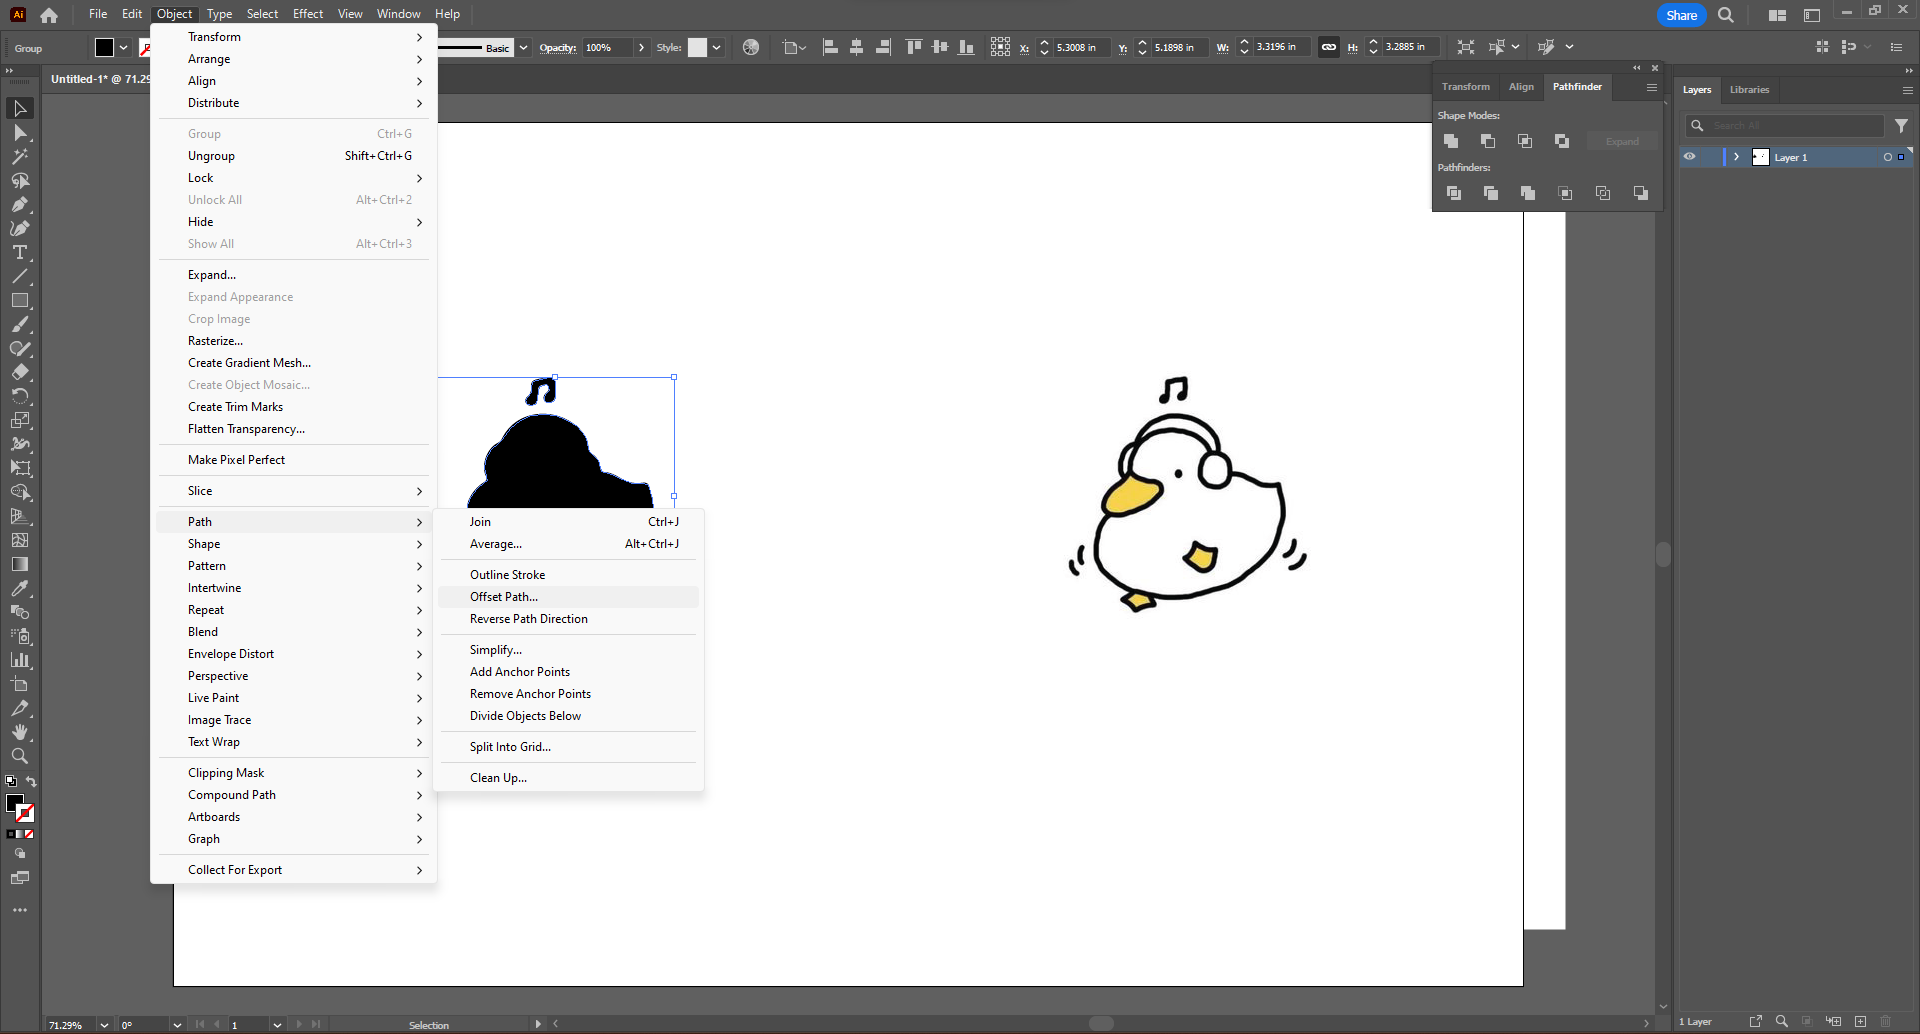
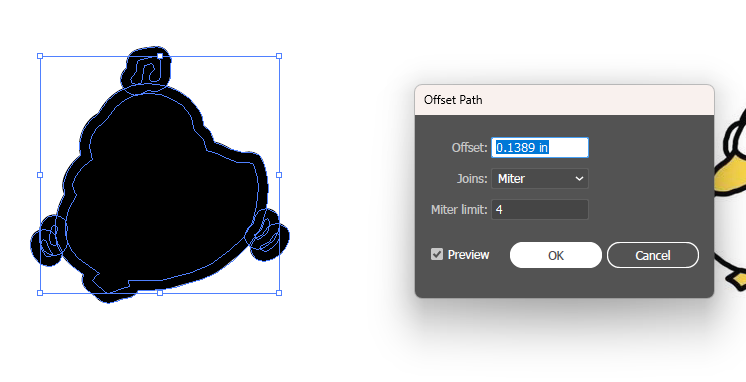
Create Offset Path: Object -> Path -> Offset Path
![Screenshot 2023-07-09 115519.png](/proxy/?url=https://content.instructables.com/F6H/PA2R/LJVG3T00/F6HPA2RLJVG3T00.png&filename=Screenshot 2023-07-09 115519.png)
![Screenshot 2023-07-09 115533.png](/proxy/?url=https://content.instructables.com/FM9/JWDP/LJVG3SZZ/FM9JWDPLJVG3SZZ.png&filename=Screenshot 2023-07-09 115533.png)
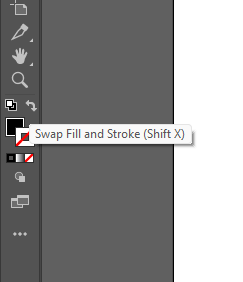
Flip the Fill and Stroke of the Image to Get the Outline
![Screenshot 2023-07-09 115548.png](/proxy/?url=https://content.instructables.com/FRO/PBFM/LJVG3SZX/FROPBFMLJVG3SZX.png&filename=Screenshot 2023-07-09 115548.png)
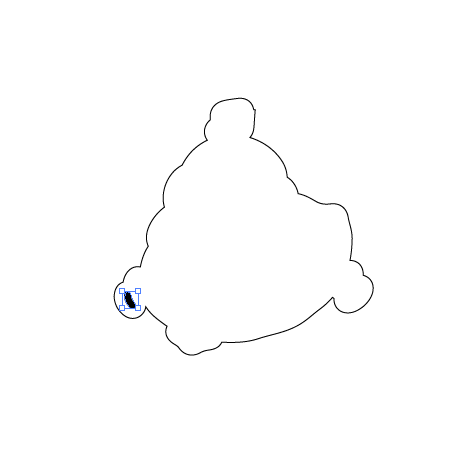
Ungroup Path and Delete Unnecessary Strokes
![Screenshot 2023-07-09 115613.png](/proxy/?url=https://content.instructables.com/F2A/2HZQ/LJVG3SZW/F2A2HZQLJVG3SZW.png&filename=Screenshot 2023-07-09 115613.png)
Make a Duplicate of the Offset Path
![Screenshot 2023-07-09 115640.png](/proxy/?url=https://content.instructables.com/F9V/FMEF/LJVG3SZV/F9VFMEFLJVG3SZV.png&filename=Screenshot 2023-07-09 115640.png)
Place One Path Over the Image
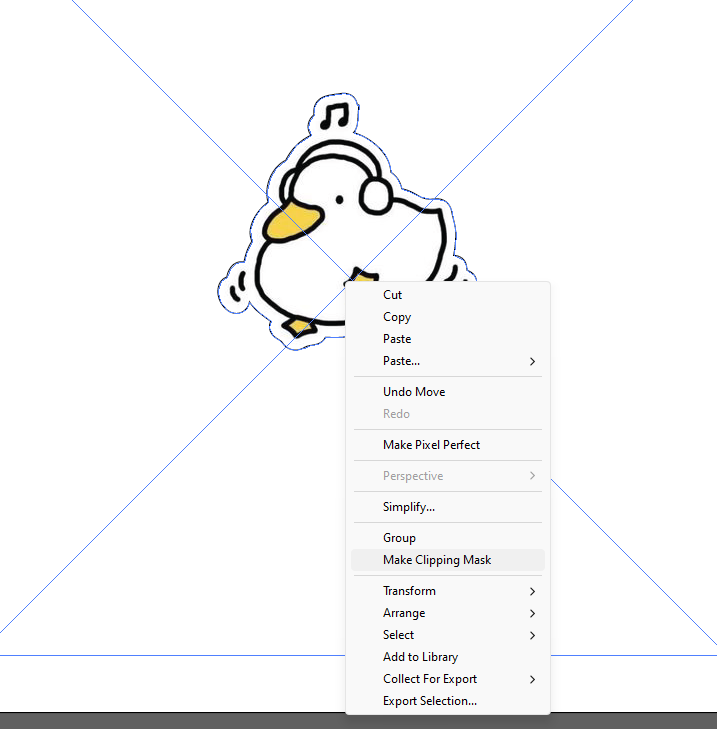
Select Both the Image and Path and Create a Clipping Mask
![Screenshot 2023-07-09 115652.png](/proxy/?url=https://content.instructables.com/FDY/QX6H/LJVG3SZU/FDYQX6HLJVG3SZU.png&filename=Screenshot 2023-07-09 115652.png)
Drag the Second Offset Path Over the Clipped Image and Group Together
![Screenshot 2023-07-09 115701.png](/proxy/?url=https://content.instructables.com/FNN/RDMV/LJVG3SZT/FNNRDMVLJVG3SZT.png&filename=Screenshot 2023-07-09 115701.png)
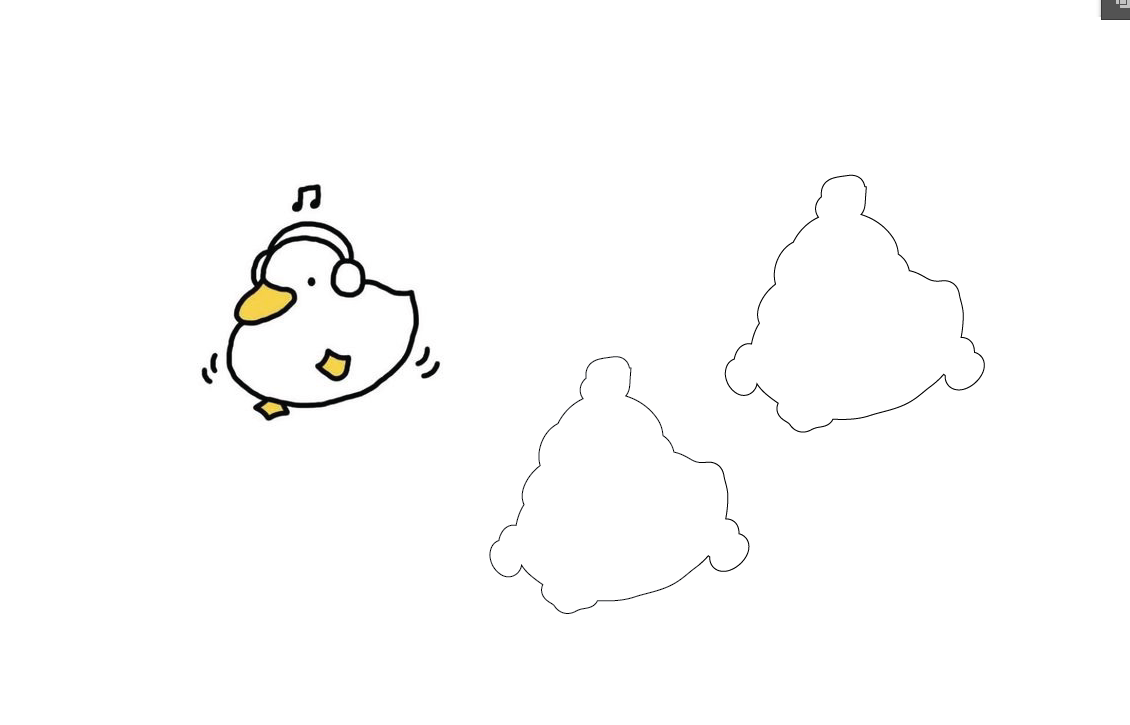
Resize the Image and Offset Path As Necessary
![Screenshot 2023-07-09 115730.png](/proxy/?url=https://content.instructables.com/FHG/2HQR/LJVG3SZO/FHG2HQRLJVG3SZO.png&filename=Screenshot 2023-07-09 115730.png)
![Screenshot 2023-07-09 115723.png](/proxy/?url=https://content.instructables.com/F52/VQZS/LJVG3SZR/F52VQZSLJVG3SZR.png&filename=Screenshot 2023-07-09 115723.png)