How to Make an Intervalometer
by OnTheBrink in Circuits > Arduino
1635 Views, 20 Favorites, 0 Comments
How to Make an Intervalometer
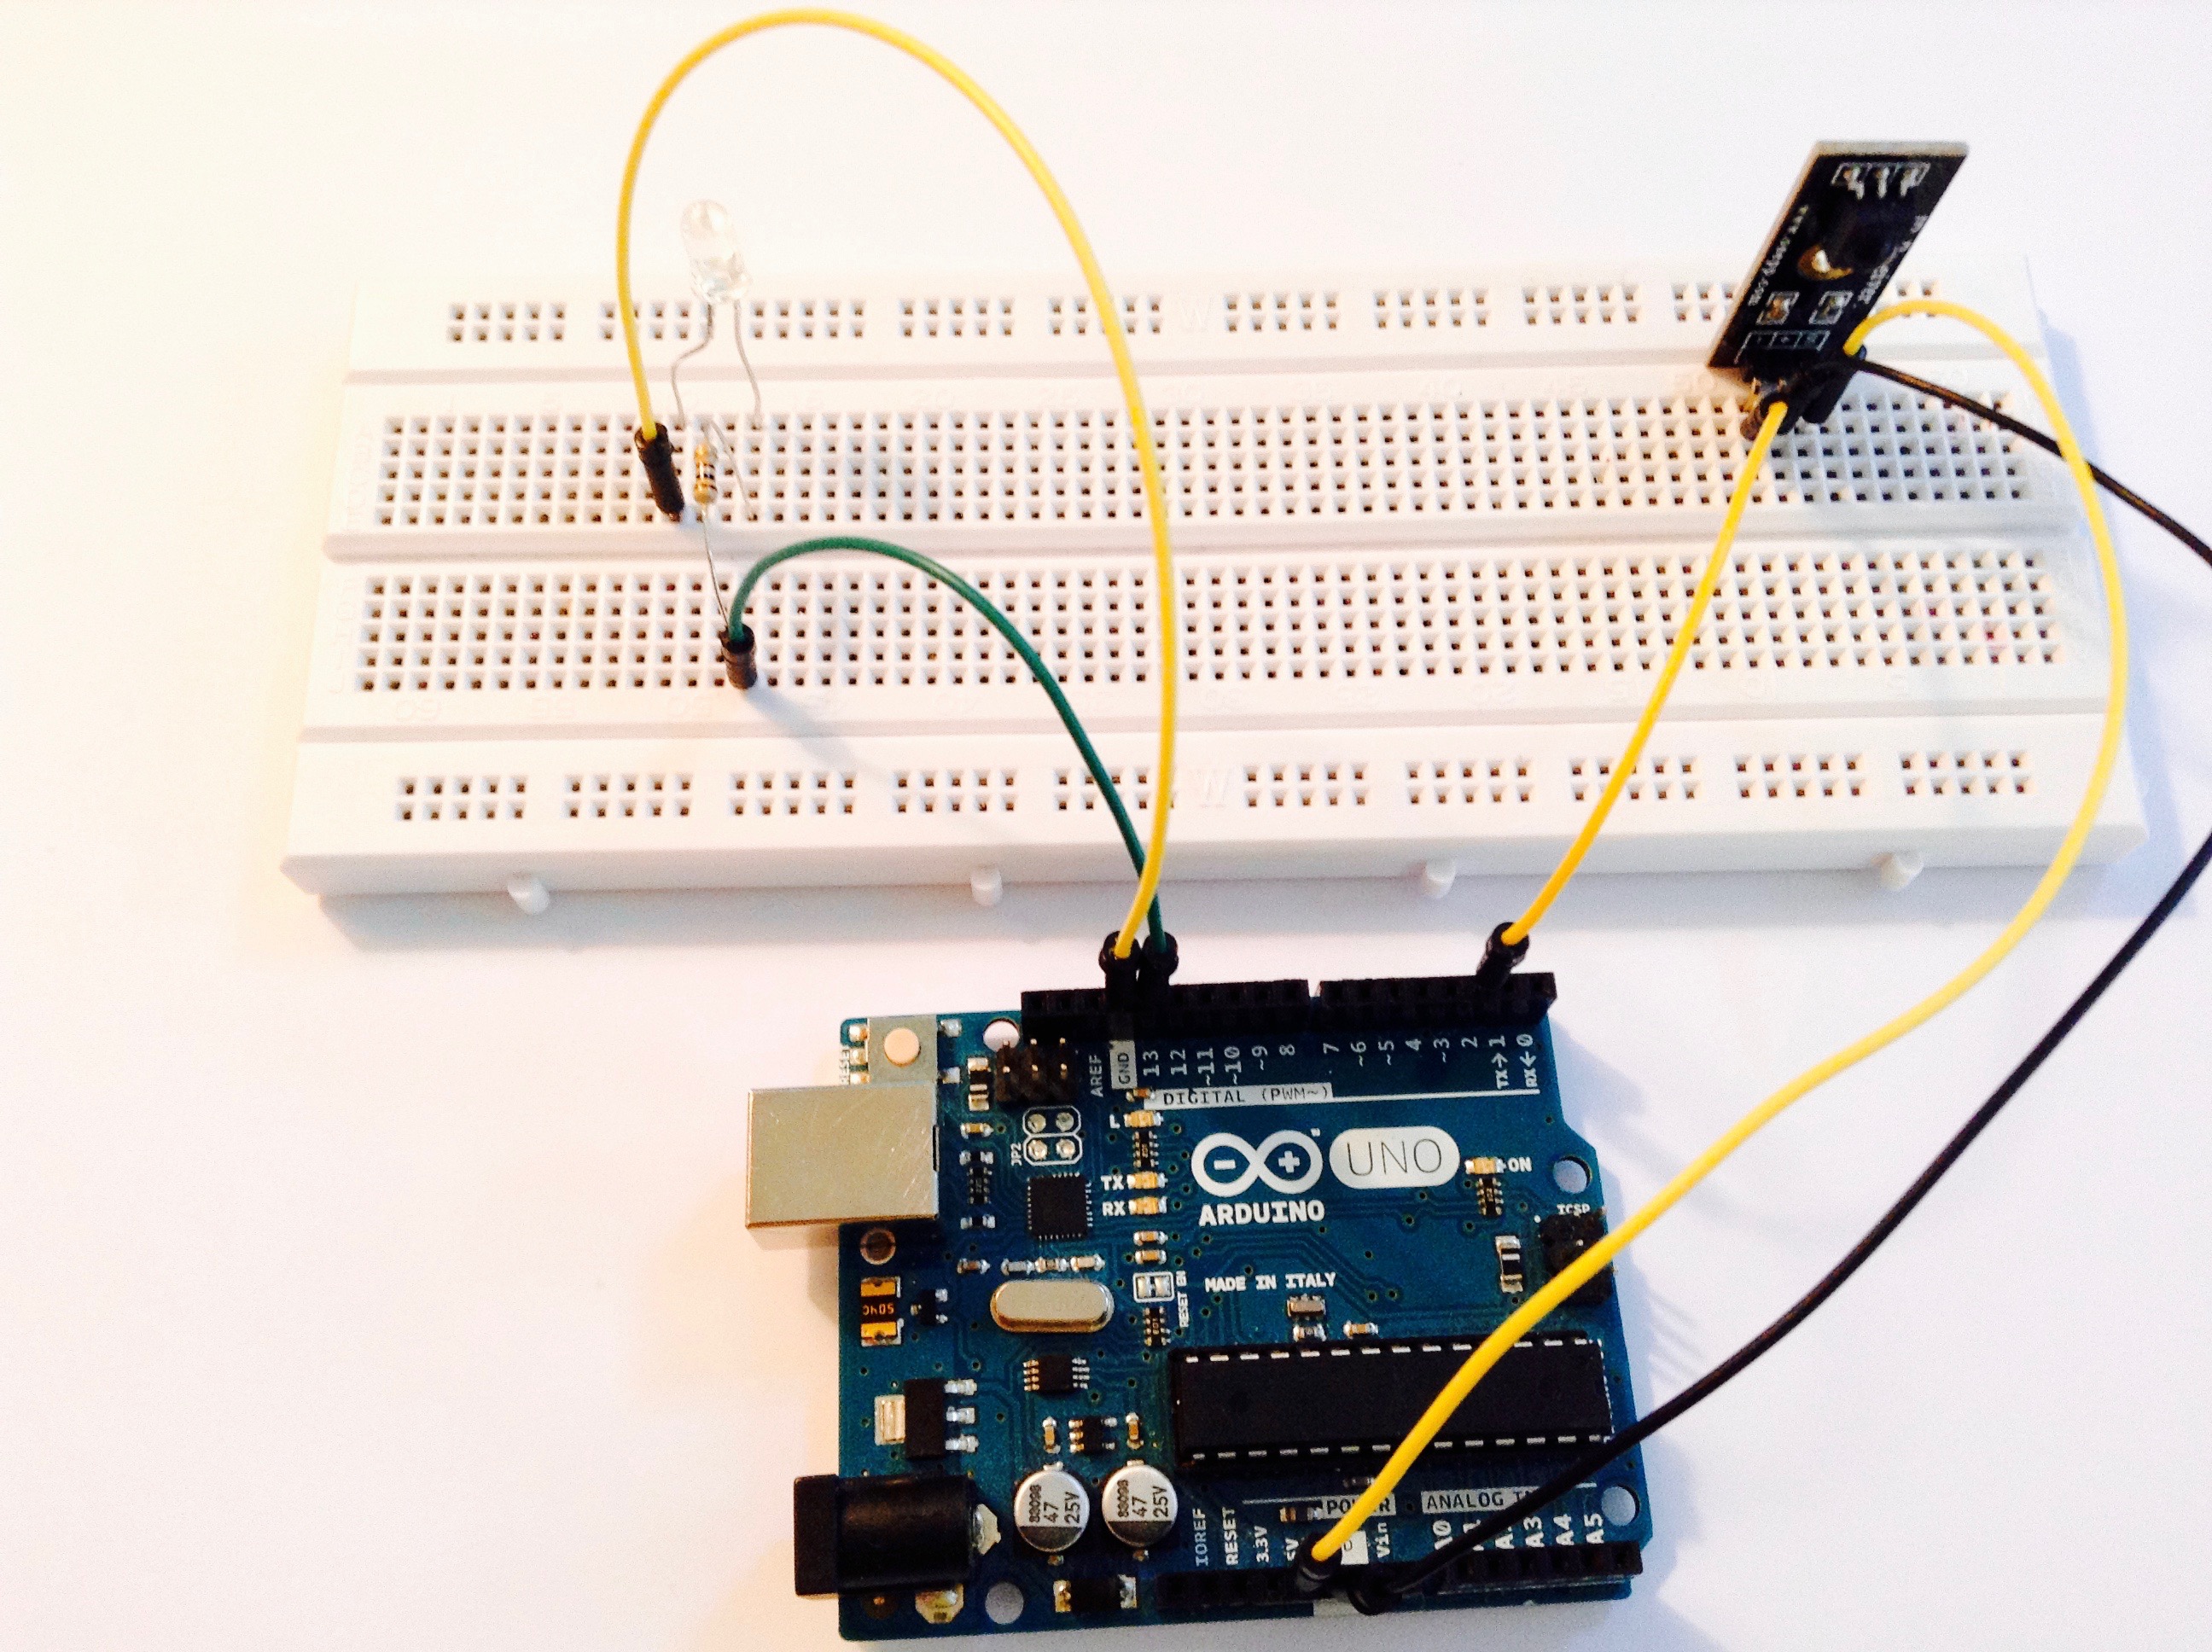
Hello! Today, I'm going to show you how to make an Intervalometer. An Intervalometer is a device that stores an Infrared signal and repeats it every few minutes. These devices are often used to take time-lapse footage from high-quality cameras.
Parts
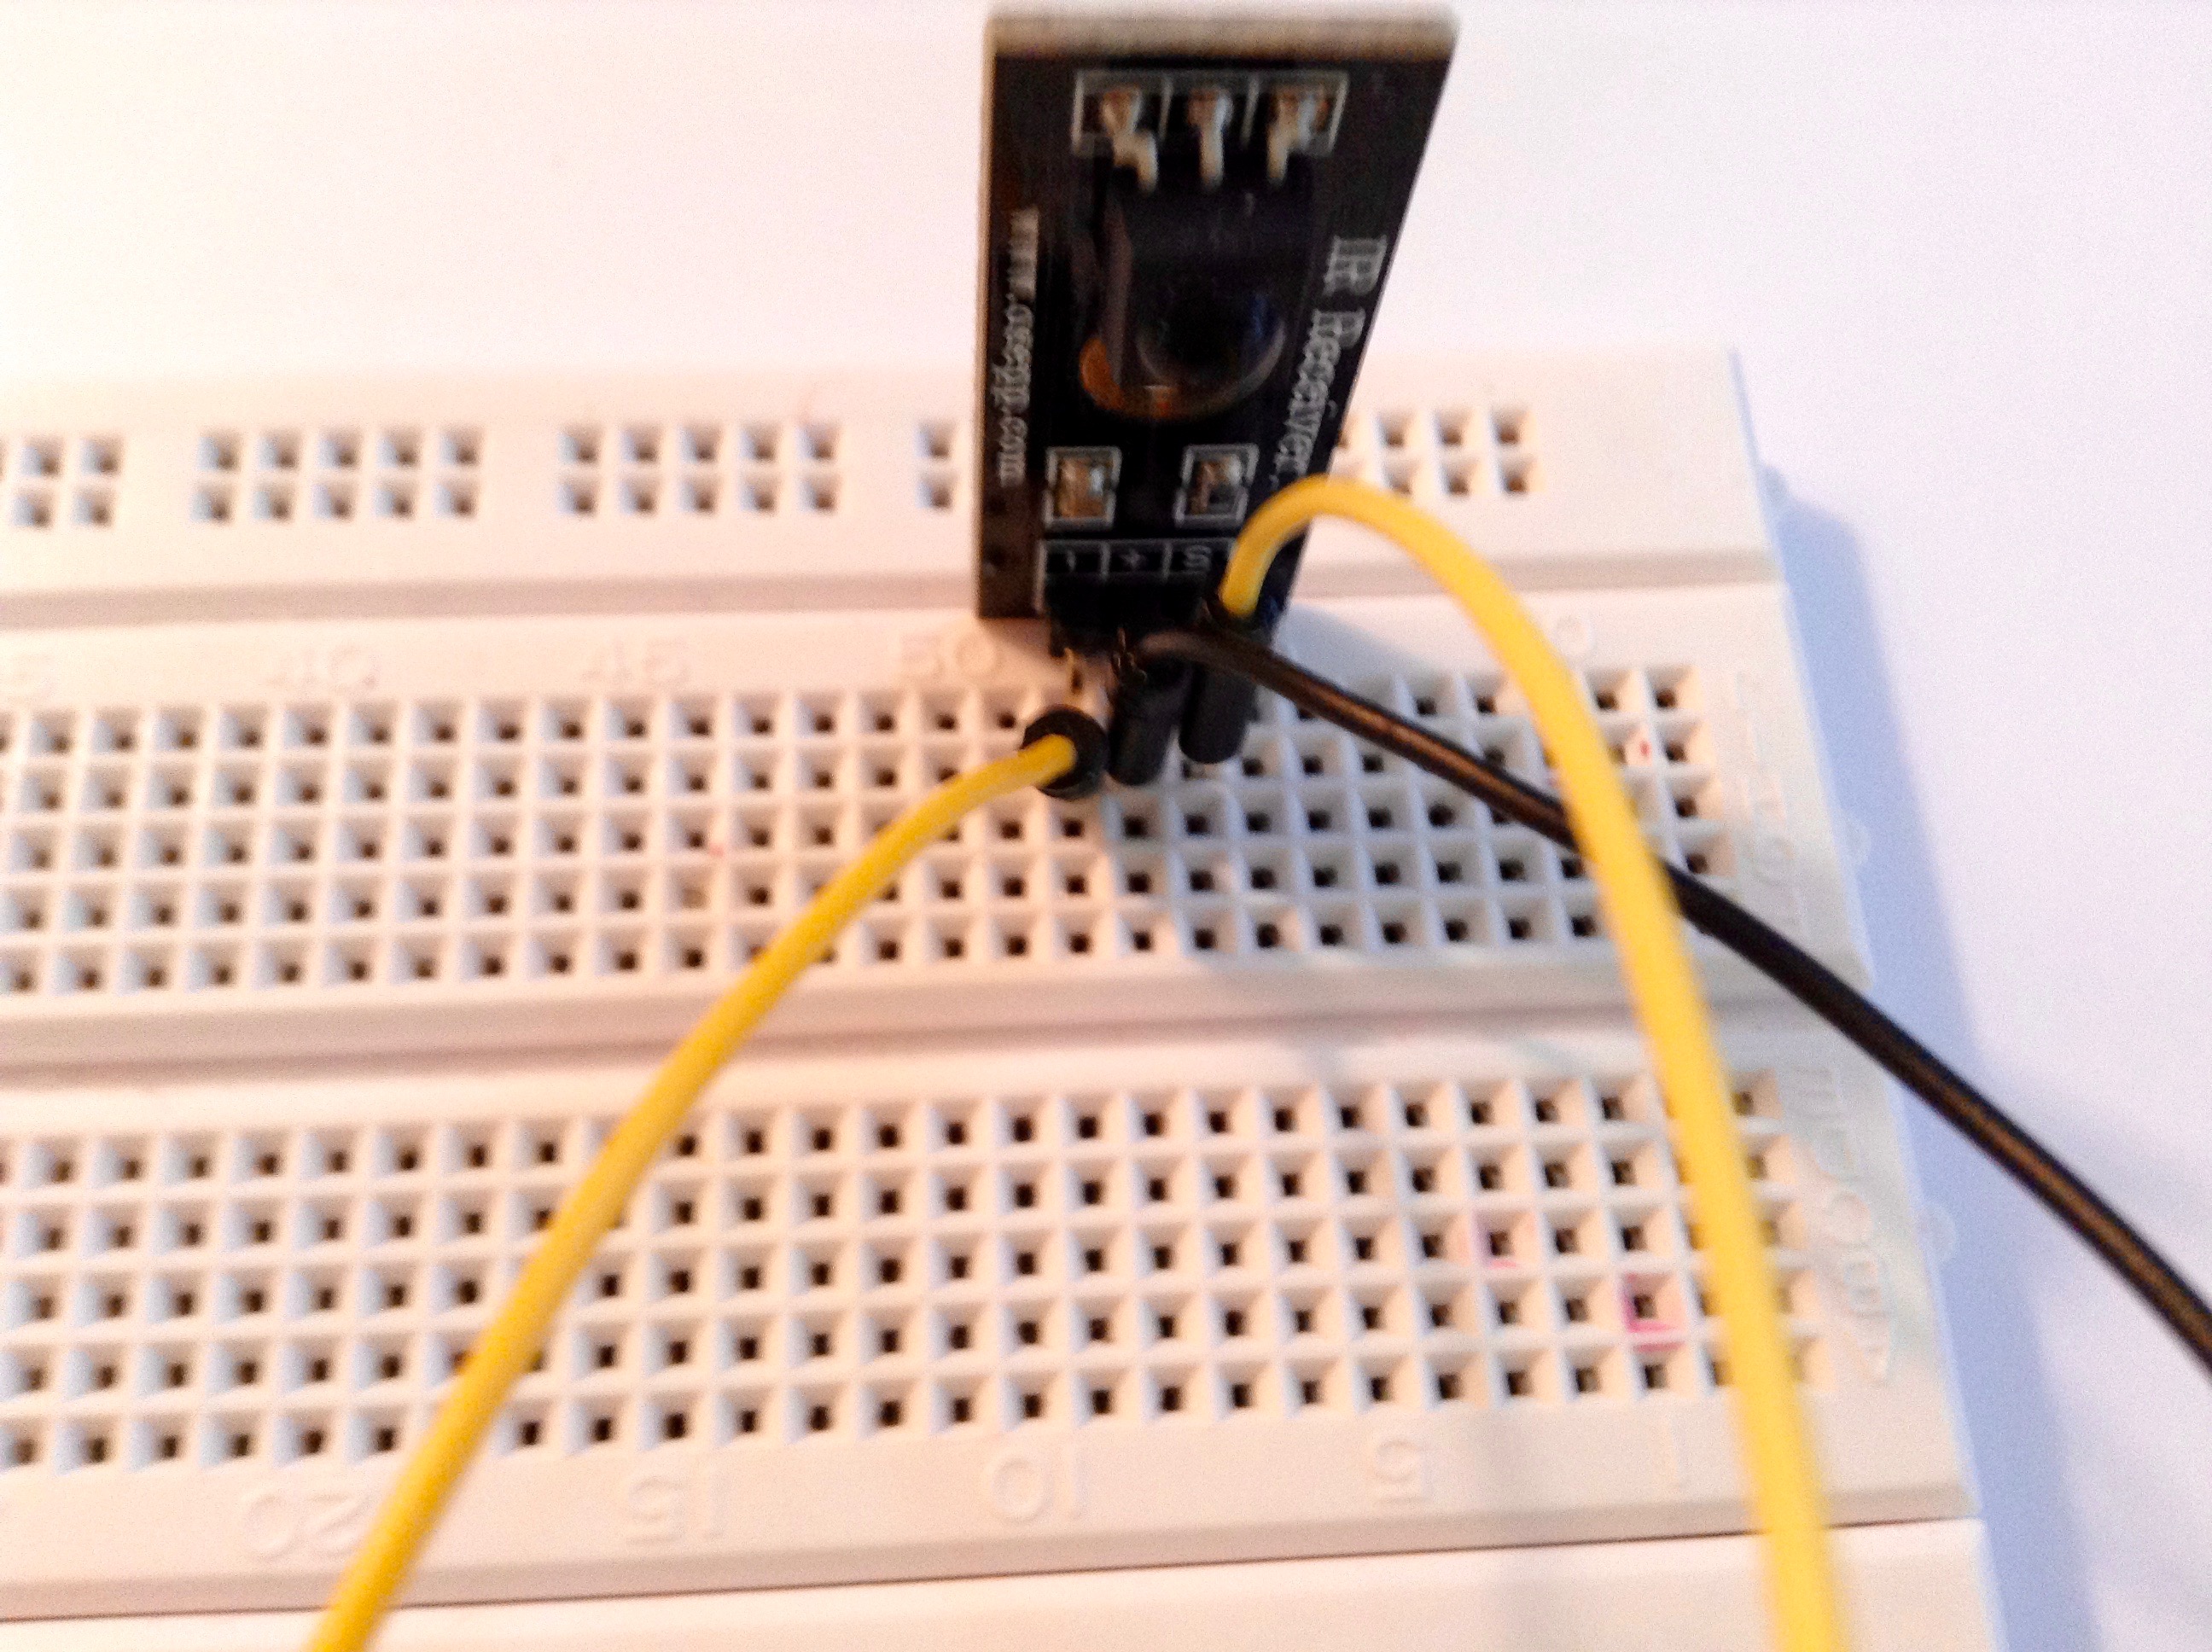
For this project, you will need:
- Arduino Uno (1)
- IR sensor (1)
- IR LED (1)
- 10k Resistor (1)
- Jumpers (5)
- Breadboard
Check out a video I made about this video:
The Circuit
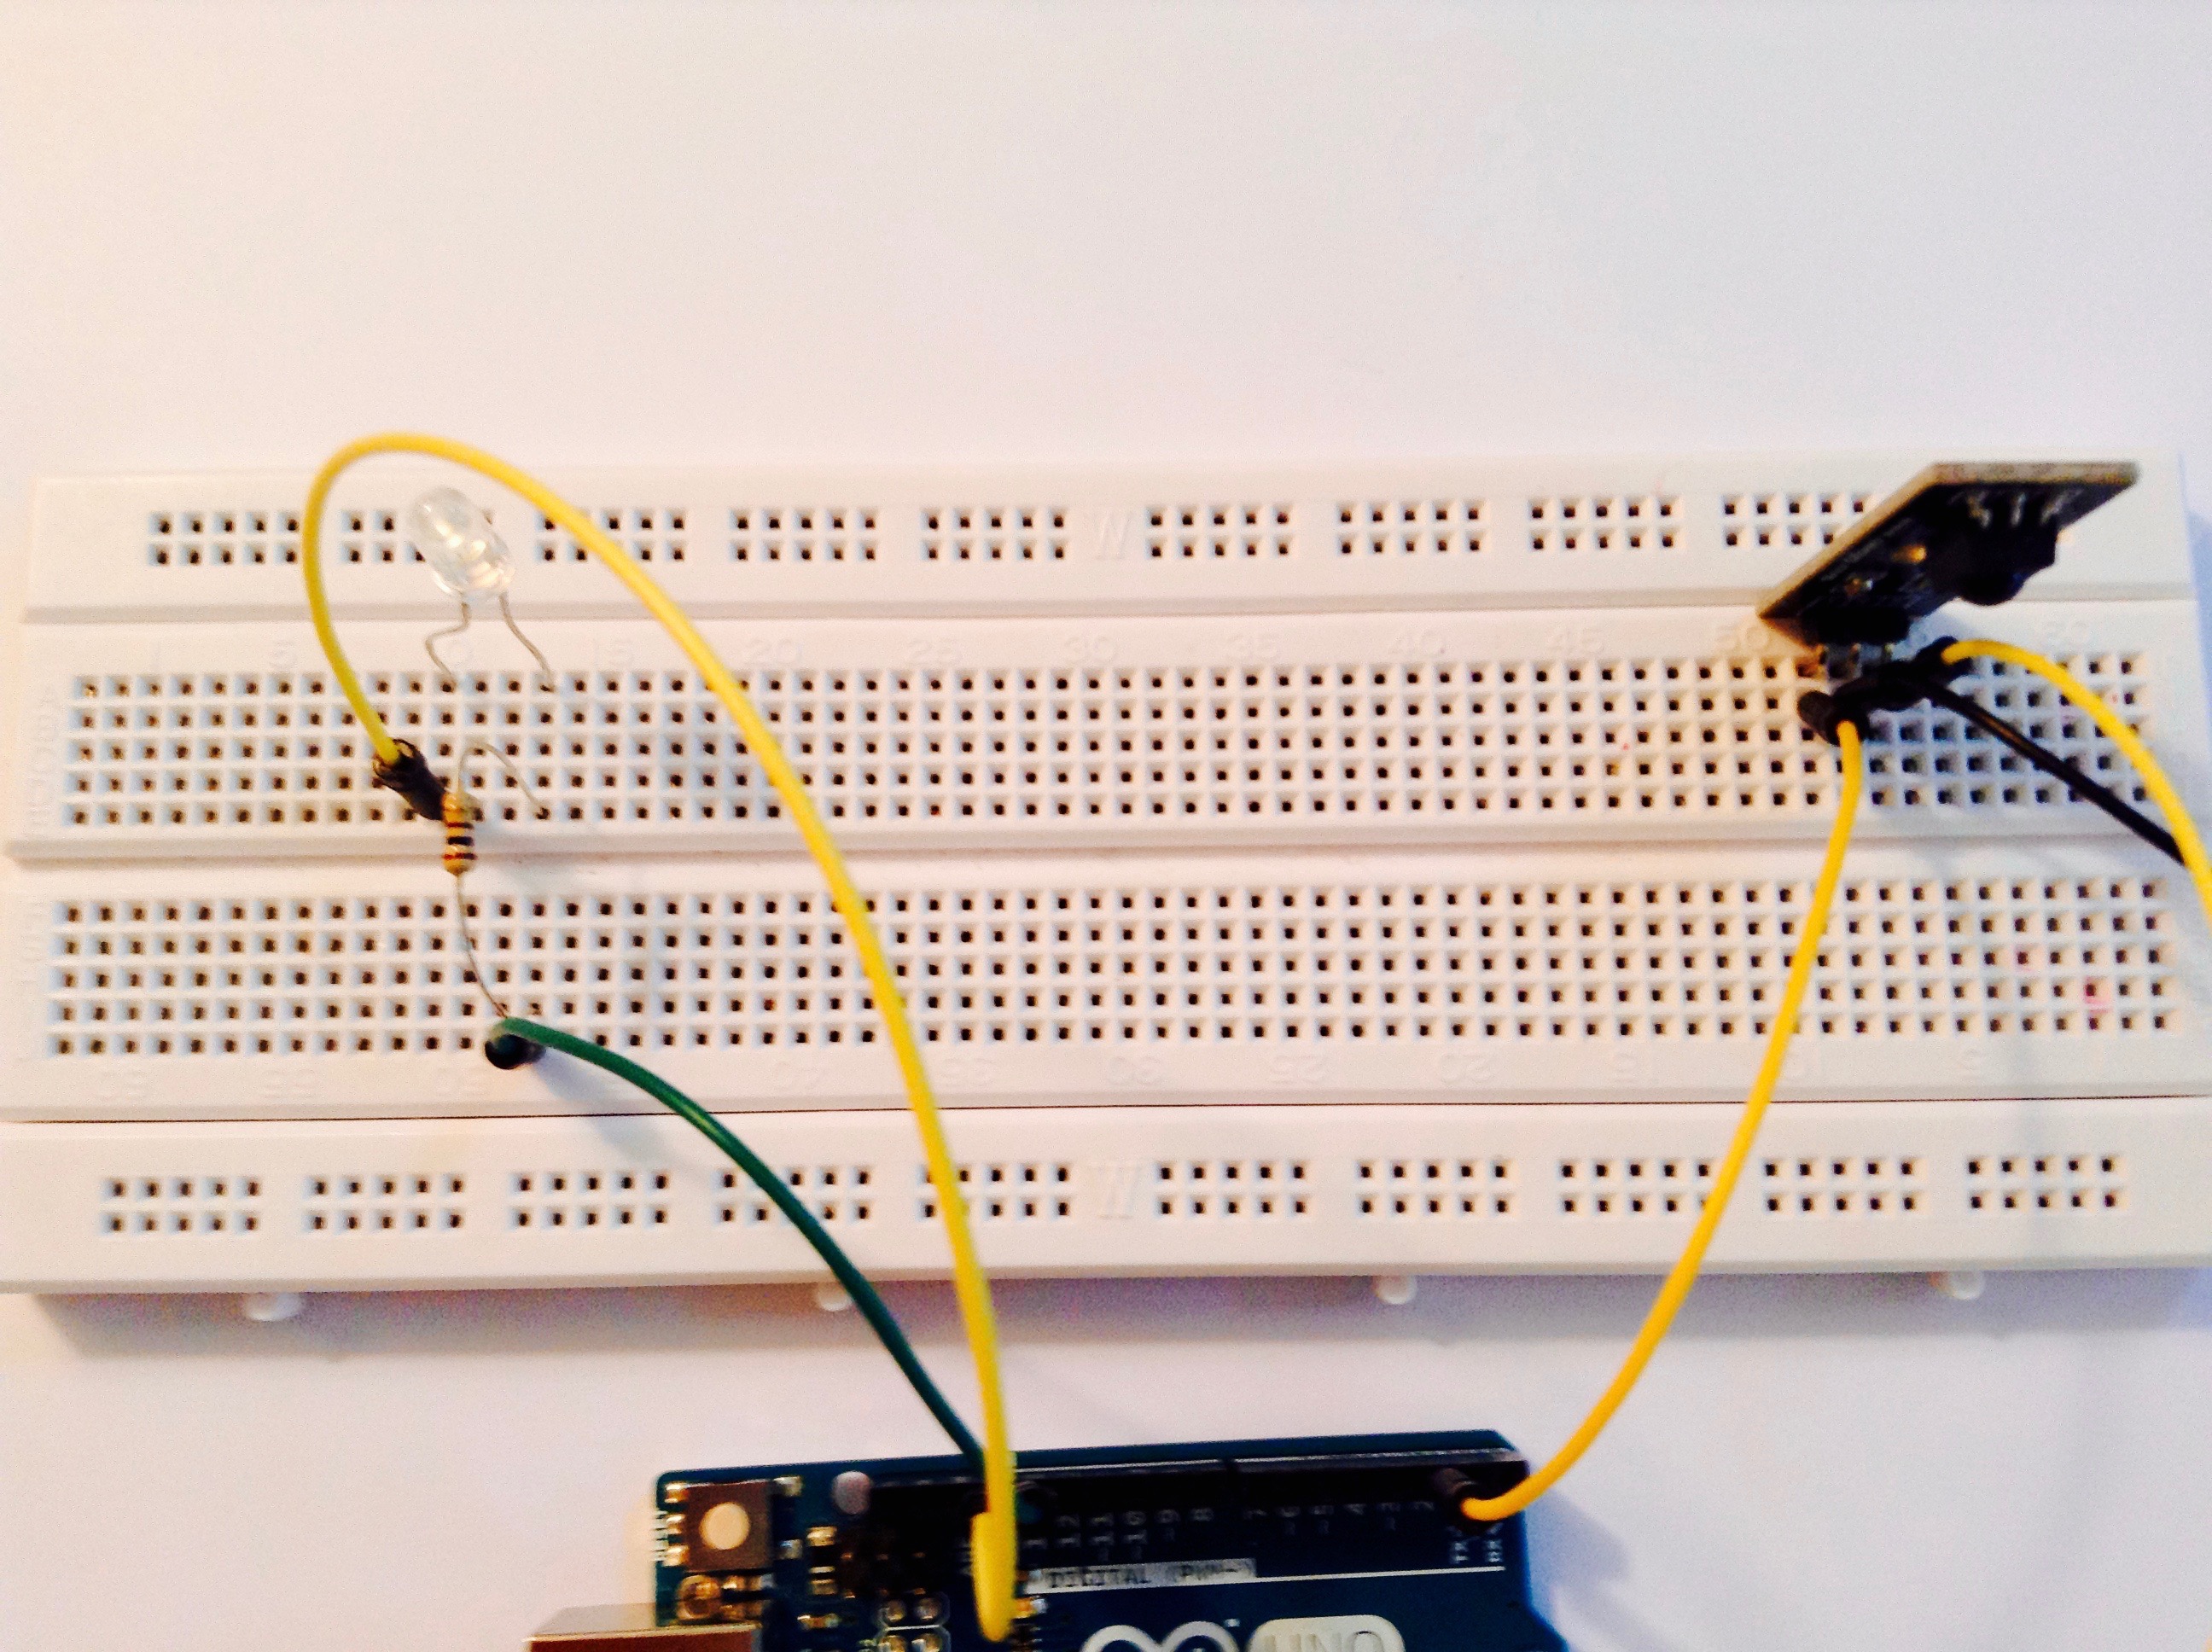
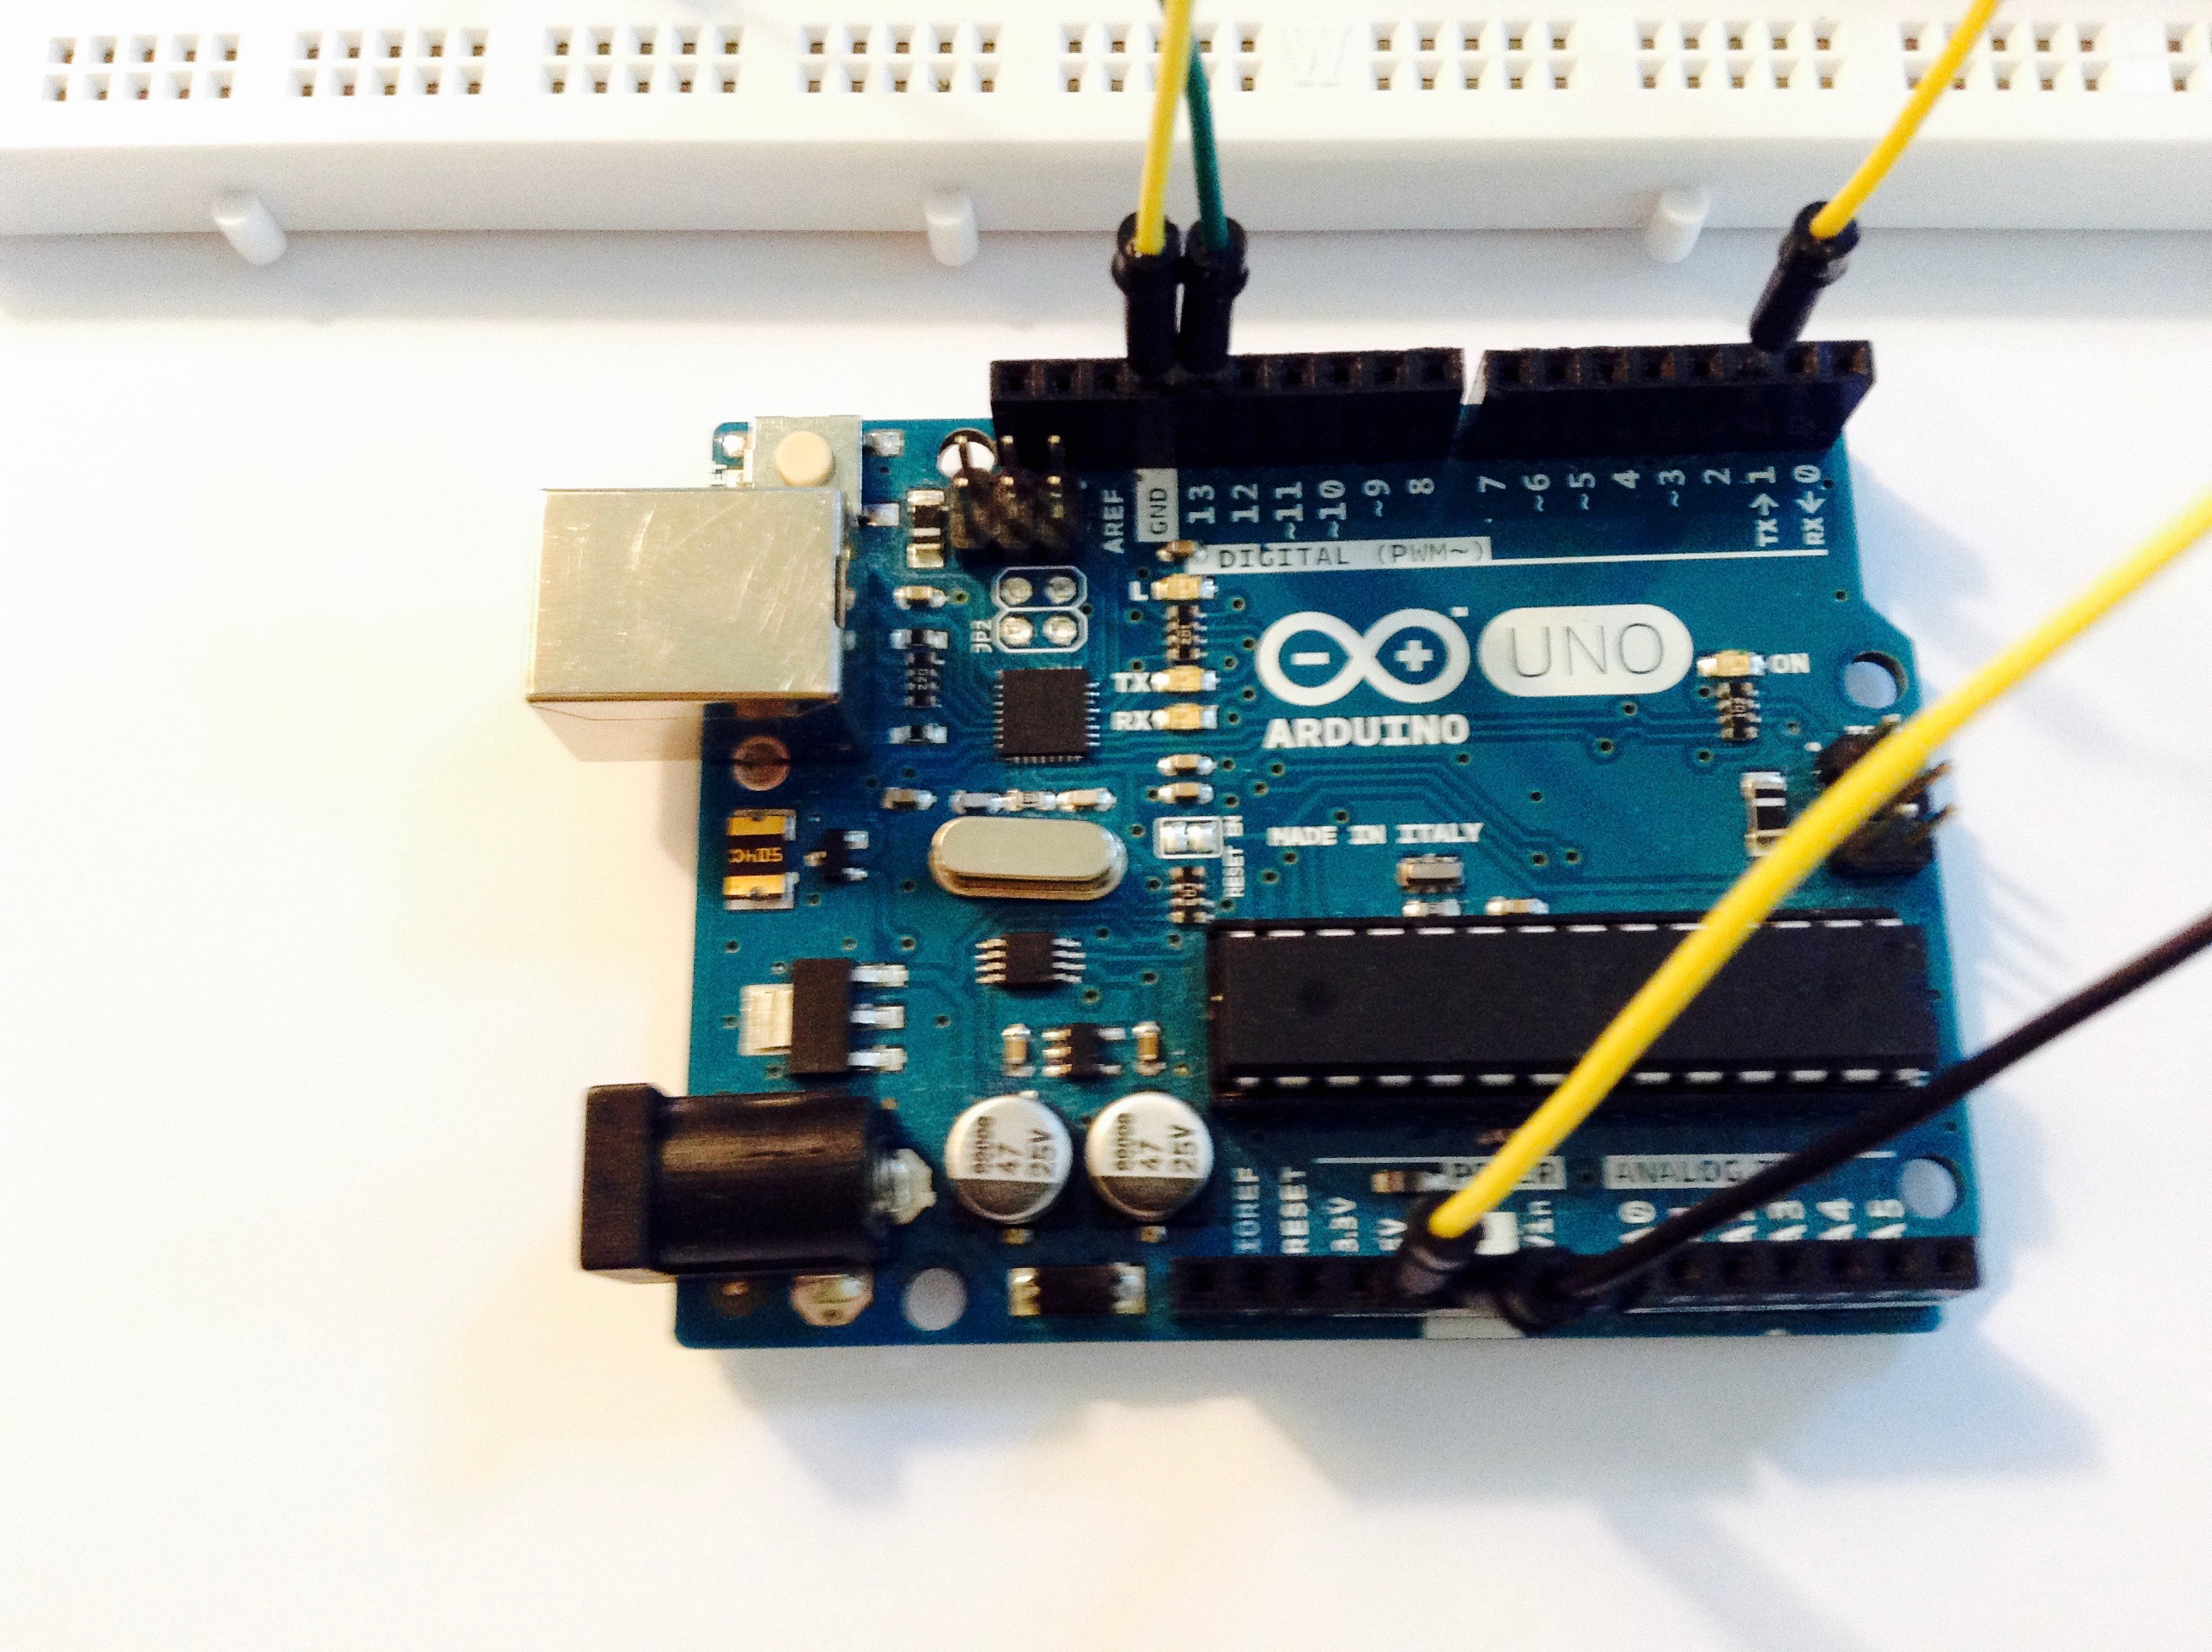
Alright, let's jump right in to the build.
- Place the IR sensor on the Breadboard.
- Wire a jumper from the left-most pin of the sensor to the 5v port of the Arduino.
- Next, wire another jumper from the middle pin of the sensor to one of the GND ports of the Arduino. Lastly, connect a jumper from the right-most pin of the sensor to Digital Pin 2 of the Arduino.
- That's it for the sensor.
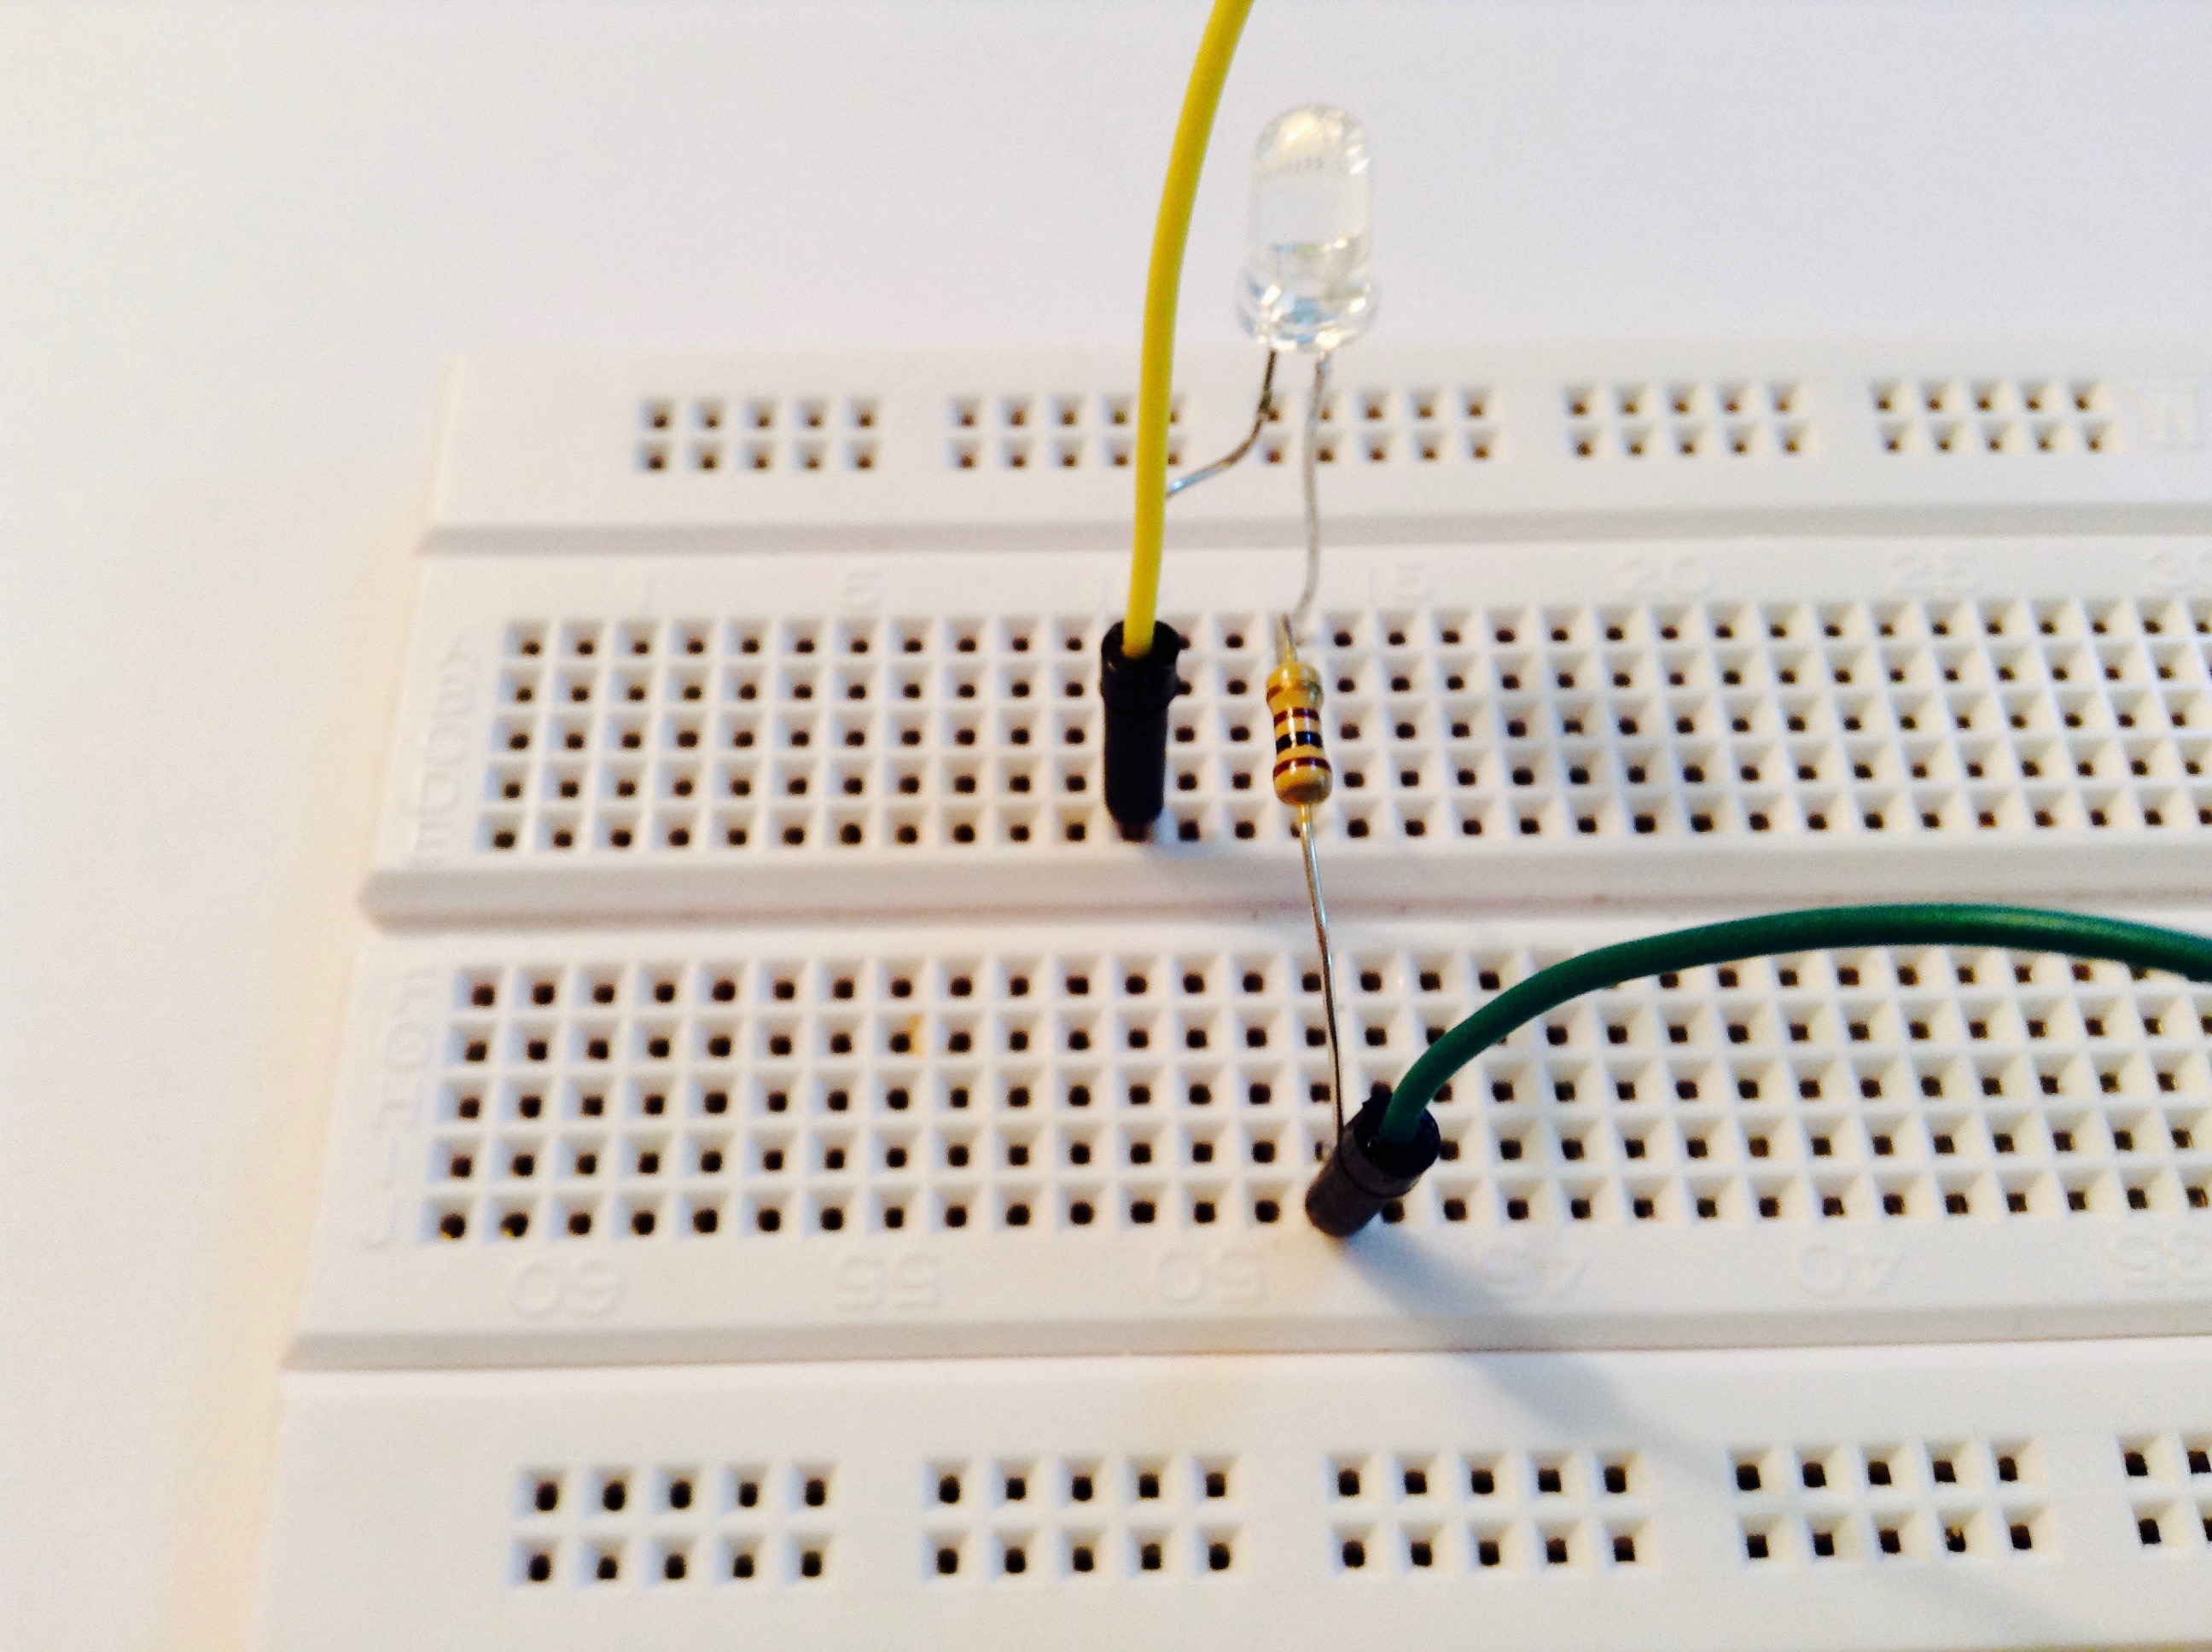
- Now to set-up the LED. Wire a jumper from the cathode of the LED to one of the other GND pins of the Arduino.
- Next, place a resistor across the anode to the next bus of the Breadboard.
- After that, wire a jumper for that resistor to Digital Pin 13.
That's it for the circuit! Now for the code...
The Code
For this project to work you will actually need to edit the code below a little bit. You will need to find out the frequency your remote emits when pressing the on/off button. After that, just substsitue those values for those of the Nikon camera. That's it for this project. Thanks for reading and, as always, Happy Making!
P.S check out my new youtube channel. I have a bunch of videos on their over some of my old projects and some other random stuff I've done recently. I hope you guys can get some use out of my videos. Back to the code!
CODE:
int IRledPin = 13; // LED connected to digital pin 13
// The setup() method runs once, when the sketch starts
void setup() {
// initialize the IR digital pin as an output:
pinMode(IRledPin, OUTPUT);
Serial.begin(9600);} void loop() { Serial.println("Sending IR signal");
SendNikonCode();
delay(60*1000);
// wait one minute (60 seconds * 1000 milliseconds)}
// This procedure sends a 38KHz pulse to the IRledPin
// for a certain # of microseconds. We'll use this whenever we need to send codes
void pulseIR(long microsecs) {
// we'll count down from the number of microseconds we are told to wait
cli();
// this turns off any background interrupts
while (microsecs > 0) {
// 38 kHz is about 13 microseconds high and 13 microseconds low
digitalWrite(IRledPin, HIGH); // this takes about 3 microseconds to happen
delayMicroseconds(10); // hang out for 10 microseconds, you can also change this to 9 if its not working digitalWrite(IRledPin, LOW); // this also takes about 3 microseconds
delayMicroseconds(10); // hang out for 10 microseconds, you can also change this to 9 if its not working
// so 26 microseconds altogether
microsecs -= 26; } sei();
// this turns them back on
}
void SendNikonCode() {
// This is the code for my camera, for others use the tutorial
// to 'grab' the proper code from the remote
pulseIR(2080);
delay(27);
pulseIR(440);
delayMicroseconds(1500);
pulseIR(460);
delayMicroseconds(3440);
pulseIR(480);
delay(65); // wait 65 milliseconds before sending it again
pulseIR(2000);
delay(27);
pulseIR(440);
delayMicroseconds(1500);
pulseIR(460);
delayMicroseconds(3440);
pulseIR(480);
}