How to Make an Easy RC Car
by tristankrige in Circuits > Remote Control
317 Views, 3 Favorites, 0 Comments
How to Make an Easy RC Car
![16928789035037555169944129768379.jpg](/proxy/?url=https://content.instructables.com/FE0/F1U3/LLNQWD32/FE0F1U3LLNQWD32.jpg&filename=16928789035037555169944129768379.jpg)
![16928788700057999761589226732360.jpg](/proxy/?url=https://content.instructables.com/FSV/4EM3/LLNQWD2E/FSV4EM3LLNQWD2E.jpg&filename=16928788700057999761589226732360.jpg)
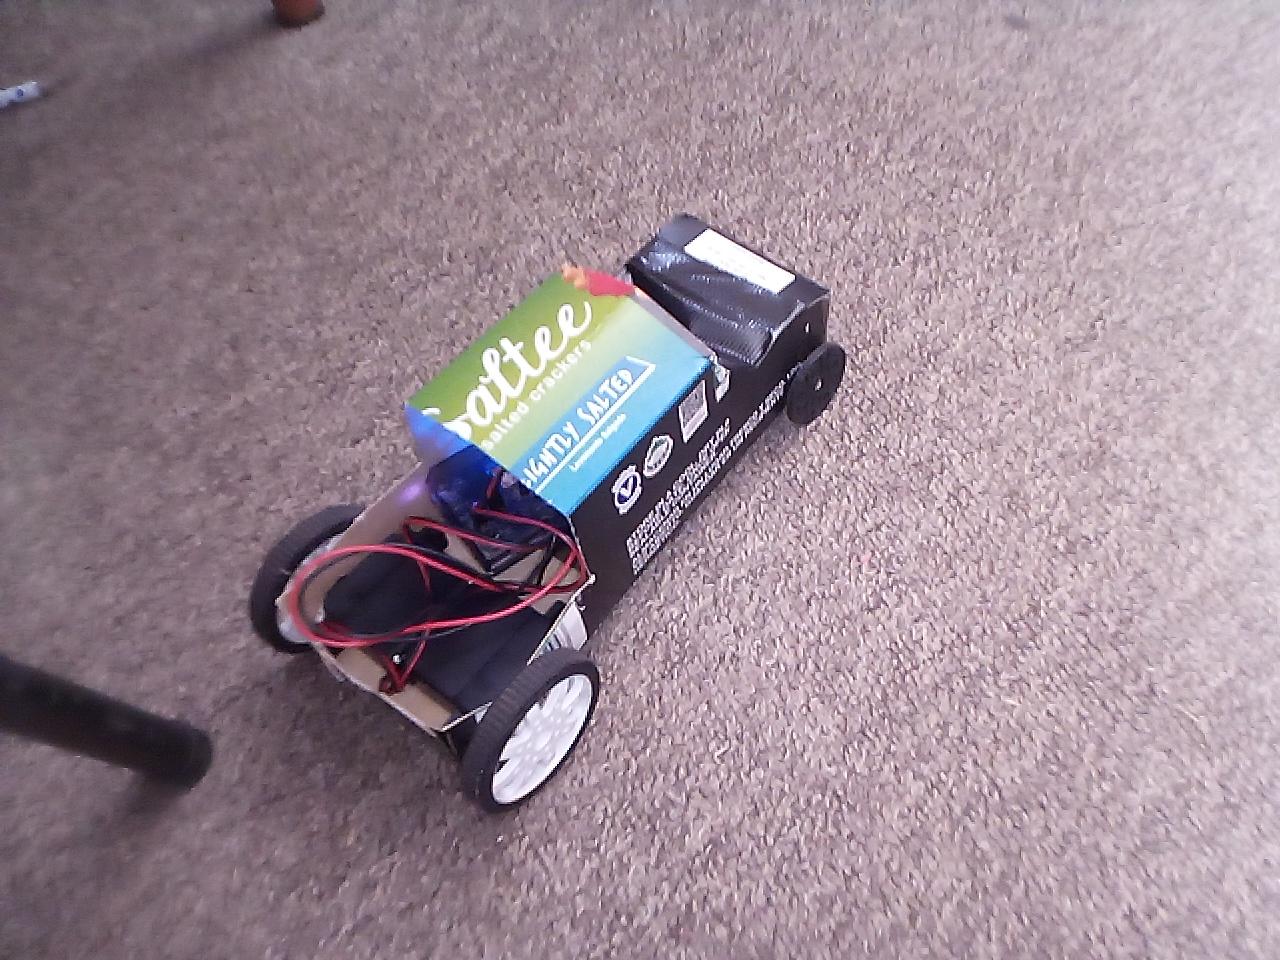
This is a Arduino remote control car.
Downloads
Supplies
Tools:
- Rokits Smart kit (from robolink.com)
- Scissors
Materials:
- Cardboard
- Crackers box
Making the Frame
![16928548650158127384356419378449.jpg](/proxy/?url=https://content.instructables.com/FN9/KK44/LLNQW8ON/FN9KK44LLNQW8ON.jpg&filename=16928548650158127384356419378449.jpg)
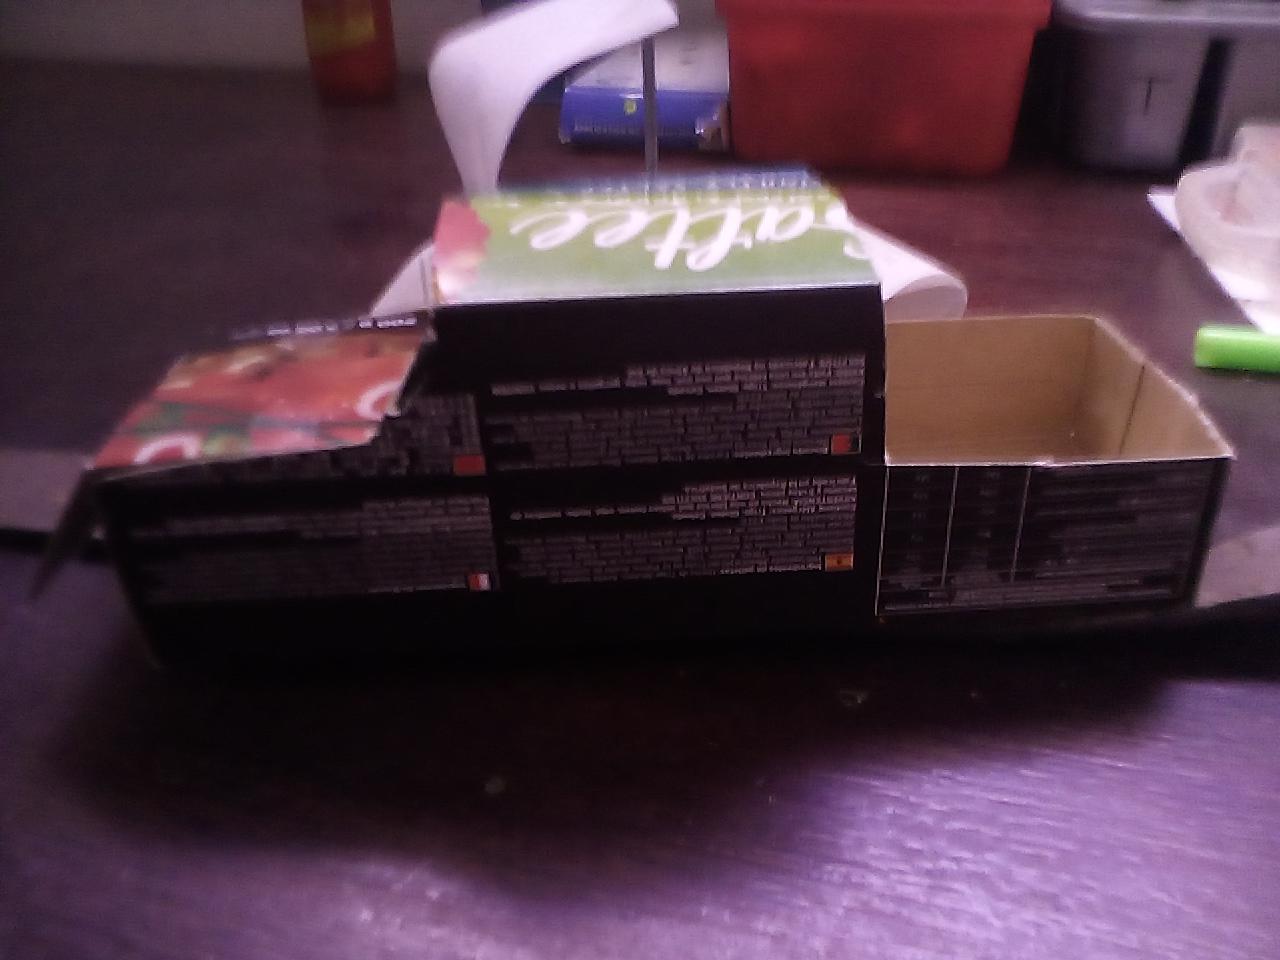
- Start by cutting out your crackers box into any car shape you want. I made mine a cab.
Starting With the Back Wheels
![16928552154468998091700778232452.jpg](/proxy/?url=https://content.instructables.com/FN0/C160/LLNQW9A6/FN0C160LLNQW9A6.jpg&filename=16928552154468998091700778232452.jpg)
![16928553522146090152786887673255.jpg](/proxy/?url=https://content.instructables.com/FIG/6646/LLNQW9GF/FIG6646LLNQW9GF.jpg&filename=16928553522146090152786887673255.jpg)
![16928554713177868980992507295257.jpg](/proxy/?url=https://content.instructables.com/F5F/J7Q8/LLNQW9JF/F5FJ7Q8LLNQW9JF.jpg&filename=16928554713177868980992507295257.jpg)
![16928559583896892230644487781254.jpg](/proxy/?url=https://content.instructables.com/FD4/Z4GB/LLNQW9WH/FD4Z4GBLLNQW9WH.jpg&filename=16928559583896892230644487781254.jpg)
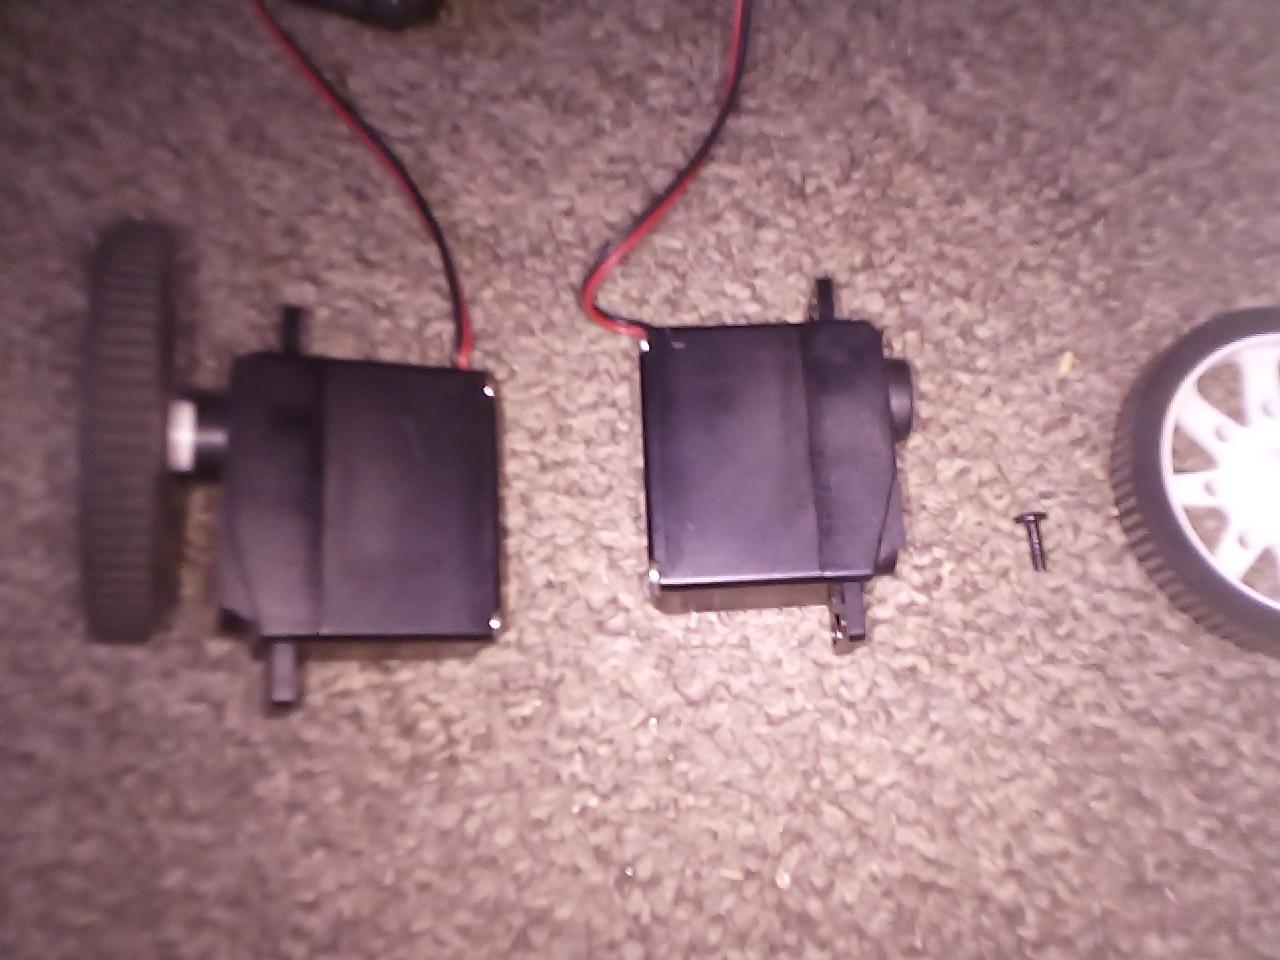
- Take your Rokit Smart kit and open it up.
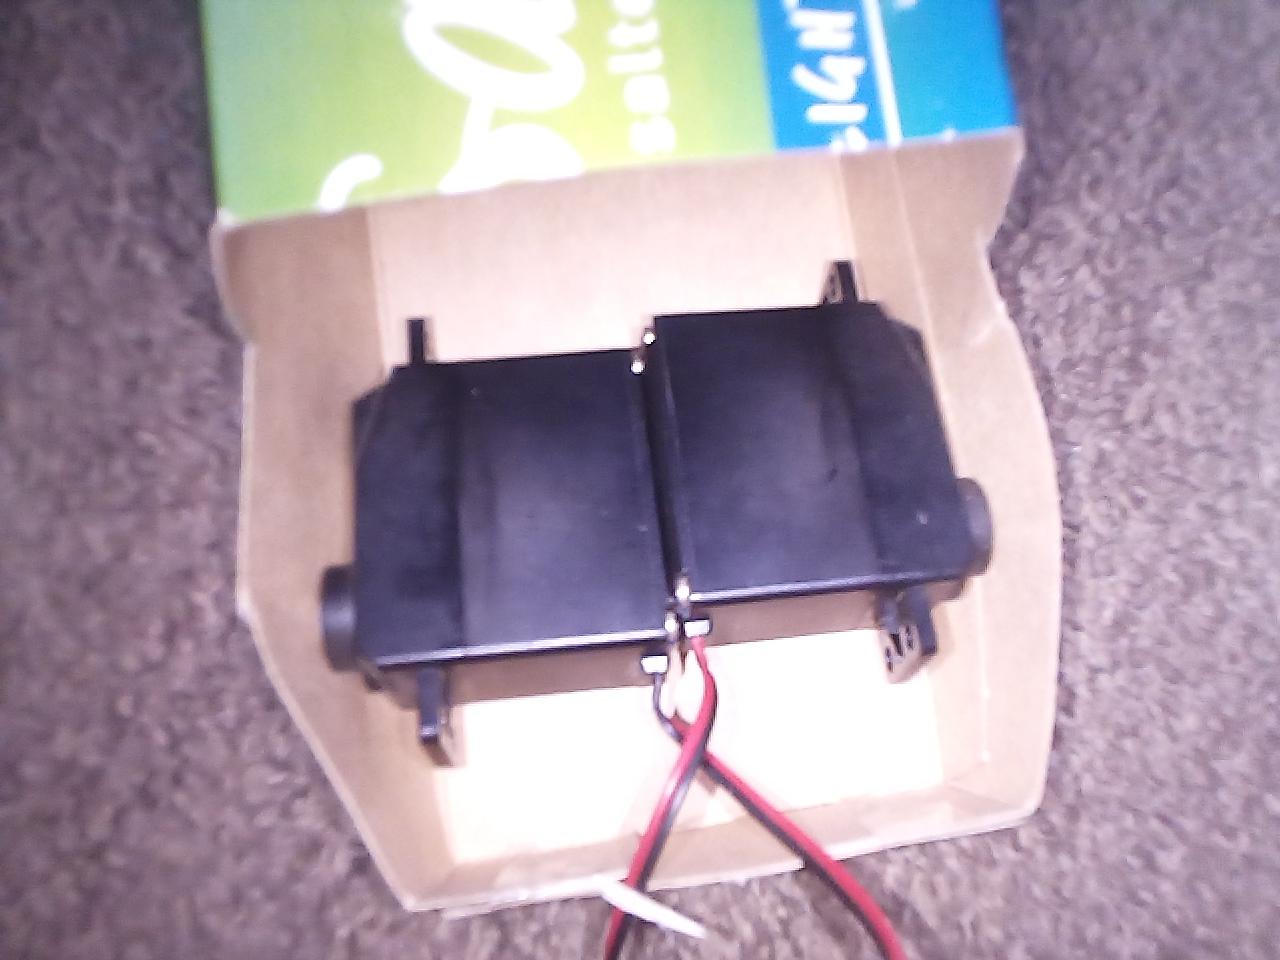
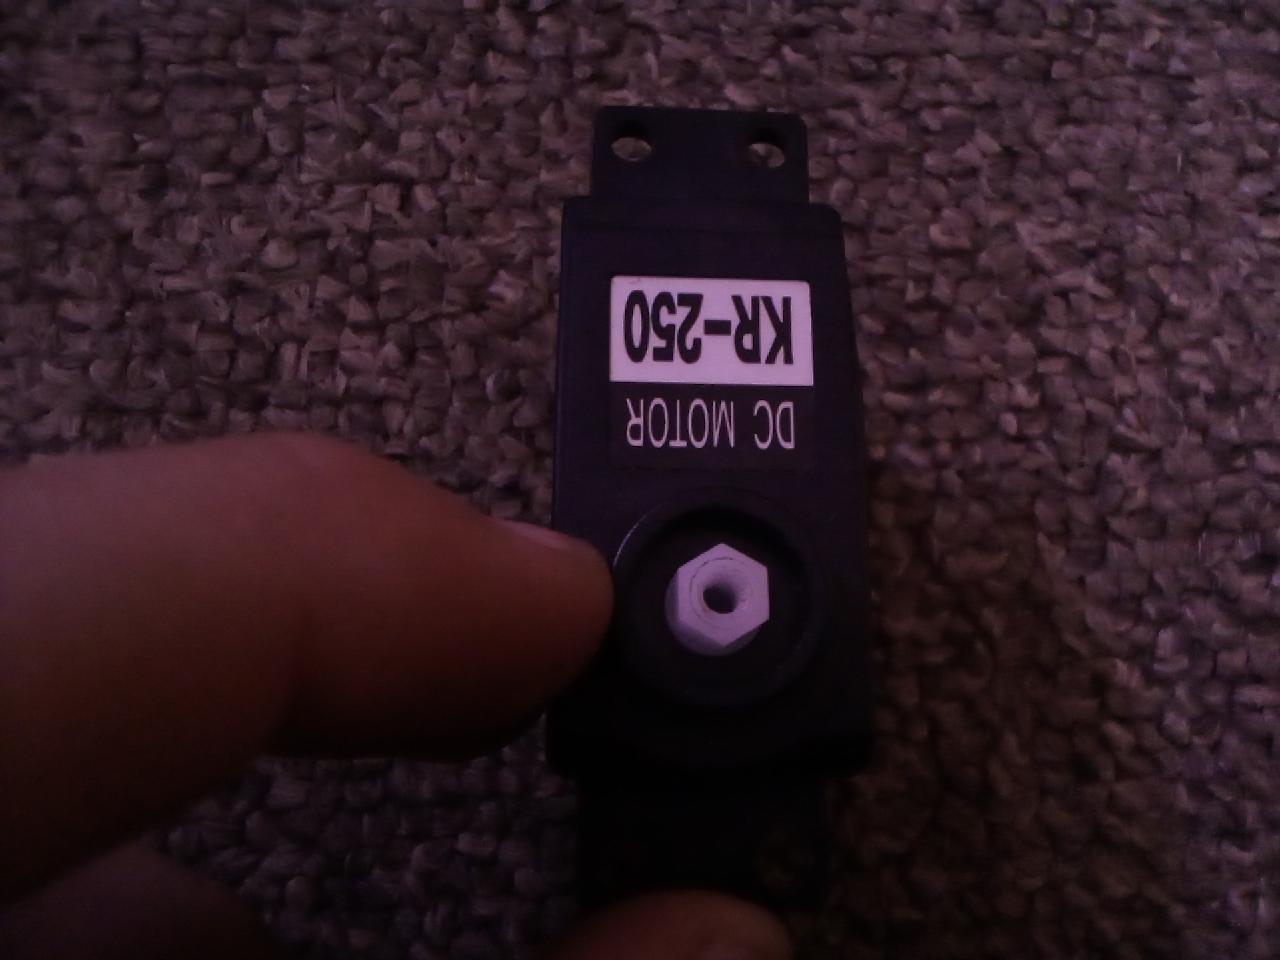
- Take your two-wheeler Motors and put them inside your cab (look at the picture above if you don't know what a wheel motor is). Screw-off the wheels if the wheels are on.
- Draw a circle on the outside of the vehicle as big as the thing that I'm pointing to in the picture.
- Cut out the circle and put the thing that I am pointing to through the hole.
- Then screw back on the wheels
- Use prestik to stick down the motors
Adding the Proper Stuff
![16928662896325705252510500811258.jpg](/proxy/?url=https://content.instructables.com/FB3/F6S3/LLNQWB9G/FB3F6S3LLNQWB9G.jpg&filename=16928662896325705252510500811258.jpg)
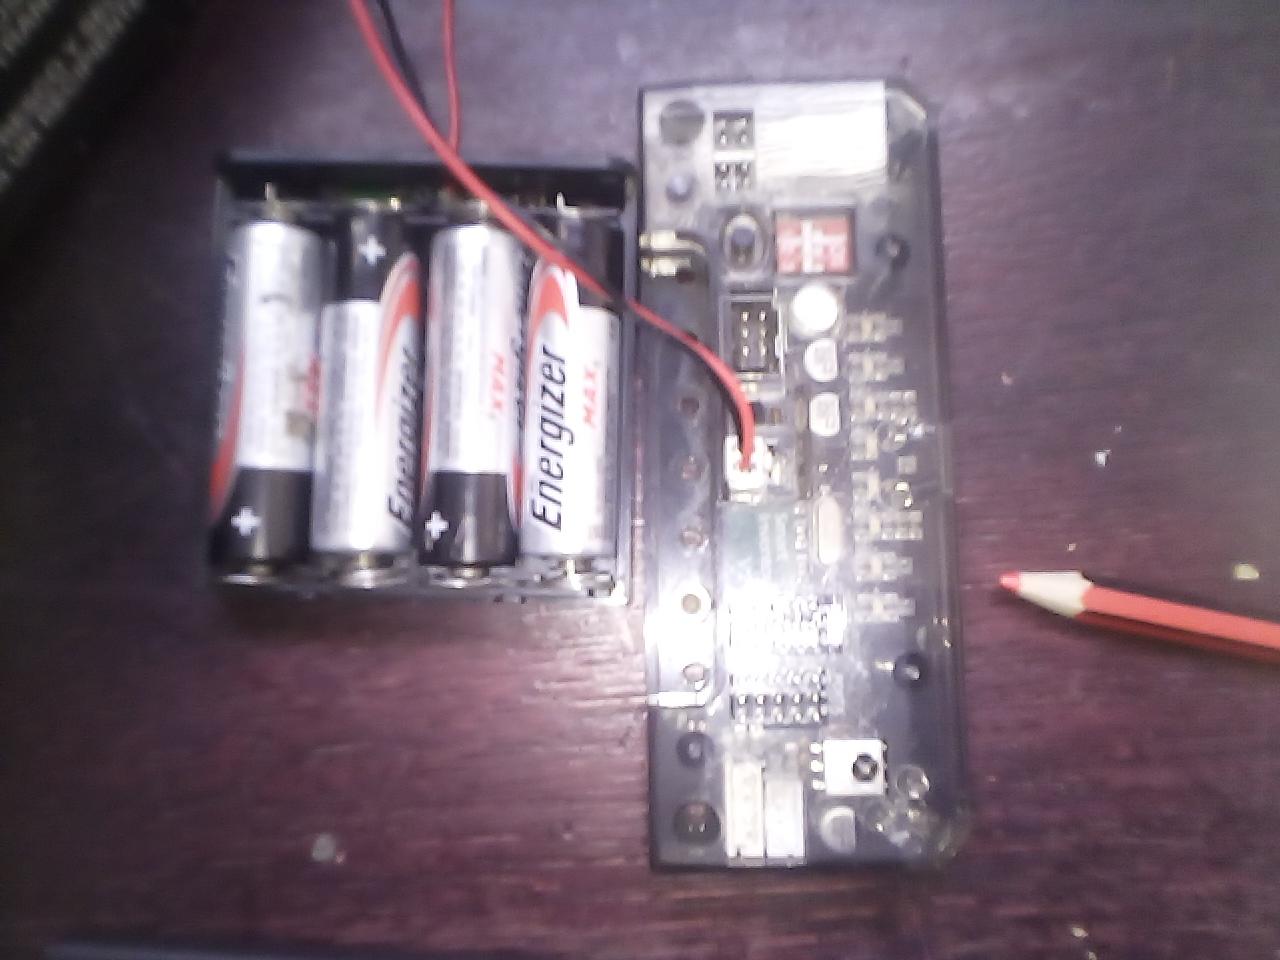
- Now it is time to put on your Arduino keyboard or board (look at the picture to see what I mean).
- Plug-in the battery thingy to the Arduino keyboard and put in the batteries.
Adding the Front Wheels
![16928666567623725643259819741384.jpg](/proxy/?url=https://content.instructables.com/FG0/GXZT/LLNQWBC0/FG0GXZTLLNQWBC0.jpg&filename=16928666567623725643259819741384.jpg)
![16928783761602050504951746923881.jpg](/proxy/?url=https://content.instructables.com/F6J/4EEJ/LLNQWCEF/F6J4EEJLLNQWCEF.jpg&filename=16928783761602050504951746923881.jpg)
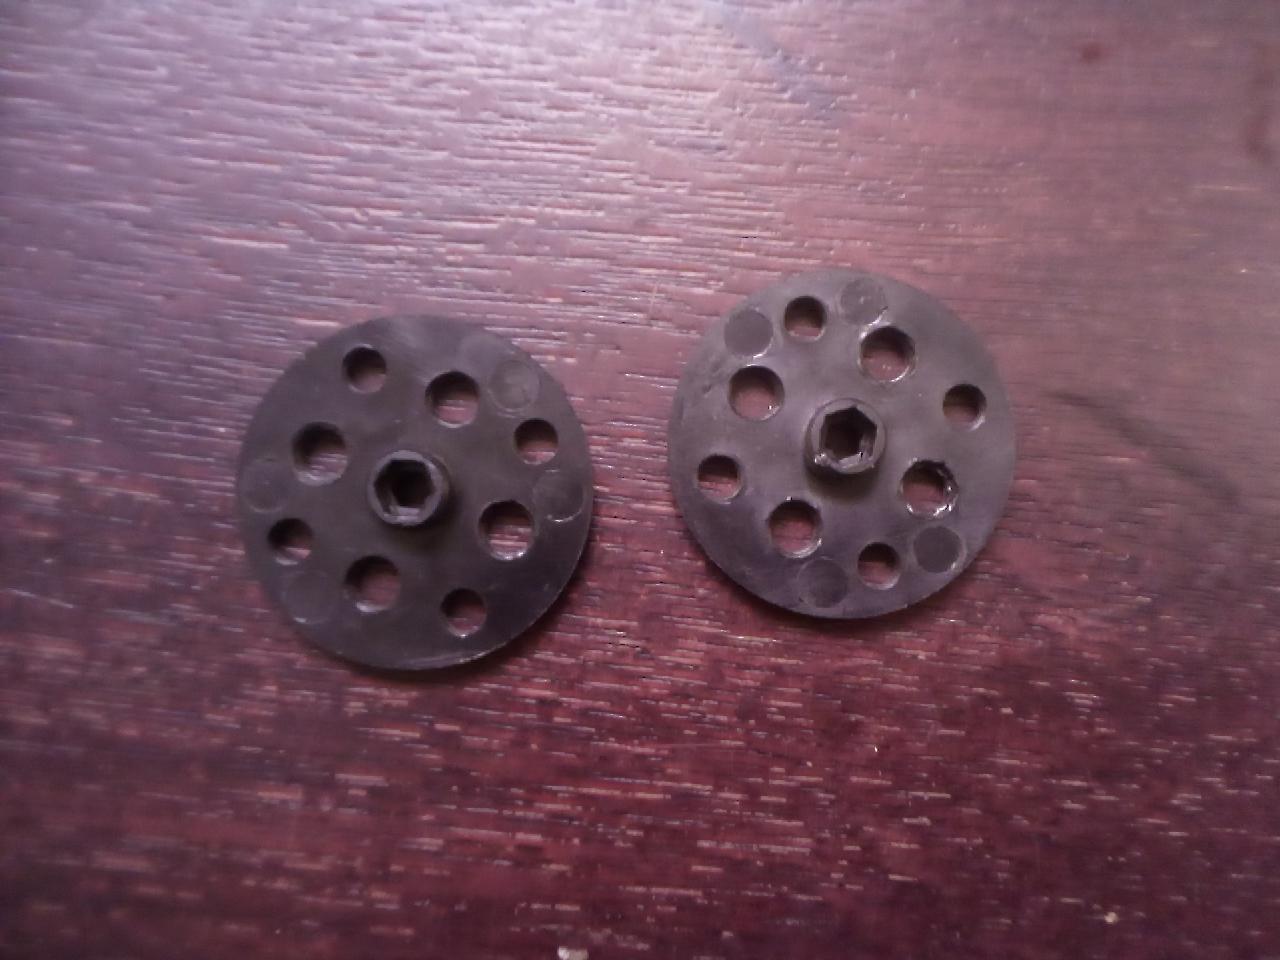
- Take your two black wheels from your Rokit Smart kit
- Take two bolts and two nuts
- Make two holes in the two sides in the front of your vehicle
- Put your bolts through the wheels and put it through the hole
- Cut out two squares of cardboard and put the bolt through them to.
- Put your nuts on the back of both your bolts and screw them on but be careful not to screw them on too tight.
Finishing Your Car
![16928785602053702303673711275556.jpg](/proxy/?url=https://content.instructables.com/FZR/6HE3/LLNQWCN4/FZR6HE3LLNQWCN4.jpg&filename=16928785602053702303673711275556.jpg)
![16928786880664937811153664531008.jpg](/proxy/?url=https://content.instructables.com/FUF/NNNB/LLNQWCRO/FUFNNNBLLNQWCRO.jpg&filename=16928786880664937811153664531008.jpg)
![16928787109942528767543767381376.jpg](/proxy/?url=https://content.instructables.com/FMI/6YYL/LLNQWCRP/FMI6YYLLLNQWCRP.jpg&filename=16928787109942528767543767381376.jpg)
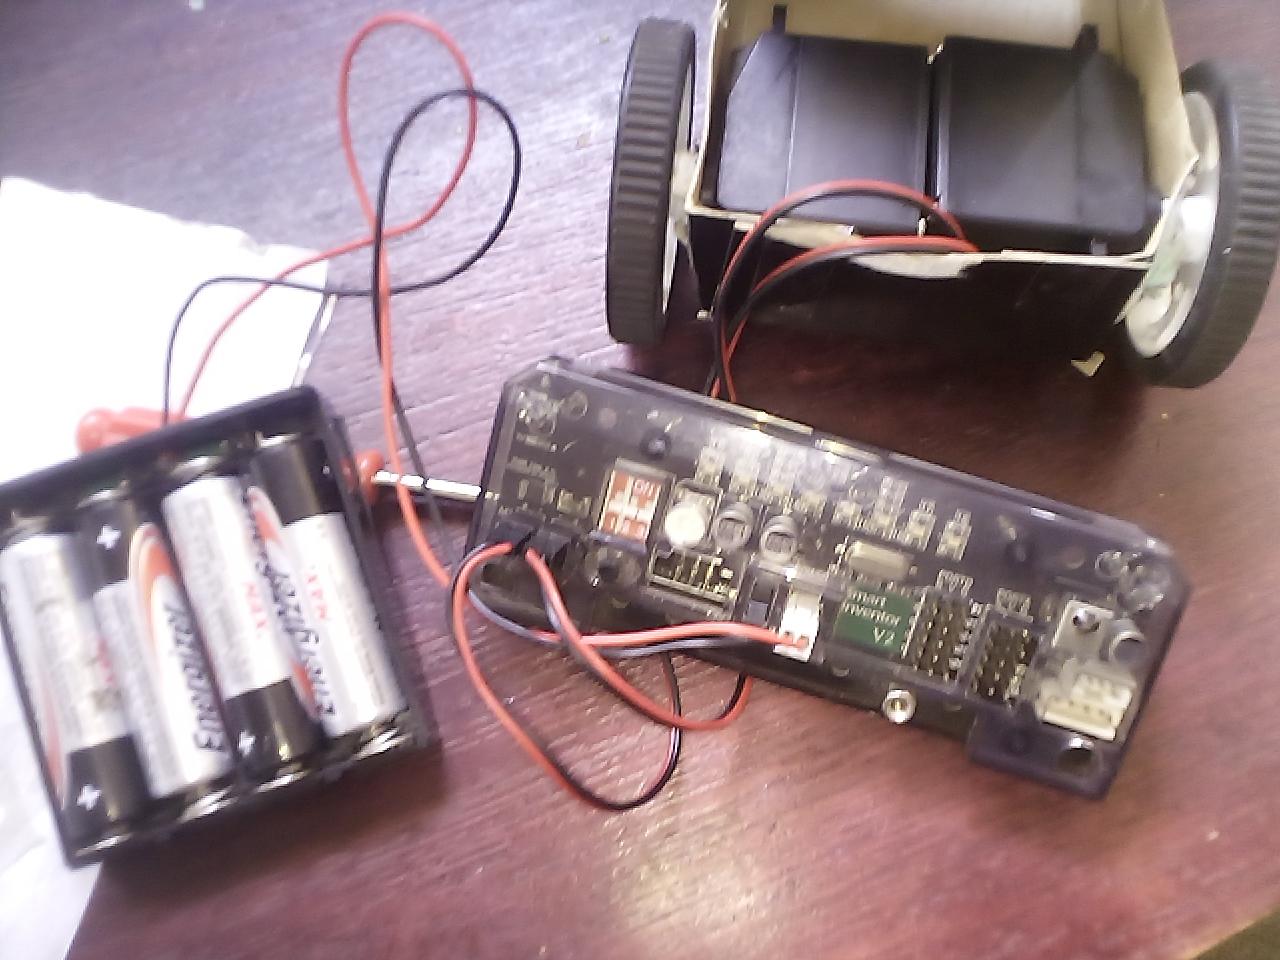
- Take your wires from the Motors and put them in your Arduino board
- The right motor should go into M1 and the left motor should go into M2
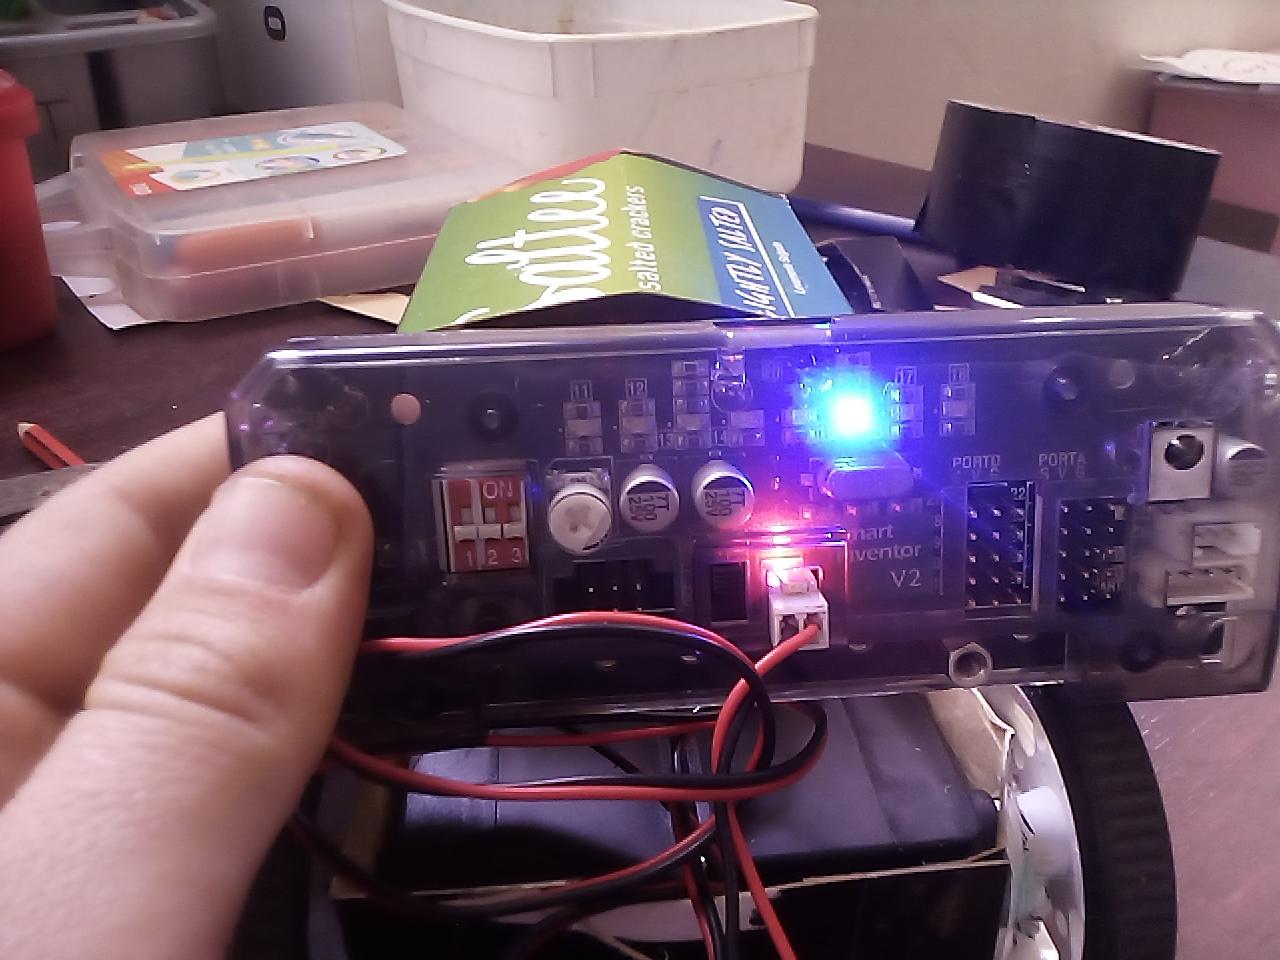
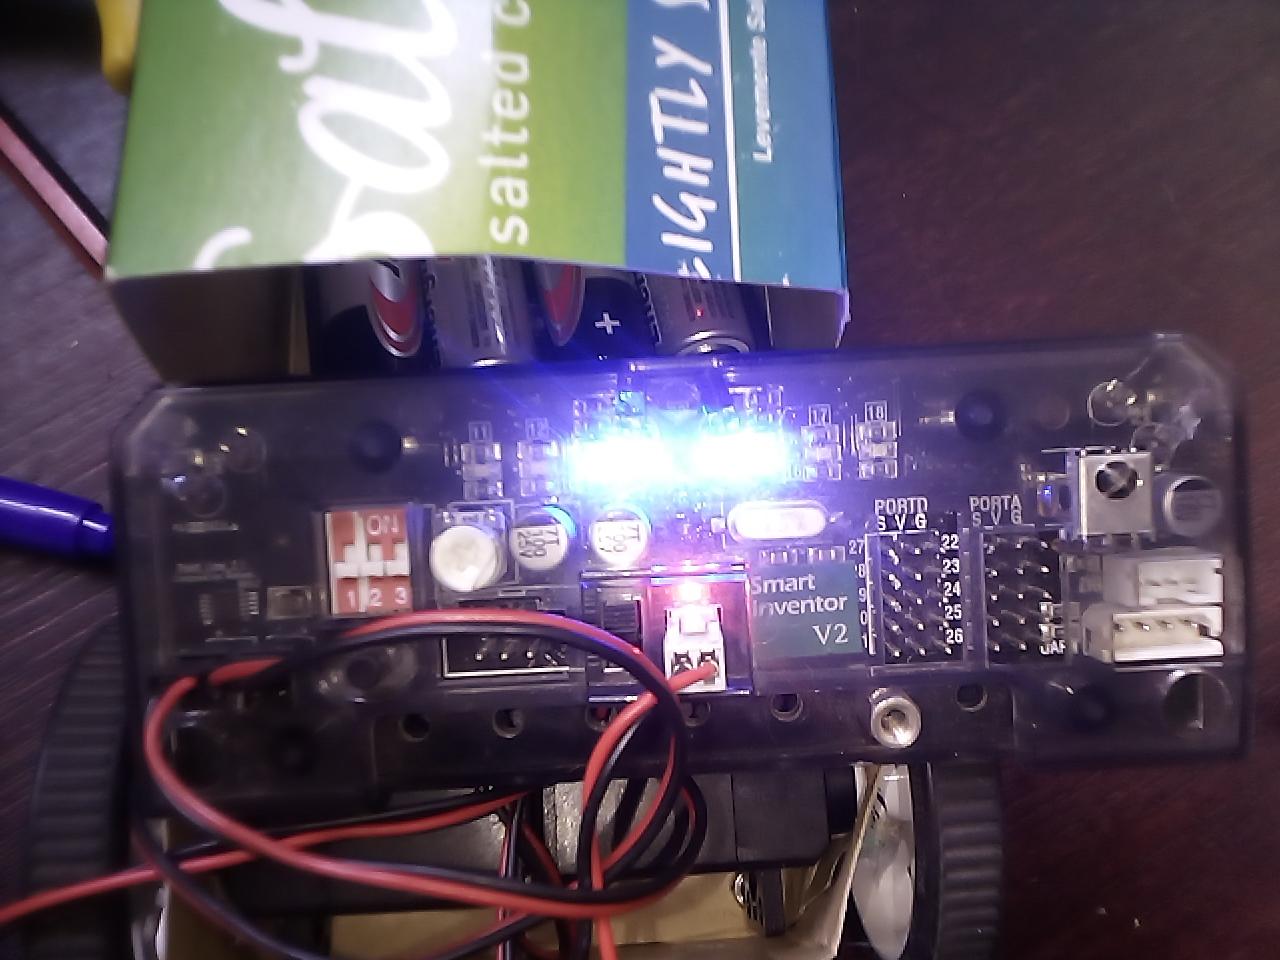
- Then take your Arduino board and switch it on
- Then make the Blue lights go to number six (look on a photo to see what I mean)
- Selected and then for blue lights should go on
- Use the remote control to go forward and backward
- Make sure your remote control is always looking at the Arduino board
- Push function one on your controller to make it go faster and function two on your controller to make it go slower