How to Make an Easy Model of Flying Transportation?
by PPrabhu in Design > Digital Graphics
227 Views, 0 Favorites, 0 Comments
How to Make an Easy Model of Flying Transportation?

Greetings! I am PPrabhu and I study in GEMS Millennium School. Today we aim to create a 3D model of:
- A Cube, which will have a hole and will contain a battery powered motor.
- A Sphere, which will be attached to the Cube, and will move with the help of the battery powered motor in the Cube. This Sphere is Remote Controlled.
- The magnets, which will enable the seat to fly, due to repulsion of the magnet in the cube and the magnet in the seat. the magnets are represented by a Cylinder.
- The Seat, which we will make with the "Sketch" option.
This is a creative design for getting the effect of flying. This is purely a theoretical design and should not be applied practically without proper testing and supervision.
Our objective is to create a simple 3D model/design of a futuristic easy mode of flying transportation. I hope that you have fun by creating this online design!
Supplies
Since this is an online design, The supplies you're going to need are:
- Autodesk Fusion 360
It is preferable to have basic skills in Fusion 360, so that it will be easier for you to understand.
Creating a Box
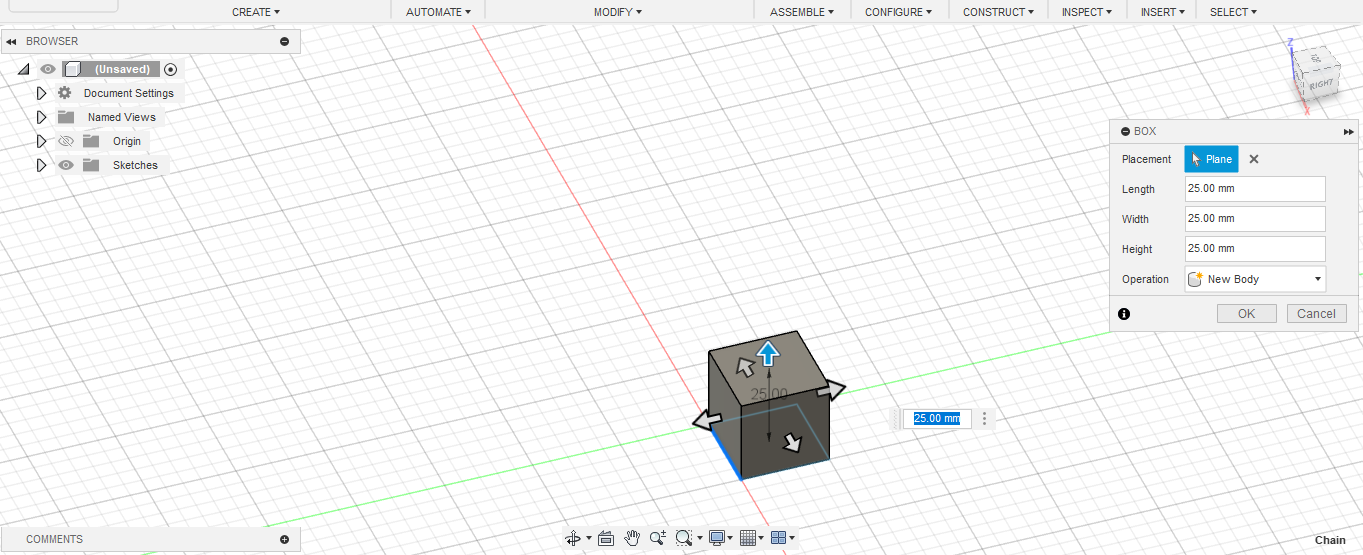
In this step, we want to create a box, which is a cube like structure in Fusion 360. To do this you can follow the instructions given below:
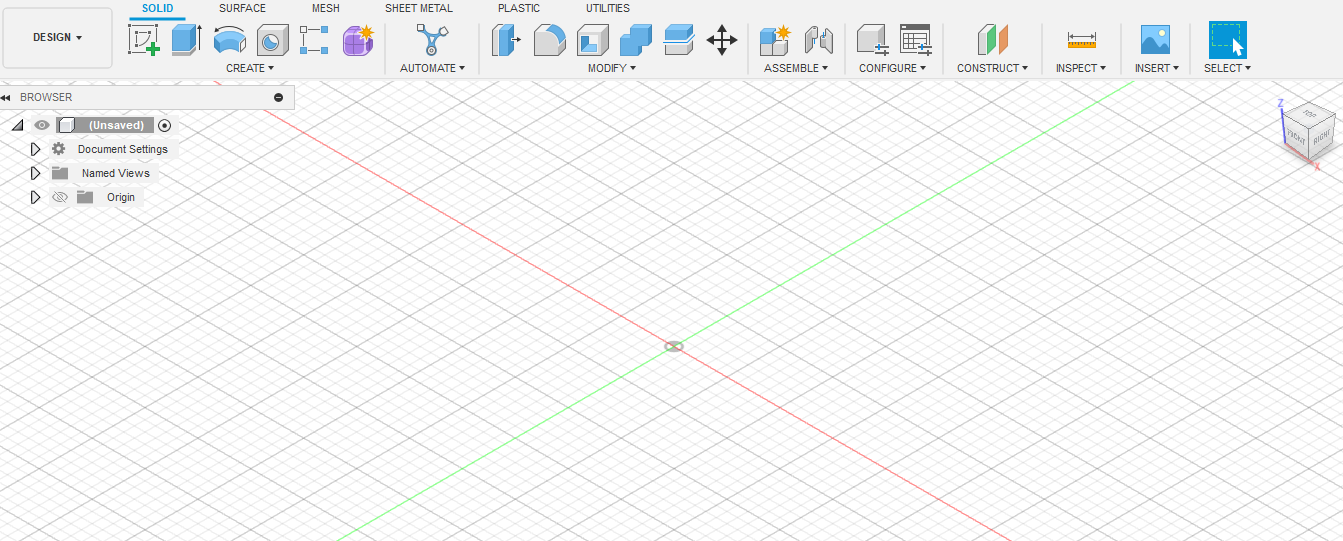
- Create a new file in Fusion 360.
- Click on "Create."
- Click on box.
Modifying the Box
Now, we want to add some more things to the box. To do so, follow the given steps:
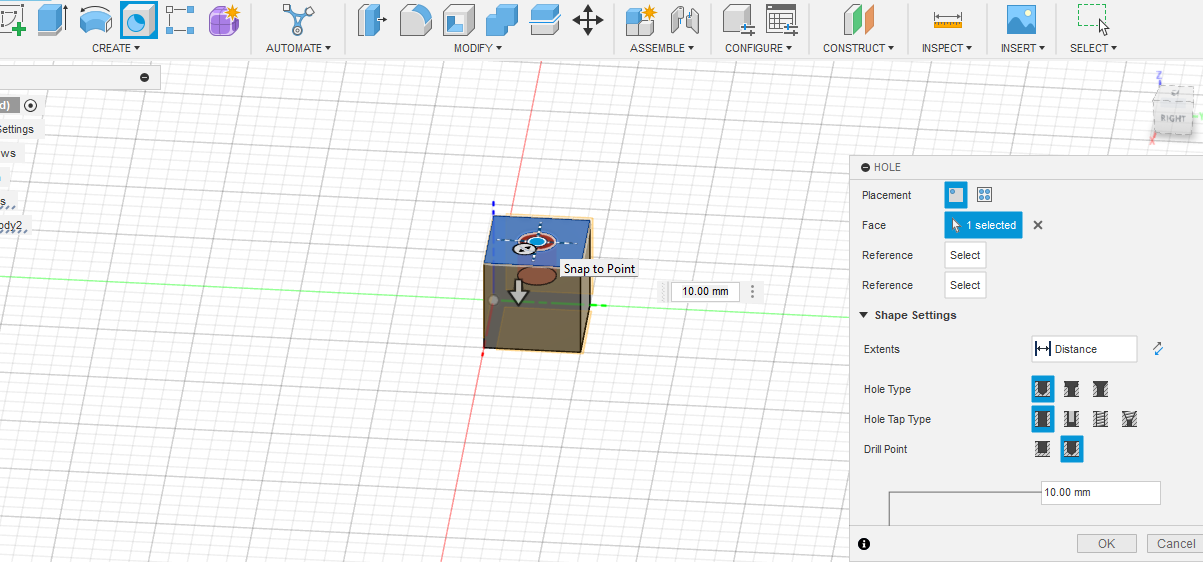
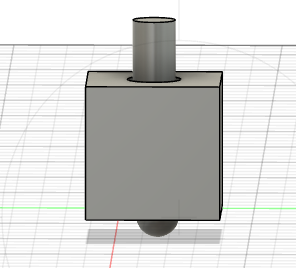
- First, we need to create a hole in the box. To do so, we need to click on the top face of the box. Then, we need to click on "Hole" in the Create tab. The diameter and the distance (height) should be 10 mm.
- Then, click on "Create" and then "Cylinder." Add the cylinder in the middle of the hole in box. The diameter should be 8 mm and the distance (height) should be 12 mm.
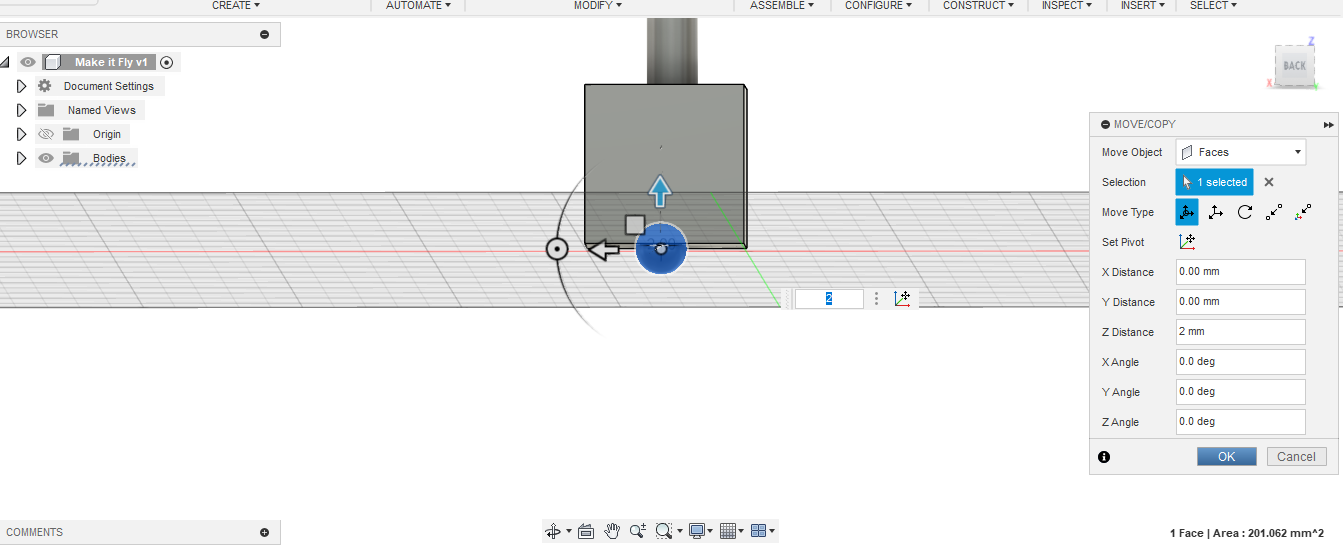
- Now create a sphere, by clicking on the "Create" button. Place this sphere in the center of the face, which is facing the ground, of the box, using the "Move" option.
Congratulations! You have successfully completed the first phase of this project!
Adding Color to the Box
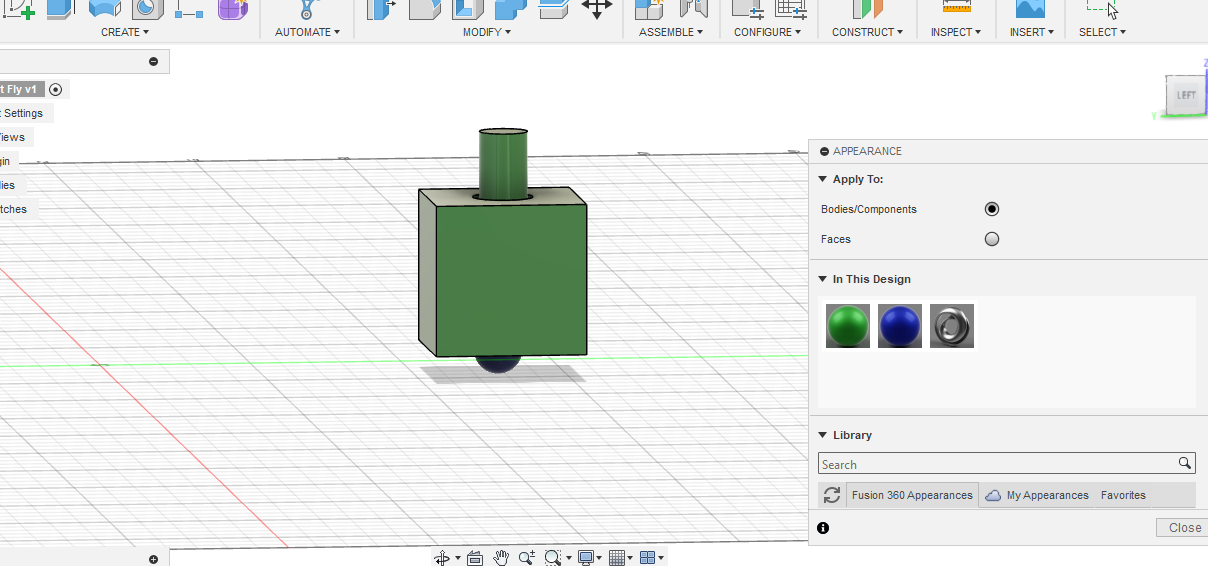
This step is optional. To add color to the box, follow the given steps:
- Click on "Modify."
- Click on "Appearance."
- Now choose a color of your choice in the given options.
Creating the Seat

The seat is an important part of this project. Hence, to create the seat of the project, follow the given steps:
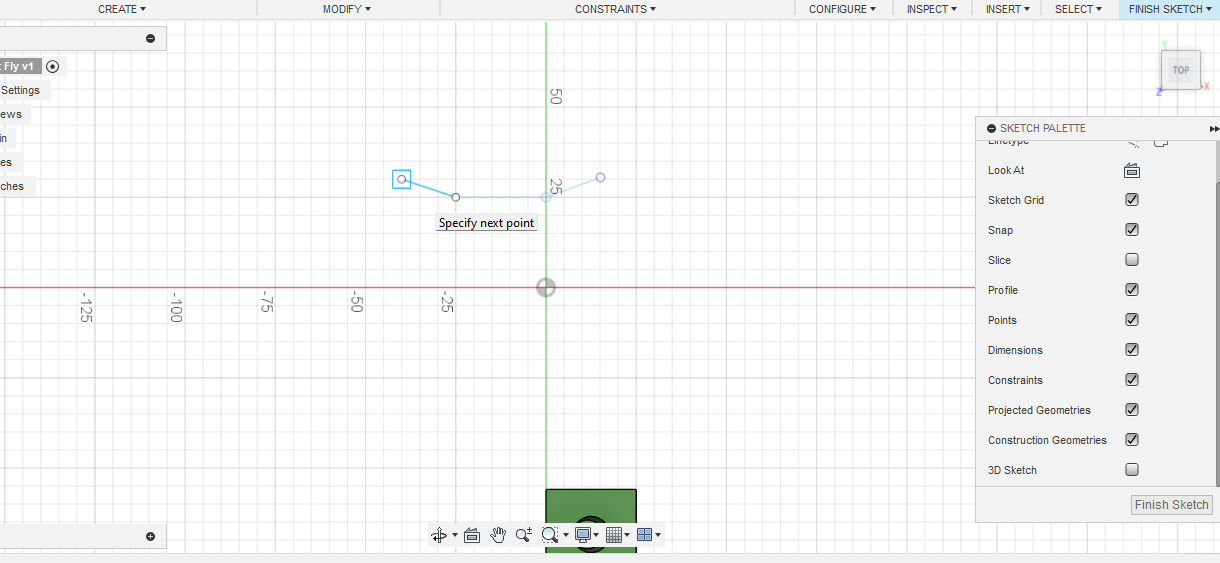
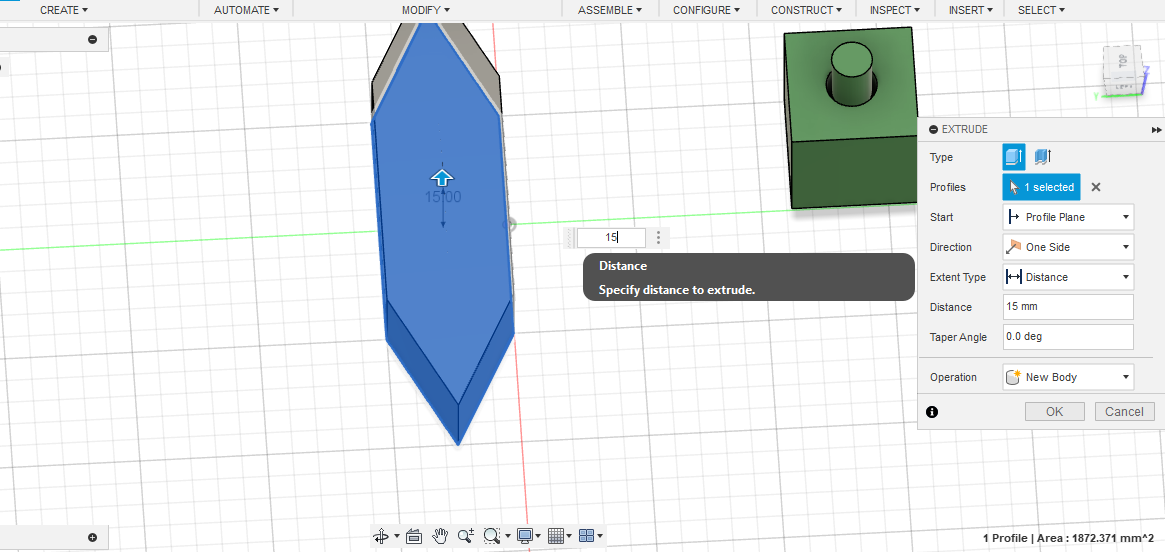
- Create a sketch using the "Sketch" option, in the "Create" tab.
- Plot the shape given in the images.
- Now use the "Extrude" option to add depth to the shape.
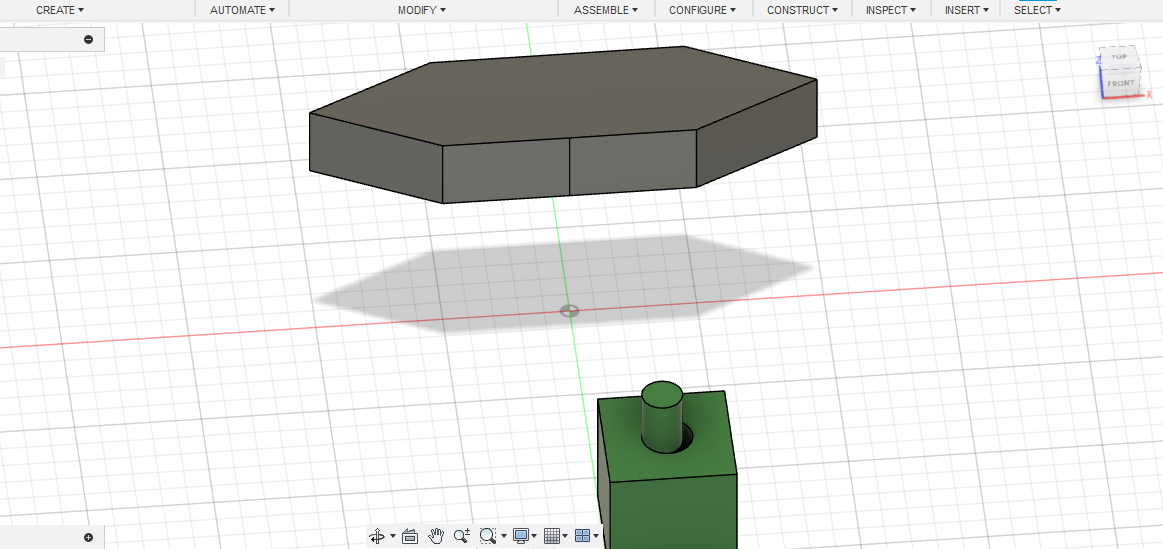
- Now move this sketch above the result we obtained in phase 1.
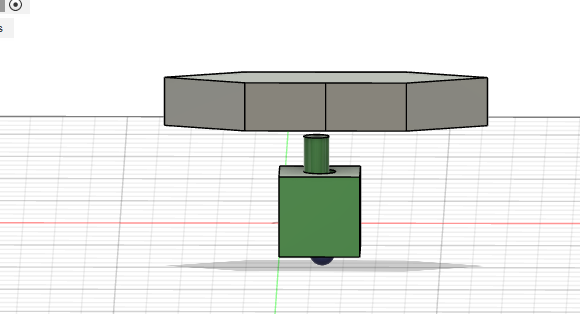
- Your result should look something like the image.
Congratulations! You have completed phase 2 of the project!
Adding Color
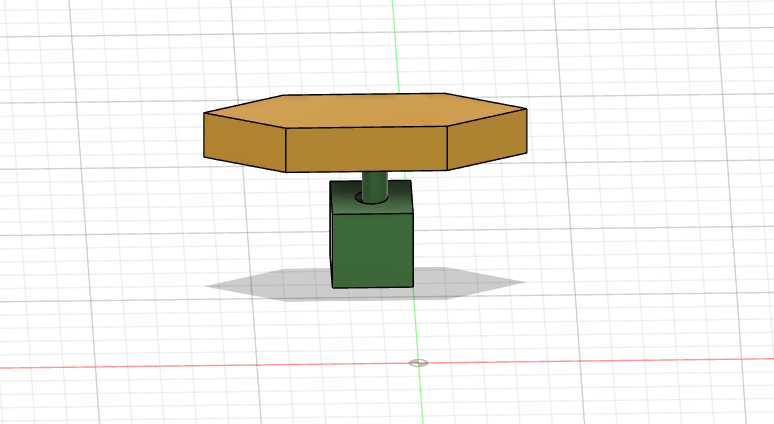
This step is optional. To add color to the sketch, follow the given steps:
- Click on the "Modify" option.
- Now click on the "Appearance" option.
- Choose a color from the options given.
Congratulations! You have completed the project! Your final result should look like the image given.