How to Make an Automatic Coffee Pod Dispenser With Arduino
by Jacks how2s in Workshop > 3D Printing
4644 Views, 15 Favorites, 0 Comments
How to Make an Automatic Coffee Pod Dispenser With Arduino
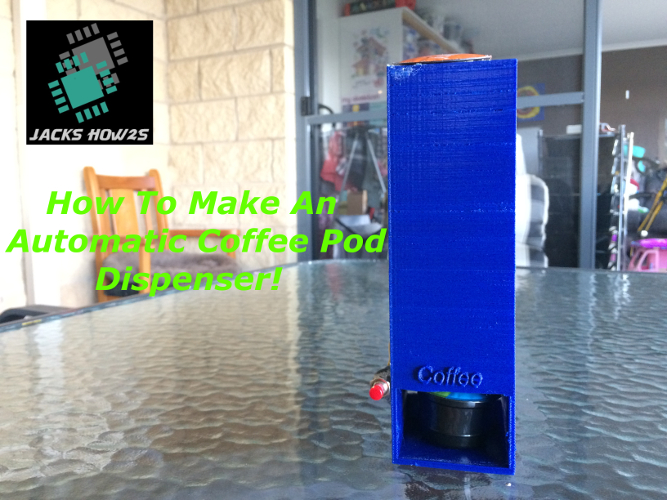
Ordinary coffee dispensers are plain, simple and boring. In this Instructable I will show you how to use a 3D printer, Arduino and servo motor to create The Automatic Coffee Pod Dispenser! Also it works with all Coffee pods under 45mm or 1.77 inches in diameter.
What You Need
What You Need
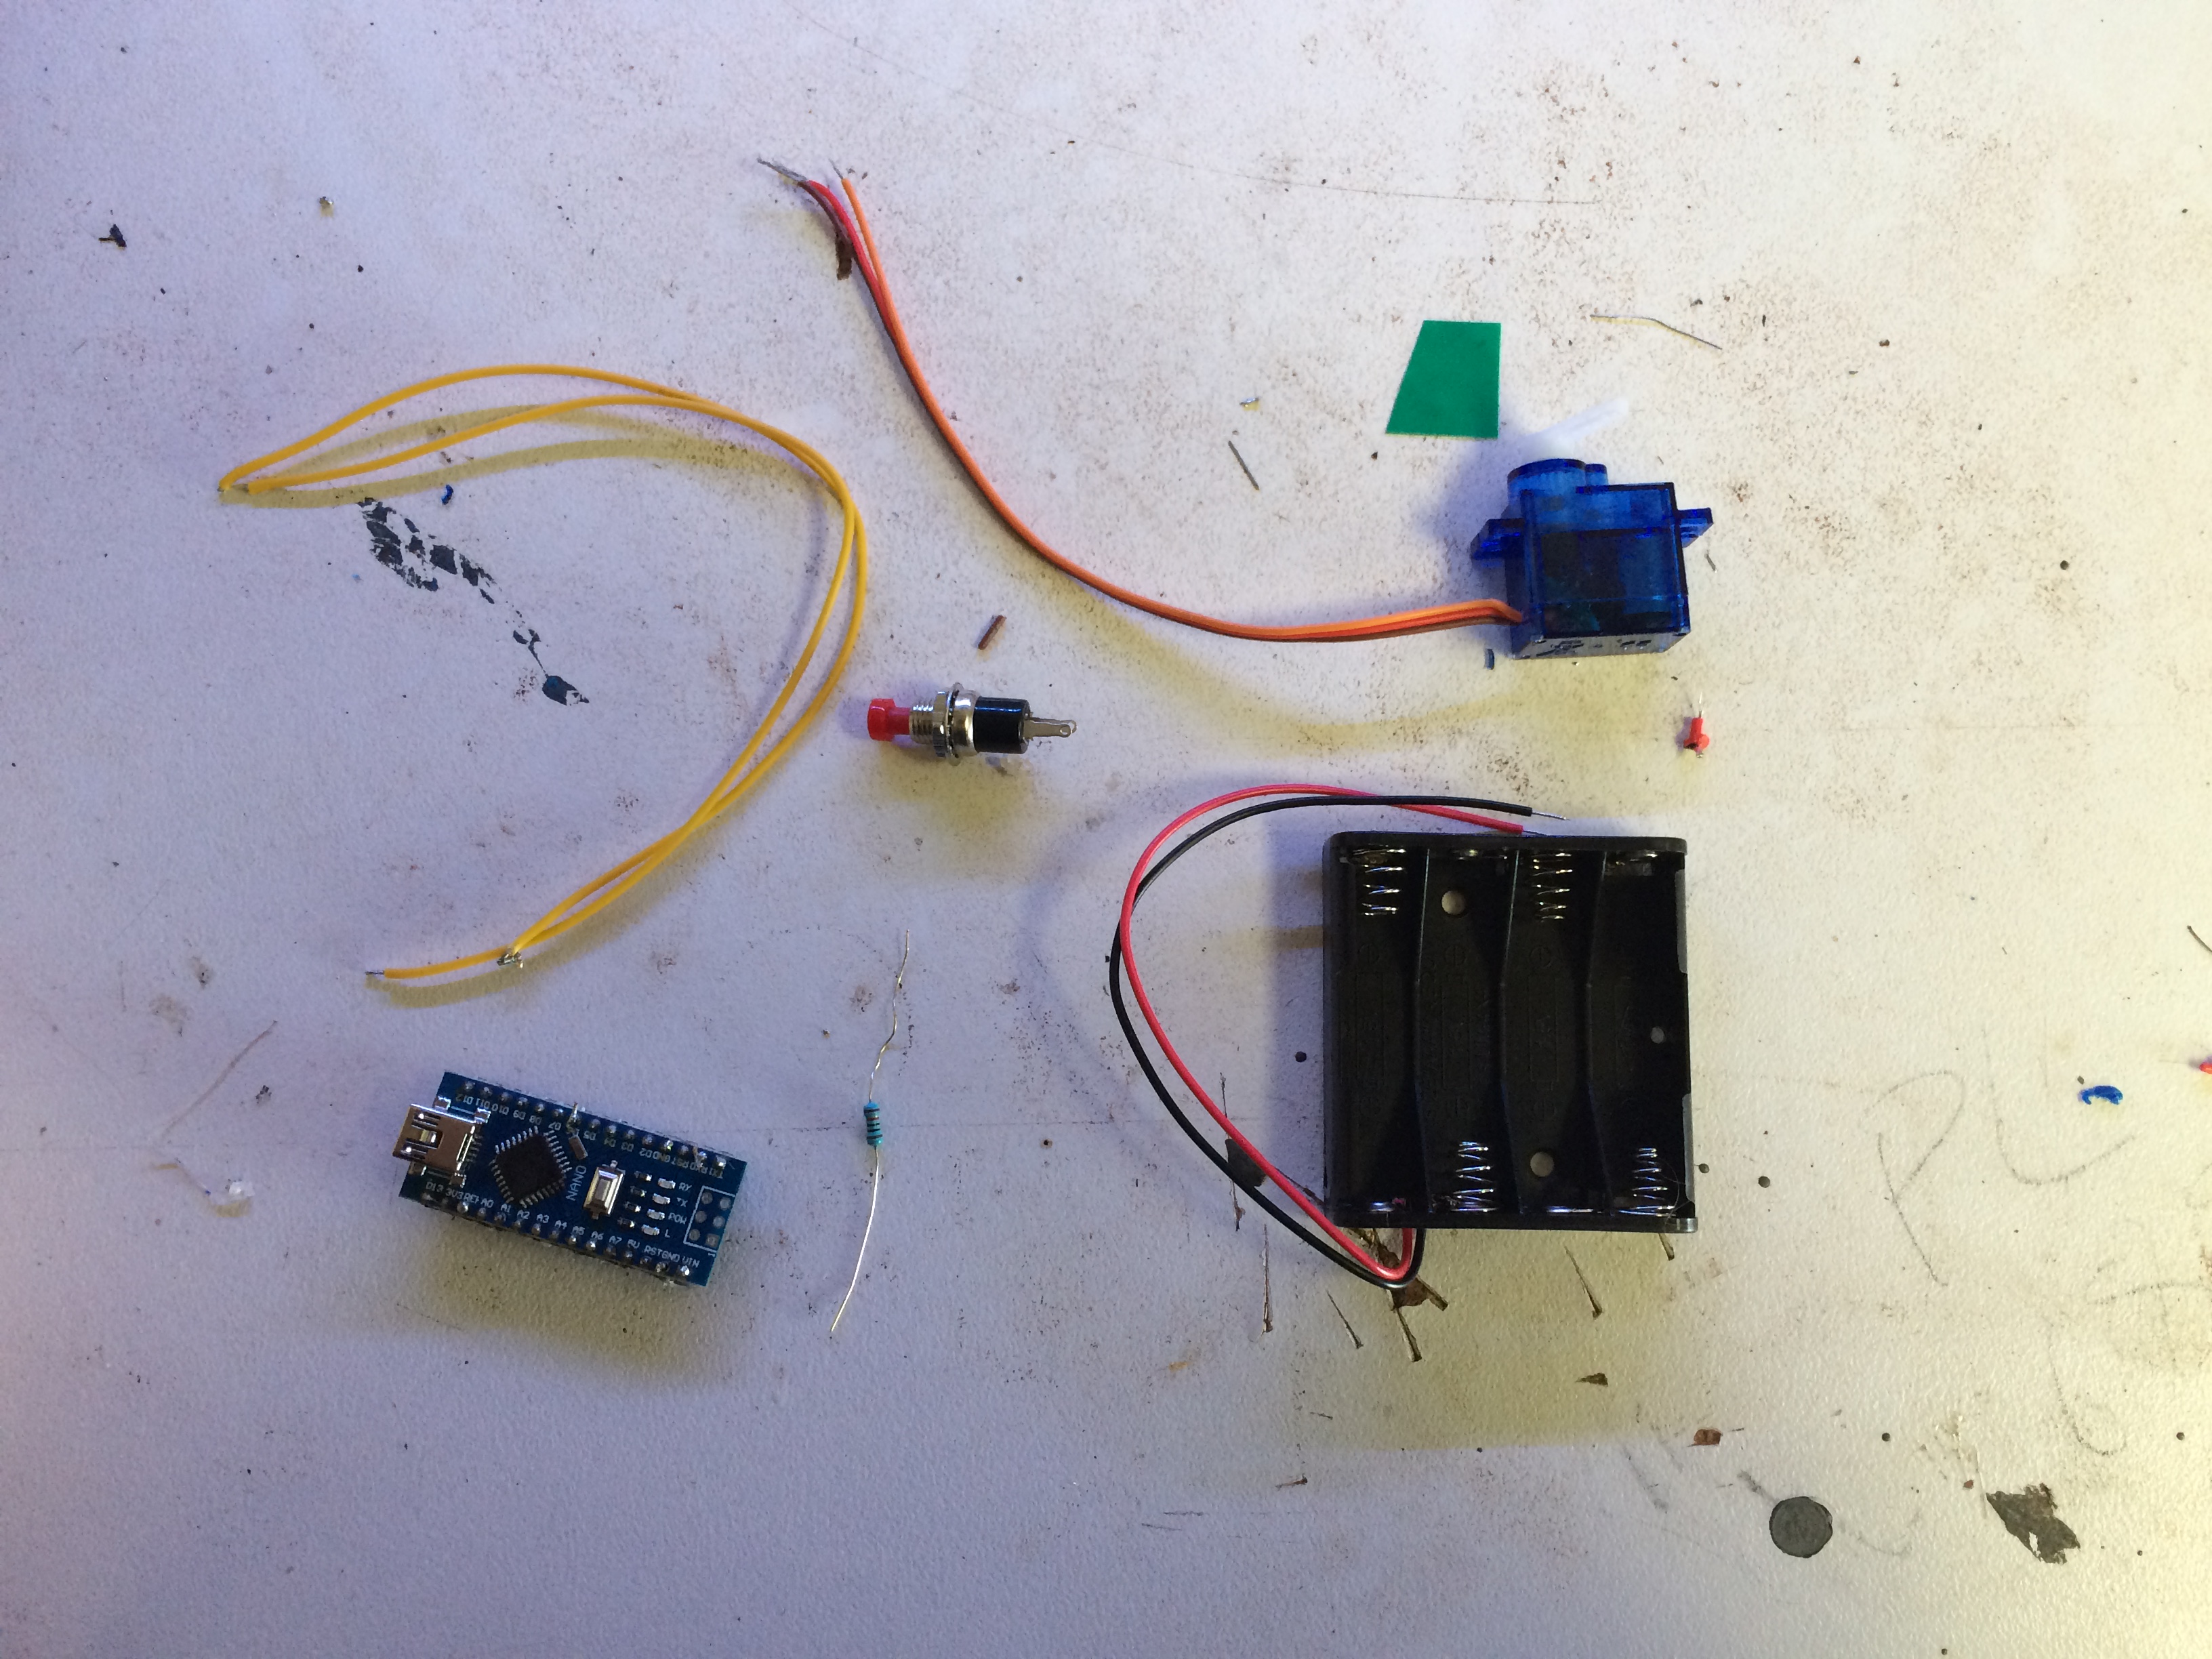
- 1x Arduino nano
- 1x 6v AAA battery pack and batteries
- 1x Servo Motor
- 1x Push Button
- 2x 15cm wires
- 3D Printer (with print height of at least 195mm max print height)
- PLA or ABS 3D Printing Filament
- Soldering iron and solder
- Hot glue gun and sticks
- Wire strippers
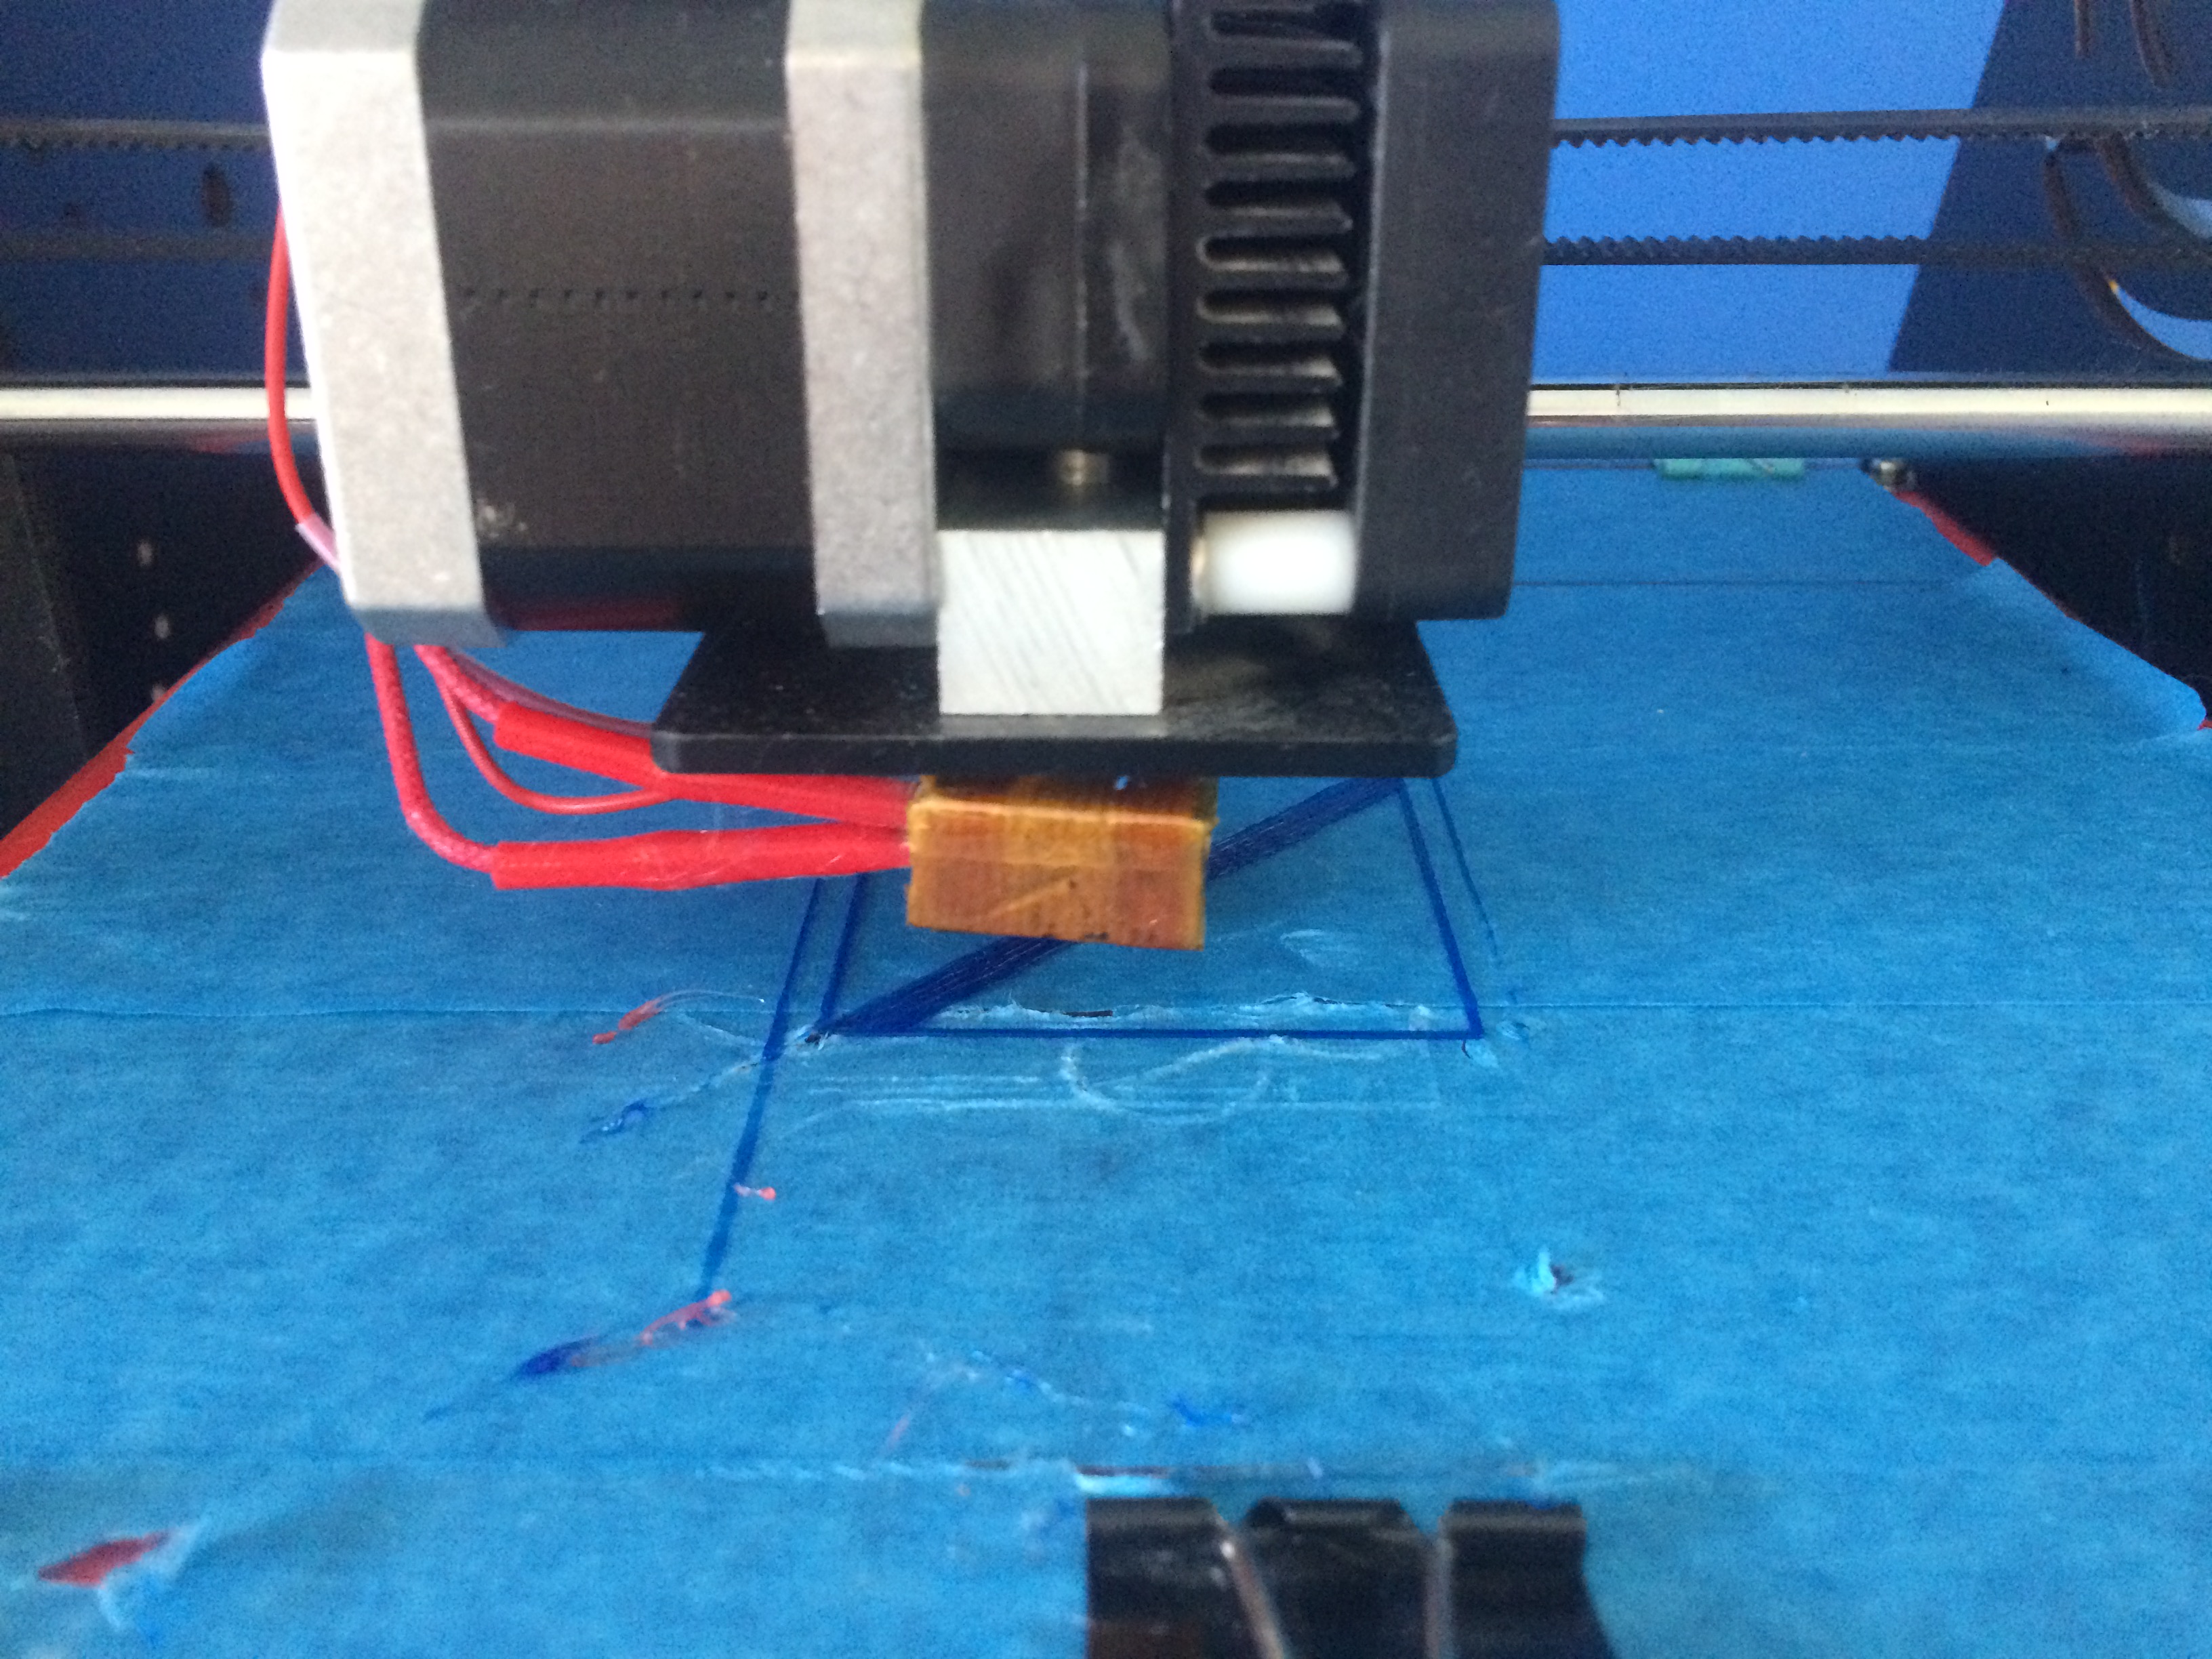
3D Printing the Body
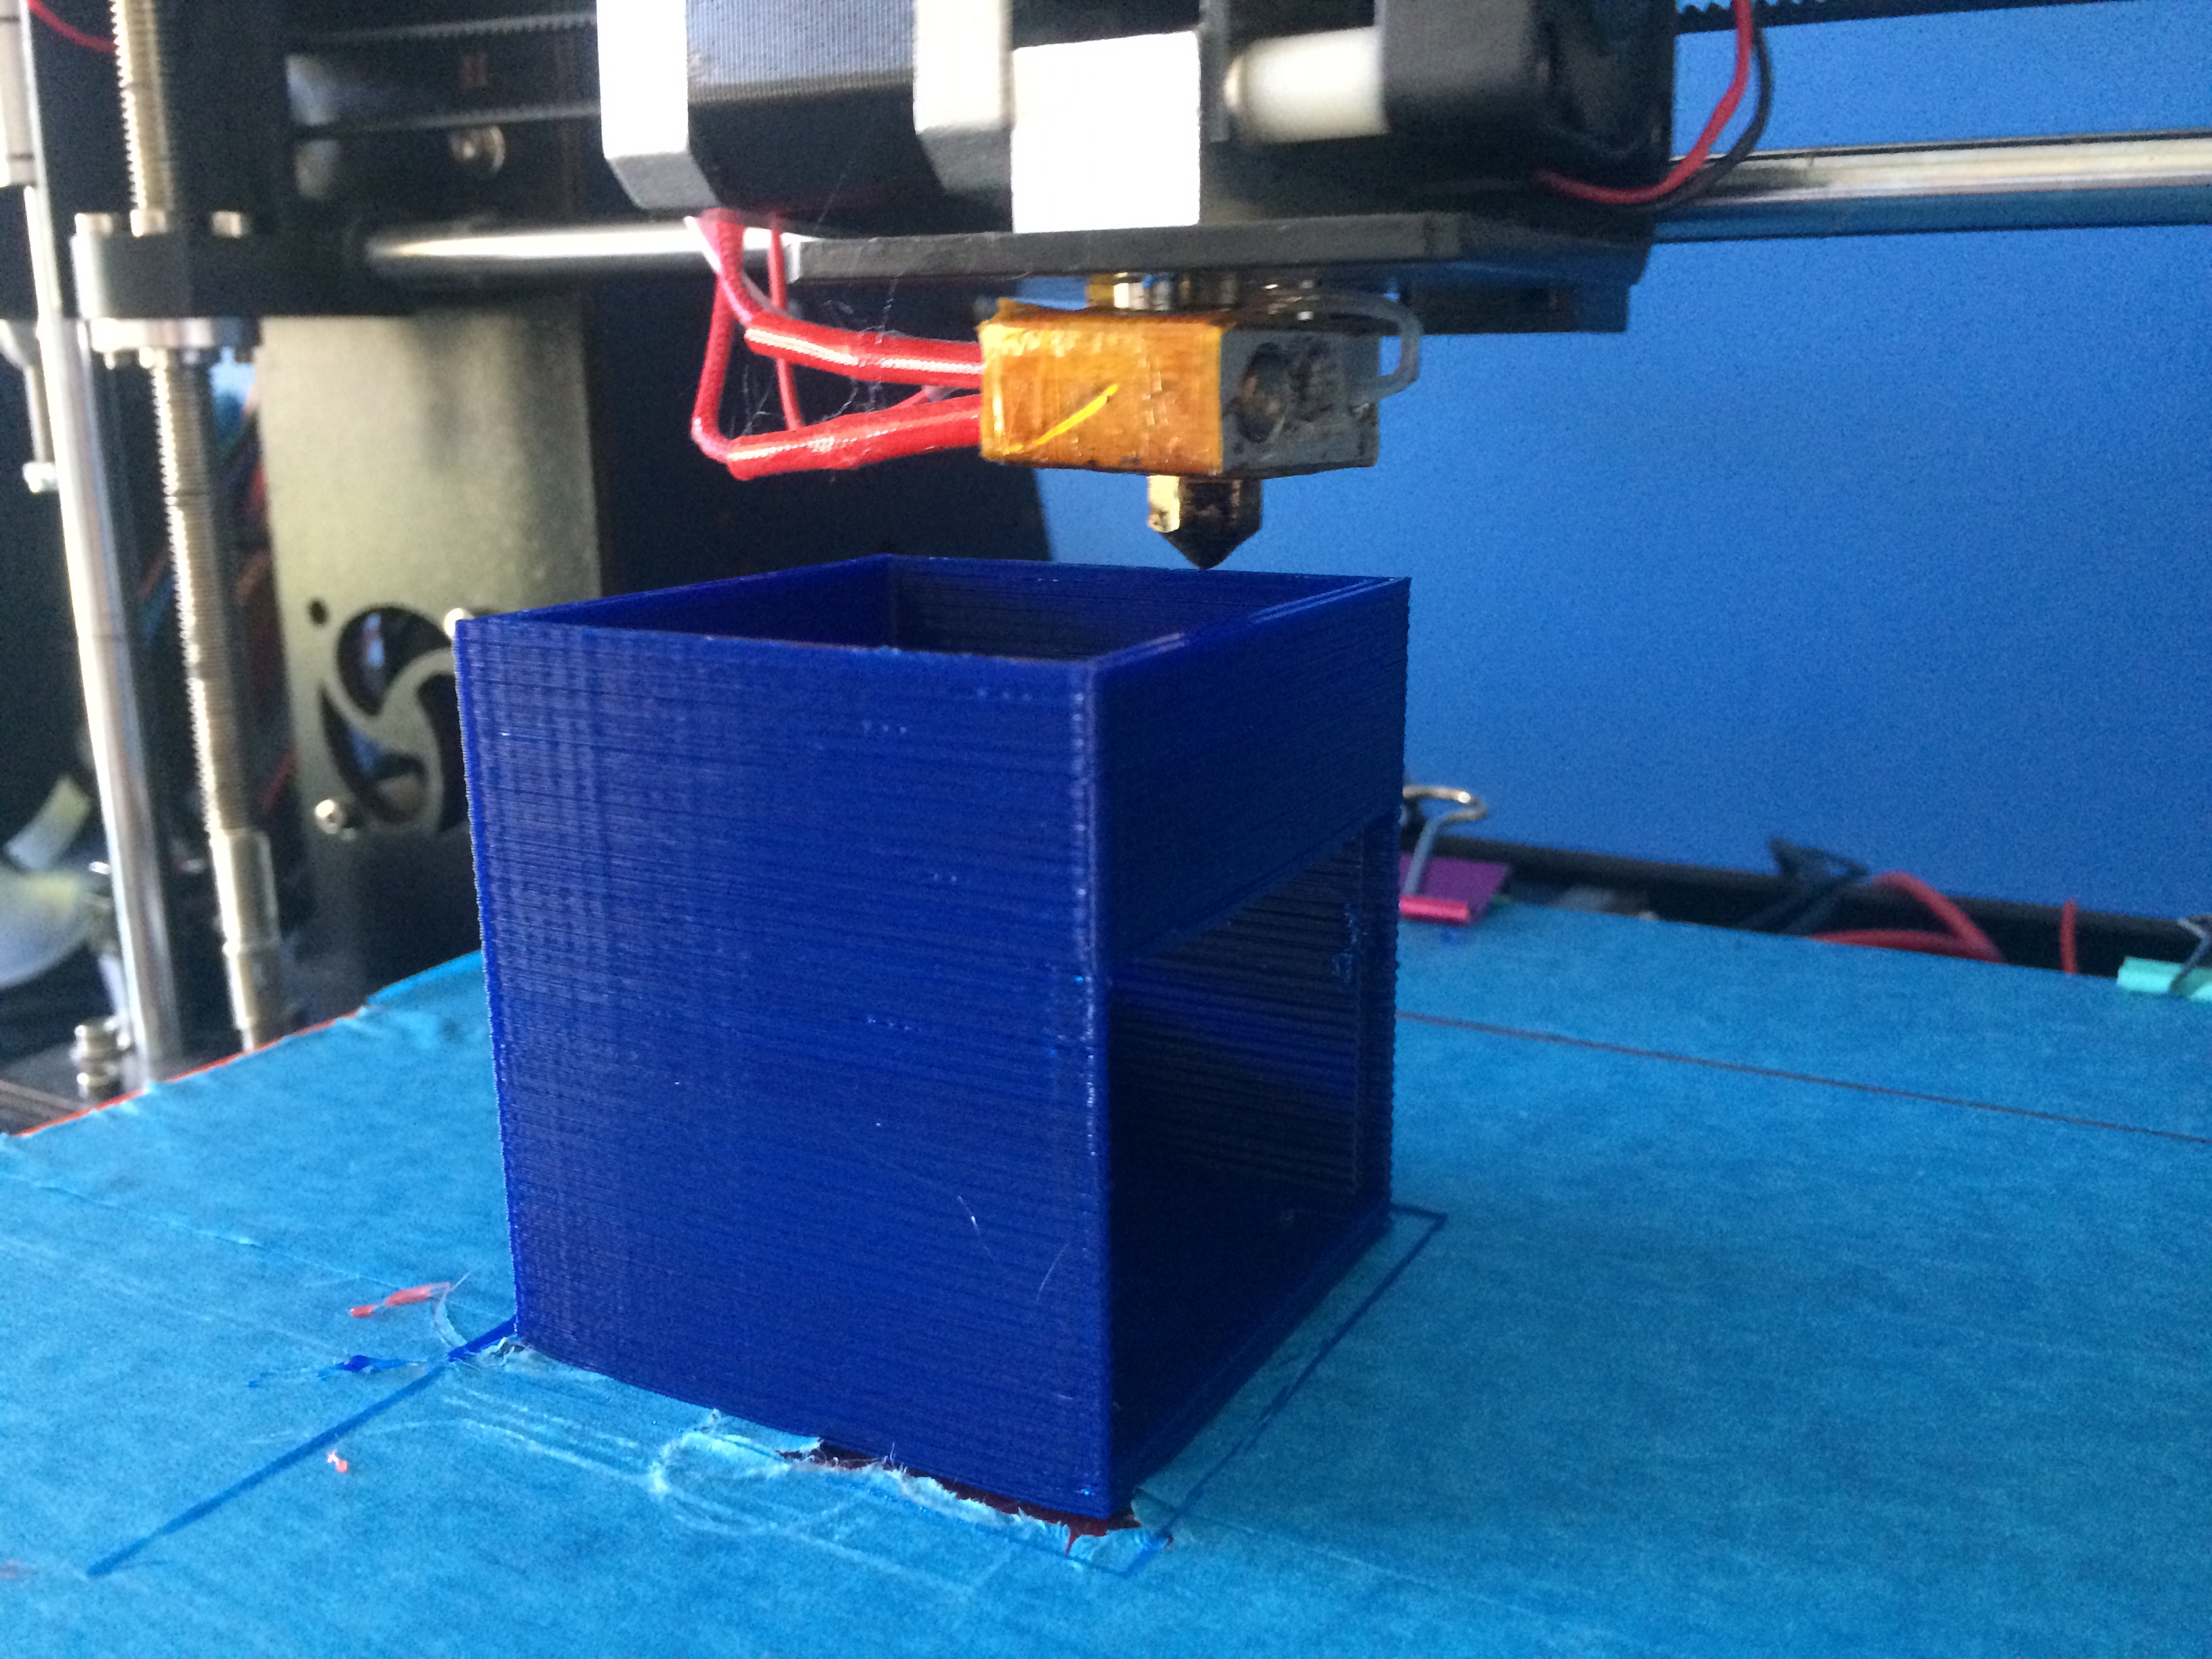
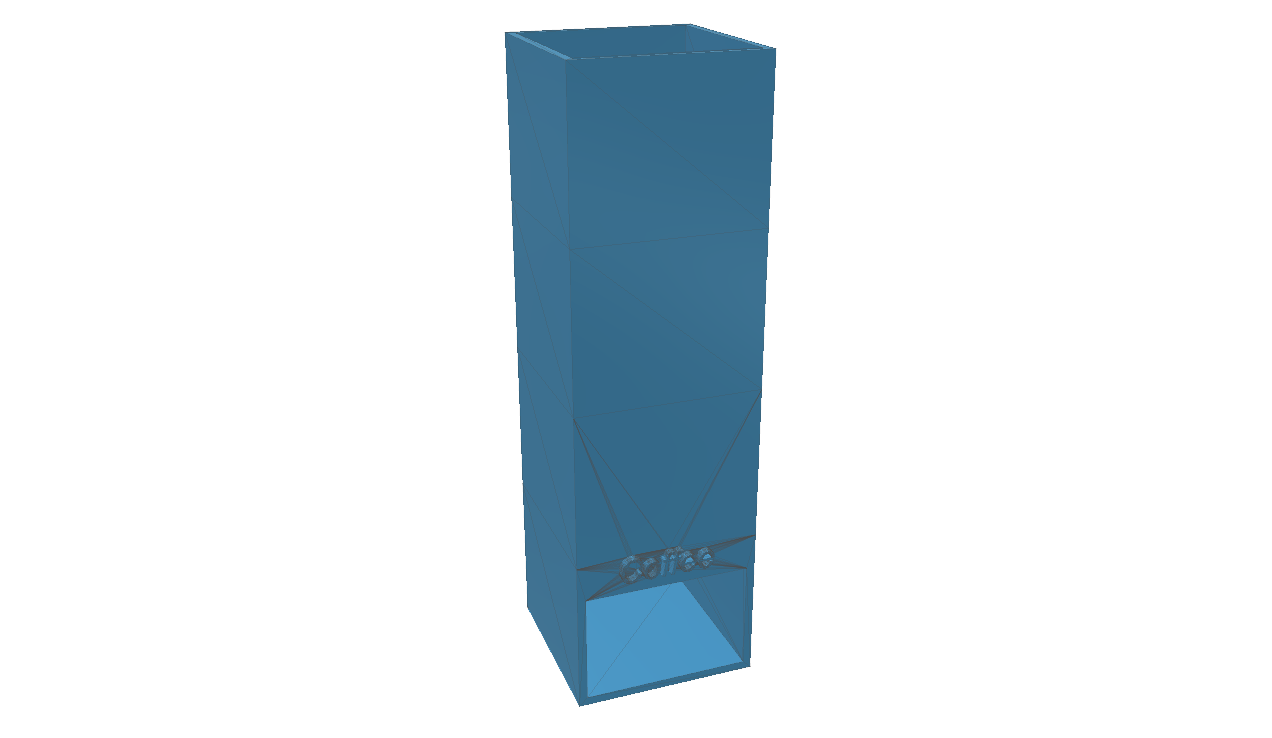
The body was designed in 123d Design and is 50x50x195mm (LxWxH)
I printed the body with the following settings
- Infill- 10%
- Print Speed- 50
- Supports- No
- Filament- PLA 1.75mm
- Quality- 0.2mm
- Top and Bottom Thickness- 0.6mm
- Wall Thickness- 0.8mm
Time= 6 Hours 15 Minutes
The STL Is available for download below
Downloads
Wiring the Arduino
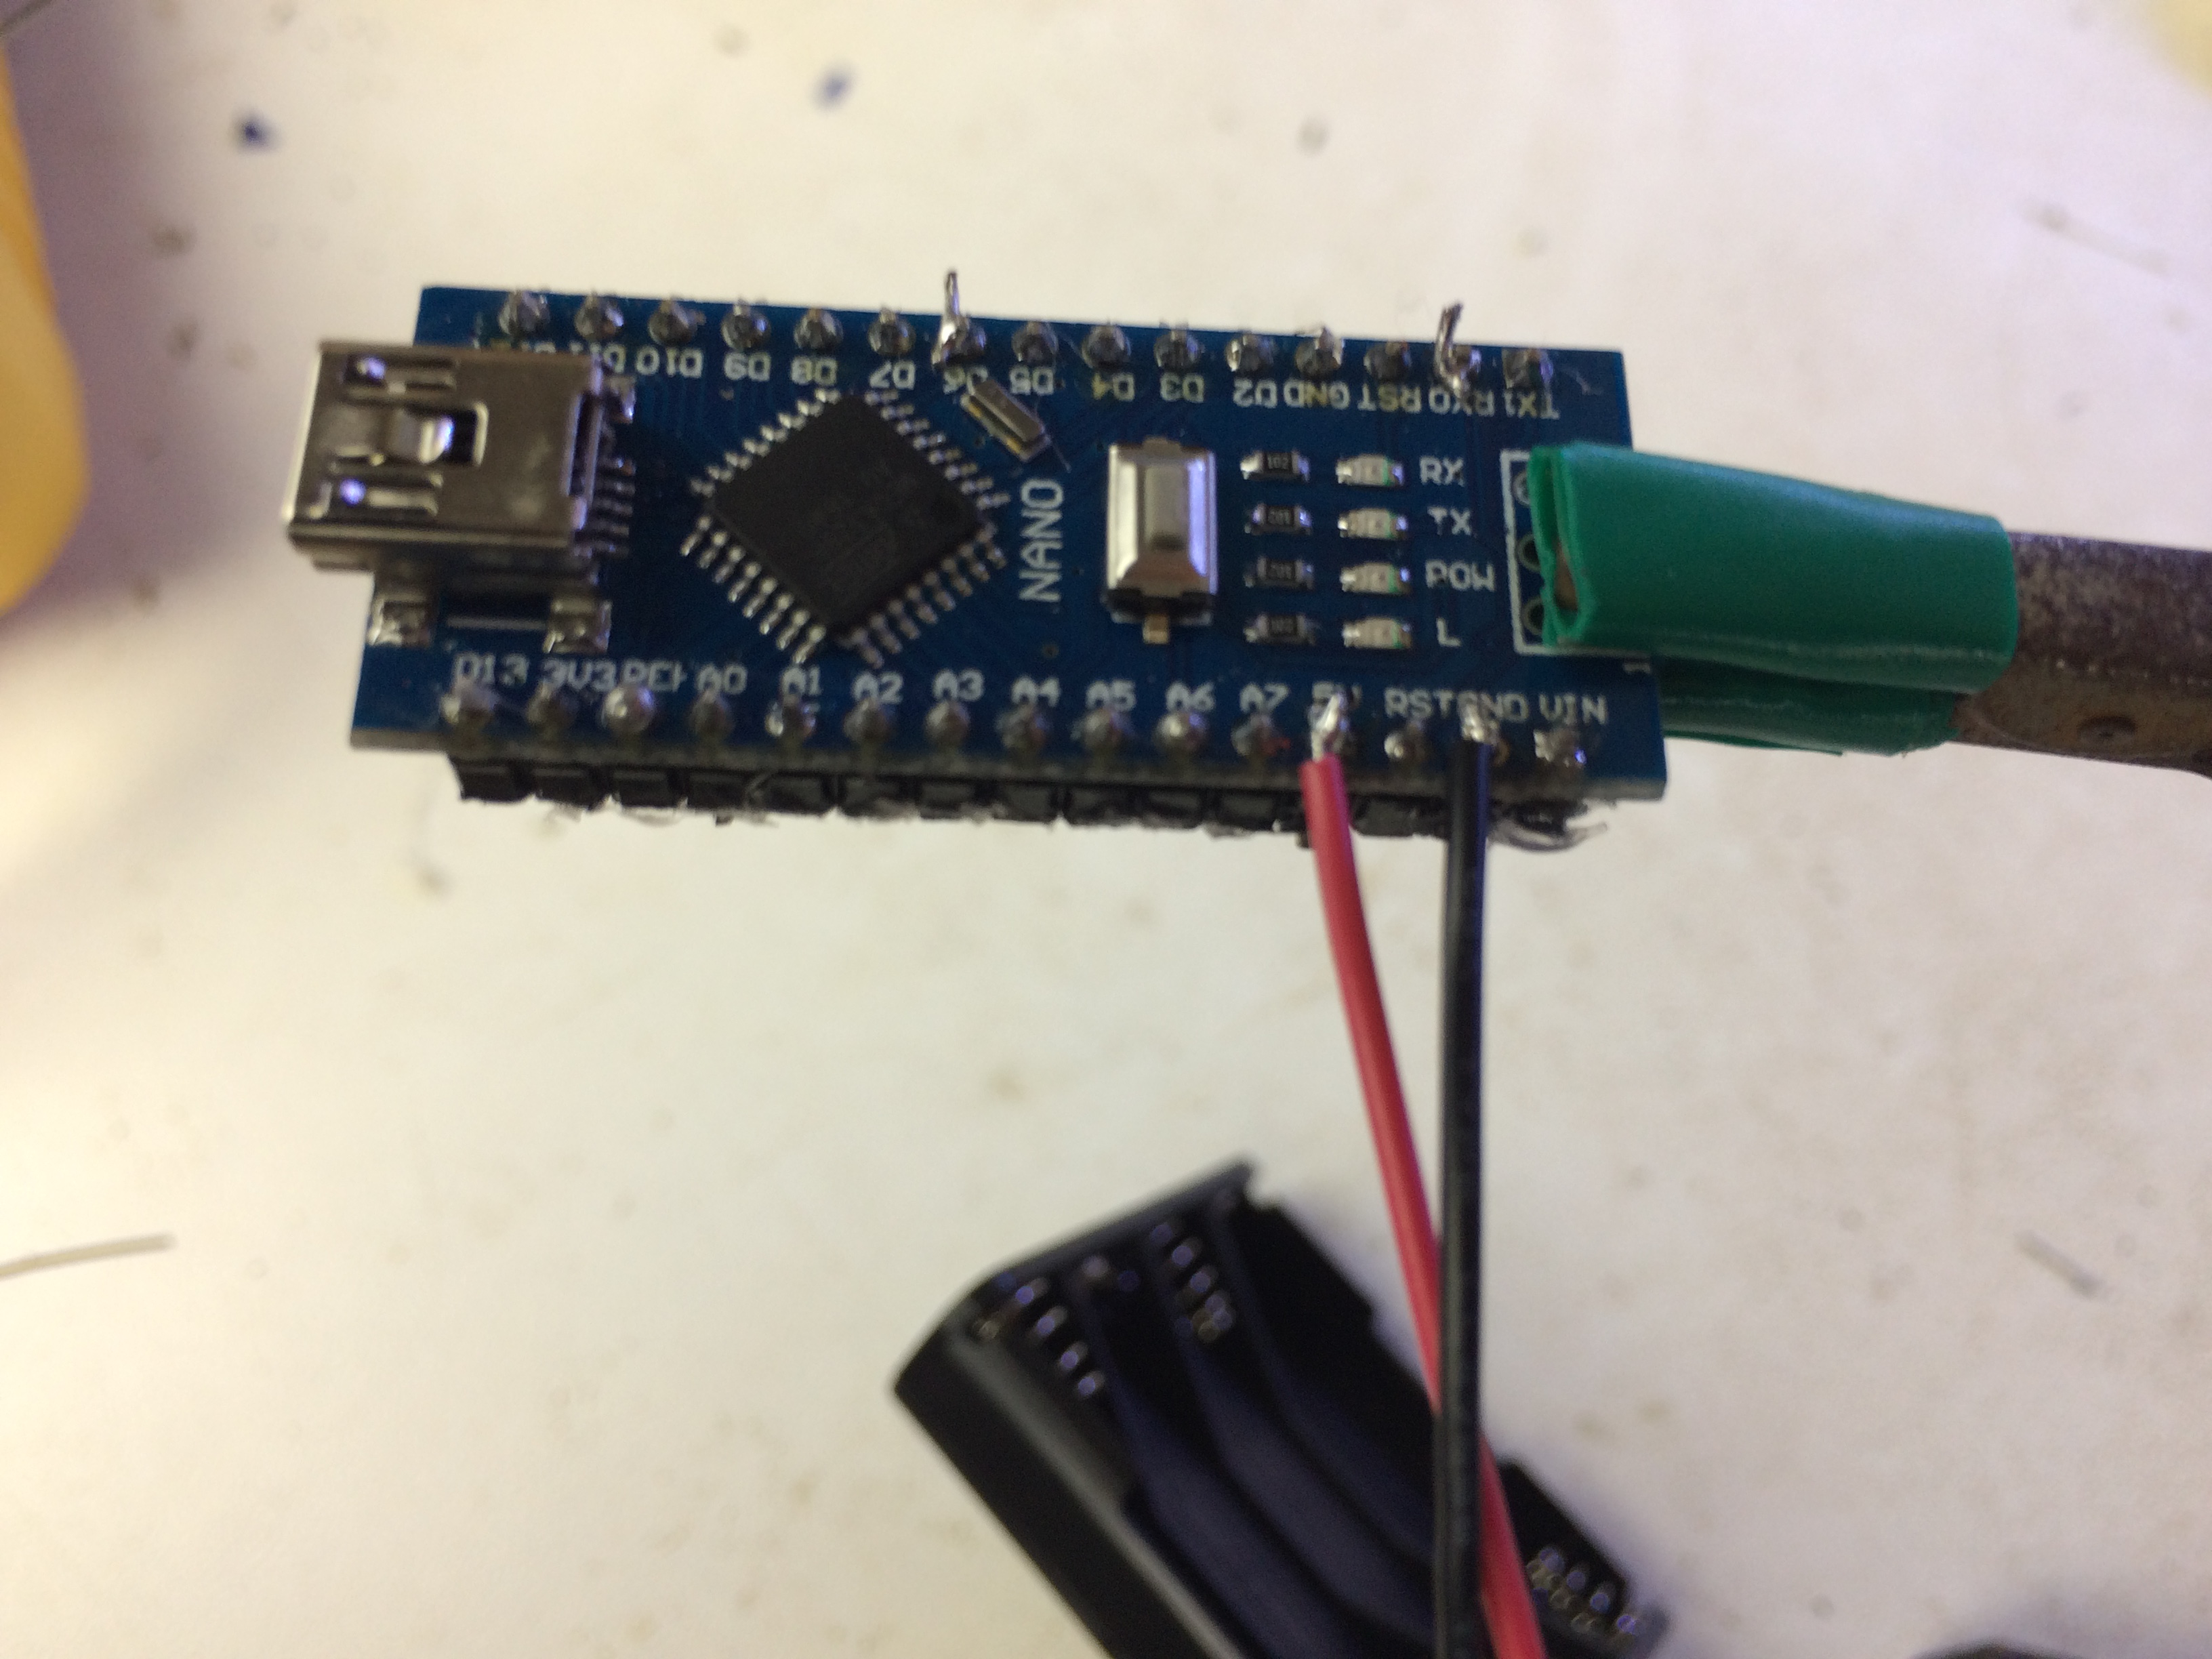
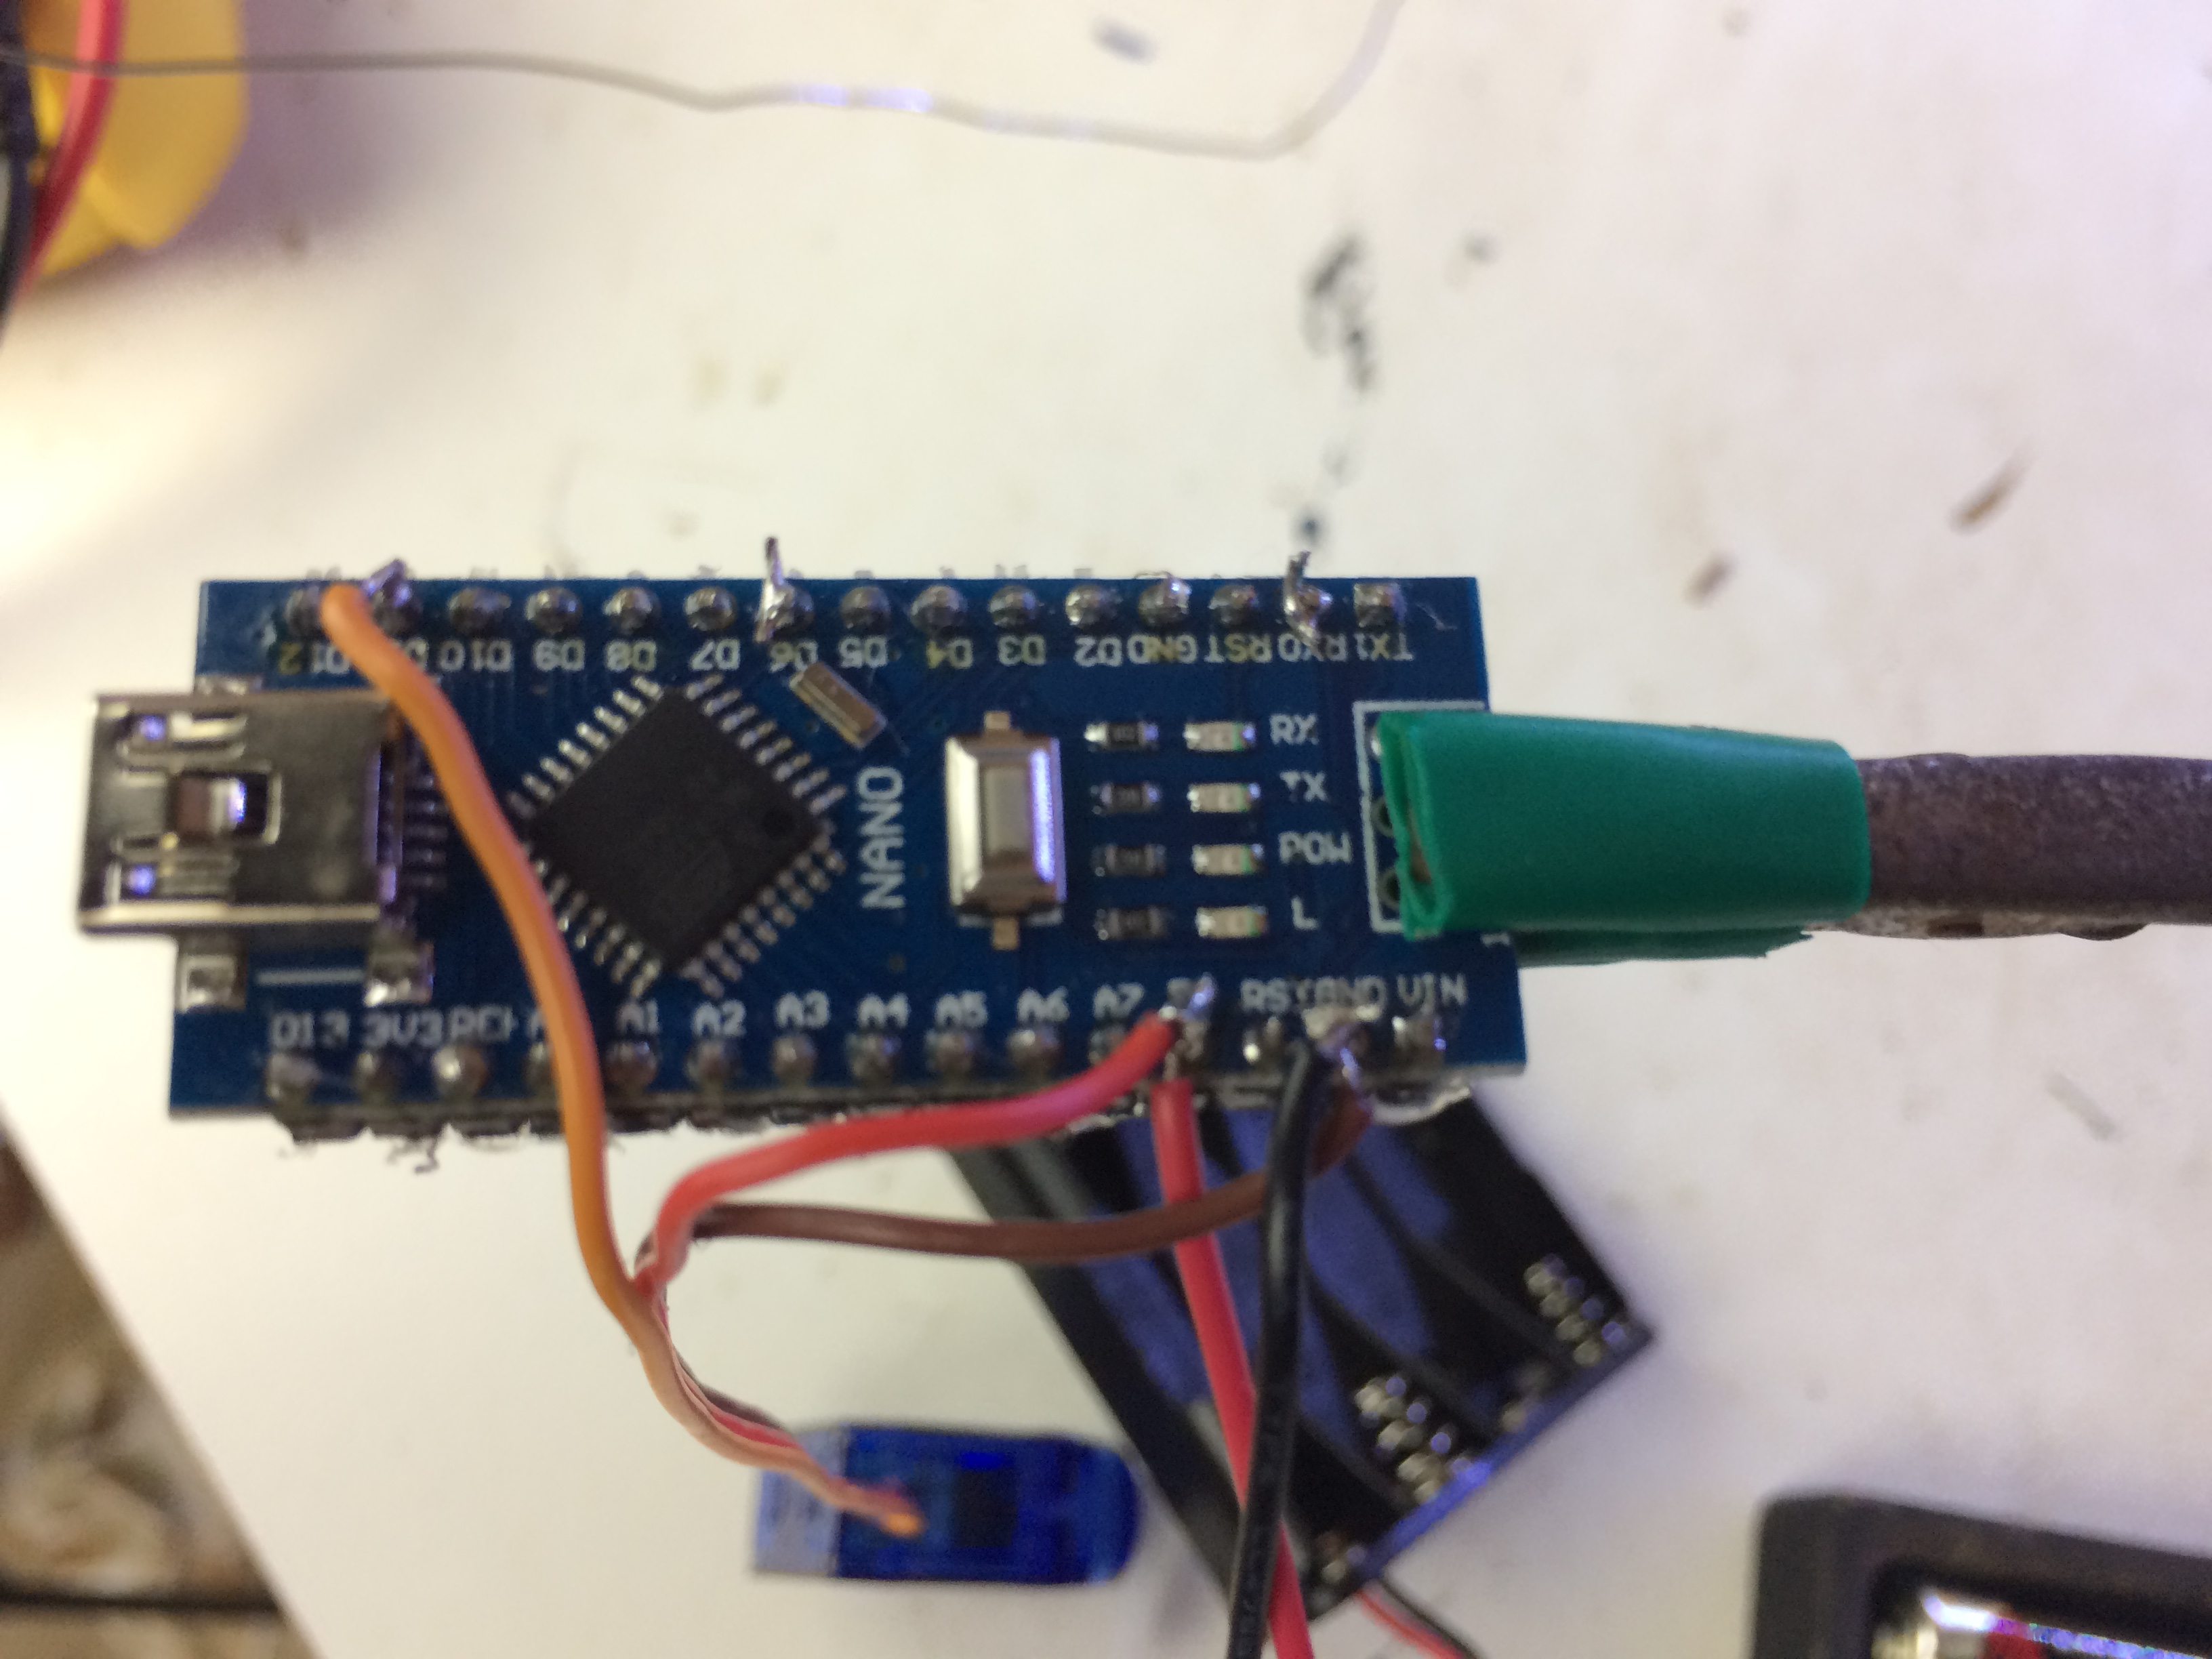

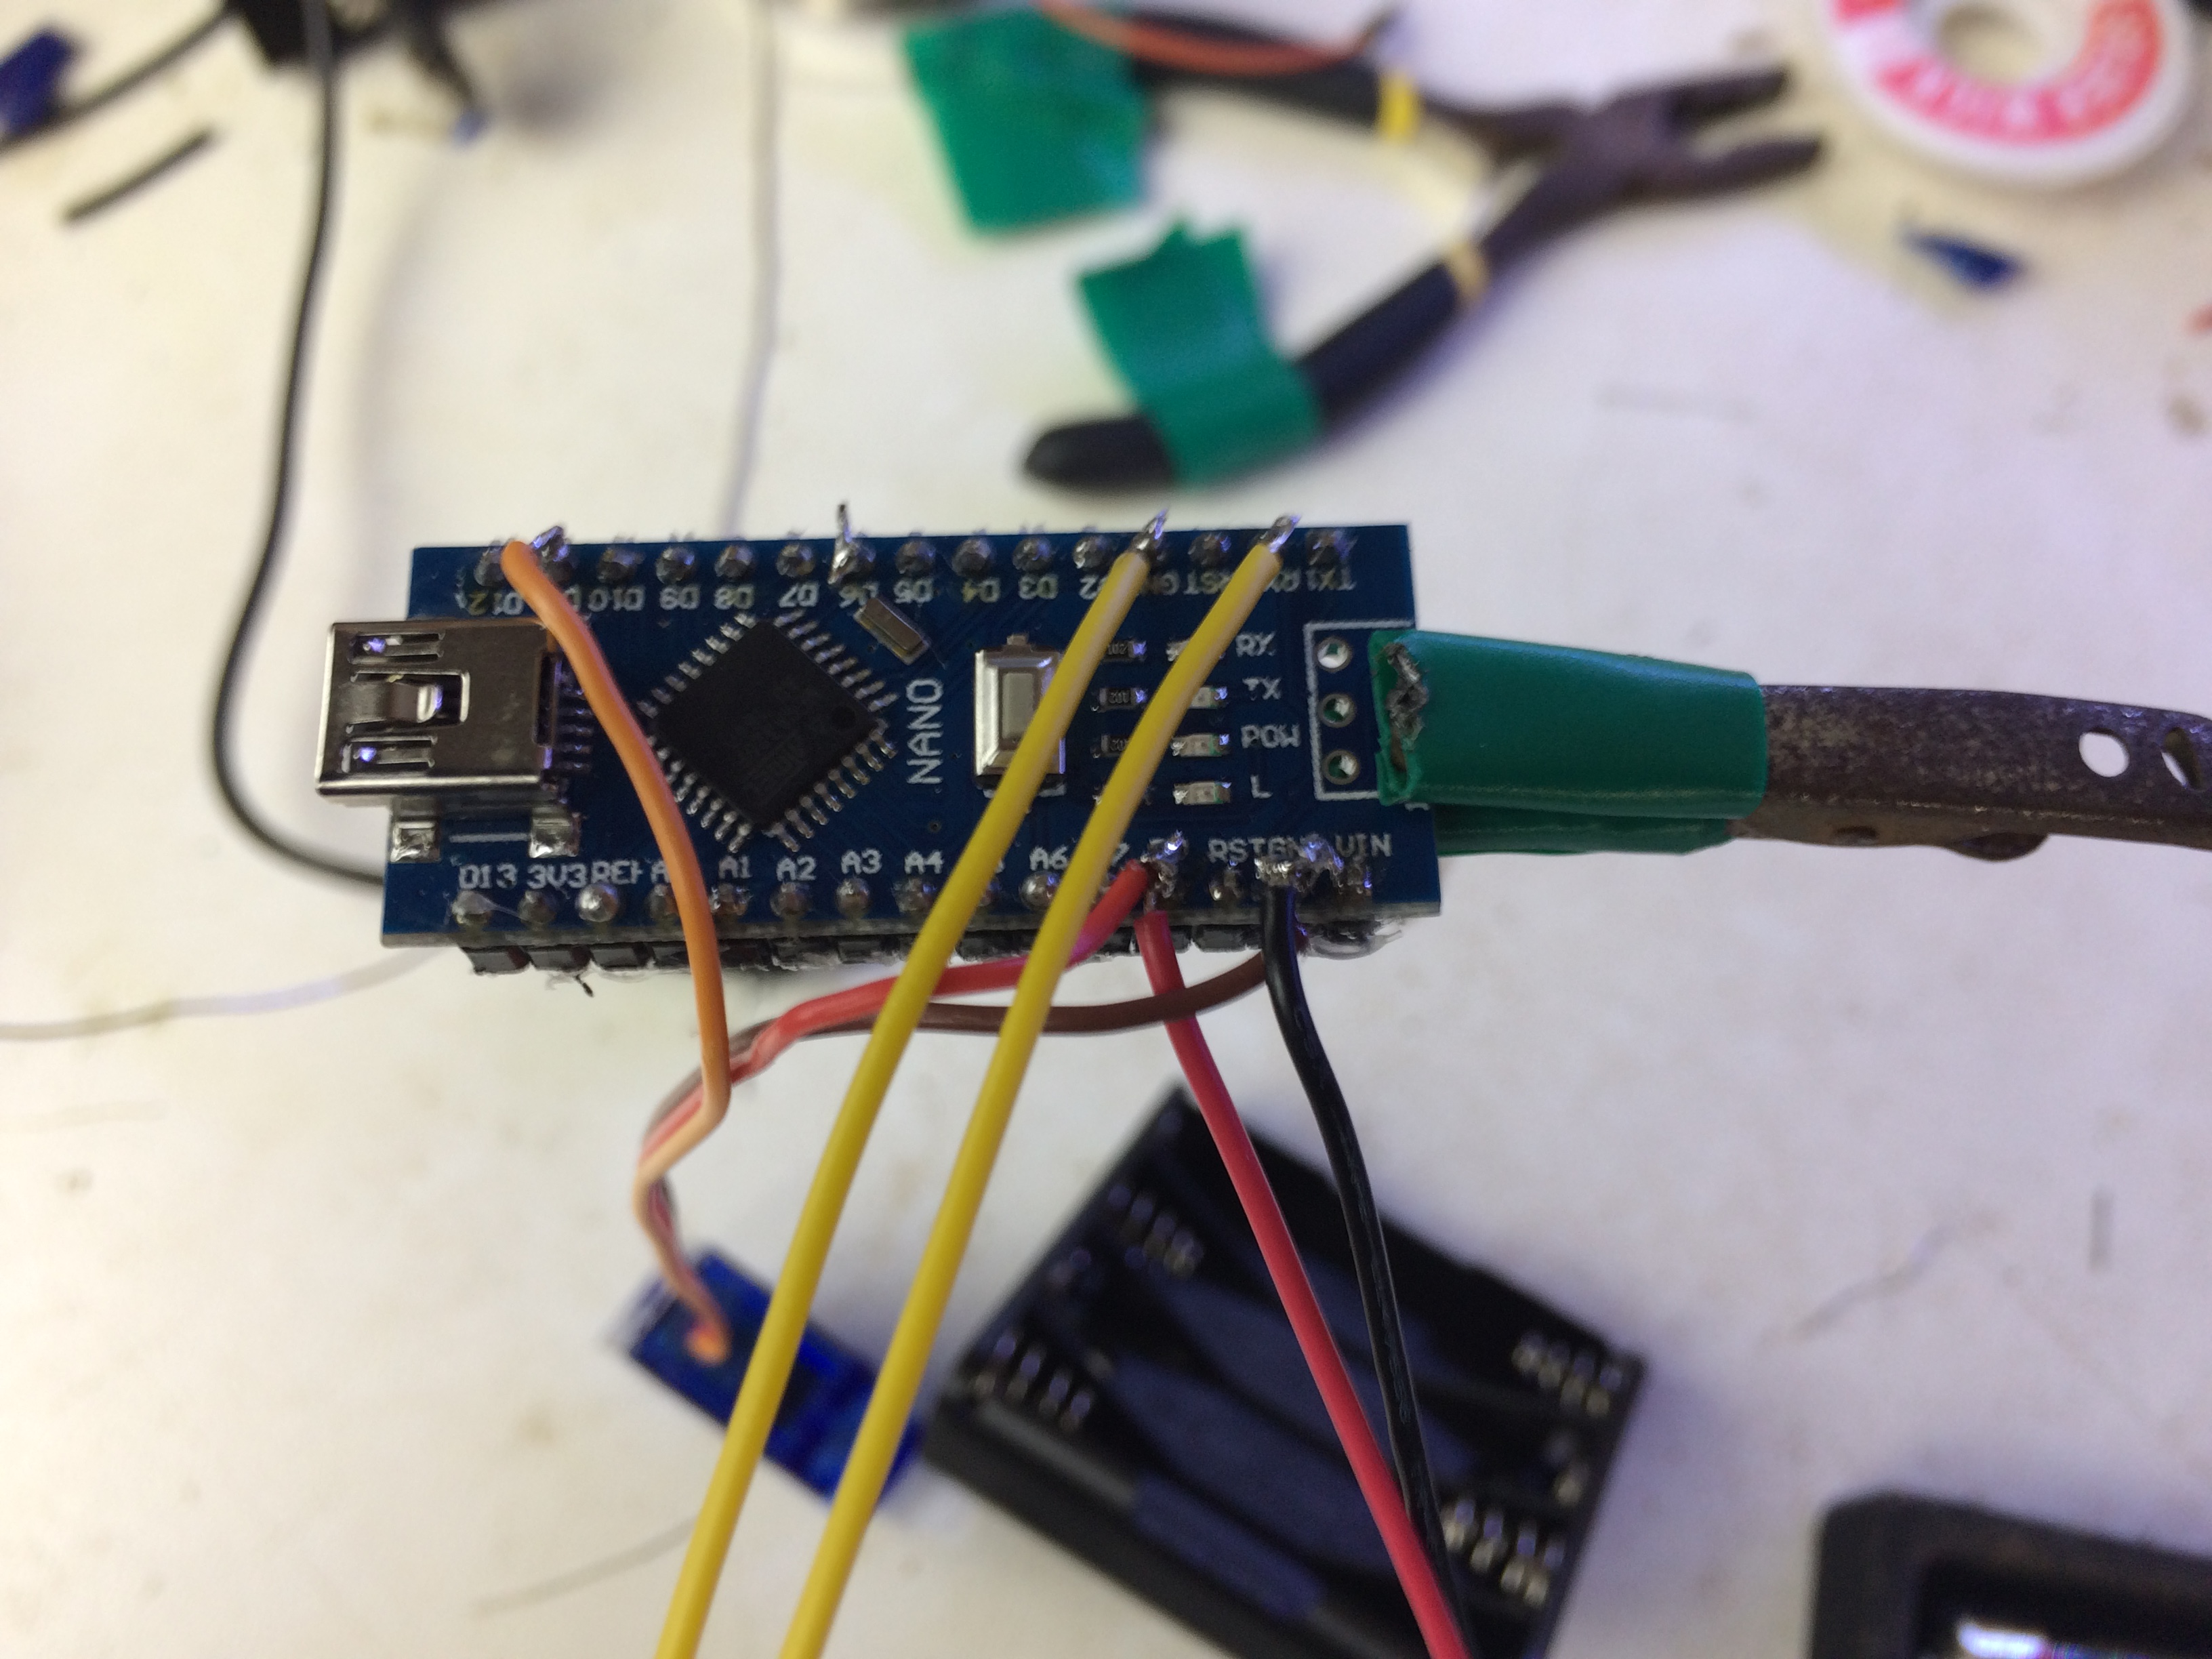
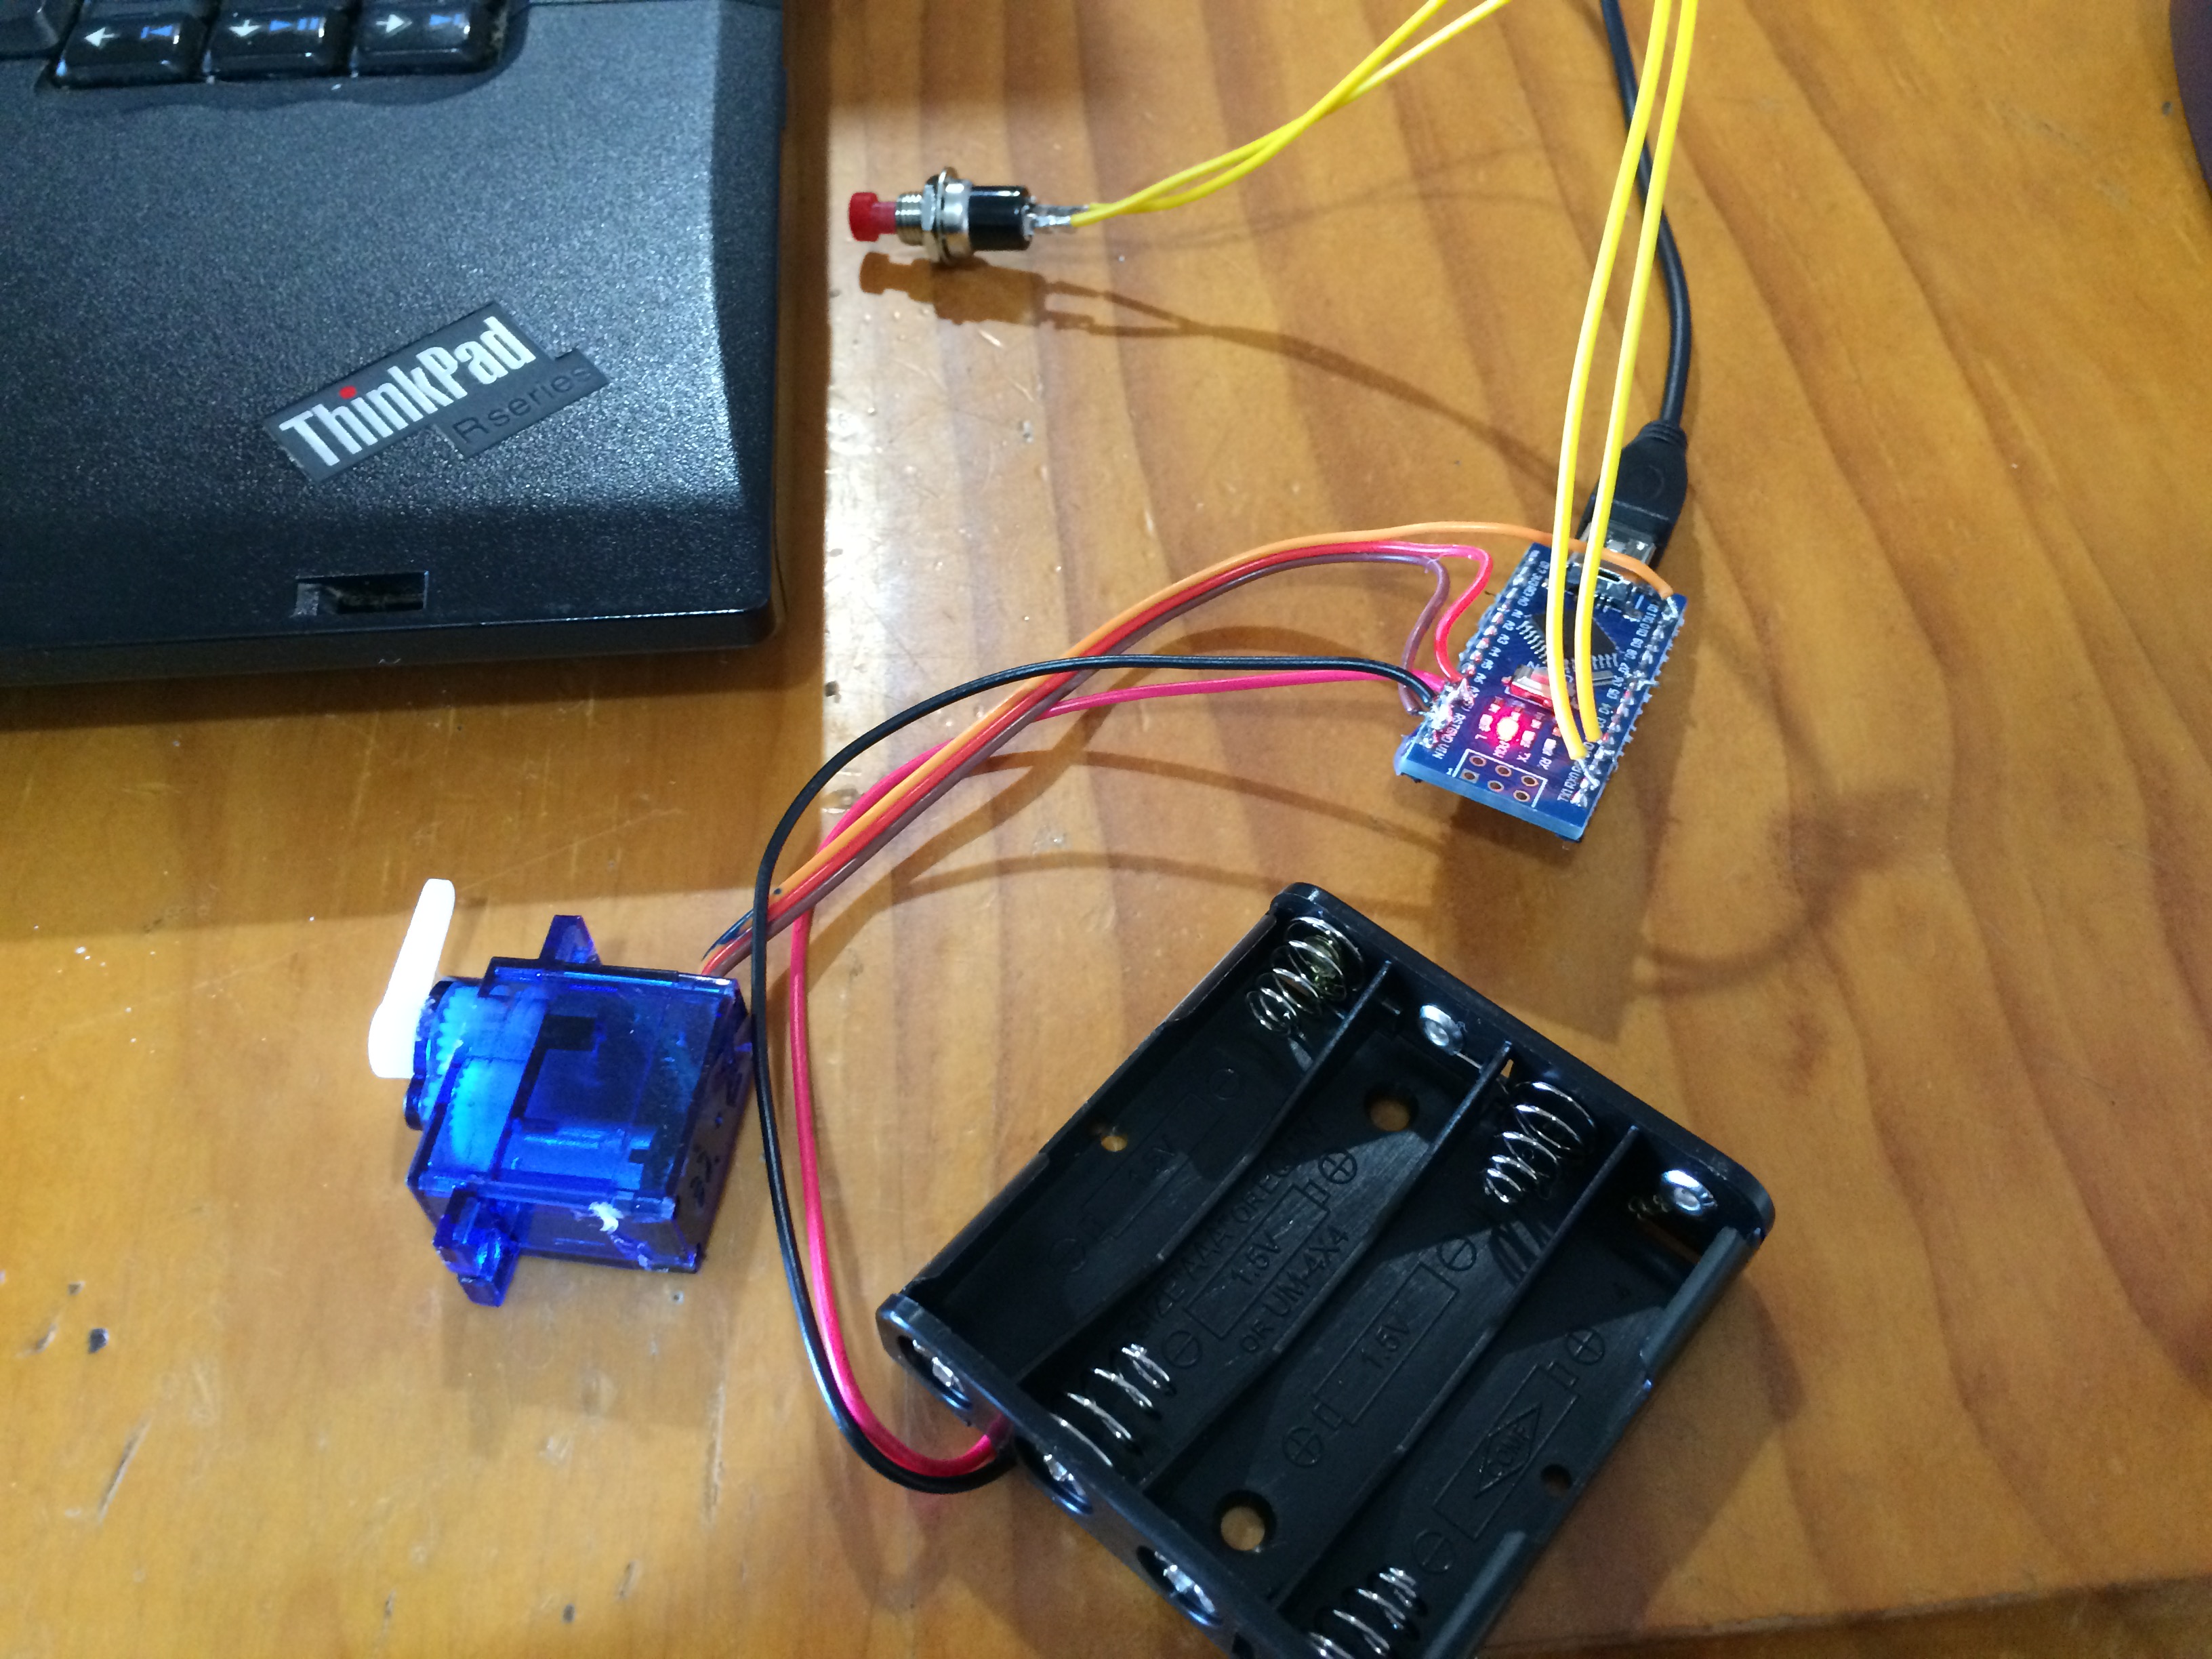
The wiring is simple,
- Start by connecting the red wire of the battery pack to the 5V or VCC Pin on the Arduino and the black to the GND Pin,
- Next connect the red wire of the servo motor to the 5V or VCC Pin on the Arduino, the brown wire to the GND Pin and the yellow wire to Pin 11,
- One terminal of the switch can be connected to the GND Pin of the Arduino and the other terminal can be connected to Pin 0 or TX0
Done!
Coding the Arduino

Below is the code in text. You can also download the code at the bottom!
#include
Servo myservo; // create servo object to control a servo // a maximum of eight servo objects can be created
int pos = 0; // variable to store the servo position int button = 0; // The button will be on Pin 7
void setup() { myservo.attach(11); // attaches the servo on pin 9 to the servo object pinMode(pos, OUTPUT); pinMode(button, INPUT); digitalWrite (button, LOW); }
void loop() { if (digitalRead(button) == LOW)
for(pos = 0; pos < 90; pos += 90) // goes from 0 degrees to 90 degrees { // in steps of degree myservo.write(pos); // tell servo to go to position in variable 'pos' // waits 1s for the servo to reach the position } if (digitalRead(button) == HIGH) for(pos = 90; pos>=90; pos-=90) // goes from 90 degrees to 0 degrees { myservo.write(pos); // tell servo to go to position in variable 'pos' }delay(50); // waits 50ms for the servo to reach the position
}
Credit goes to this forum
Downloads
Extending the Servo Arm
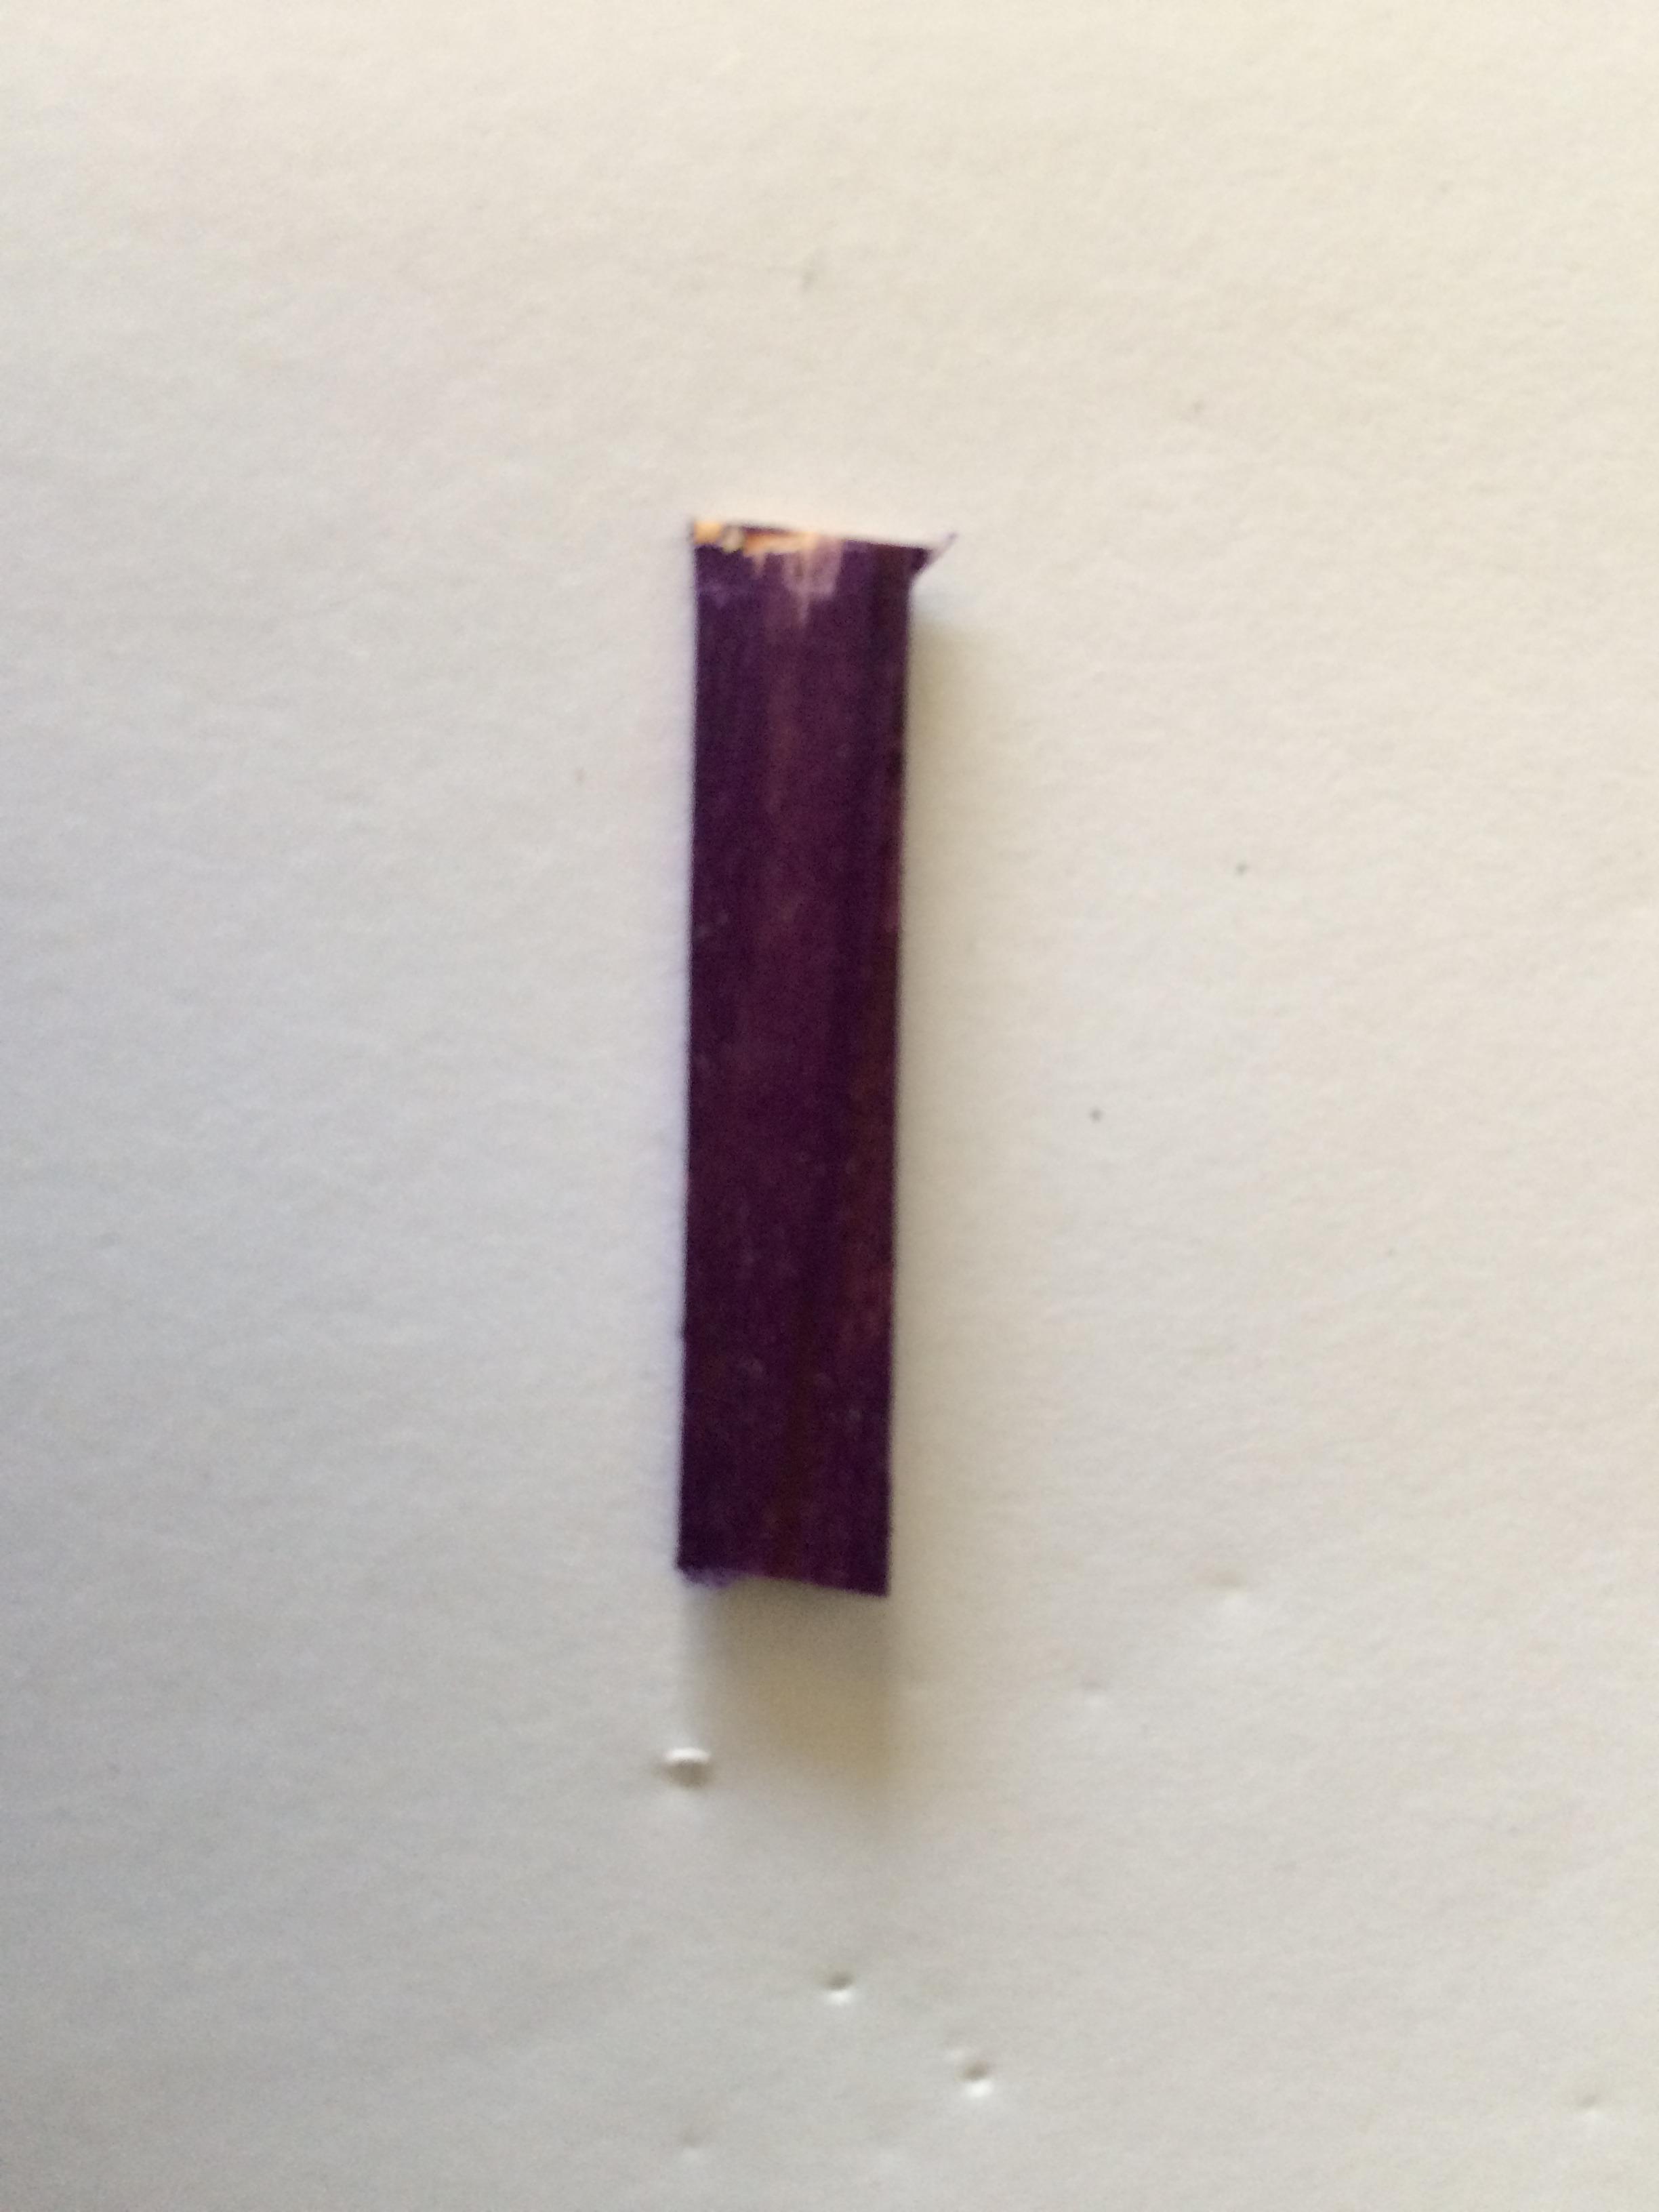
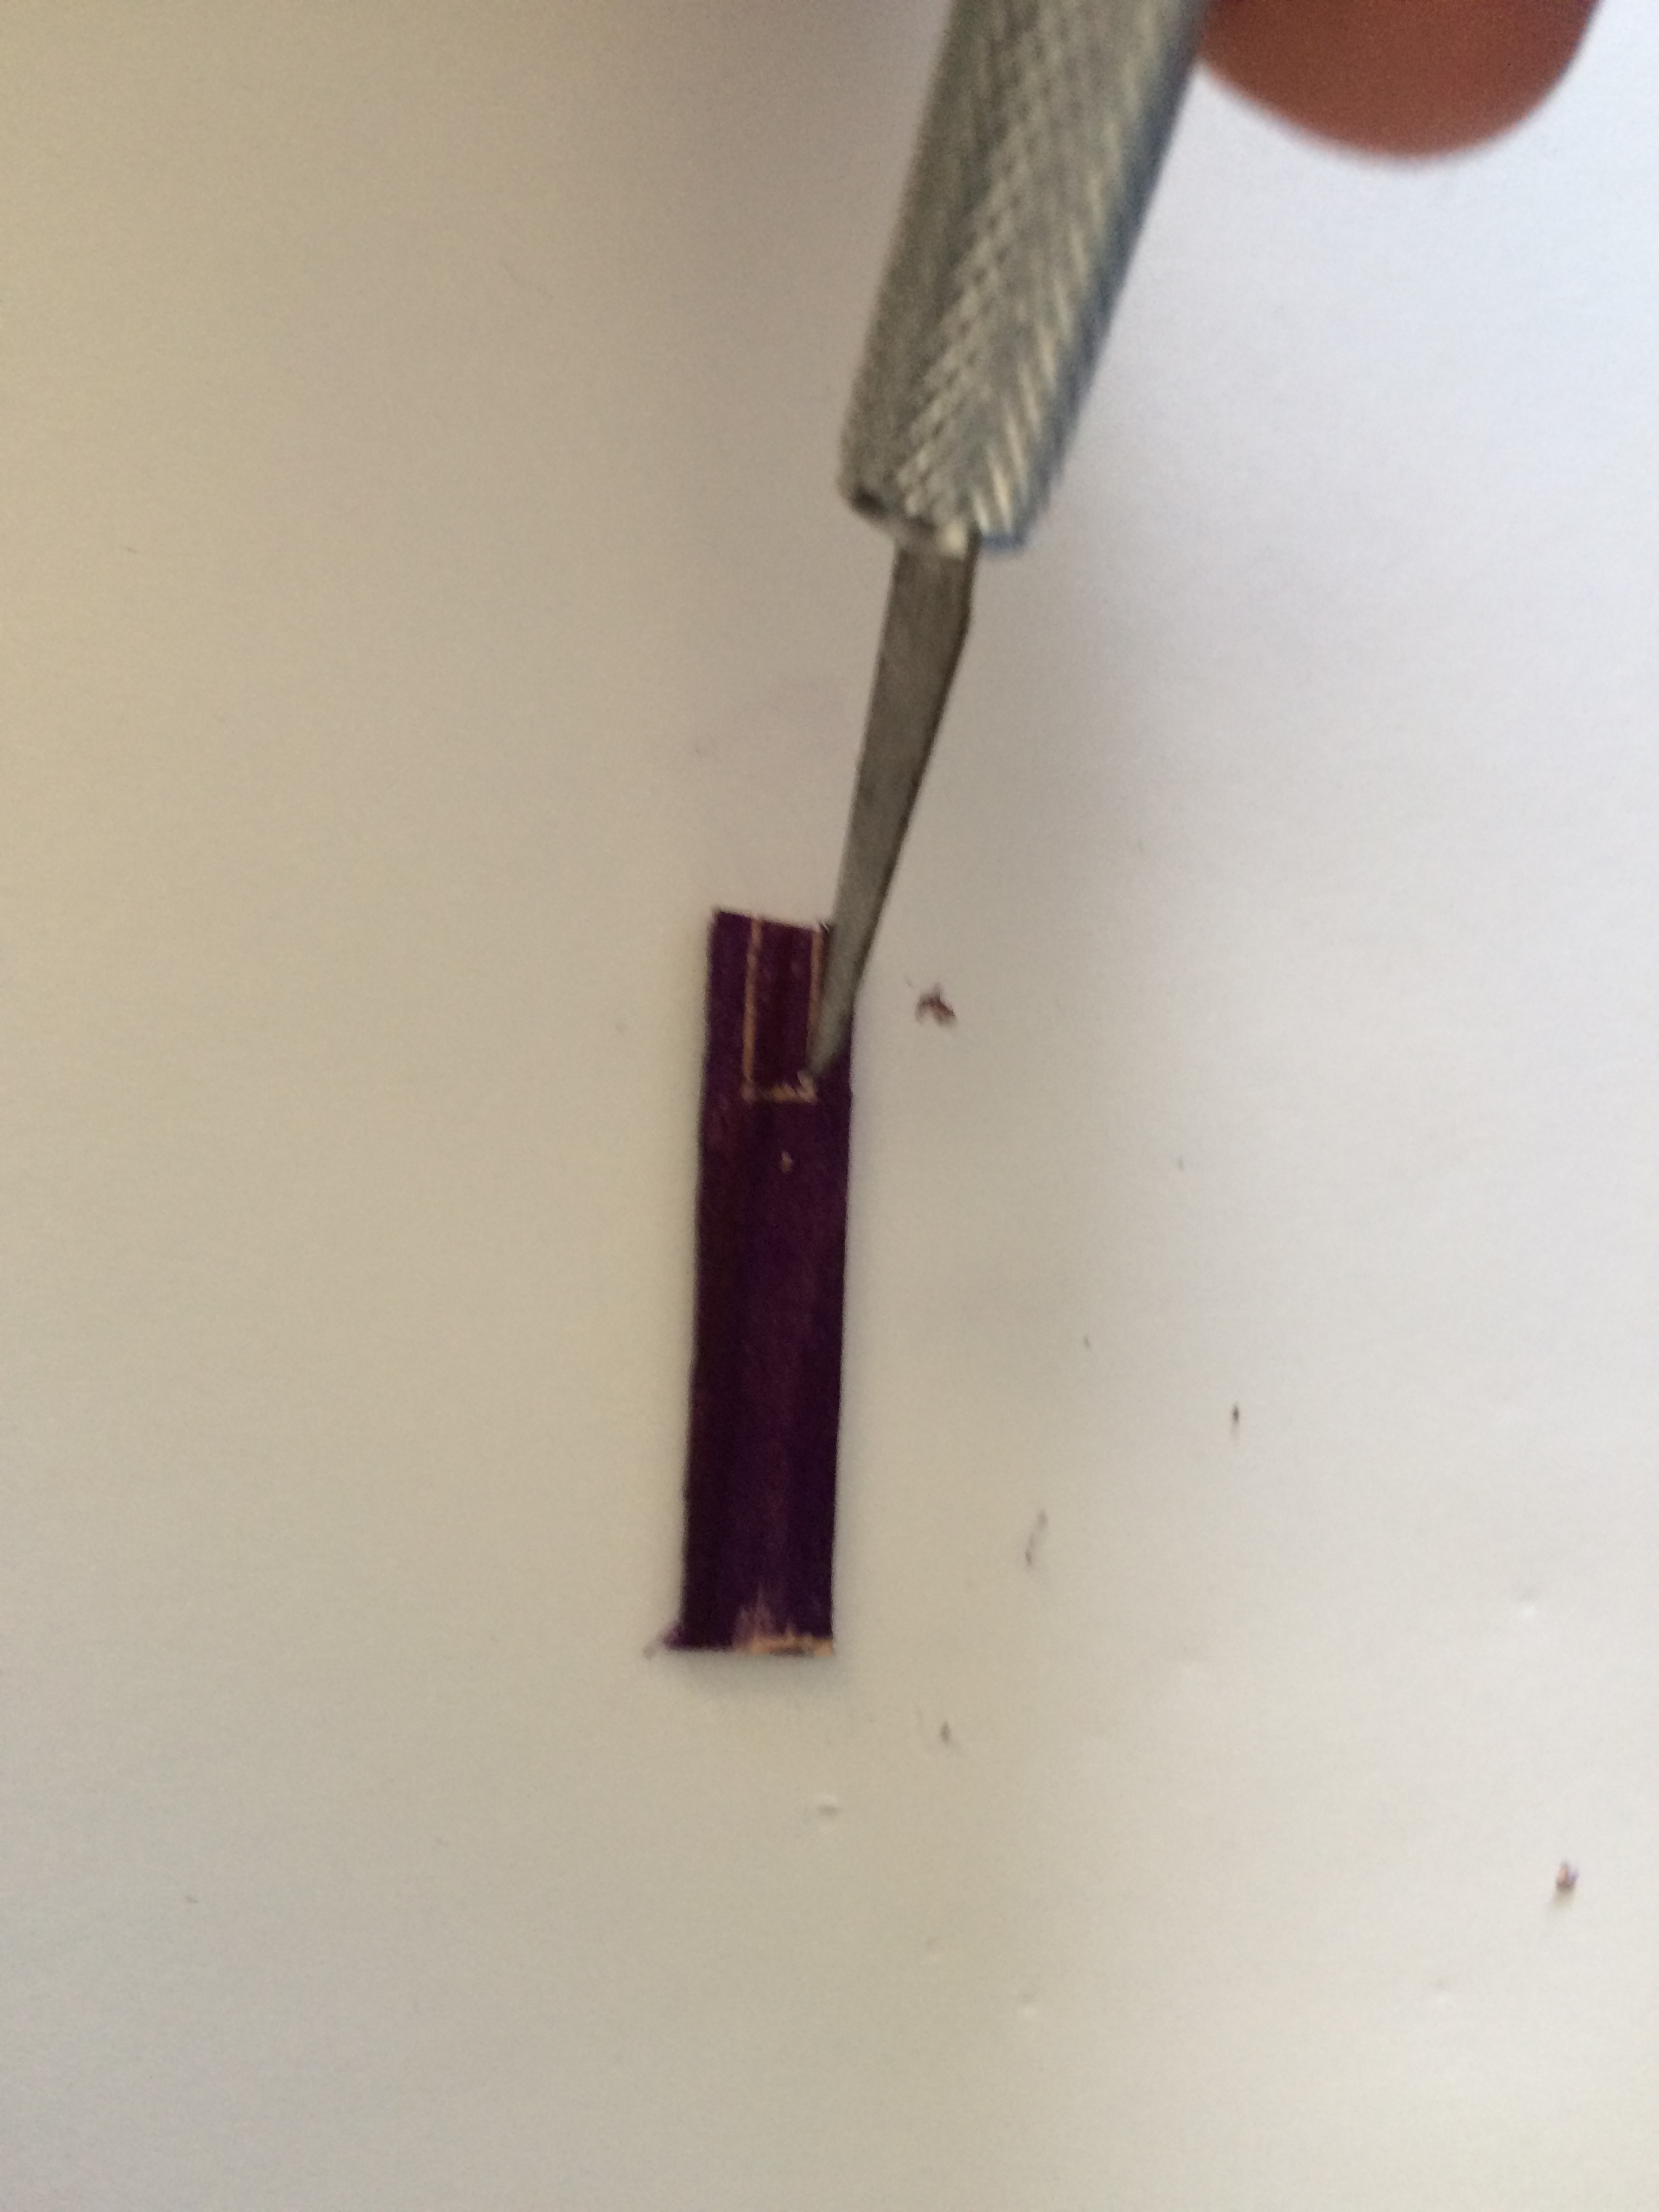


Start with a 5mm wide icy pole stick and cut a grove in the middle, then glue the stick onto the servo motor keeping in mind it should be small enough to fit through the hole on the back of the body, so make it about 3cm long.
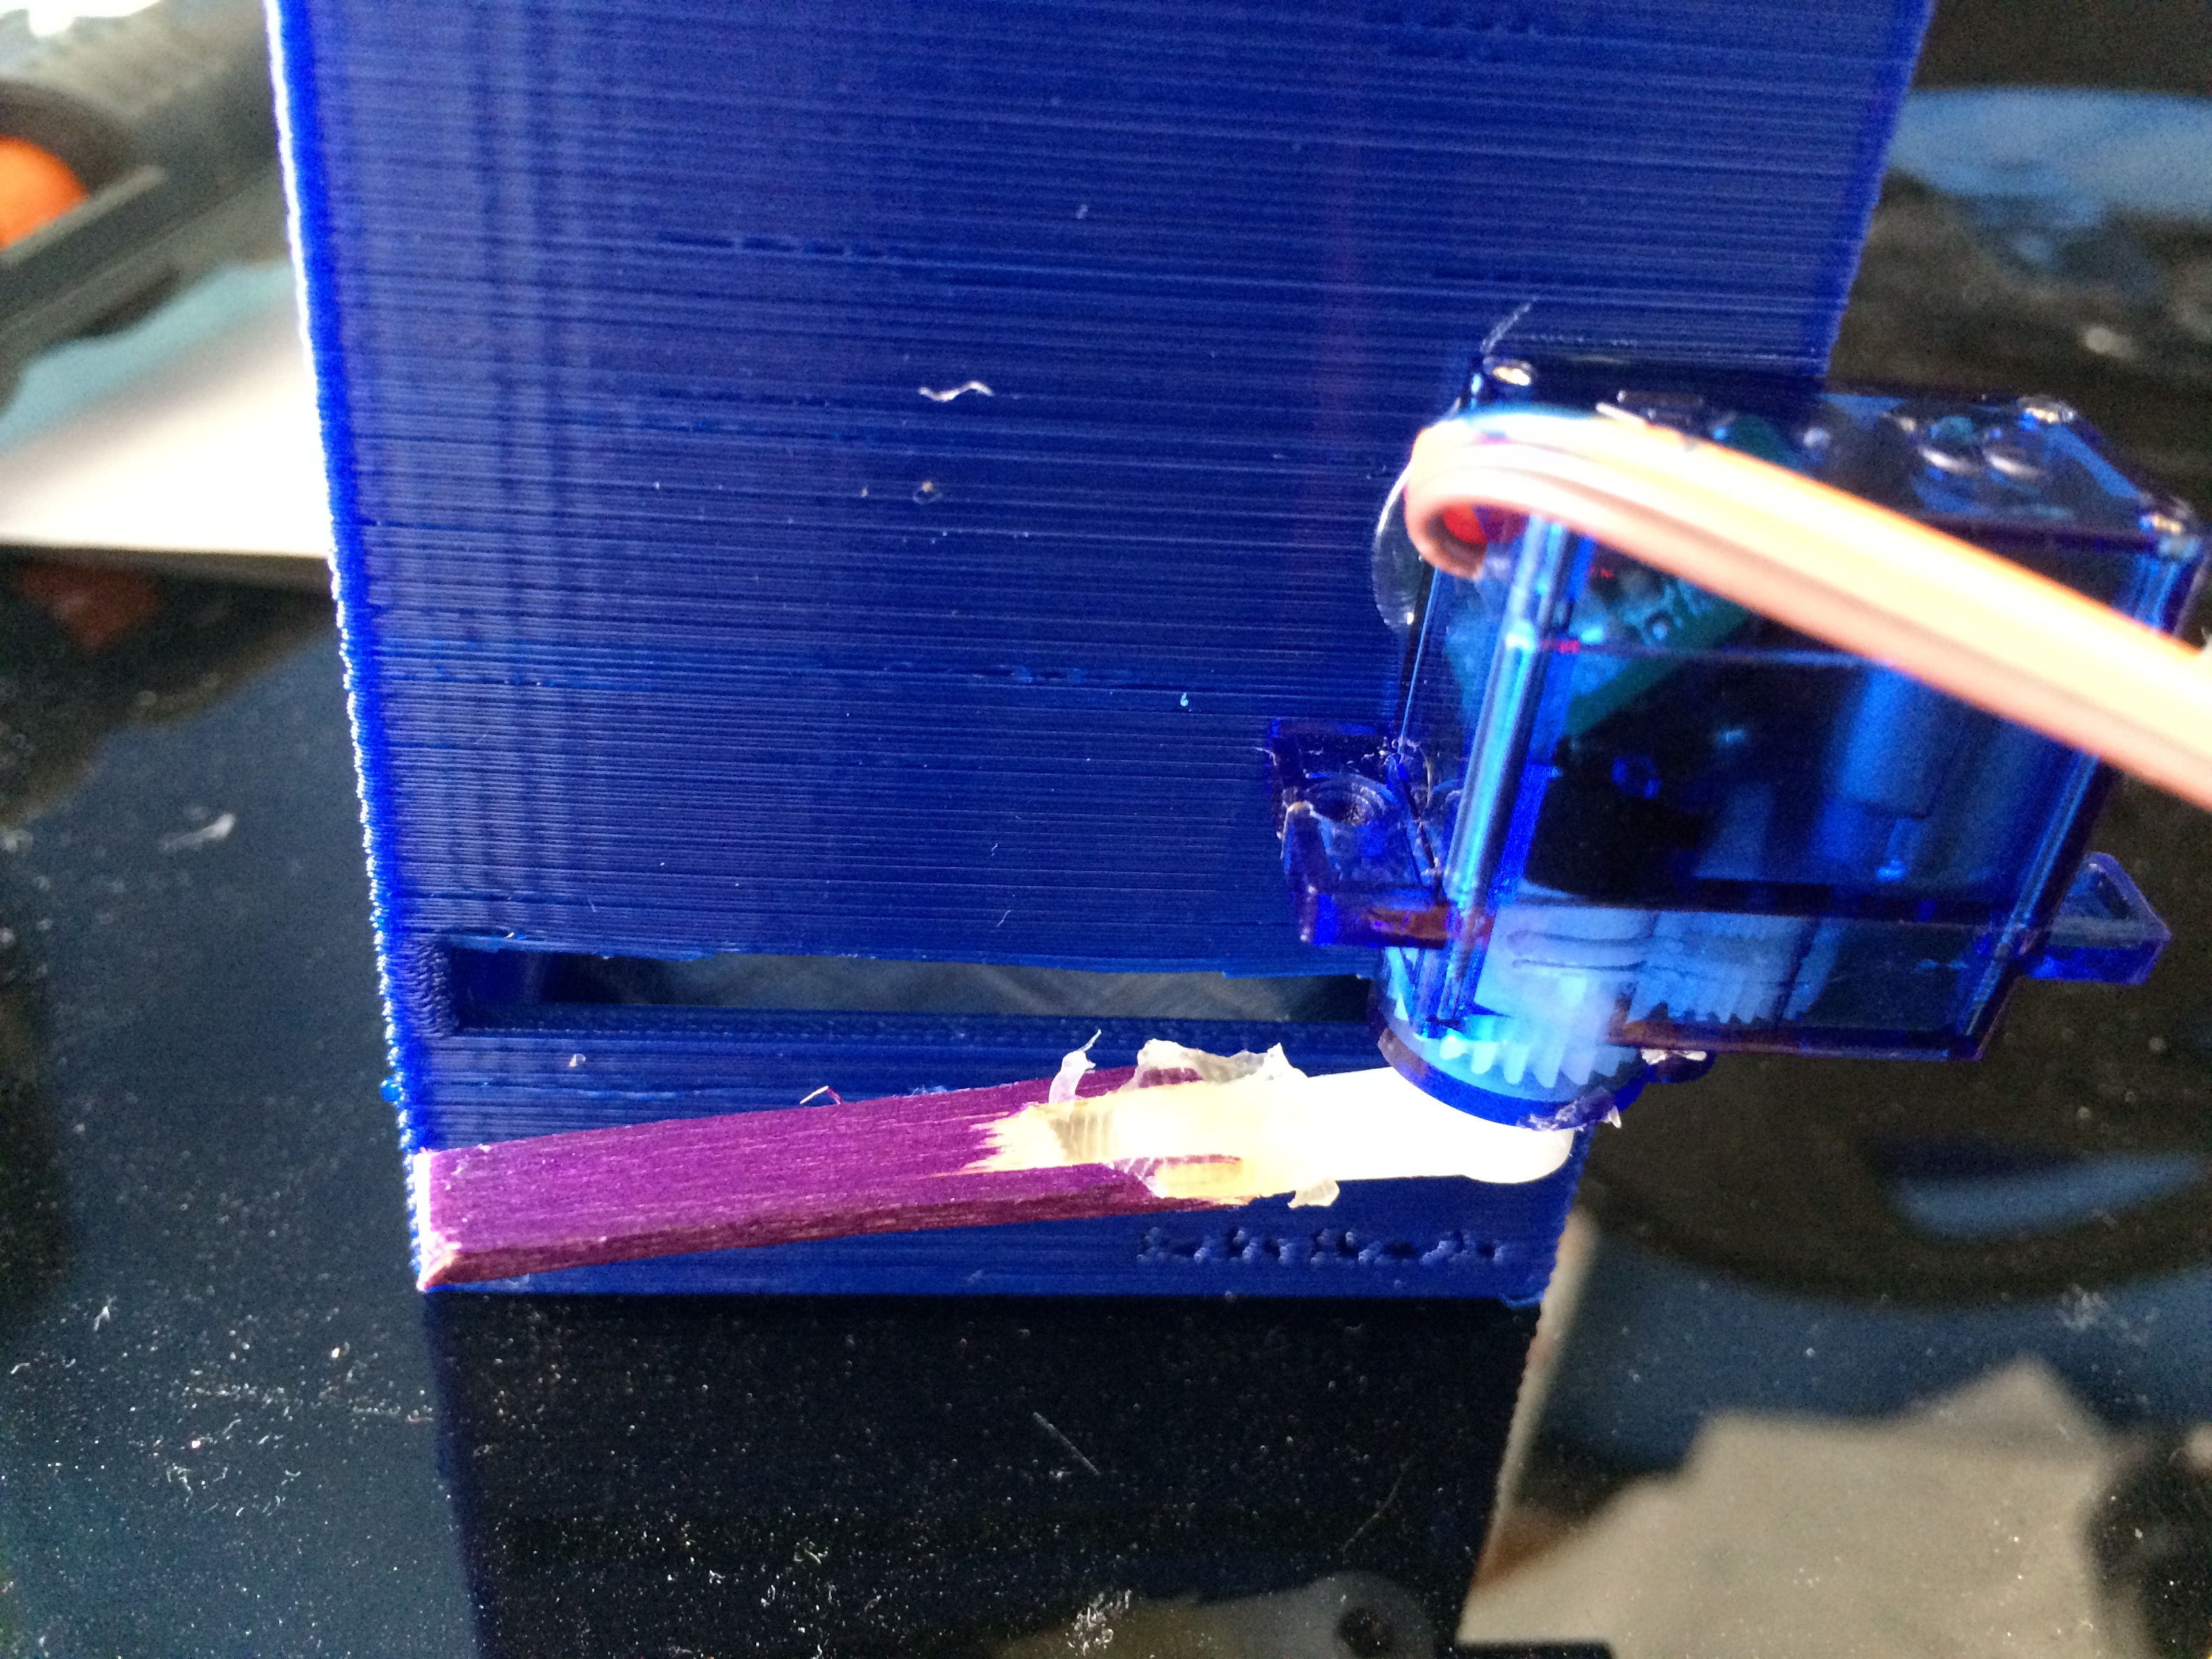
Gluing the Parts Onto the Back
![IMG_2054[2].JPG](/proxy/?url=https://content.instructables.com/FTC/H8J7/J8AGP07T/FTCH8J7J8AGP07T.jpg&filename=IMG_2054[2].JPG)
![IMG_2055[1].JPG](/proxy/?url=https://content.instructables.com/F41/WVUO/J8AGP083/F41WVUOJ8AGP083.jpg&filename=IMG_2055[1].JPG)
Now that your body has finished printing you can begin to glue the parts onto the back. Start with the servo motor by gluing it upside down and positioning it so the stick fits through the hole freely. then glue the Arduino and Battery Pack wherever they fit. The button can be glued on the side.
Fill the Dispenser With Coffee Pods

Now you can start to fill the dispenser with coffee pods and insert the batteries into the battery pack.
Wow, It Works!
Pressing the button should activate the servo motor and the servo motor should push the coffee pod out as shown it the video.
Thanks for checking out this Instructable! If you liked it please vote for it in the Automation Contest! Also Remember to check out my website Here