How to Make an Arduino Clapper!
by jayturdstreet in Circuits > Arduino
1701 Views, 0 Favorites, 0 Comments
How to Make an Arduino Clapper!

How to make an Arduino Clapper!
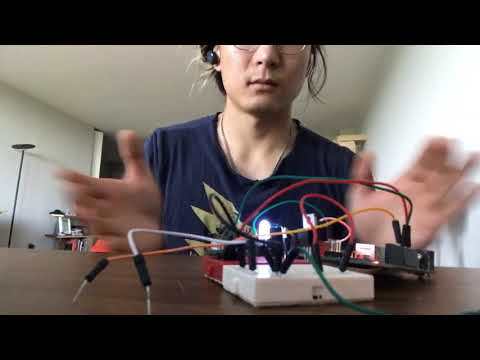
I will be instructing you on how to make a clapper to turn on, and off an LED light. I will instruct you on the hardware, and the software side of this project.
A clapper is a sound triggered switch that only responds to the correct beat of claps. Otherwise, any sound can trigger the clapper, and instead of an obedient light, you got yourself a rave.
Based on what you learn from this tutorial, you can apply the knowledge in others ways to turn on and off various things using a microphone.
Supplies
1 Adafruit Electret Microphone Amplifier
1 Arduino uno or nano
1 100 ohm resistor
1 LED
Hardware


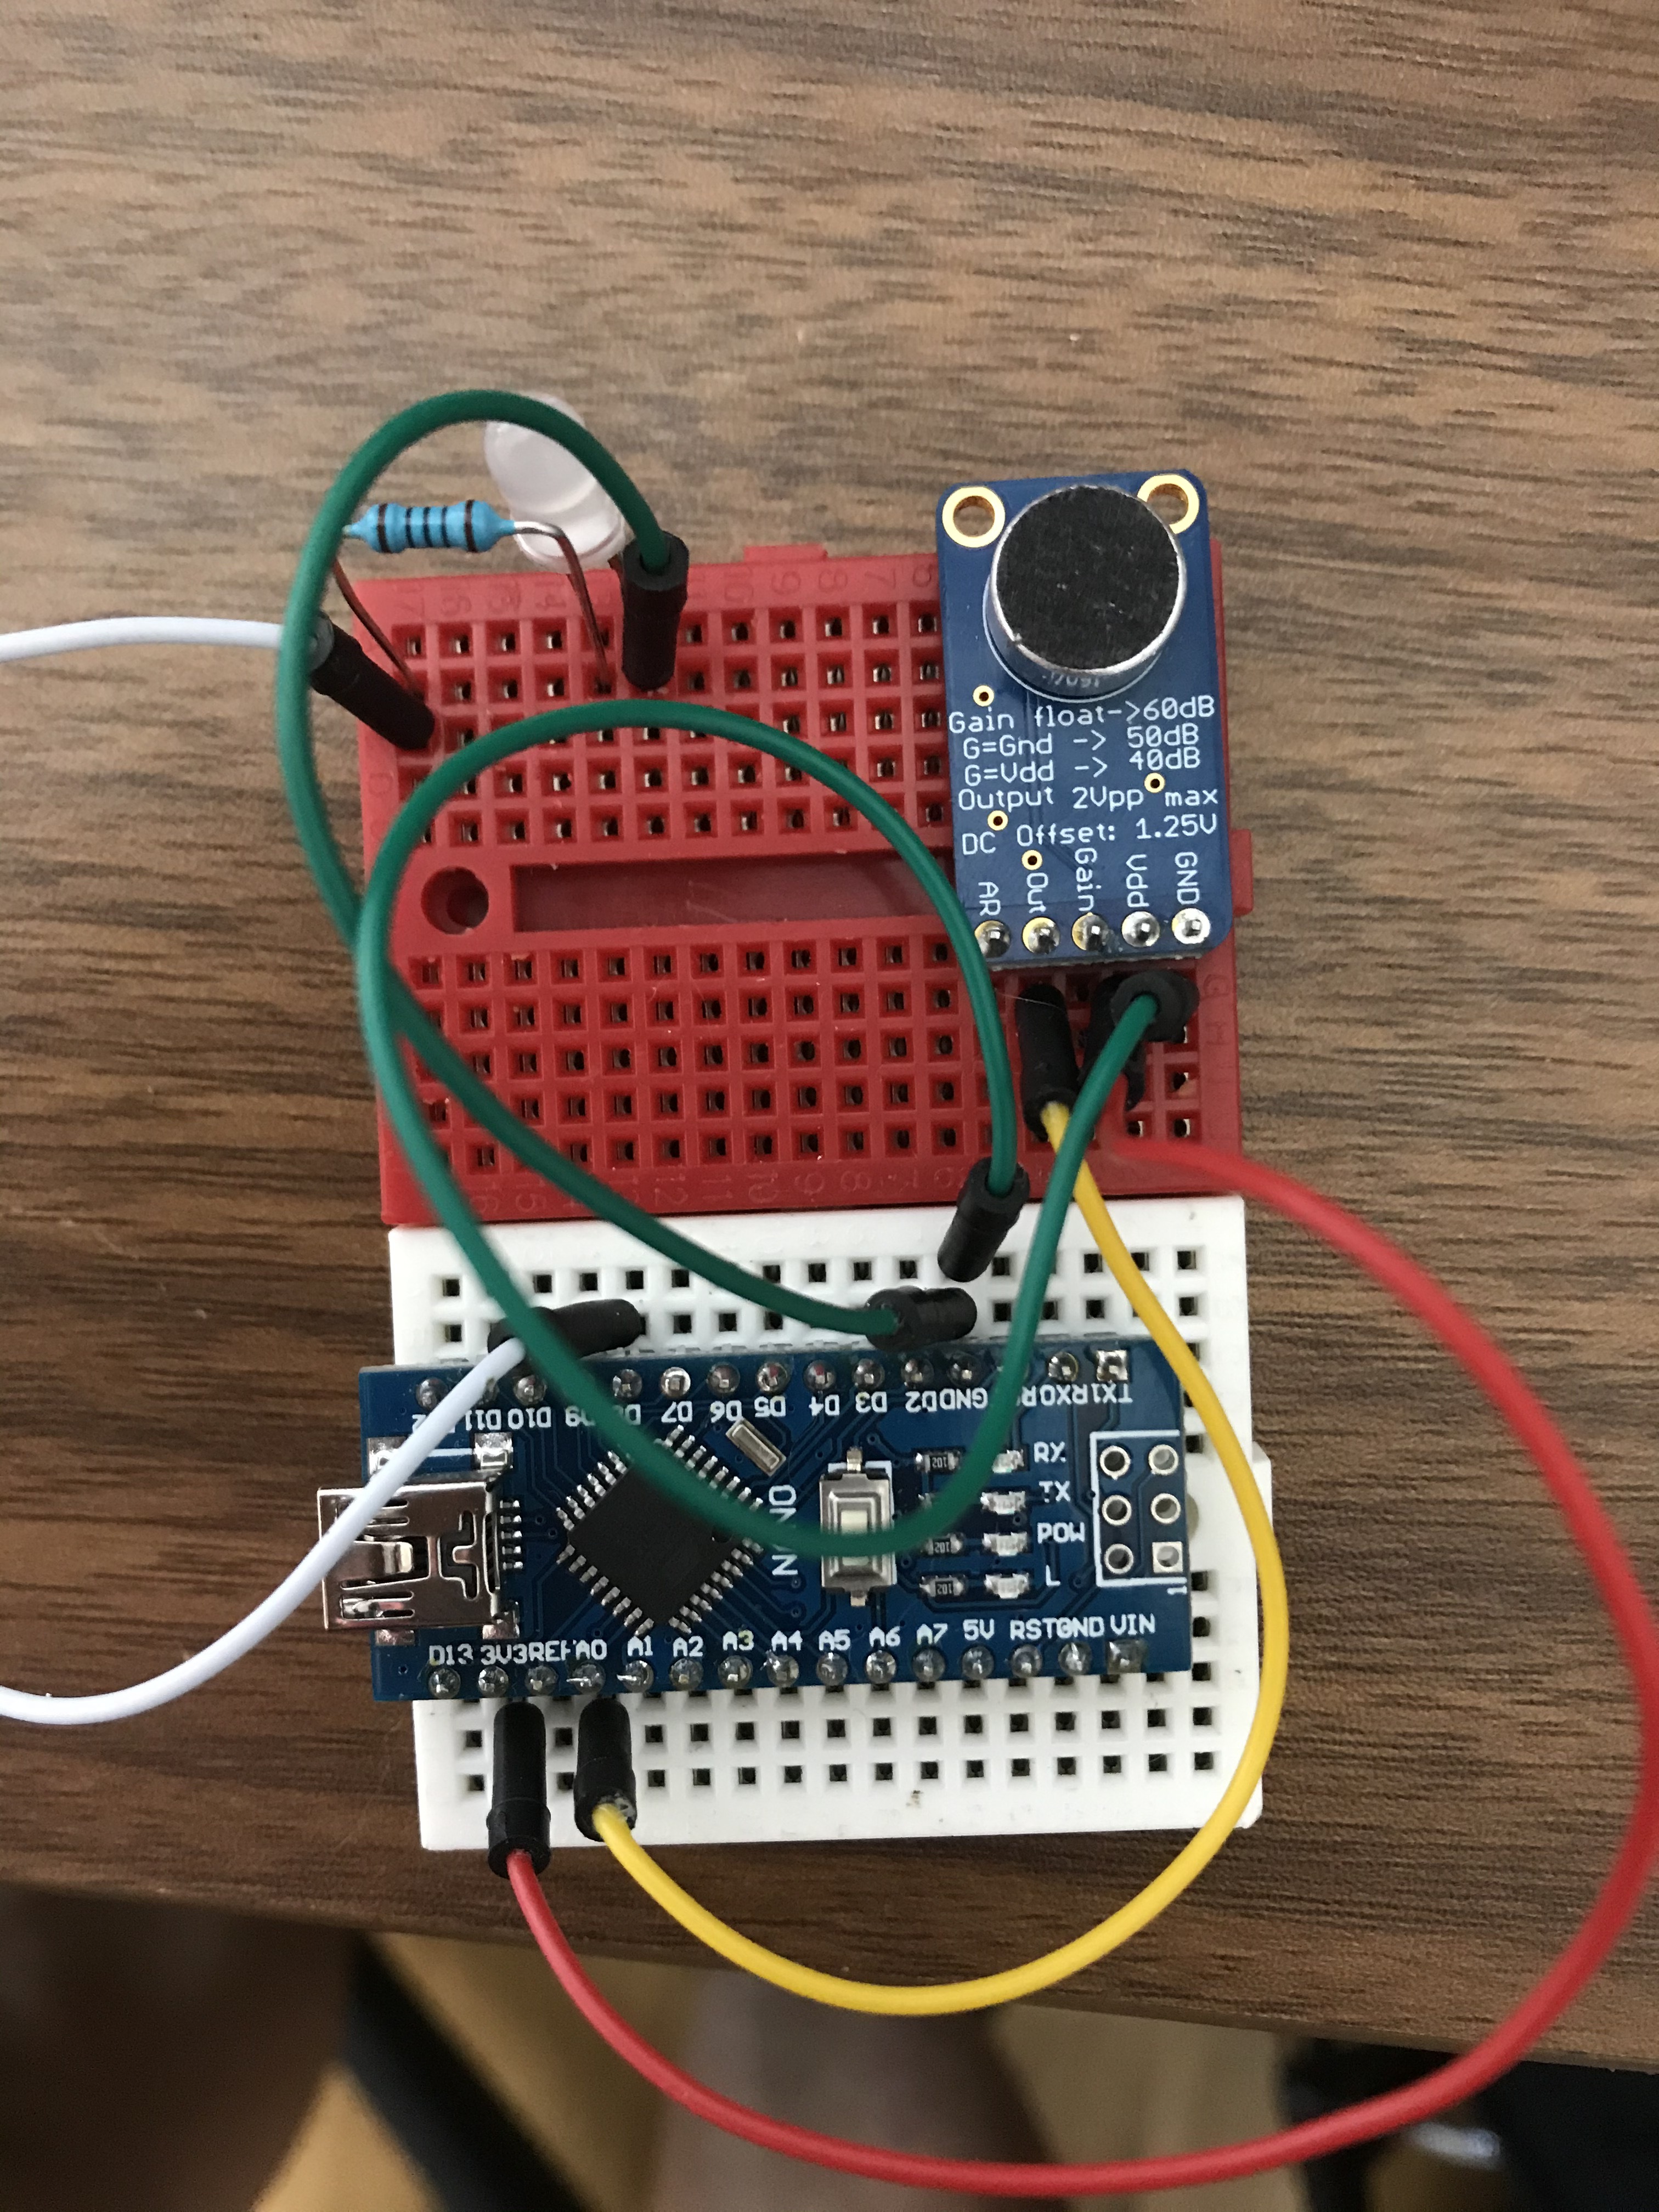
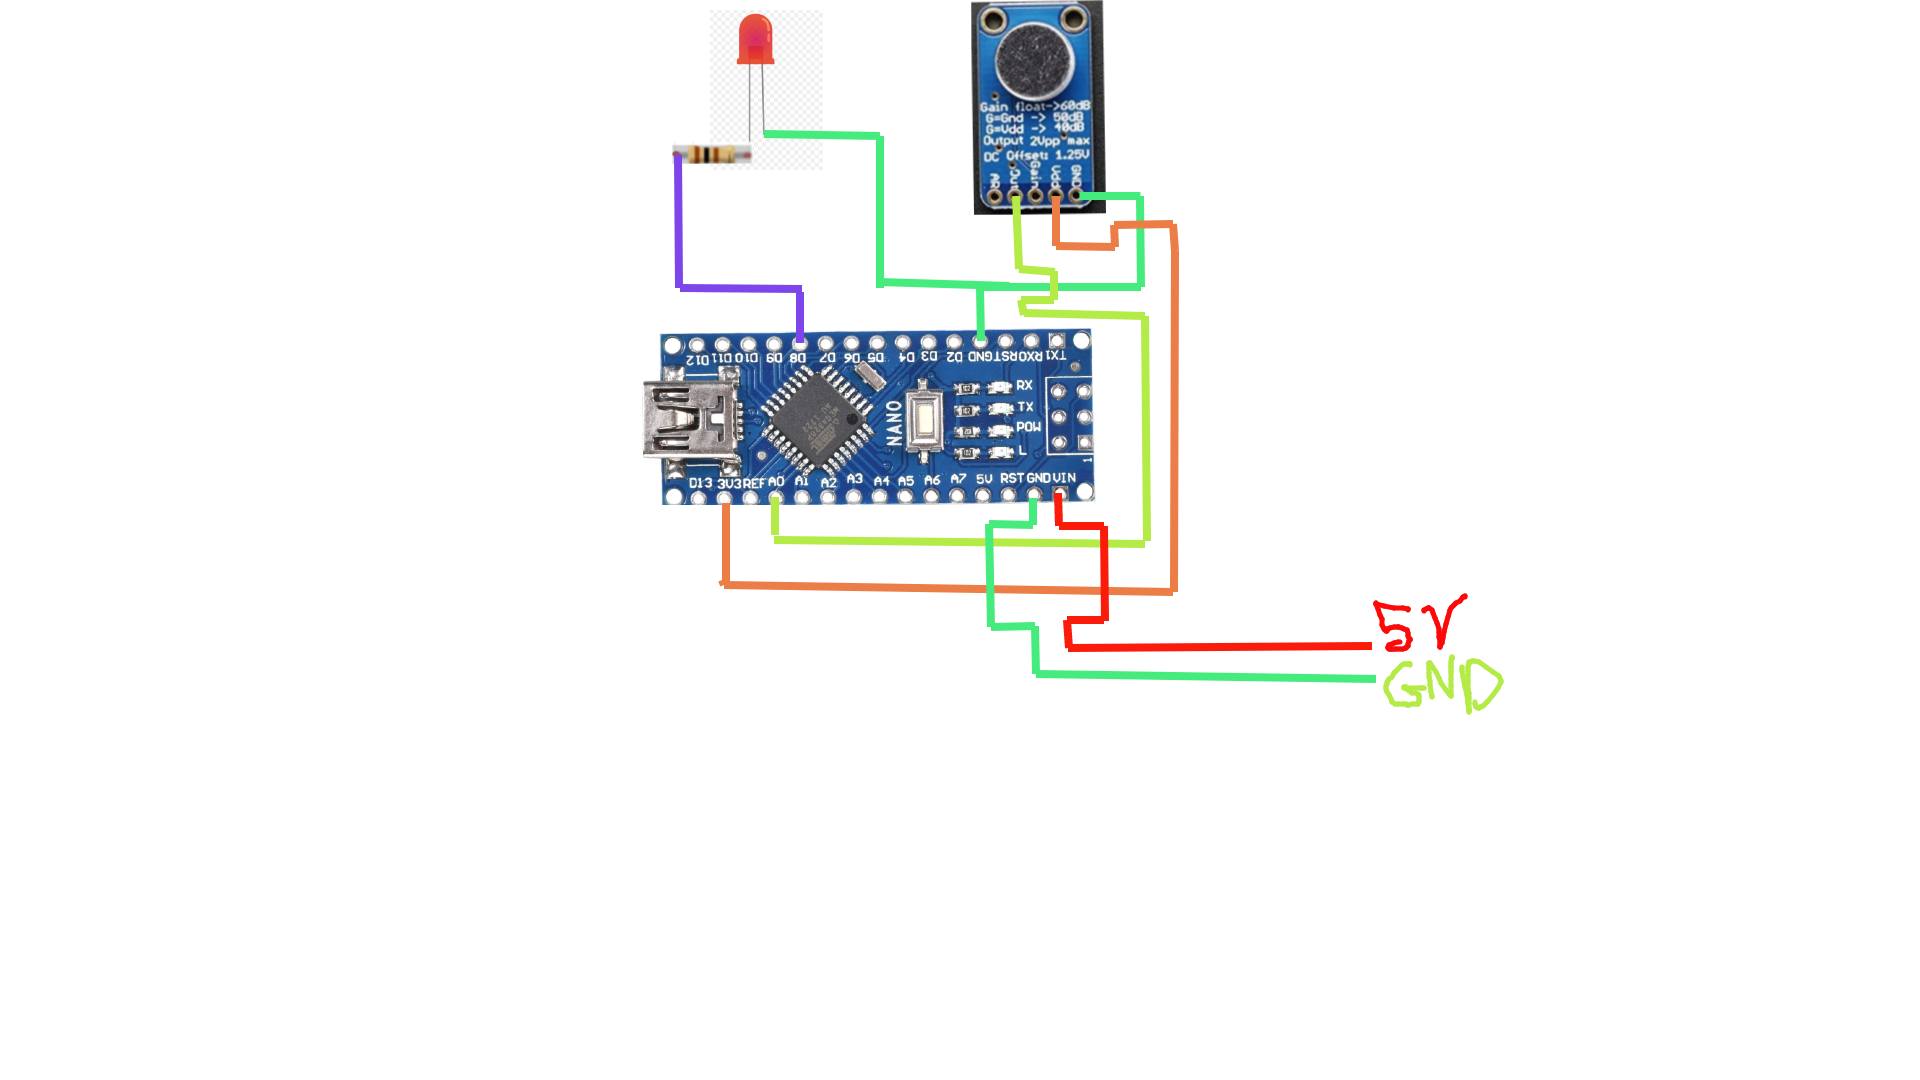
Follow the electric diagram above. Make sure you are using 100 Ohm resistor for your LED, and microphone needs 3.3V, NOT 5V. You need a resistor for your LED, because without it, too much current can damage the LED, and the Arduino.
You can power this device either by providing a 5V into vin input, or you can use the usb connection.
Connections
- Mic, Out -> A0 (analog input)
- Mic, VDD -> 3.3V (Arduino's 3.3V)
- Mic, GND -> GND (Arduino's GND)
- Arduino, D8 (digital pin) -> 100 ohm Resistor -> LED's positive end, LED's negative end goes into Arduino's GND
Software
Arduino Code: https://github.com/ArchieJude/Clapper
- You will need to import statistic library: https://playground.arduino.cc/Main/Statistics/
In the setup:
Initialize pin modes, and calibrate the threshold value by sampling the ambient sound. Threshold value is used to identify abnormally loud sound, like a clap. Calibration is needed,because not all rooms are pitch quite, usually a room contains a constant sound, like a fan running.
- Digital pin 8 is set to be an OUTPUT to turn on, and off the LED
- Analog pin 0 is set to be an INPUT to receive signals from the mic
Main loop:
- Microphone sends detected sound (clap) into an analog input pin, and this detected sound 'value' is stored into a variable called micValue.
- If the micValue (1st clap) is greater than the threshold:
- For 501 milliseconds:
- Continuously read the analog input pin for the second clap.
- If the second clap comes in between the time window, 350ms and 500ms:
- If the led pin is HIGH, then set it LOW
- else, set it LOW
- If the second comes in too soon:
- exit the loop
- For 501 milliseconds:
- If the micValue (1st clap) is greater than the threshold:
Why we need a certain beat:
Any beat can trigger the LED if you don't specify. Let's say you are just walking, and the sound of your footsteps could trigger it. You don't want that happening, so therefore, there is a specified time window for the second clap to come in. If you want the beat to be LONGER. Like, *Clap.....(1 second).....Clap, then you need to increase the time of the second, inner, loop from 501ms to 1001ms, and the second time window should be like 850ms to 1000ms. Reason being, no human is perfect all the time, therefore there is a time window for the second clap to come in.