How to Make an Aesthetic Presentation From Scratch!
by nigirizushi in Design > Digital Graphics
1000 Views, 3 Favorites, 0 Comments
How to Make an Aesthetic Presentation From Scratch!


Presentations can be tricky, but the key is to make them simply beautiful and informative. Why use a blank white background with black text when you can make a colorful and aesthetic presentation? Follow along as I teach you basic color theory and some presentation tricks.
Check out the second simpler design here!: https://www.instructables.com/How-to-Make-an-Aesthetic-Presentation-From-Scratch-1/
Supplies
- A laptop/computer (If you use another device you will not be able to add the optional animations)
- Google Slides
Starting From Scratch
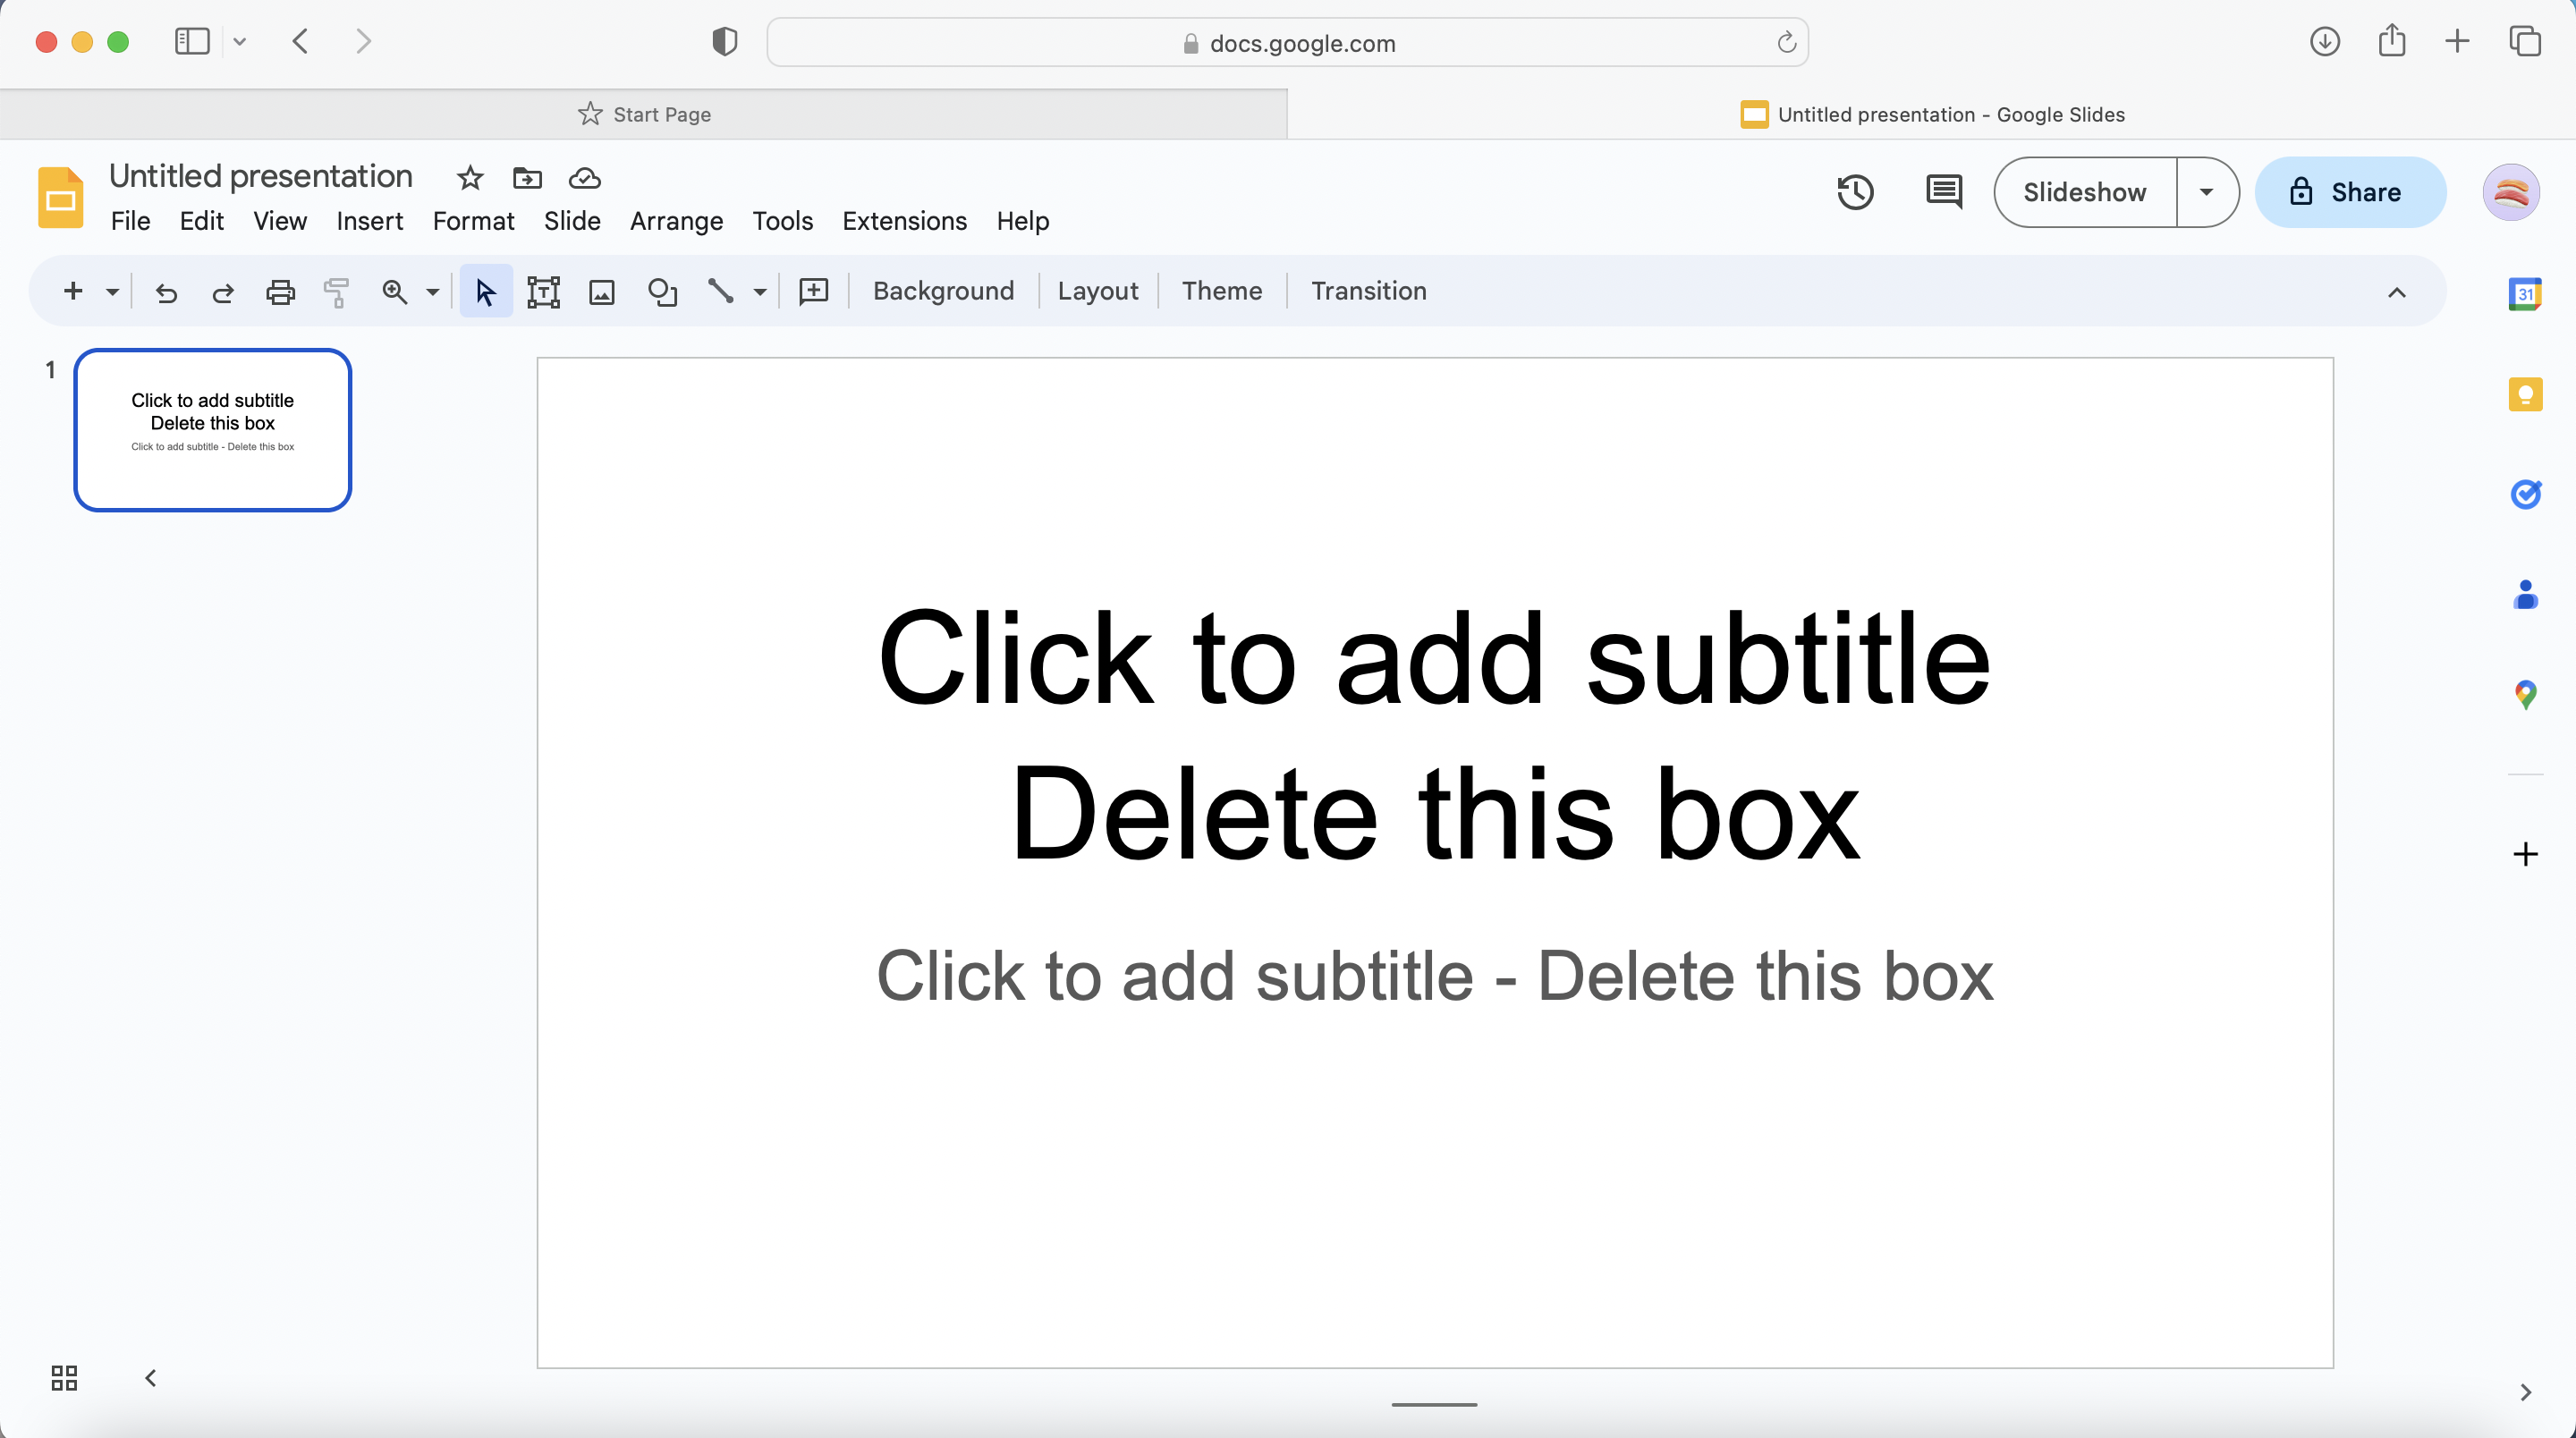
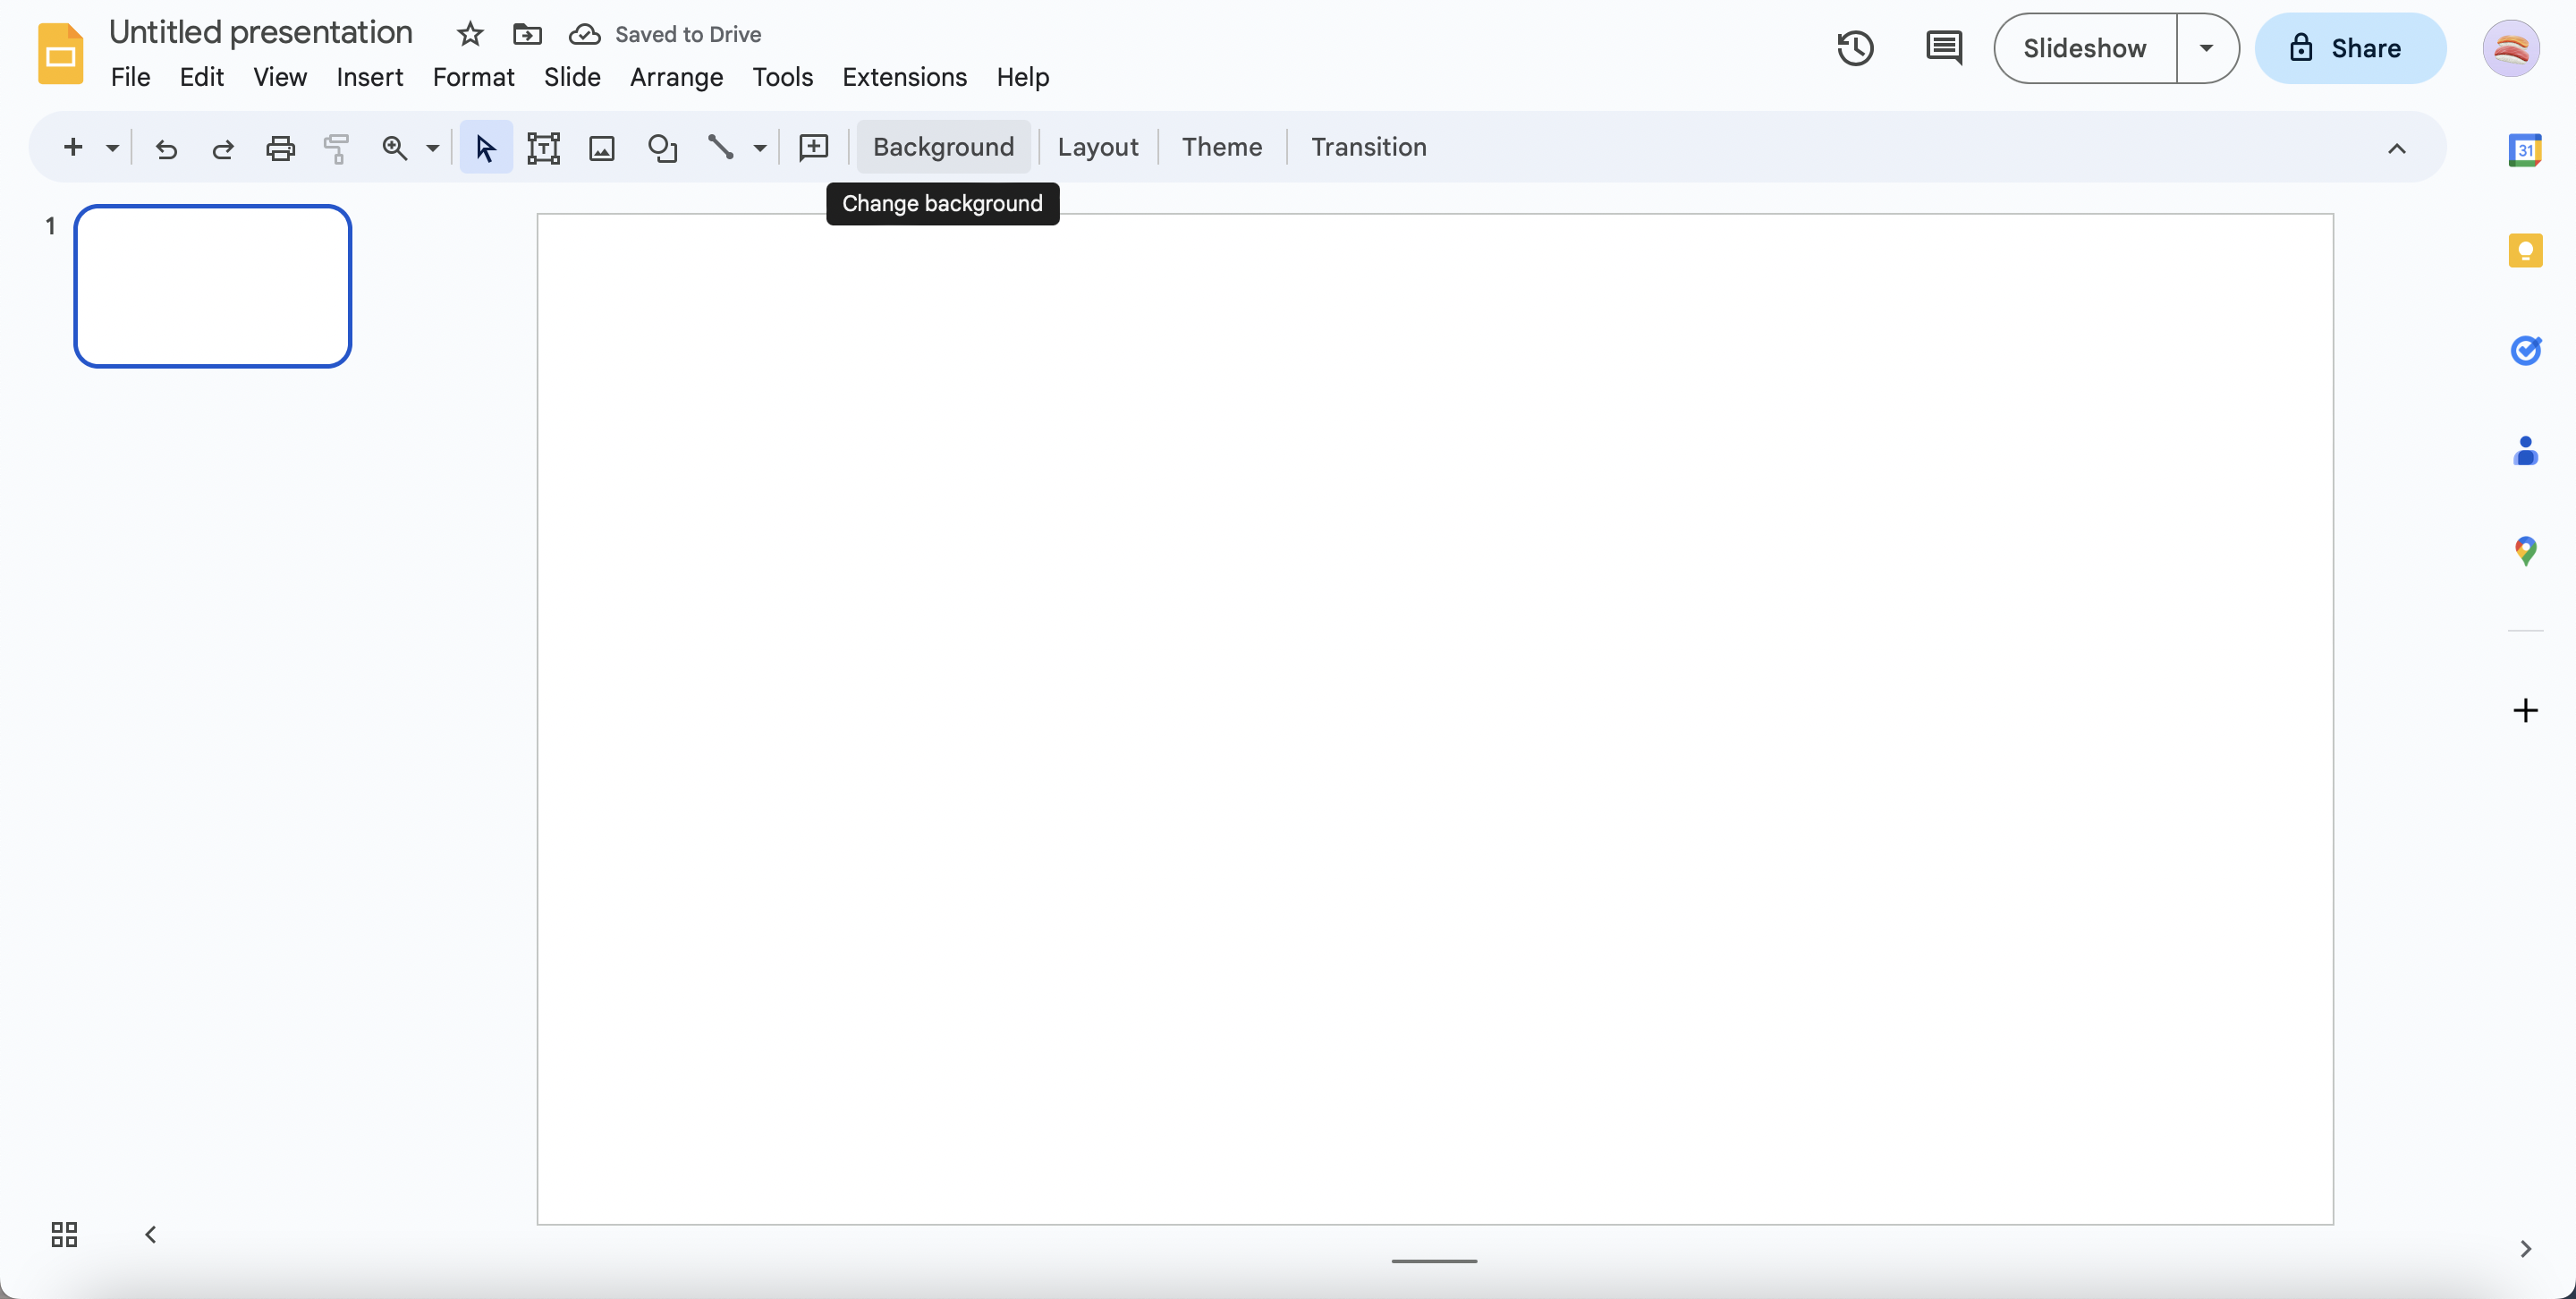
Make a new presentation and delete the two boxes to create a blank presentation. Now you can start from scratch.
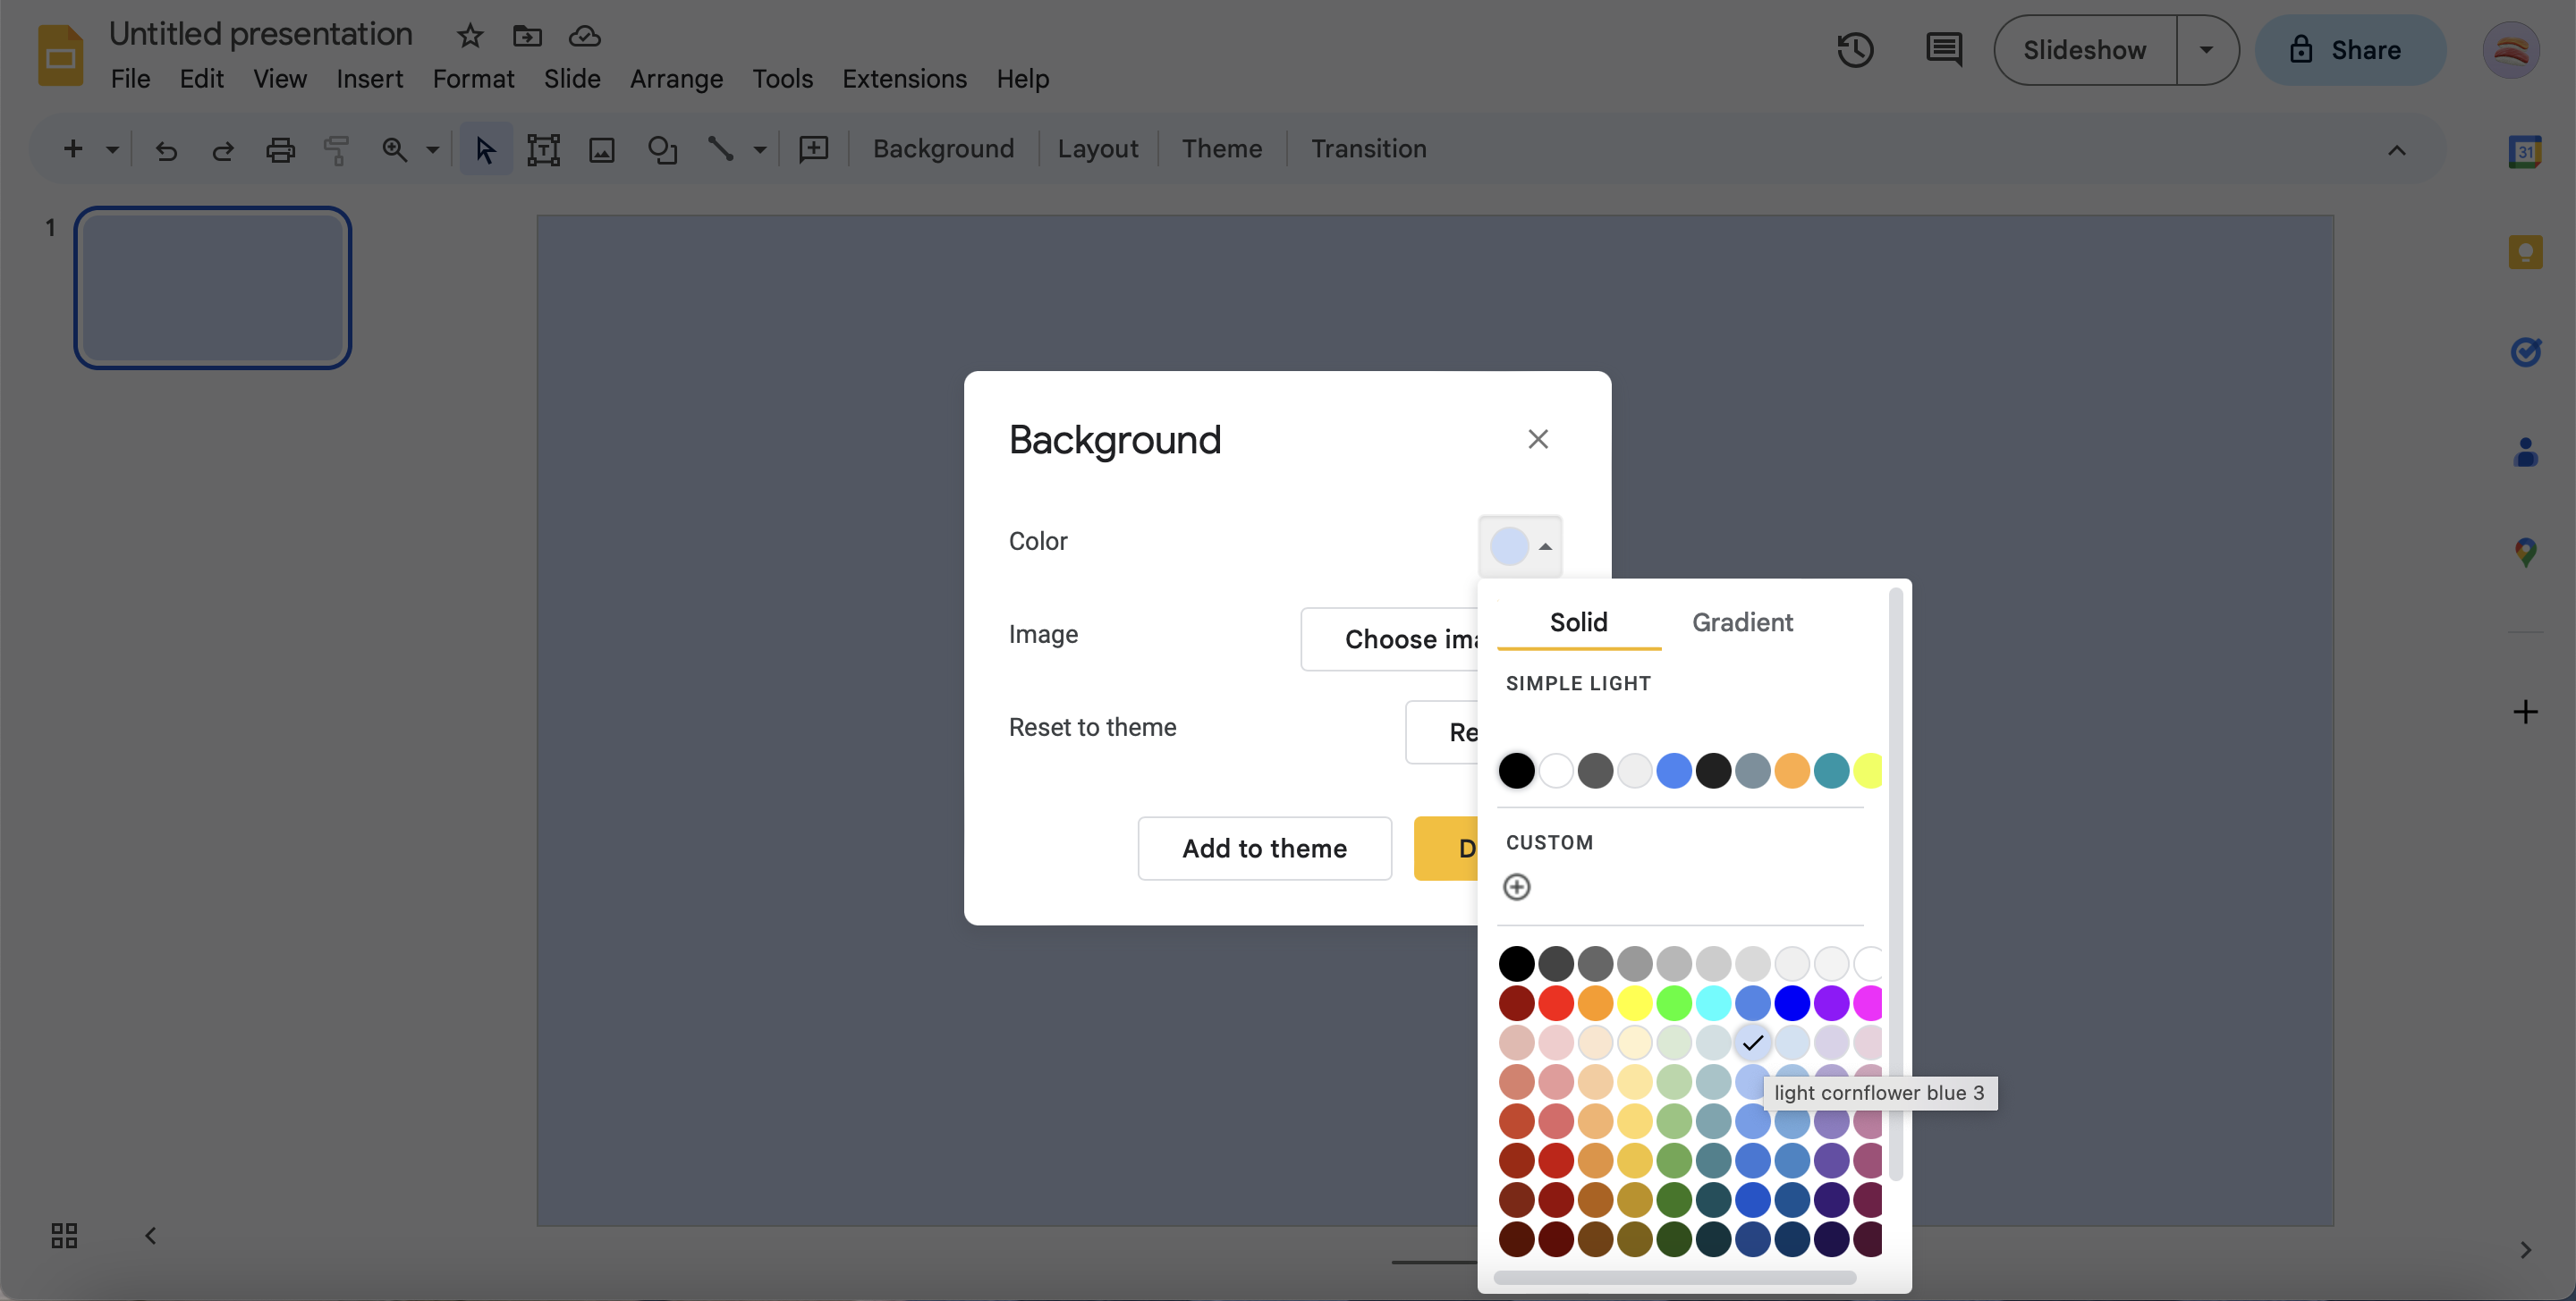
Next, click 'Background'. Choose a color, but it must be a very light color, or else the color theory won't work. In the next step, we will start to place darker shapes on top.
See pictures above for more guidance.
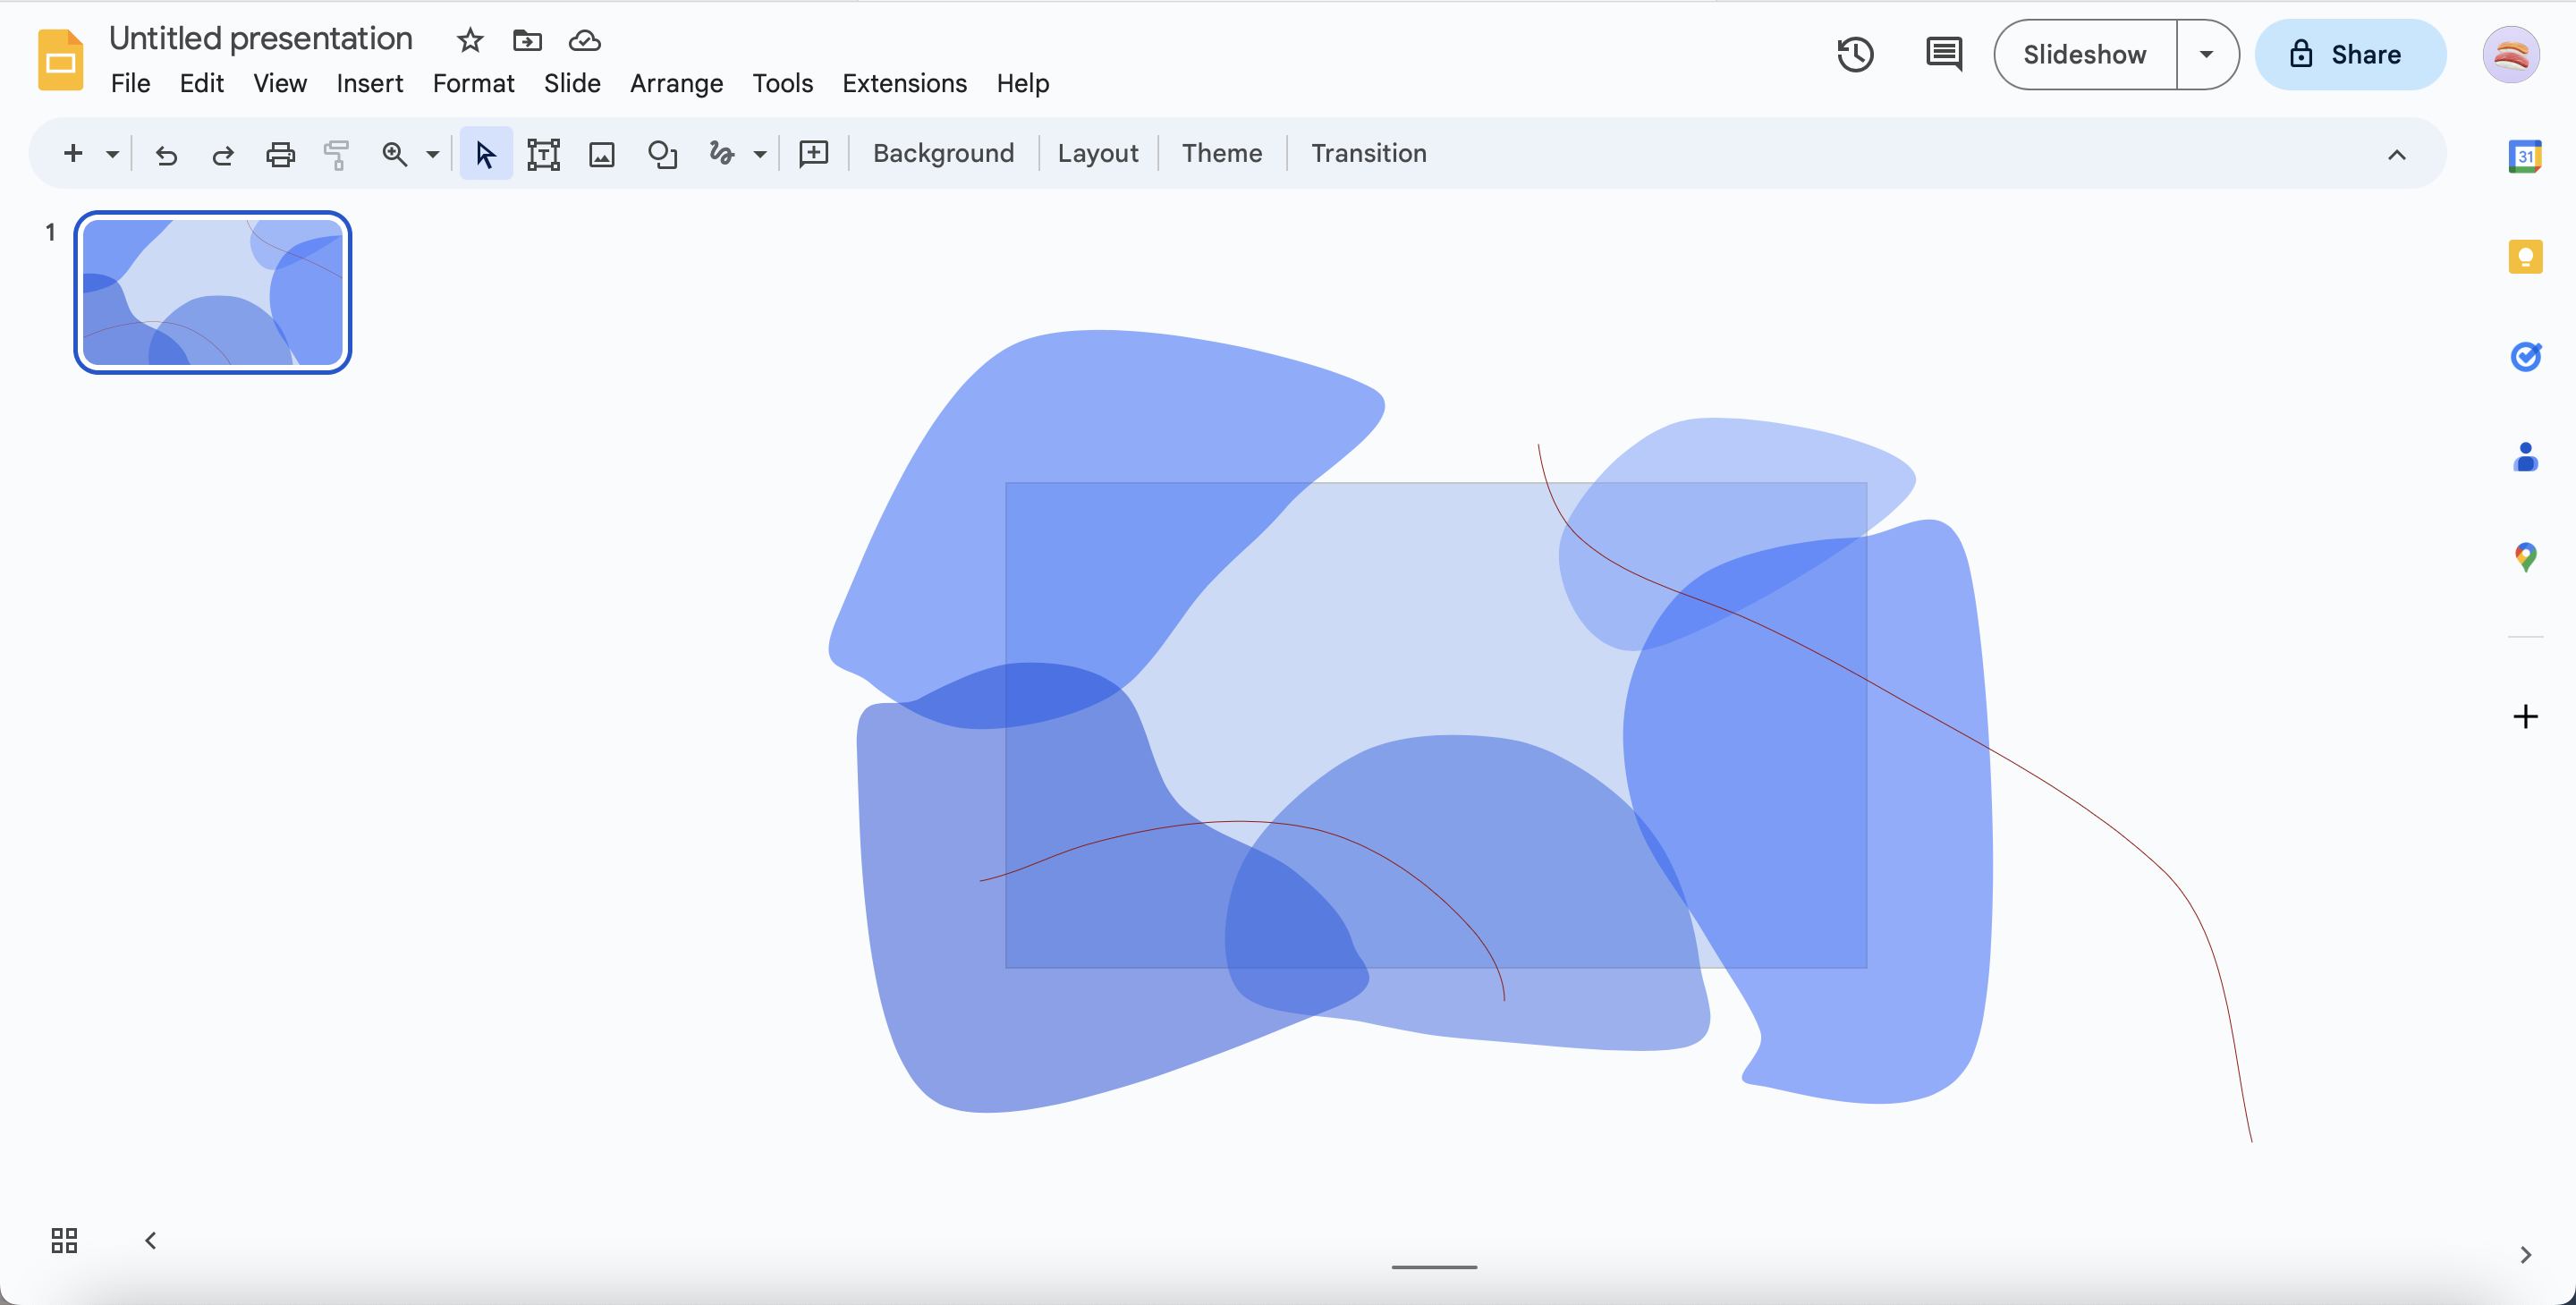
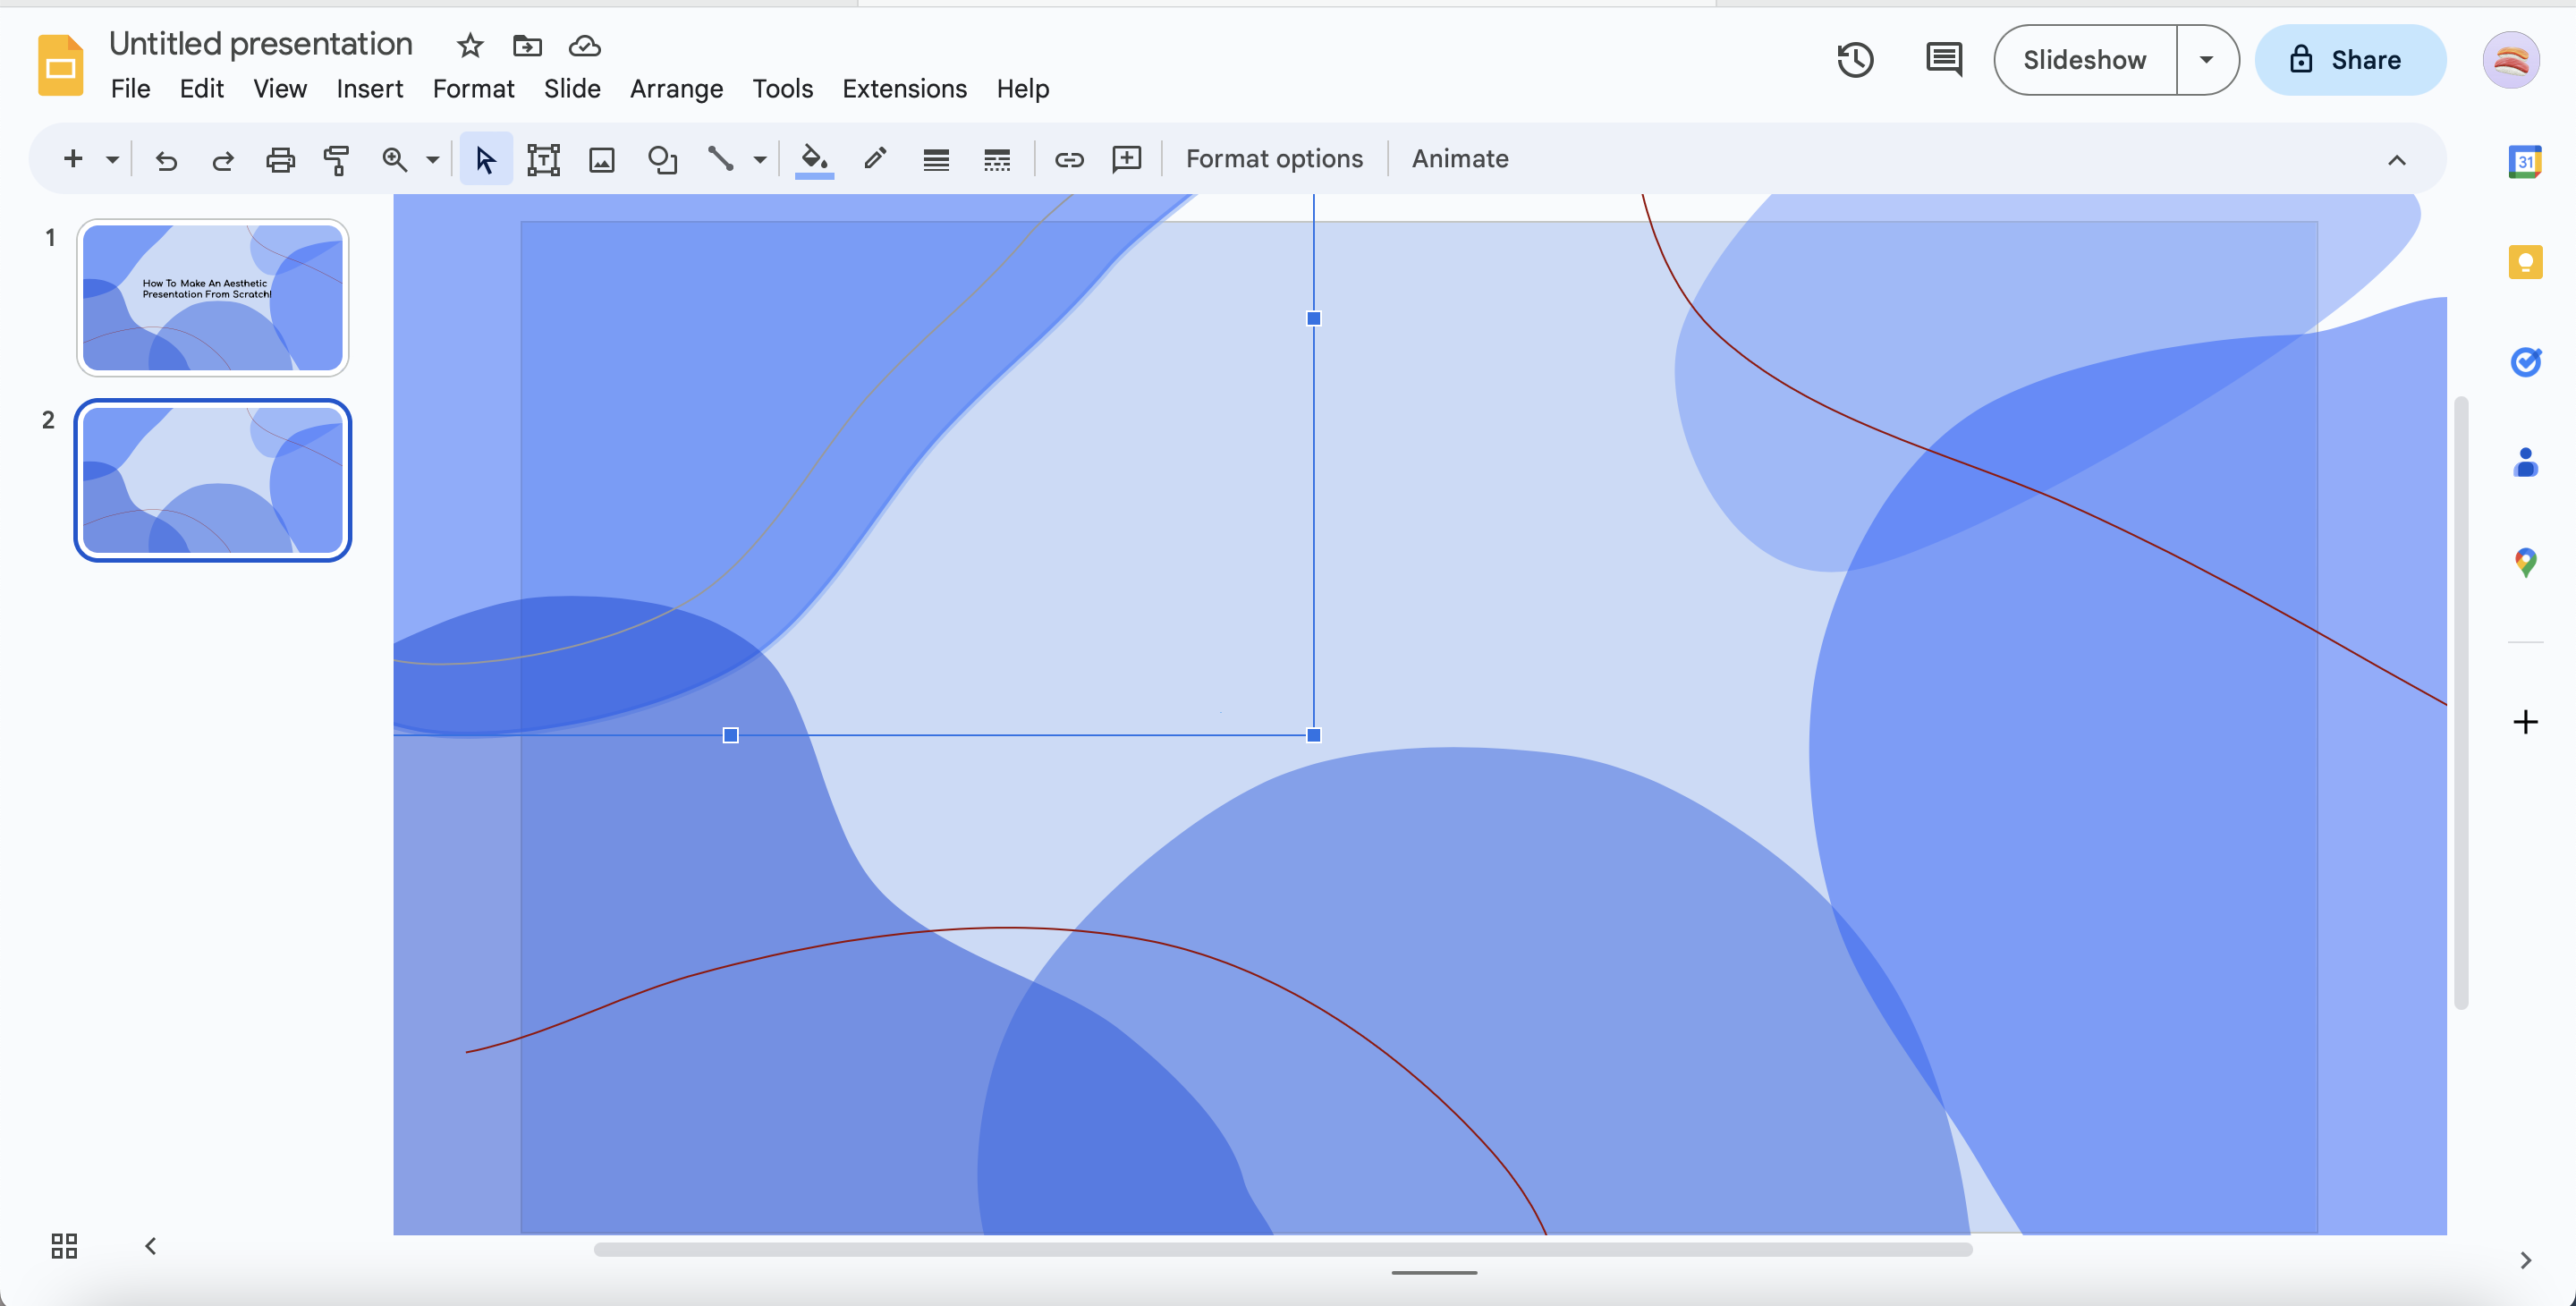
Creating Your First Blob Shape

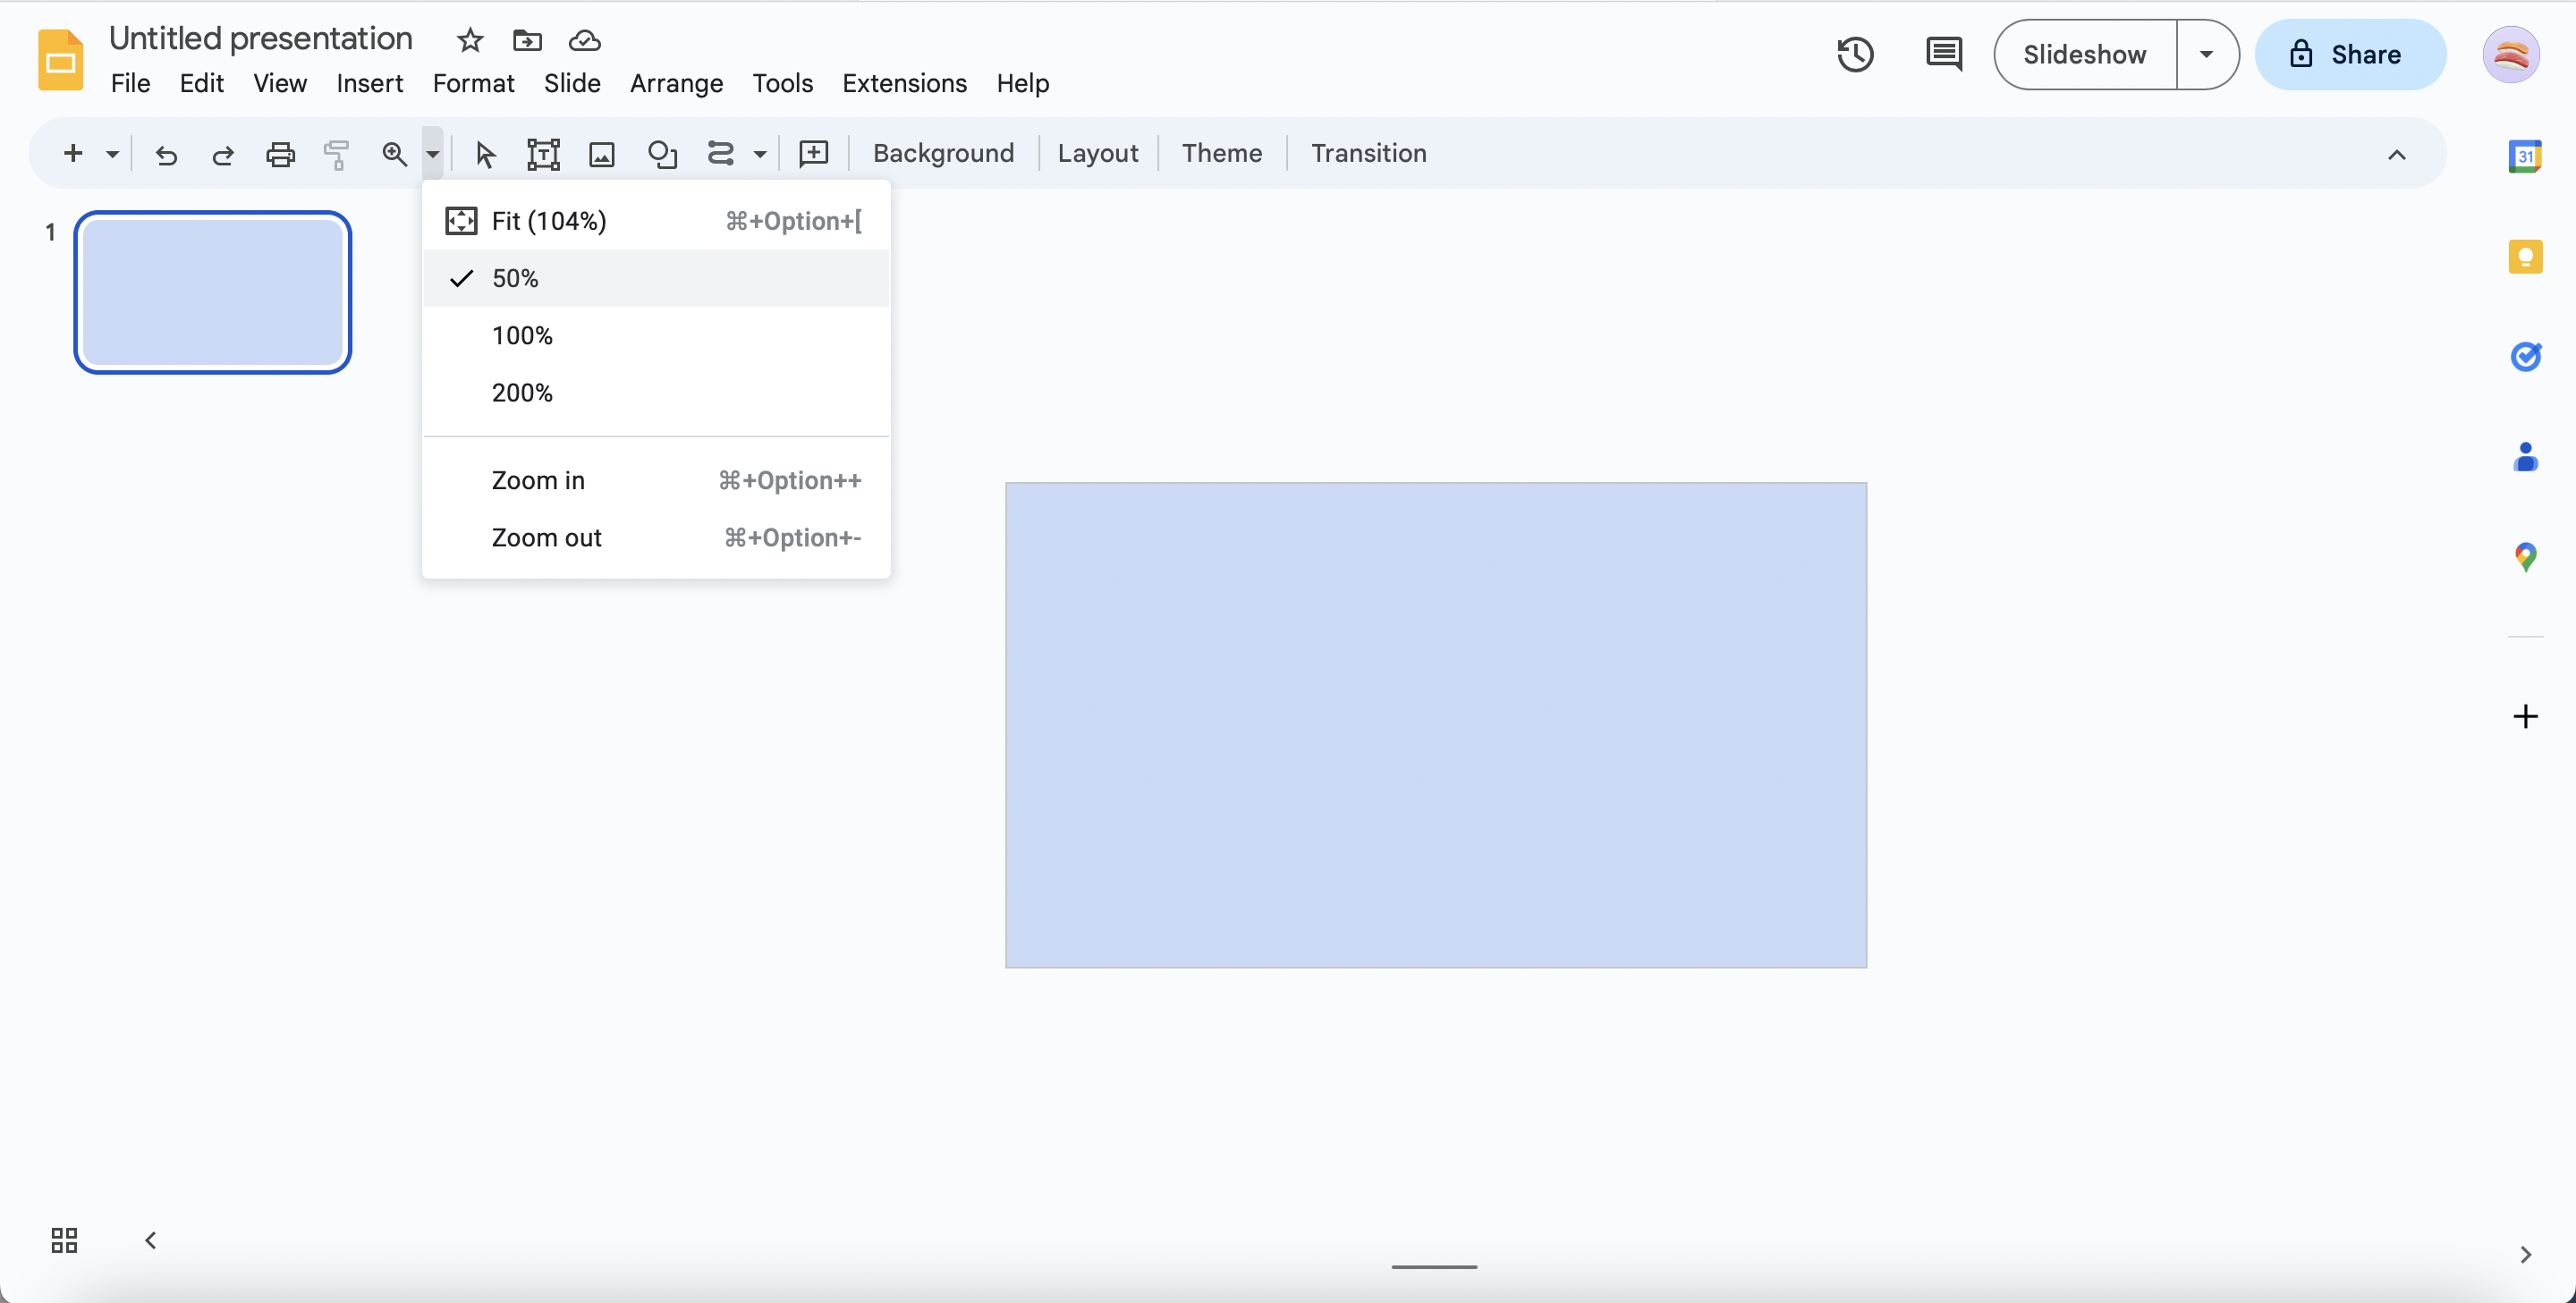
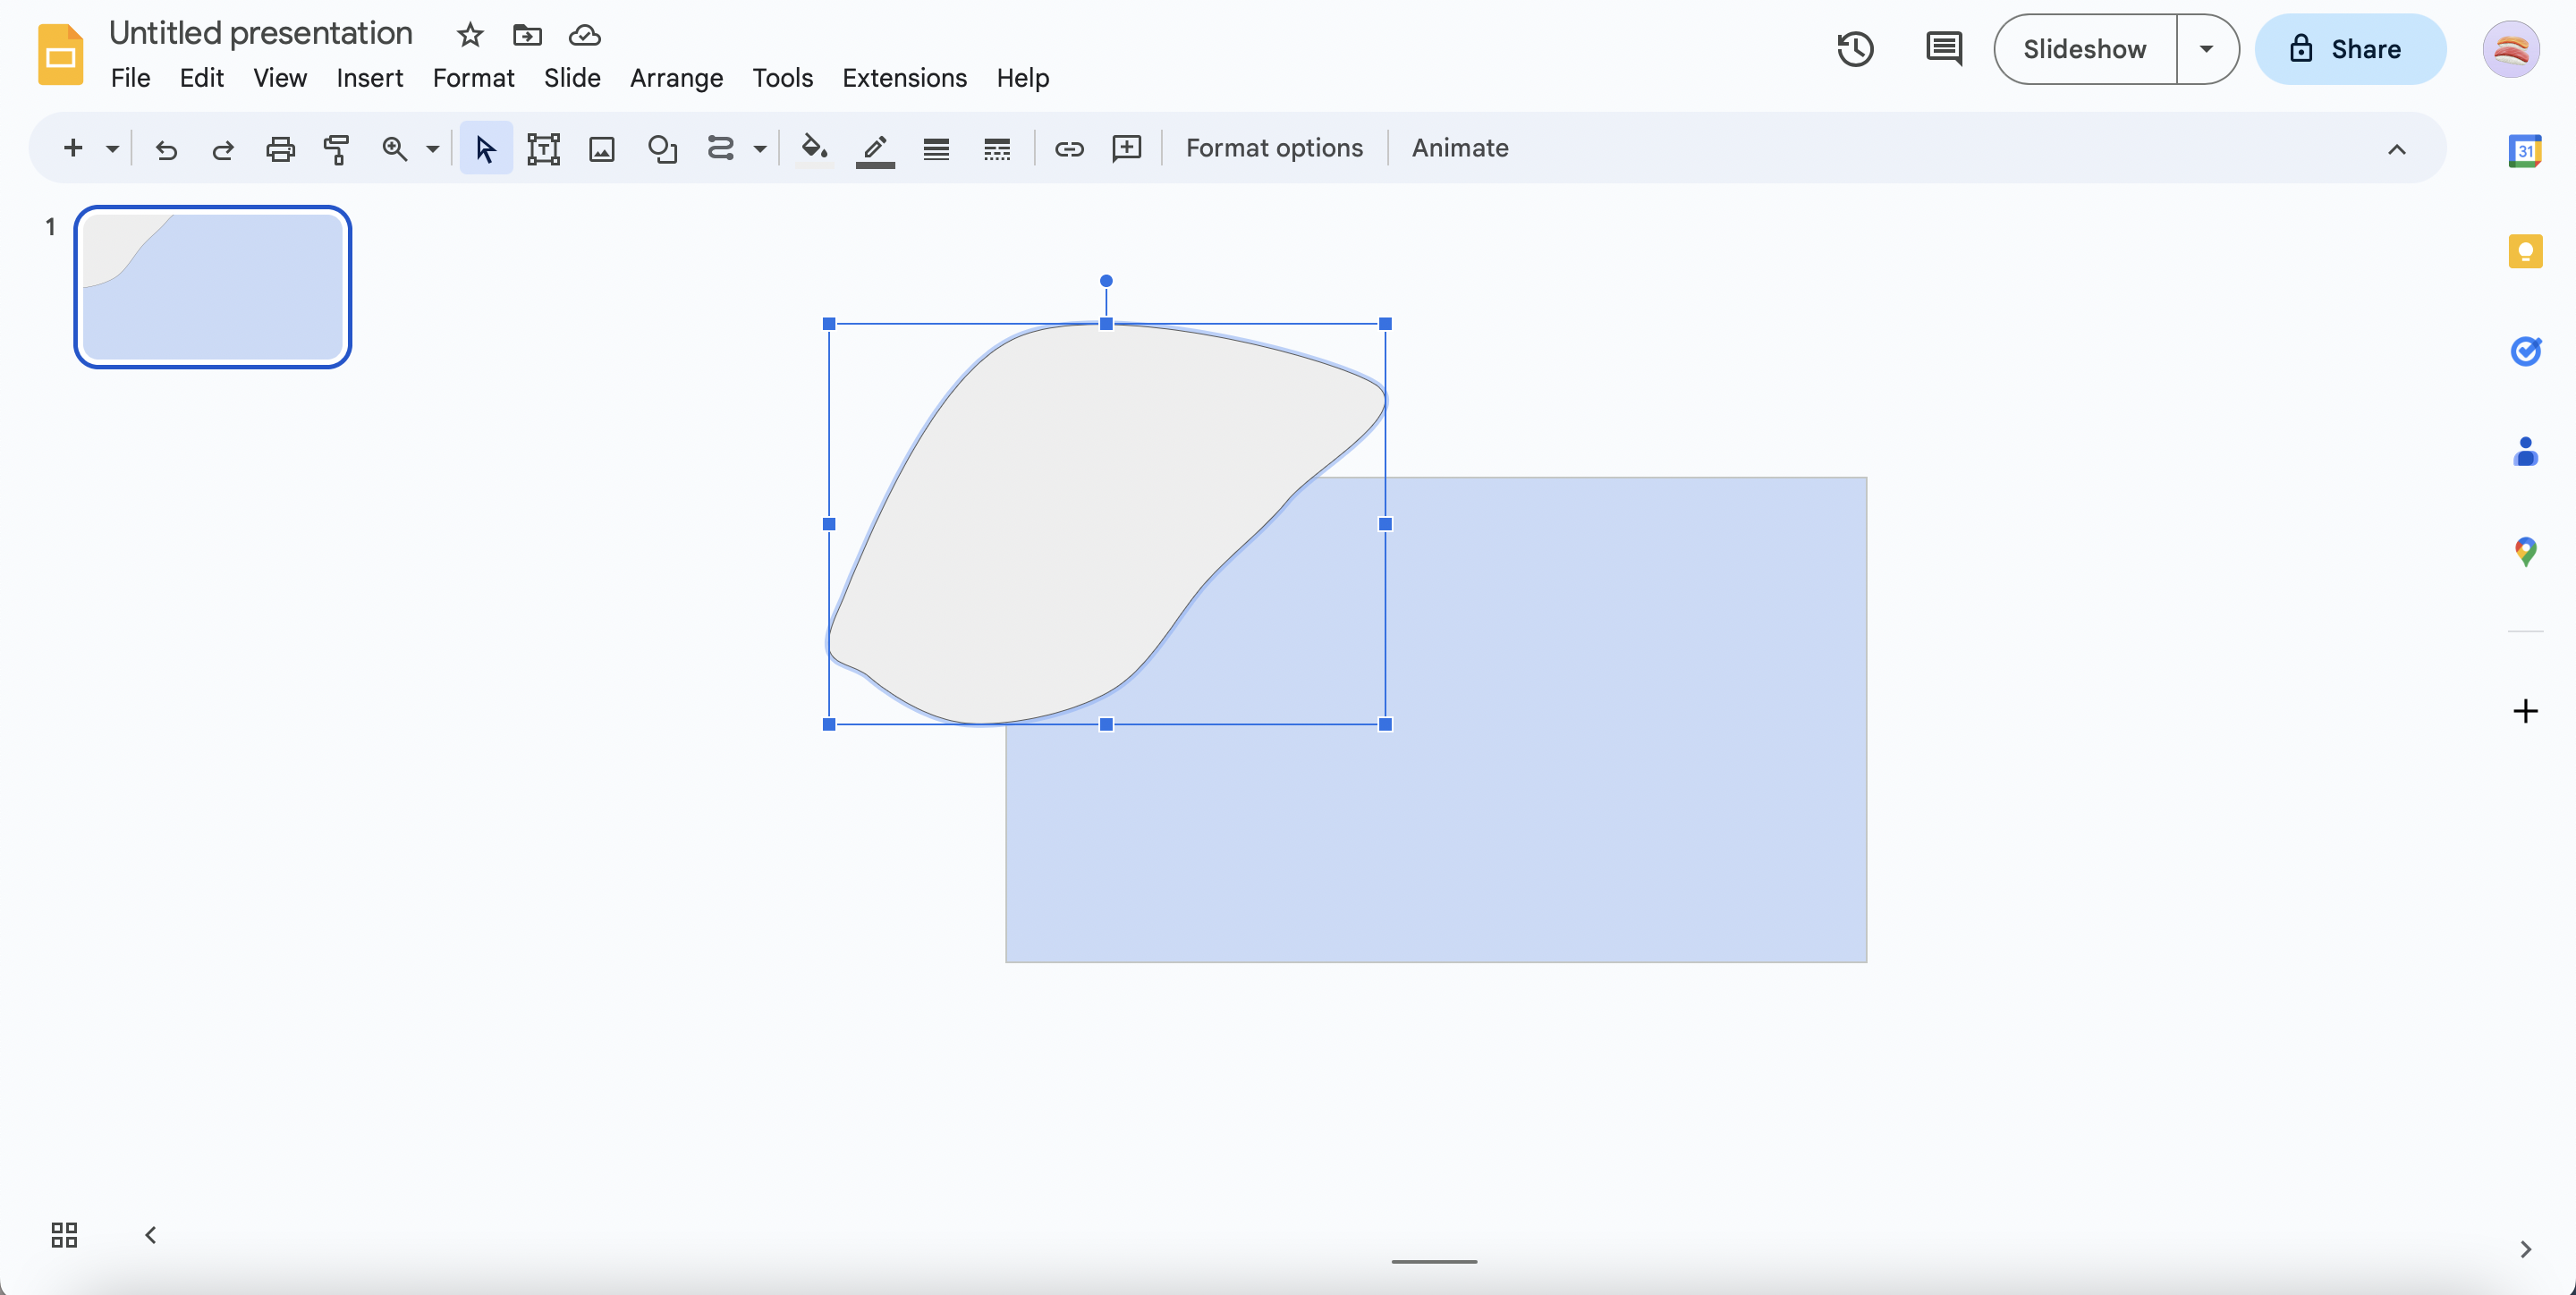
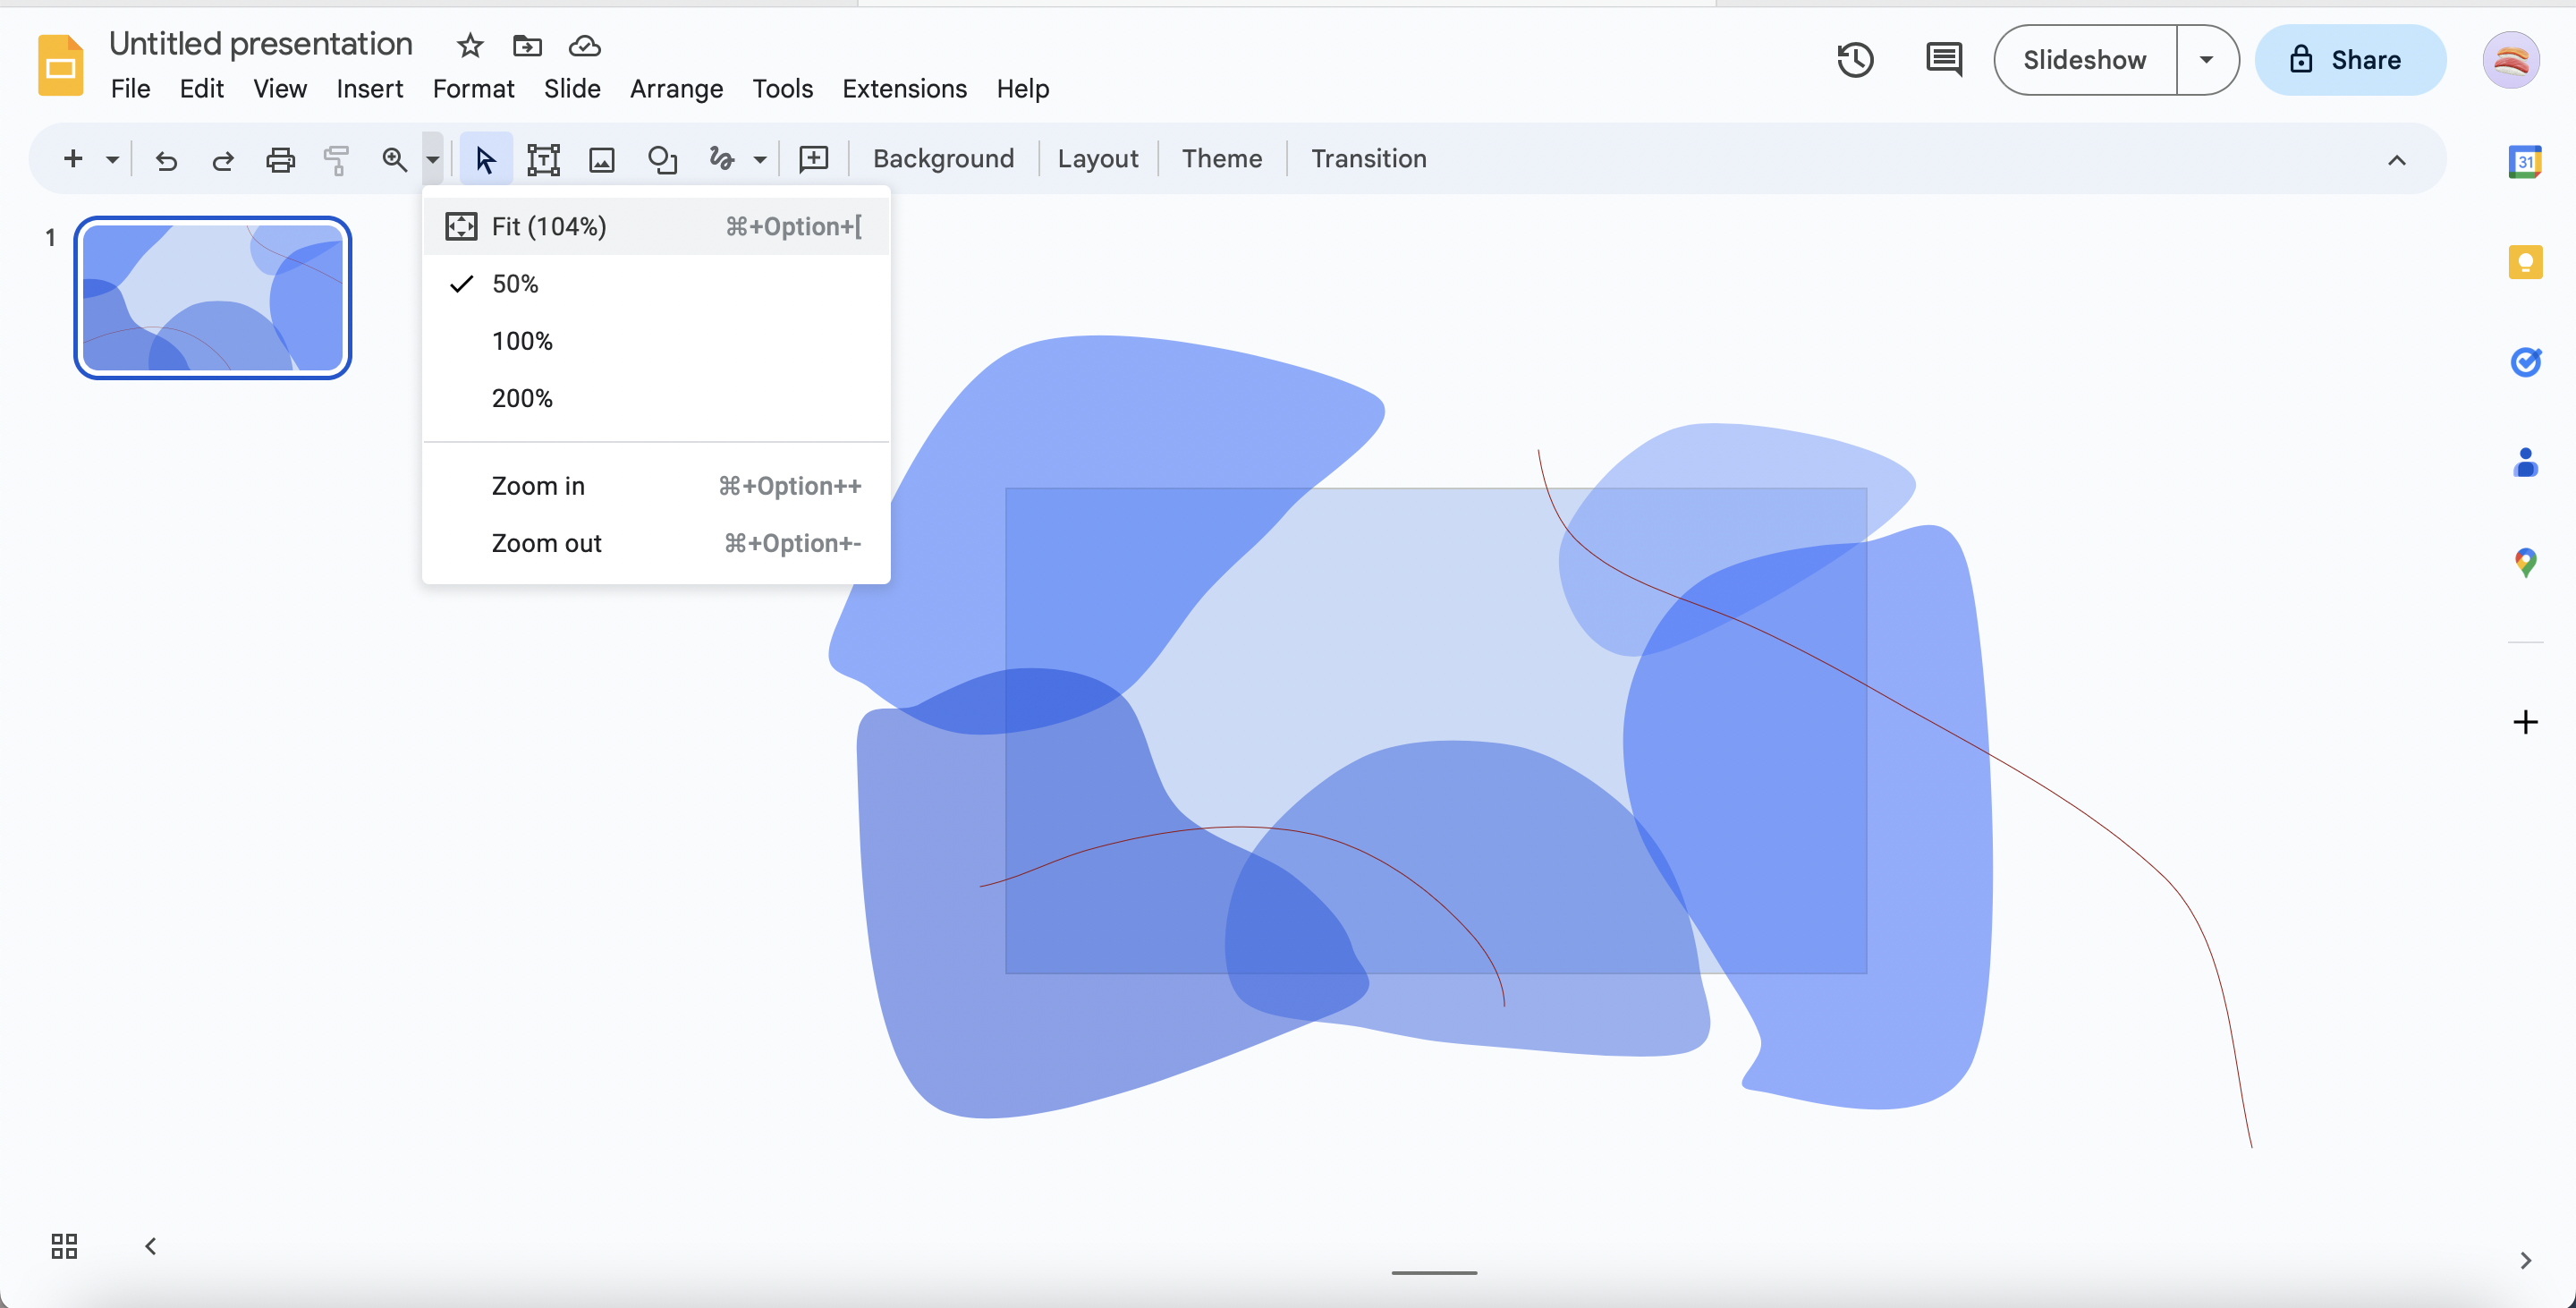
Make sure that your type of line is on 'Curve'. To make things more convenient, you can also zoom out 50%
With the 'Curve' type line, create a random blob (This is done by making dots in the pattern of the blob, and then double clicking to save it in Google Slides). Make sure that the blob is covering part of the light blue rectangle.
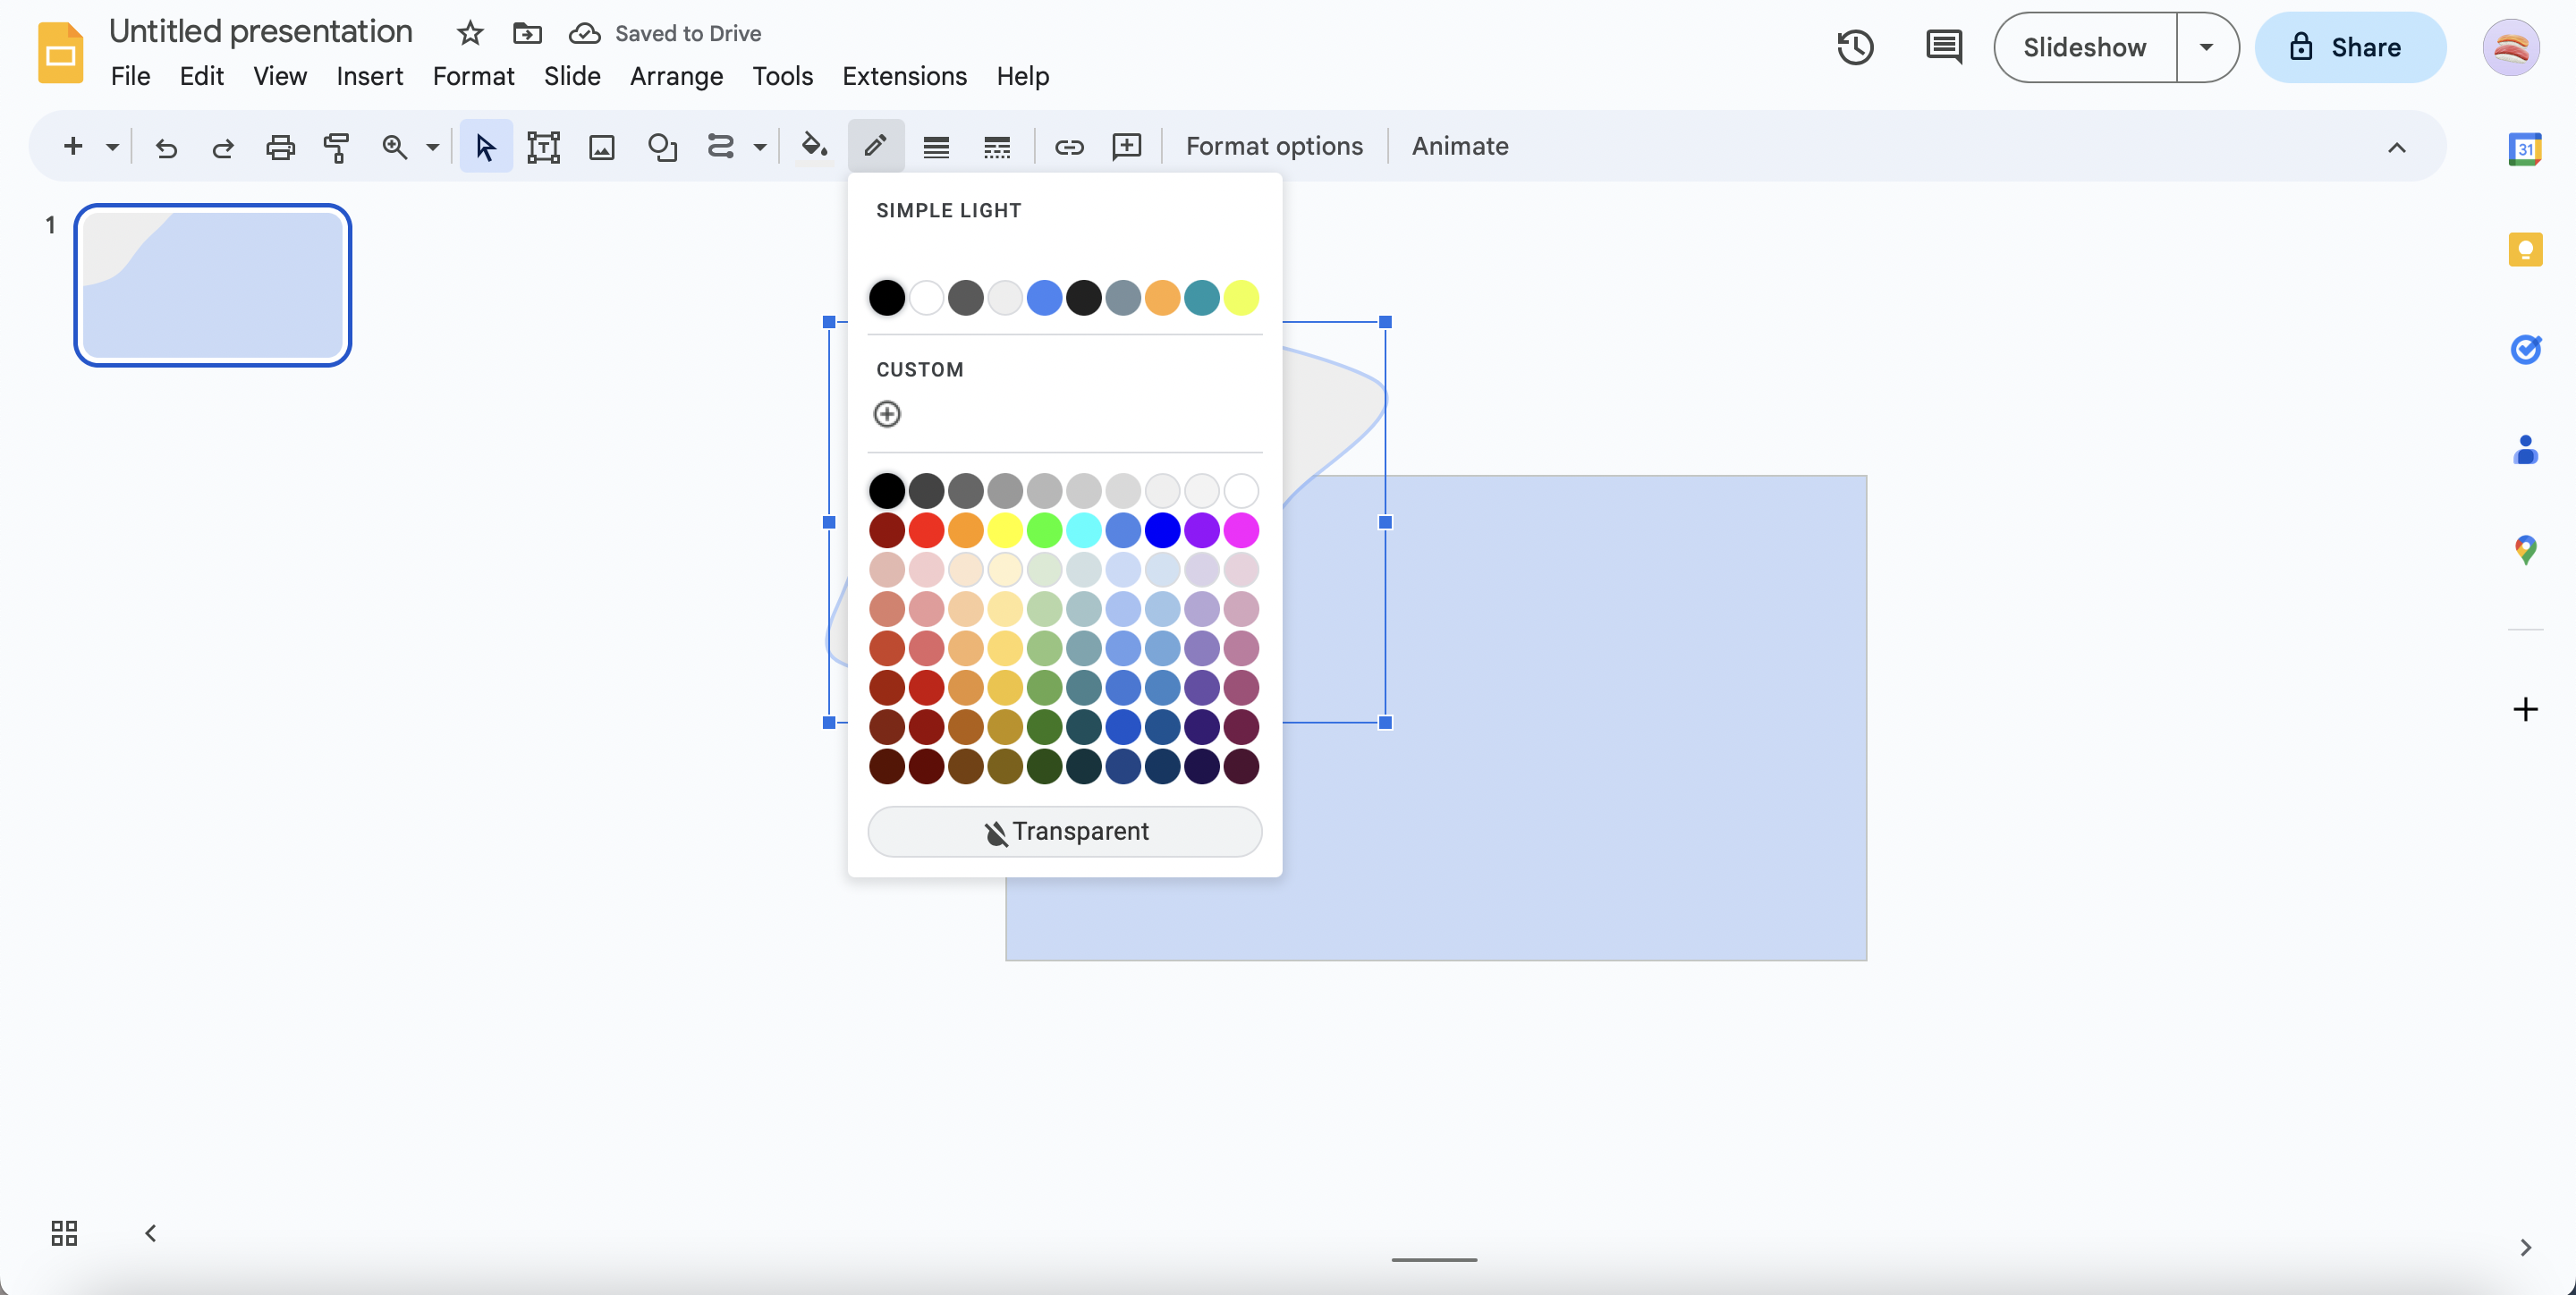
Remove the line border by making it transparent.
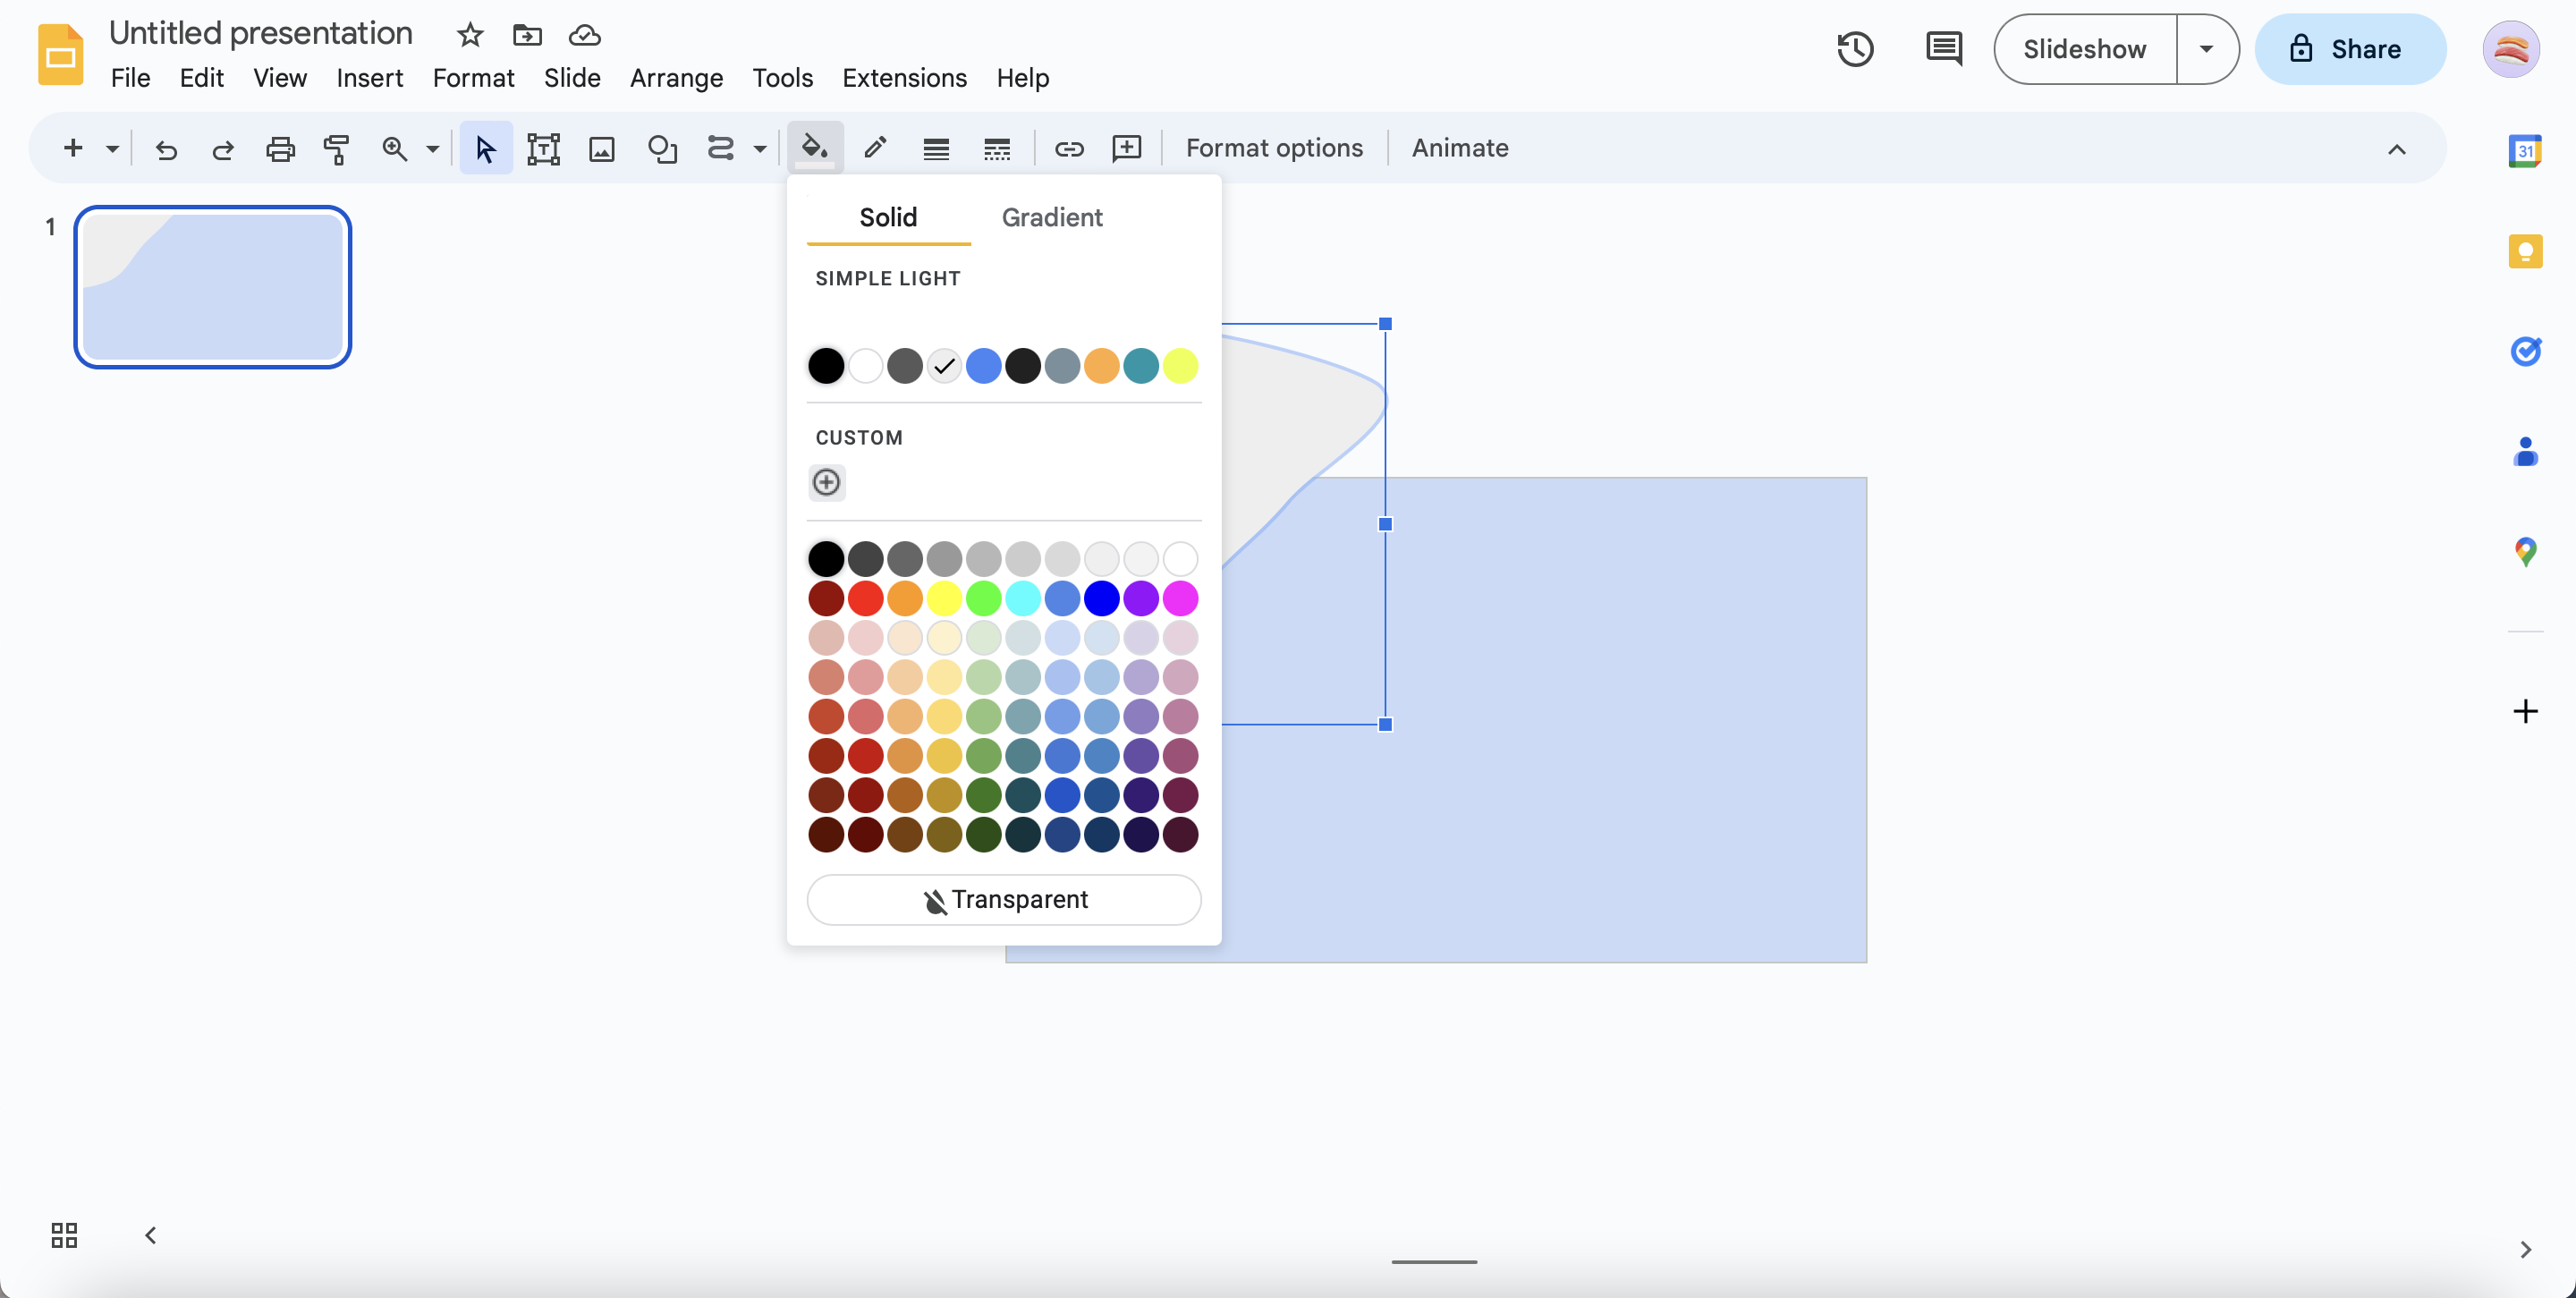
Click '+' to create a custom gradient color to fill the shape.
Change the number under "A" from 100 to 50. This will make the shape transparent.
Finally, choose a color that is darker than your background color to create an effect.
Click "OK" when you are done.
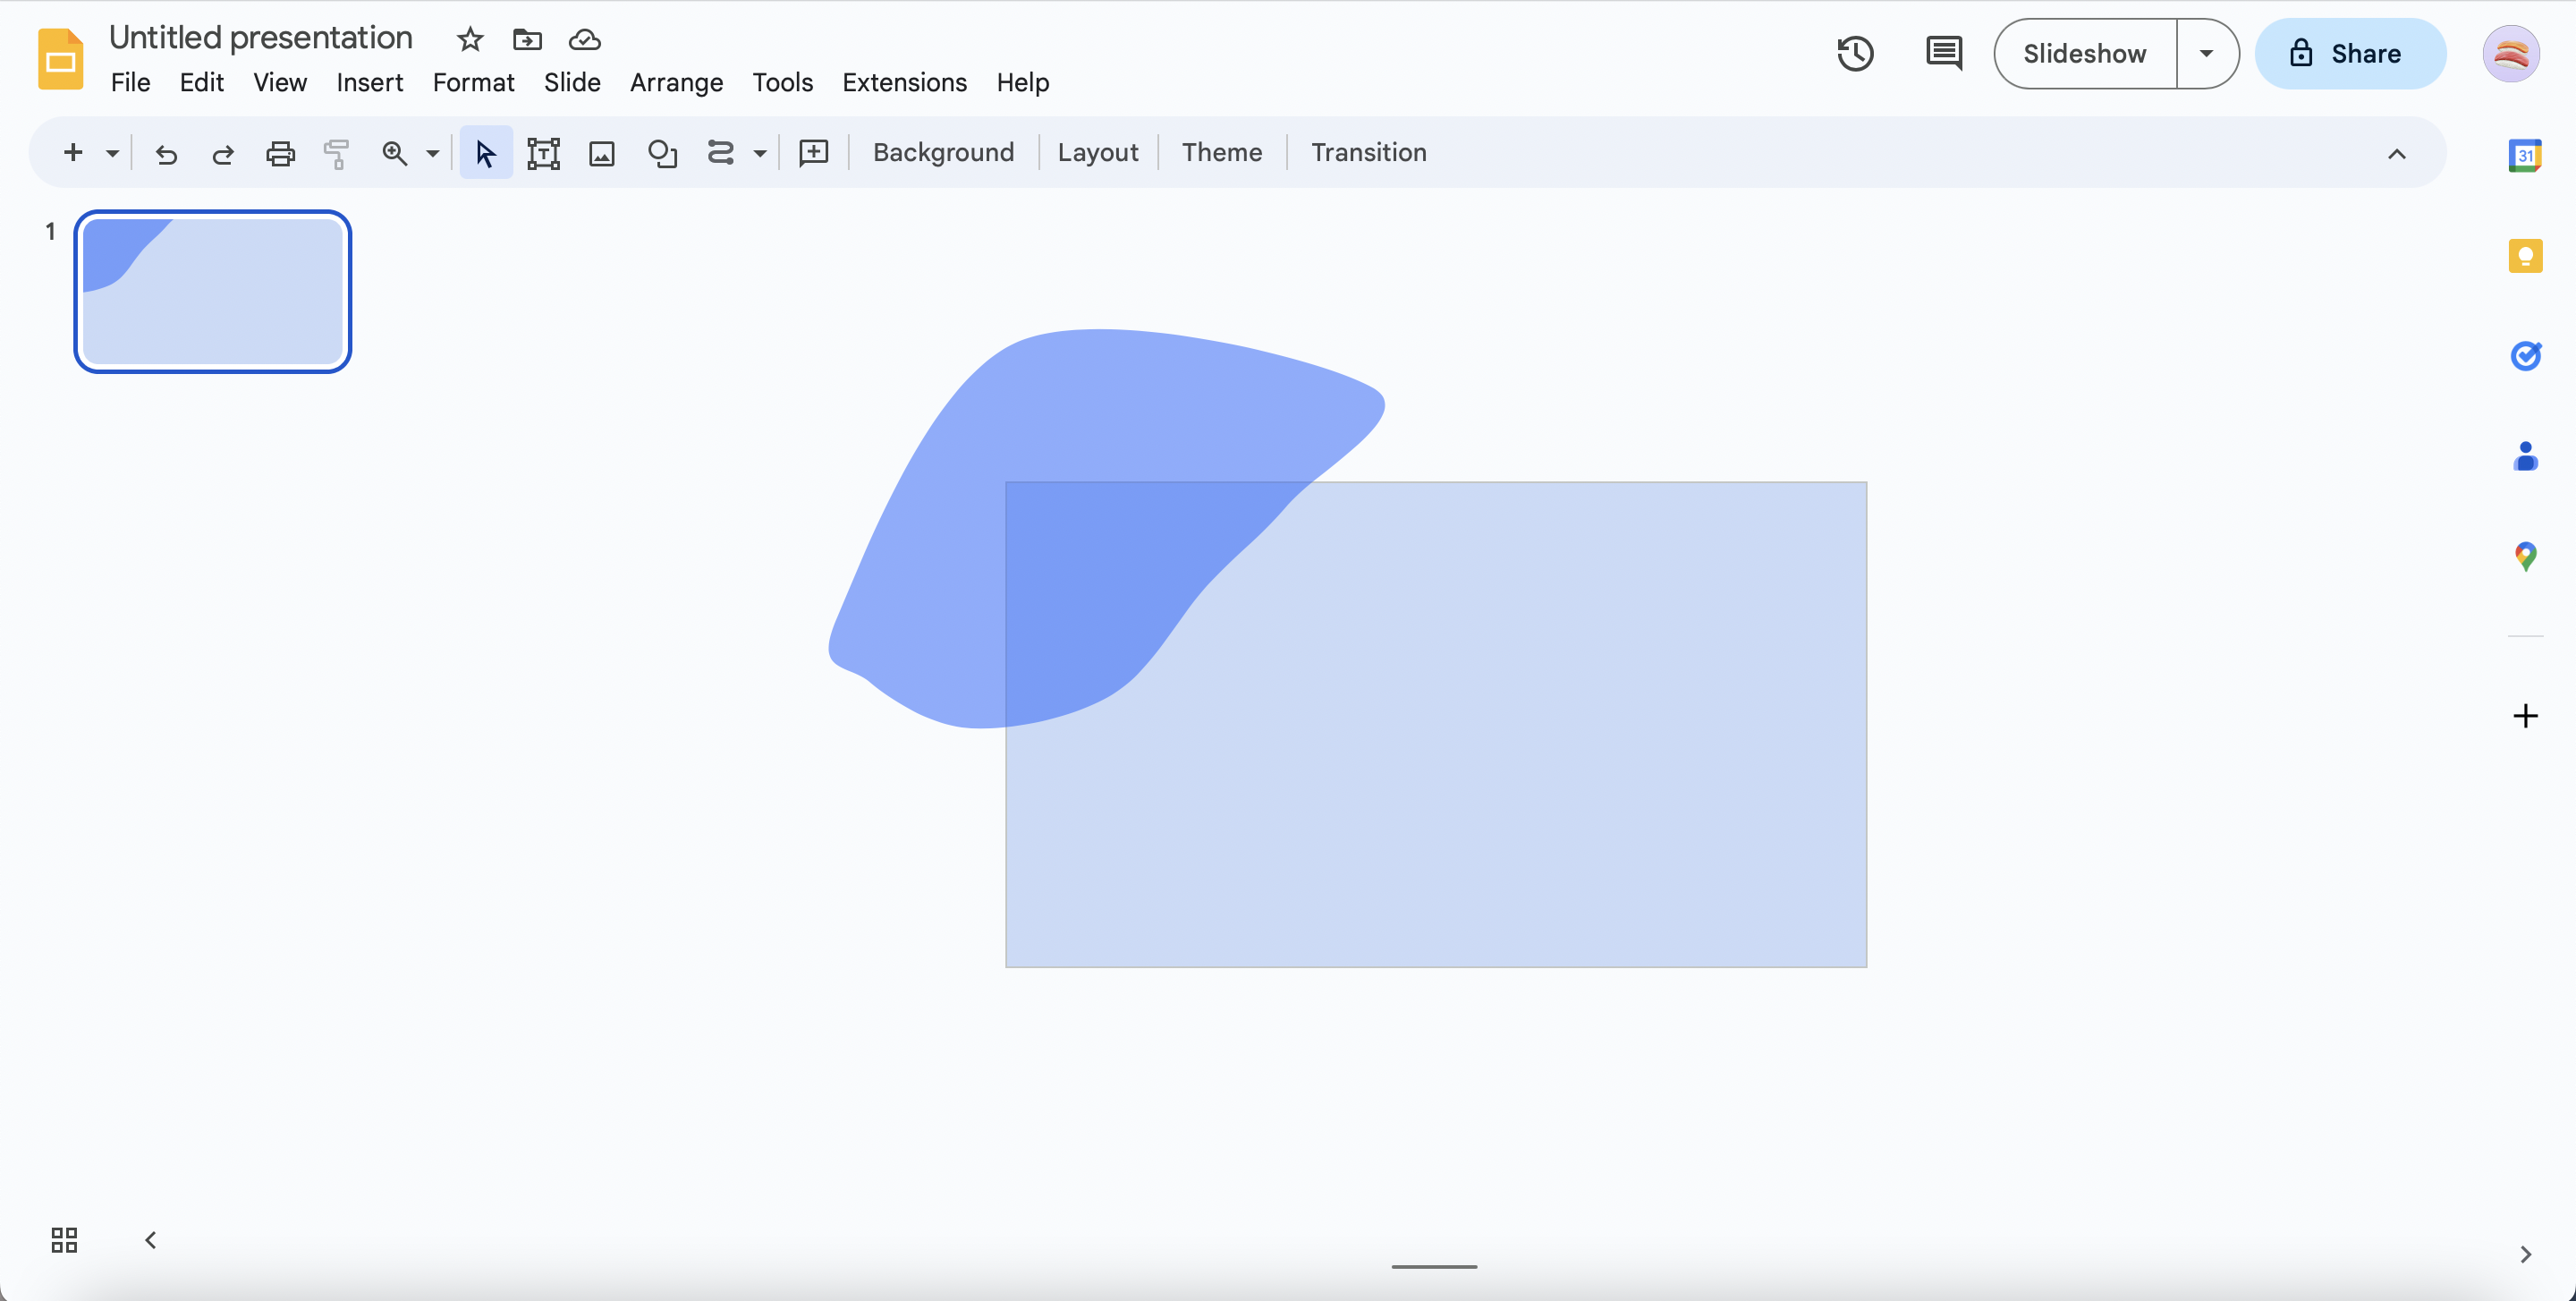
This is your first shape. Remember that only the part of the blob overlapping the rectangle will be in the final presentation.
See pictures above for more guidance.
More Shapes
Create about 3-5 more shapes around the border, with different shades of the same color. If you need help, you can go back and look at Step 2 to see how to make the blobs.
After creating these blobs, you can add a couple of curved lines over them.
Tip: Round and elongated shapes usually add a lot more texture and contrast to each other, hence making a better and more beautiful template.
See pictures above for more guidance.
Finishing Off the Title Slide
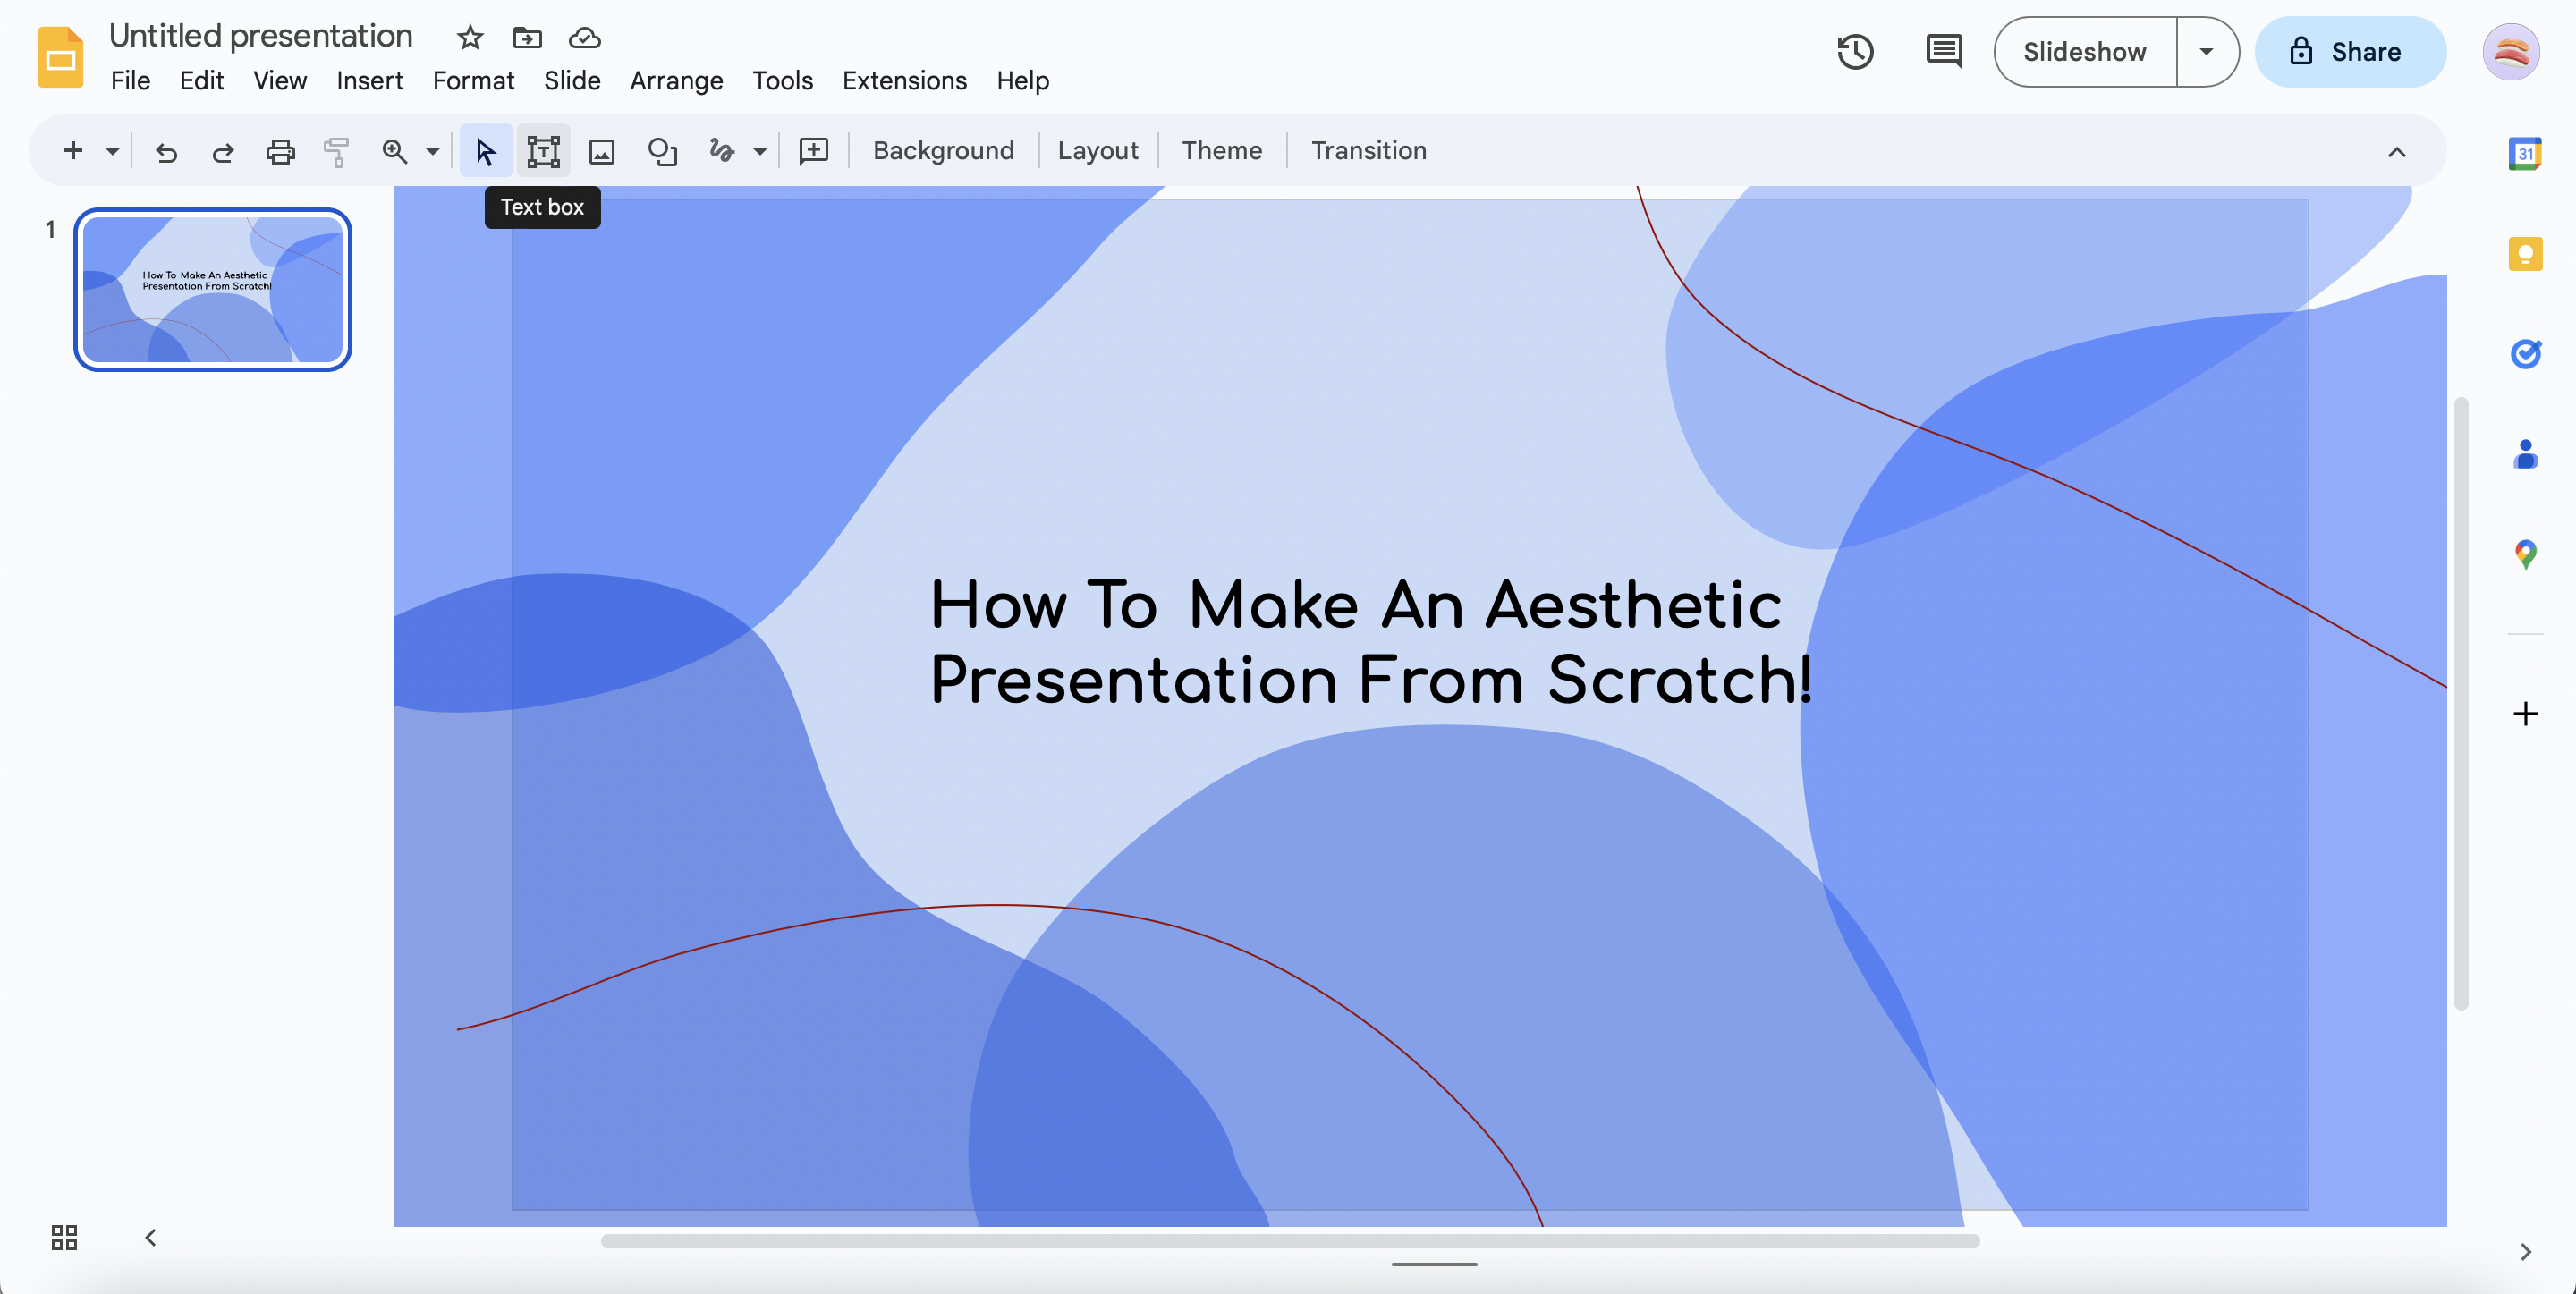
Almost Done!
You can go back to the zoomed-in size you were in before, and click 'Present' or 'Slideshow' at the top right to see how your template looks.
Create a new textbox in which you can write and adjust your title to your liking (the font I used was Comfortaa).
Although this all may seem overwhelming, the text slides will be much easier with the title slide as a major reference.
See pictures above for more guidance.
Starting the Text Slides
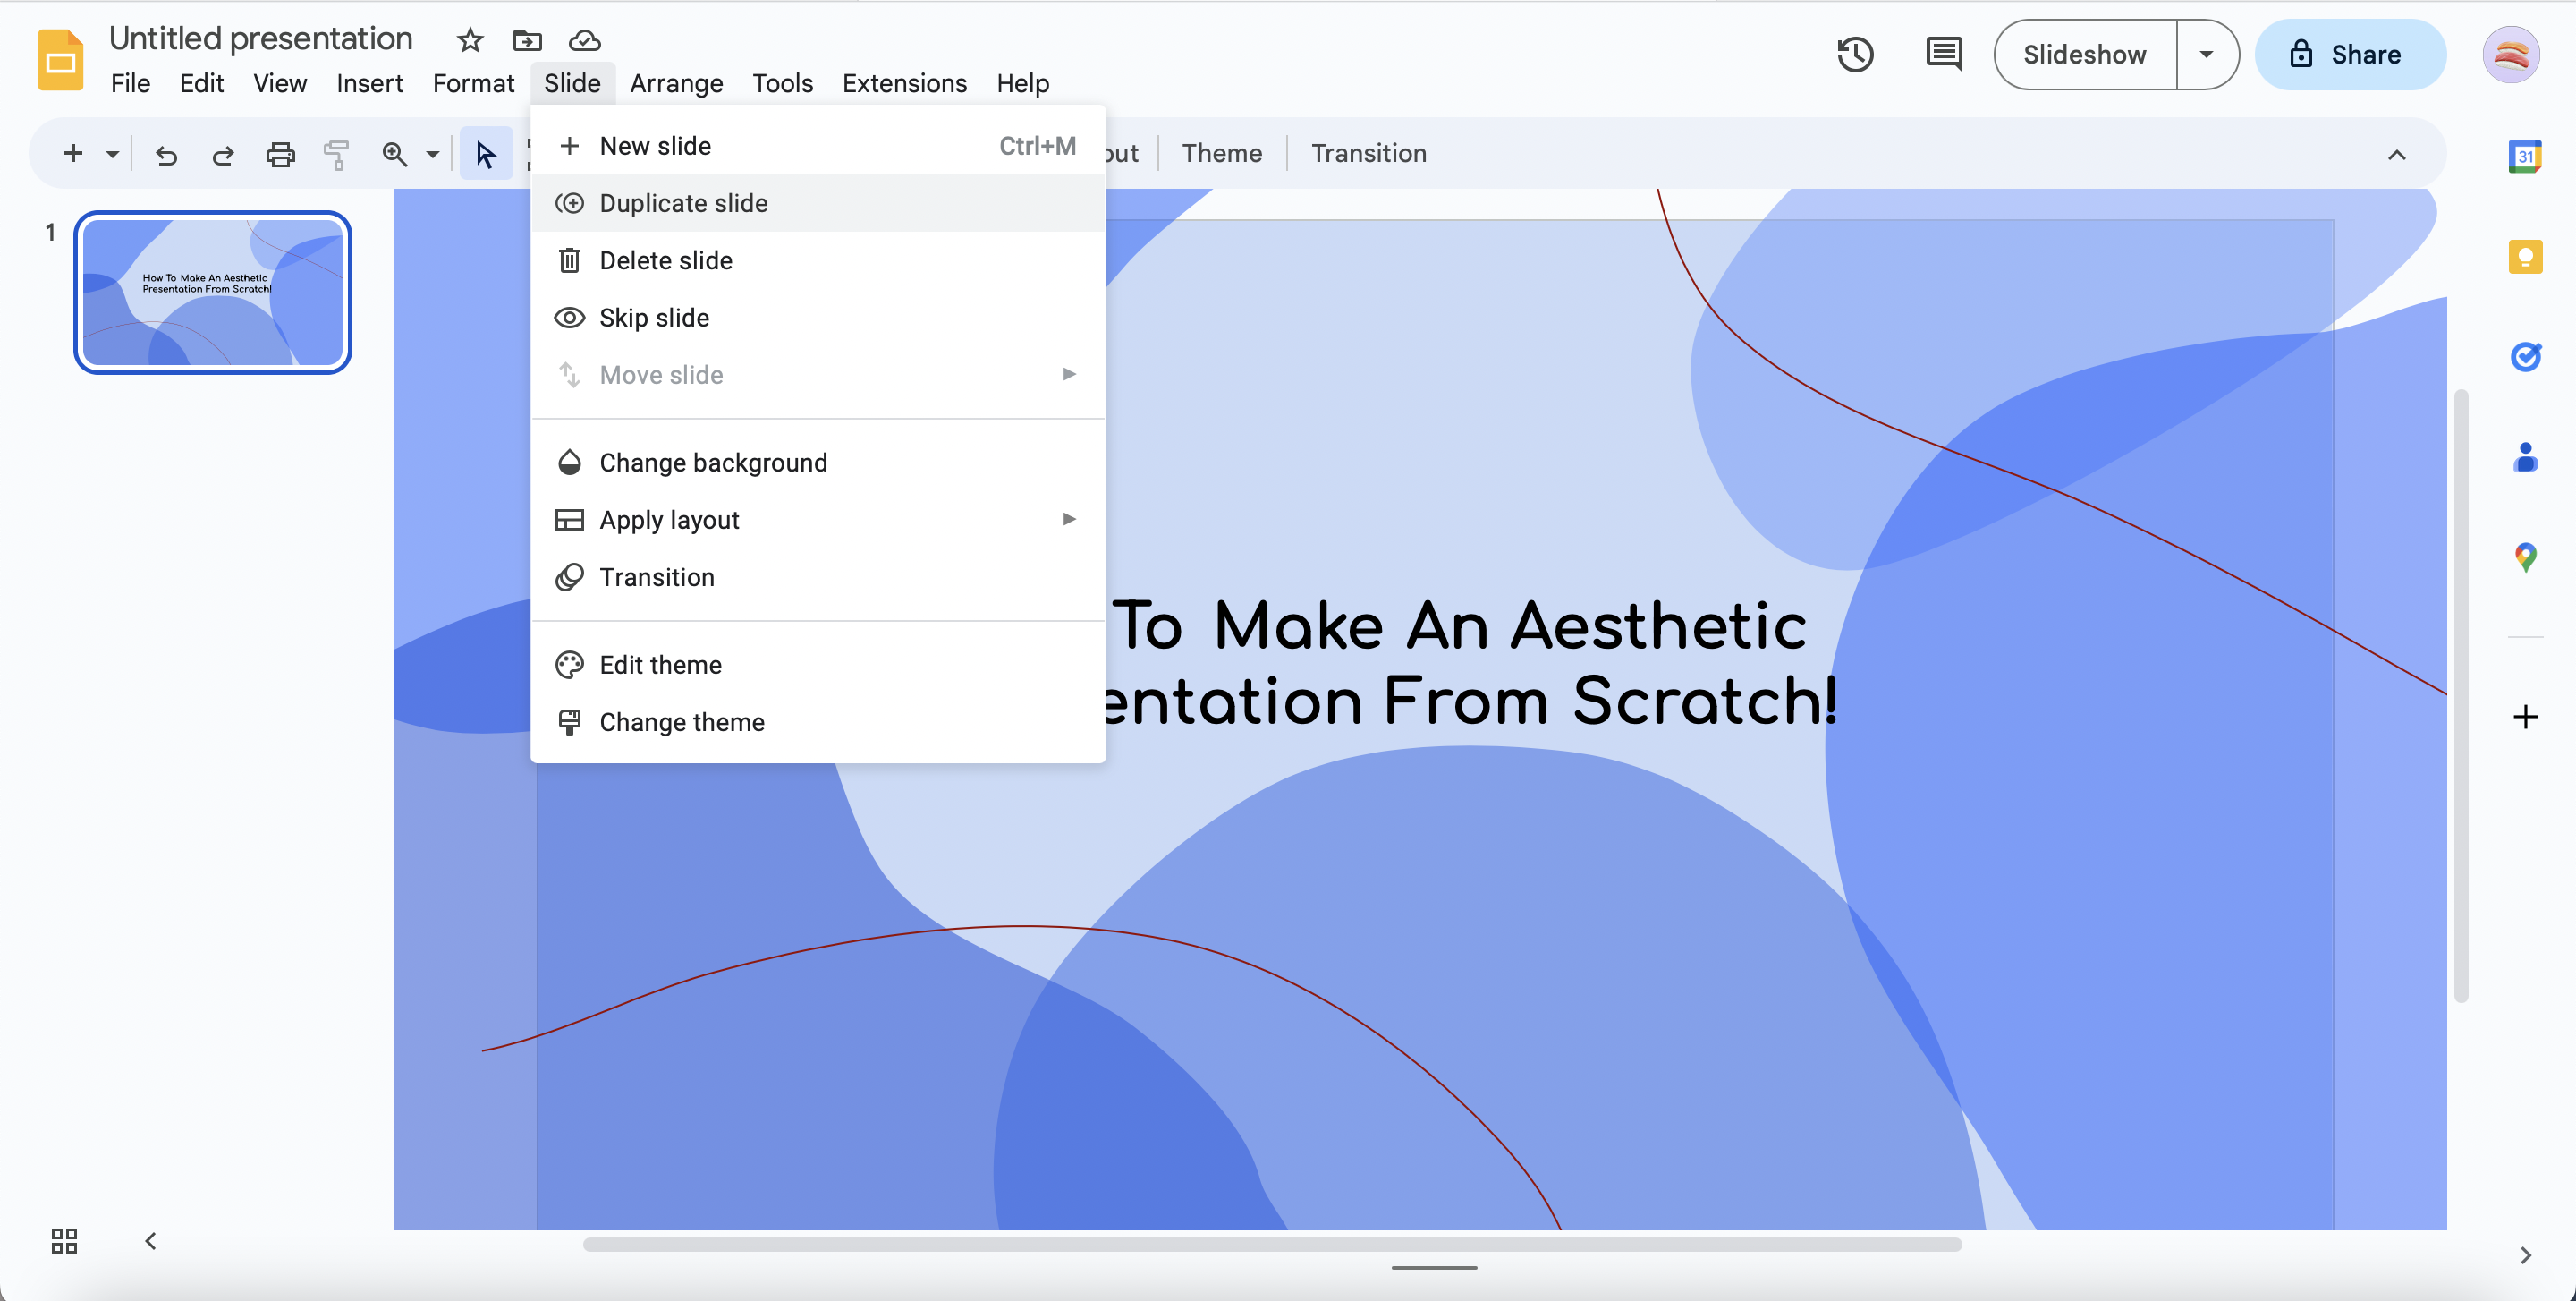

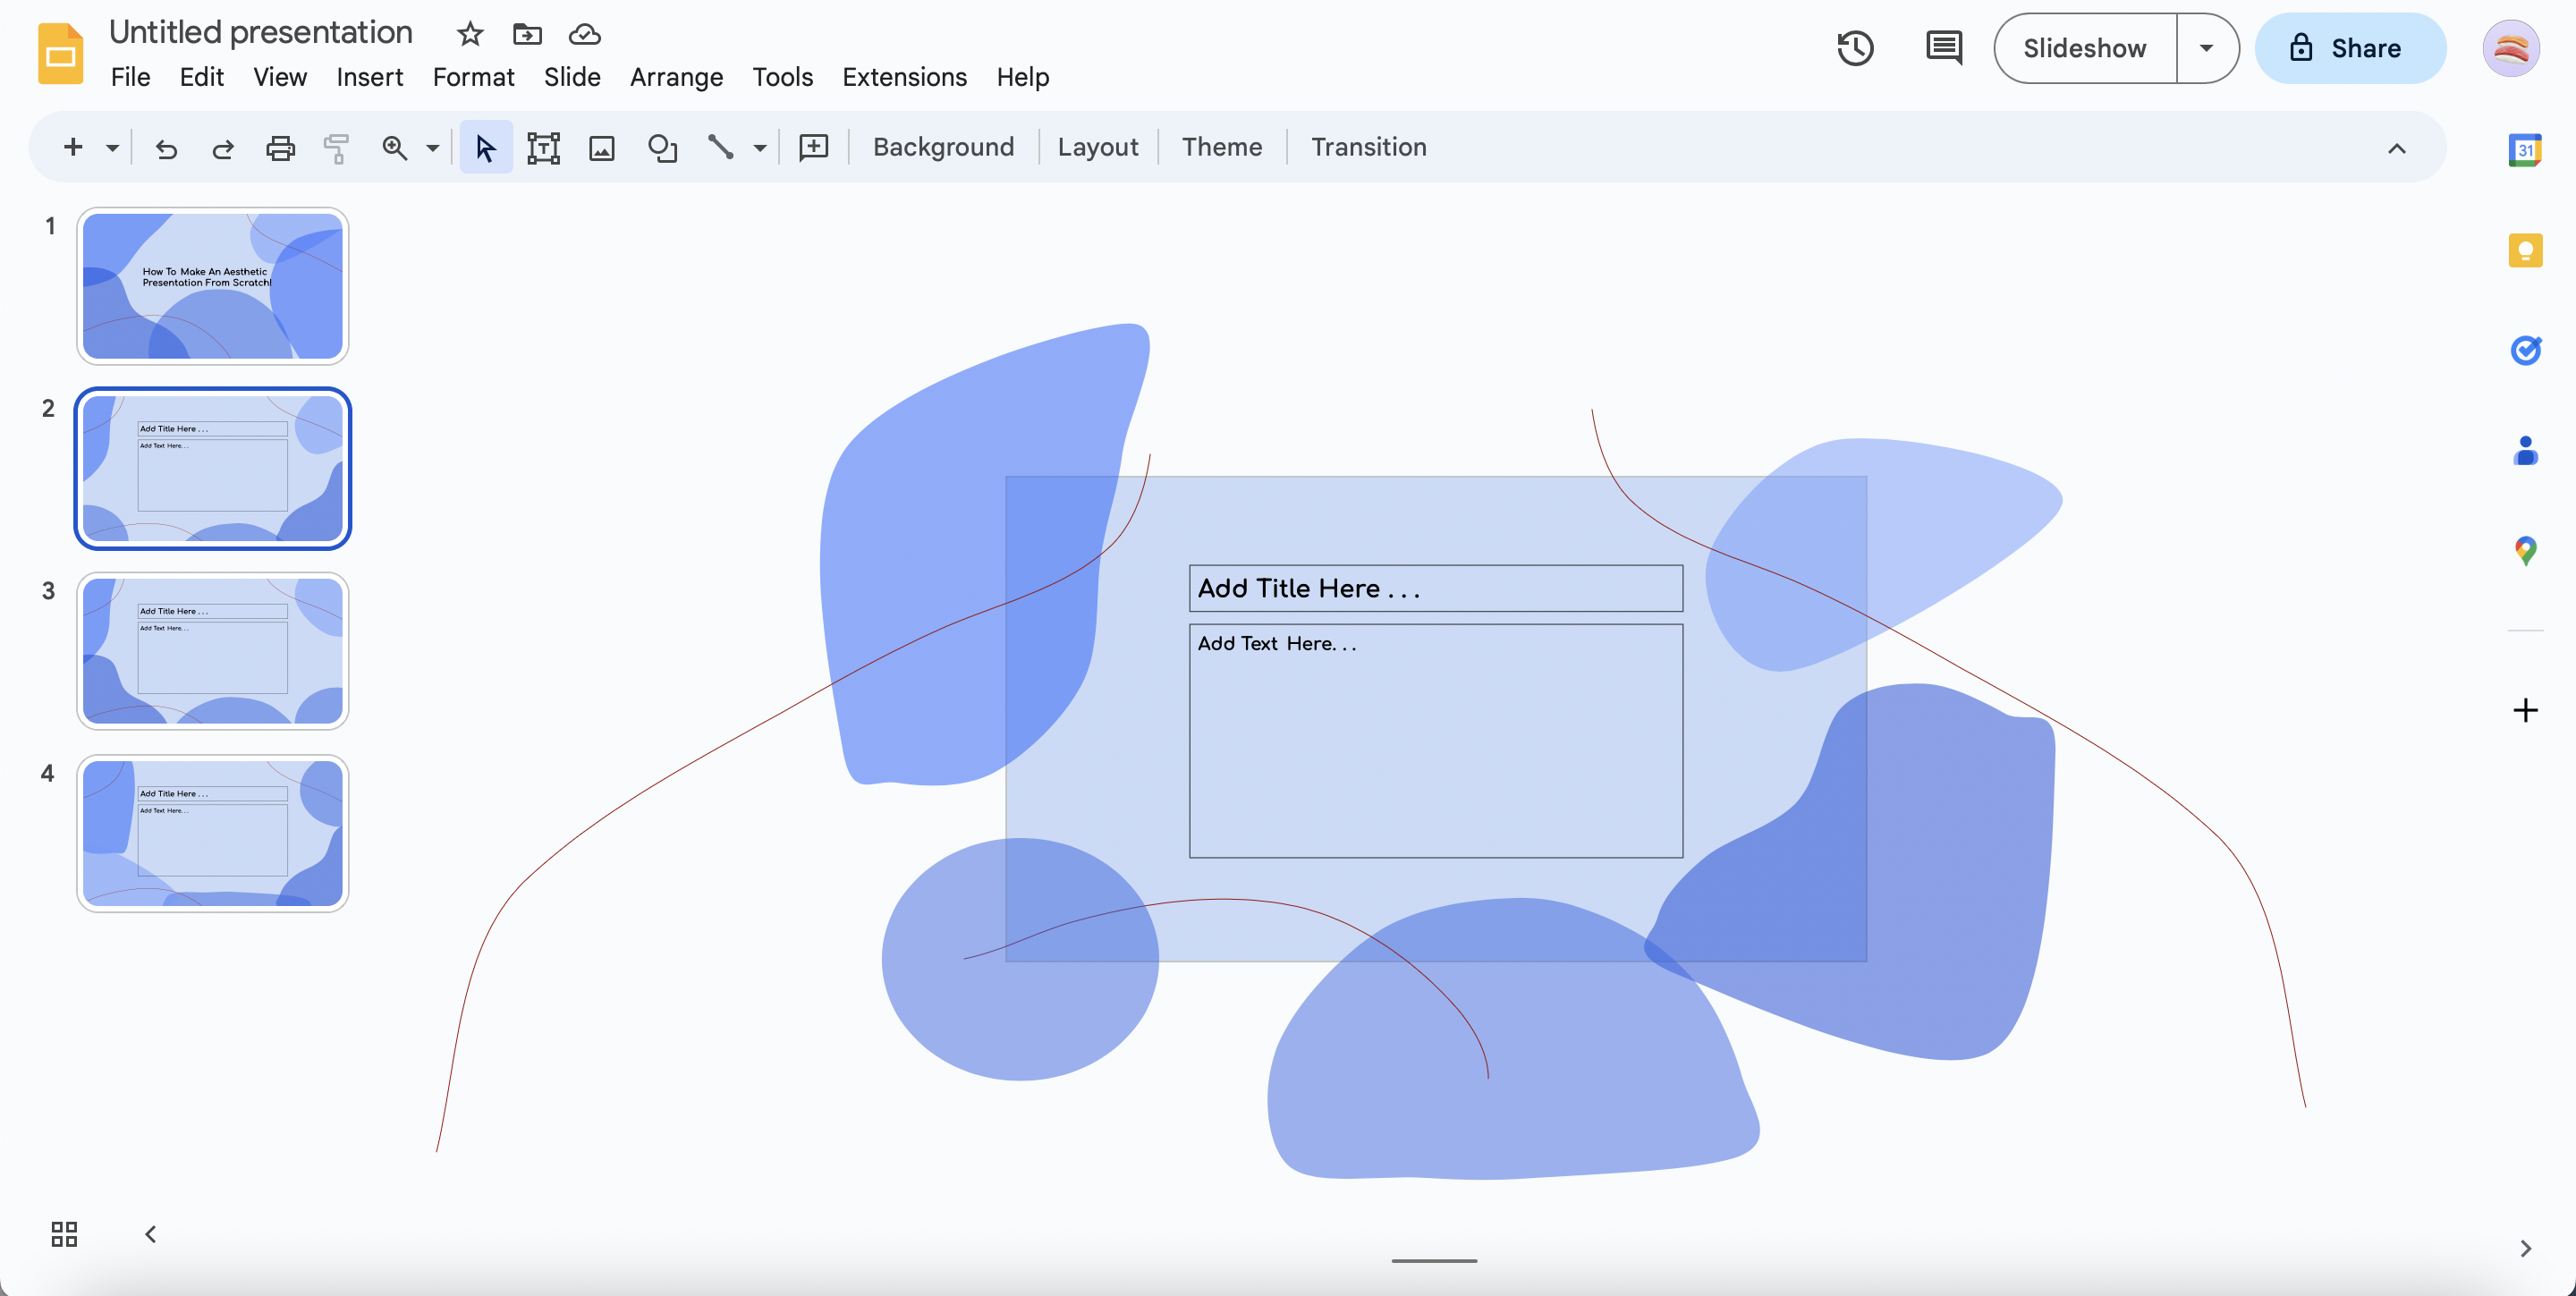
Duplicate or copy and paste this title slide and delete the textbox with the title.
Click/tap each blob and use the corner tool to make it smaller on the rectangle. Do this to all the blobs until you decide there is enough empty space in the middle for a textbox.
You can also reposition, remake, elongate, or delete blobs to make empty space in the middle.
When you have made enough space, add the text you want.
You can duplicate your final text slide as many times as you'd like to create more topics. Just so that the presentation doesn't get boring with the same format, I'd recommend moving around the blobs throughout the text slides as well.
Presentations Tip: Organize your information in a clear way for people to understand. Instead of writing a full paragraph, summarize that paragraph into a few bullet points, or break it down into a few lines. This will make it much easier for the audience to comprehend.
See pictures above for more guidance.
Final Slides

This step will cover three slides:
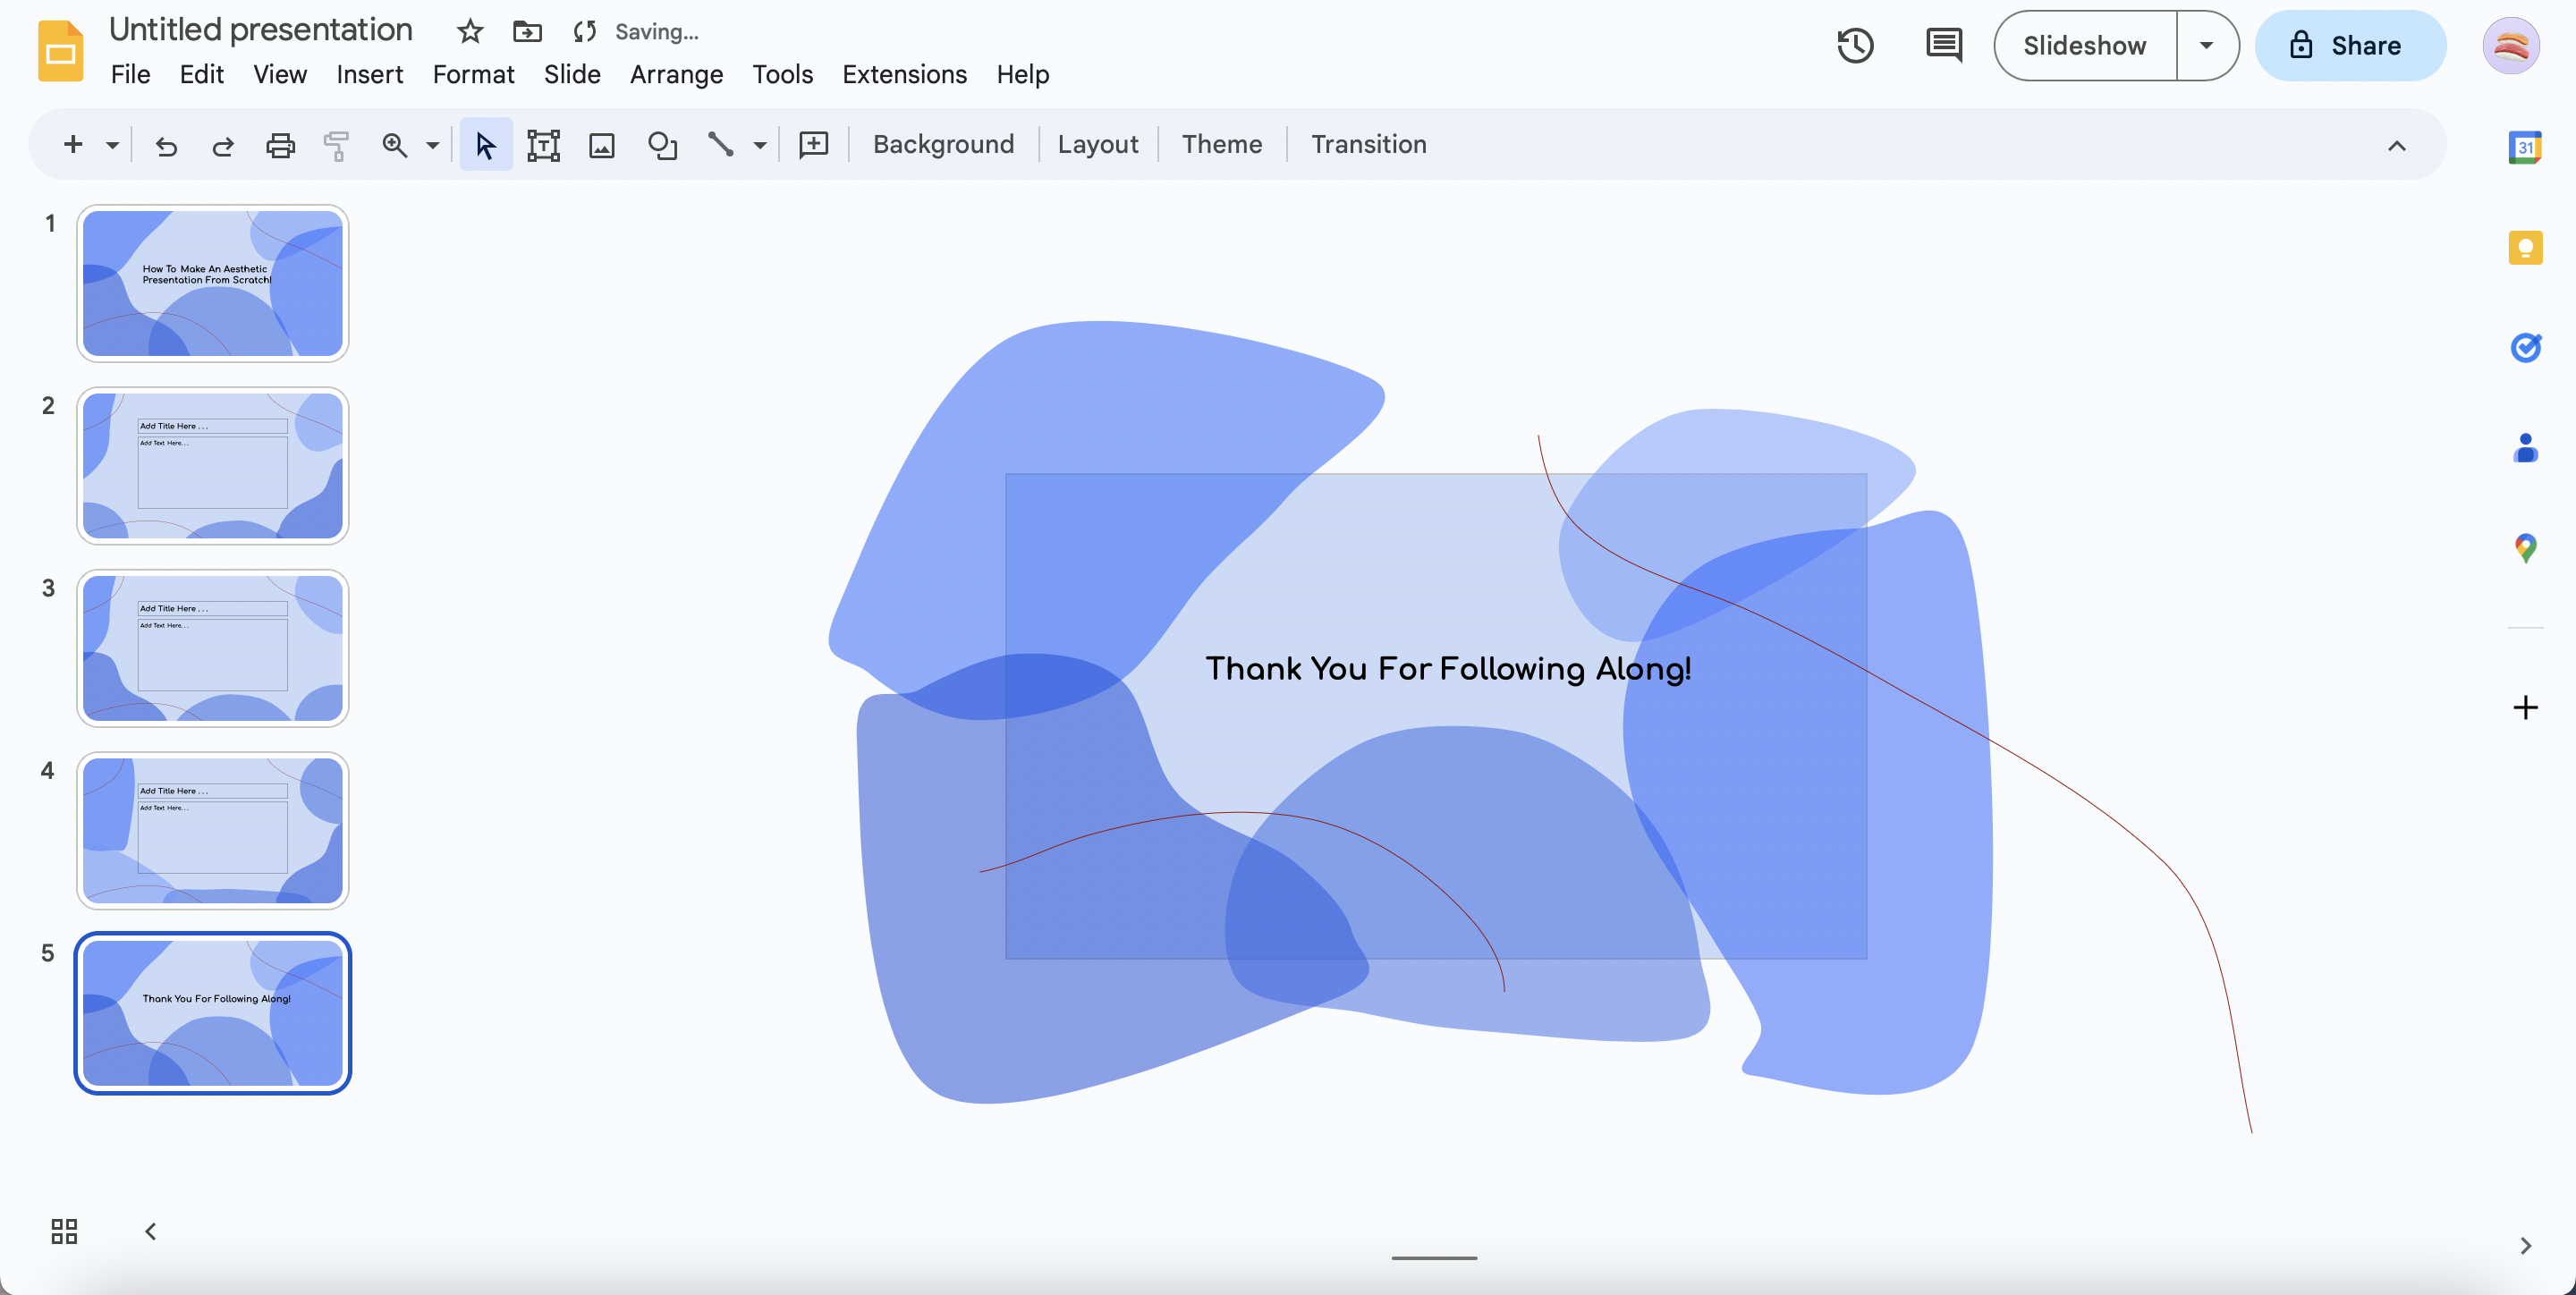
1. Thank You Slide/Final Slide
You can recreate or duplicate the title slide to make it your final Thank You slide.
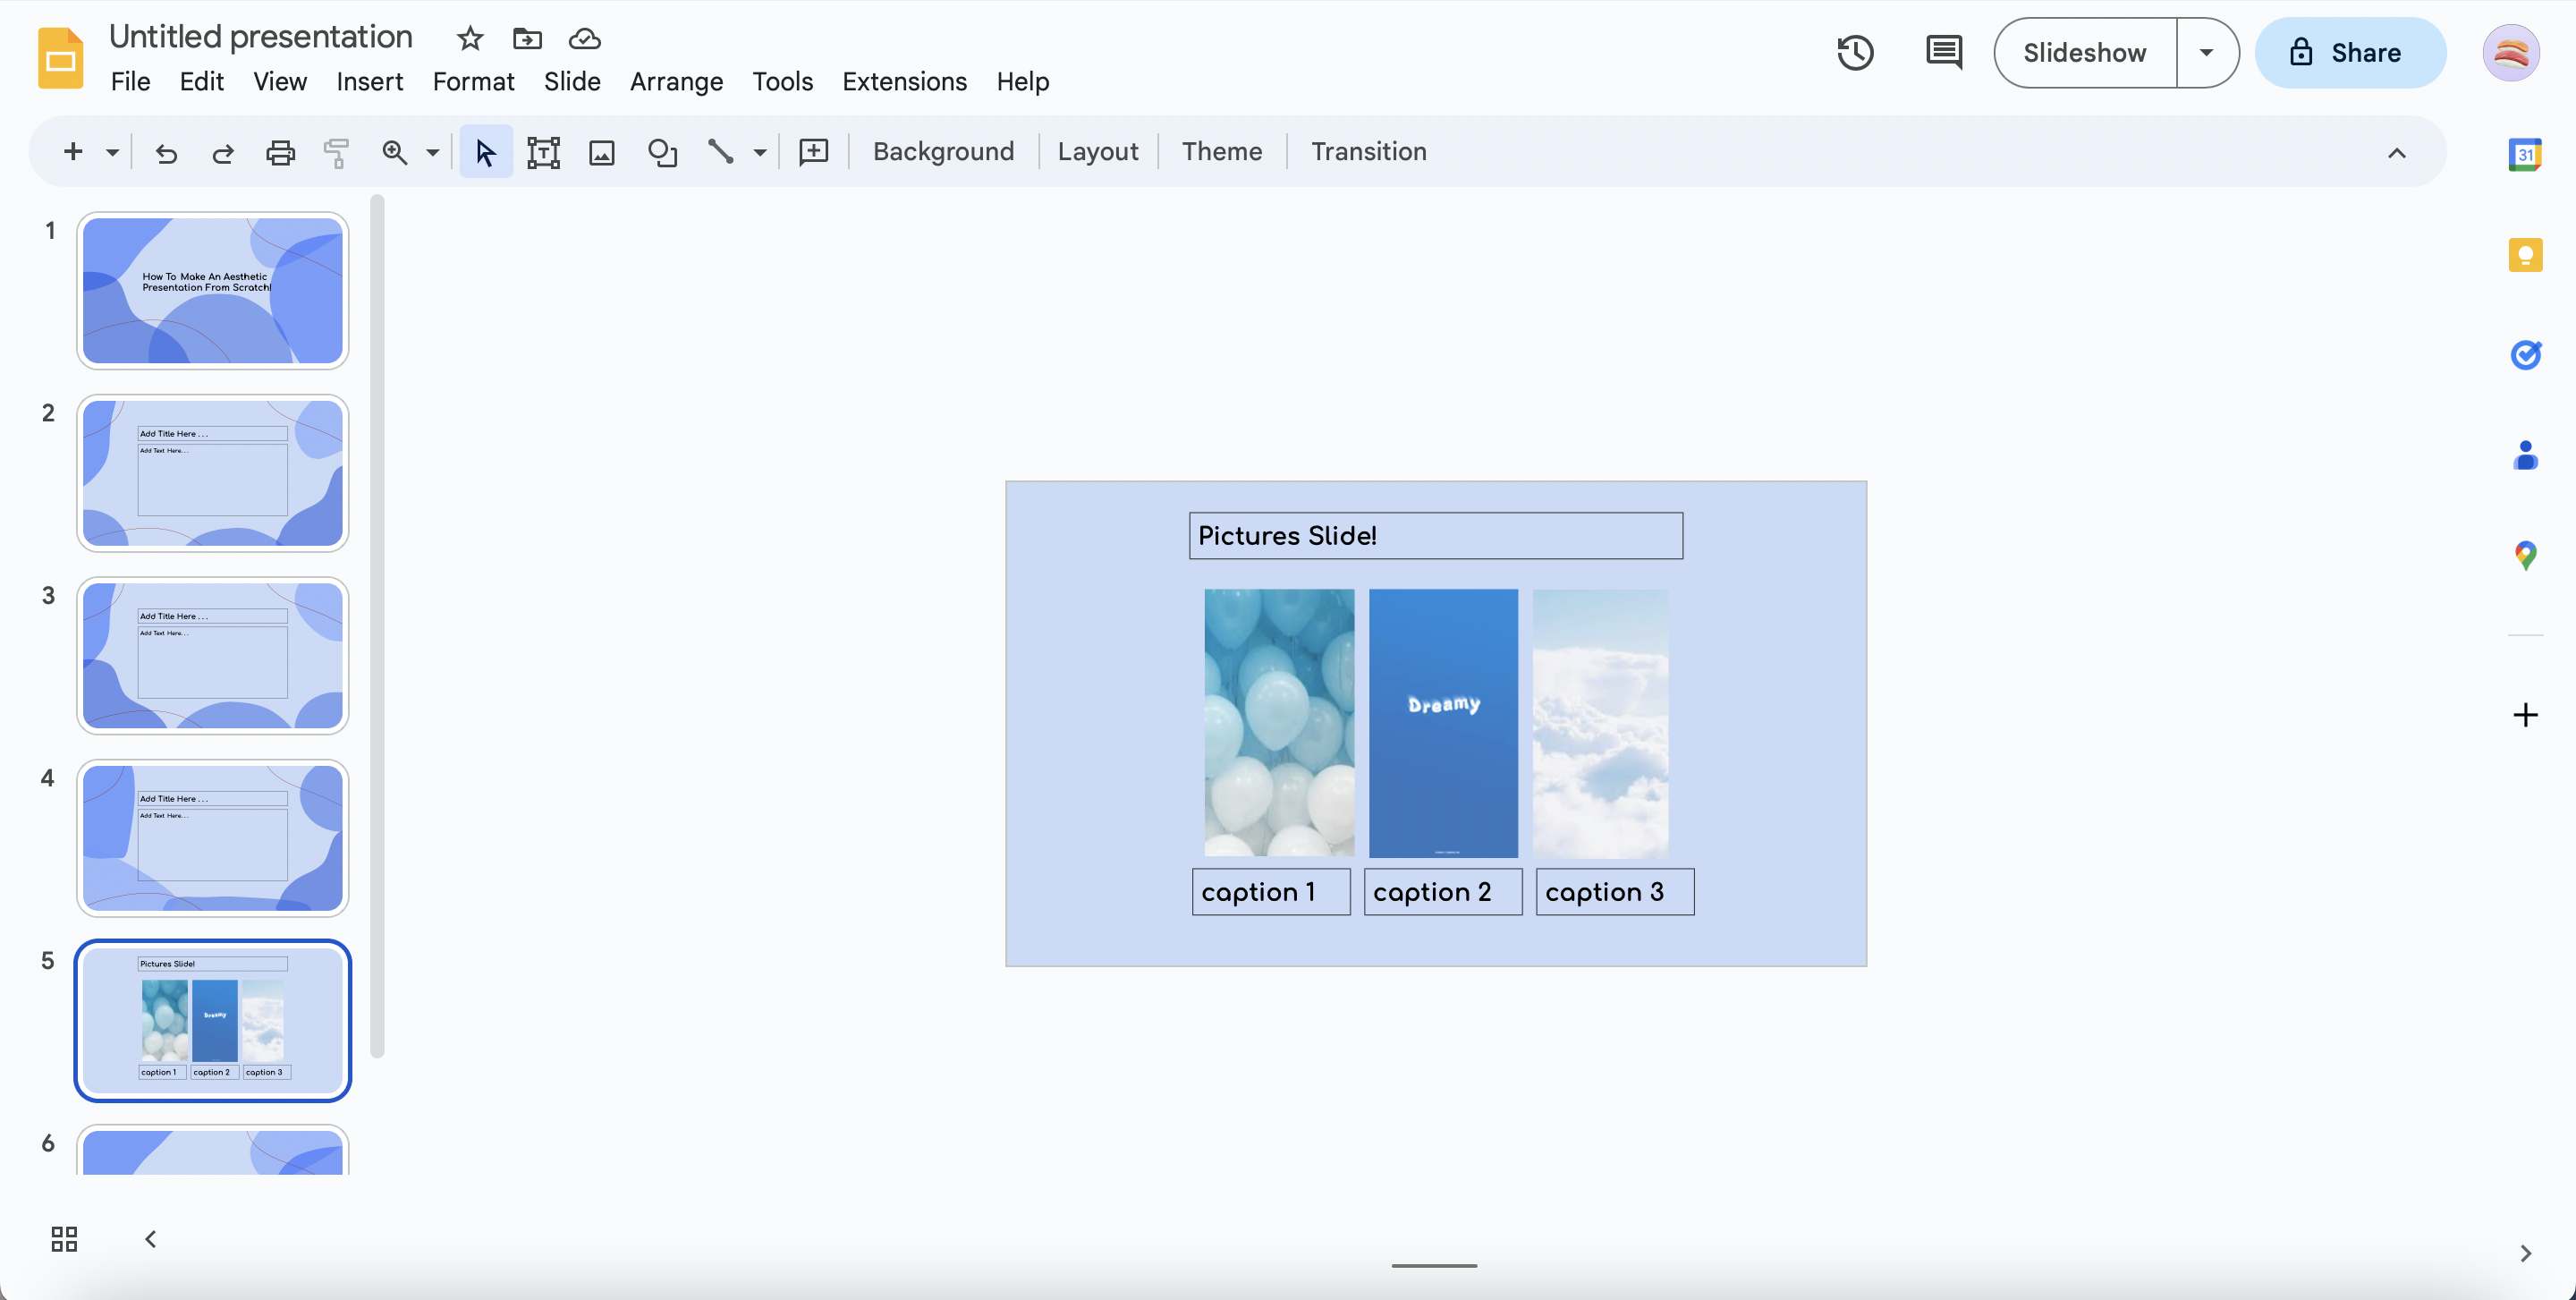
2. Pictures Slide
To add pictures, make a new blank slide with the same background color and insert the pictures you want. If possible, try to move these pictures nearer to the middle. I would recommend the maximum pictures on one slide to be 6, and the minimum 2. (I found the pictures on Google.)
Add textboxes for captions and the title.
3. Interactive Slide
To make your presentations engaging, add an interactive slide of some sort. This could be like a video or quiz. If adding a video, you can make it like you made the pictures slide. Here, I will show you how to design a quiz fitting to the theme.
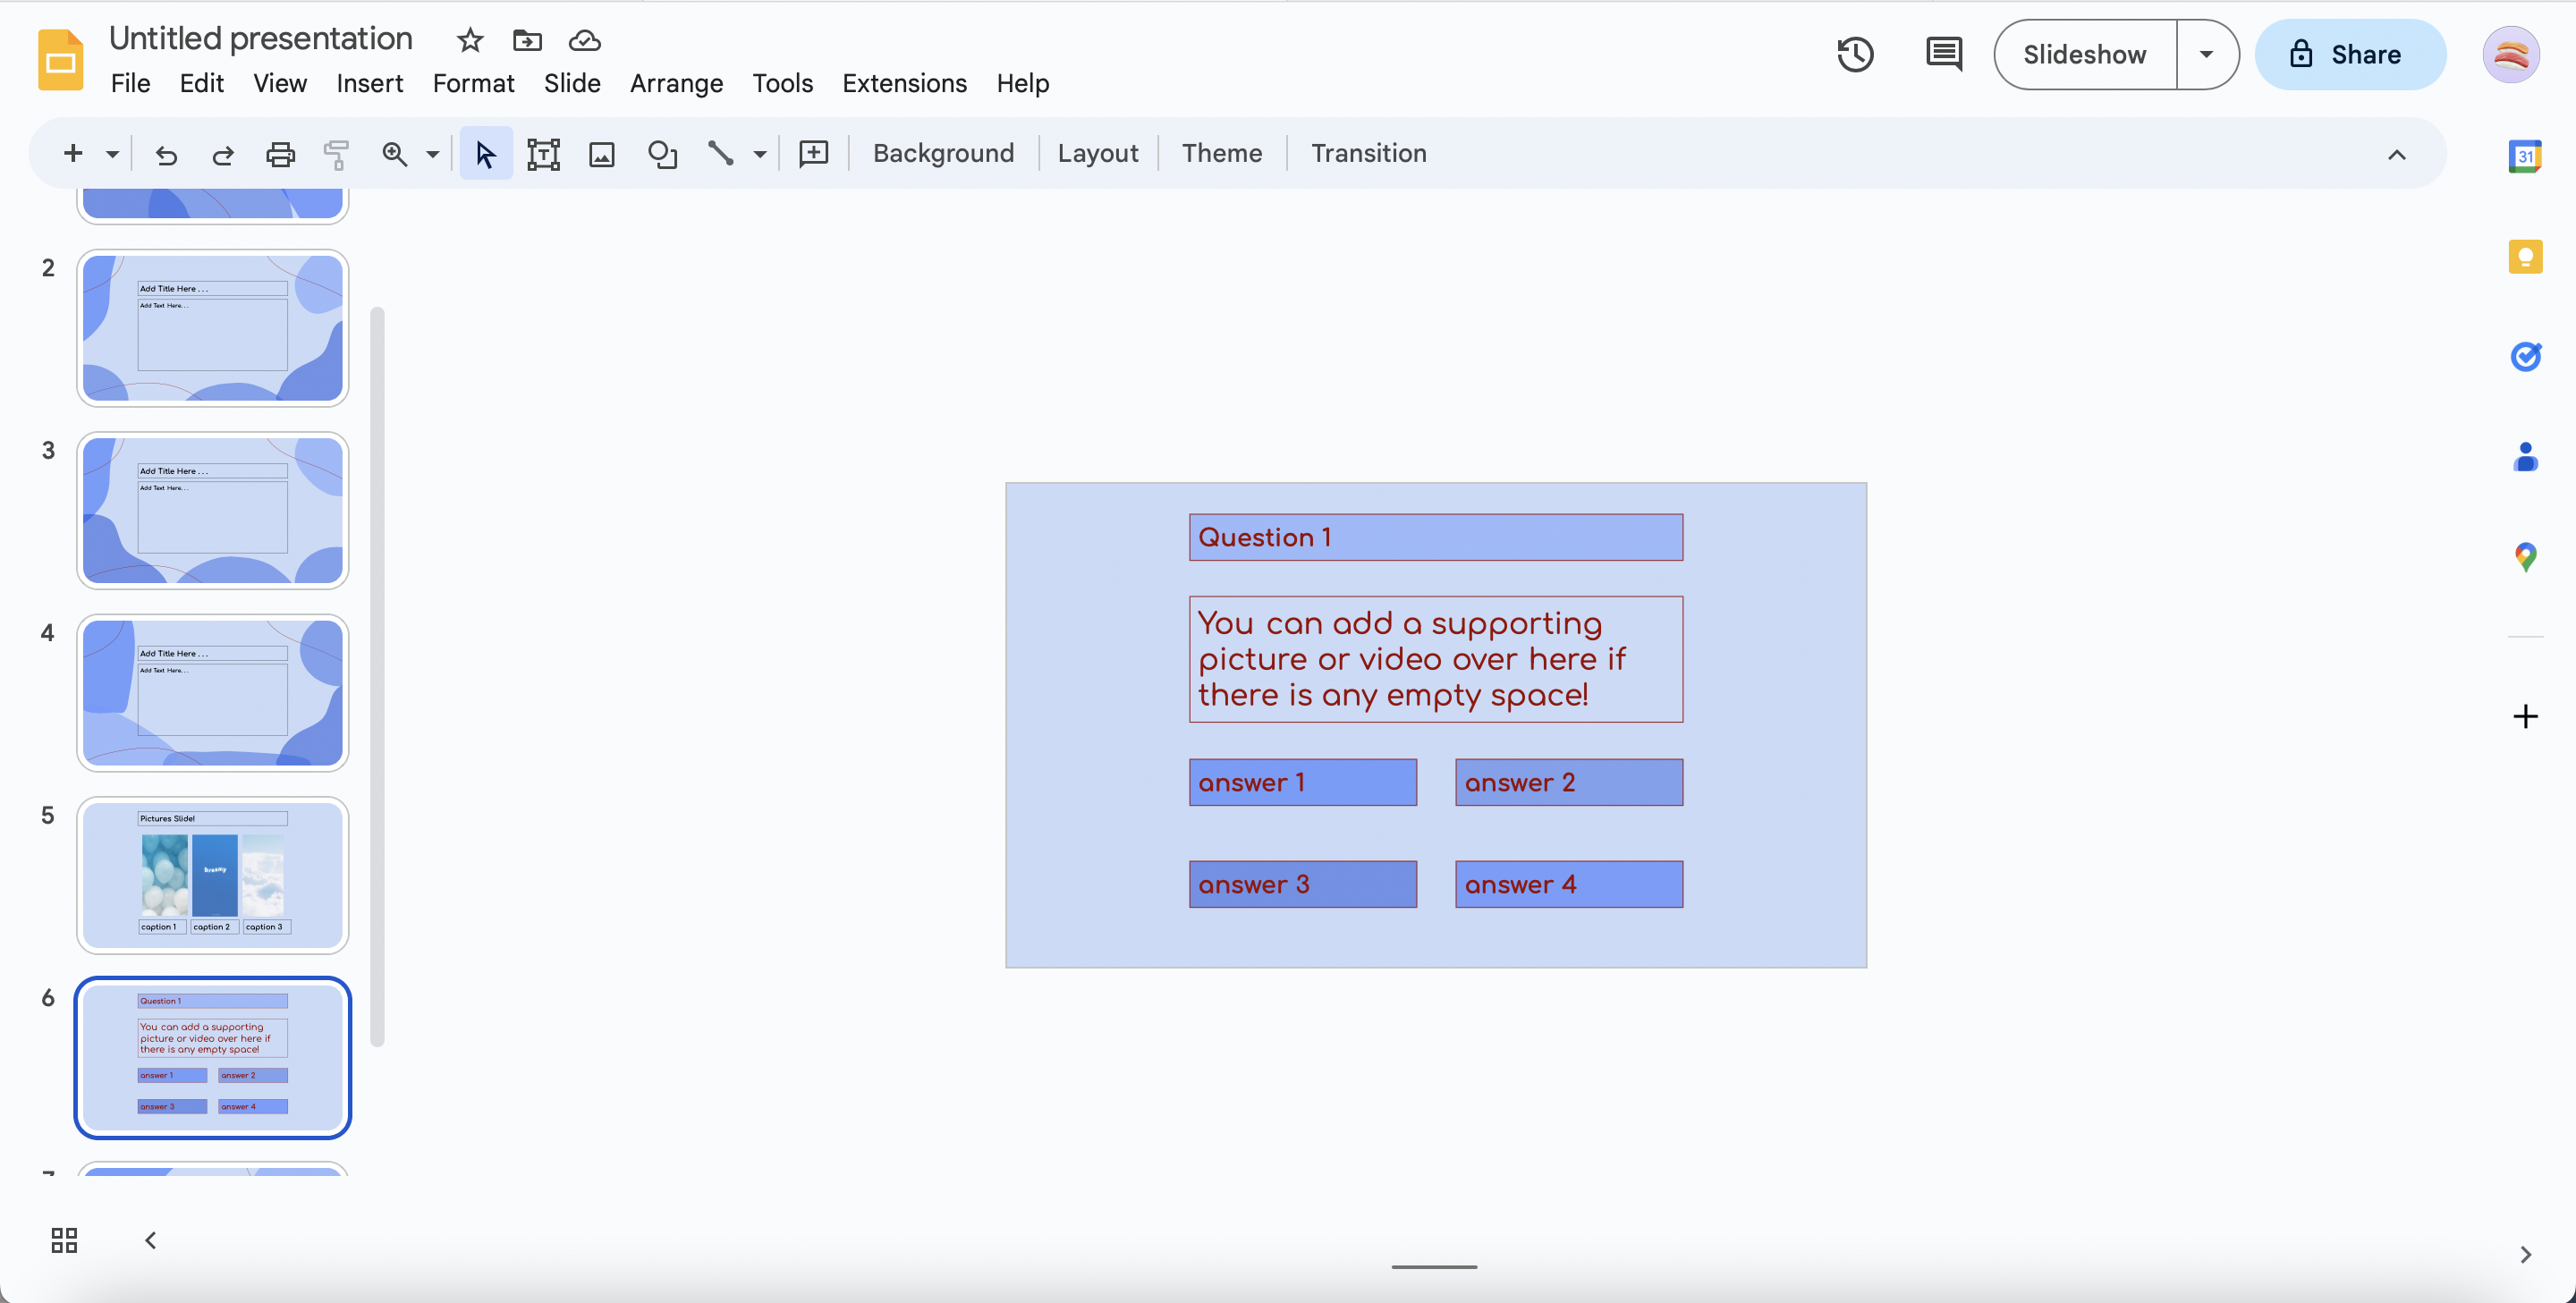
Firstly, make a new blank slide and add textboxes for the questions and answers. You can fill them with the custom colors we made previously with the blobs. You can also add a picture or video to support the question if there is any space. Stick to one question per slide for now.
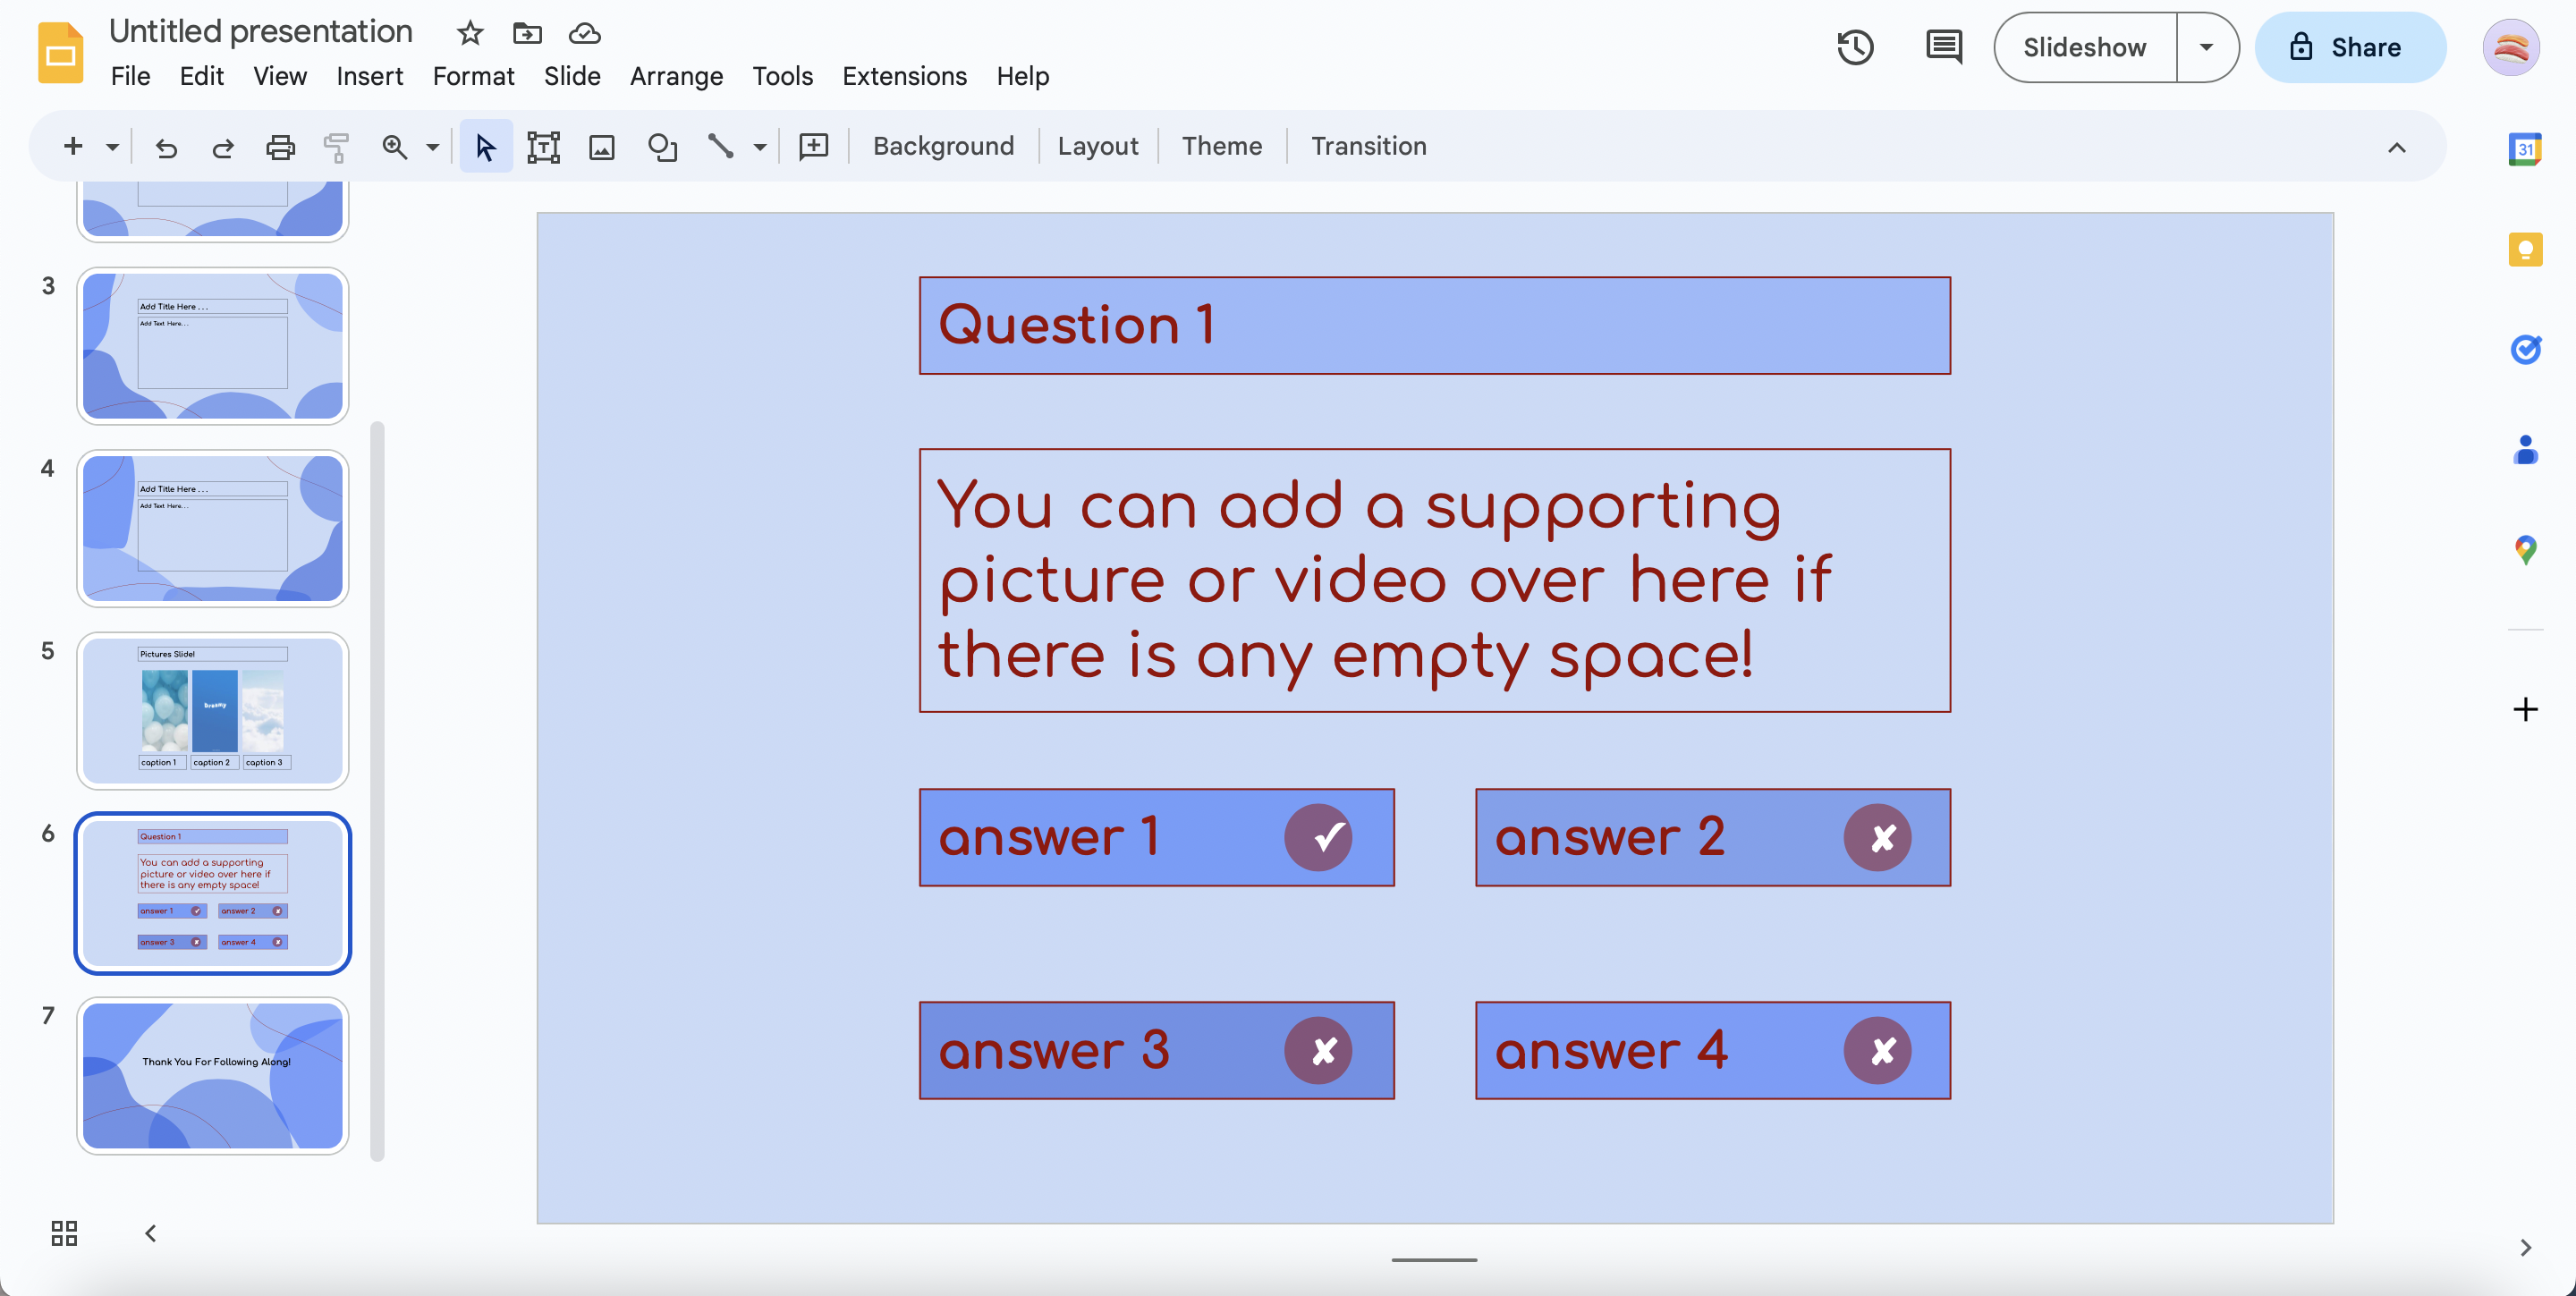
Create a small circle blob of a contrasting color and add a checkmark symbol over it for the right answer. For the other answers, put 'x' marks.
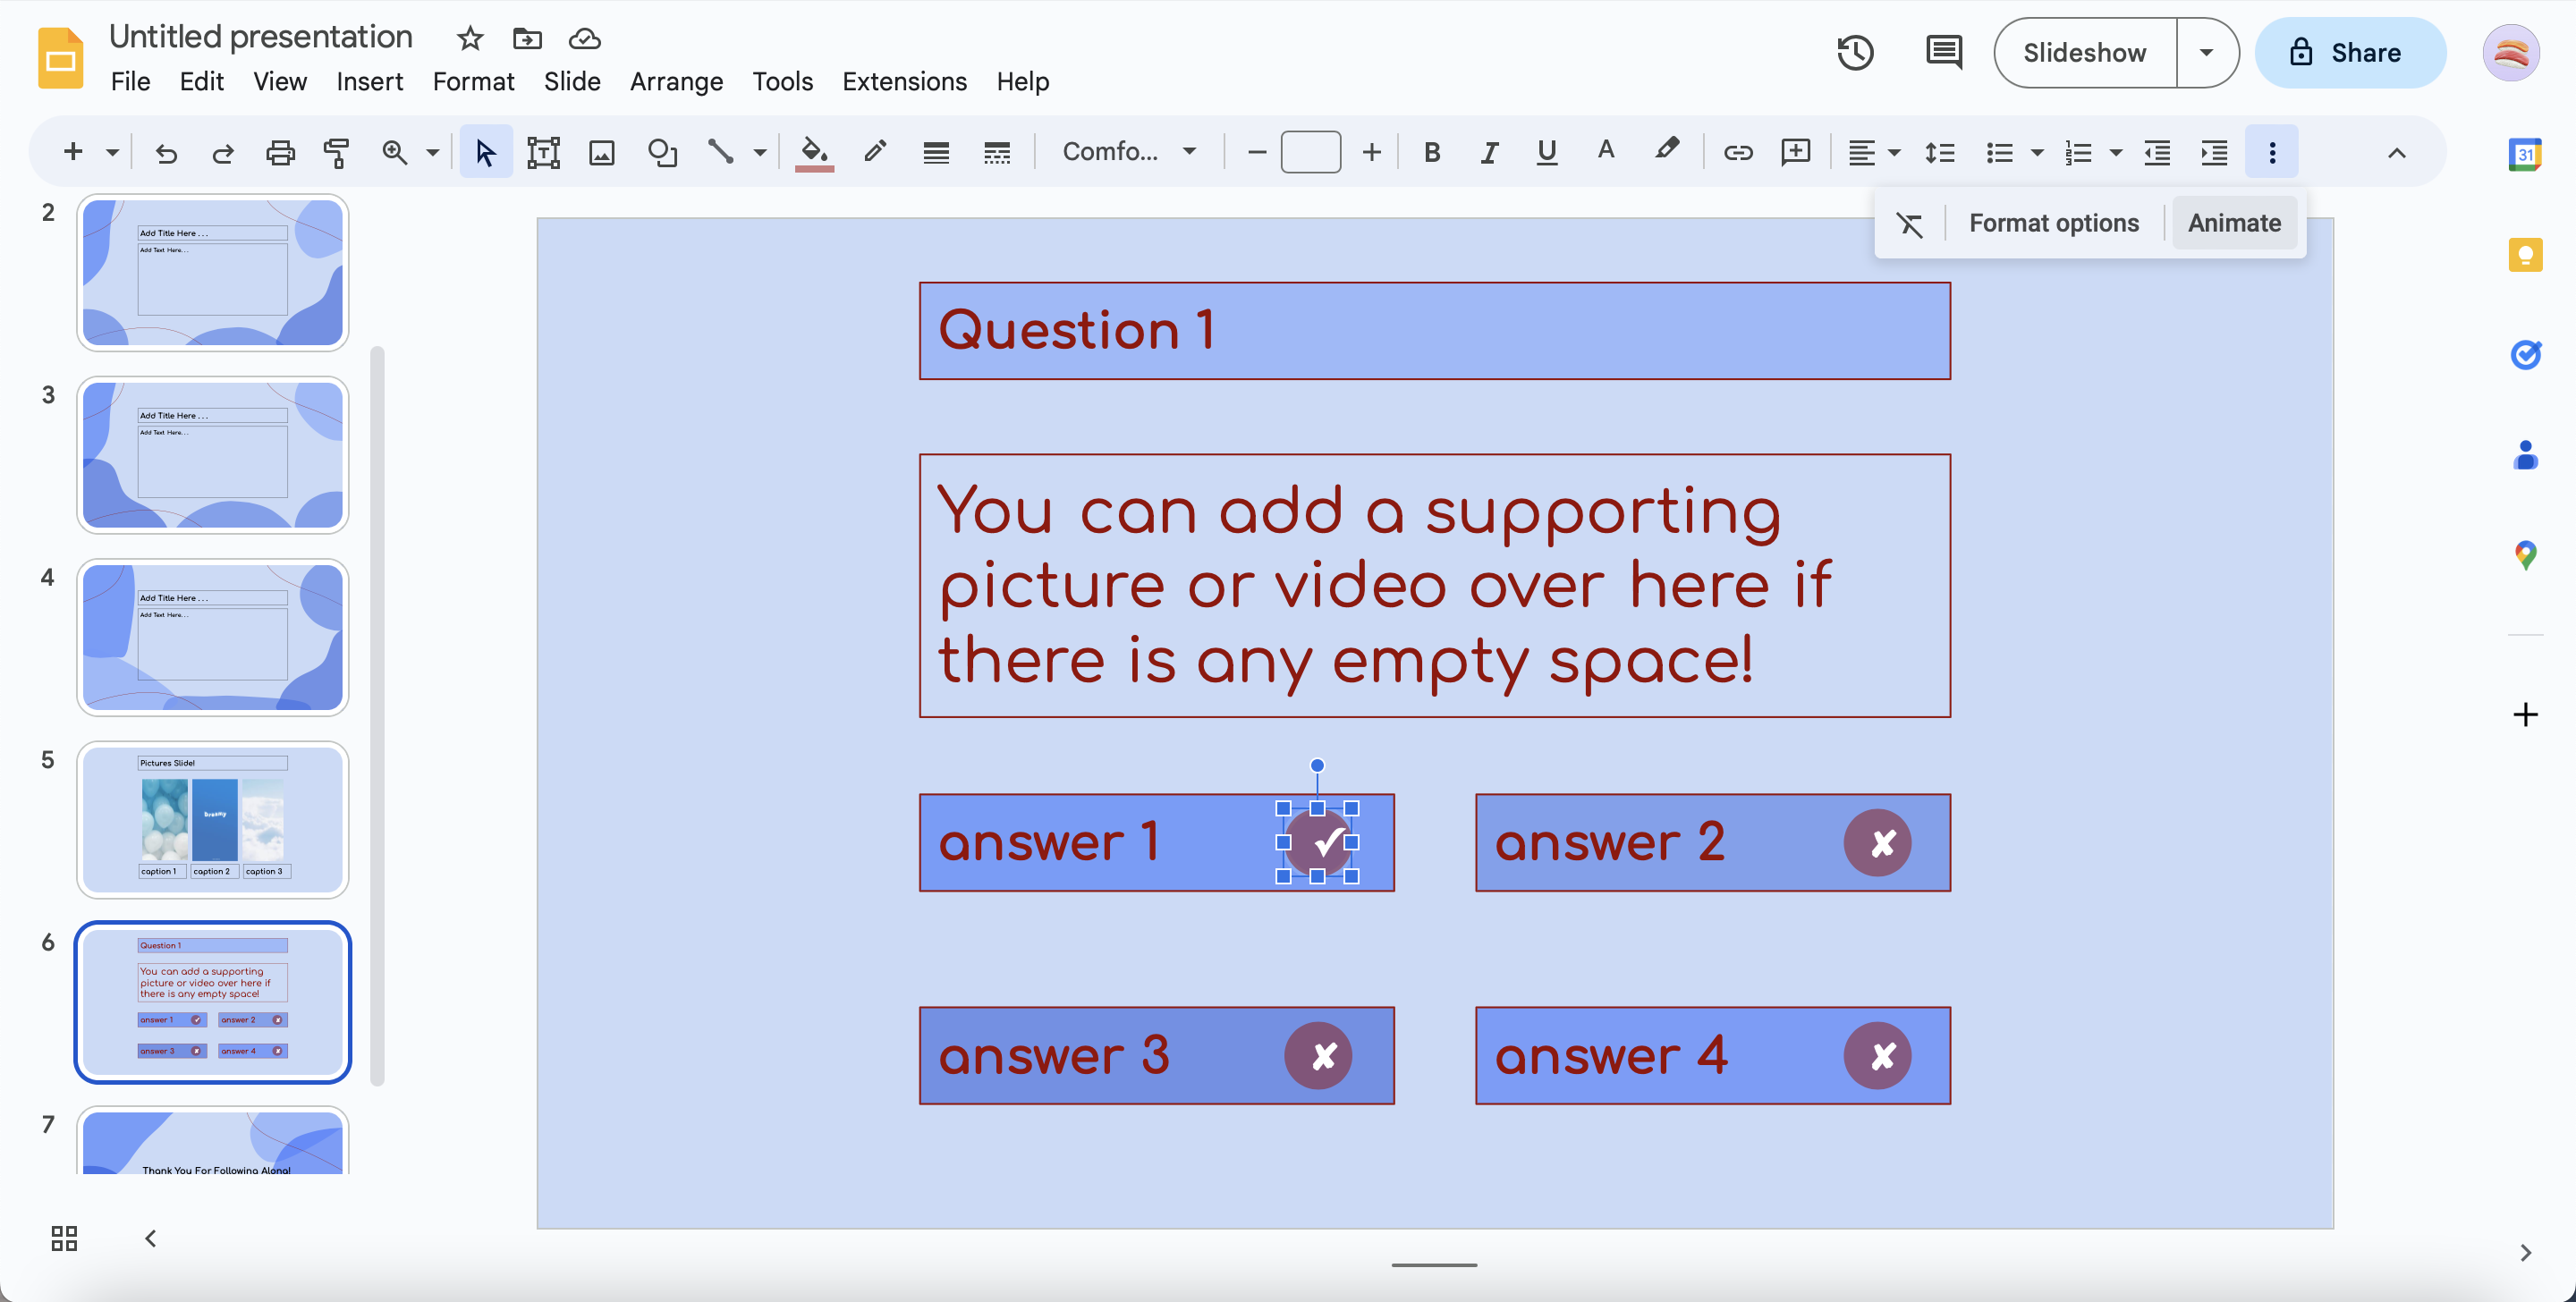
Select all of the circle-shaped blobs and the 'x' marks and checkmarks and click 'Animate' next to Format Options. If you don't see this option, click the three vertical dots at the very right. (Note that the animation feature does not work on any device other than a laptop/computer.) When you click 'Animate', it will make it so that the selected blobs will appear in the presentation when clicked to reveal which answers are wrong and which ones are correct. To test this out, click 'Slideshow' or 'Present'.
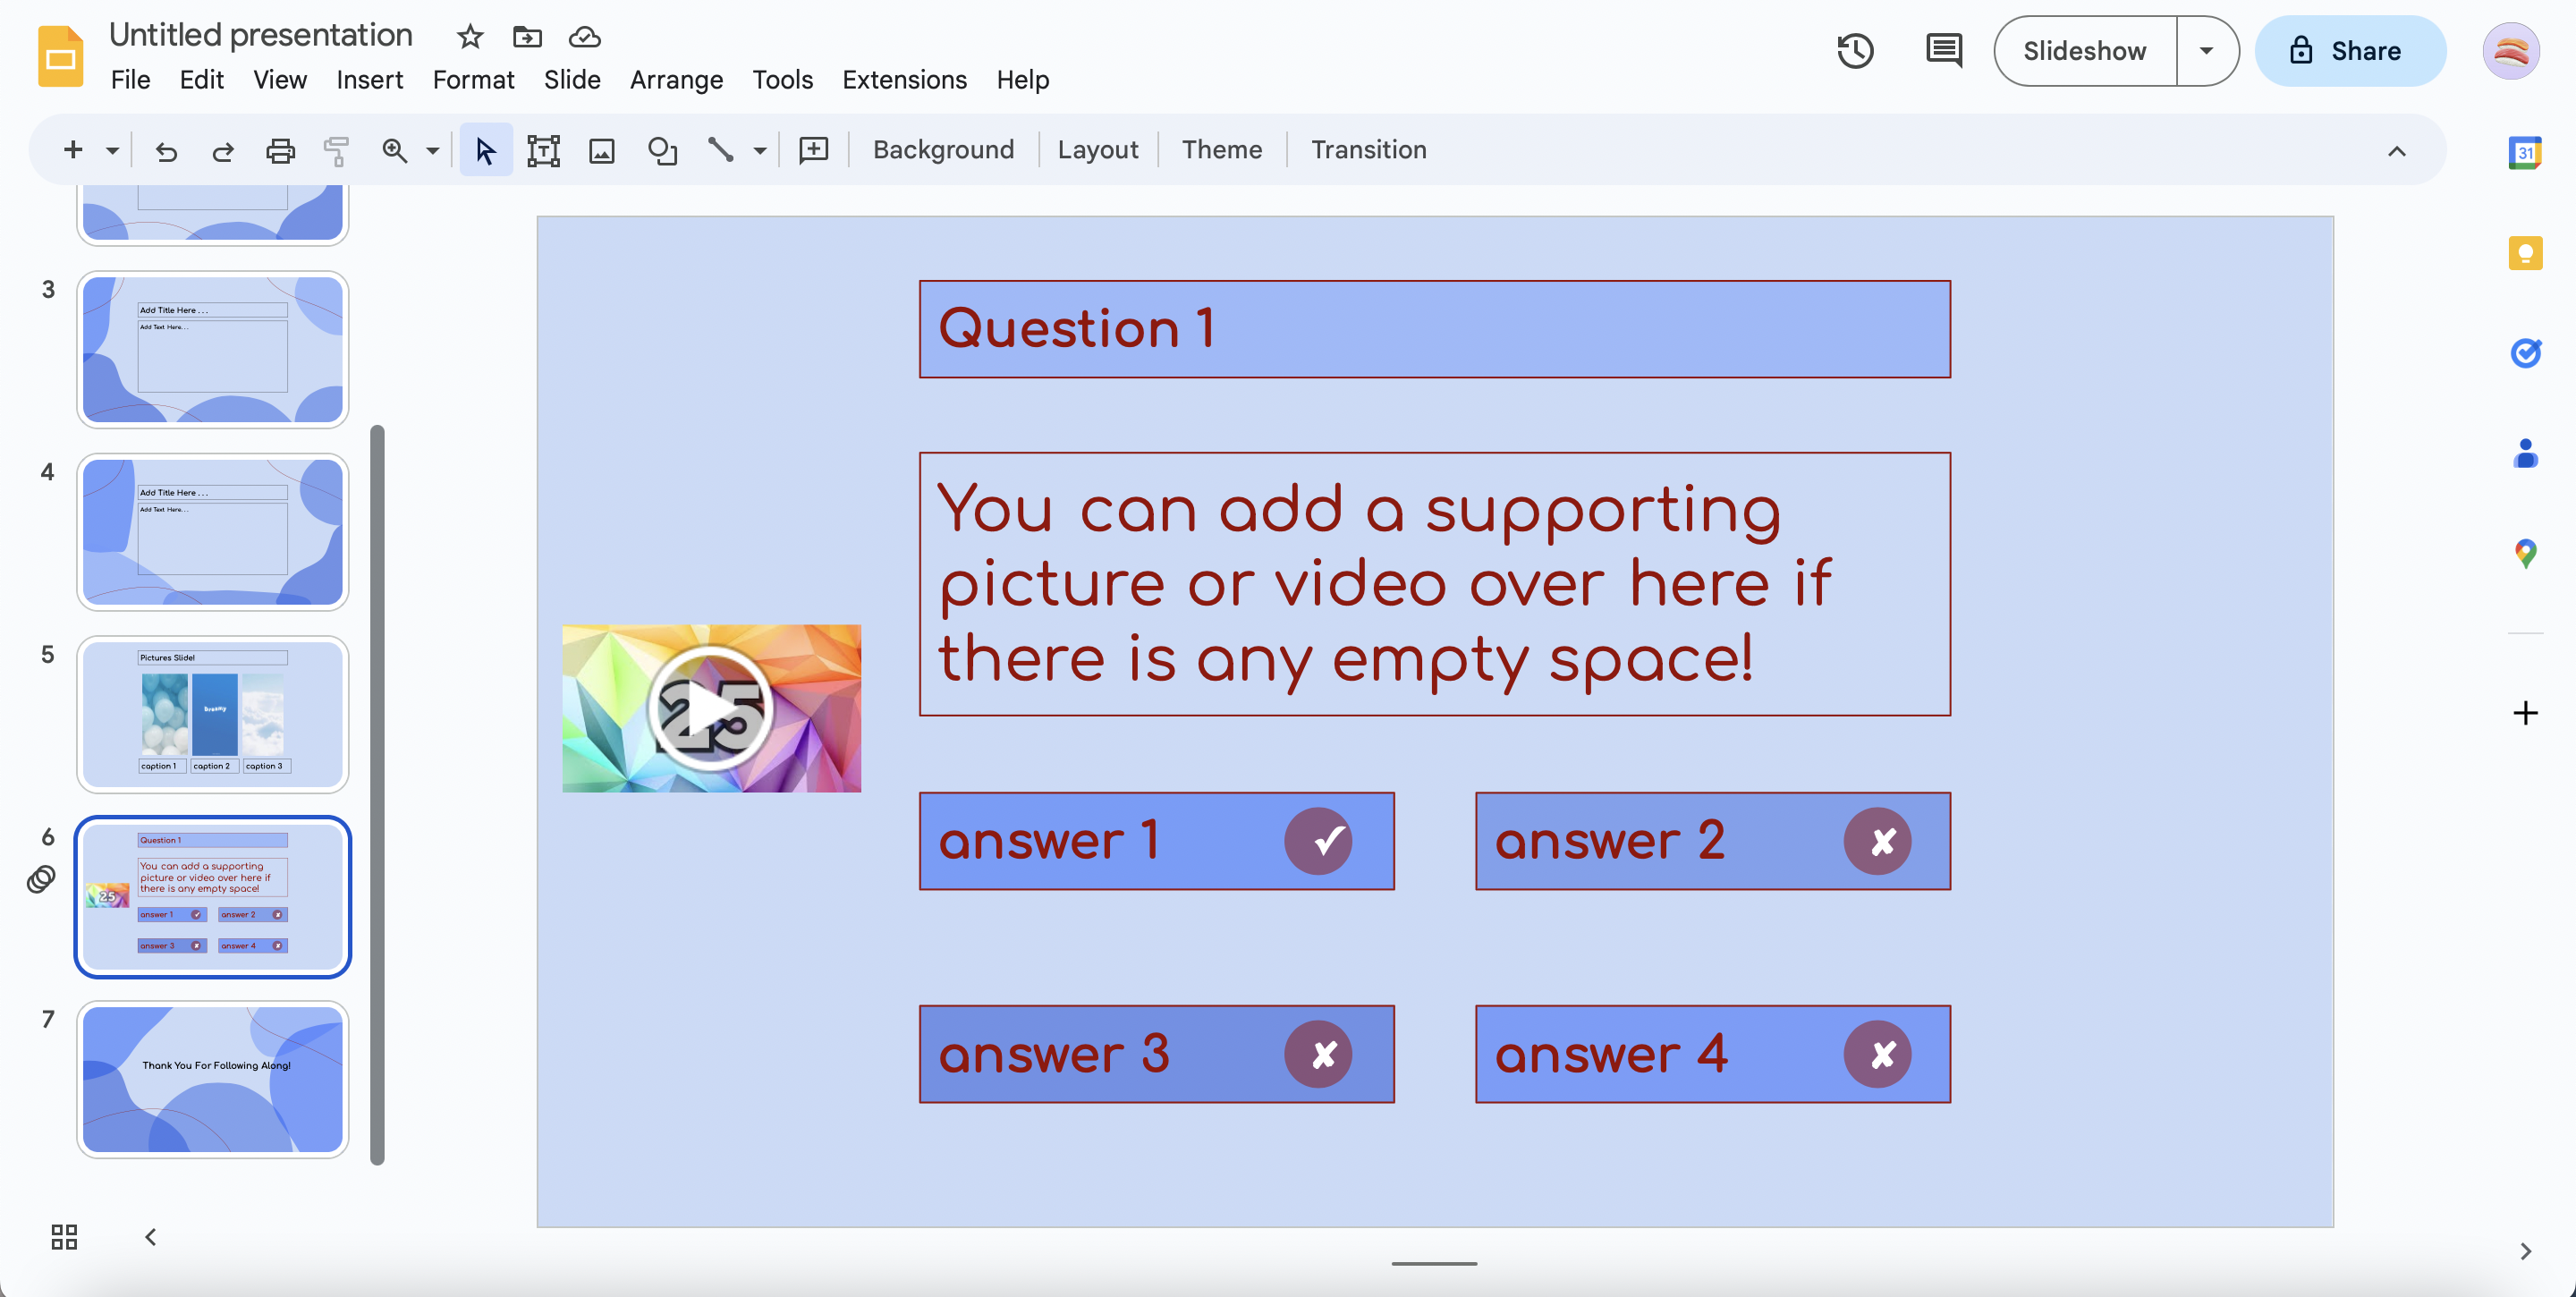
Finally, you can insert a timer video on the side (I recommend between 20-30 seconds) to challenge the audience a bit when they answer the question. Then you can go to 'Format Options' and edit the video however you want it.
See pictures above for more guidance.
Done!

If you found this too hard, then I would recommend exploring the features of Google Slides at your own level. Maybe if you understand the features more after that, you can come back and try this.
Thank you for following along!