How to Make an Adorable Picture Frame!
by B_bear9 in Craft > Cardboard
334 Views, 0 Favorites, 0 Comments
How to Make an Adorable Picture Frame!
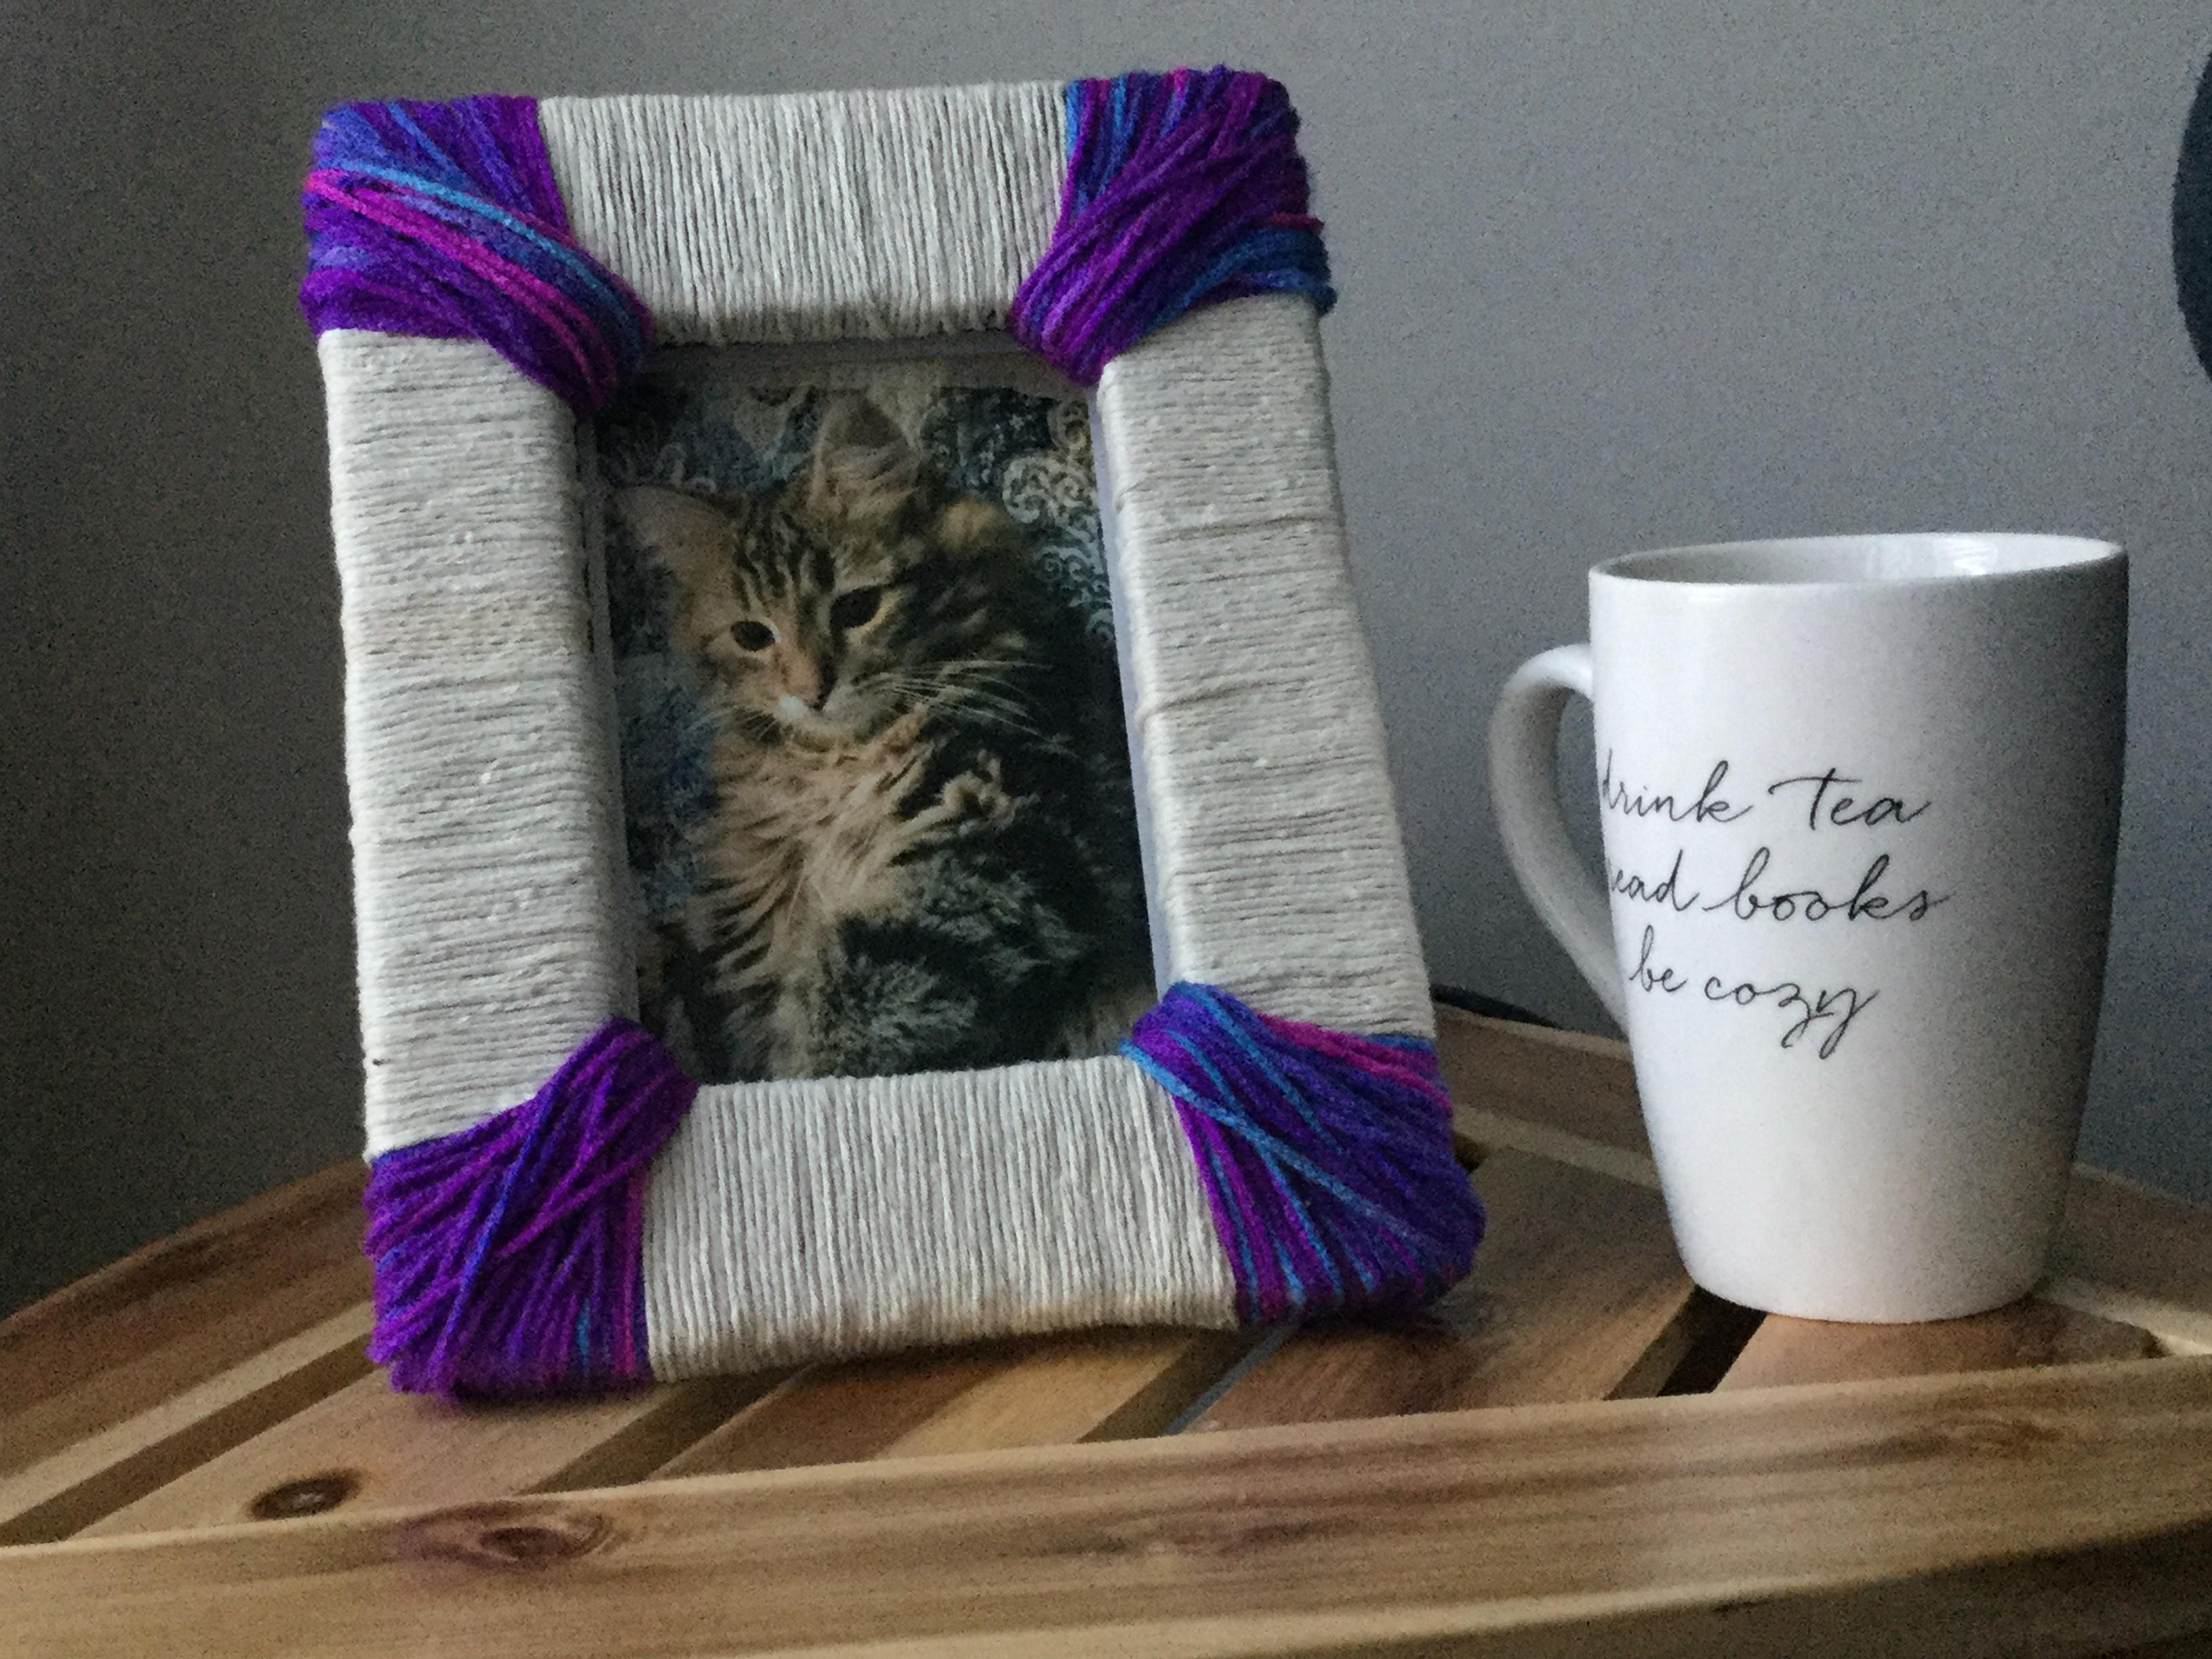
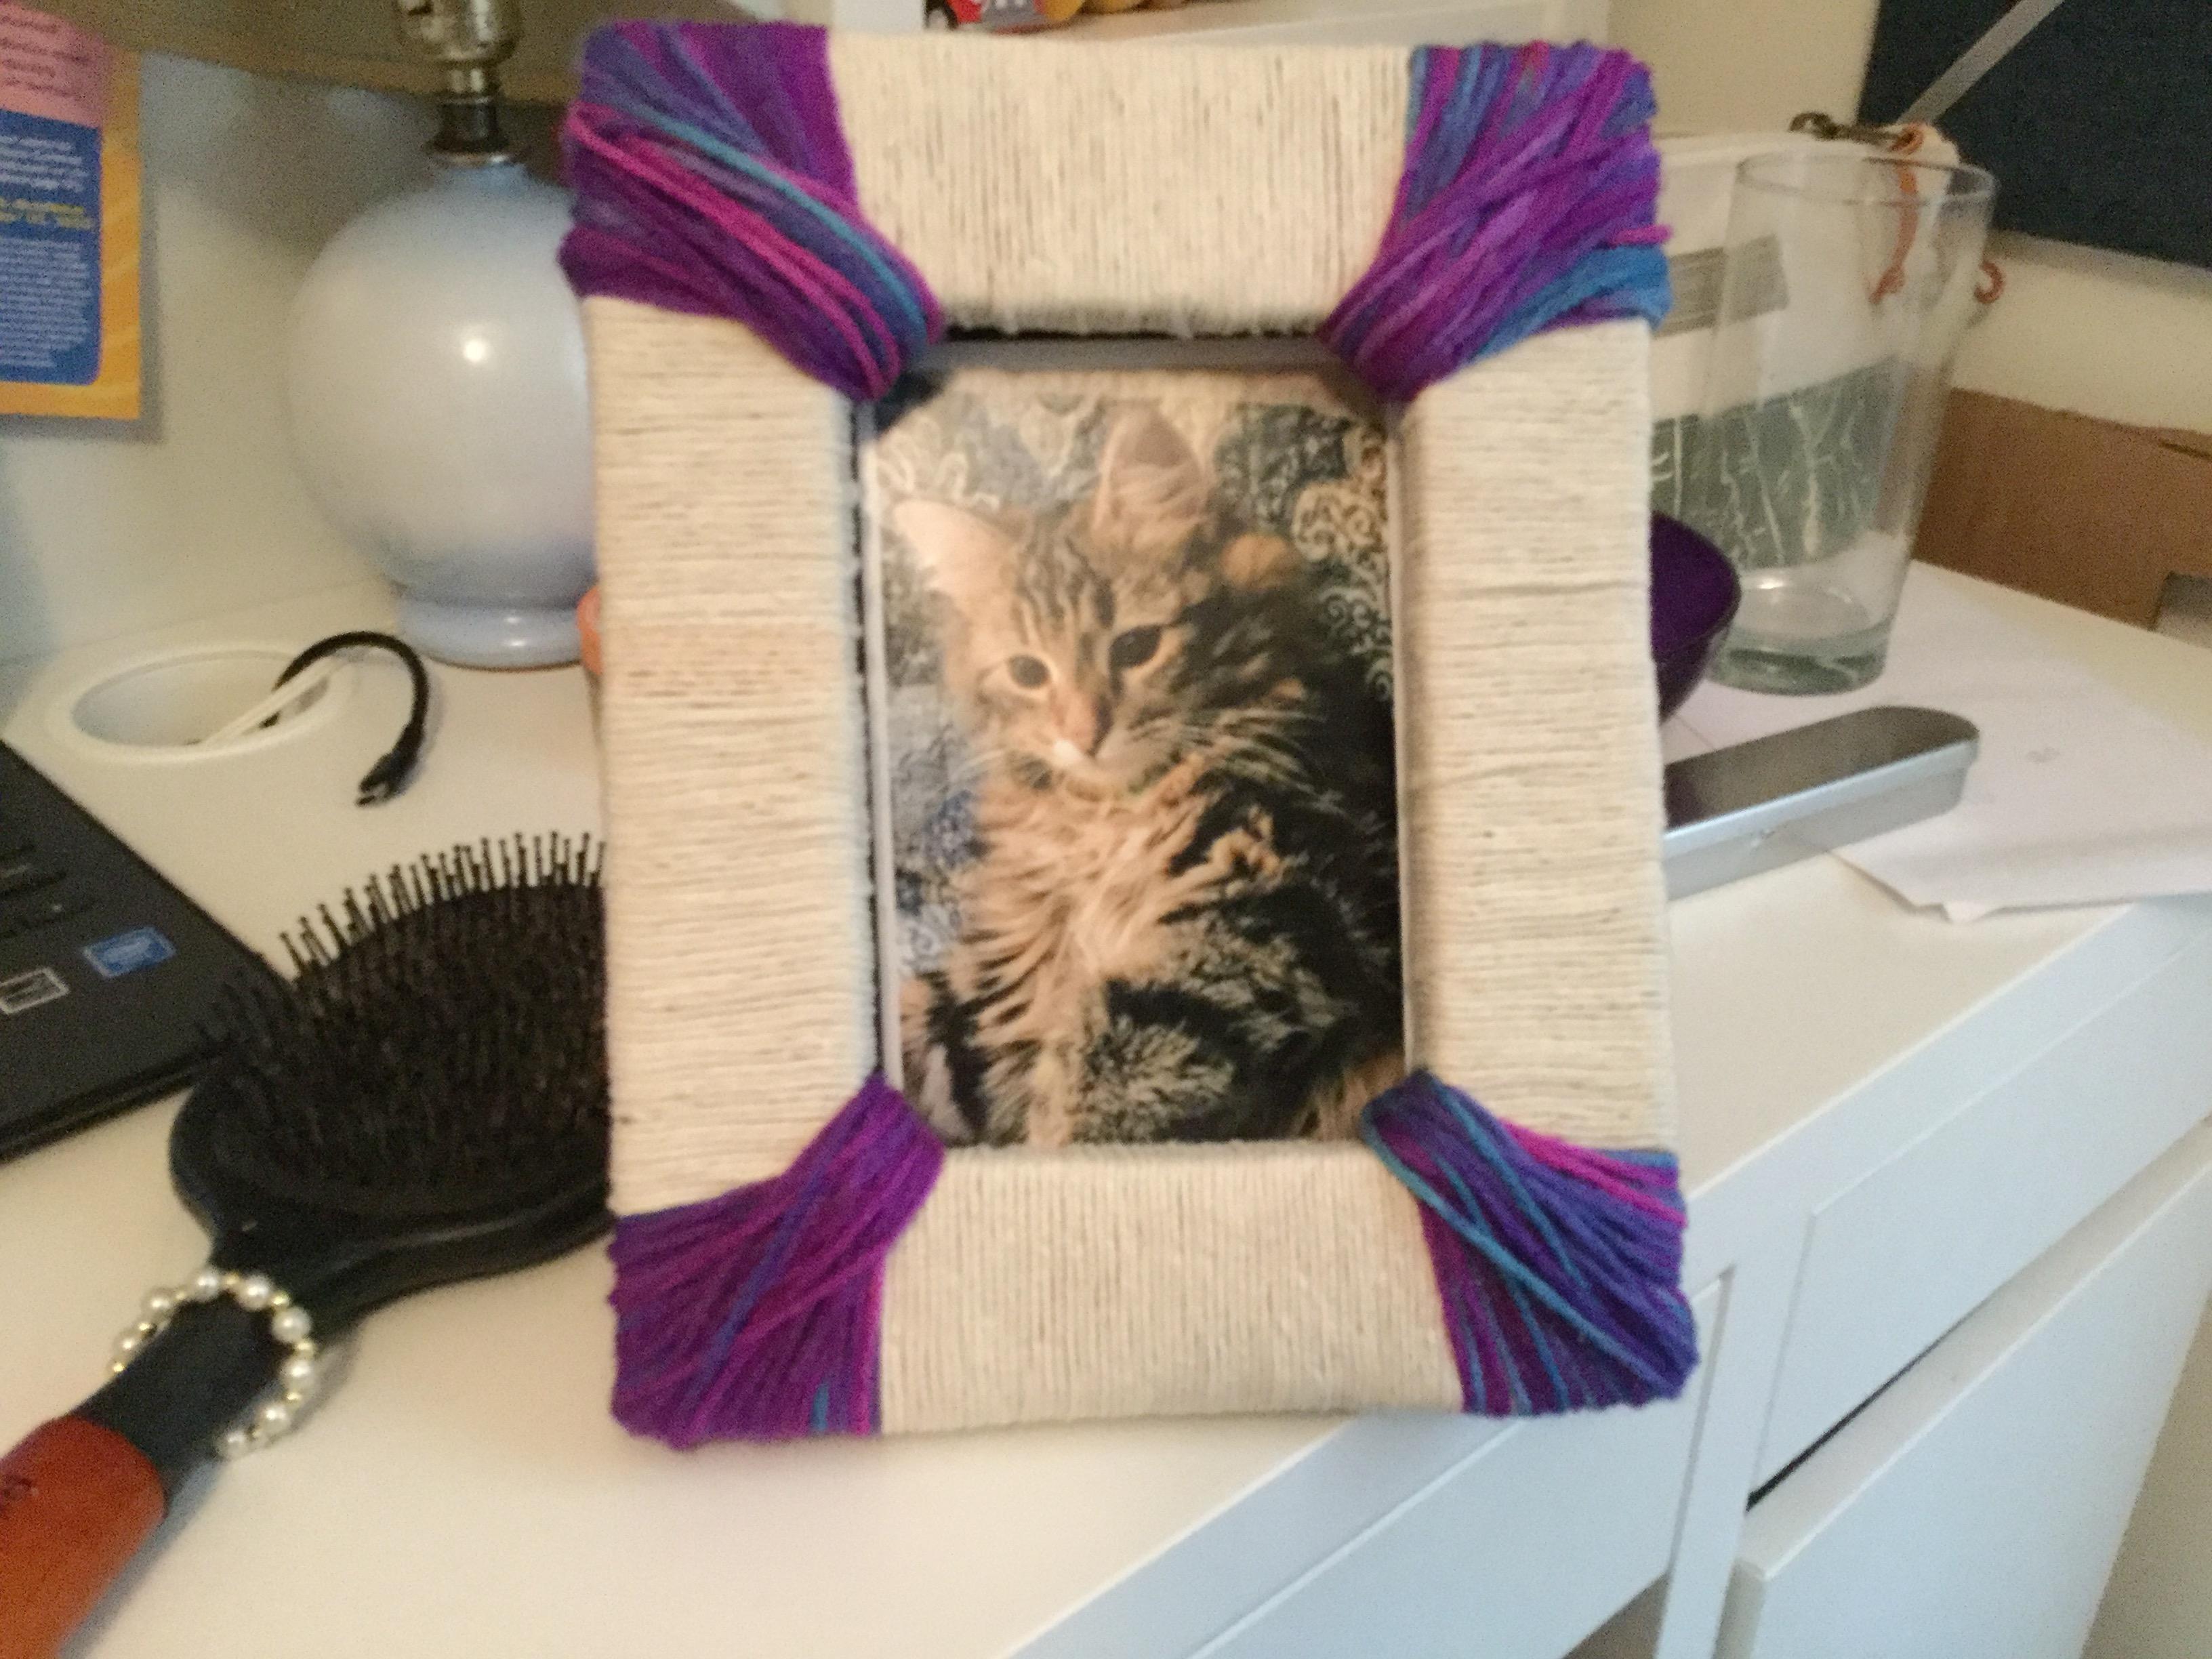
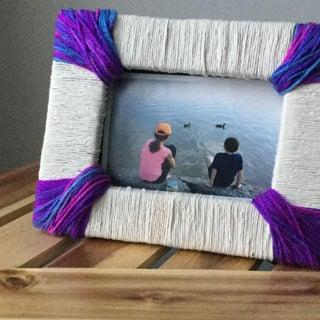
This tells you how to make an adorable picture frame that stands up on it’s own, using things that you can find around the house, and it takes very little time! This one here took less than hour to make, and it is meant for a 4x6 picture, made with recycled cardboard and old string and yarn. This looks and acts like a regular picture frame, except it is much cheaper and you make it yourself!
Supplies
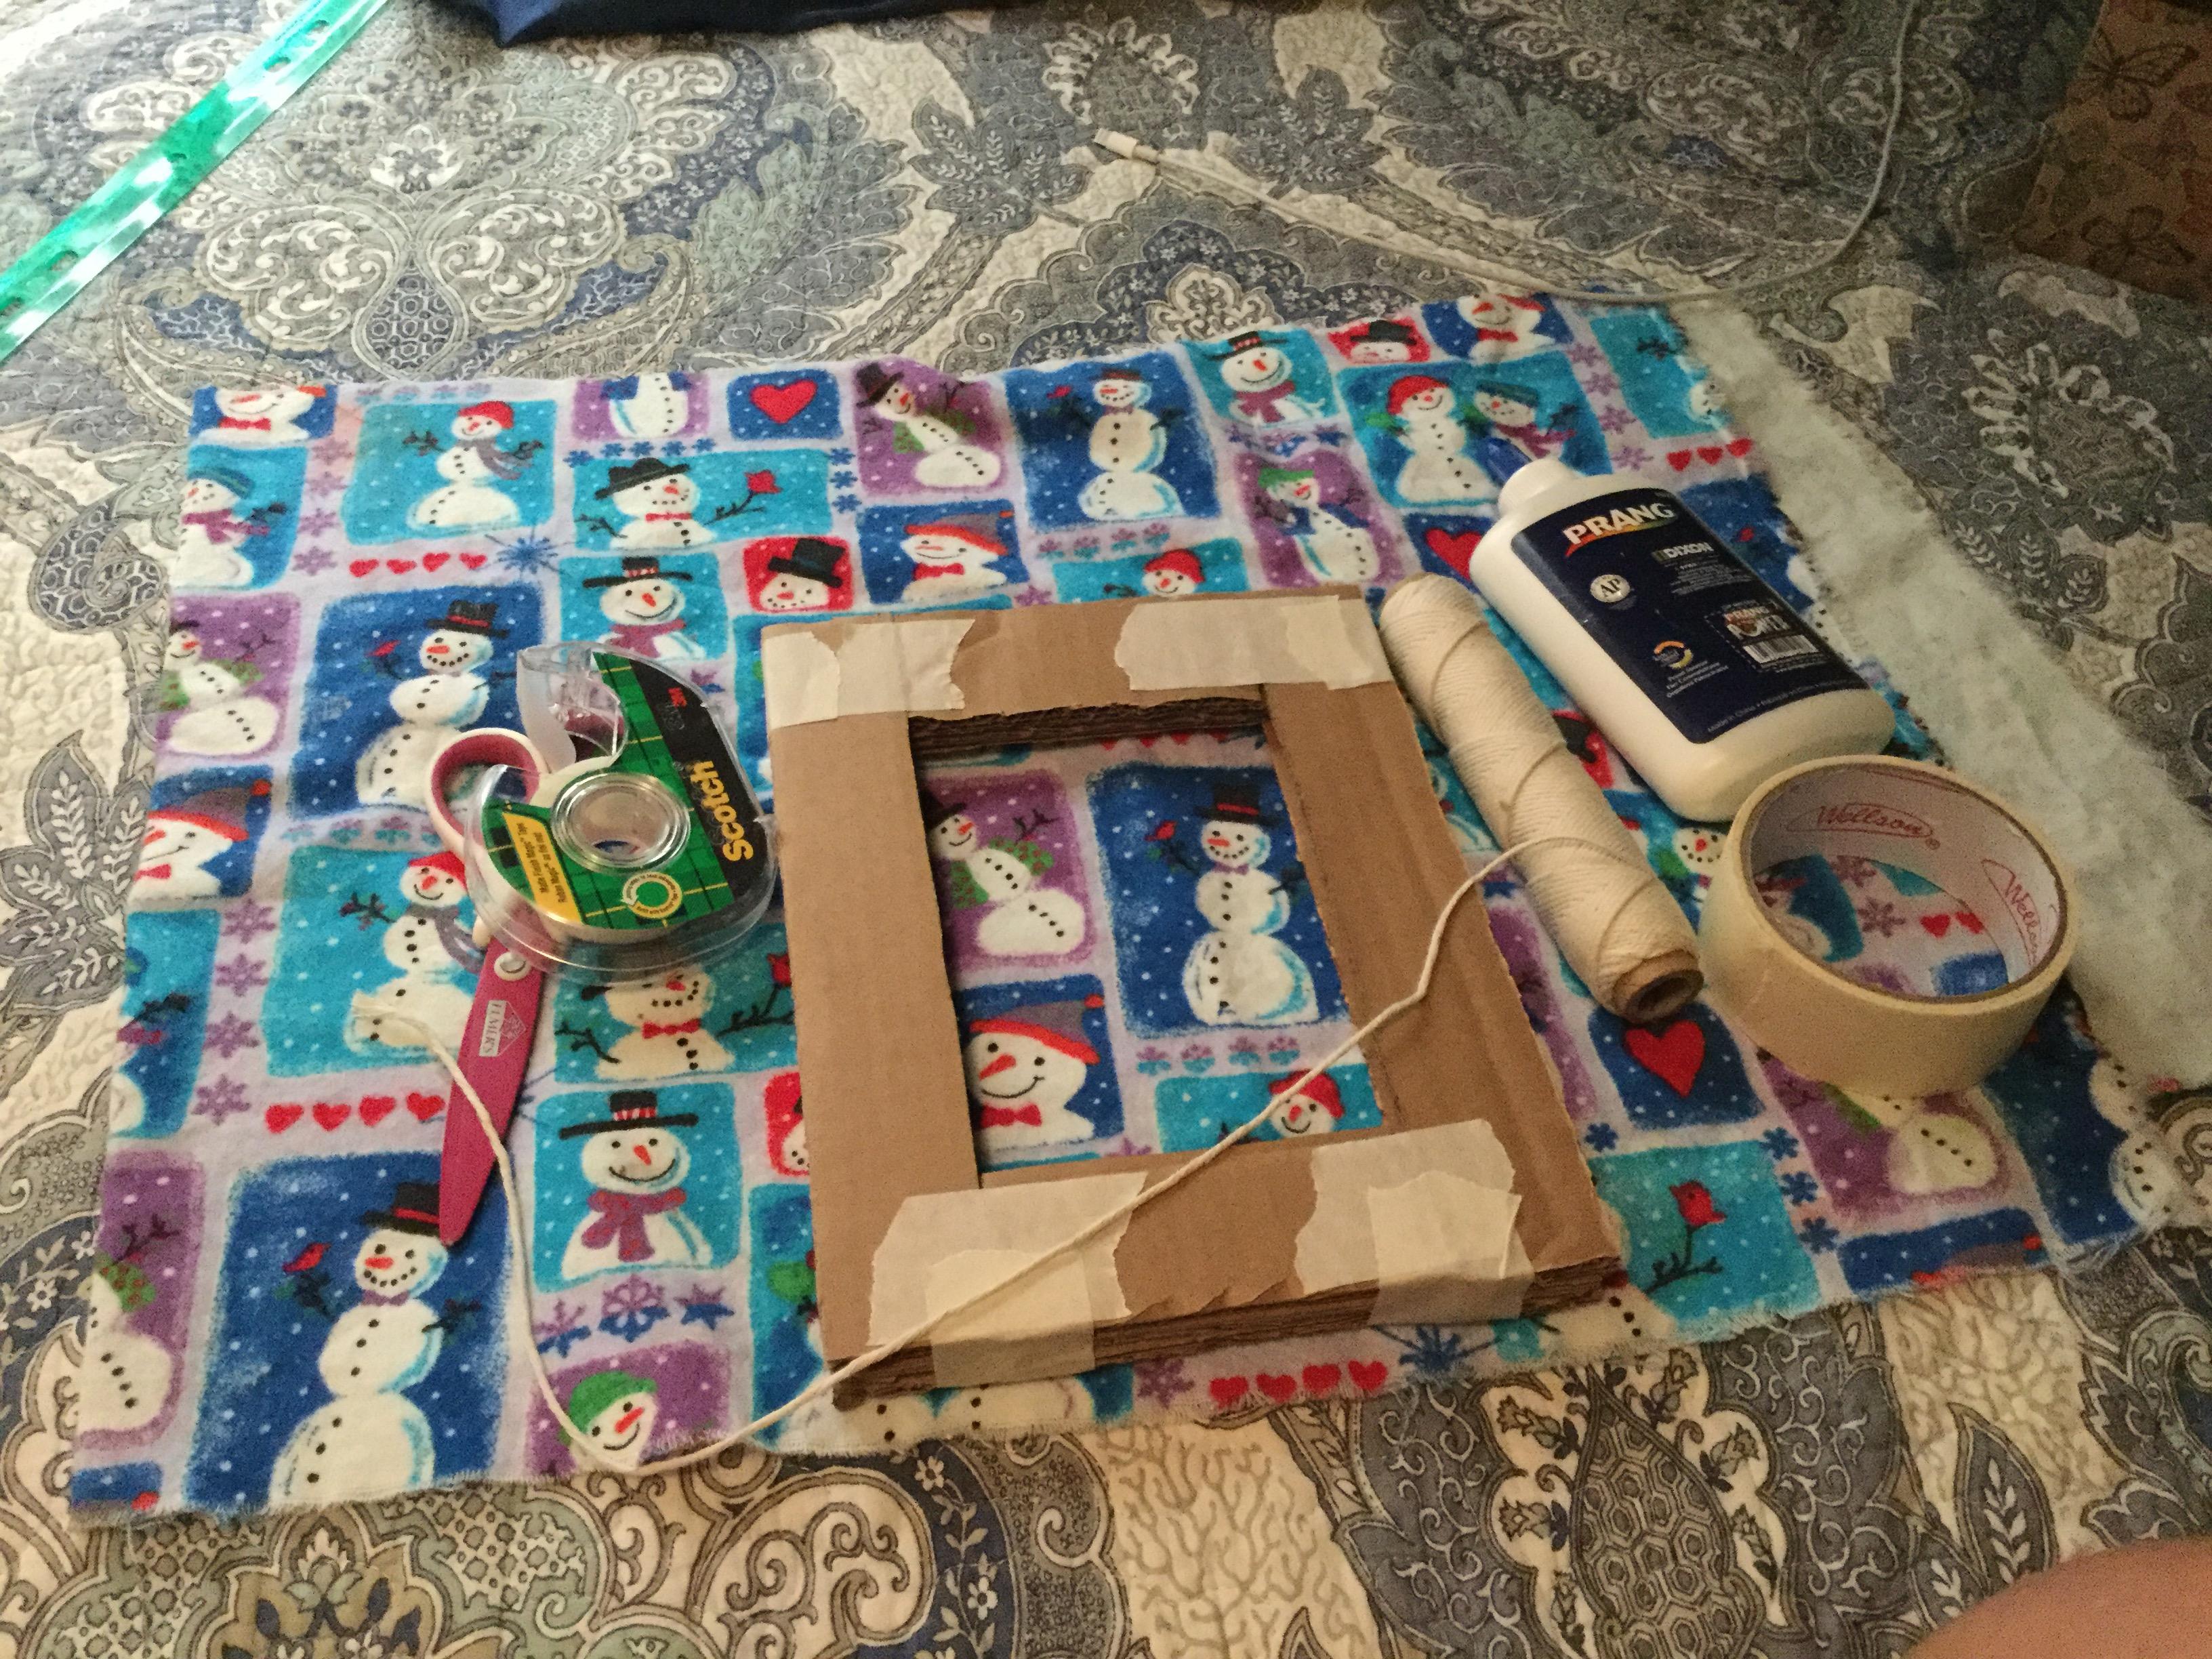
-Cardboard
-Lots of string and/or yarn
-Glue
-Ruler
-Scissor or box cutter
-Tape
Optional:
-Paint
Measuring and Cutting
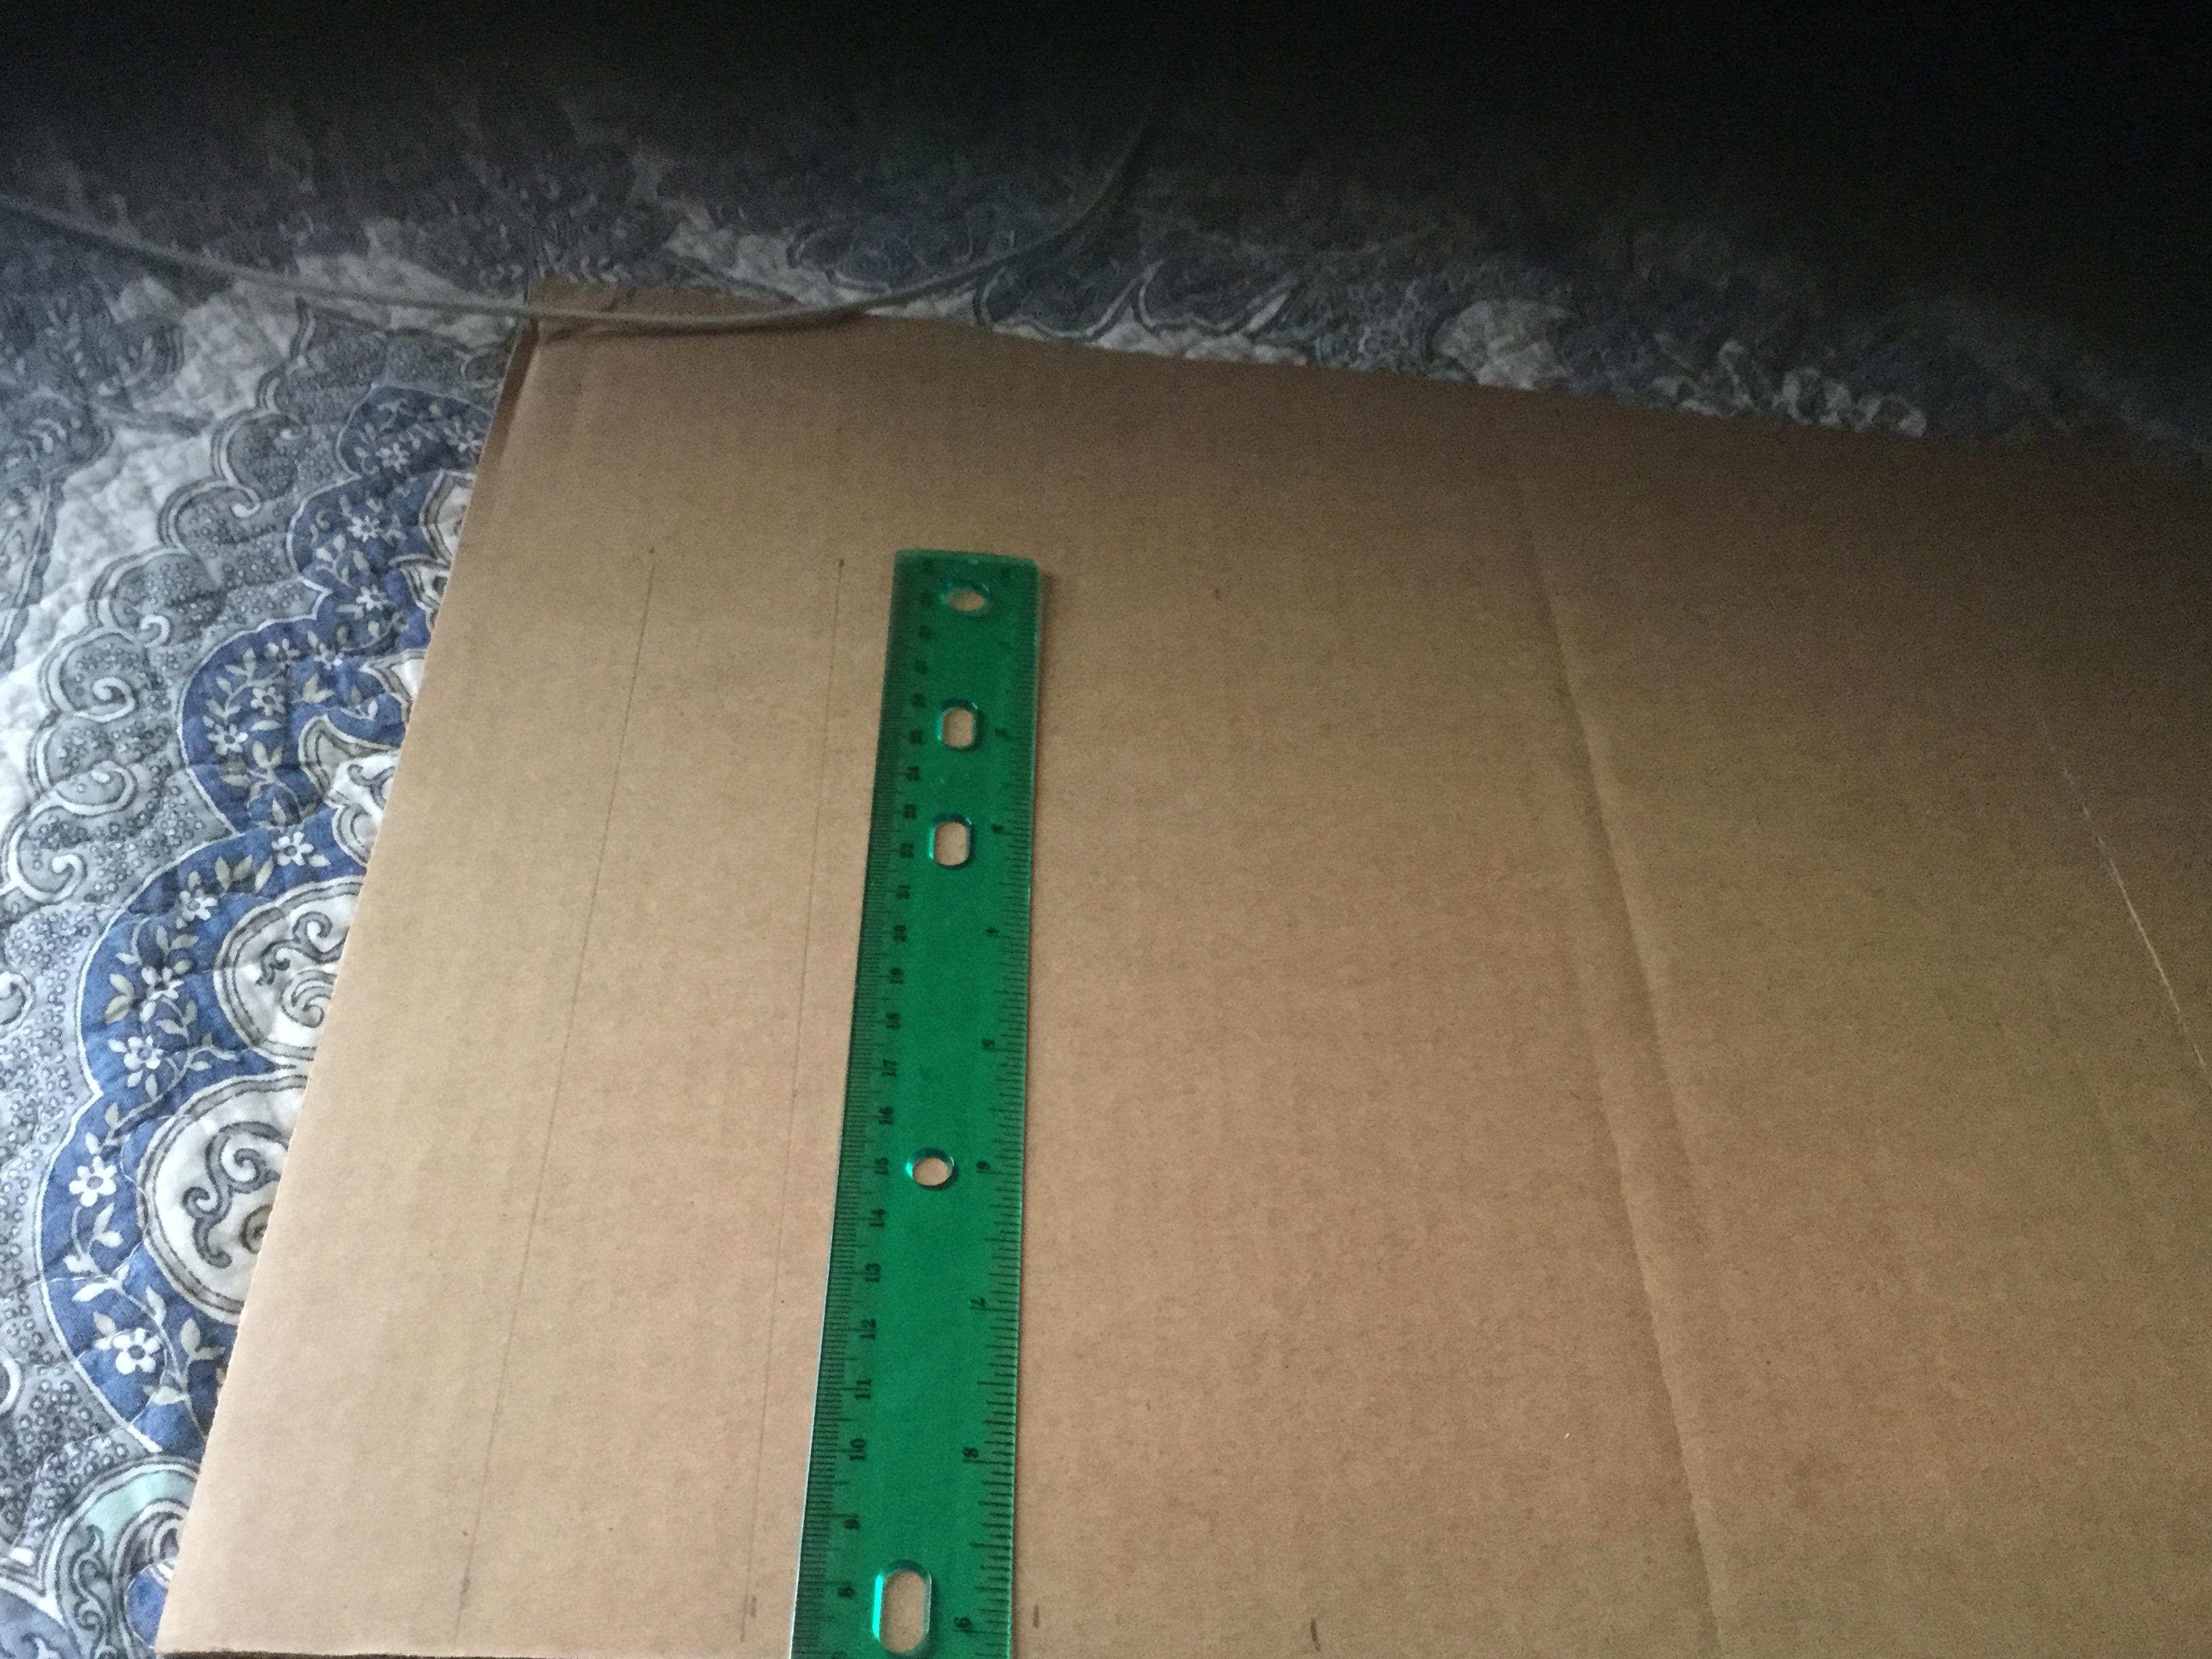
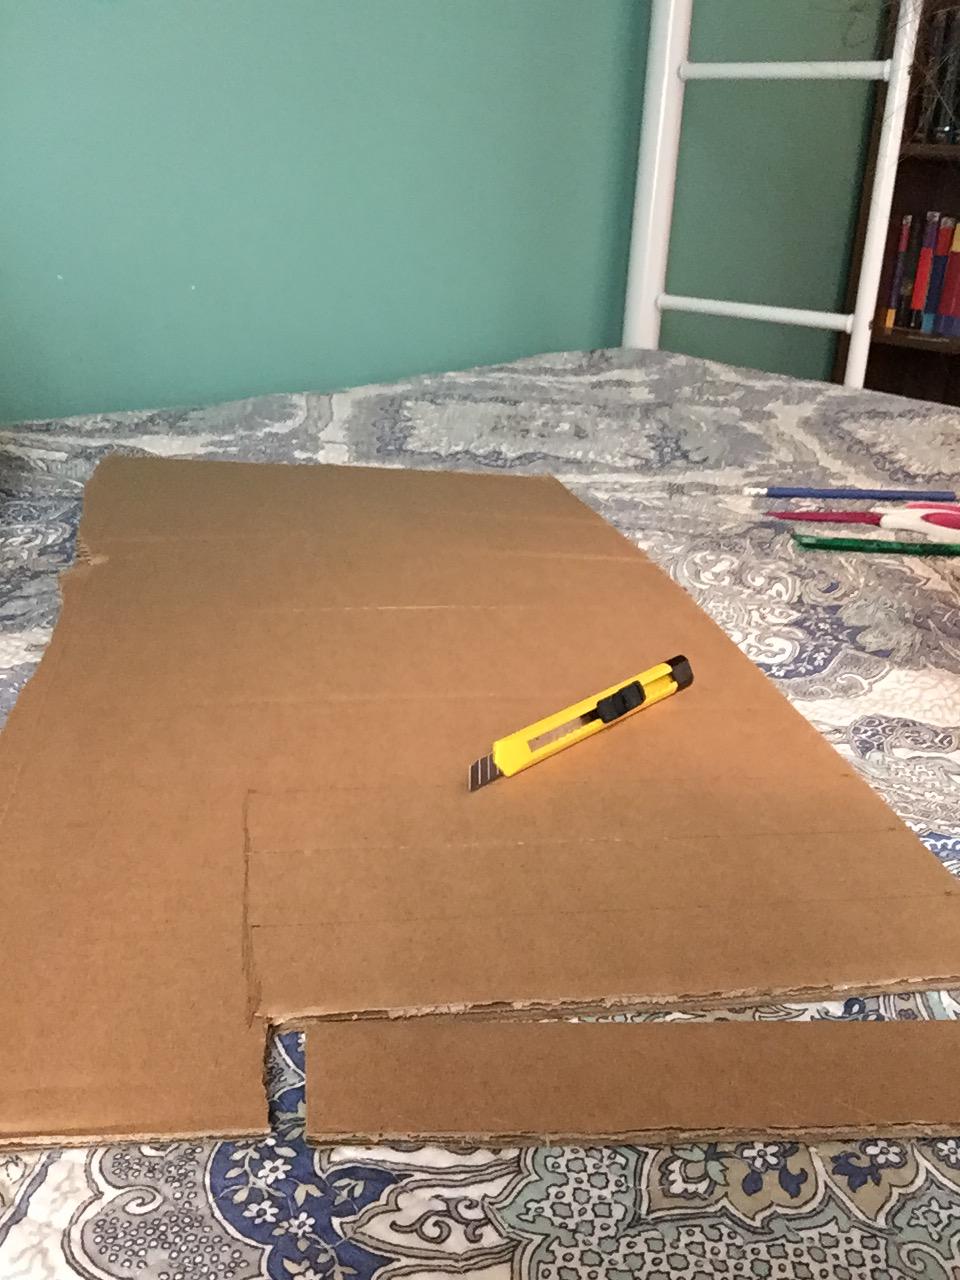
To start off, you are going to take your cardboard (mine was about 5mm dense), and measure out 4 strips of cardboard that are 9 inches long, and 1.5 inches wide. Those will be used for the length of the frame. Next, for the width, you are going to want to cut 2 pieces of cardboard that are 7in long, and 1.5 inches wide. For the last part of this step, you want to cut 3 pieces that are 4in long, and 1.5in wide. You will see why further on.
Making the Frame
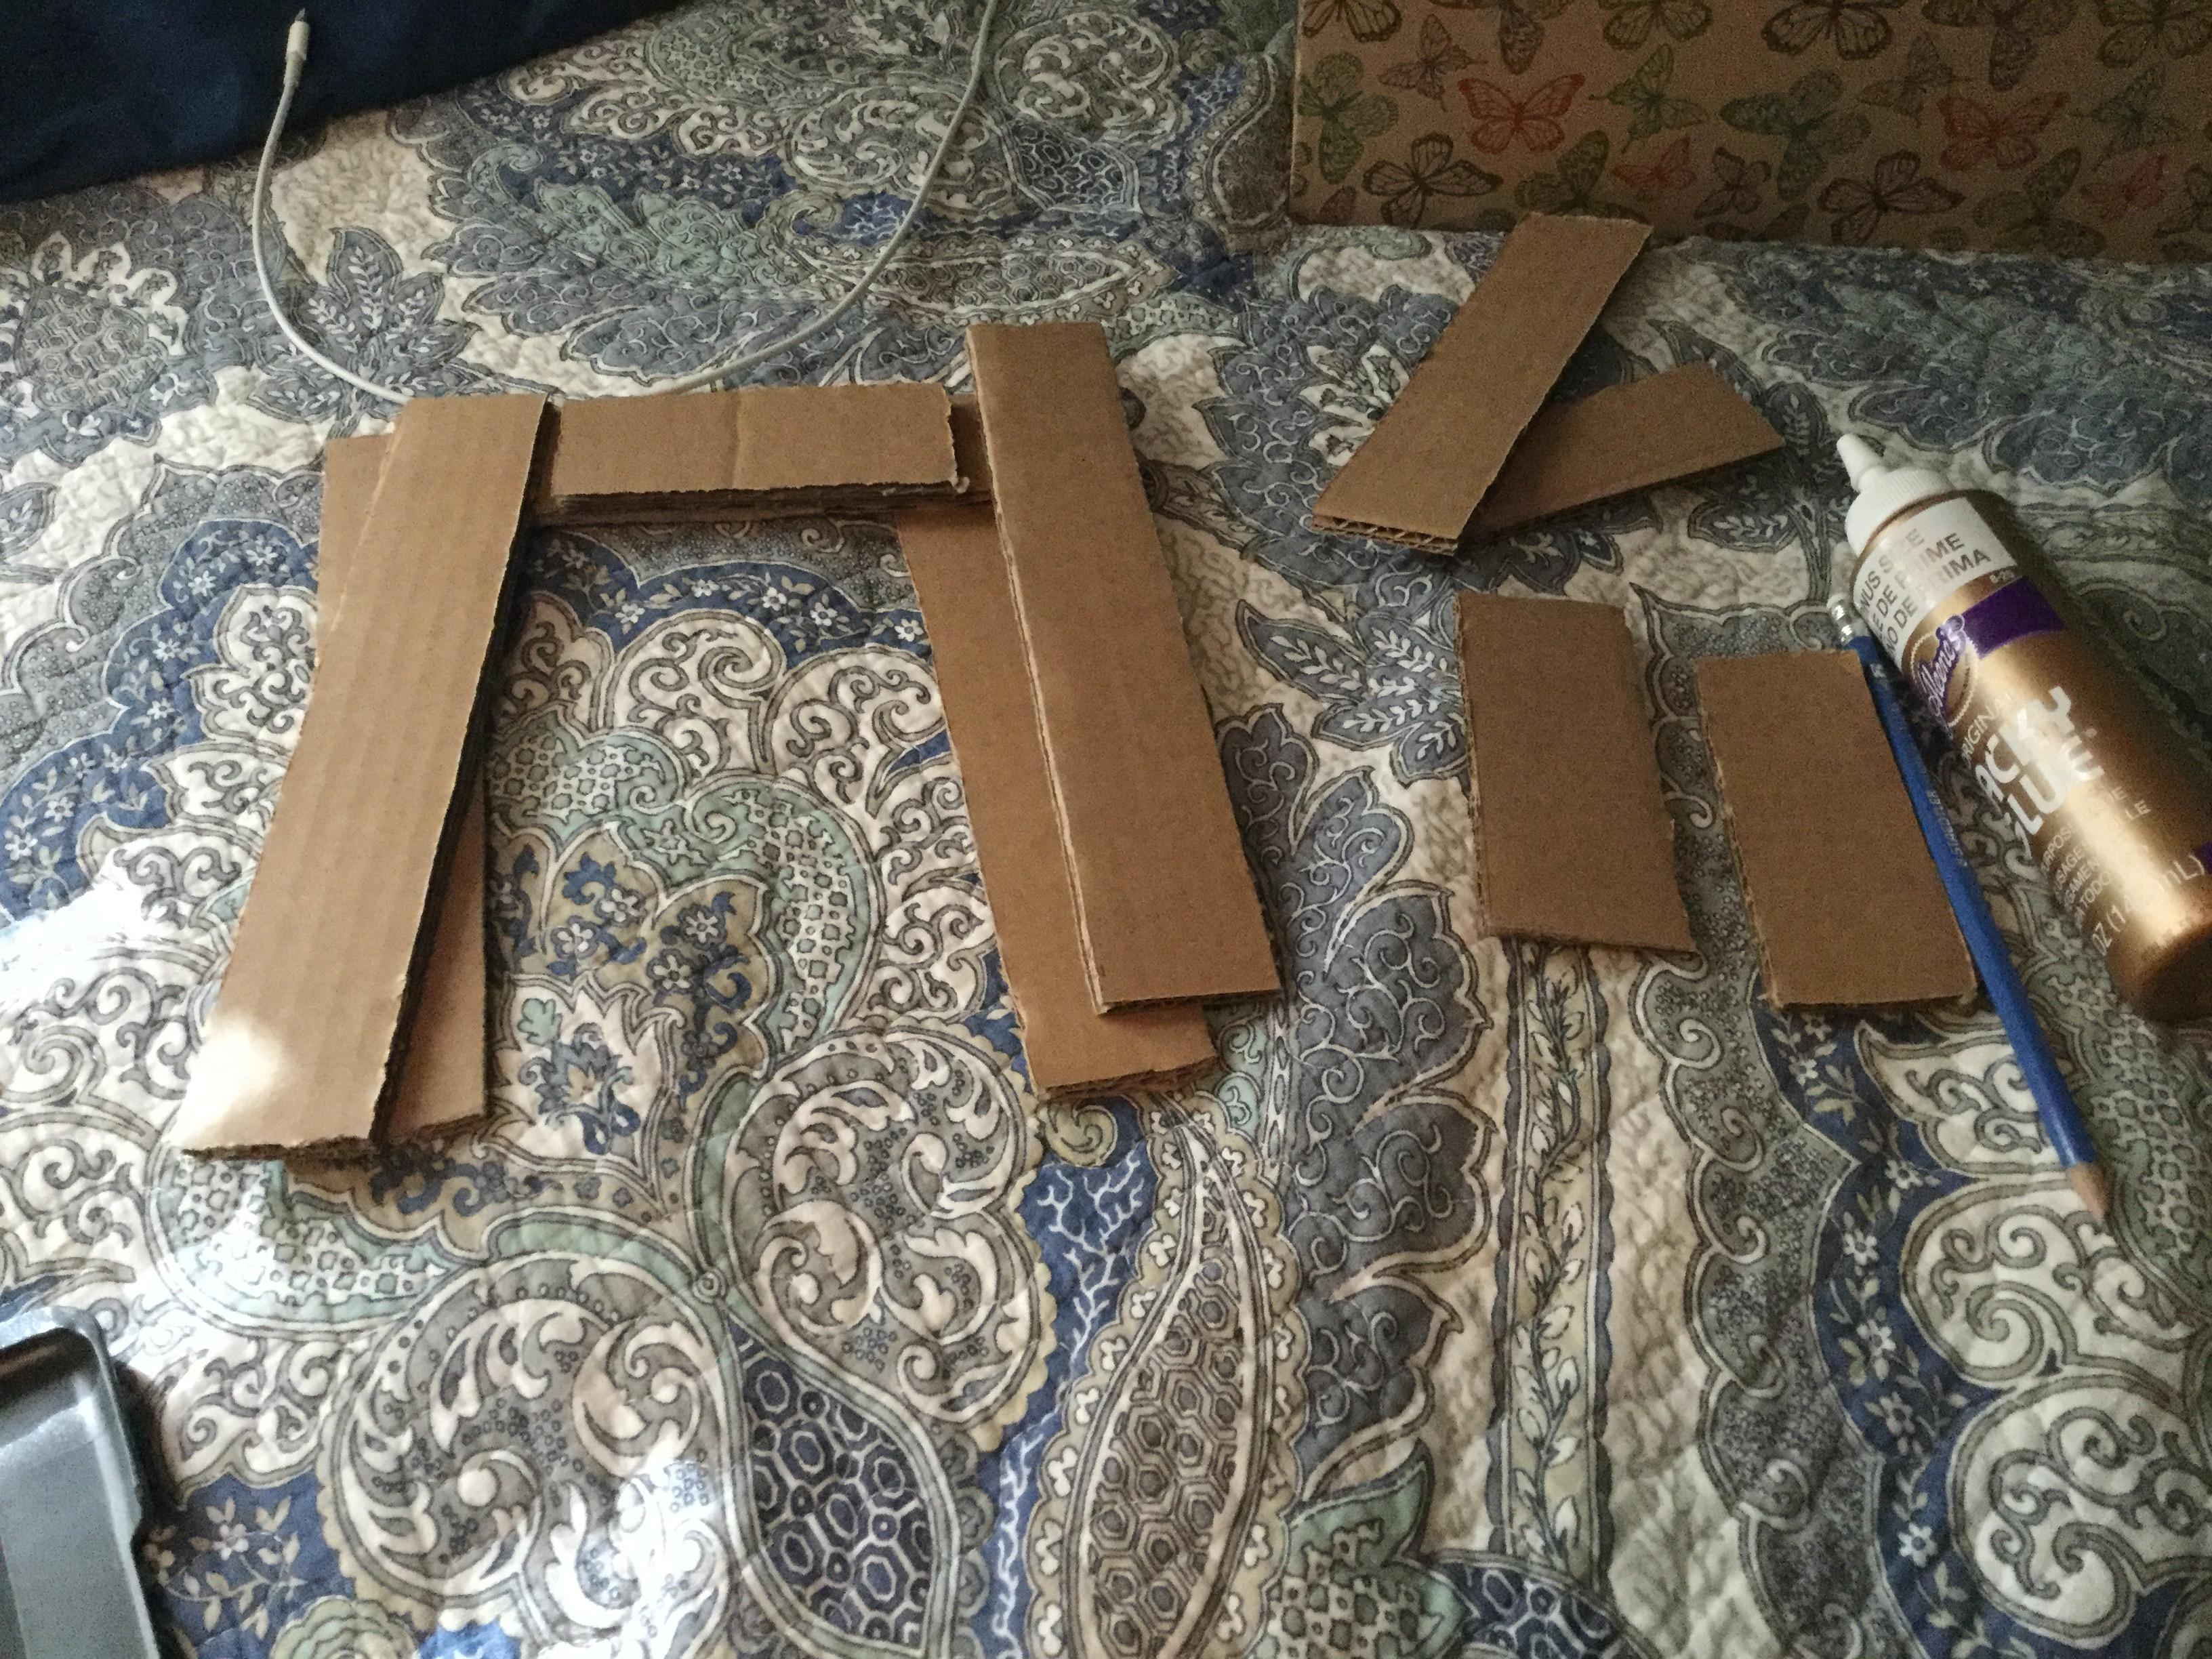
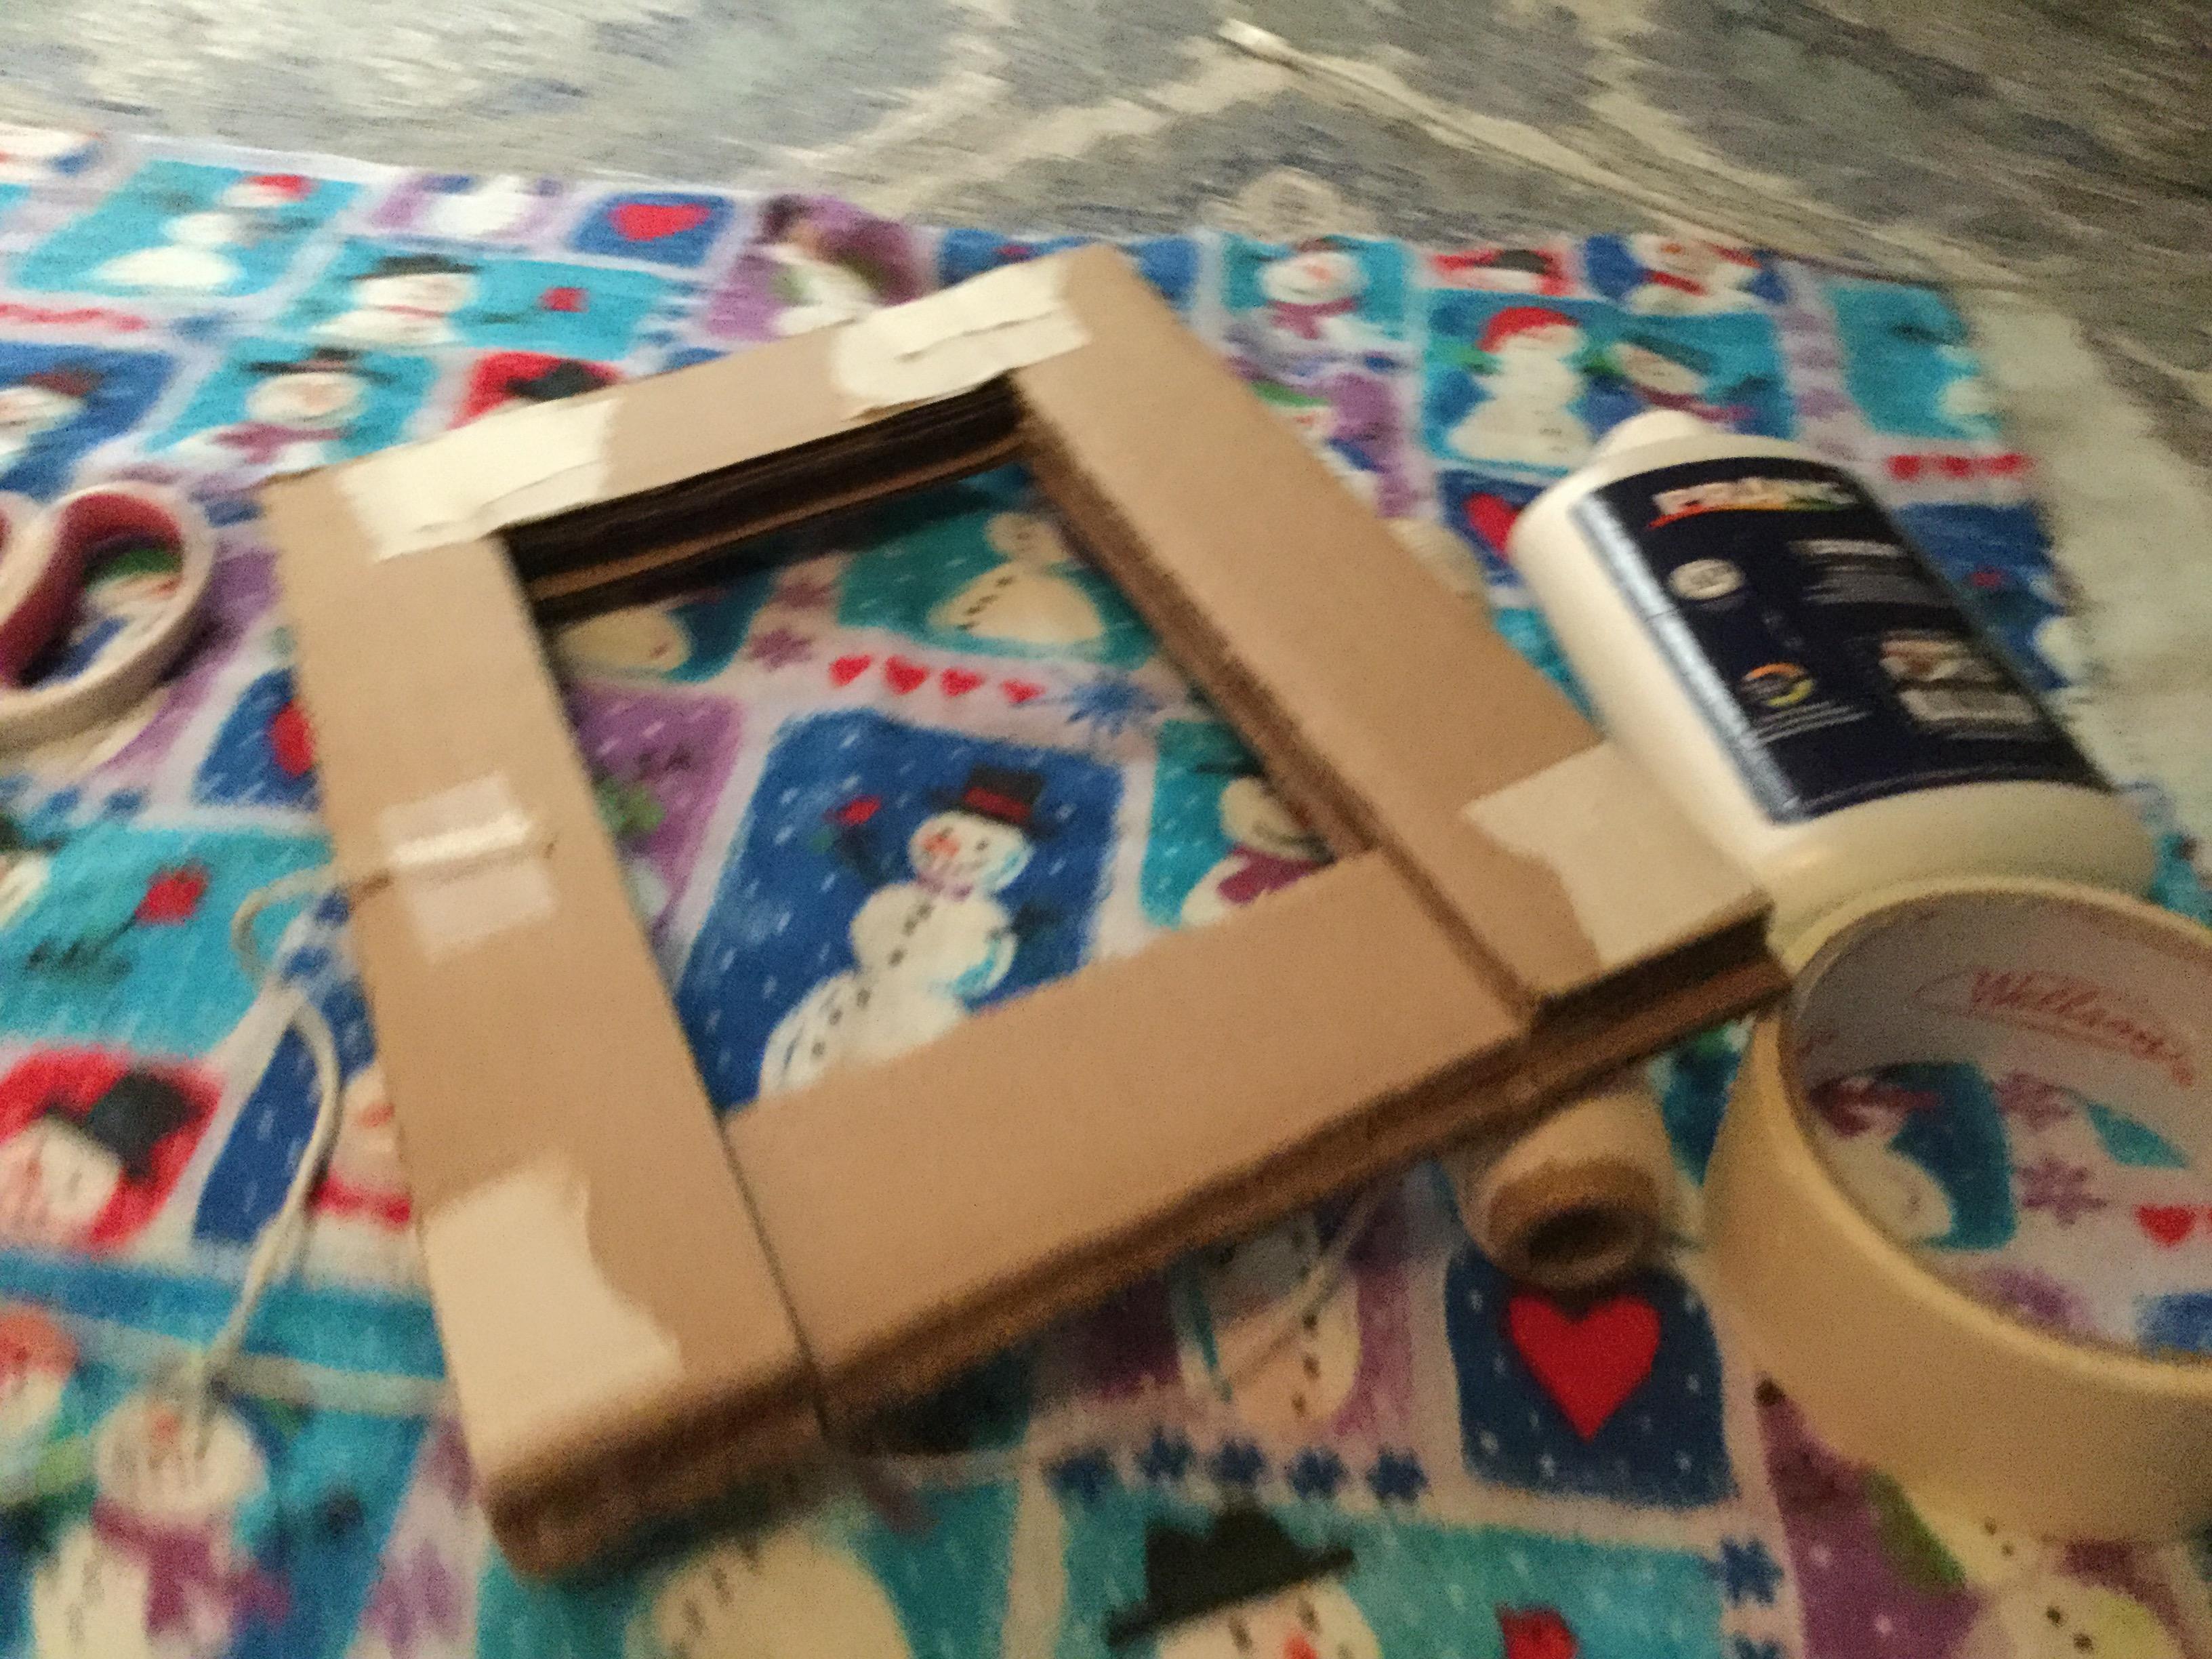
Once you’ve finished cutting the pieces, you are going to want to glue the pieces together. So, first, put two of the 9in pieces on the bottom, and then put the 7in piece horizontally on the ends of the 9in pieces. Glue those pieces together, and then add the last two 9in pieces, in the same position that you put the others, but with the 7in piece in between. Next, you are going to want to put the three 4in pieces on top of the 7in pieces, (in between the 9in pieces), using three of the spaces, because you want one of the spaces to be open, so you are able to slide the picture in. Feel free to use tape to reinforce it, like I did.
Decorating!
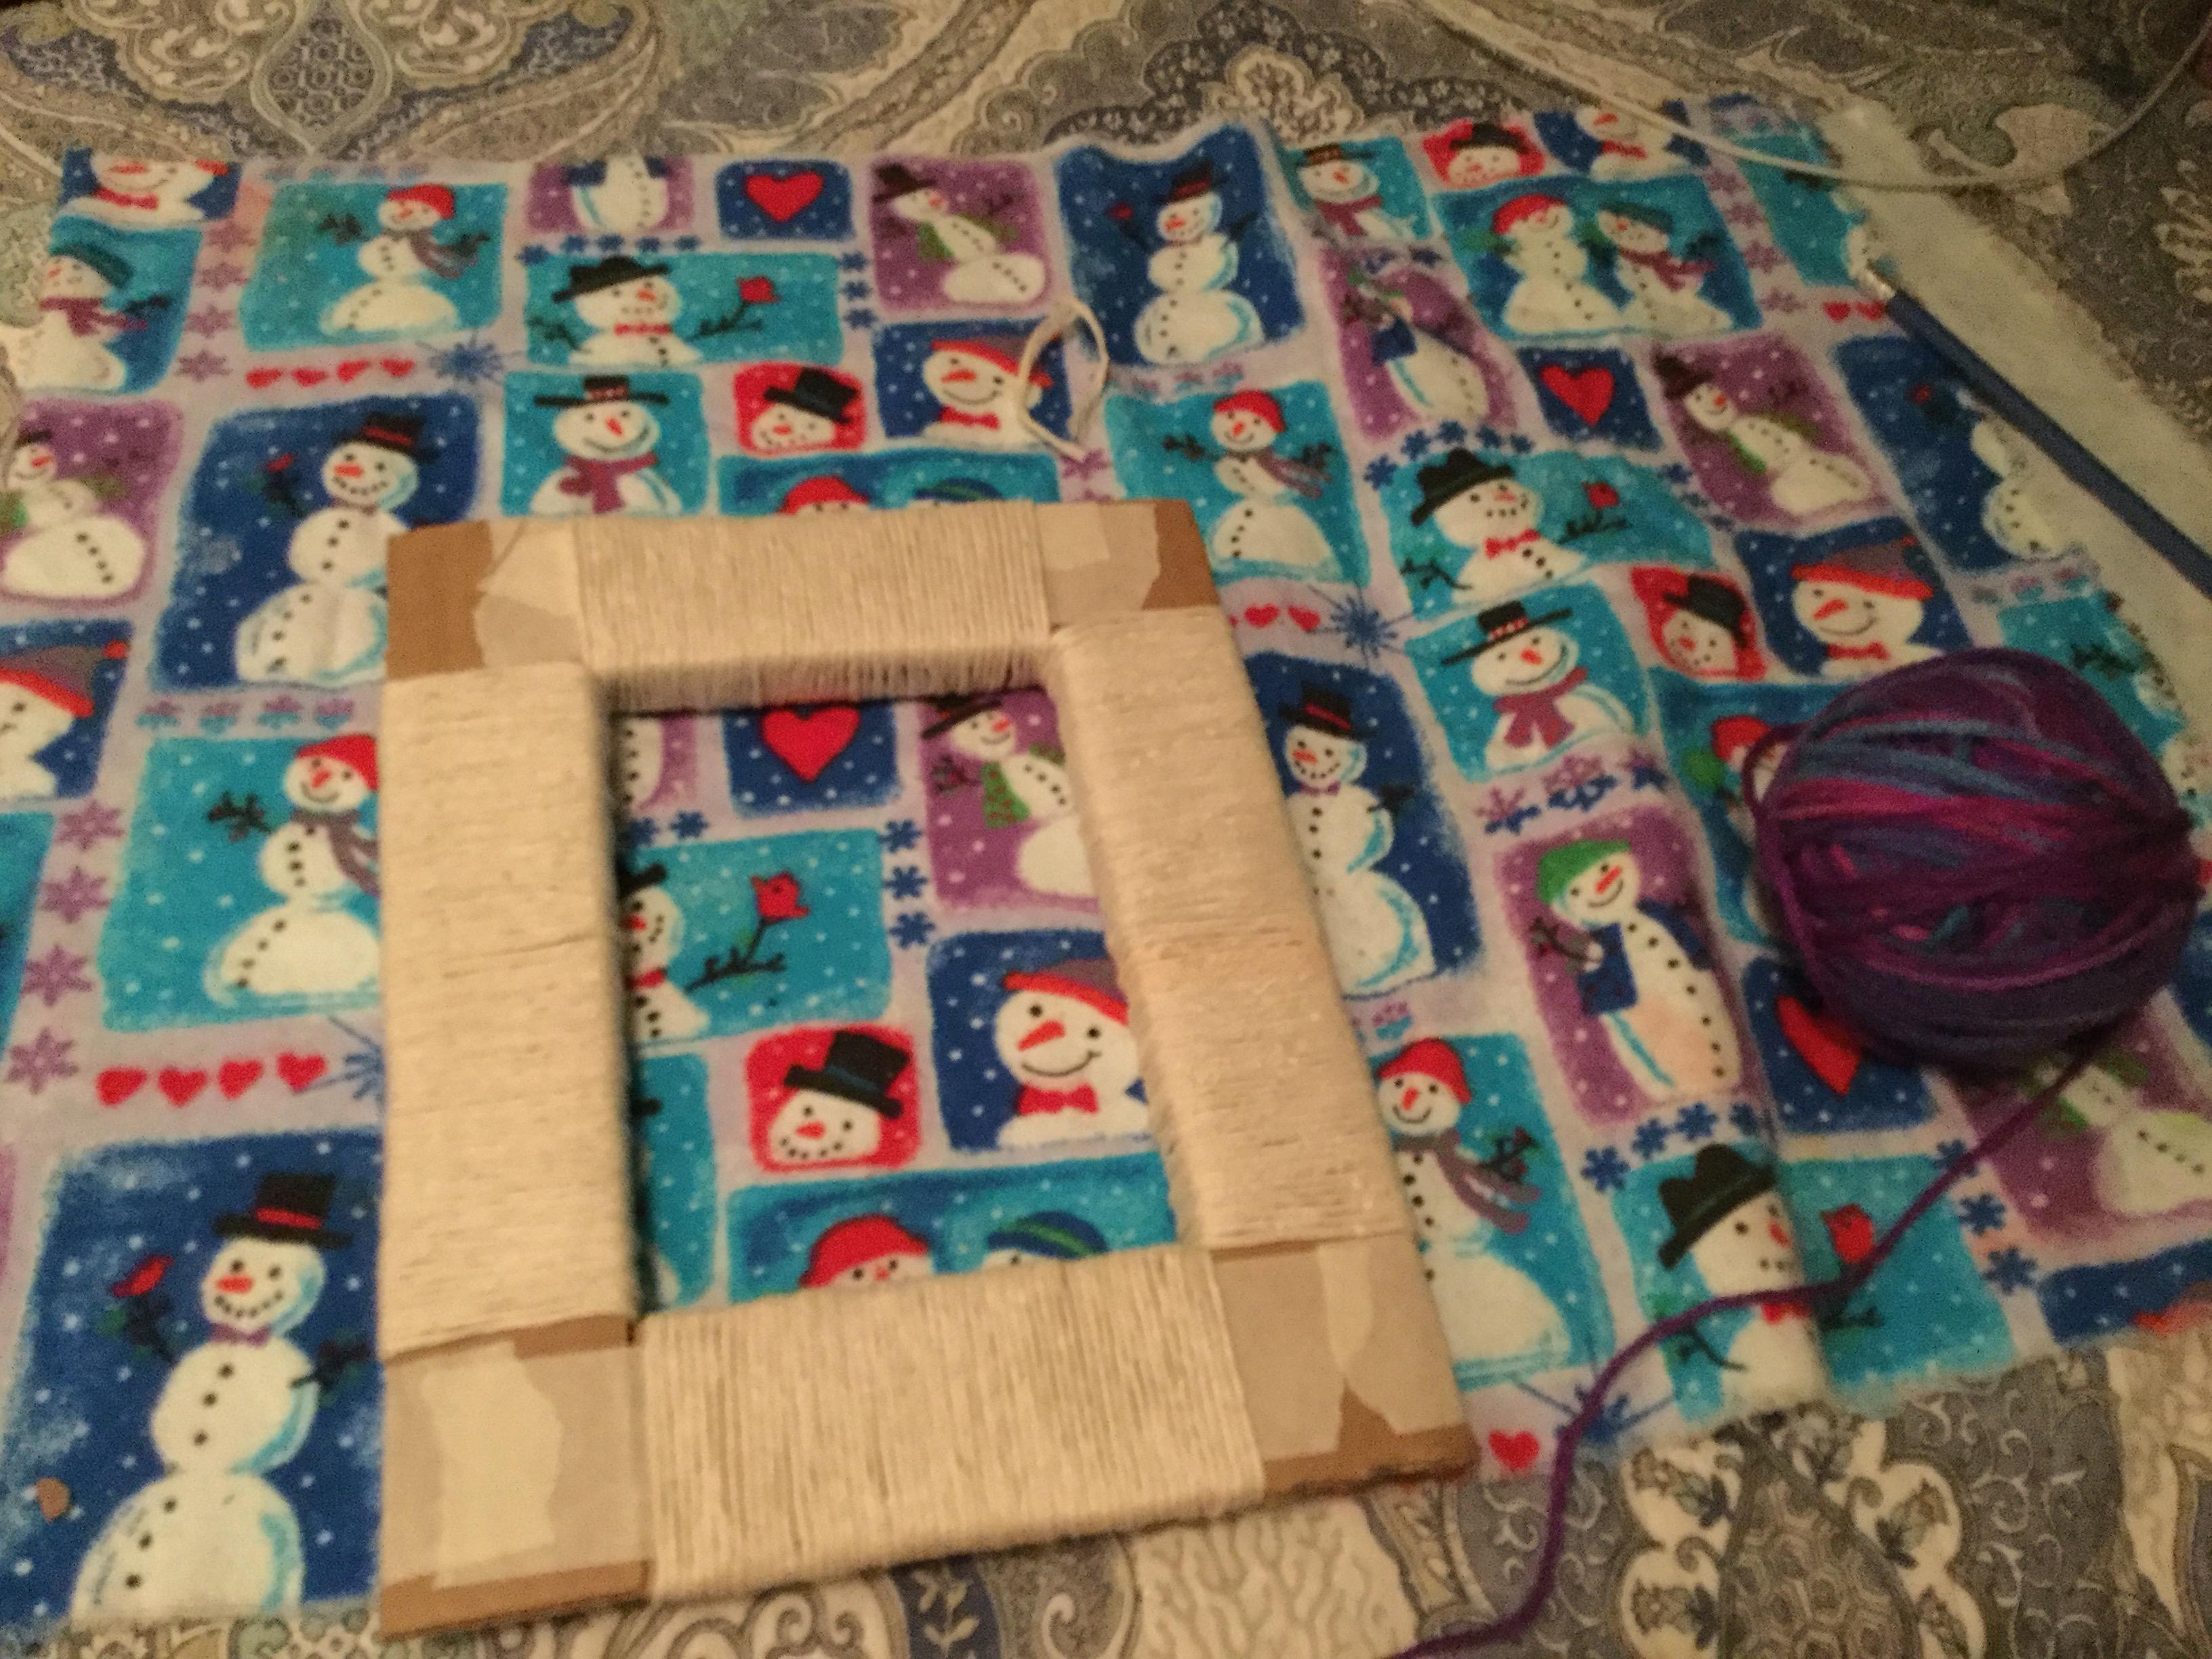
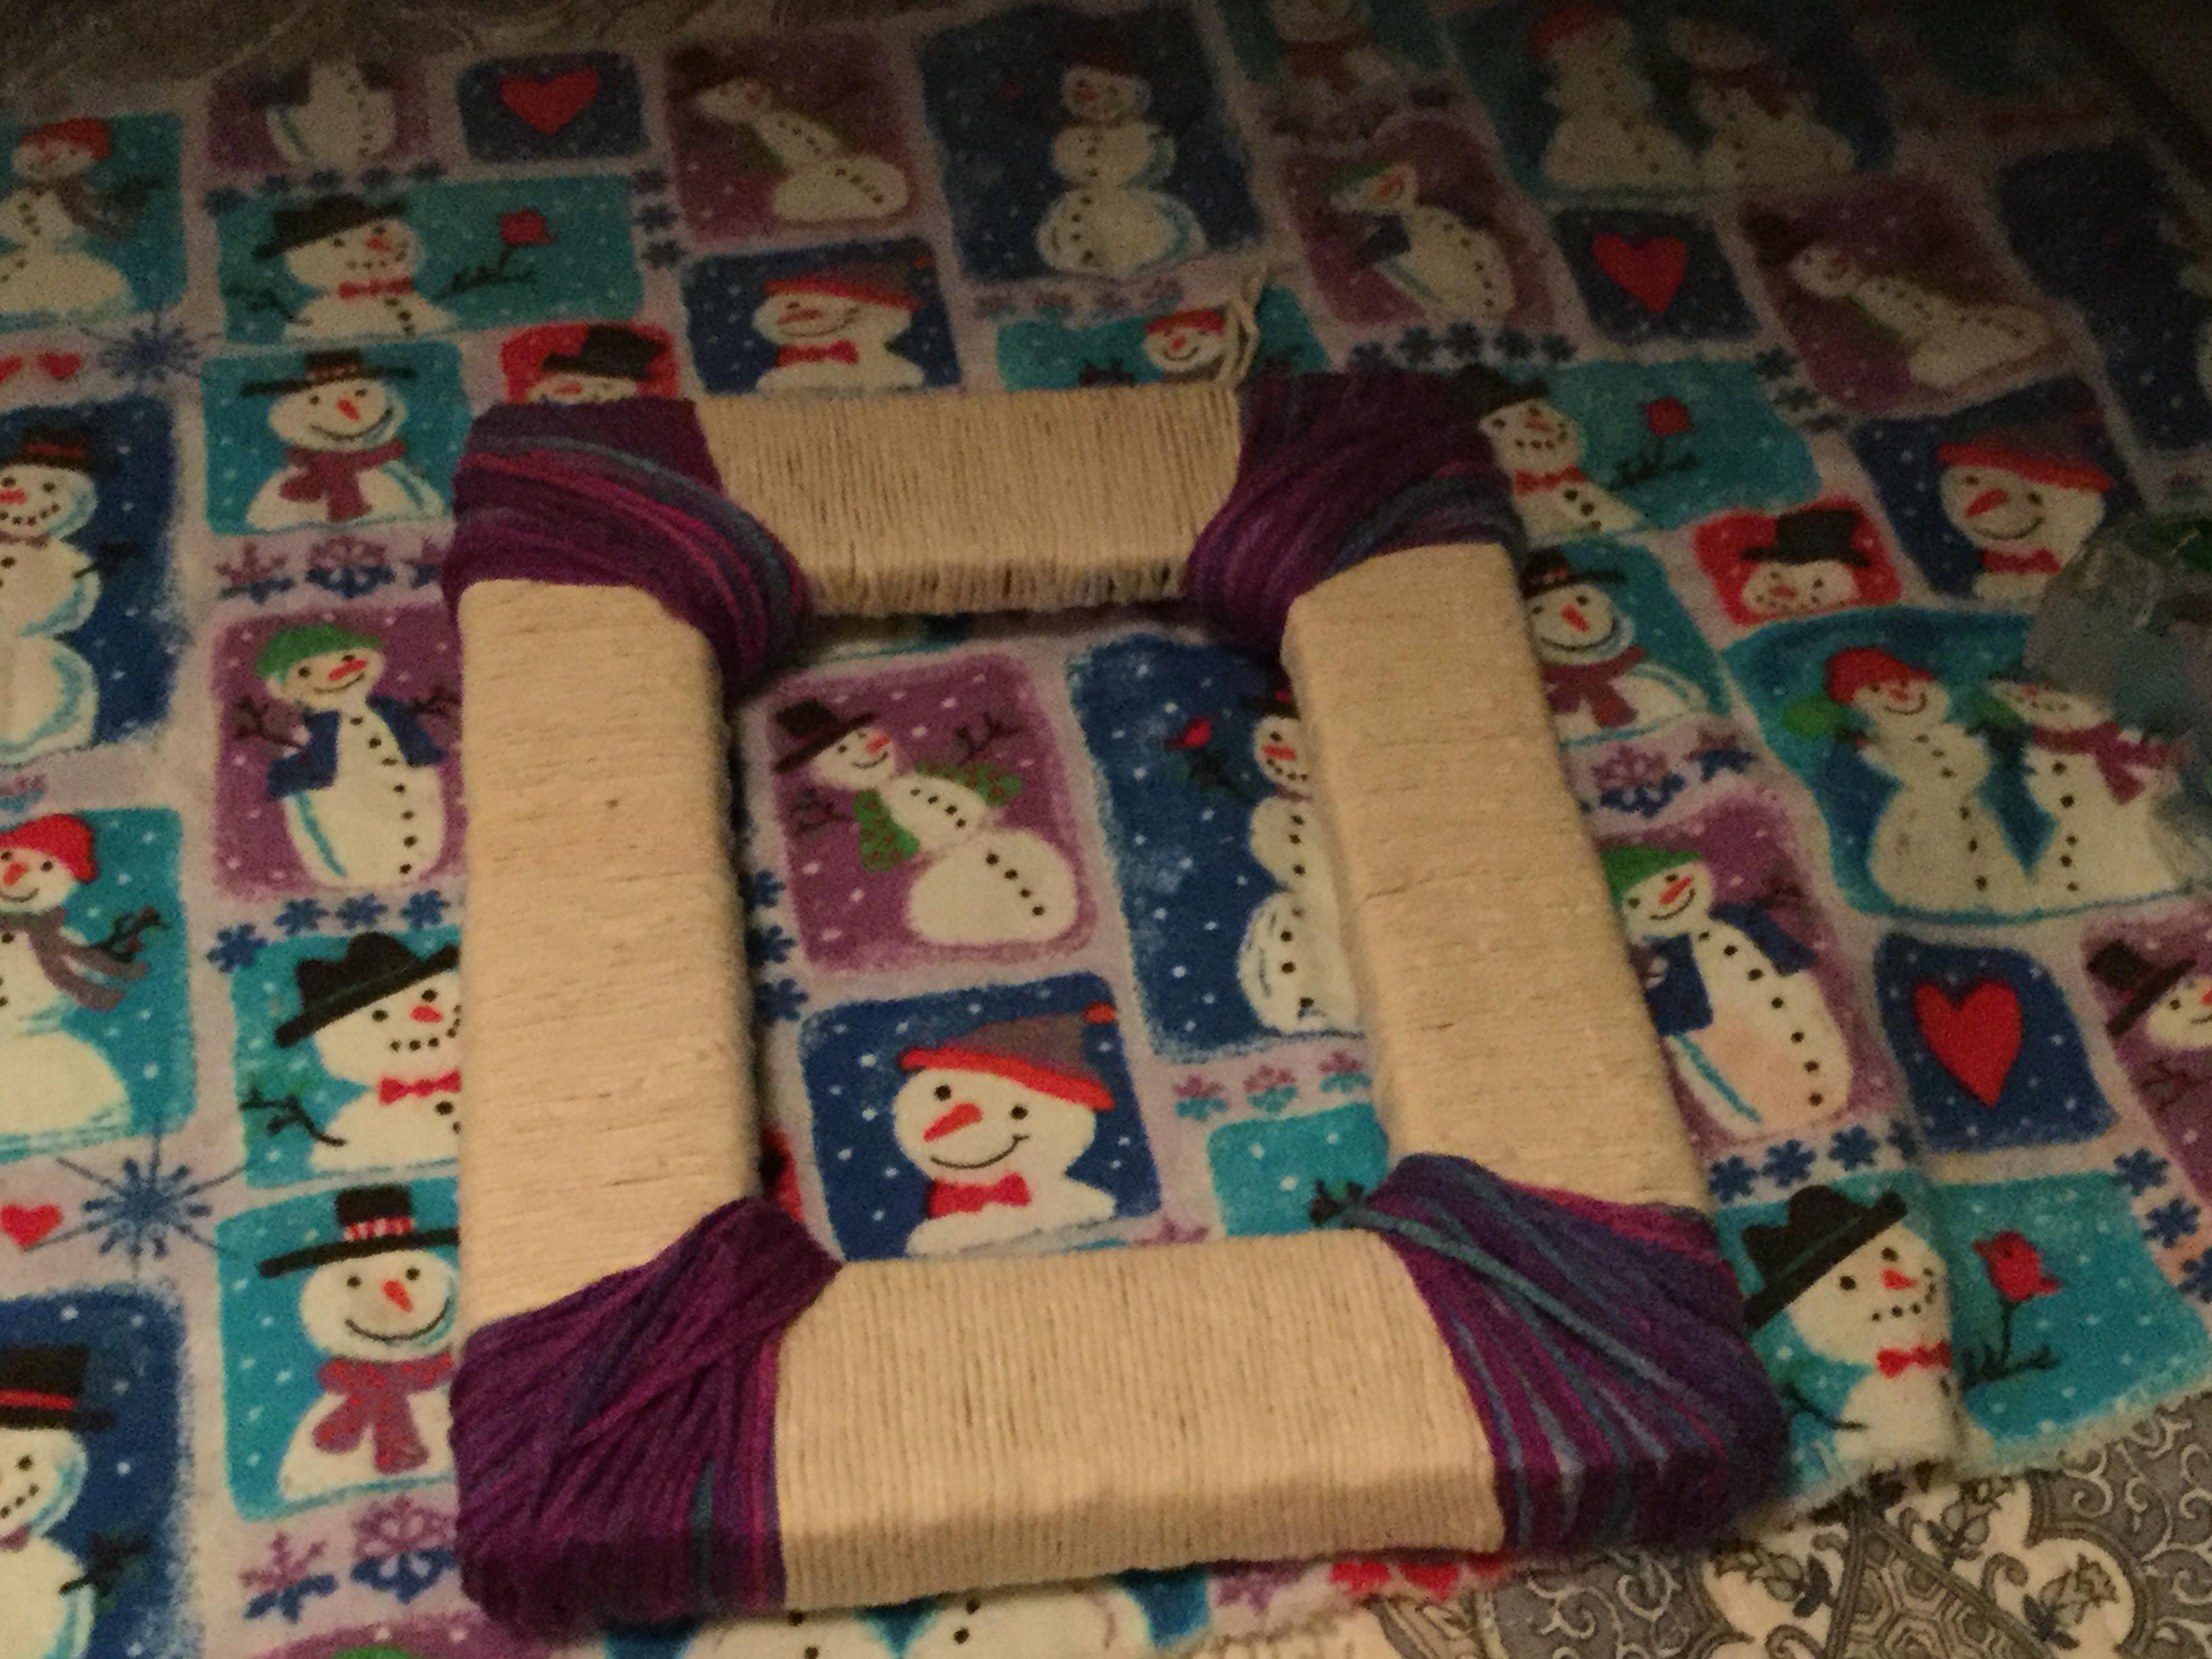
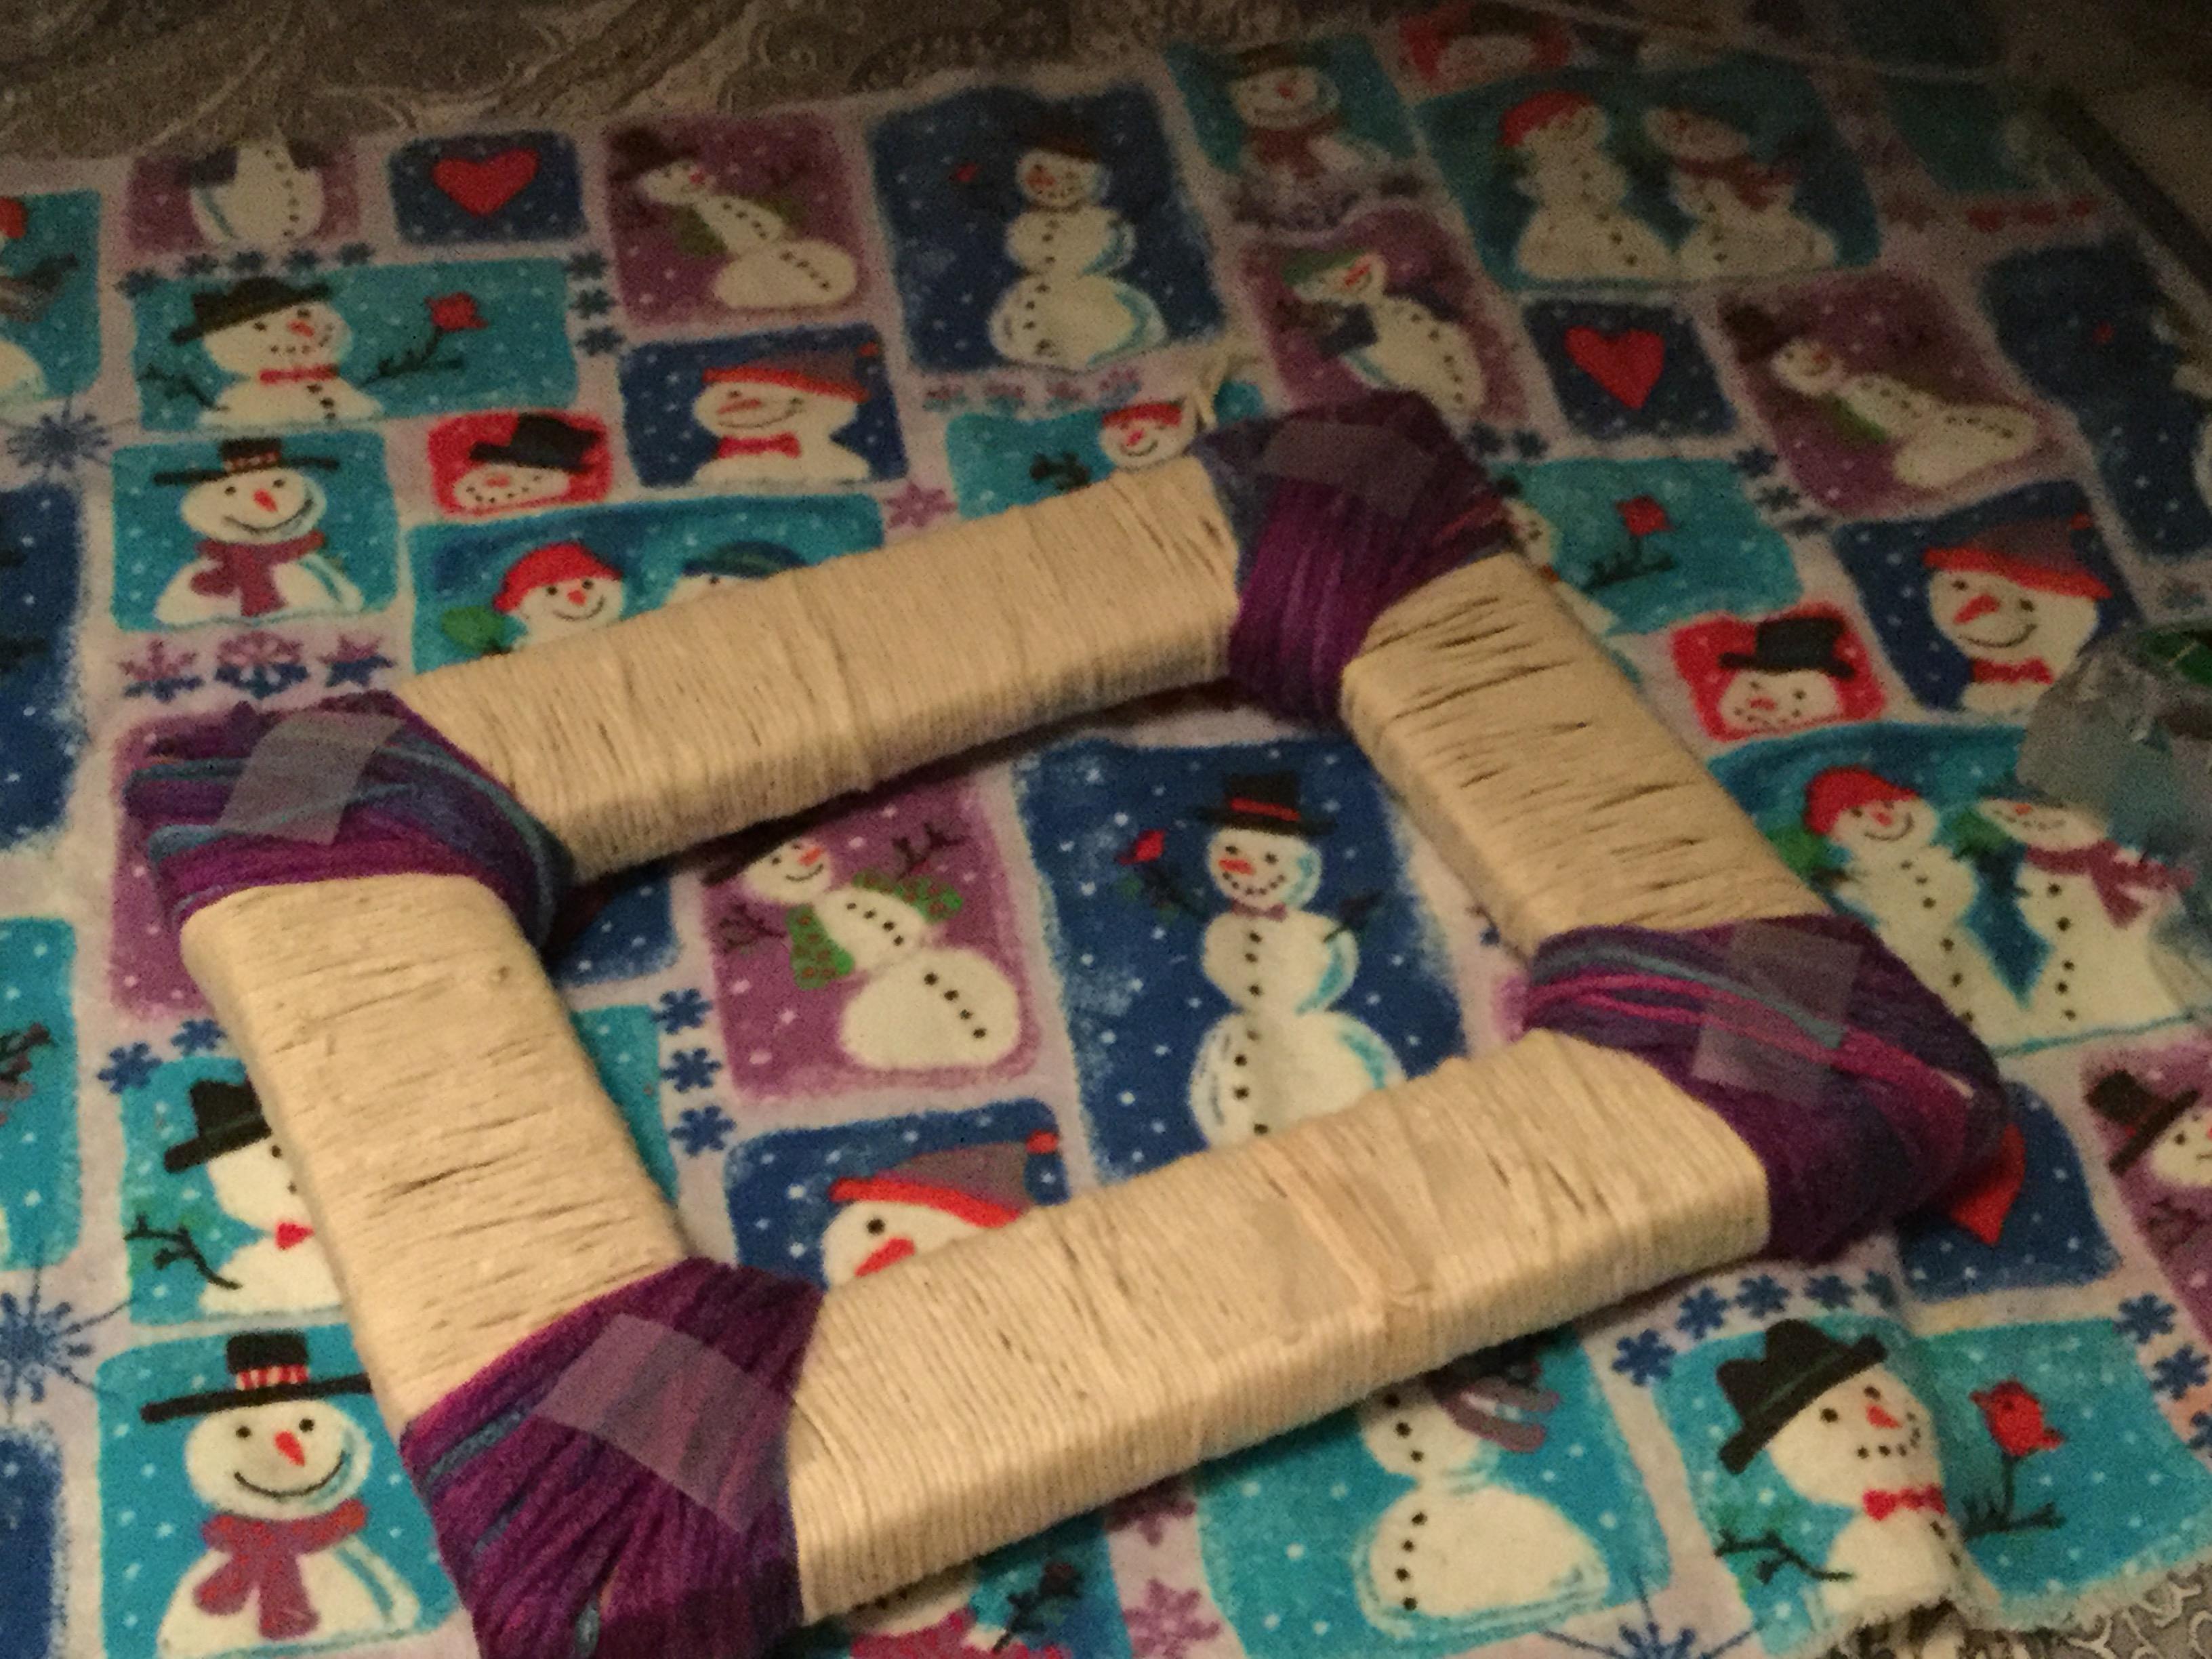
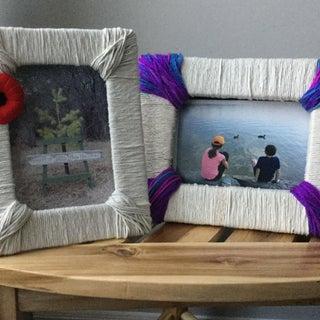
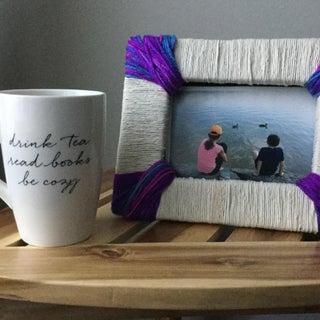
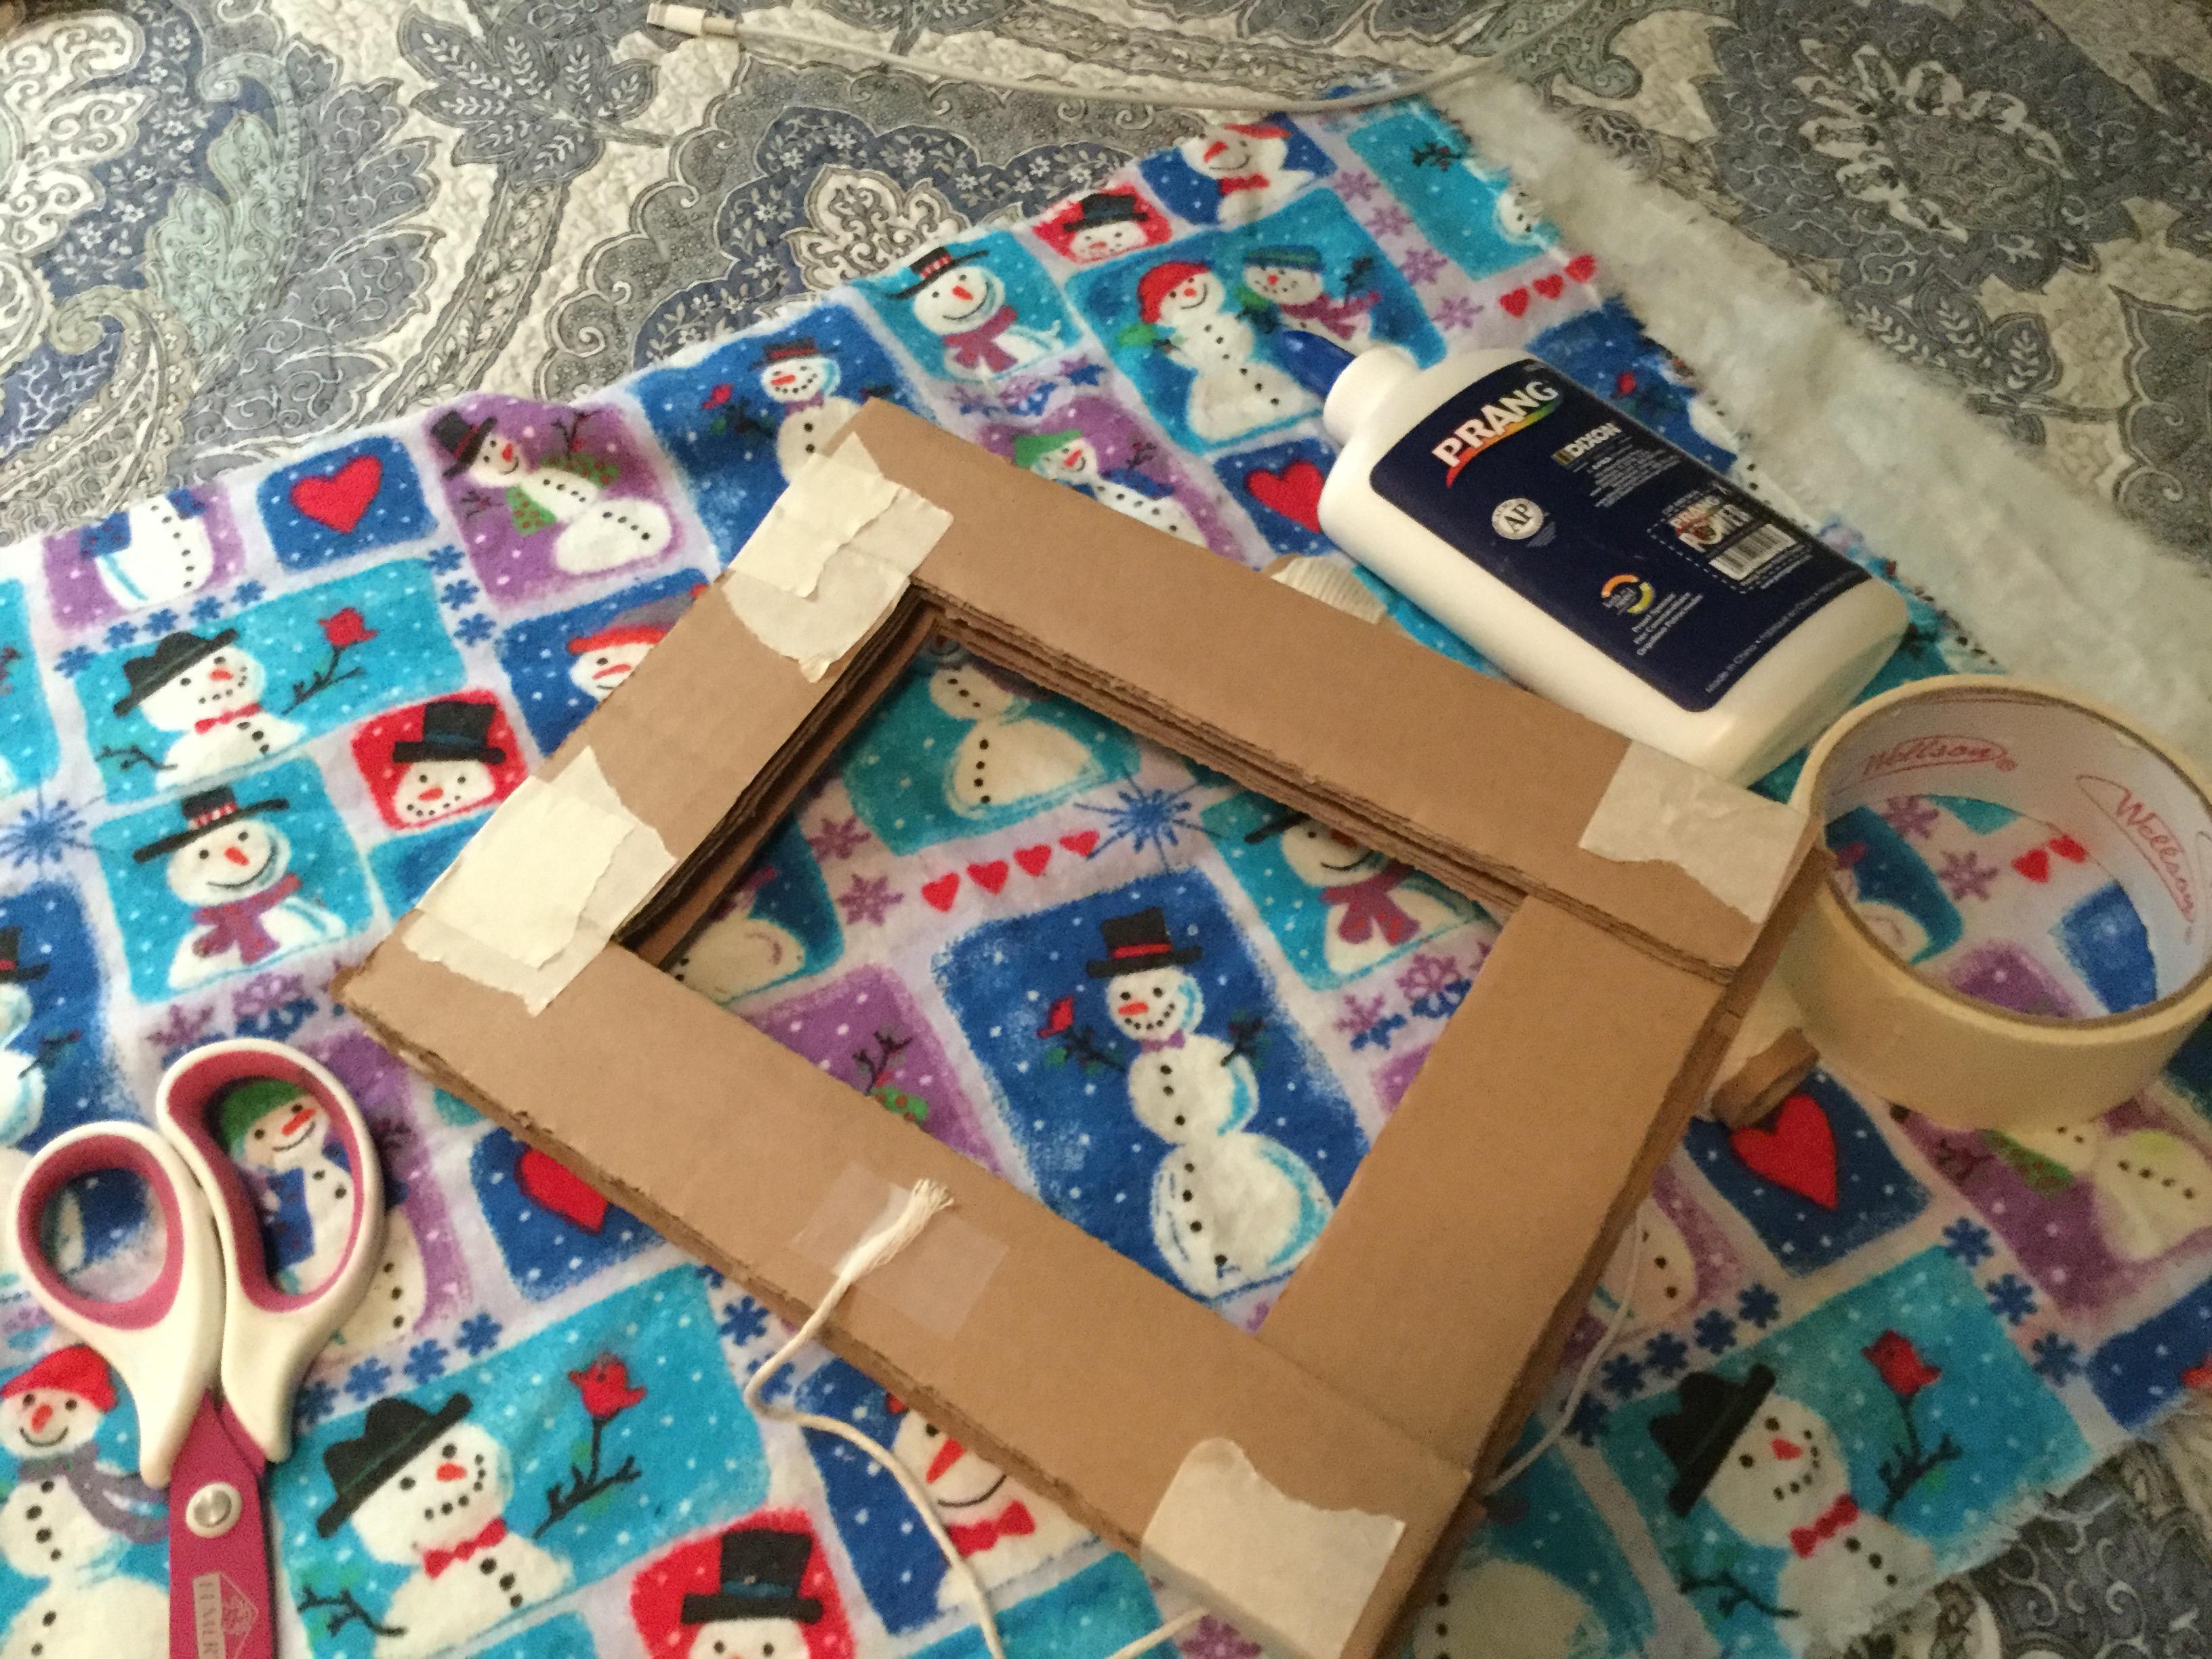
Ok, so now you are in the decorating area of this project. It is pretty straight forward. What I did was tape the end of the string to the back or the frame and start wrapping the string around it. You could skip the corners and do it after, in a different colour, like I did. Or you can do the corners while you are doing the contour of the frame, too. Make sure that for the corners, you cover all the cardboard. If you would like, you can also paint the cardboard corners the same colour yarn/string you are using for them.
*Remember which side of your frame is the front, because you want that side that you do not want to have any tape on.
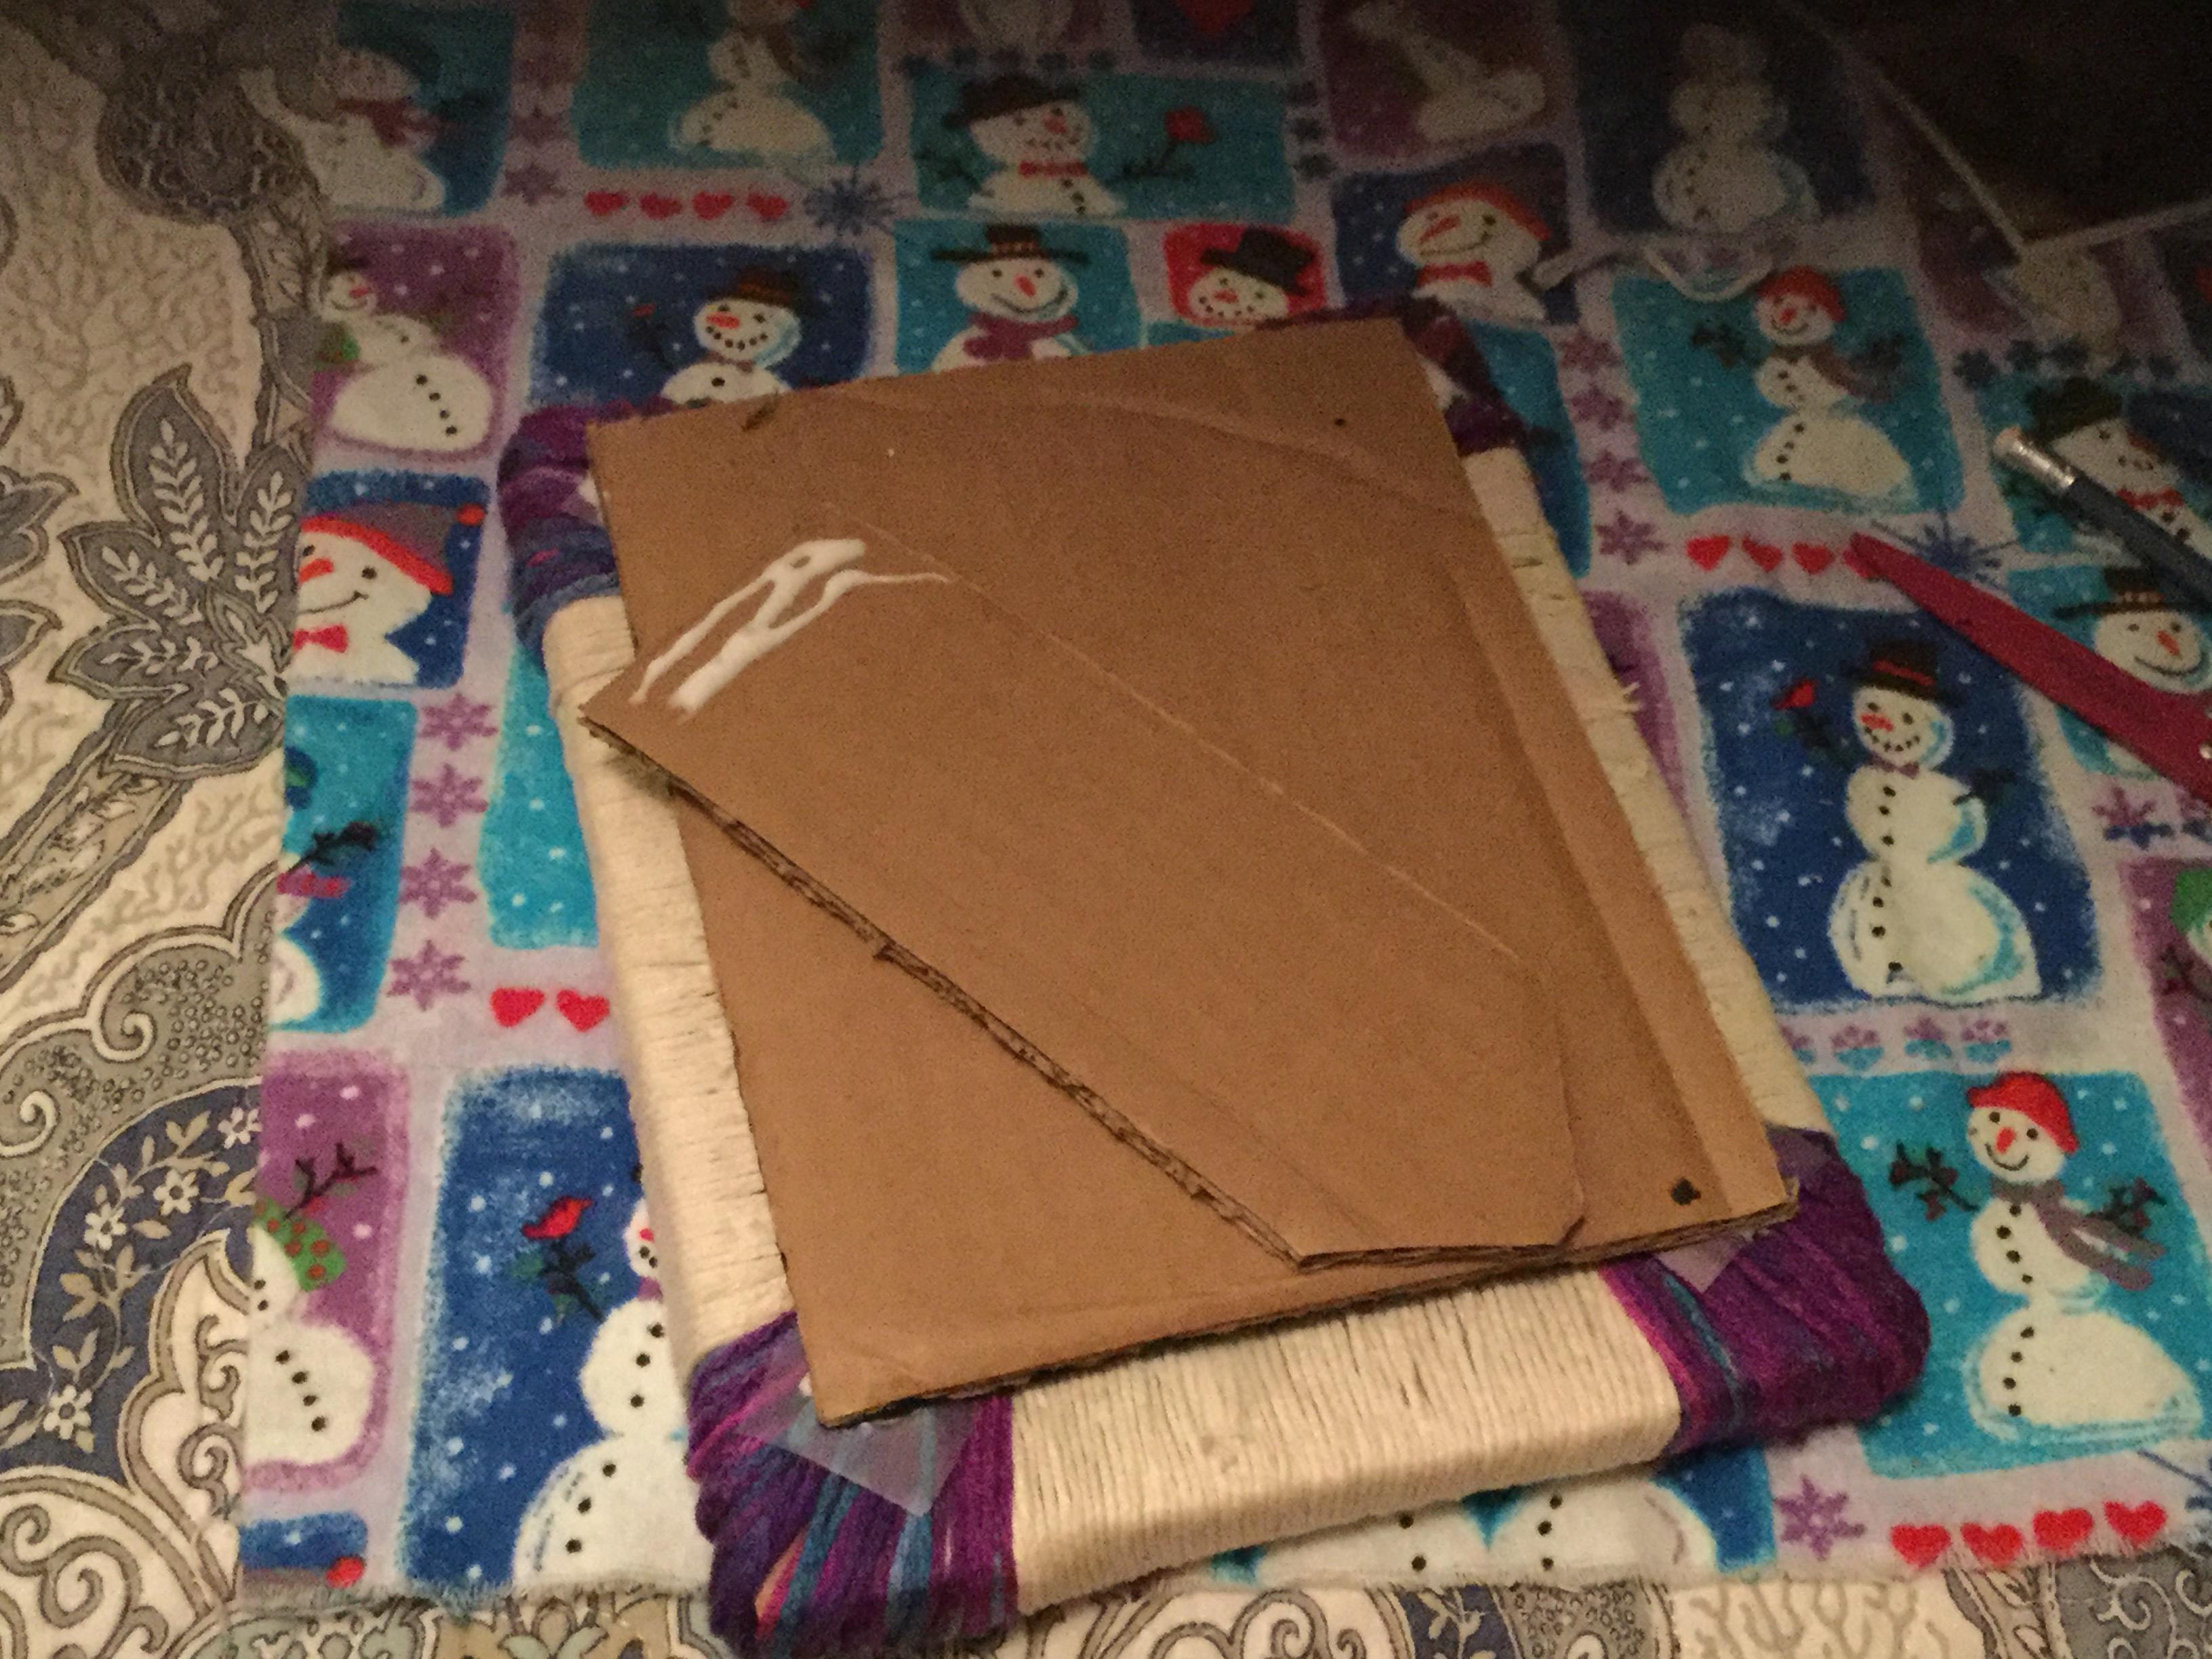
Back of the Frame
You are so close, you just need to make the back of the frame. It is quite simple, you just need to cut a piece of cardboard that you think will fit the frame well. As you can see, there was about a centimetre of space between the edge of my frame and the back of it. So glue it on, and you can do like I did and paint the inside back black, because I find it looks nicer then brown, whenever there isn’t a picture in it. To finish, you are going to want to create the stand at the back with just a strip of cardboard, and put it so the edges of the stands are even with the back of the frame, and then cut them. *Make sure you put the stand in the right way, so that your picture won’t fall out, if you chose to put it horizontally or vertically. So, go ahead and glue the stand to the back of the frame, and then your done! Hope you enjoyed making this (or reading about it)!