How to Make an Acrylic Custom Trophy
by thunderlaser-nolan in Workshop > Laser Cutting
663 Views, 6 Favorites, 0 Comments
How to Make an Acrylic Custom Trophy

Creating a personalized trophy doesn’t have to be complicated. With a laser cutter and two sheets of acrylic—one black and one clear—you can make a clean, modern, and highly customizable trophy for any sport, event, or competition. Simply change the engraved pattern or text, and the design instantly fits different themes. Here’s how to make your own acrylic trophy step by step.
Supplies
Machine Used
- Thunder Bolt 30W
Material Needed
3mm Acrylic
Settings
Engraving
- Speed:800mm/s
- Max Power:30%
- DPI:300
Scoring
- Speed:800mm/s
- Max Power:30%
- DPI:300
Cutting
- Speed:10mm/s
- Max Power:50%
- Min Power:10%
Downloads
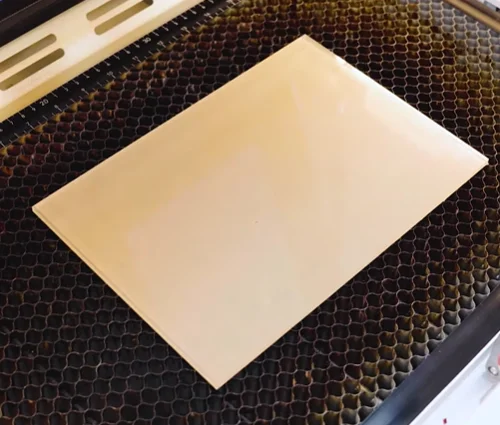
Place Your Materials for Laser Engraving
Peel off the protective film from the top surface of the acrylic sheet. Leave the back film on to reduce scratches while cutting. Place the sheet flat on the work bed and secure it with pins or magnets so it doesn’t shift during engraving.
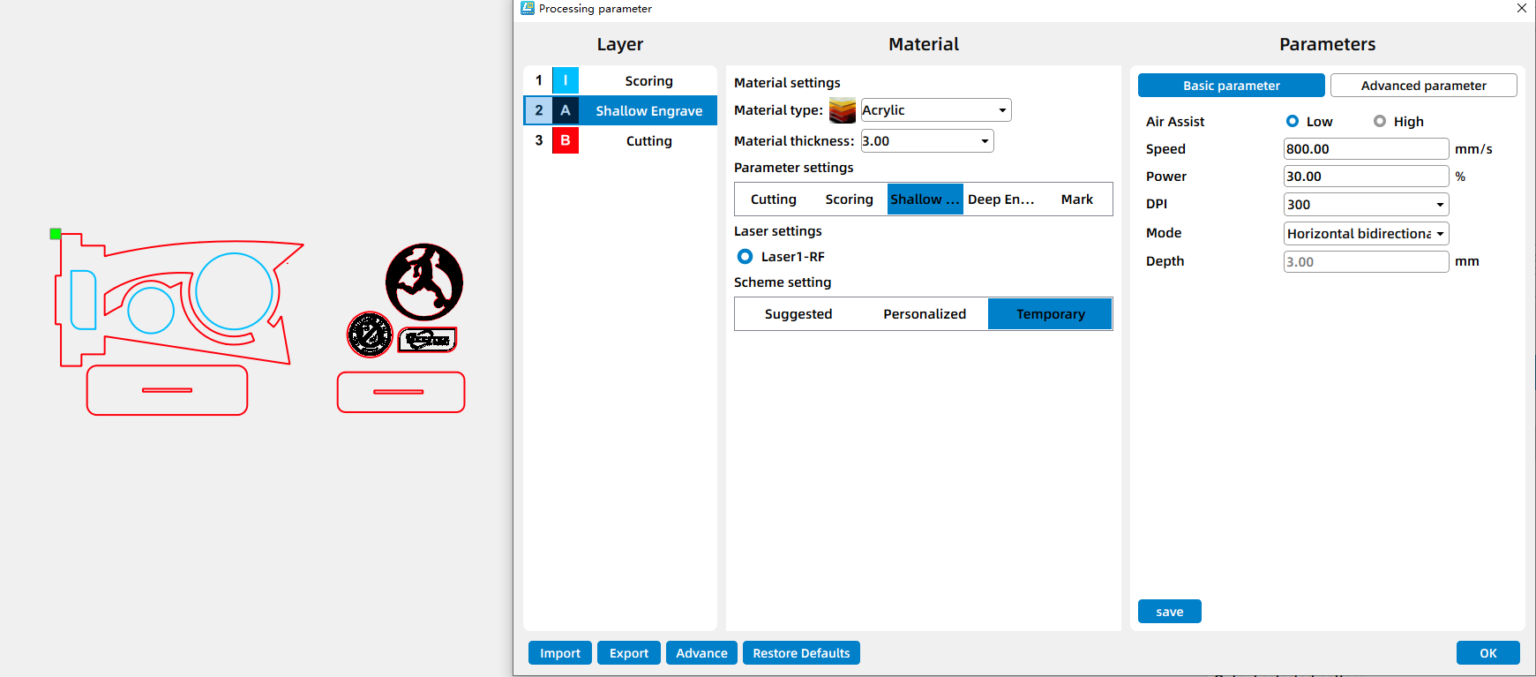
Open the File With Your Laser Sofeware
Open your preferred laser software—I’m using LaserMaker for this tutorial. Import your design file and make any adjustments you need. Adjust the size and positioning so it fits perfectly within the working area of your acrylic sheet. Before you start, double-check both your engraving and cutting parameters. For acrylic, make sure the speed, power, and line interval match the thickness of your material. Engraving settings should be tuned for crisp text and fine details, while cutting settings should deliver smooth, clean edges without excessive melting.
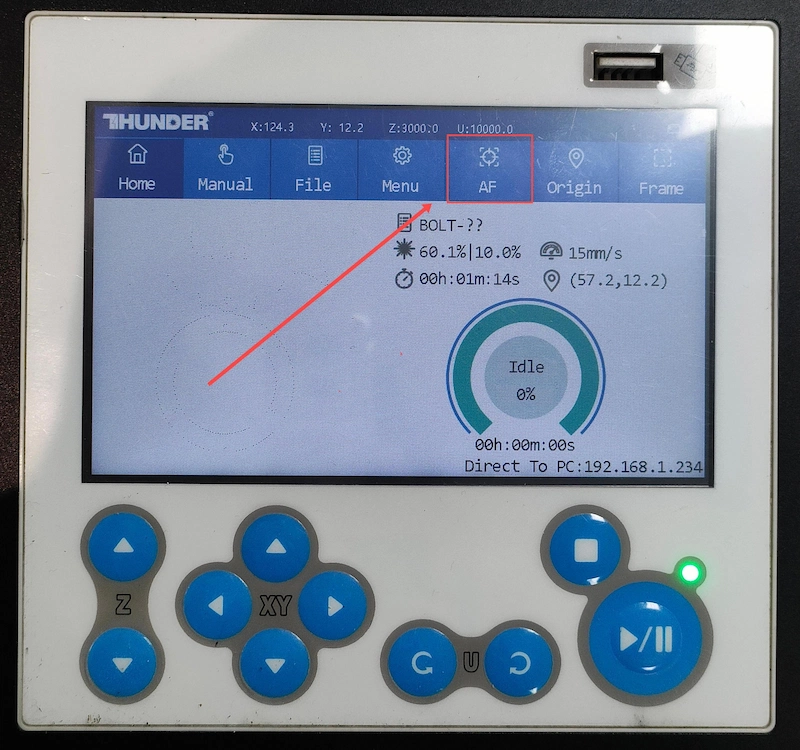
Focus Your Laser Machine
Proper focusing is essential for achieving crisp engravings and smooth cuts. If your machine supports auto focus, a single click will set the correct distance for flat acrylic sheet. If you prefer manual focus, use the focus stick to adjust the laser head until it just touches the surface of the acrylic at a perfect vertical angle. Spending an extra moment on accurate focusing will pay off with professional-looking results.
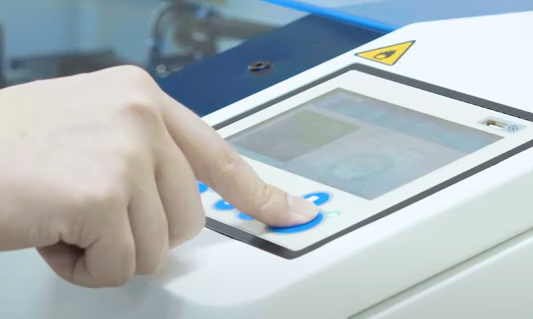
Frame the Design and Start Laser Engraving
Use the frame / outline feature to ensure your design aligns with the material correctly.
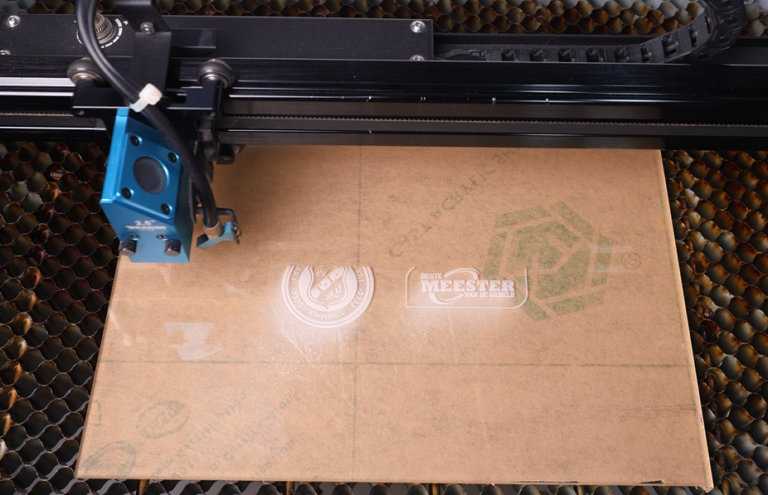
Monitor the Laser Engraving Process
Stay near the machine while it’s running and watch the cutting and engraving progress. Keep an eye out for excessive smoke, small flame-ups, or any movement of the material that could affect the outcome. Make sure your workspace is well-ventilated, and rely on air assist if available to achieve cleaner edges on the acrylic.
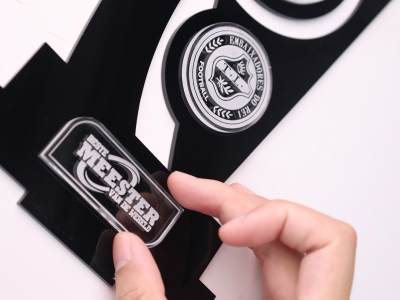
Assemble the Trophy
After everything is cut, remove the pieces from the laser bed. If the acrylic still has protective film on the back, peel it off now. Layer the engraved clear acrylic onto the black backing and attach them using acrylic adhesive or 3M tape.
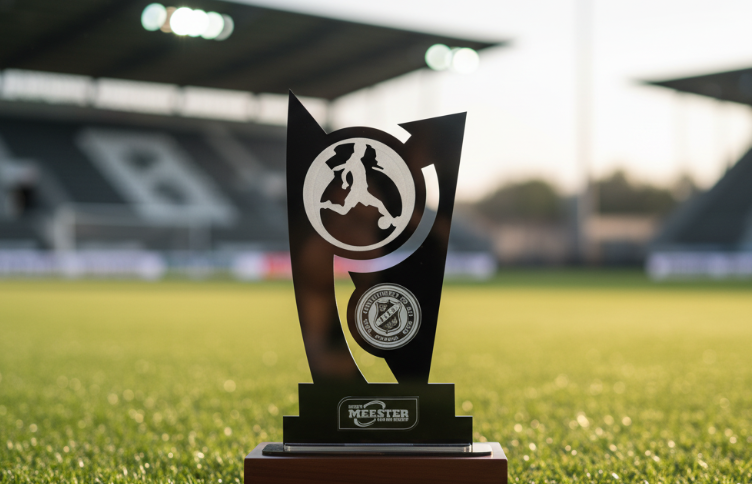
Finished!
Your custom acrylic trophy is complete—clean, elegant, and ready to be presented at any event or ceremony.