How to Make a Wooden Dice Tower With a Laser Cutter (Step-by-Step Guide)
by thunderlaser-nolan in Workshop > Laser Cutting
598 Views, 5 Favorites, 0 Comments
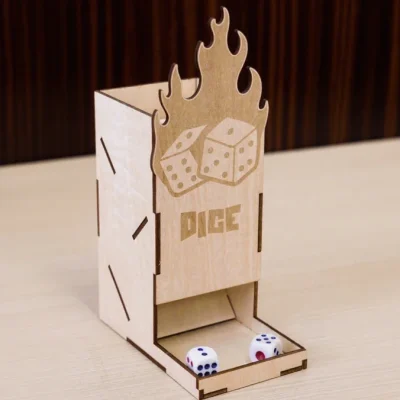
How to Make a Wooden Dice Tower With a Laser Cutter (Step-by-Step Guide)

Want to make your game nights more fun and stylish? A wooden dice tower is the perfect way to add a touch of craftsmanship to your tabletop games. It guides your dice through a series of ramps, ensuring fair, random rolls every time while looking great on your table.
In this tutorial, we’ll walk you step by step through designing, laser-cutting, and assembling your own wooden dice tower. You’ll create a tower that’s not only functional but also a beautiful addition to your gaming setup. Gather your friends, roll the dice, and enjoy the game like never before.
Supplies
Machine Used
Thunder Bolt 30W
Material Needed
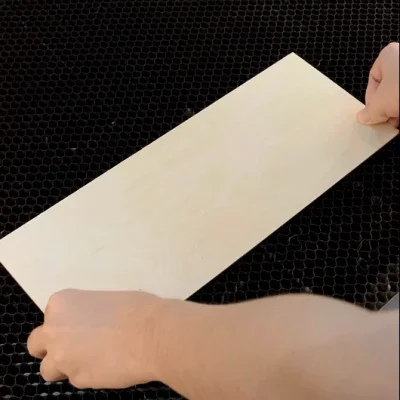
3mm Basswood
Settings
Engraving
- Speed:1,000mm/s
- Power:45%
- DPI: 300
- Number of Passes:1
Cutting
- Speed:15mm/s
- Max Power:45%
- Min Power:10%
- Number of Passes:1
Downloads
Get the Wood Ready and Place the Wood on the Laser Bed
Select a wood sheet suitable for laser cutting (e.g., 3–6 mm plywood). Place it flat on the laser bed. Secure it with pins or clamps so it doesn’t shift during cutting.
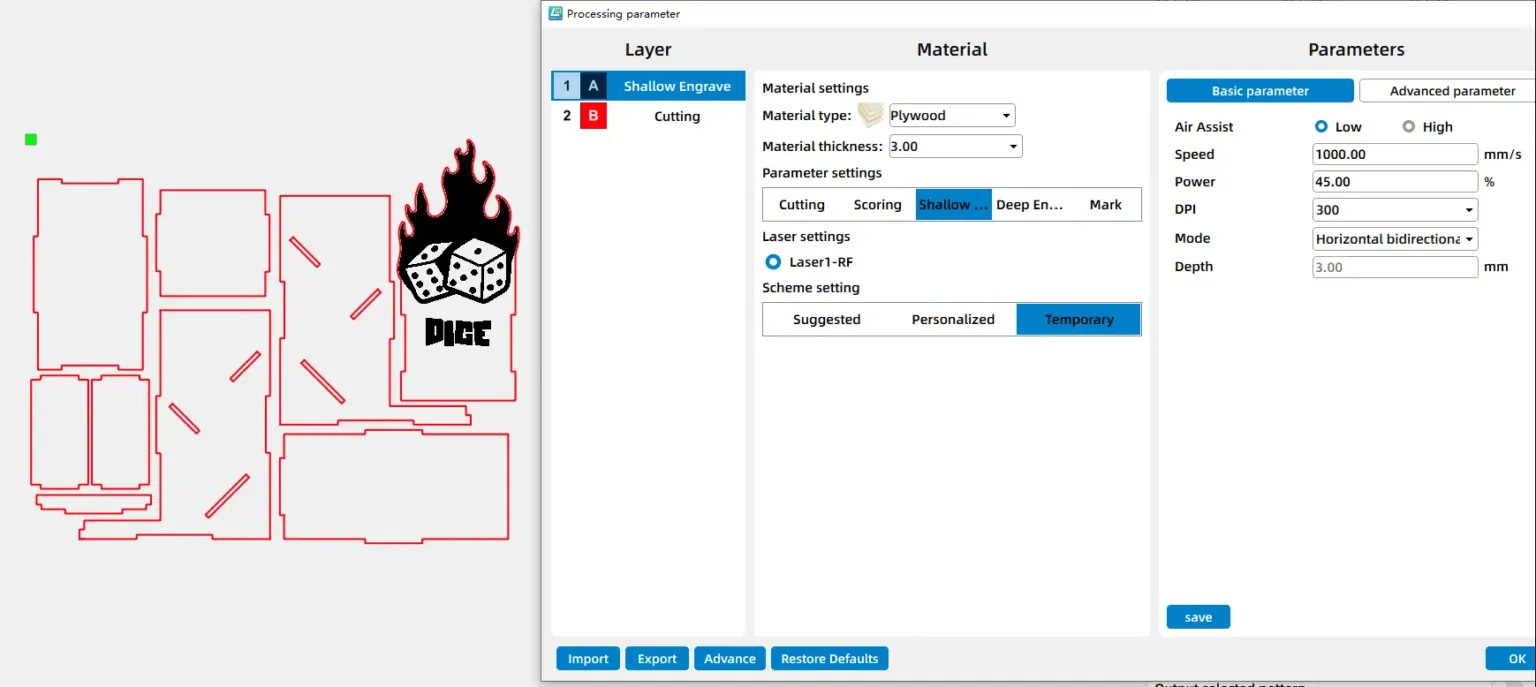
Open the File and Check the Settings
Import the wooden dice tower design in Lasermaker and check if your basswood size is large enough. Double-check everything, and decide if you want to add or subtract elements according to your preferences. For the laser cutting layers, pay extra attention to the power setting.
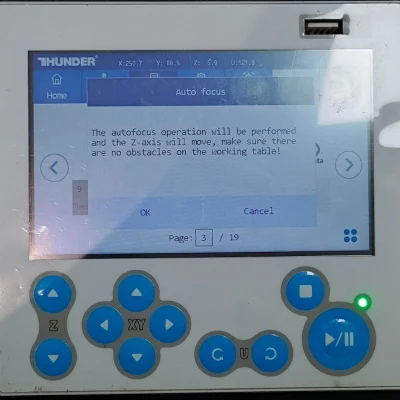
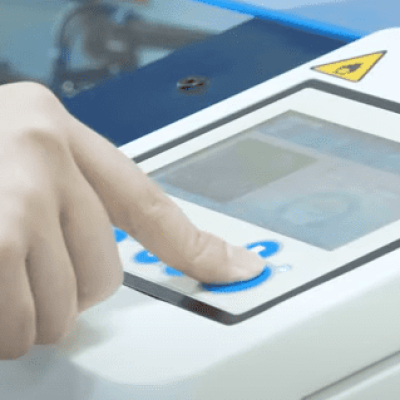
Focus Your Laser Machine
Proper focusing is essential for achieving crisp engravings and smooth cuts. If your machine supports auto focus, a single click will set the correct distance for flat wooden boards. If you prefer manual focus, use the focus stick to adjust the laser head until it just touches the surface of the wood at a perfect vertical angle. Spending an extra moment on accurate focusing will pay off with professional-looking results.
Frame the Design and Start Laser Cutting
Use the software’s “Frame” function to outline the engraving and cutting area. Make sure the projected frame matches your wood sheet.
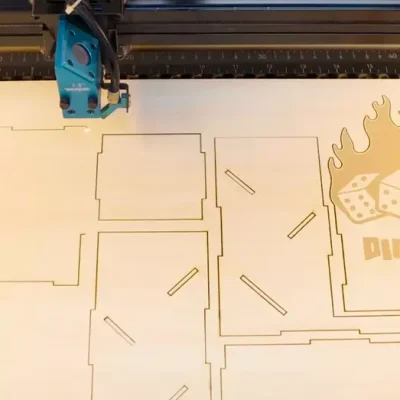
Monitor the Laser Cutting Process
Stay close to the machine while it’s running and watch the cutting and engraving progress. Keep an eye out for excessive smoke, small flame-ups, or any movement of the material that could affect the outcome. Make sure your workspace is well-ventilated, and rely on air assist if available to achieve cleaner edges on the wood.
Assemble the Dice Tower
Align the walls, ramps, and base tray according to your design. Wooden dice towers often use interlocking tabs; fit the pieces together carefully. Make sure the ramps are correctly positioned to allow smooth dice rolling. You can lightly sand joints if necessary to improve fit.

Complete the Task
The wooden dice tower is ready to use now!
I’ve finished my wooden dice tower—now it’s your turn! Imagine the satisfying sound of dice tumbling down ramps you created yourself, and the smiles it brings at game night. Whether you stick with a classic design or add your own engraved patterns, every tower tells a story. Grab your wood, fire up the laser cutter, and see how creative you can get—you might just make the most talked-about accessory on the table.