How to Make a Wooden Chair in 10 Mins Using Fusion 360?
by alamtania in Design > Software
3069 Views, 12 Favorites, 0 Comments
How to Make a Wooden Chair in 10 Mins Using Fusion 360?
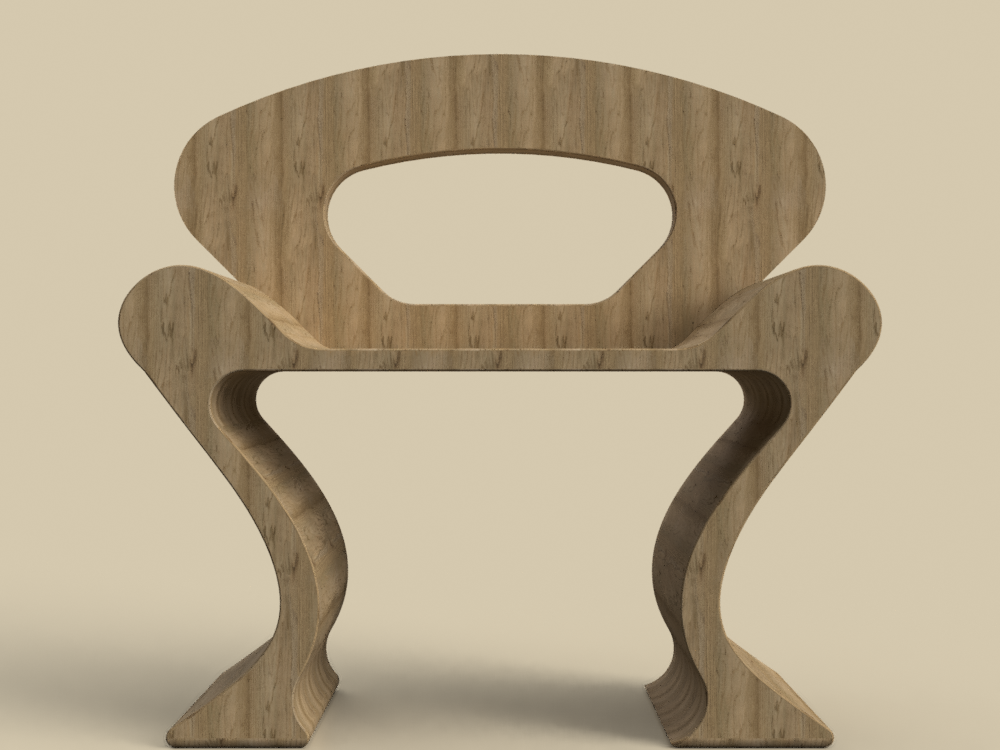
This is one of the simplest projects I made using Fusion 360 to help the beginners get started with the software. It shows some basic functions of the software and is too easy to take much time.
Make the Base and Stand
.png)
.png)
.png)
.png)
.png)
.png)
.png)
.png)
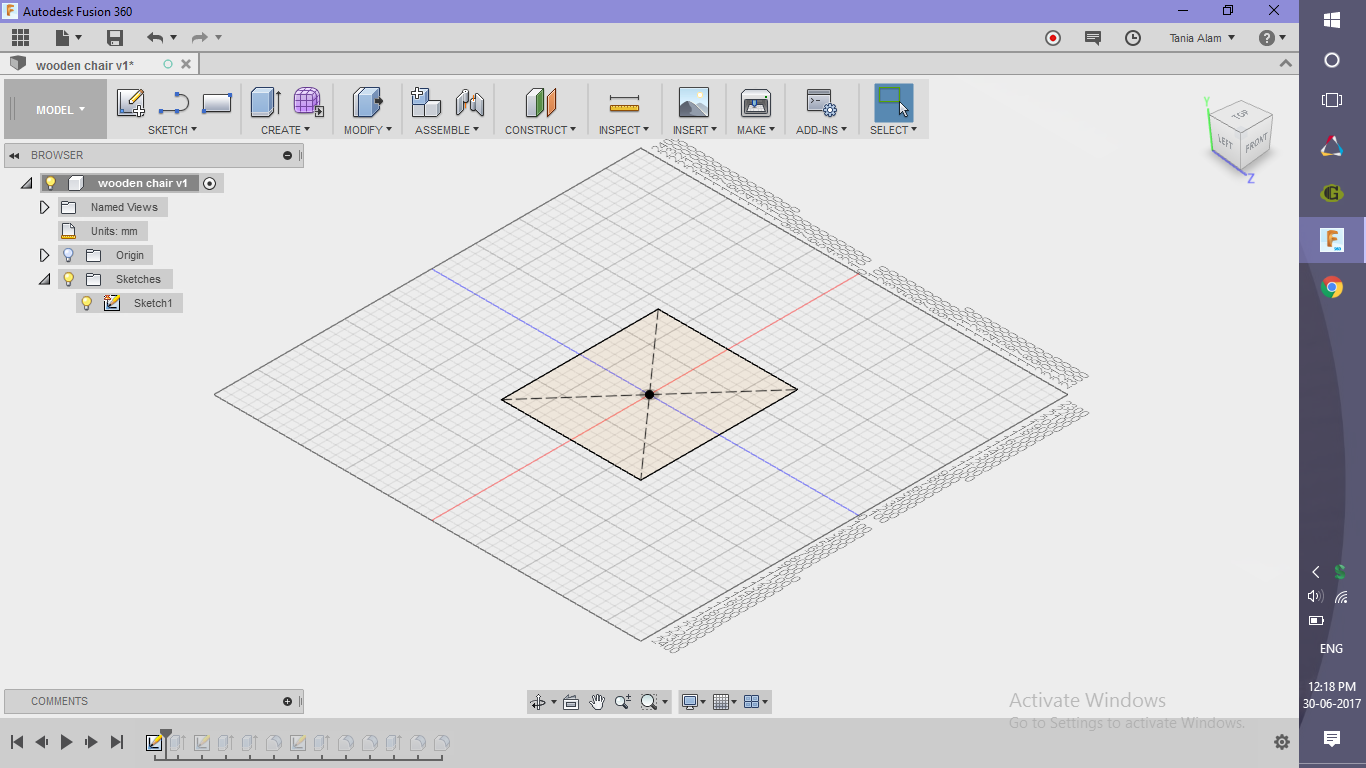
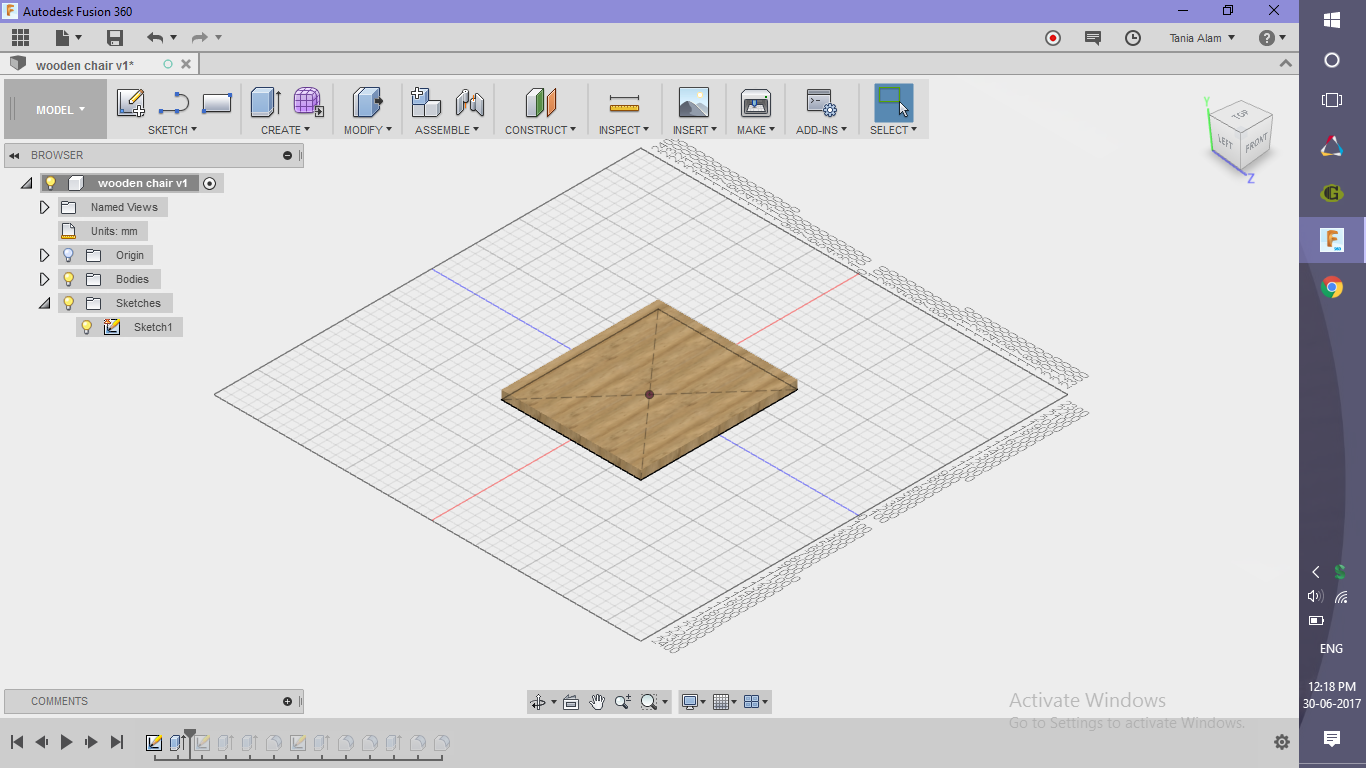
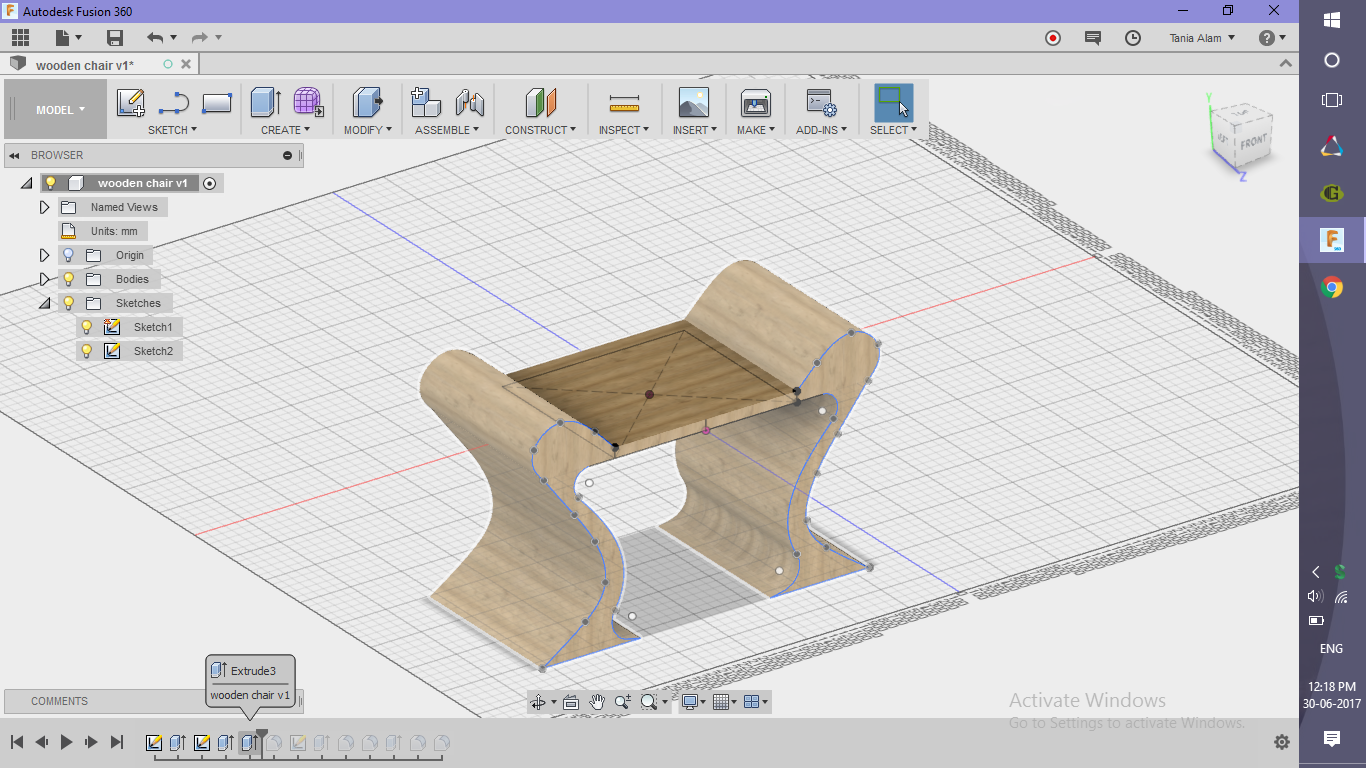
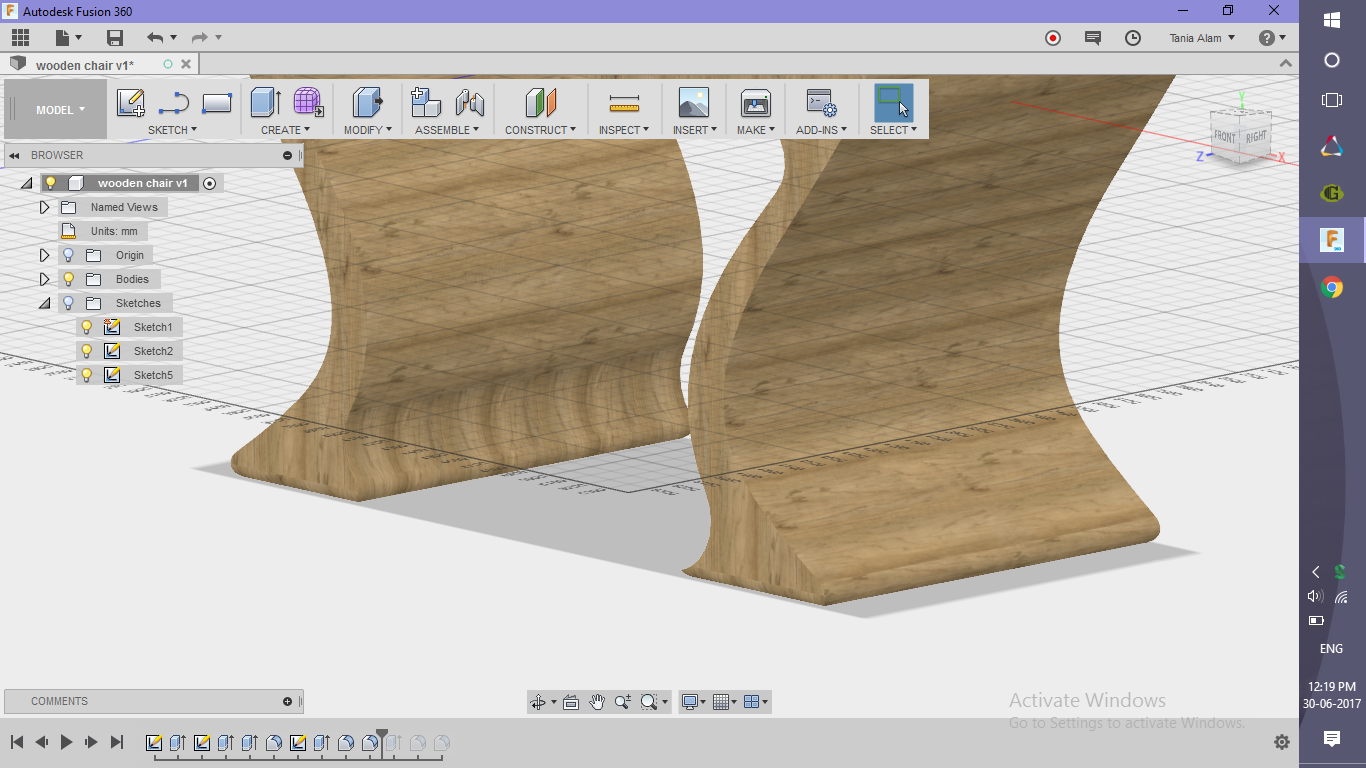
- Sketch a rectangle and extrude it to make the base
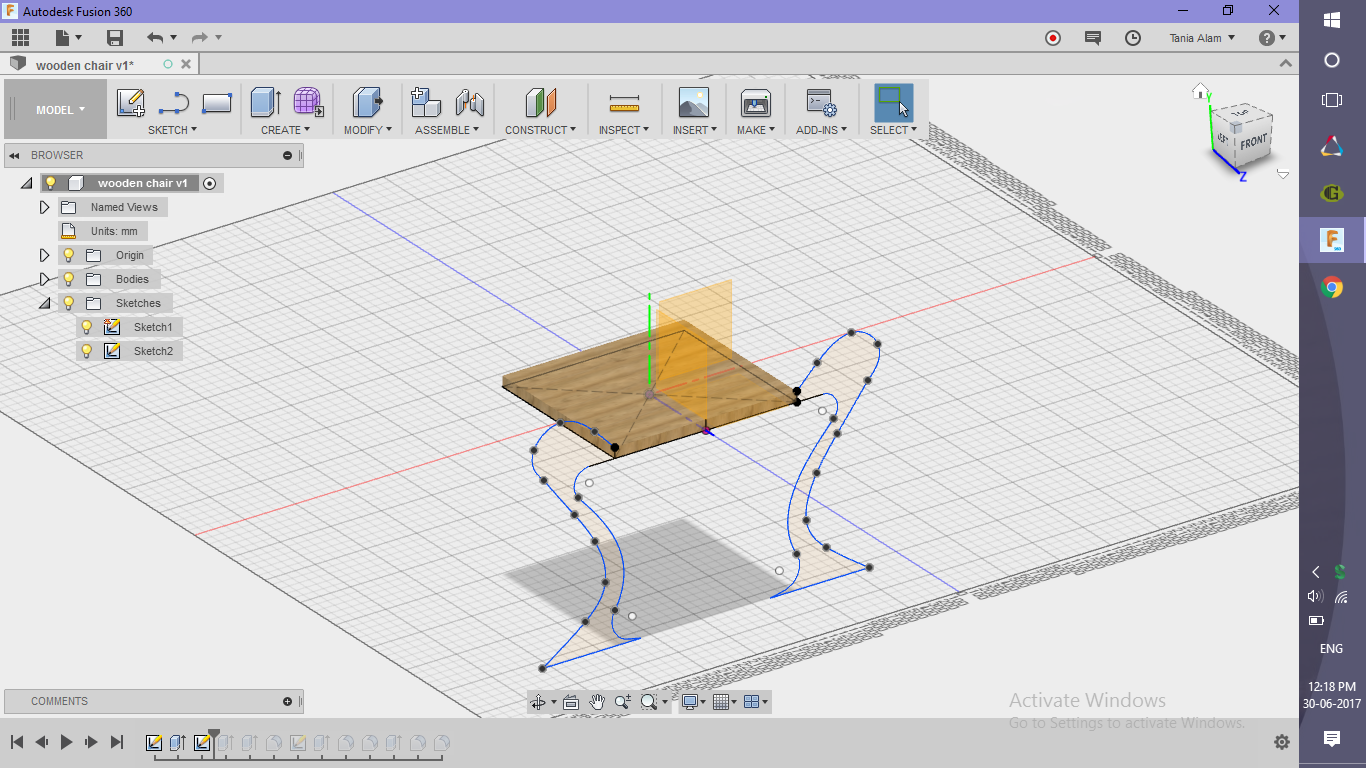
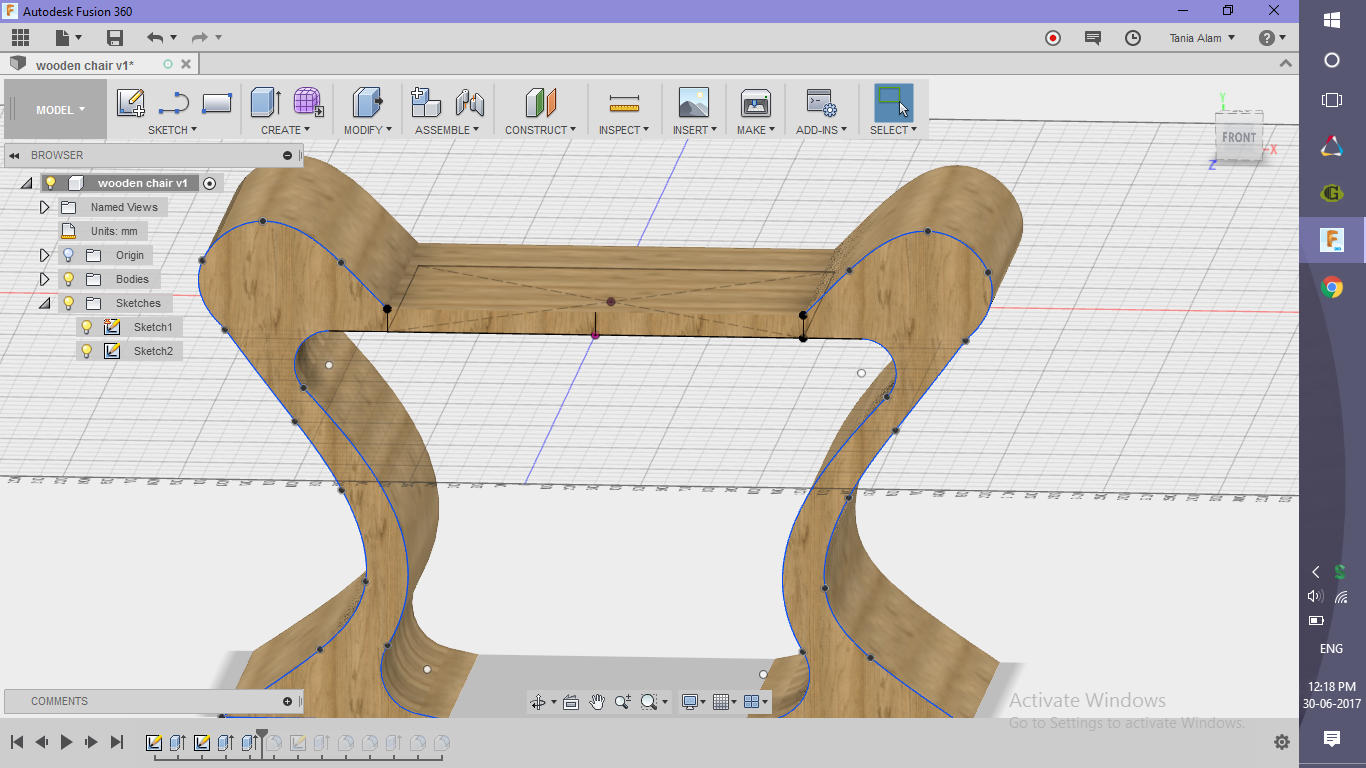
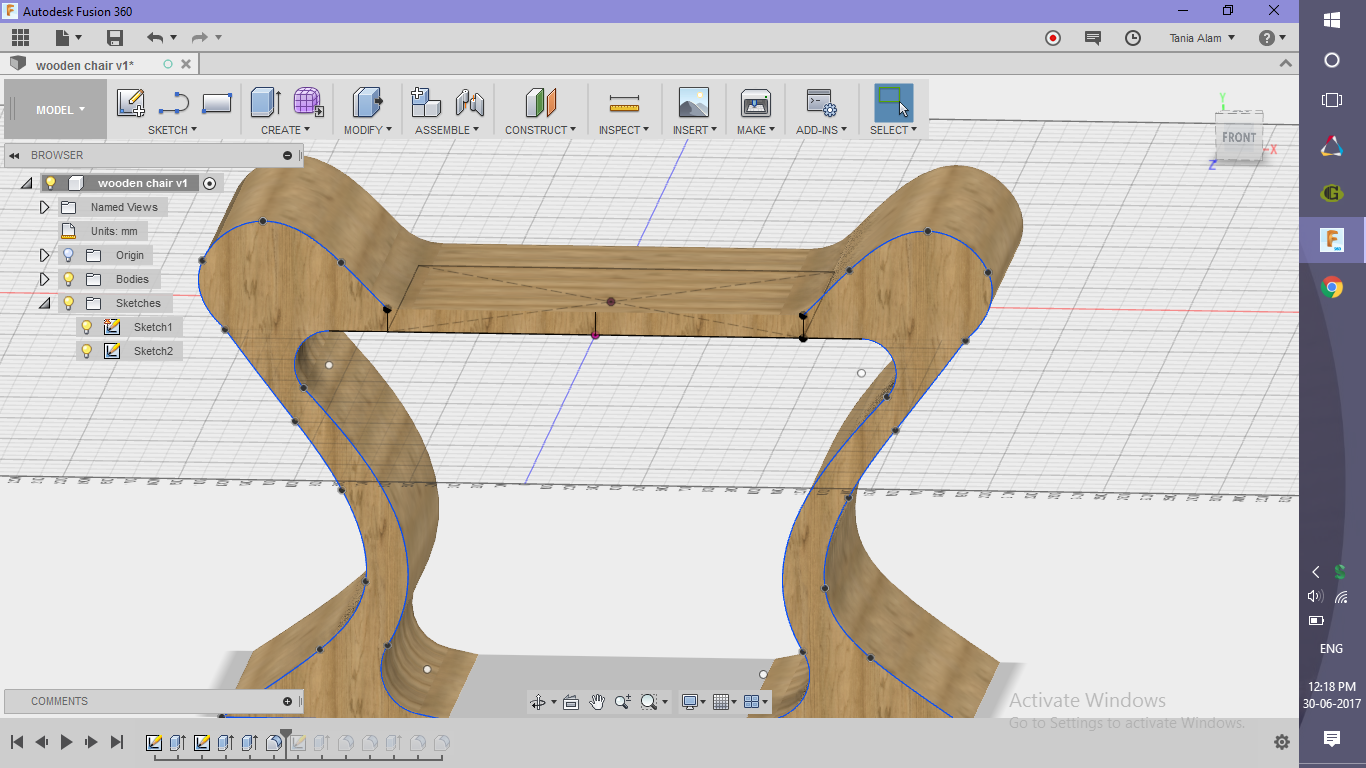
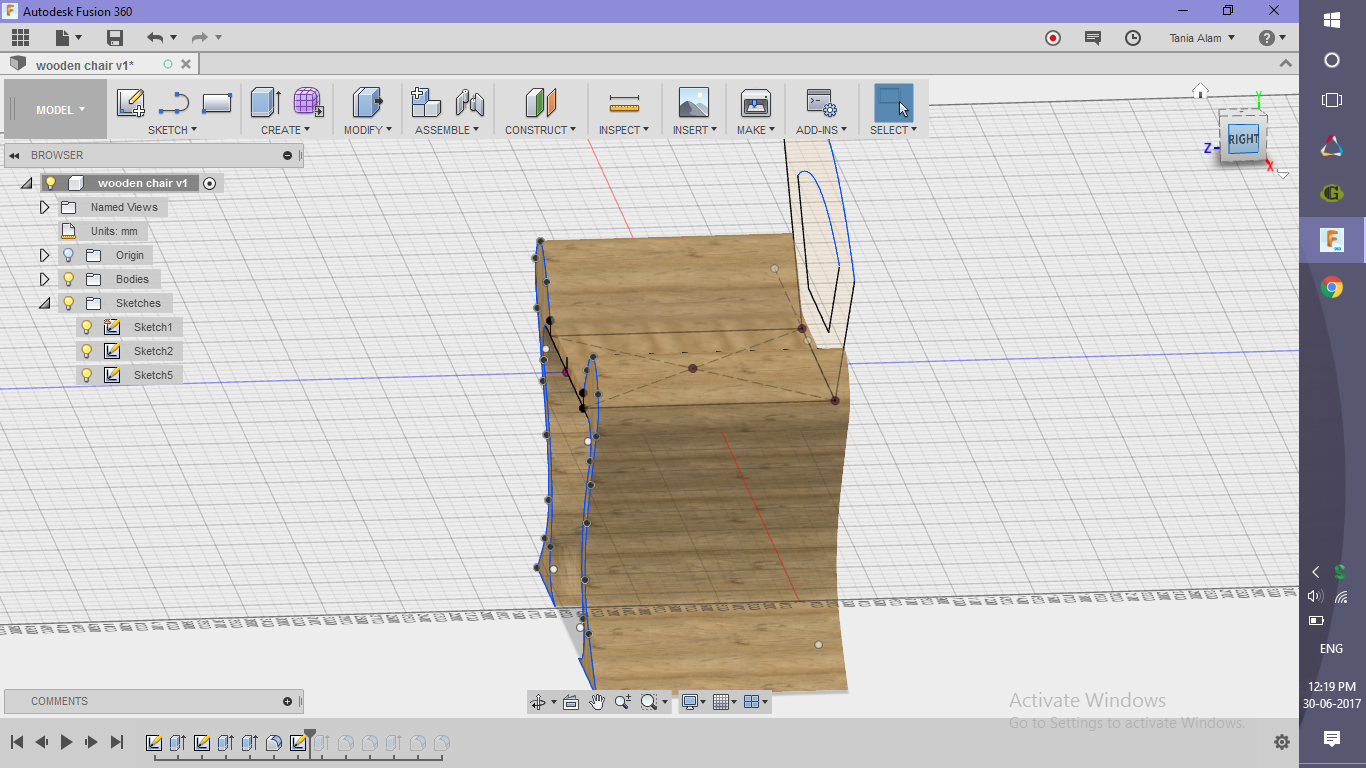
- Make the sketch on the lateral sides and extrude them to make the stand
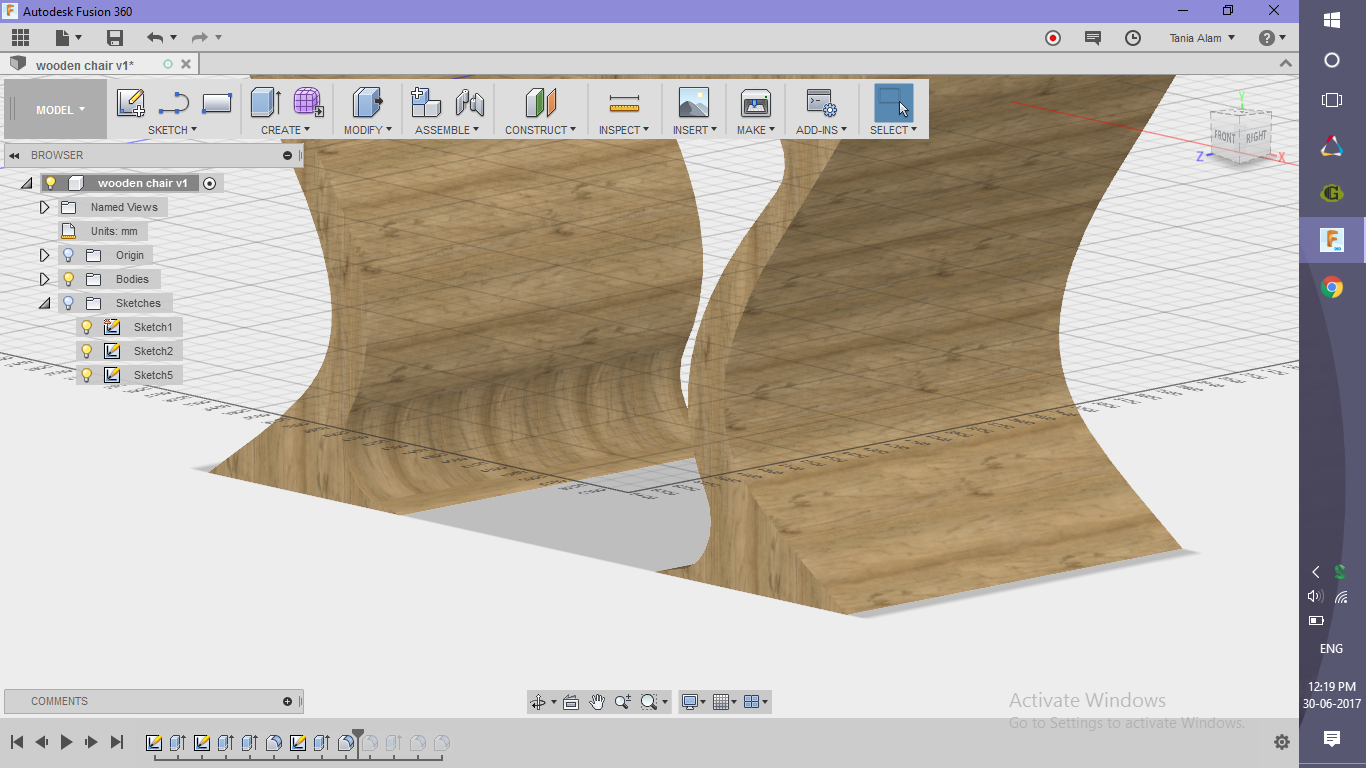
- Add some fillets
Add a Back Support
.png)
.png)
.png)
.png)
.png)
.png)
.png)
.png)
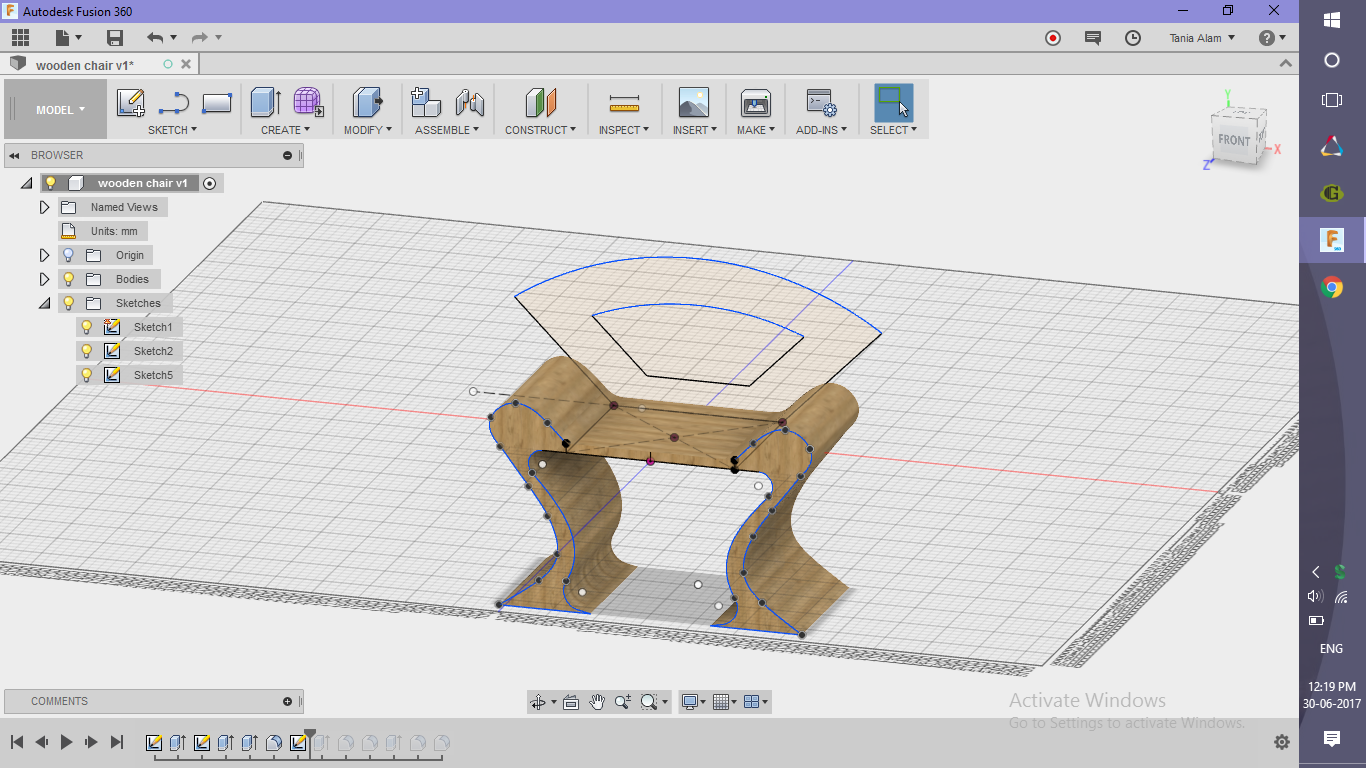
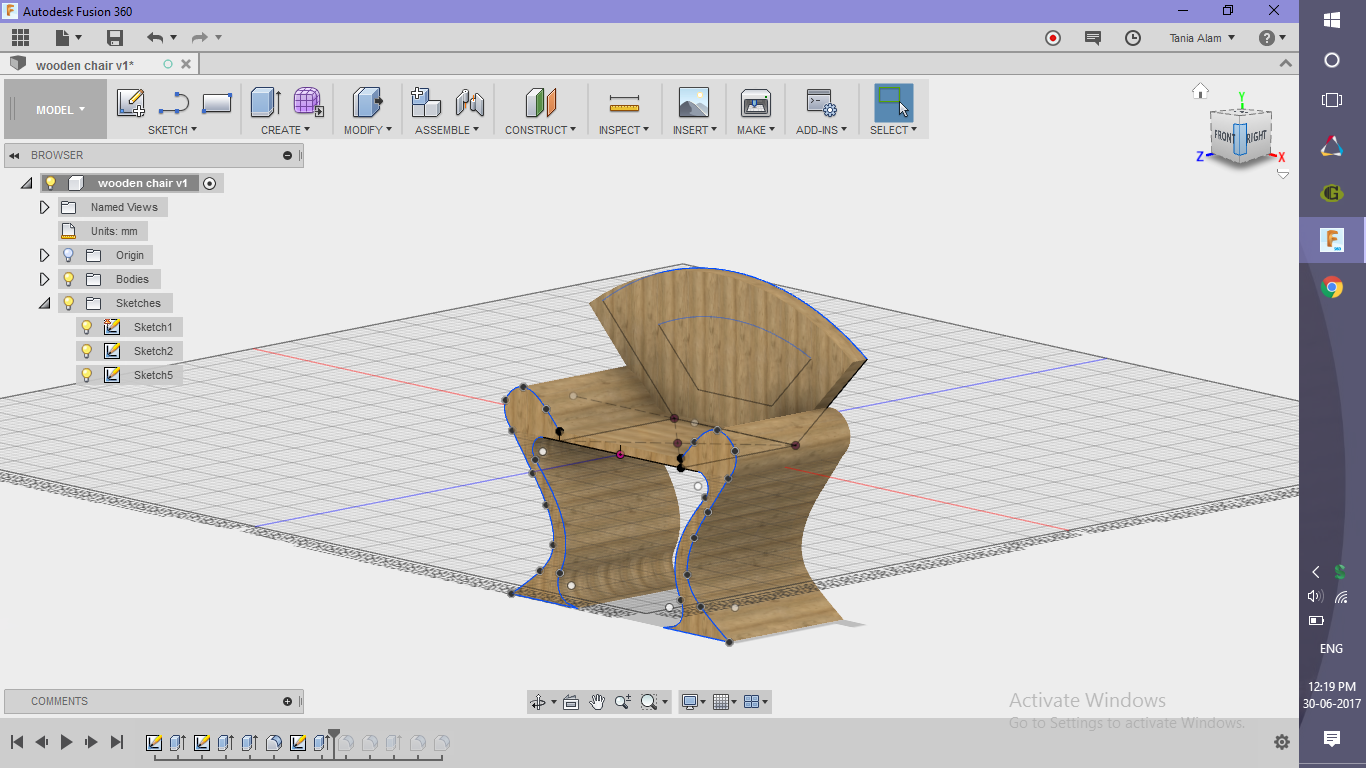
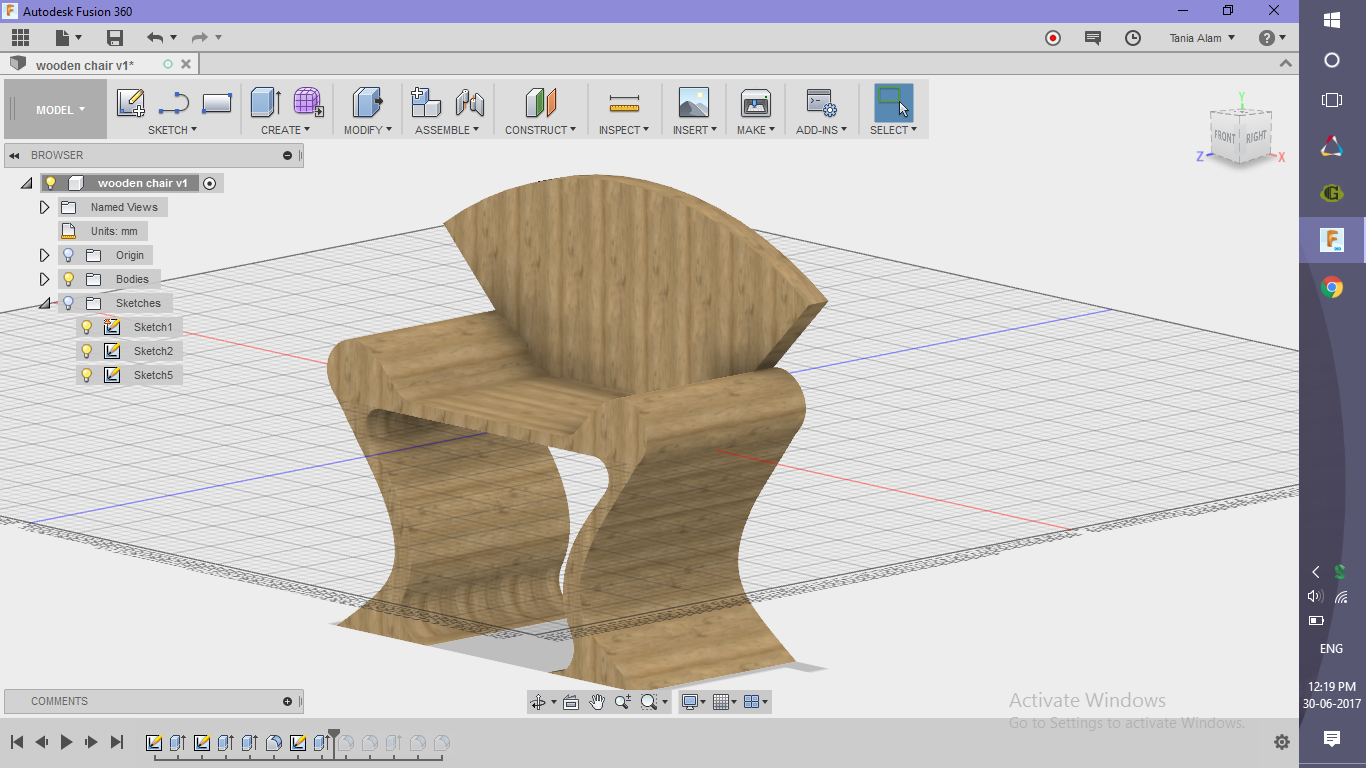
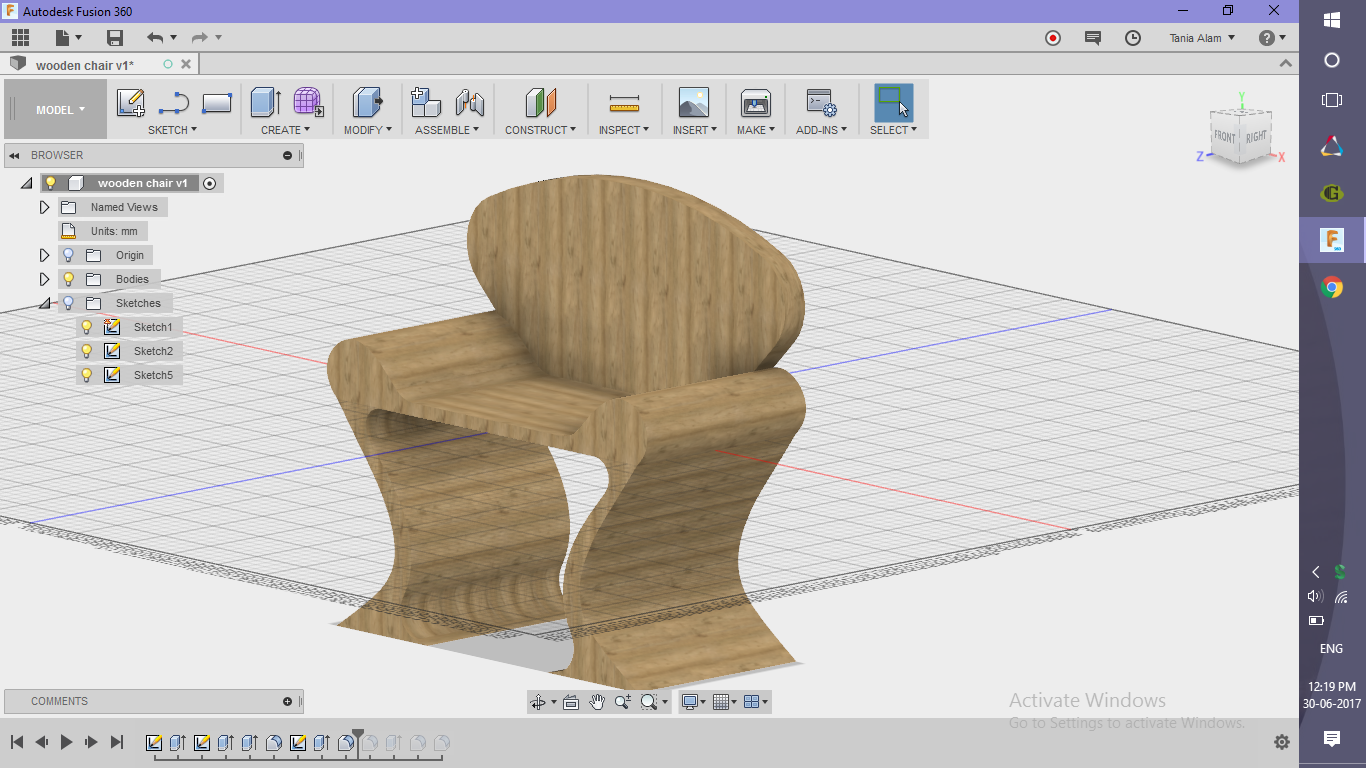
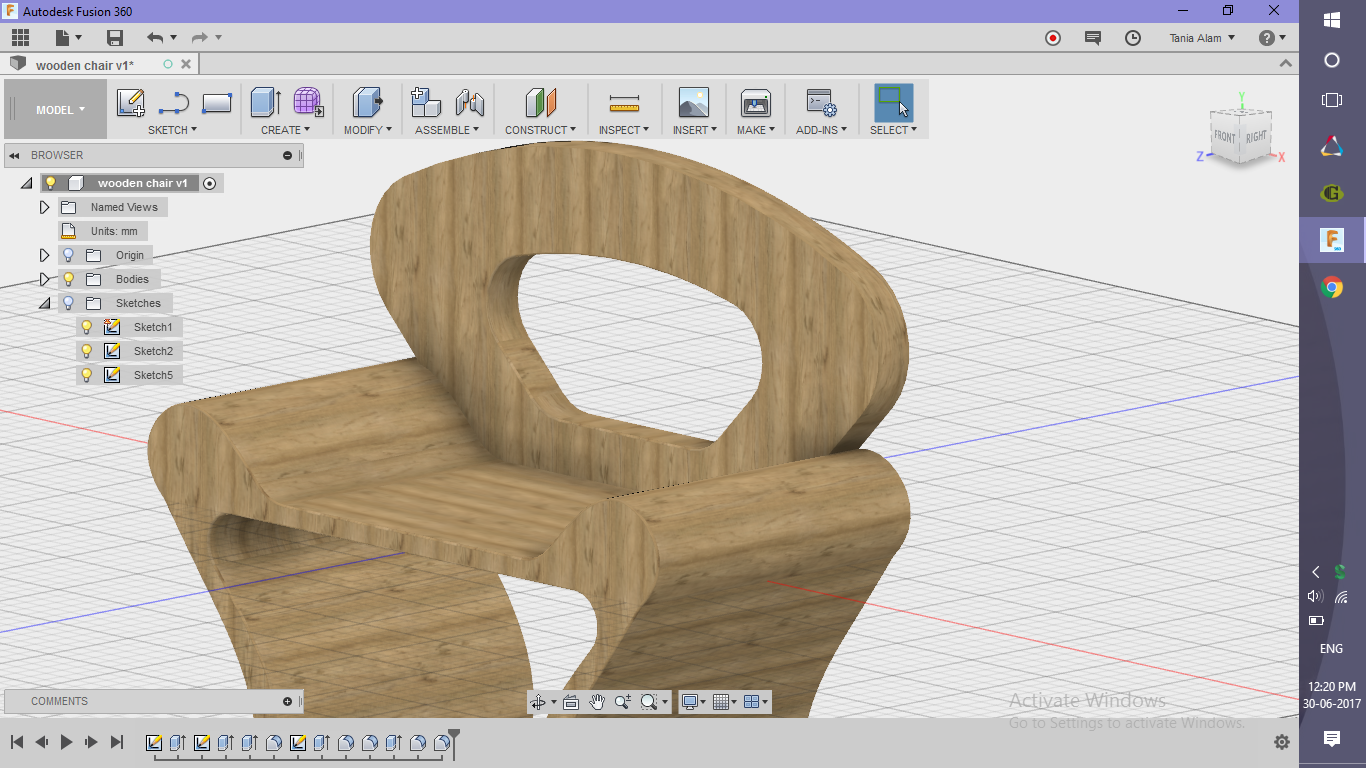
- Sketch a profile of the support and extrude it
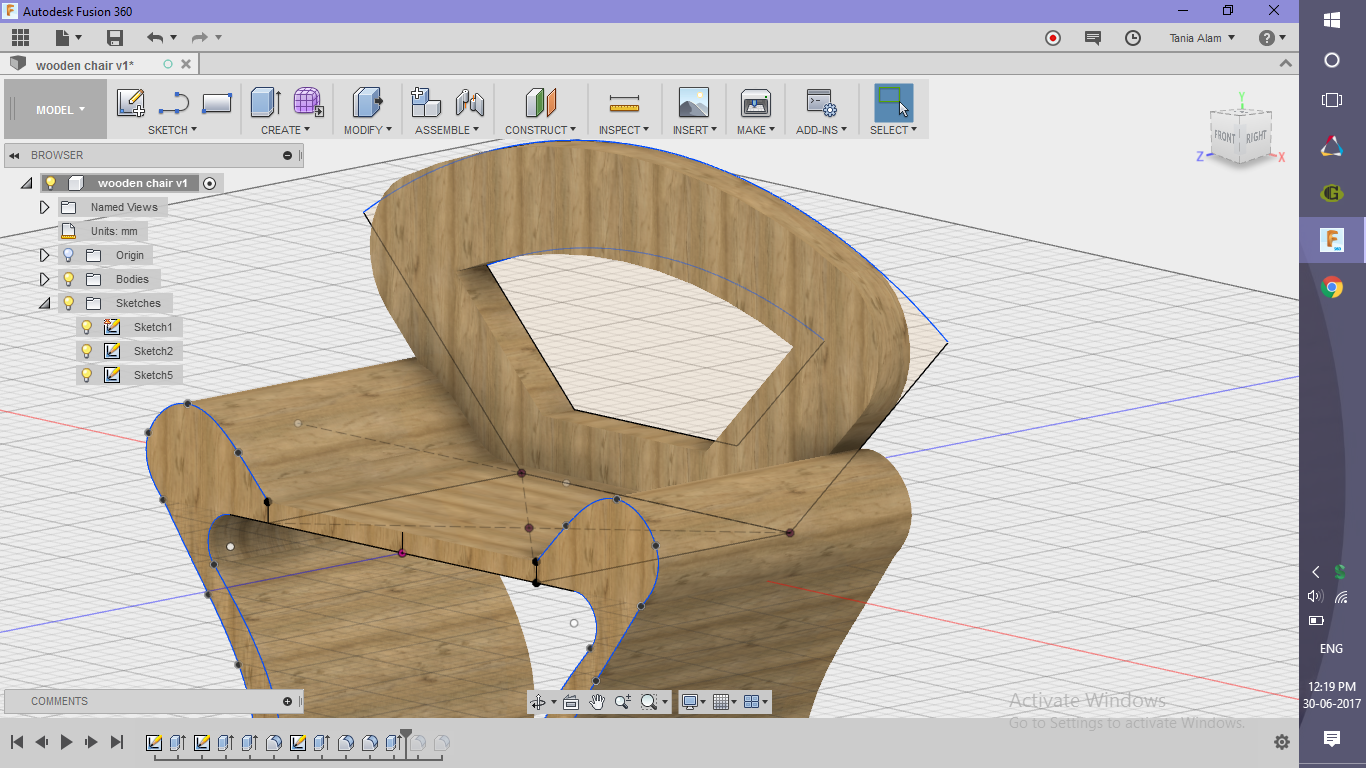
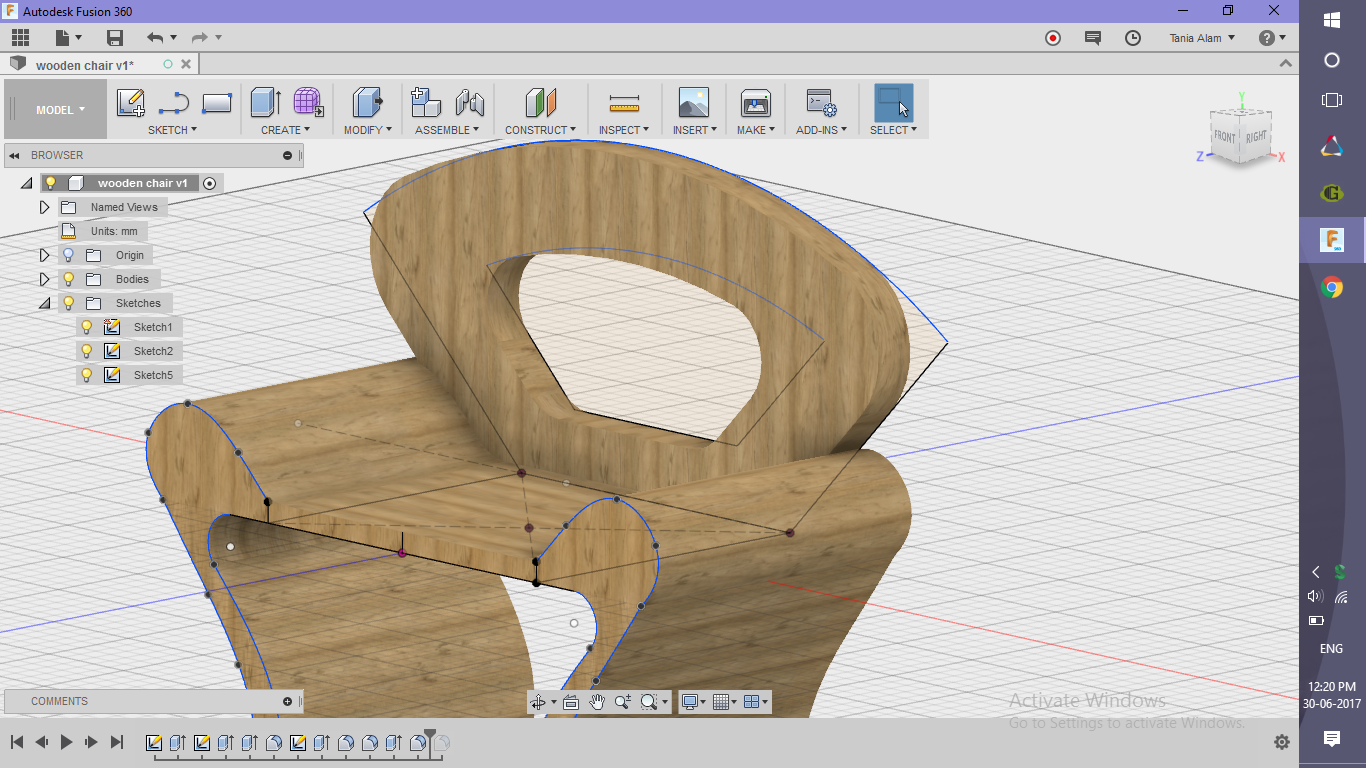
- Add some holes (experiment with different shapes) to make it look better
- Add some fillets
Add Some Scene and Get the Renderings
.png)
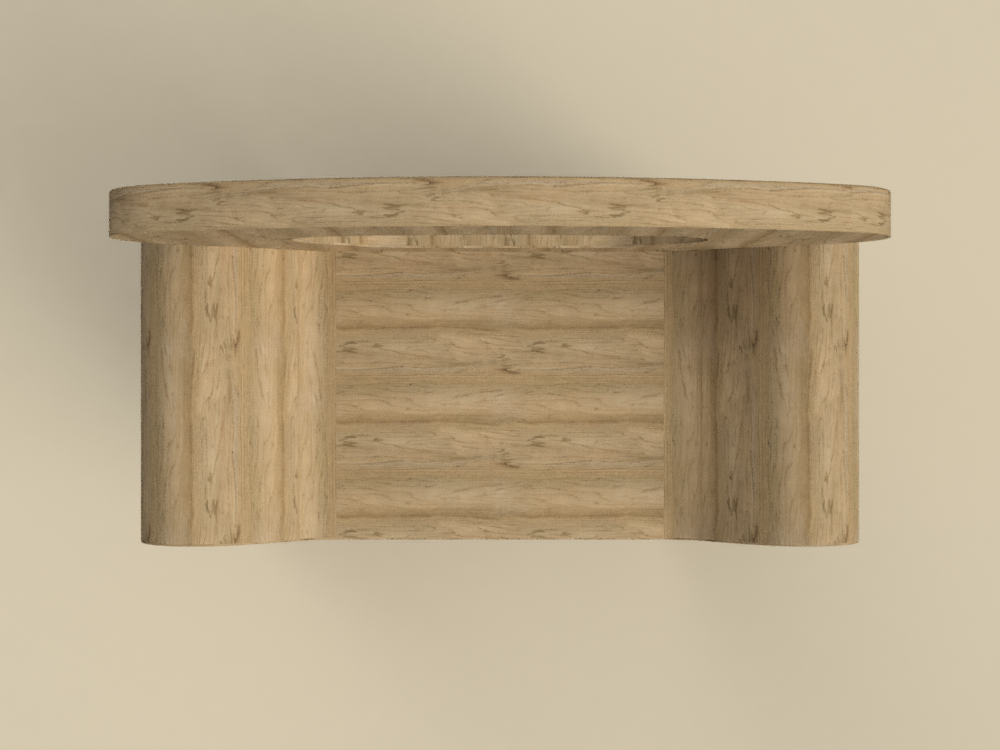
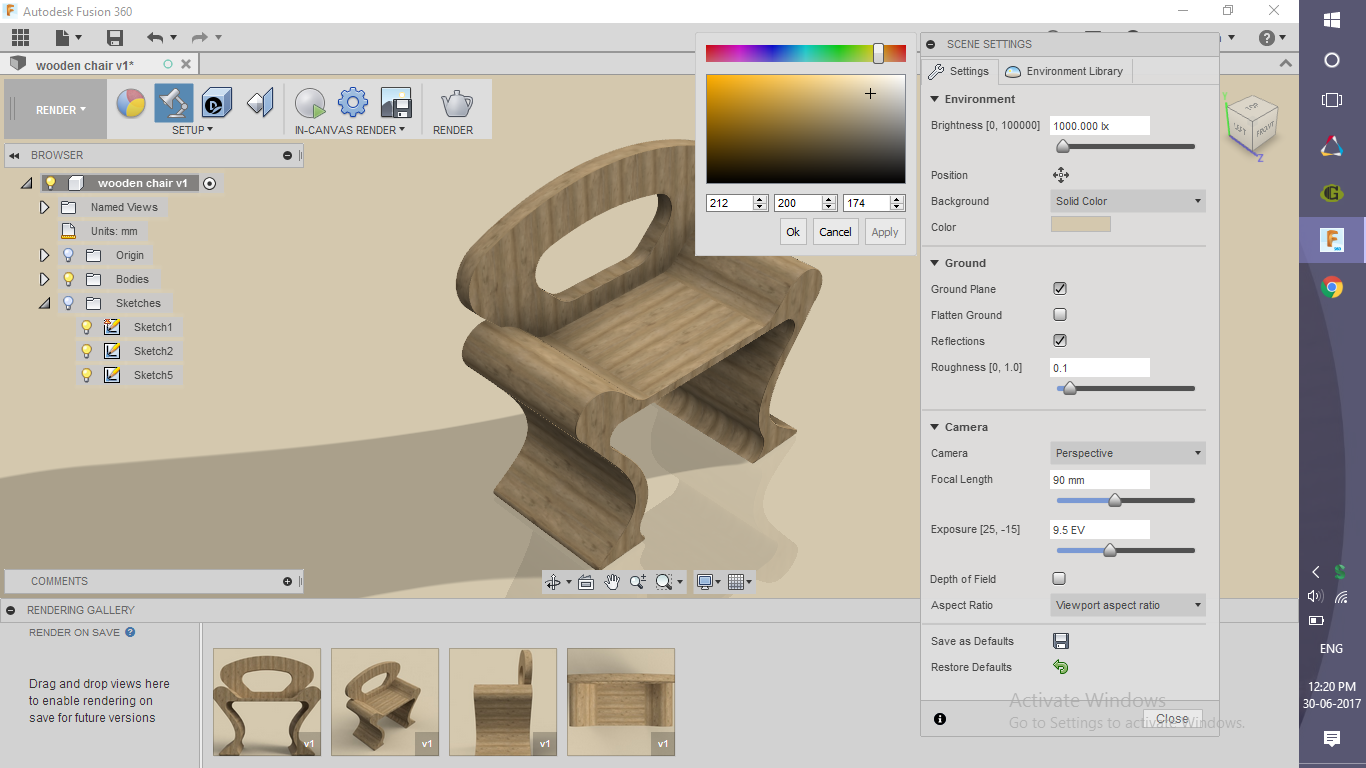
- Go to Render Workspace
- Click on Scene Settings
- Choose "Solid Color" and change the color as you wish
- Check the "Reflection" option to see the reflection on the ground
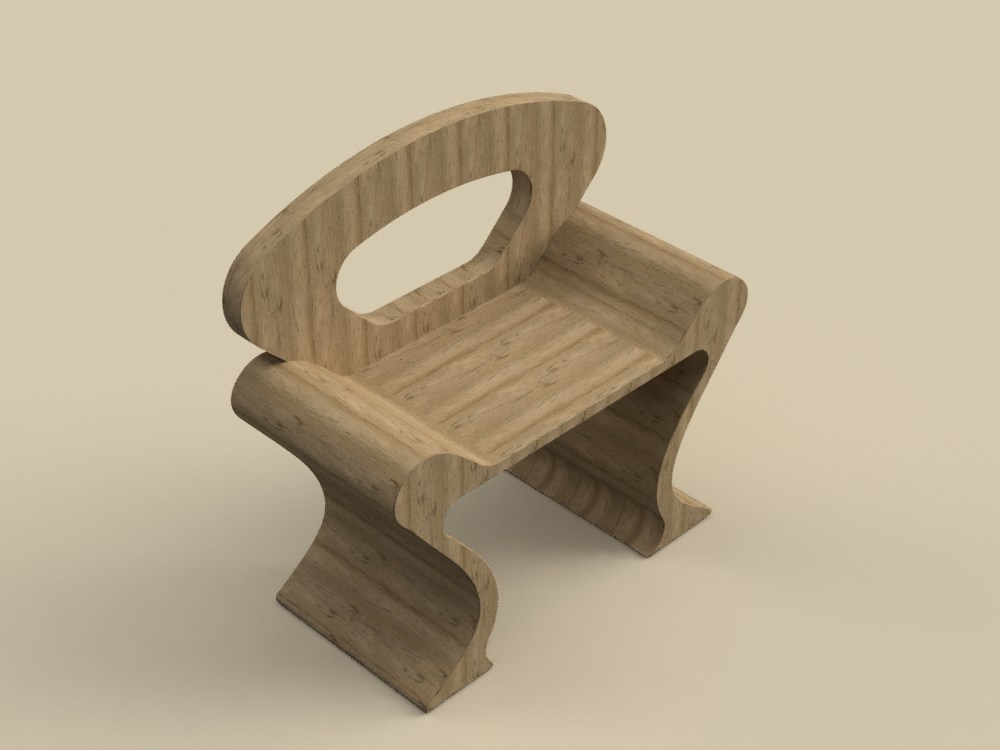
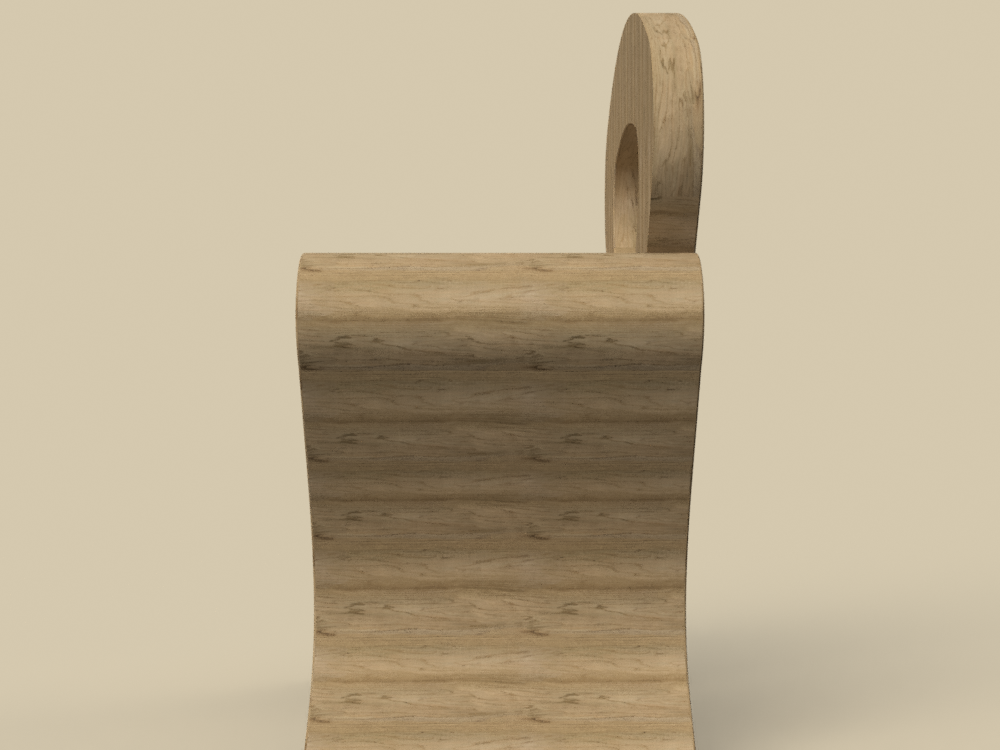
Once you save the file, it will automatically start rendering. Once done, share your renderings here using the "I Made It" button!