How to Make a Wall Hook in Onhshape (6 Steps)
by 032277 in Workshop > 3D Printing
210 Views, 2 Favorites, 0 Comments
How to Make a Wall Hook in Onhshape (6 Steps)
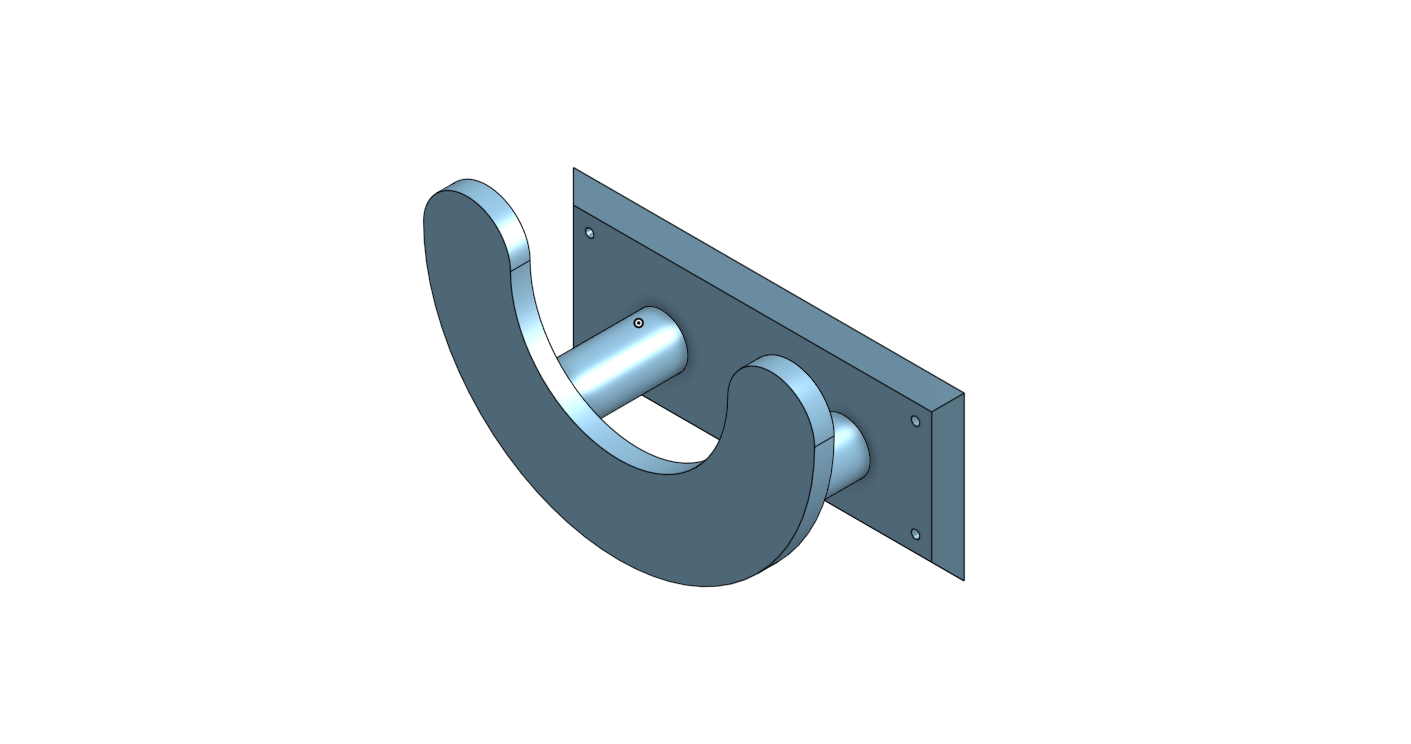
-Relatively easy
Creating a Document
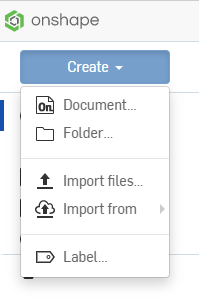
Click the blue button in the top left corner that says "Create"
A list will pop up of several things, click the button that says "Document"
A box will pop that says "new document", give your document an appropriate title, and click the "ok" button.
Creating the Hook
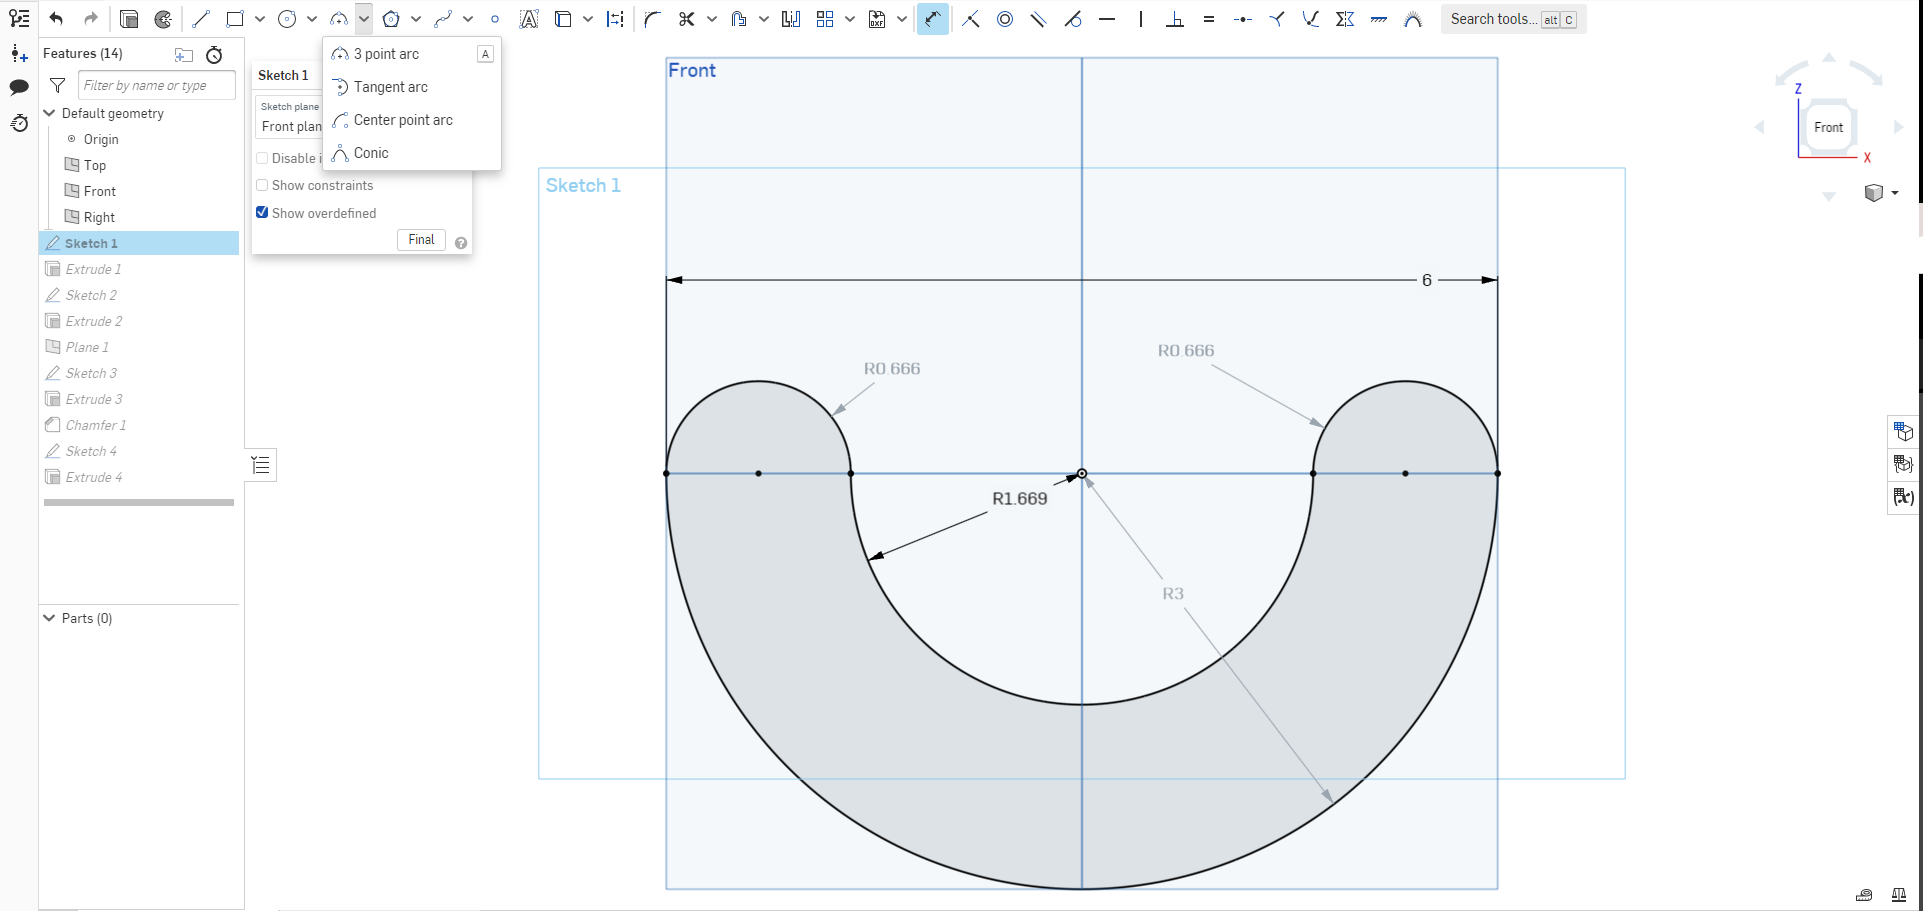
Place a sketch on the front plane
Use the Center point arc tool to make an arc of 3in and then use the dimension tool to make it 6in. wide
Use the Center point arc tool again and make another arc of 1.669in.
Then use the Tangent arc tool to make two arcs of 0.666in. in the gaps between the other arcs
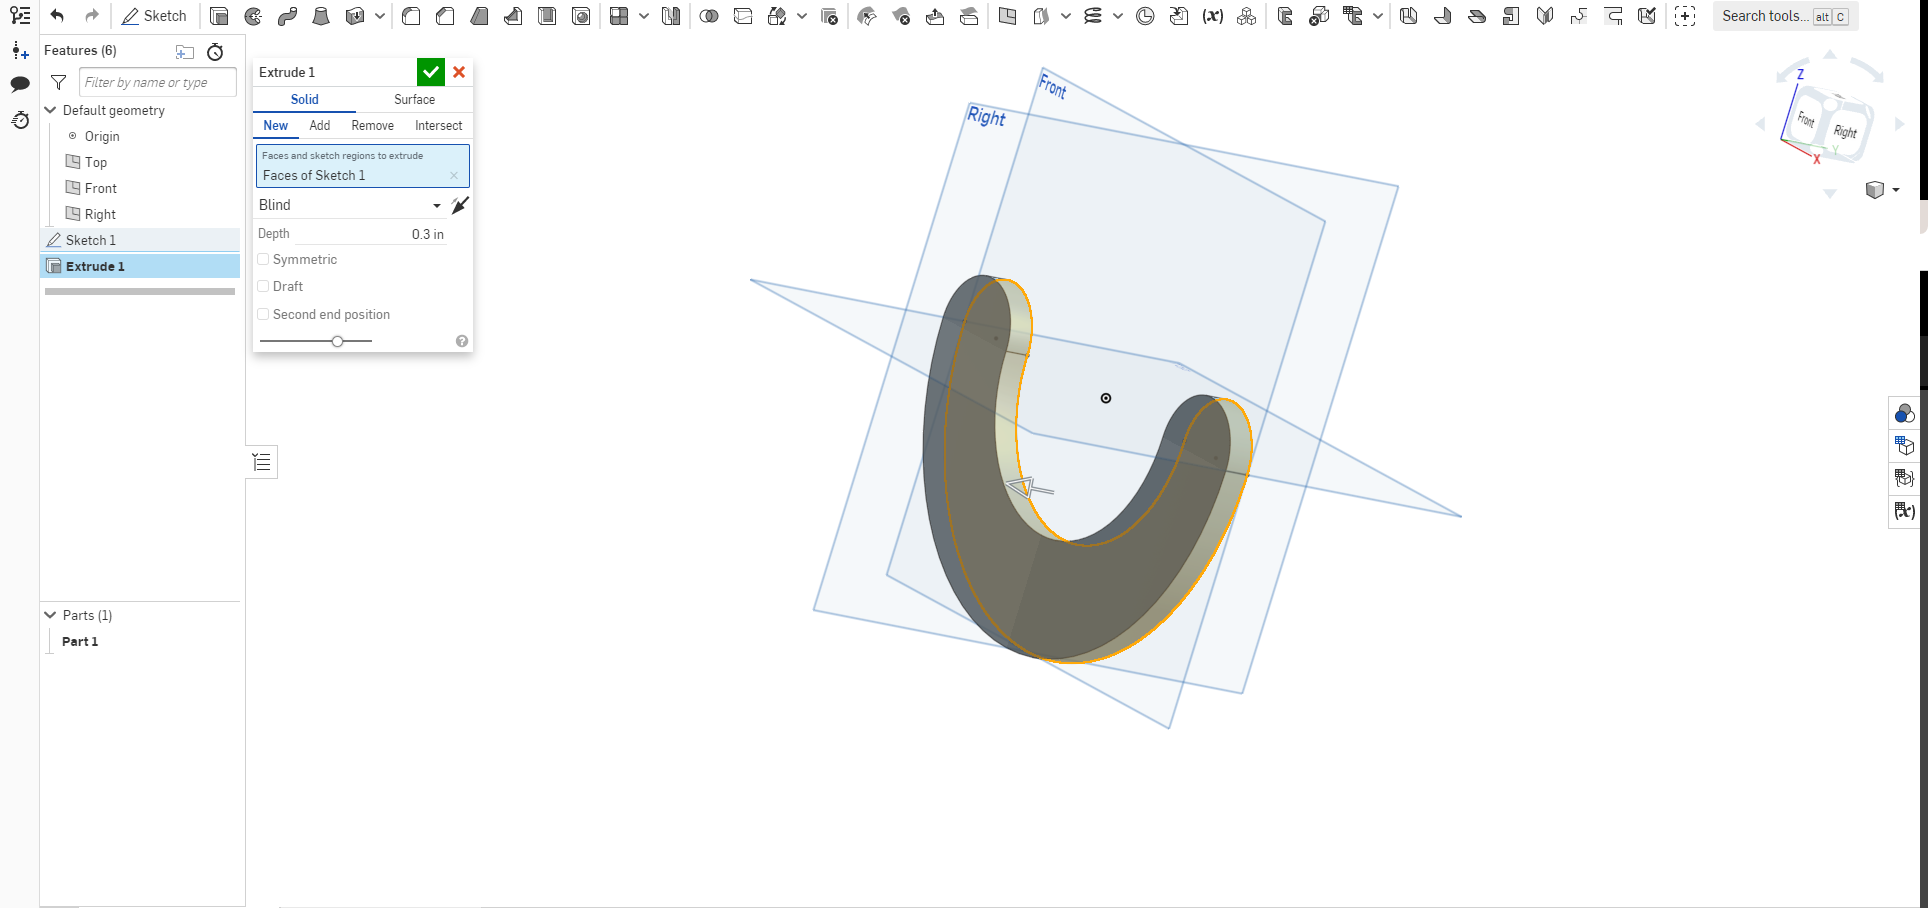
The afterward close the sketch and use the Extrude, set it to 0.3in.
Creating the Supports
Switch your perspective to the backplane and create a new sketch on the part
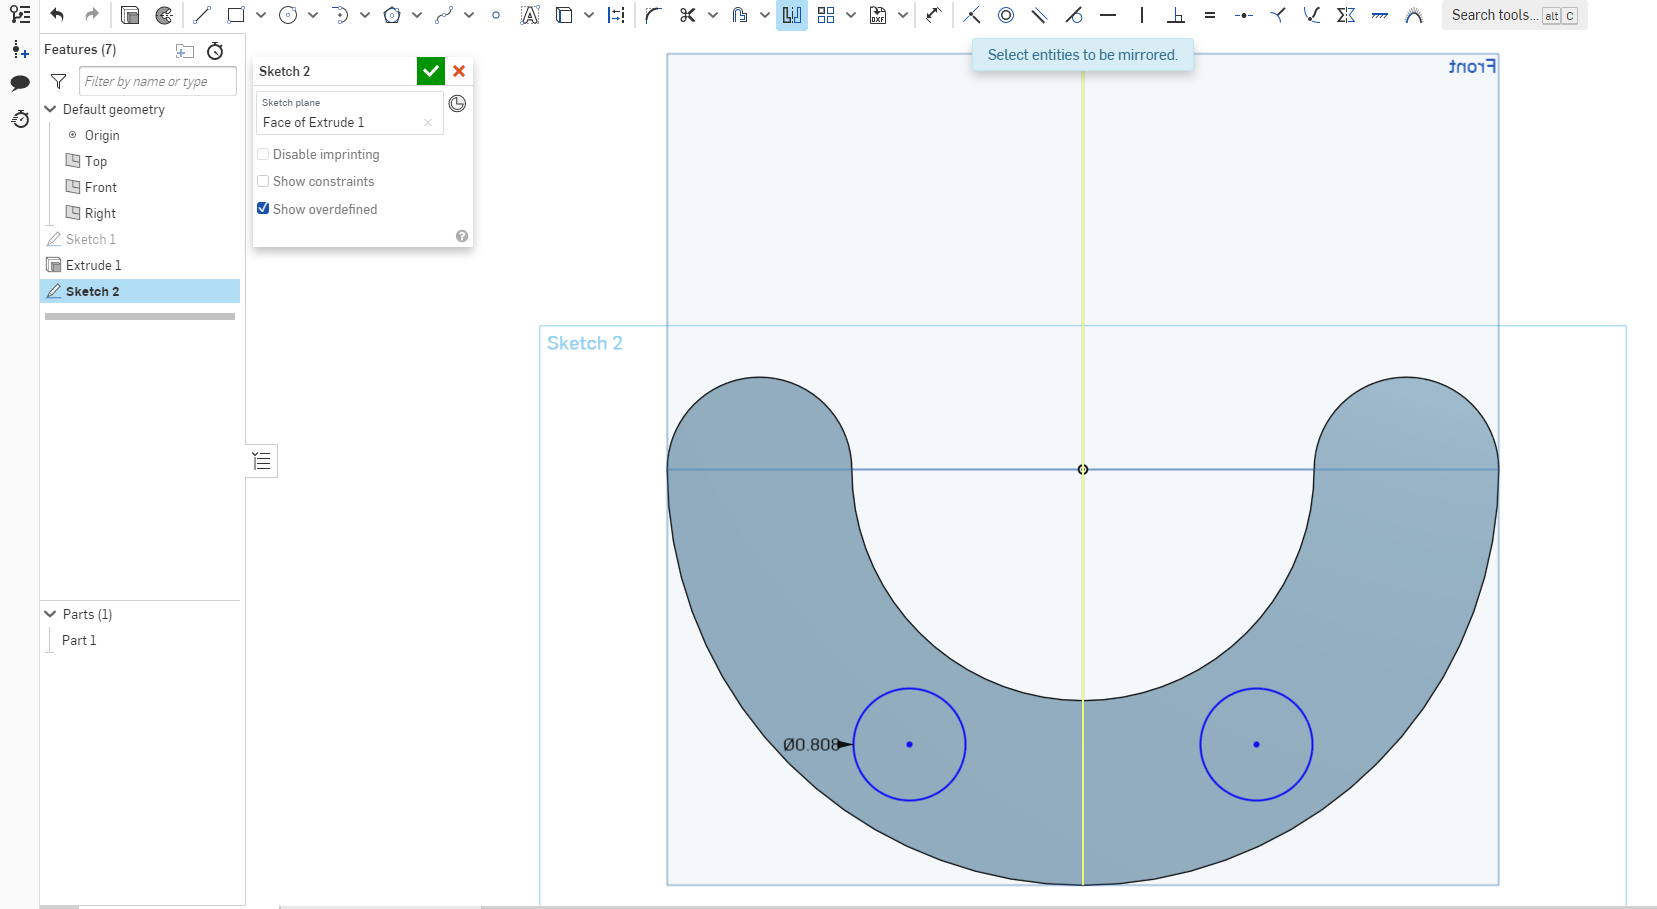
Create a circle near the bottom of the part and make it 0.808in.
Then use the Mirror Tool, click the y-axis, and mirror the circle.
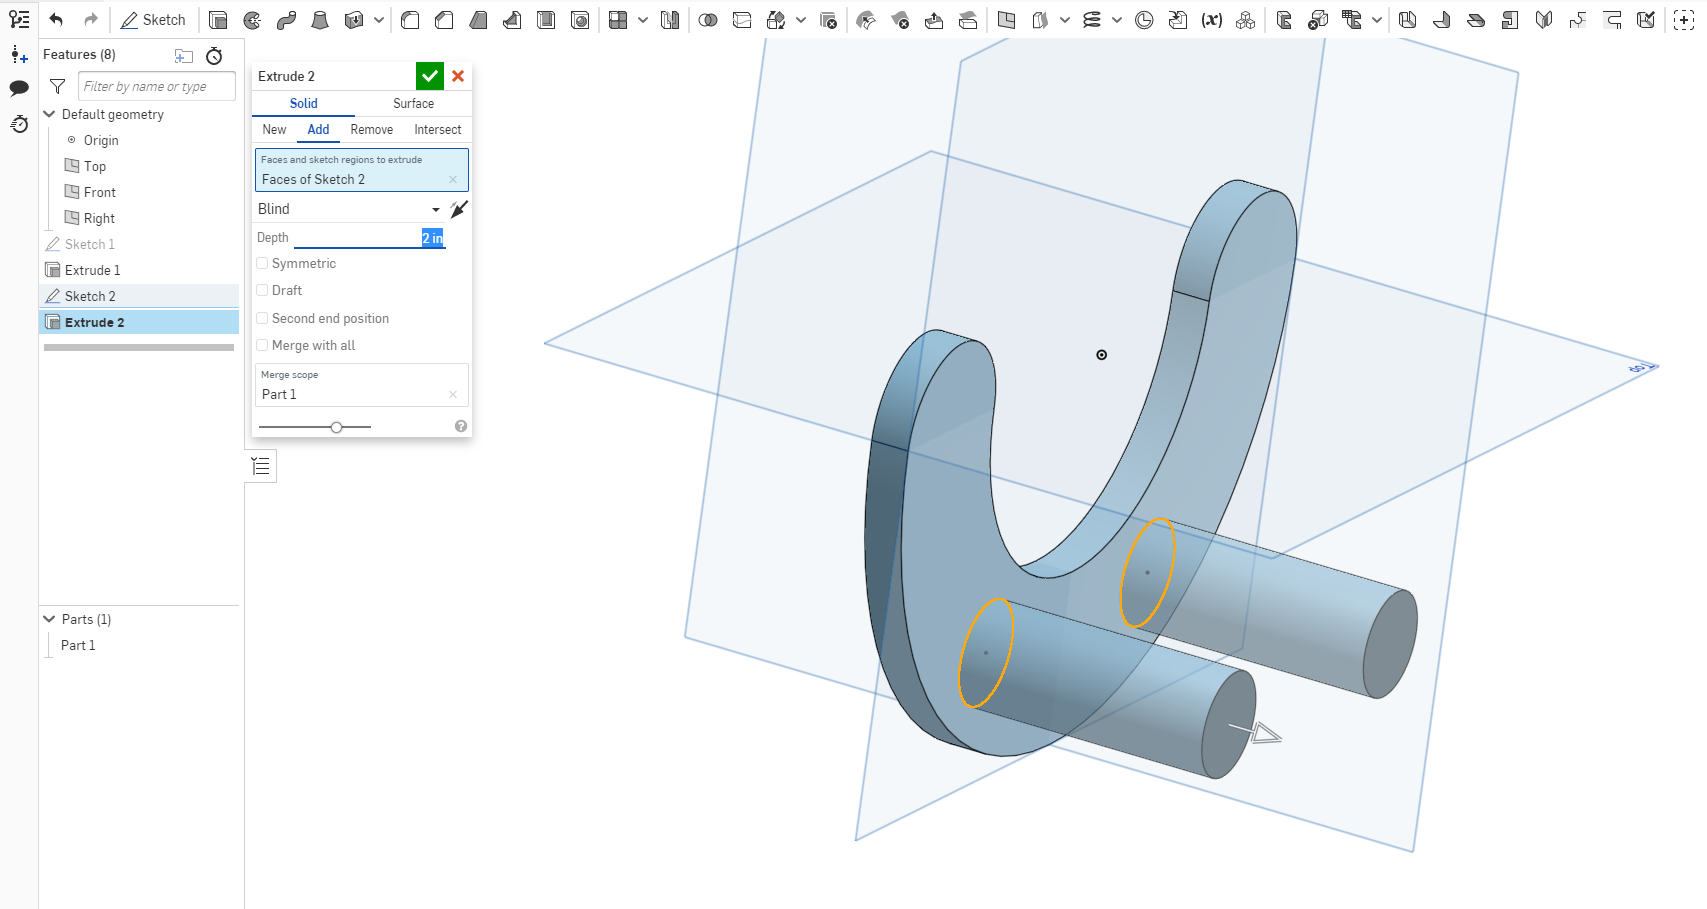
Close out the sketch and use the Extrude tool and set it at 2in.
Creating a Base
Offset the Front plane behind the support rod by 2in.
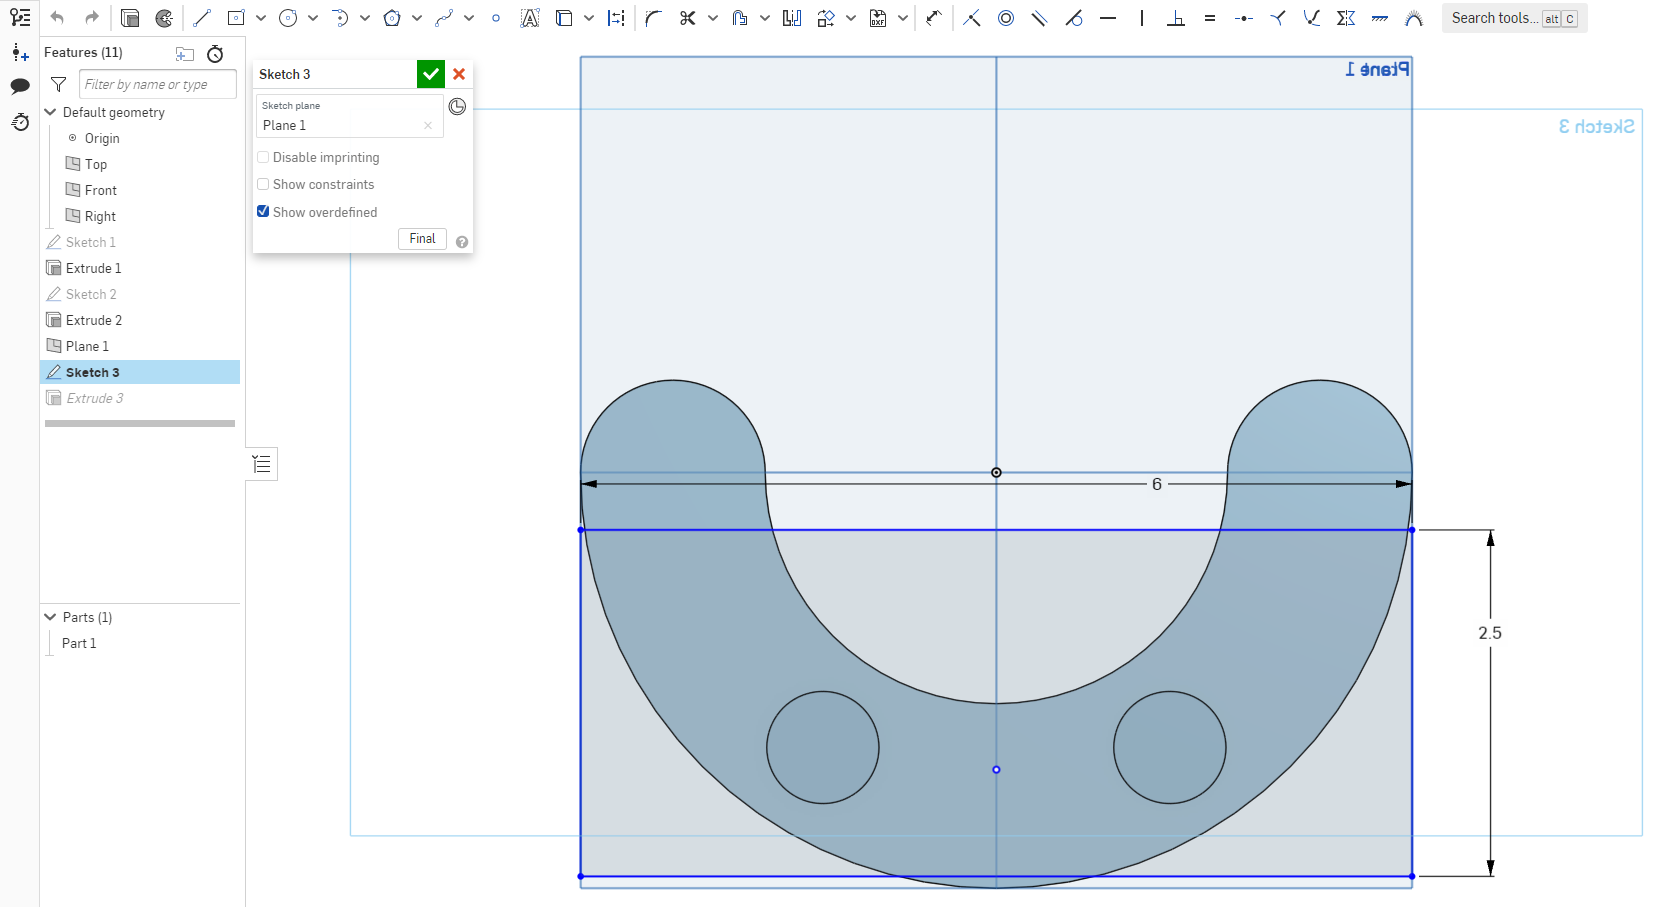
Switch to the back perspective and create a new sketch on the new Front plane (plane 1)
Use a Center point rectangle and set the dimensions to 6in wide and 2.5in high (use the transform tool to move the rectangle as you see fit)
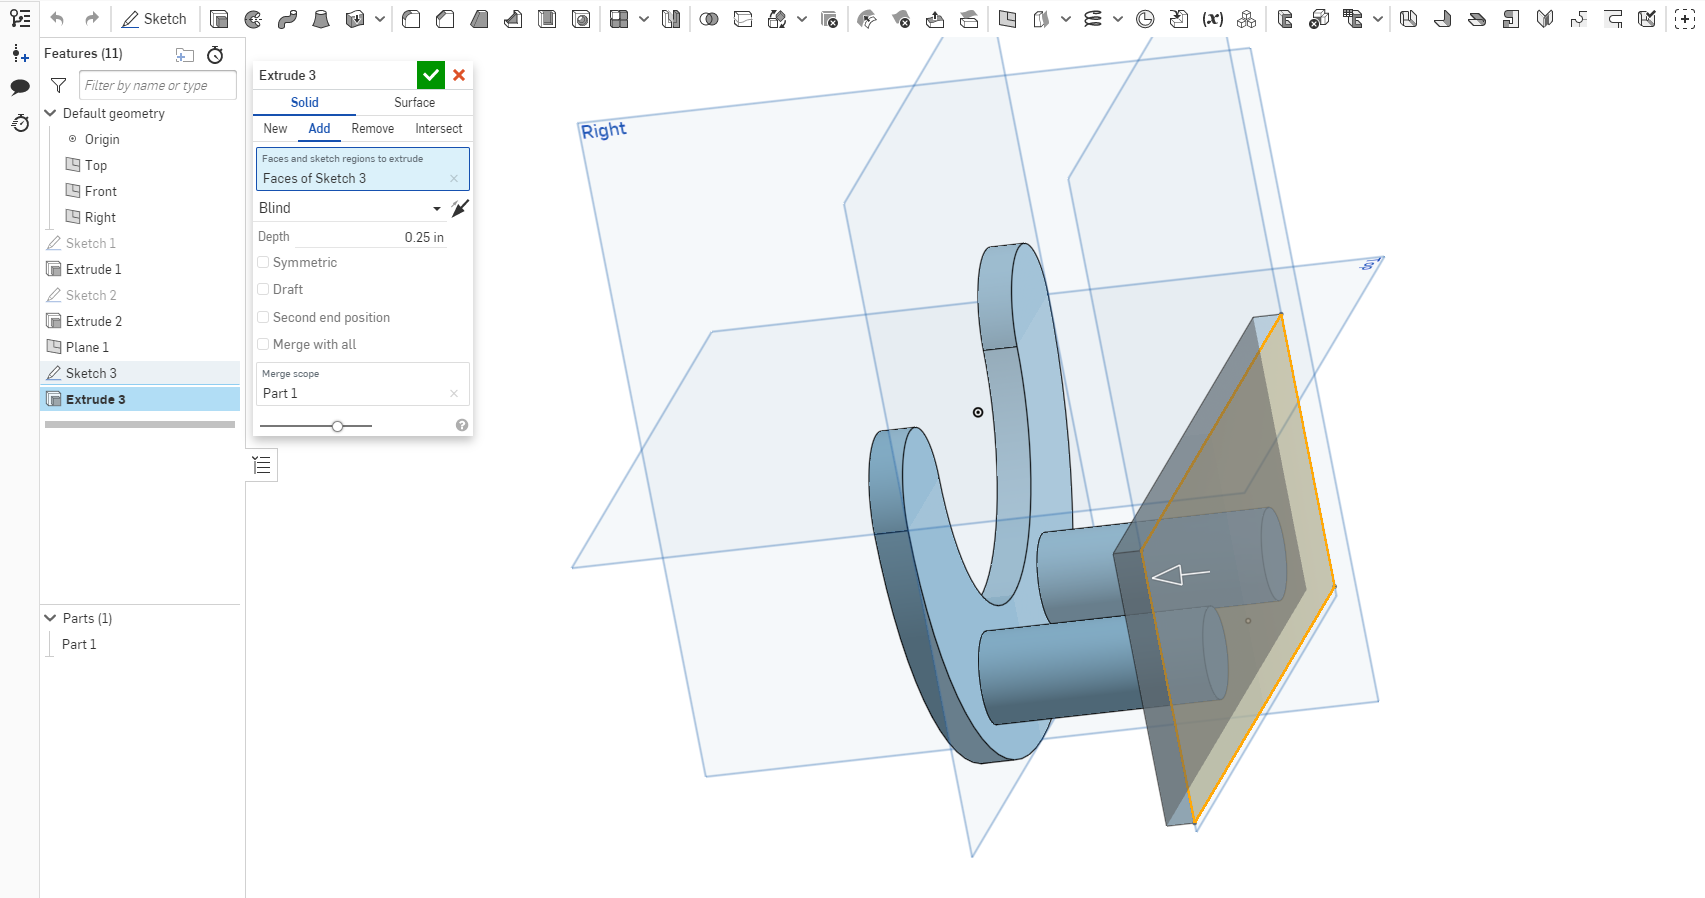
Close the sketch and use the Extrude tool, set it to 0.25in.
Chamfer and Screw Holes
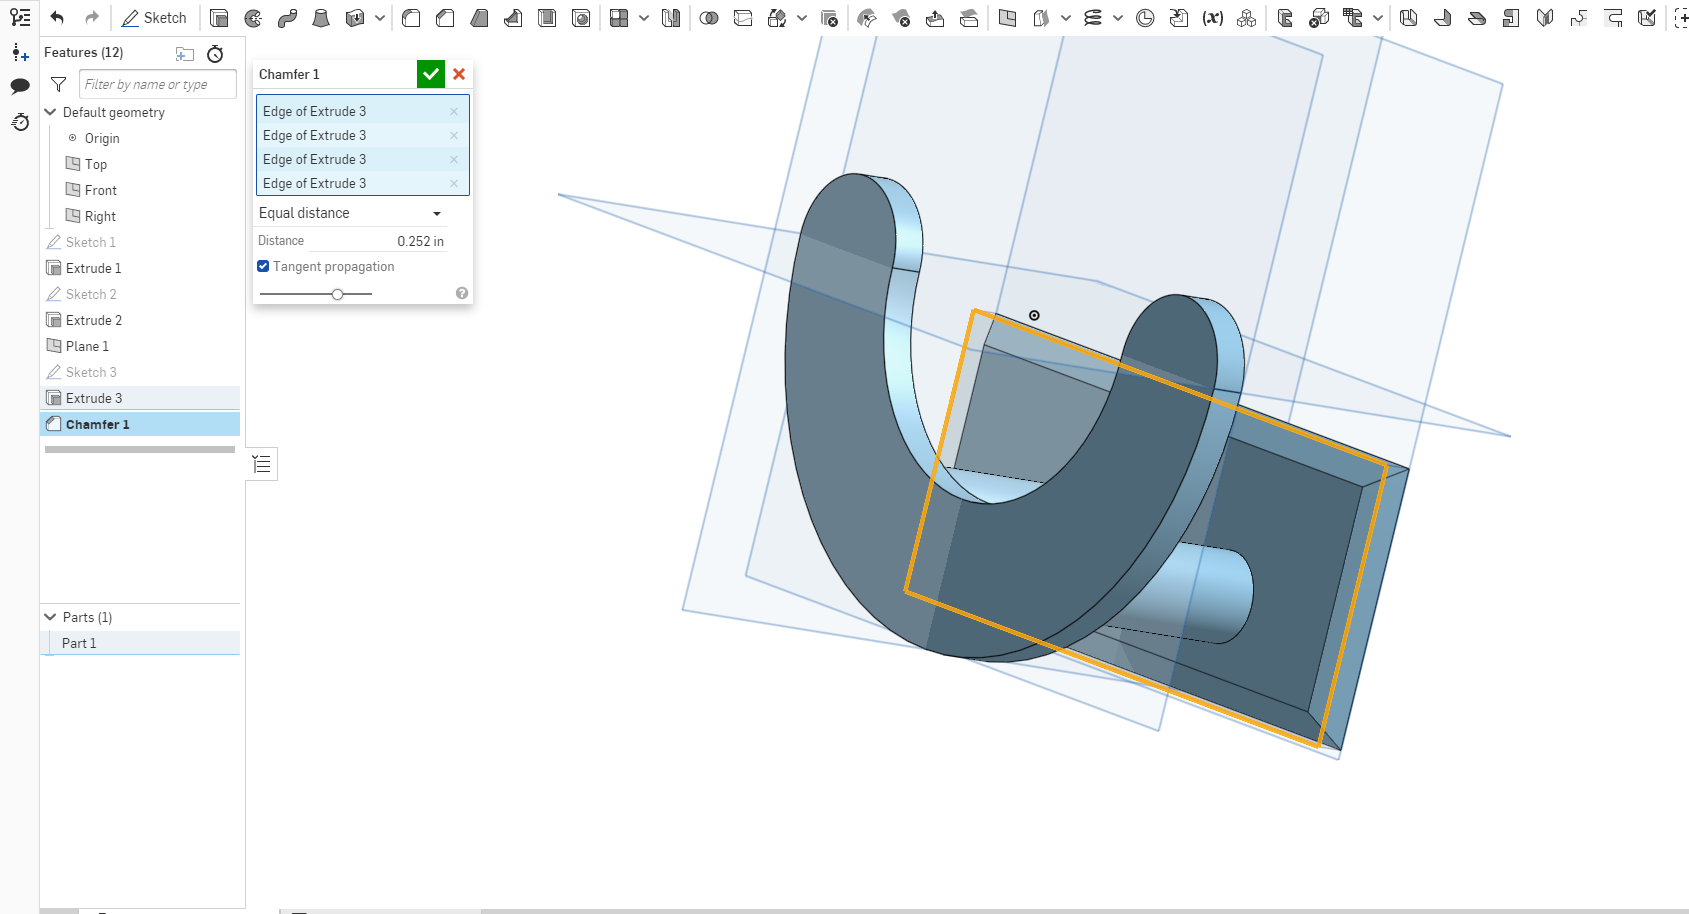
Click the Chamfer button and select the sides of the rectangle closest to the support rods
Set the chamfer to 0.0252in. and click the checkmark
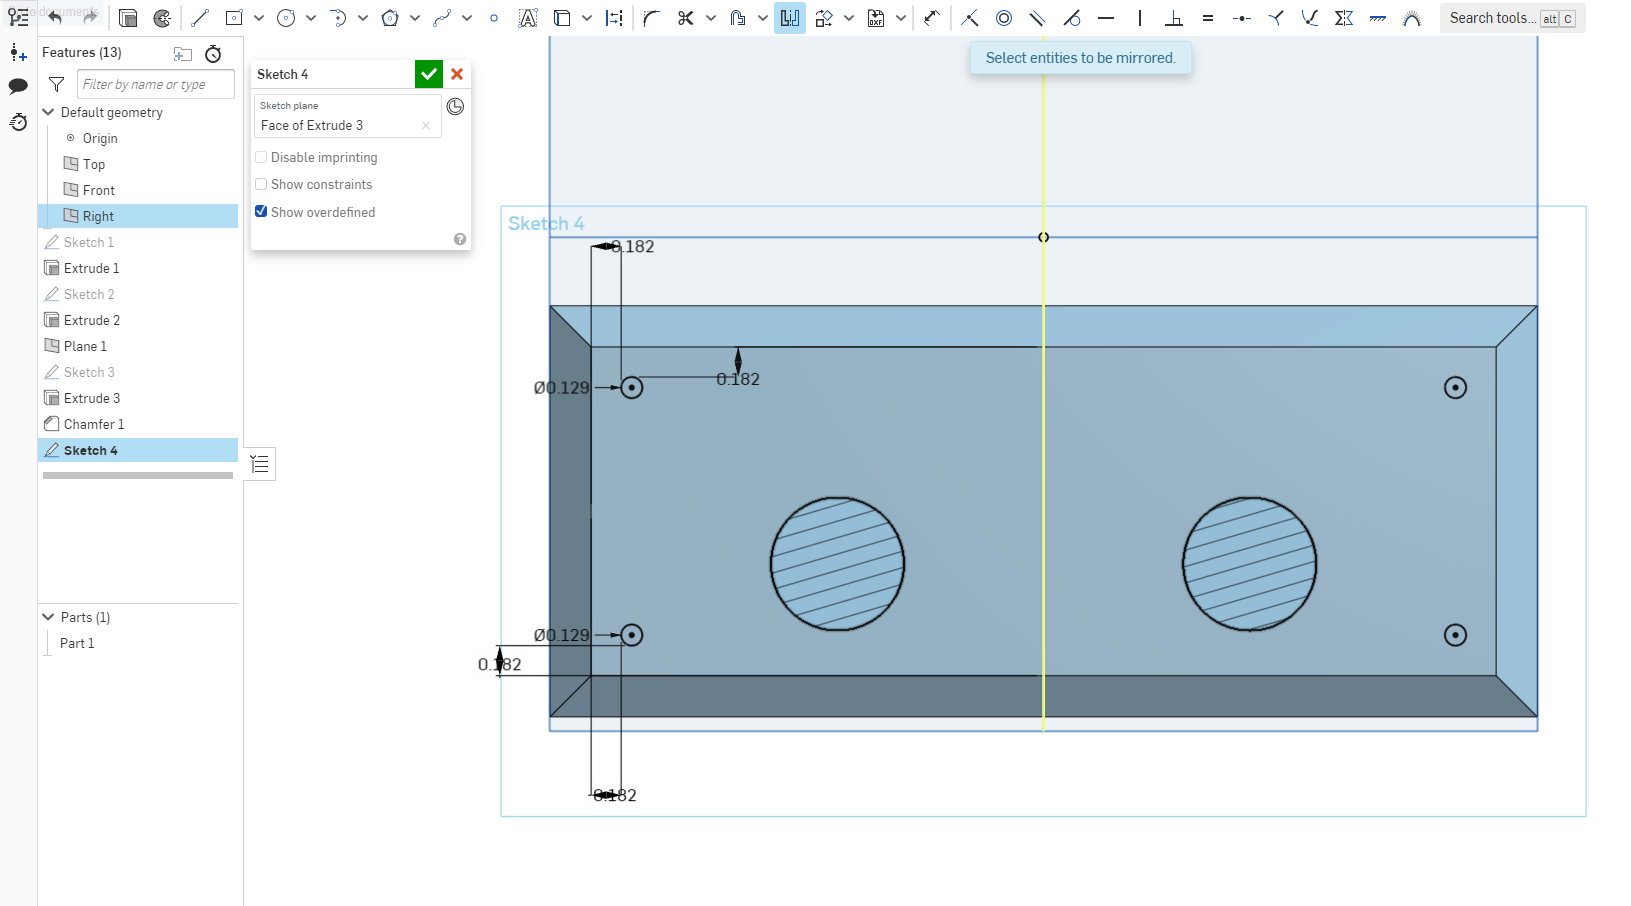
Then right-click the front of the base and select section view, create a sketch on the part
Create two circles with a size of 0.1285 on one side of the part 9you can use the dimension tool to evenly place them apart)
Then use the mirror tool and mirror both circles and close the sketch
Finishing Things Up
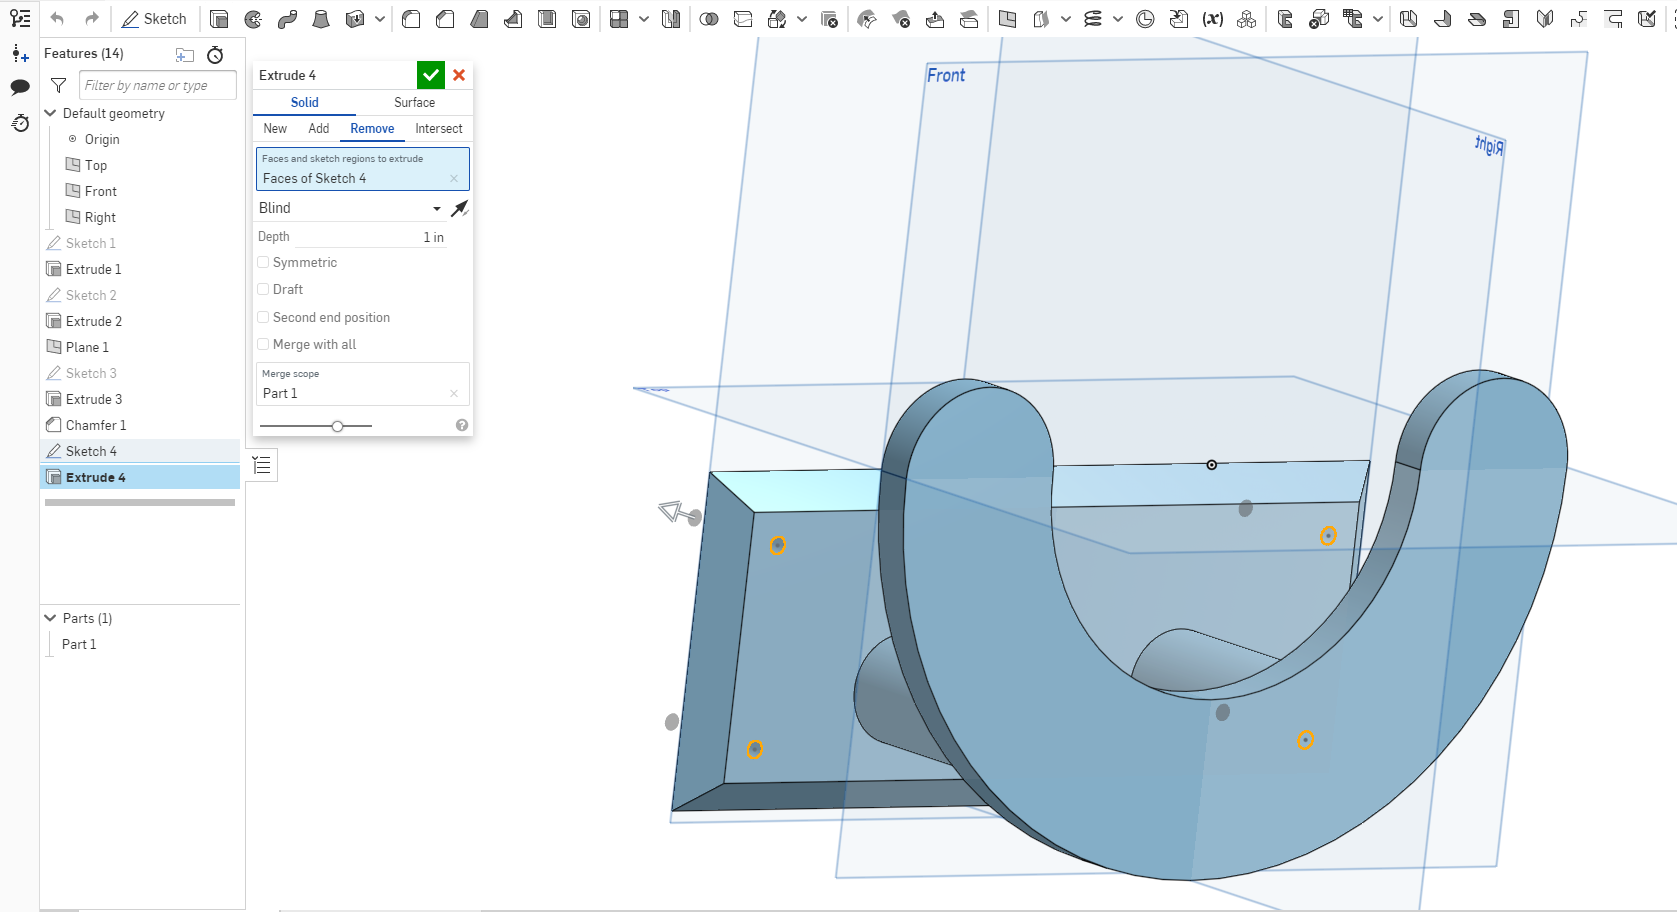
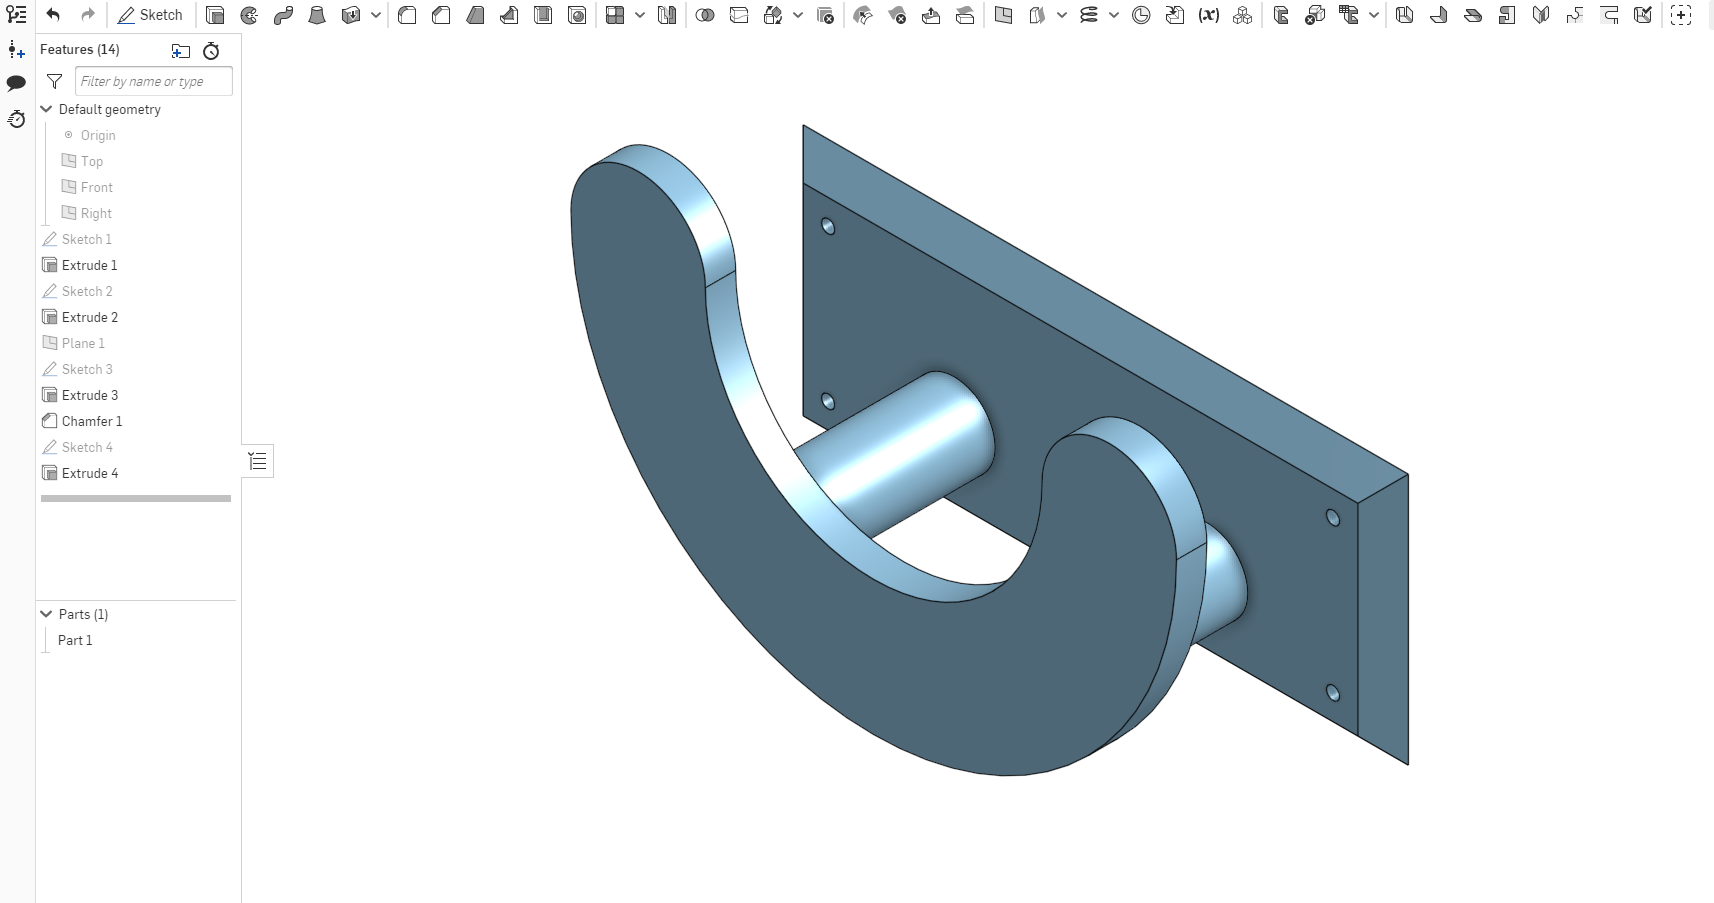
Right-click the base and turn off section view
Use the Extrude tool and use the remove option, click on all four circles and click the checkmark to make holes in the base (for mounting)
And your done