How to Make a Virtual Environment in Thonny Raspberry Pi
by AIRNET LABS in Circuits > Raspberry Pi
28 Views, 0 Favorites, 0 Comments
How to Make a Virtual Environment in Thonny Raspberry Pi
.jpg)

Ever want to install outside packages on Raspberry Pi? Then this tutorial is for you!
Downloads
Supplies

Raspberry pi
Monitor or compatible TV
Keyboard
Mouse
Power supply
Heatsink or active cooler (optional)
Watch Video


.jpeg)


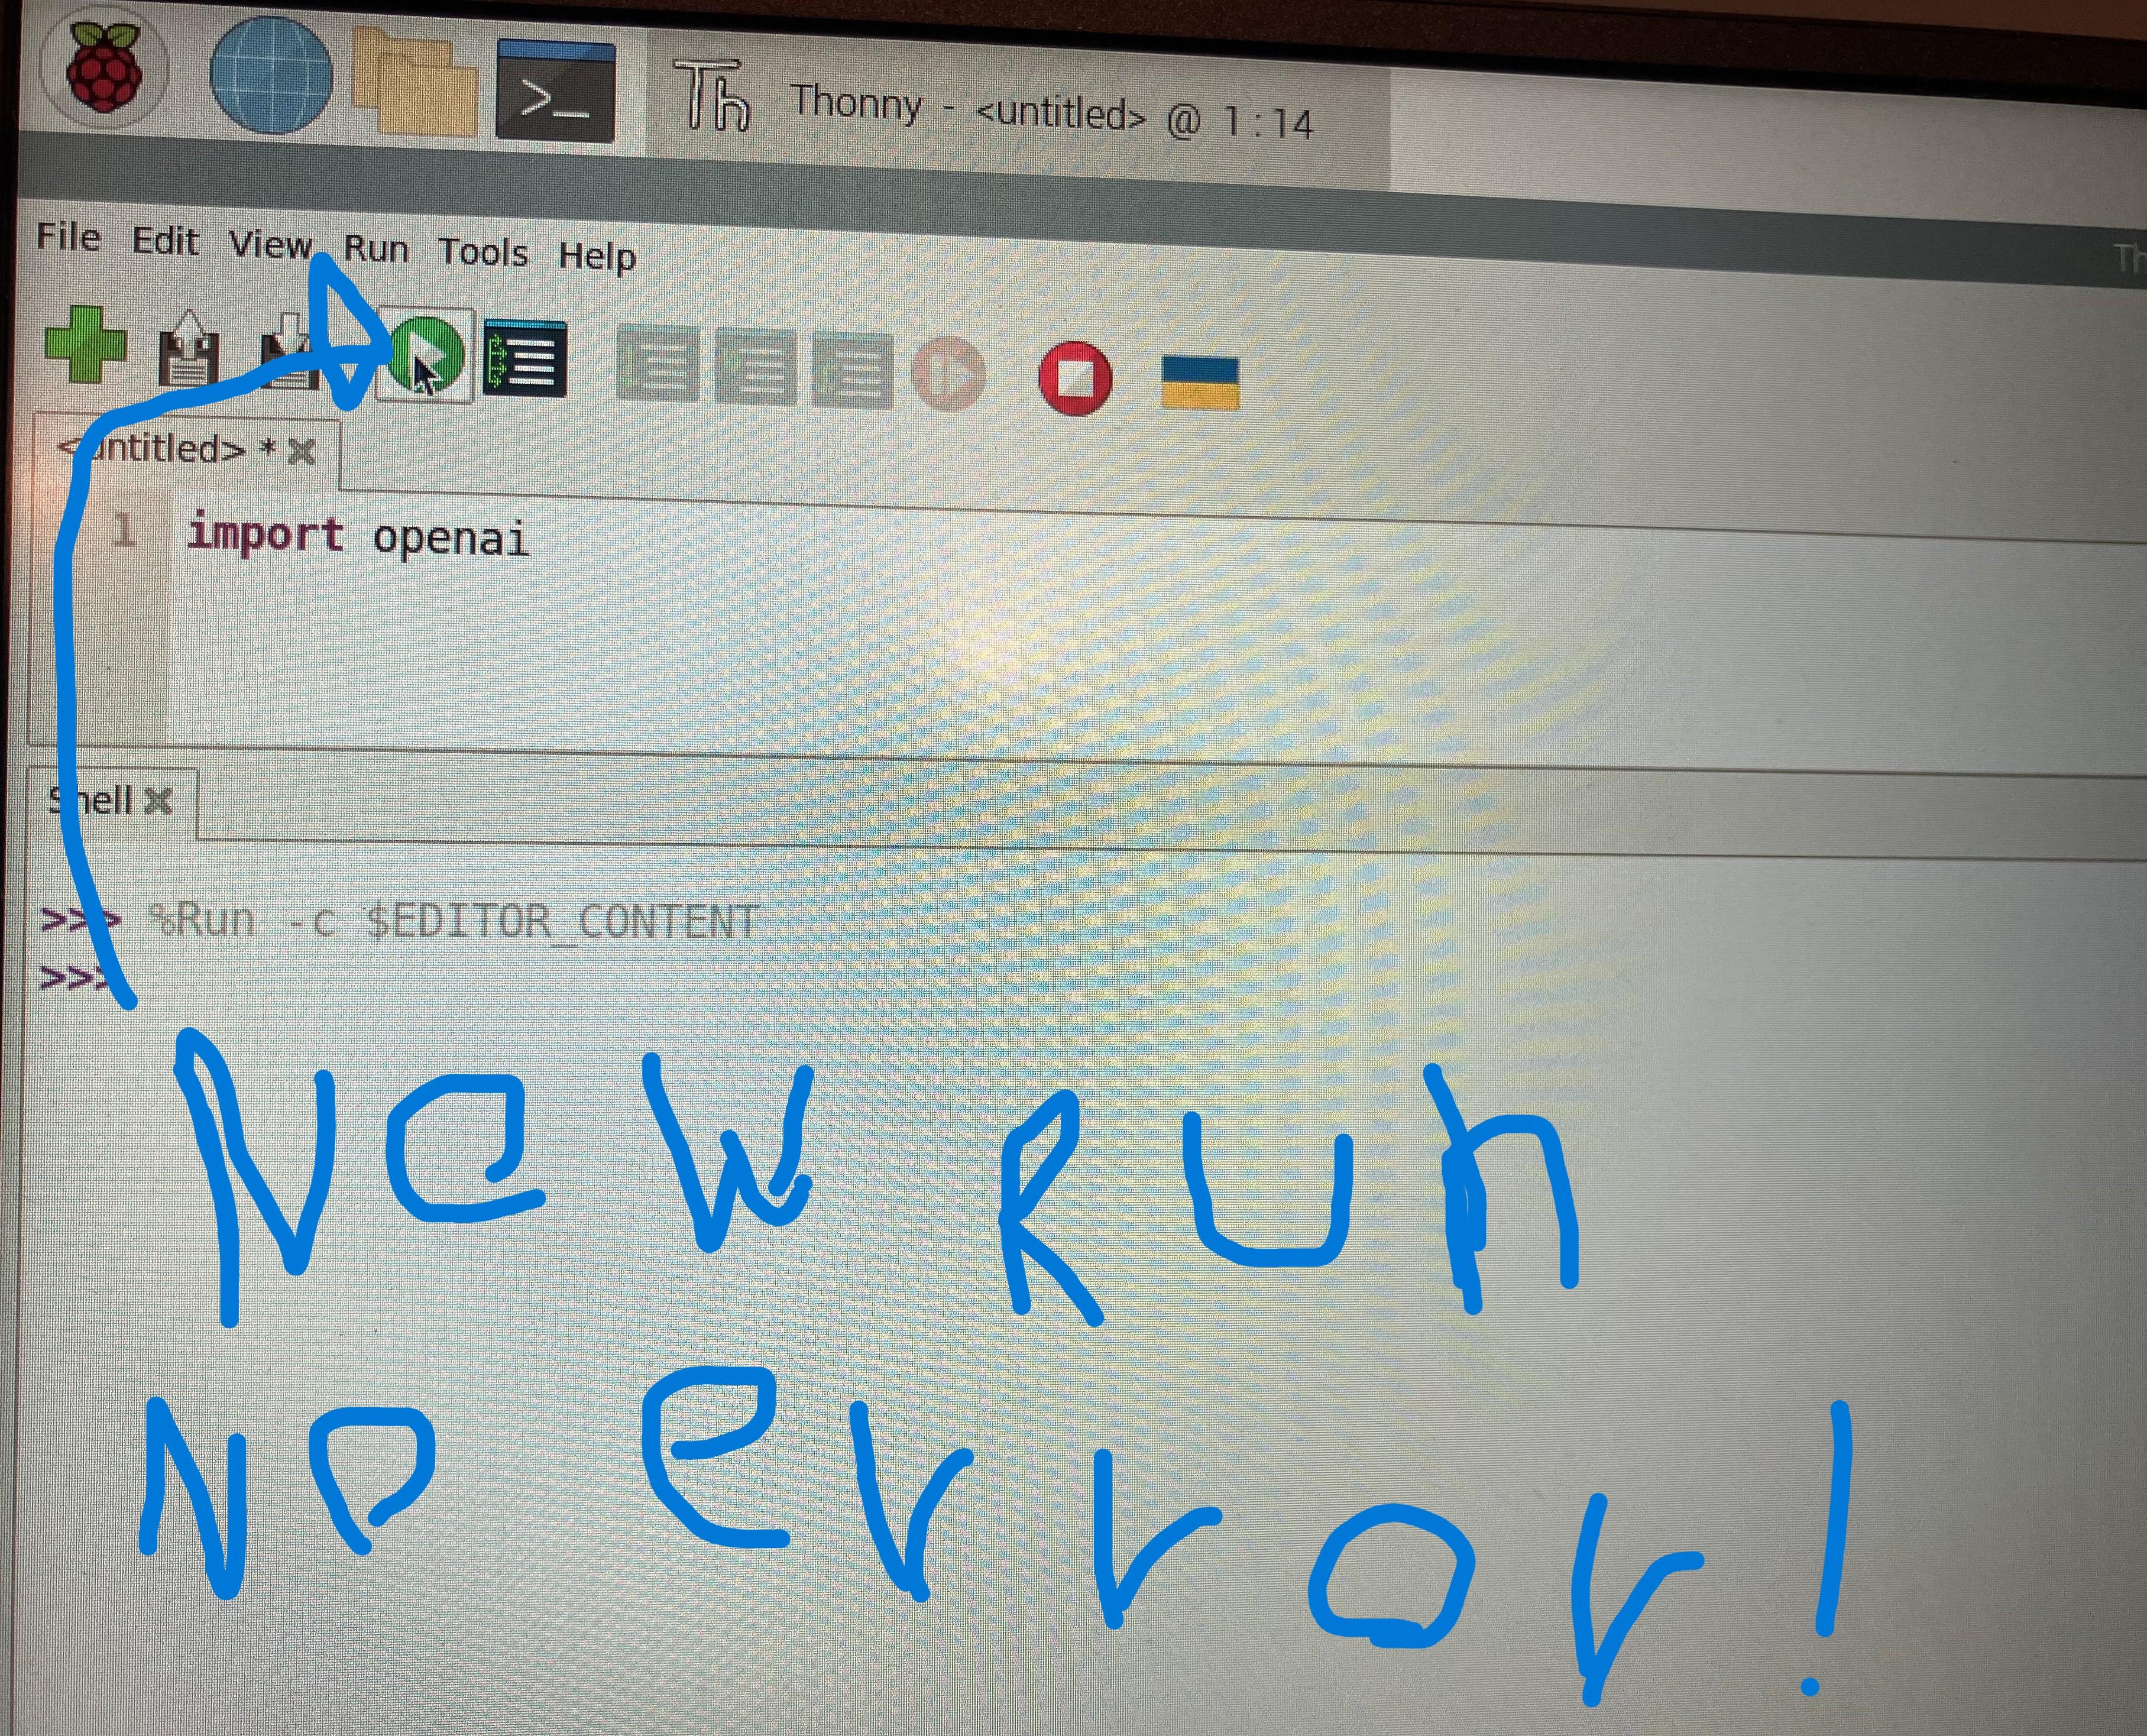
First, go to Thonny on Raspberry pi, then switch to regular mode if you haven't already by clicking on the letters that say 'switch to regular mode' that are underlined, if you do have regular mode open you will see multiple words with dropdown menus like Tools, then select Run, then select Configure interpreter, then select the underlined letters that say New Virtual Environment, Then select ok on the popup, then select the home tab on the Left, Then click the file icon, then name it and hit create, you will then see an empty page, then hit ok on the bottom right, the window will then close and create the environment, now run install packages by going to the Tools dropdown menu and selecting open system shell, then type in pip3.11 install and then the package you want to install in lowercase, for this example I will be installing the OpenAI package. Press enter when you selected the package you want and put pip3.11 before it. Now run your code and see that no errors will occur!