How to Make a Traffic Light Circuit With Timer
by 714317 in Circuits > Arduino
3311 Views, 1 Favorites, 0 Comments
How to Make a Traffic Light Circuit With Timer
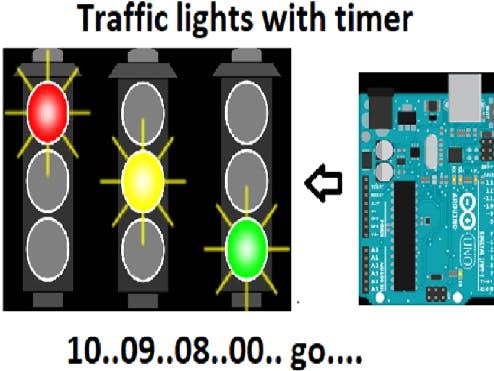
I made Traffic Lights using Arduino and & segment display.
I used one 7 segment display to count the time from 9 seconds to 0 seconds. This is a very good project which can be made by school students or engineering students to show it to their school or college. You can easily make this project. This is very interesting, you can edit it or you can use 2 displays to make it count more.
Supplies
Here is all you need:
5 mm LED: Red (4)
Putting the Components Together.
.png)
.png)
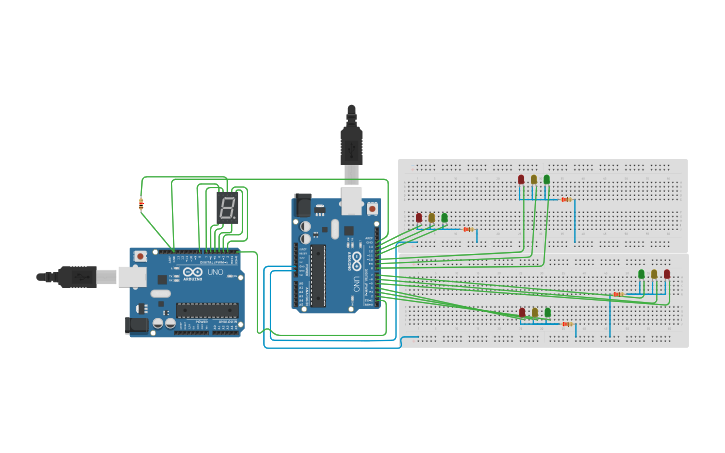
Gather components like Arduino Uno, 7 segment display, resistor 220 ohm, breadboard, LEDs red green and yellow, Jumper wires, etc.
Take 2 Arduino Breadboards place all four led's of each color as shown in the picture above. red led, yellow led and the green led.
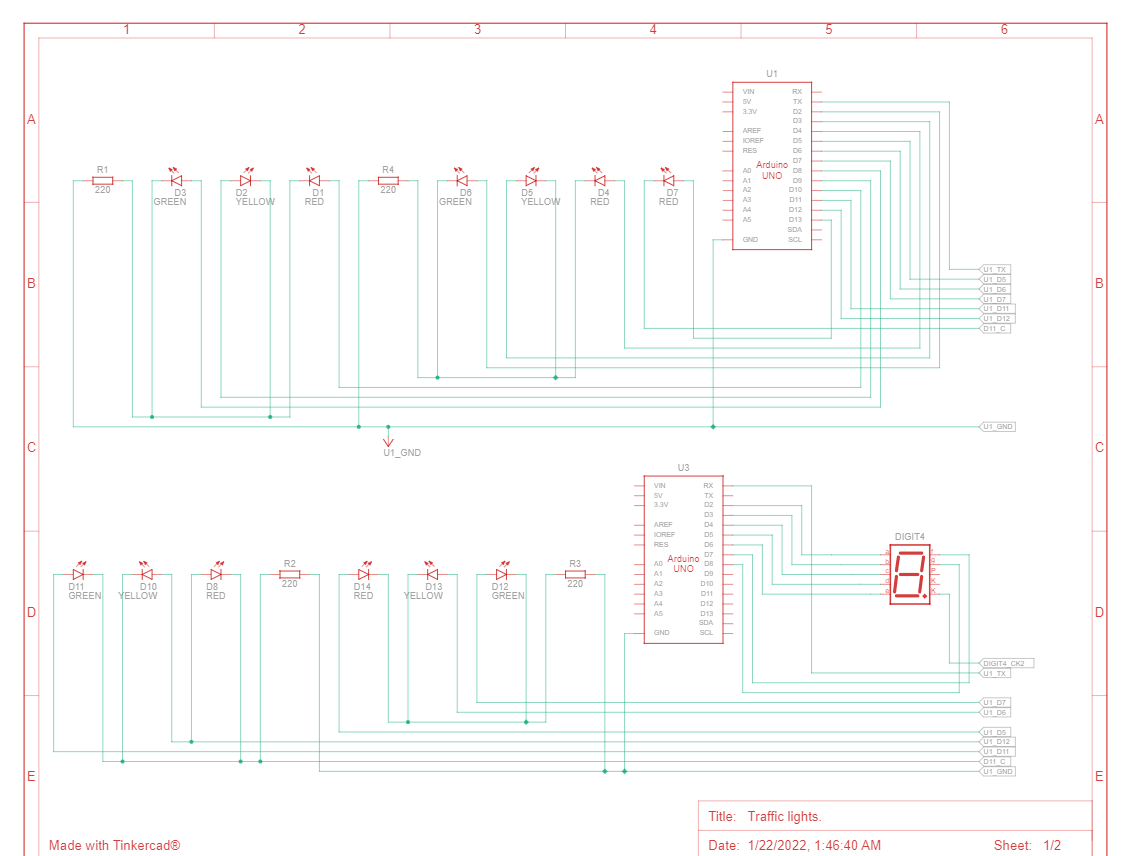
Connect all LEDs anode ( +ve terminal ) with 220-ohm resistance.
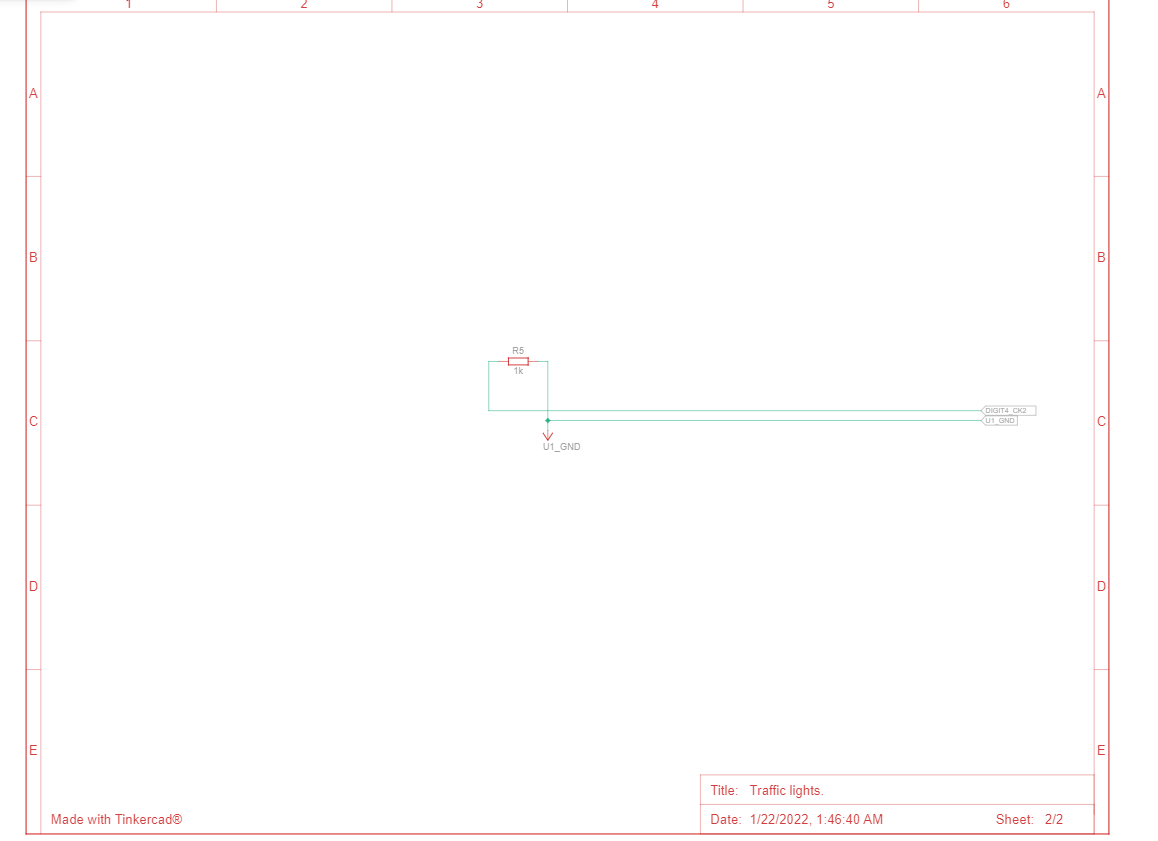
Connect the 7 segment display to the Arduino as shown in the schematic. 5. Then Connect the common pin of 7 segment display with 1k-ohm resistance.
Wiring
All wiring should be connected to the breadboard and inside properly or it will not work.
Upload Code Into Arduino Software
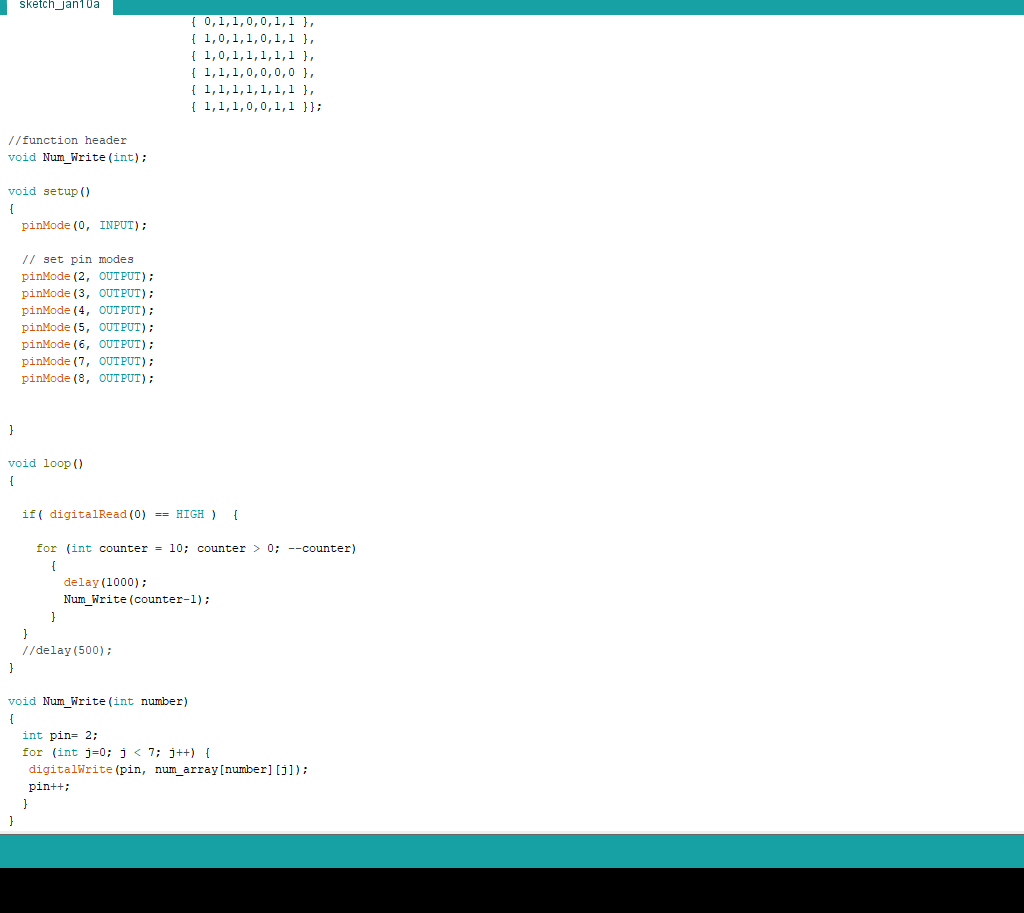.png)
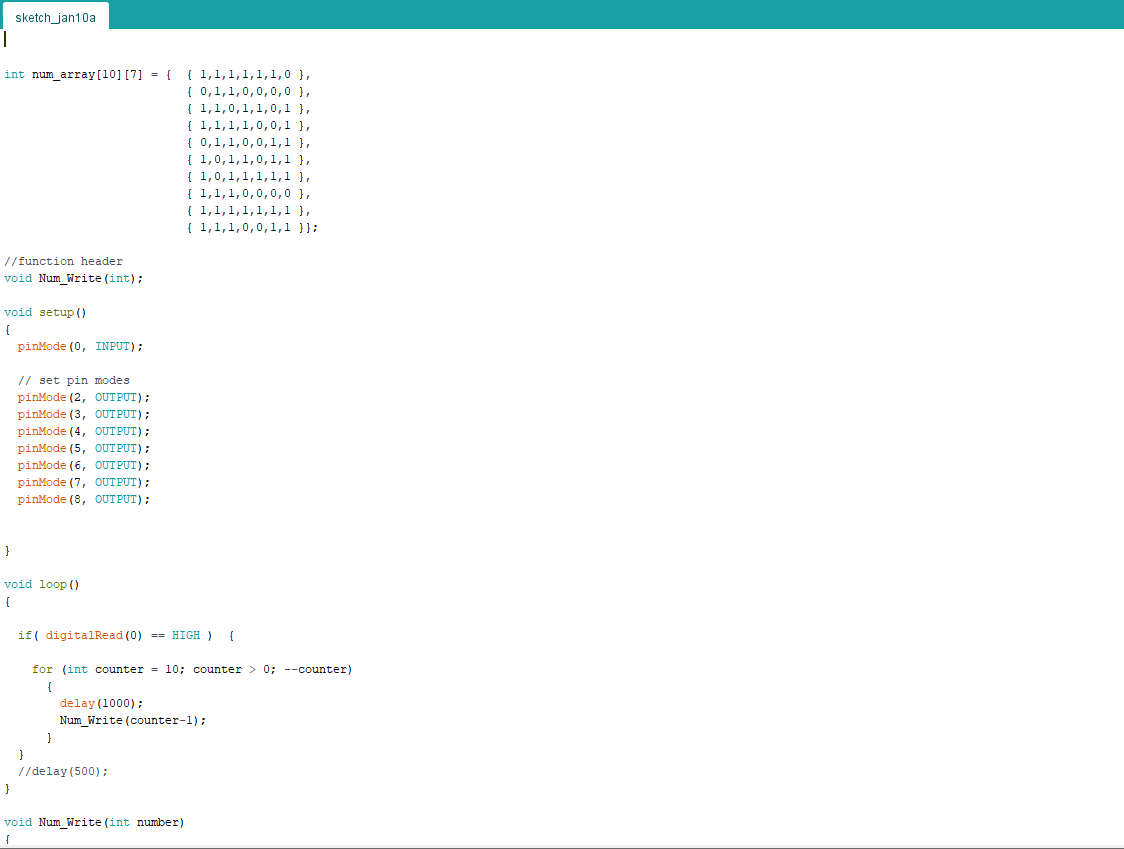.png)
Analysis of the code
int num_array[10][7] = { { 1,1,1,1,1,1,0 },
{ 0,1,1,0,0,0,0 }
{ 1,1,1,1,0,0,1 },
{ 0,1,1,0,0,1,1 },
{ 1,0,1,1,0,1,1 },
{ 1,0,1,1,1,1,1 },
{ 1,1,1,0,0,0,0 },
{ 1,1,1,1,1,1,1 },
{ 1,1,1,0,0,1,1 }};
//function header
void Num_Write(int);
void setup()
{ pinMode(0, INPUT);
// set pin modes
pinMode(2, OUTPUT);
pinMode(3, OUTPUT);
pinMode(4, OUTPUT);
pinMode(5, OUTPUT);
pinMode(6, OUTPUT);
pinMode(7, OUTPUT);
pinMode(8, OUTPUT); }
void loop()
if( digitalRead(0) == HIGH ) {
for (int counter = 10; counter > 0; --counter)
{
delay(1000);
Num_Write(counter-1);
}
}
//delay(500)
void Num_Write(int number)
{
int pin= 2;
for (int j=0; j < 7; j++) {
digitalWrite(pin, num_array[number][j]);
pin++;
} }
Upload code into the Arduino software
plugin your USB cable to your Arduino to turn on the circuit.
Watch the Video of the Final Product
This is the final product and hope you enjoy your toy/gadget!