How to Make a Topographic Model
by Kelly U.B in Teachers > Science
63862 Views, 46 Favorites, 0 Comments
How to Make a Topographic Model
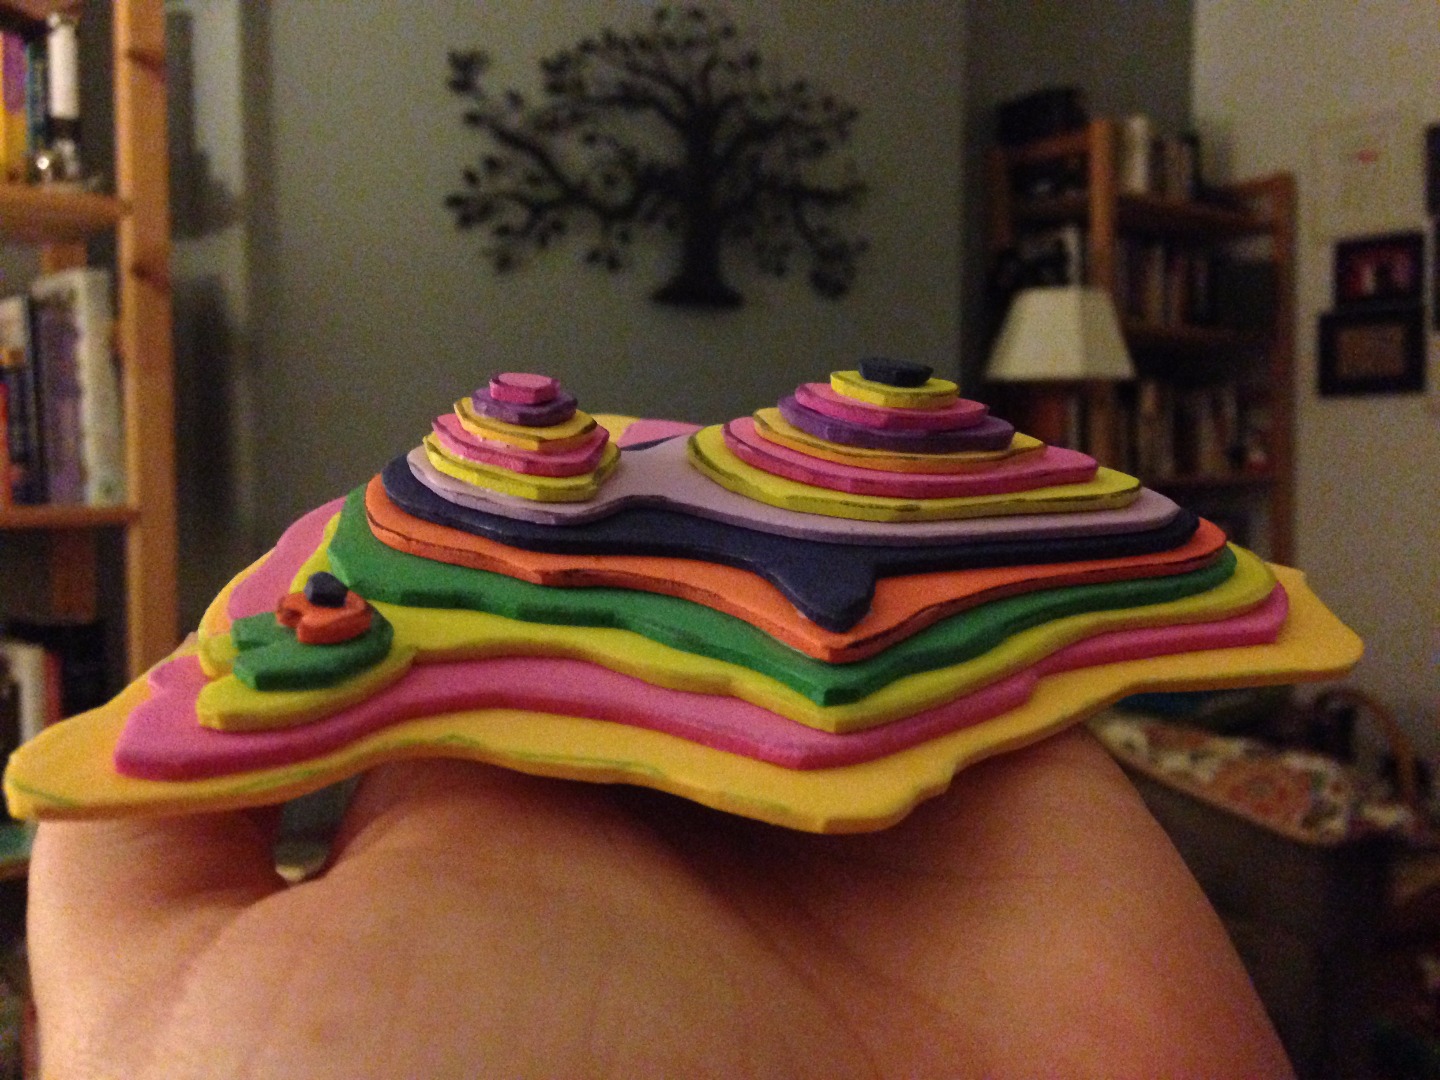
Topographic Maps are a 2D way to show elevation and shape on a map. As long as you know how to read them, you should be able to visualize what that area looks like on the actual Earth. But this isn't always easy! 3D models are an easier way to see what the Earth looks like - this is an easy set of instructions to make your own 3D model of an area shown on a topographic map.
Step 1 - What You'll Need!
.jpeg)
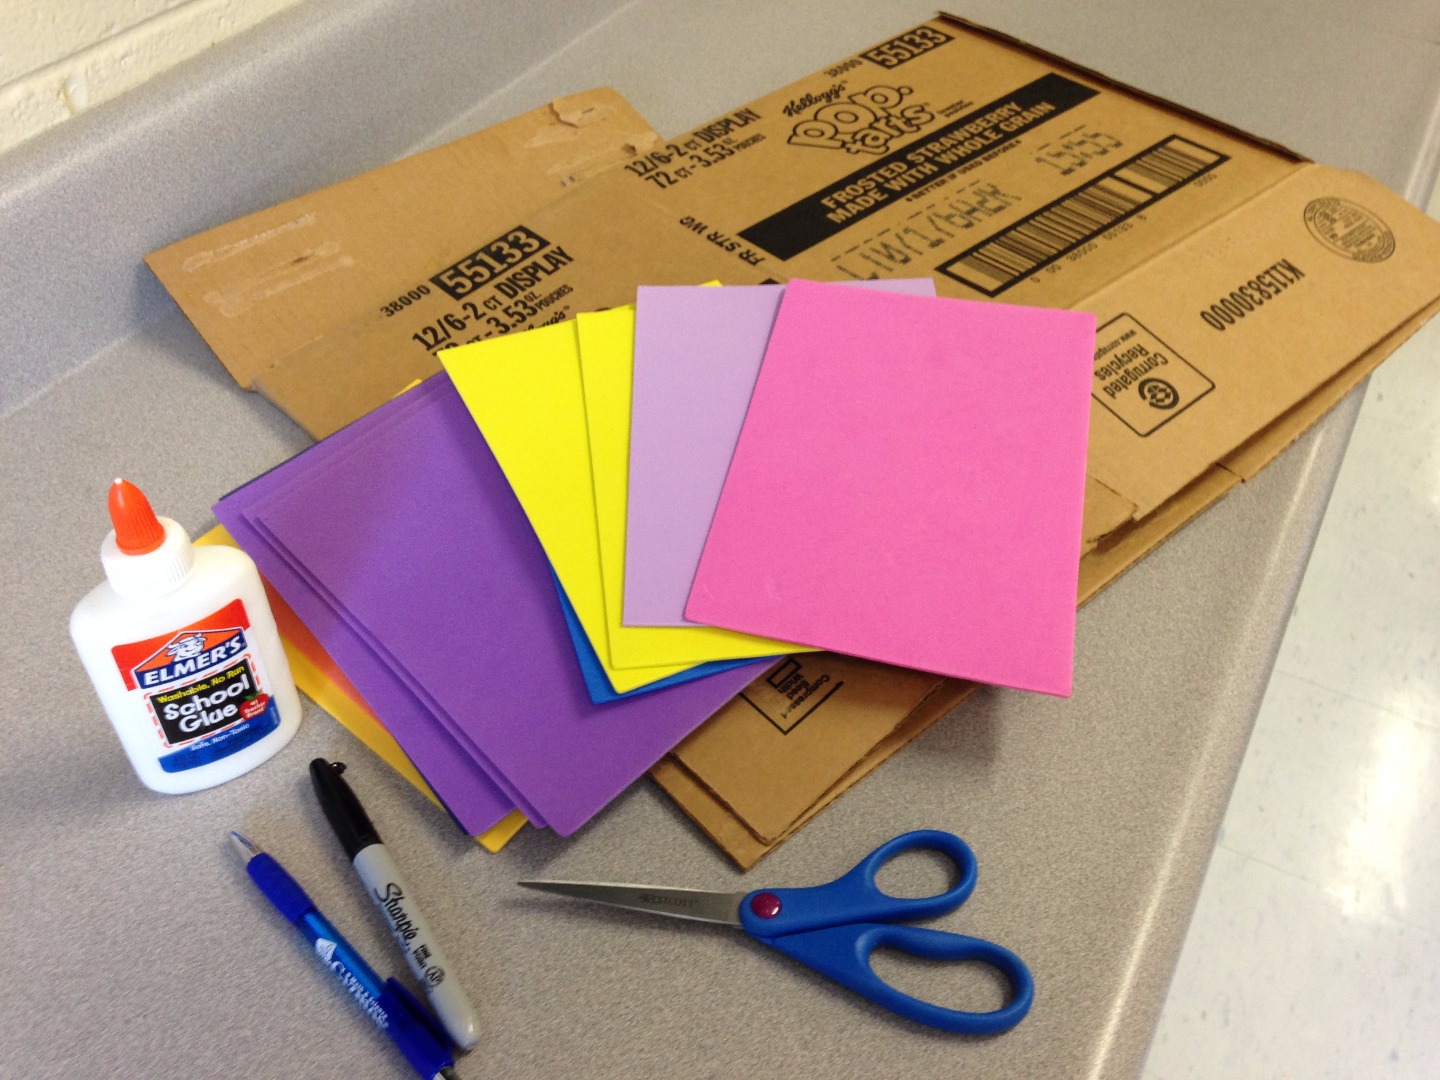
In order to build your 3D Topo Map you will need the supplies - scissors, glue, a pen or marker to trace your elevations AND the medium that you will use - I used foam paper to make mine but you can use regular paper spaced out with foam shapes, cardboard, card stock, etc. Anything that will be able to show shape and elevation!
Step 2 - Get a Topo Map!
.jpeg)
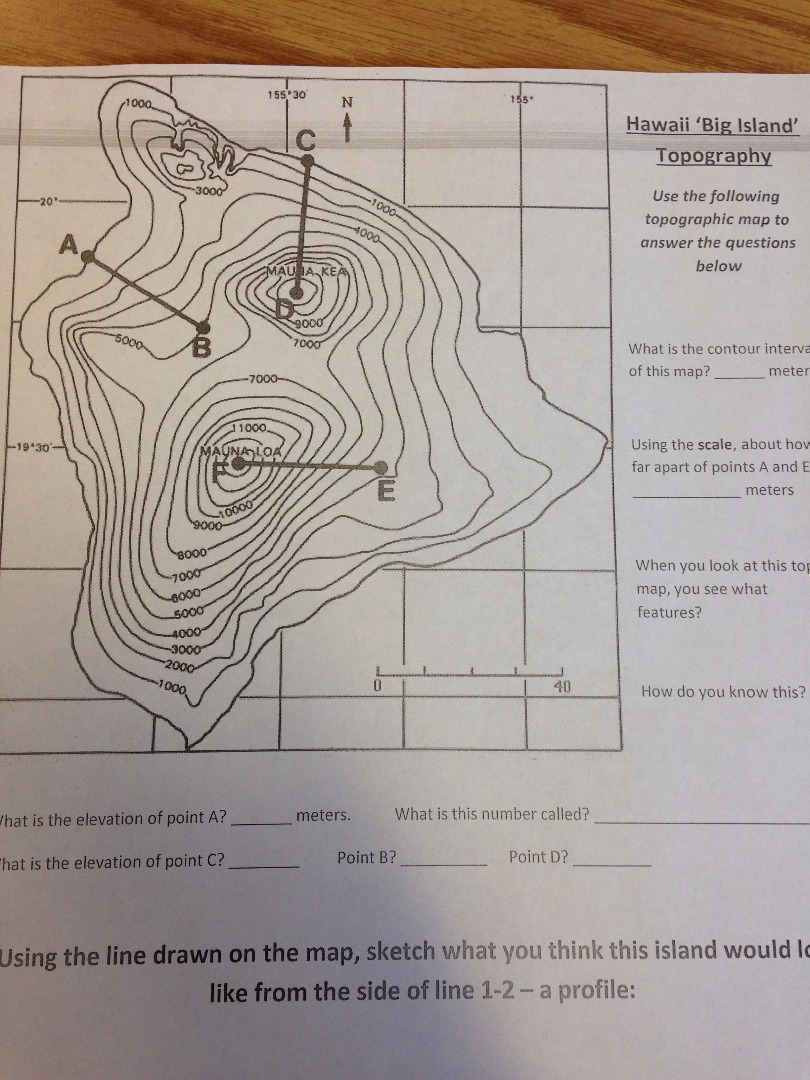
Obviously, you are making a 3D model of a topographic map so you will need a topographic map to start with. I chose a map that I use in my class while teaching topographic maps of the Big Island of Hawaii!
Step 3 - Cut Out and Trace the First Elevation Layer!
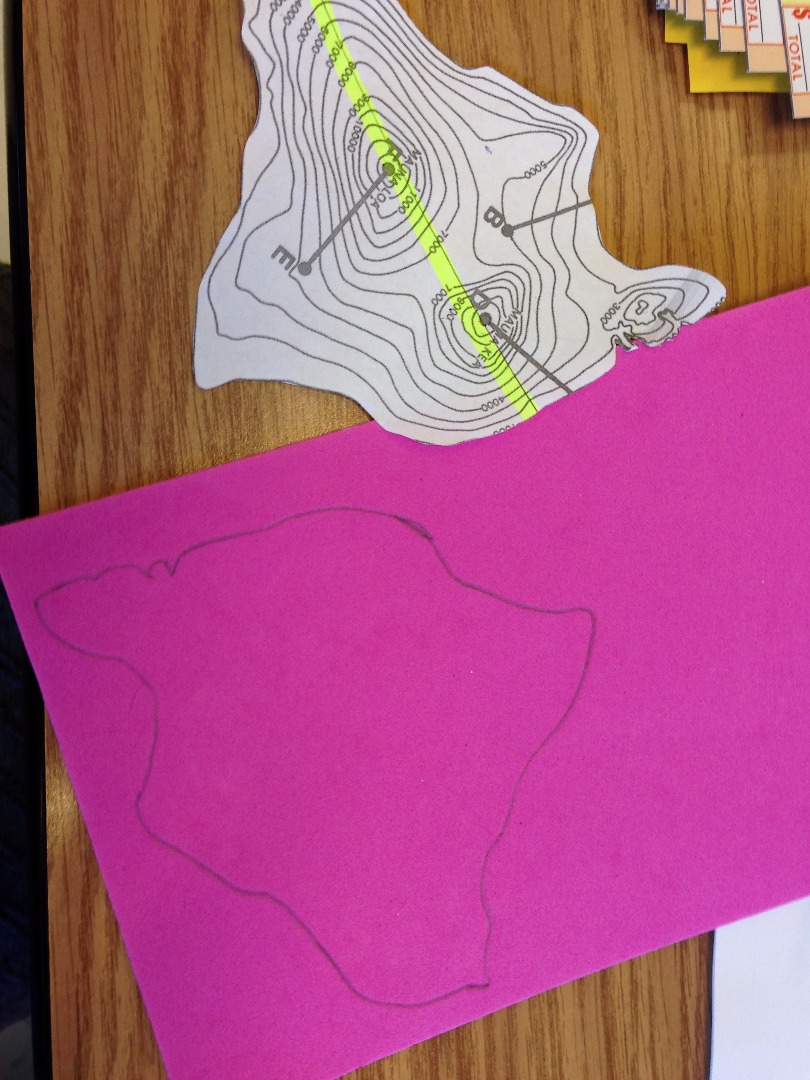
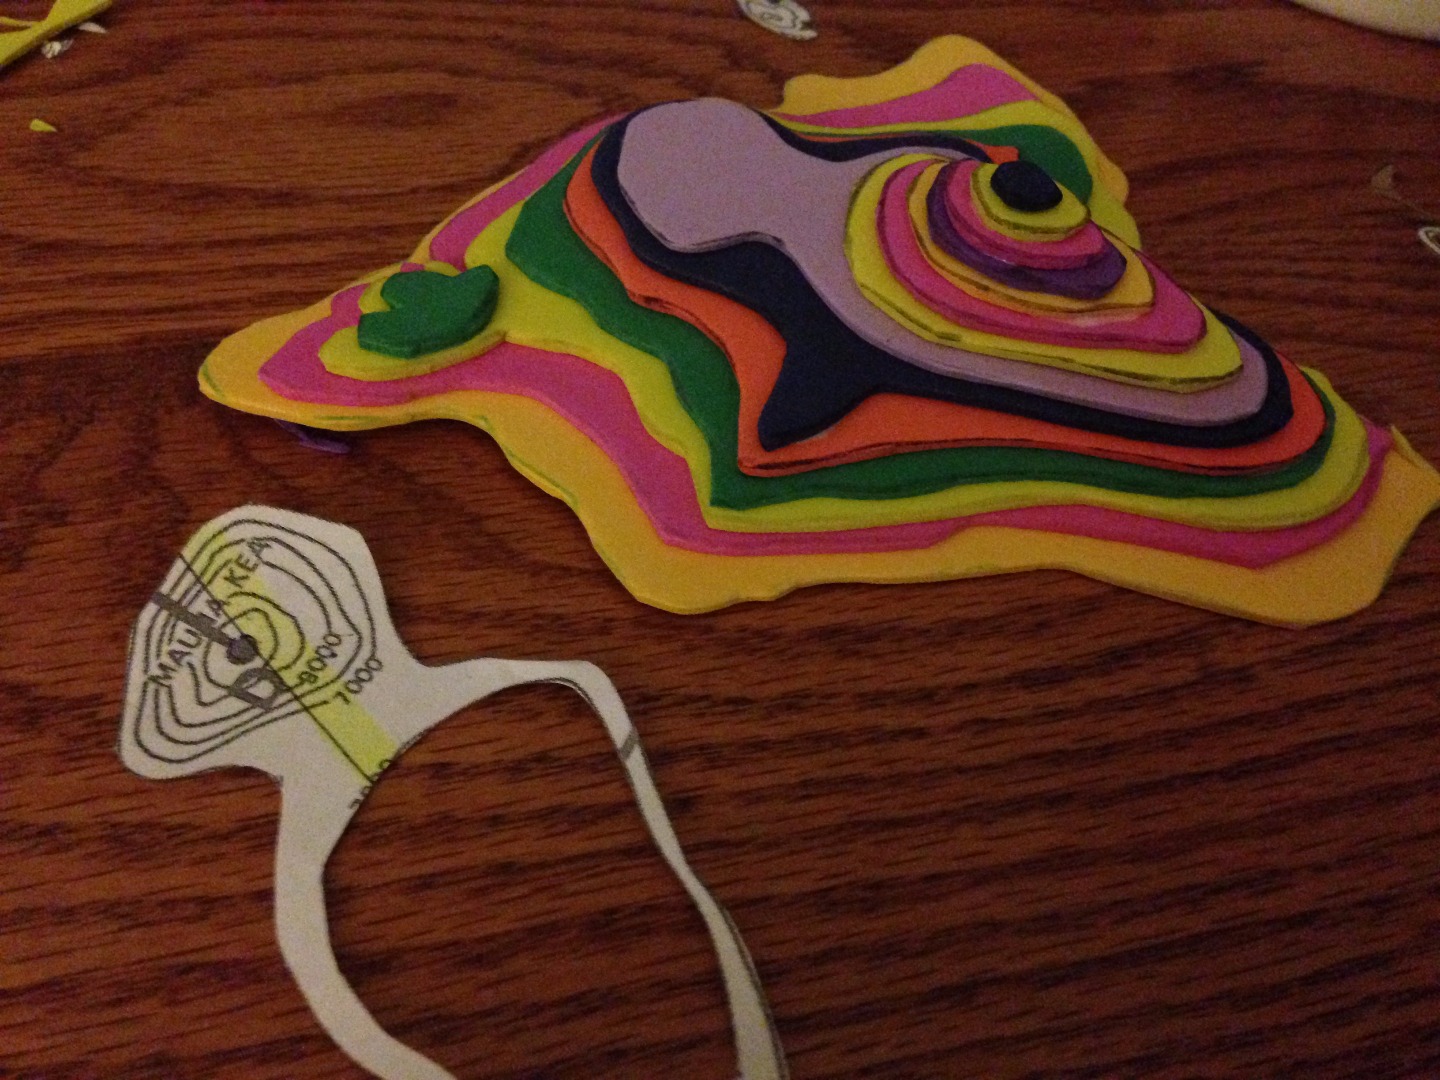
Take a look at your map. The first layer of elevation will be the first layer you trace. On my map of Hawaii, my first layer of elevation was sea level - 0. So I cut to that layer - look at the picture - you can see the outline of my 0 contour line, which is essentially an outline of the island. Keep in mind this may not be as easy on your map.
Once I cut it out, I took a piece of foam paper, which is what I used to make my model. You may be using cardboard, paper with foam shapes, or something else thick to show elevation. No matter what, this is the first step of many. You're going to place the outline of your map - your first layer - on top of whatever you're using. I placed mine of the foam paper and traced the shape with a pen.
Step 4 - Cut It Out!
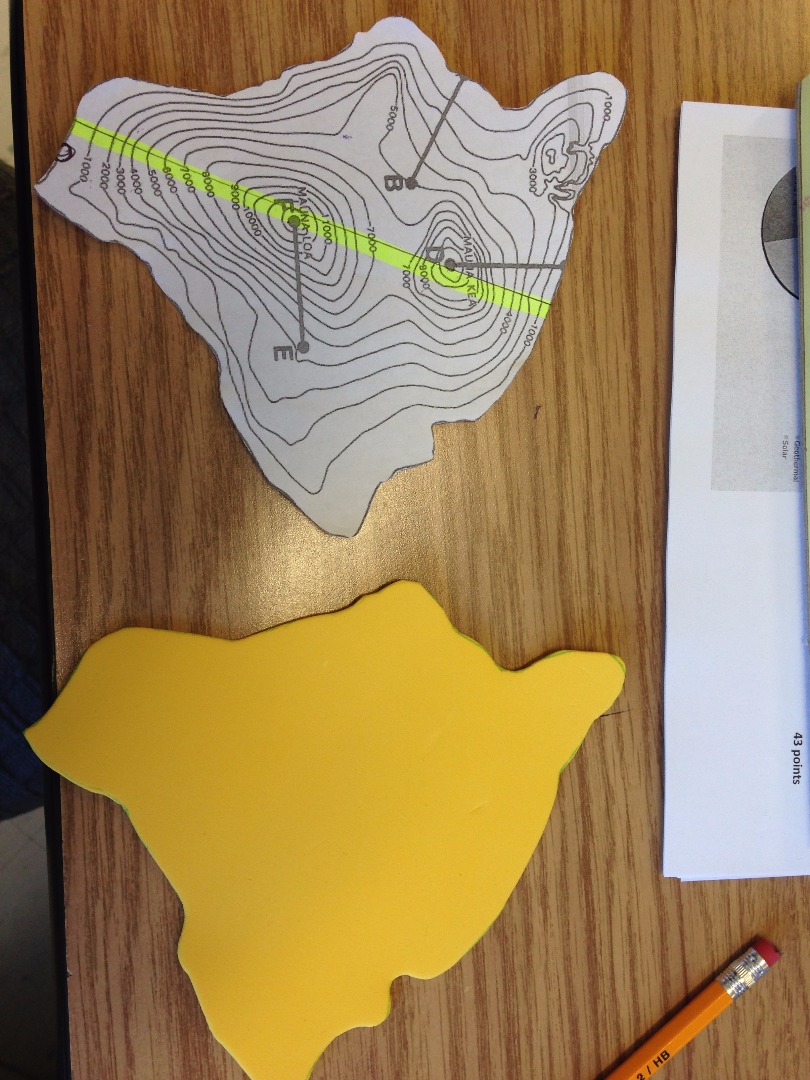
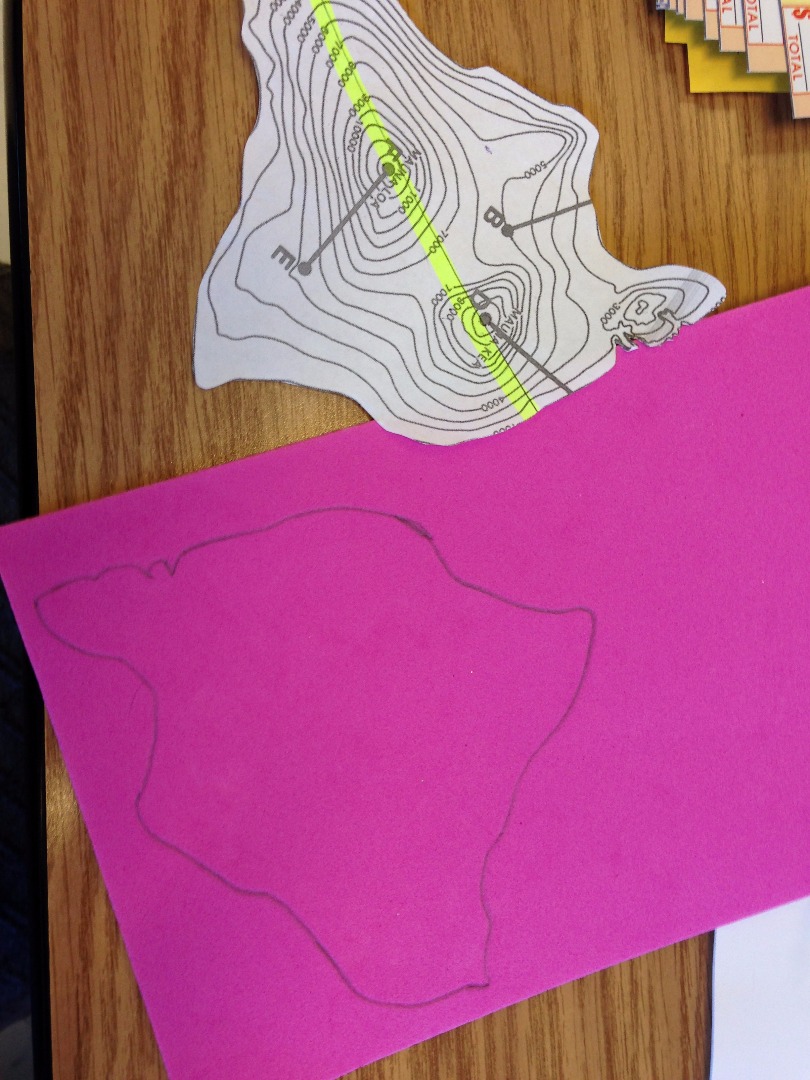
After tracing your 1st contour line, cut that out! There's your first level of elevation - you've started your model!
Now, look back at your map and cut off that first line you traced so that you now you have an outline of the 2nd contour line from the bottom. Trace this onto a piece of the substance you're using. and cut it out so now you have 2 layers cut out.
Step 5 - Glue Them Together!
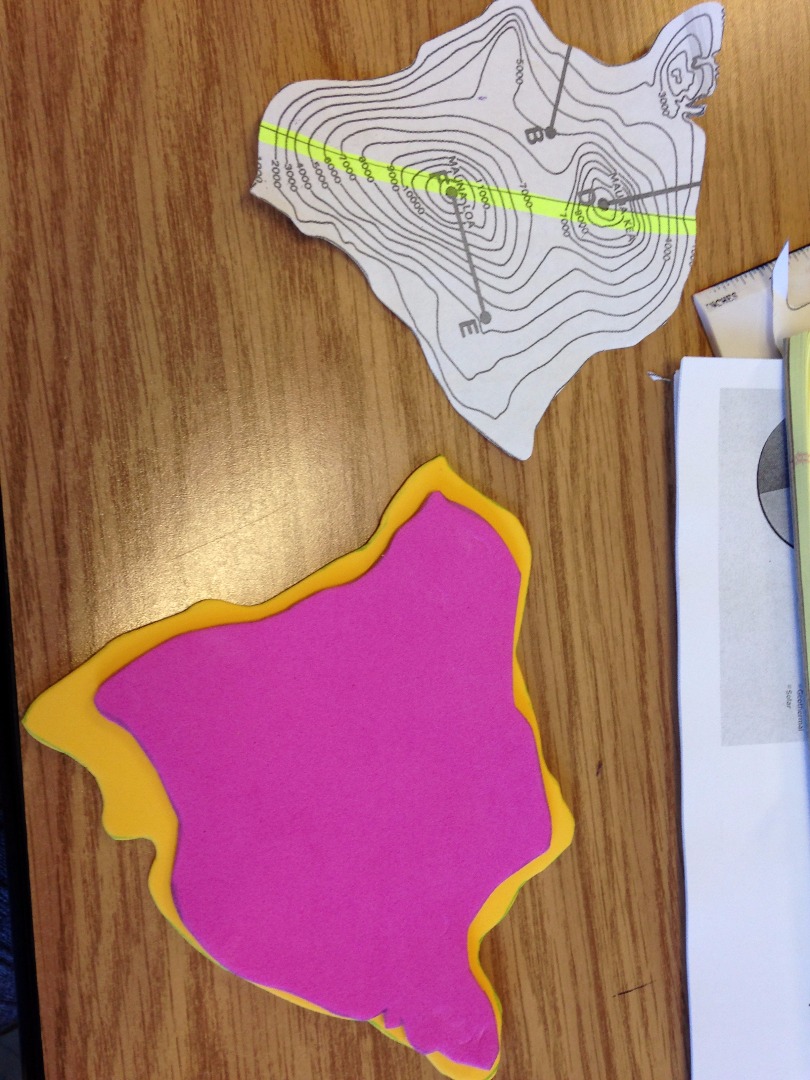
Now you should have 2 different shapes from your topo map. The first 2 levels of elevation. Now you have to glue them together. Obviously, the smaller one goes on top of the larger one because that's the higher elevation. Make sure you are angling it correctly!
Step 6 - Now You Just Keep Building....
.jpeg)
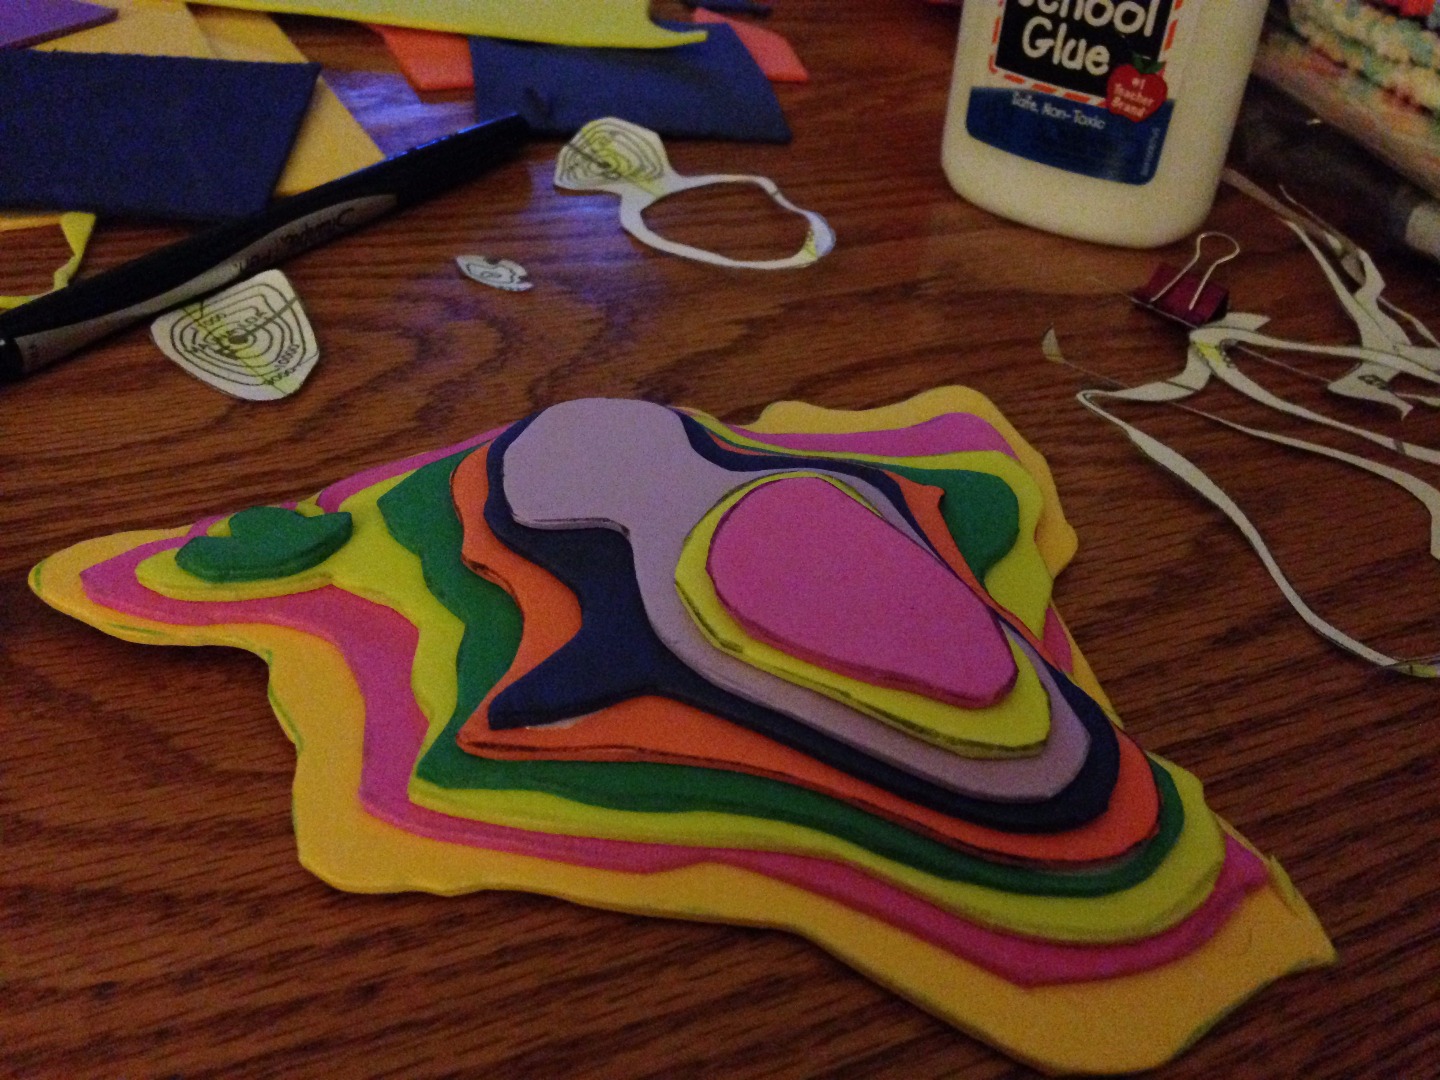
You will continue to cut, trace and glue onto your 3D model from here on out! I made each of my layers different colors so they stood out. I had 2, actually 3, hills on my topo map so I had to make sure to keep those parts of the maps to add later. See the next step on how to tackle that!
Step 7 - Separate Sections and Hills
.jpeg)
On my map, I had 2 large hills and 1 small hill. When I got to the elevation where they began to separate, I made sure to keep the other hill so I could go back and finish it after finishing the 1st hill. If you look at the picture, you can see that I finished the taller hill first before going back and completing the 2nd hill.
Step 8 - Once You Run Out of Layers.....
.jpeg)
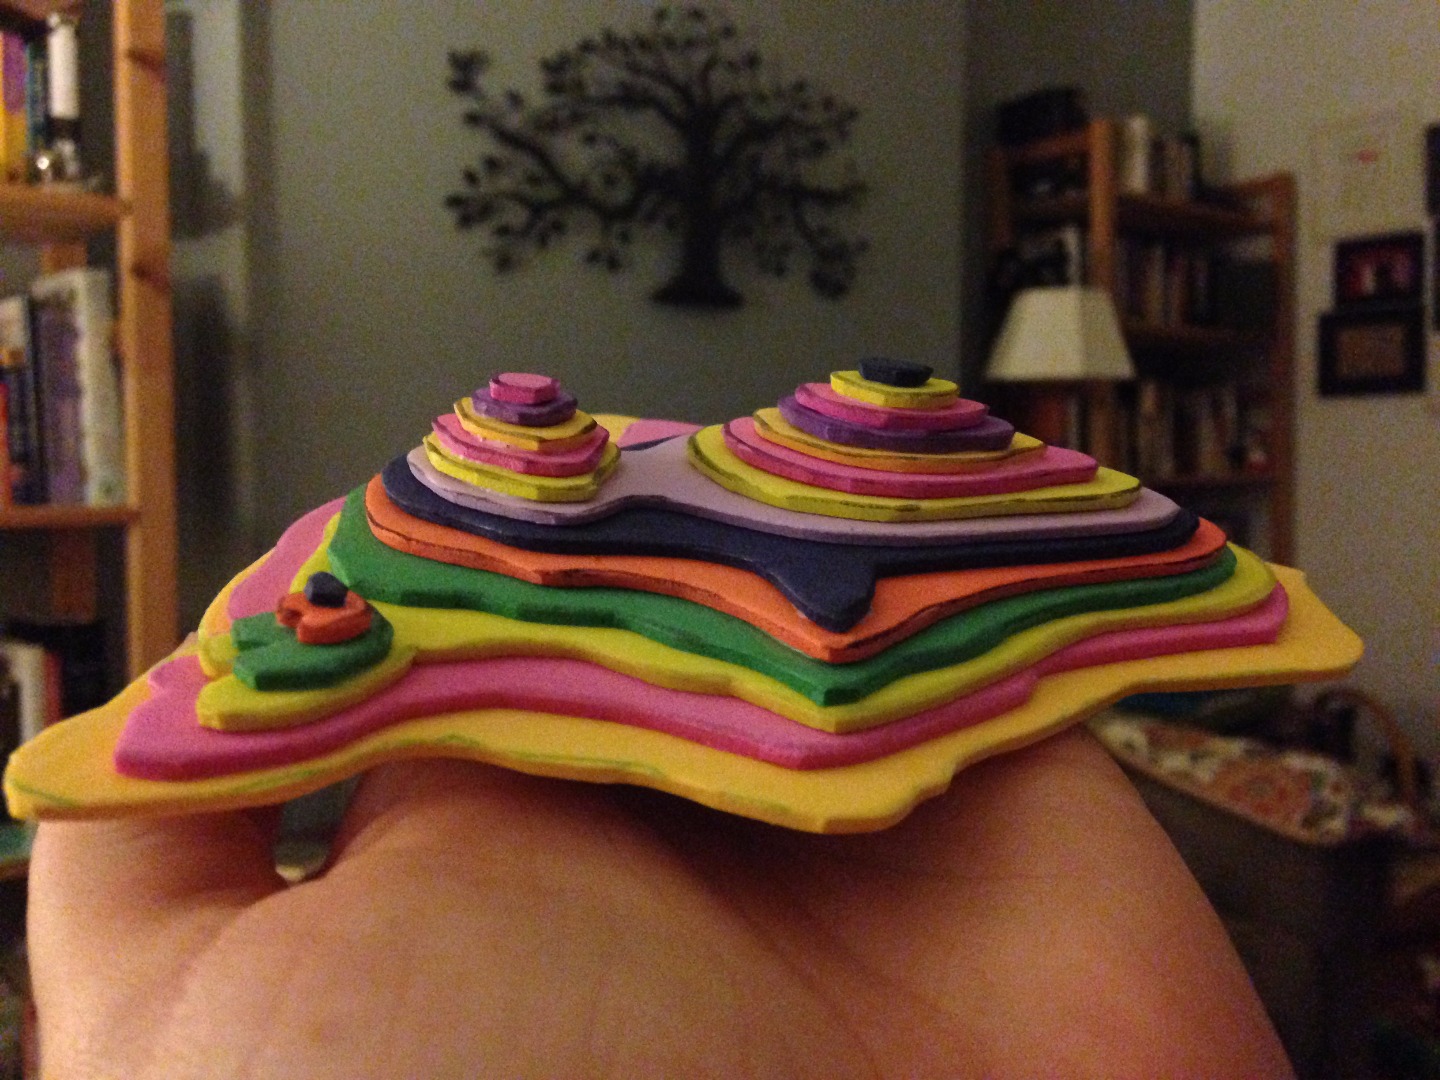
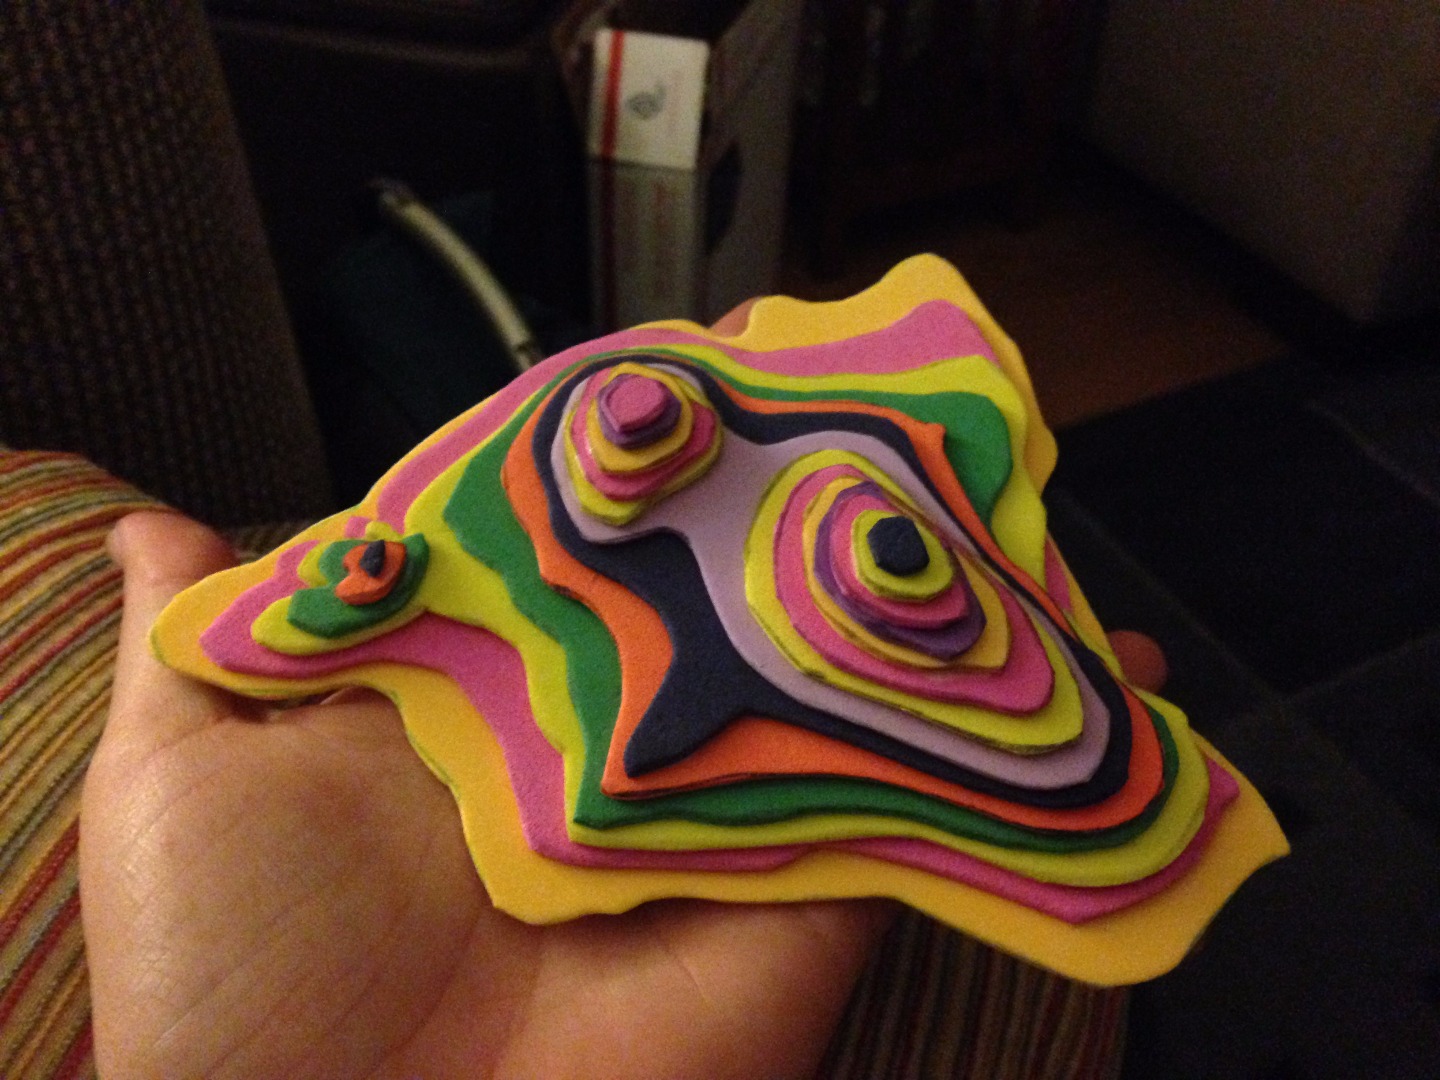
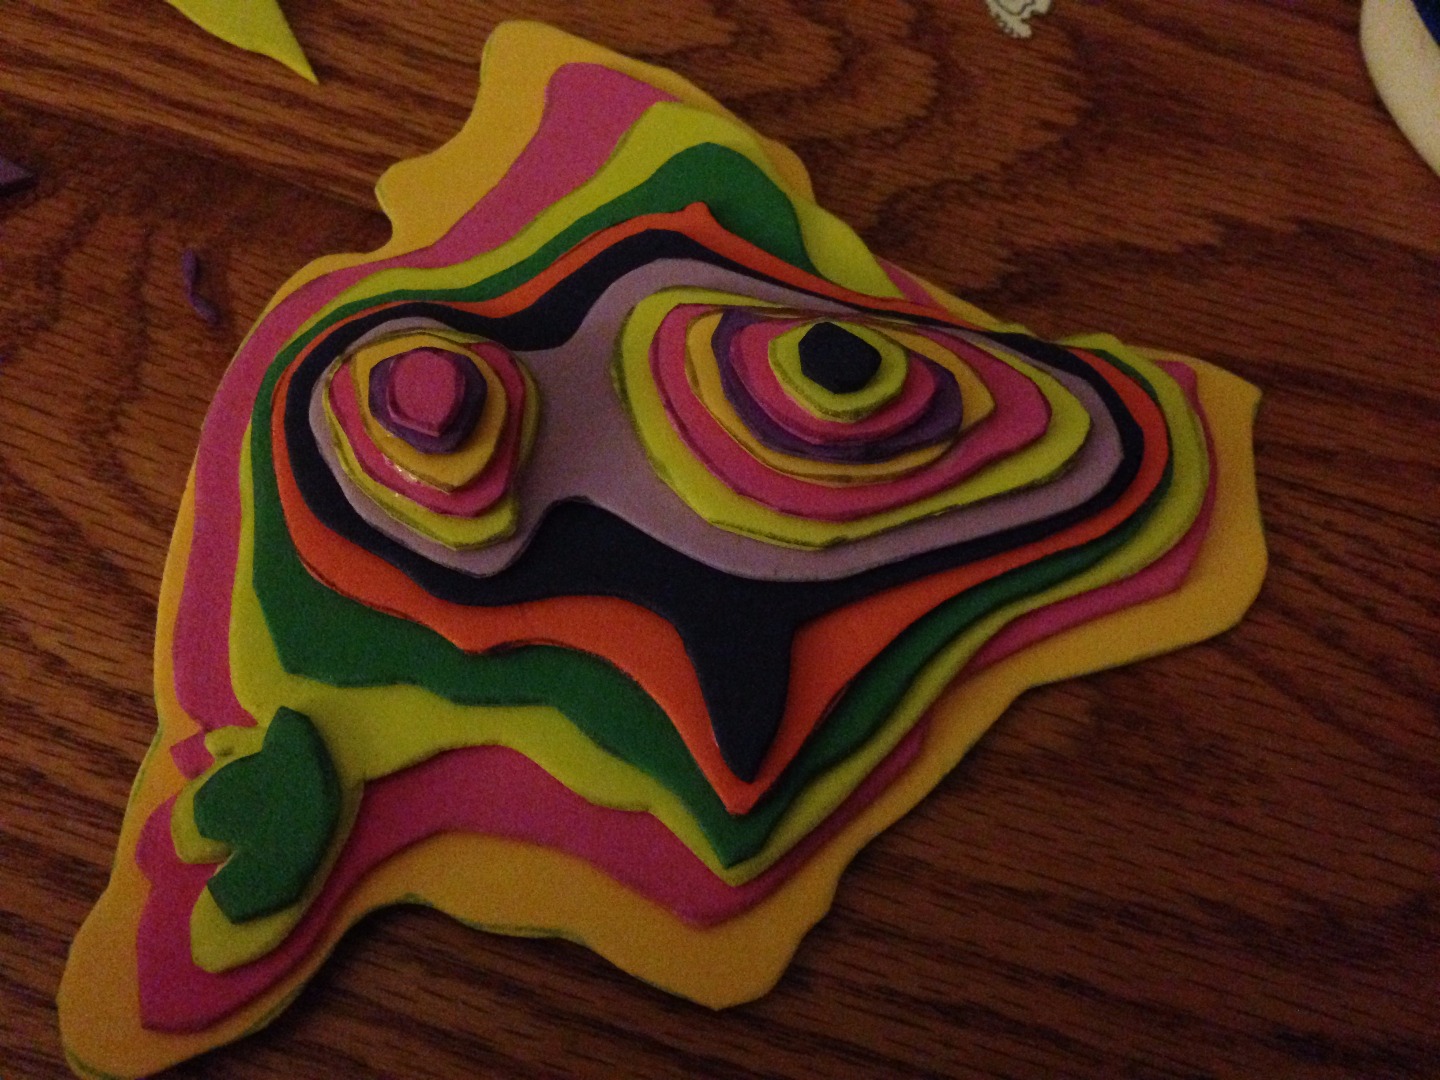
You're DONE! Just keep cutting and tracing those lines until you run out! Check out my awesome model!