How to Make a Tool Shadow Board
by DIY for Homeowners in Workshop > Organizing
7553 Views, 28 Favorites, 0 Comments
How to Make a Tool Shadow Board
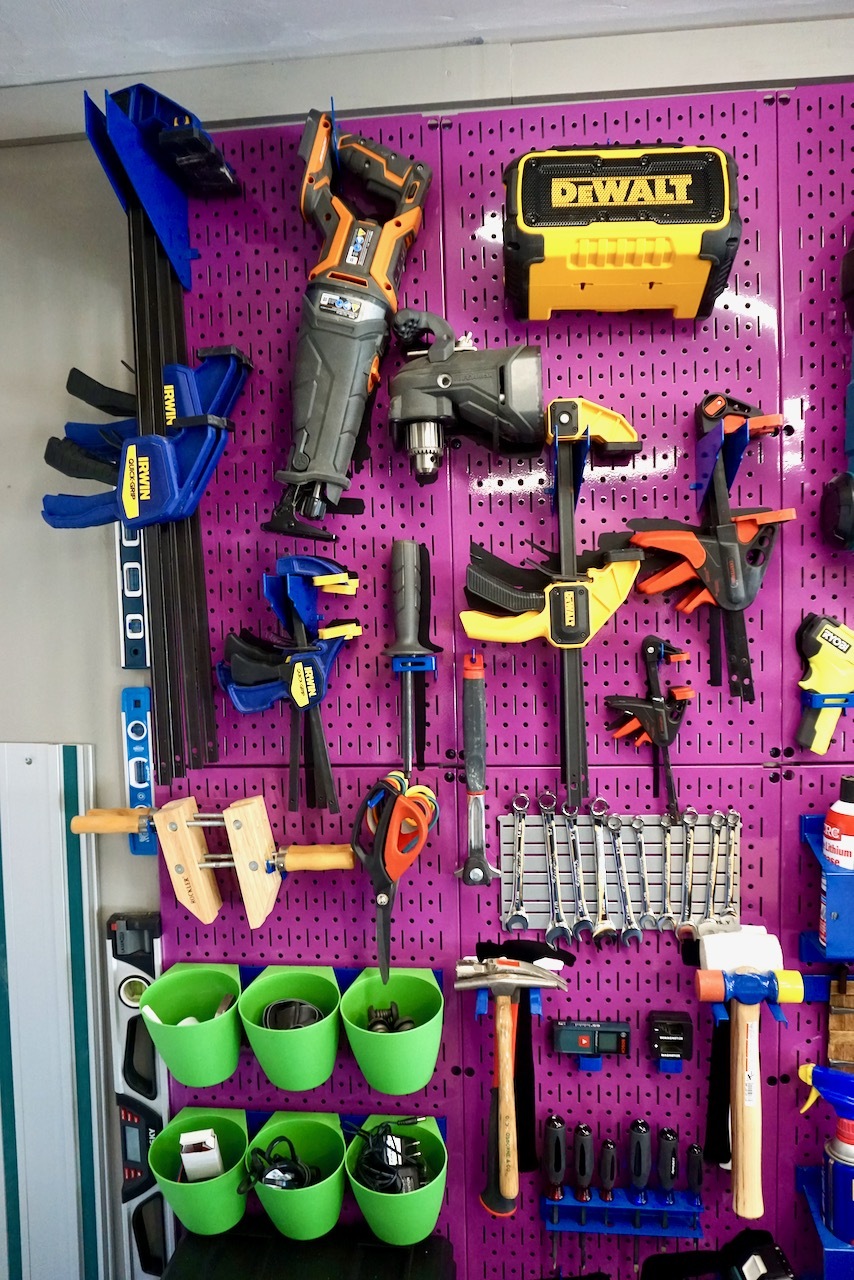
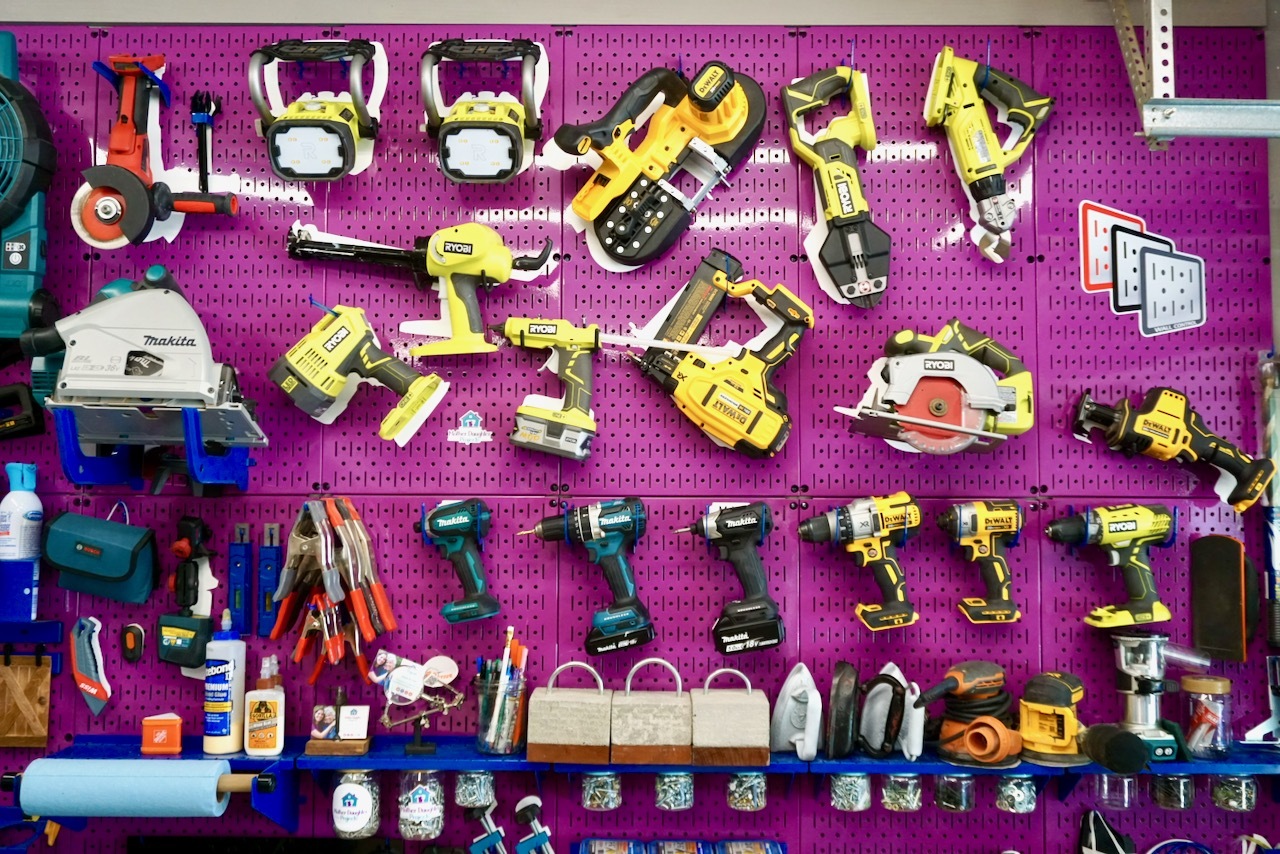
Using Wall Control metal pegboard and accessories has produced almost perfect storage and organization of our tools, but we knew it could be even better!
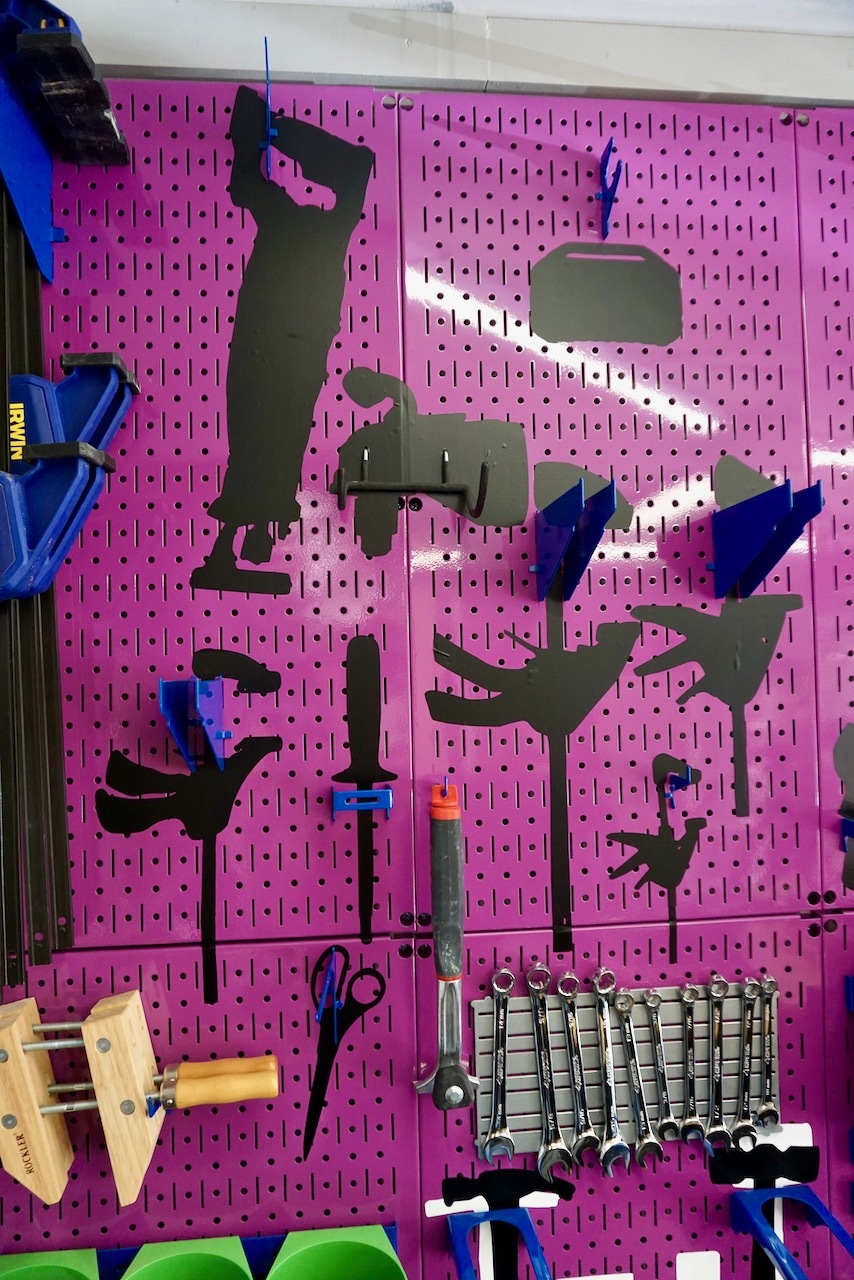
While on the Wall Control’s website, we noticed they sold sticky back vinyl for creating tool silhouettes. The silhouettes or shadows were placed behind the tool so there would be no question where the tool was placed on the board. We were intrigued, but knew there had to be a better solution than manually cutting out the shadows.
In this tutorial, Steph shares how she used a Cricut Maker to create and make the silhouettes.
Supplies
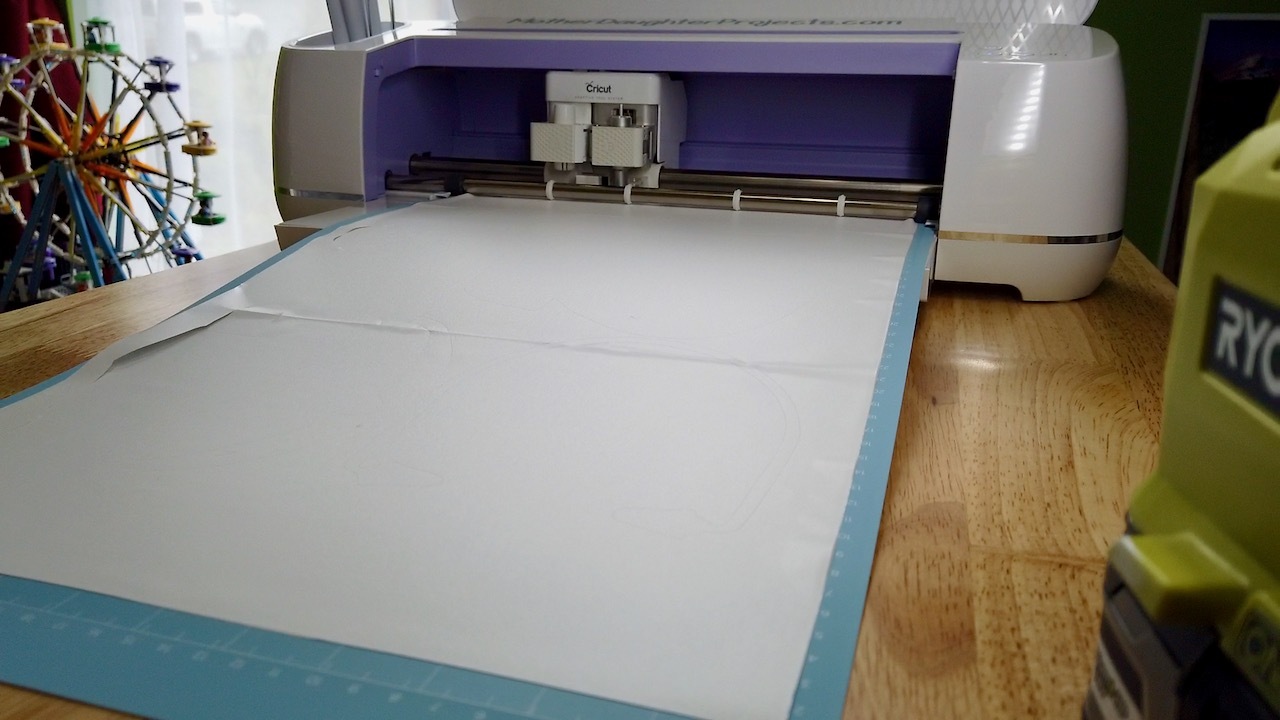
Cricut Maker with appropriate mat and blade
Vinyl
iPhone or camera
Computer
Photo manipulation software
Watch the Video
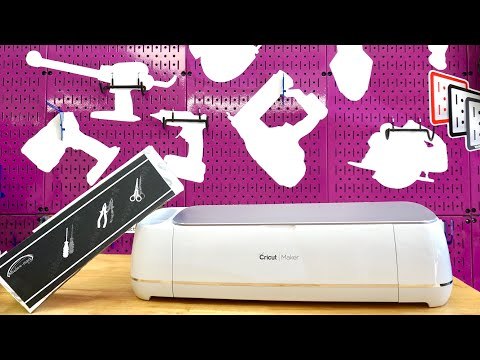
We always suggest you watch the video, but this tutorial is really easier to follow via the video.
Take a Photo


Take a picture of the tool. Steph is using an iPhone. Place the tool on a plain, unclutter background. Save and send the photo to the photo manipulation software of your choice.
Steph is using the paid version of Canva.com which she has found to be a very effective, easy way to remove the background from a photo.
Once the background is removed, save it and open the Cricut Design Space software.
Create Cut File in Cricut Design Space
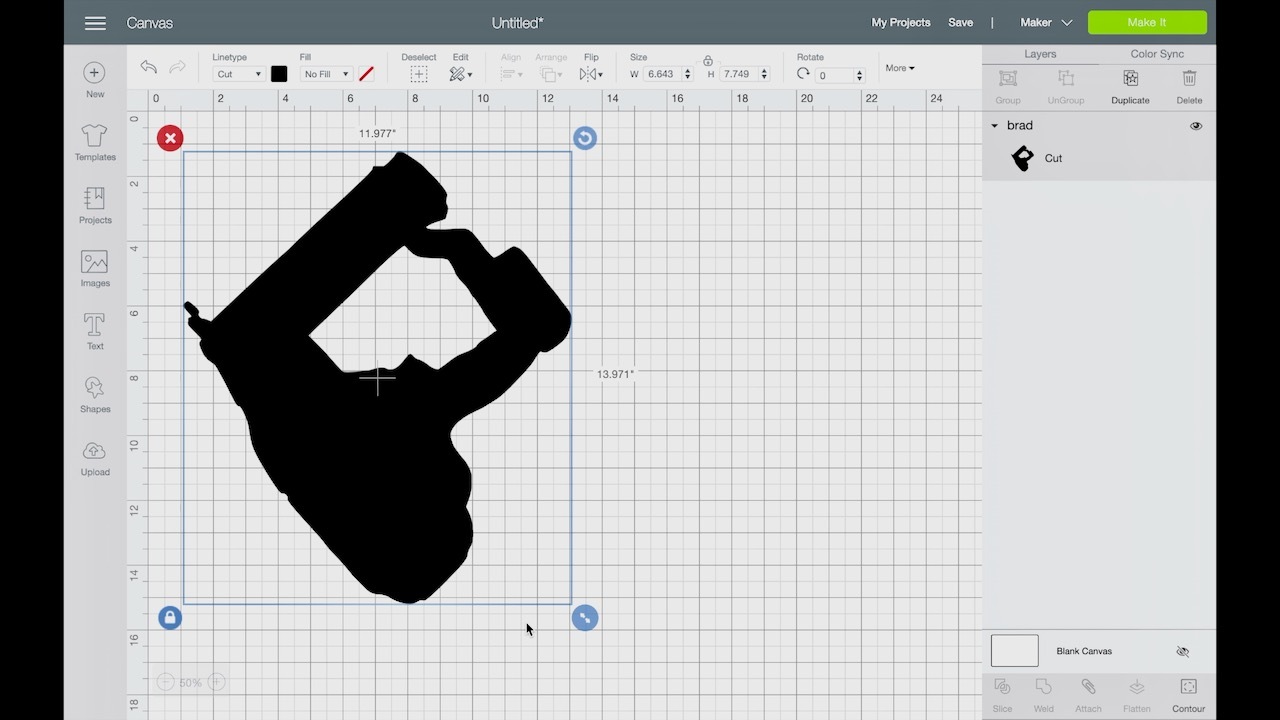
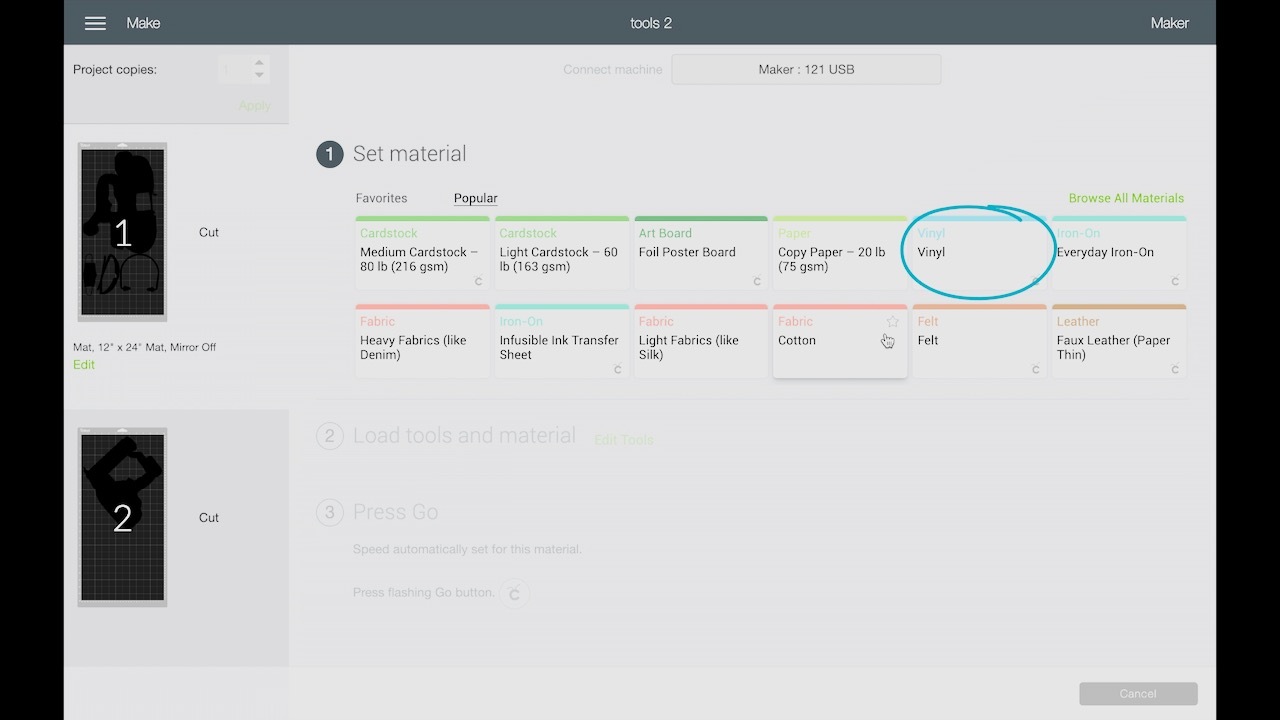
Open a new project in Design Space and import your graphic from Canva.com or from whatever program you used. Manipulate the image including rescaling the image to the size of the tool you are "shadowing." The majority of the cutouts Steph made reflect the actual size of the tools, but some, like the fan, was too large so those were made smaller.
You are limited by the size of the cricut cutting mat, which measures 12 inches wide by 24 inches long.
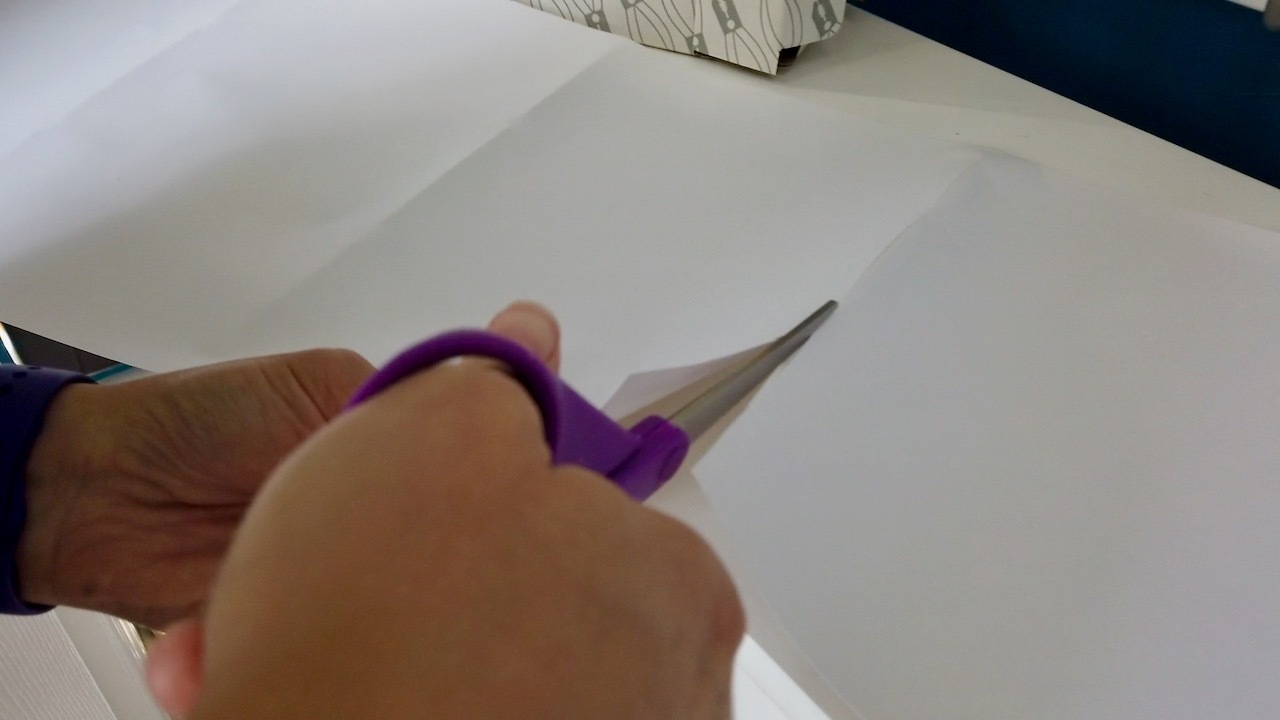
The Cricut Maker uses a mat to hold the vinyl in place. Set up the mat according to the Cricut instructions for vinyl. The Cricut Maker will tell you what settings to use for vinyl. We found suggested settings worked perfectly for the vinyl we got from Wall Control. You want to be sure to use a setting that will cut through the vinyl, but not through the backing or into the mat. Sometimes it's a matter of trial and error to get this tweaked just right.
Creating the Tool Shadow Board
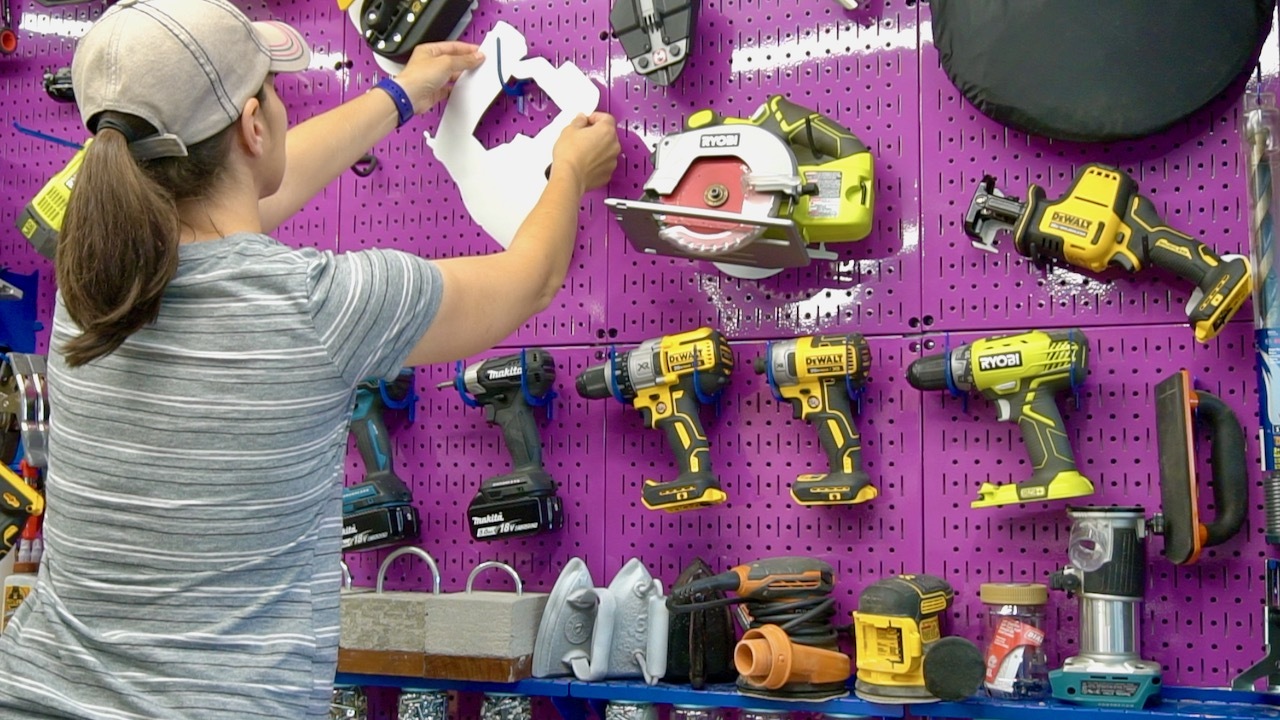
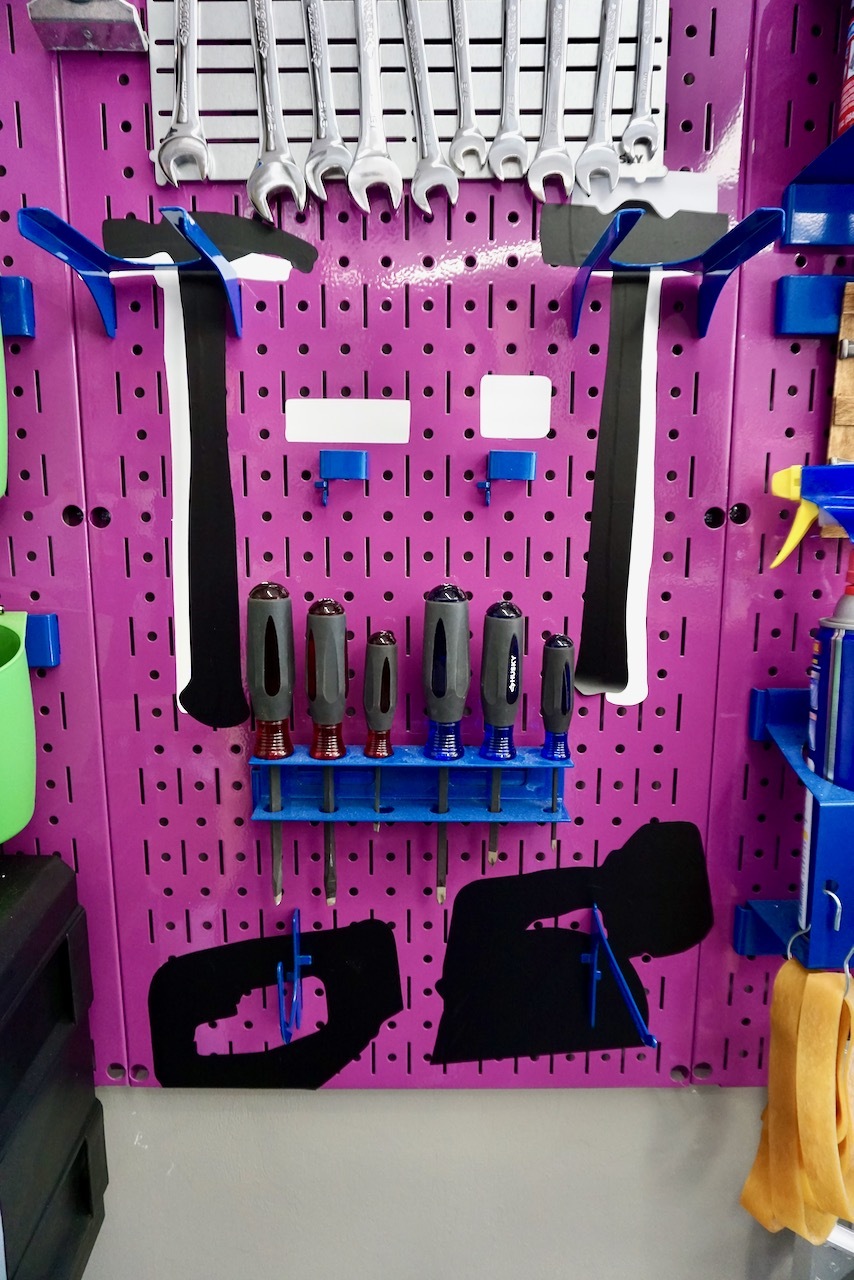
The first step was to arrange ALL the tools where we wanted them to be placed.
We took down one tool at a time. For most of them, we needed to remove the hook or hanger. Once the sticker was on the wall and smoothed into place, it was easy to replace the hook and rehang the tool.
We made double stickers for the hammers and mallets as those hooks stored more than one kind of each. Using two colors of vinyl makes it easy to see that more than one tool goes back on the hook.
The drills got name labels because, you know, all drills look alike, so it didn't make sense to make silhouettes of those. Names worked better here!
It took about an hour to get all the stickers and tools back into place.
Now it is easy to put back our tools rather than leaving them to gather in a cluttered mess on the workbench or any flat surface really!
For more details, please visit our website: https://www.motherdaughterprojects.com/blog/how-to...