How to Make a Toilet (skibidi) on Tinkercad
by adavison2028 in Design > Digital Graphics
842 Views, 1 Favorites, 0 Comments
How to Make a Toilet (skibidi) on Tinkercad
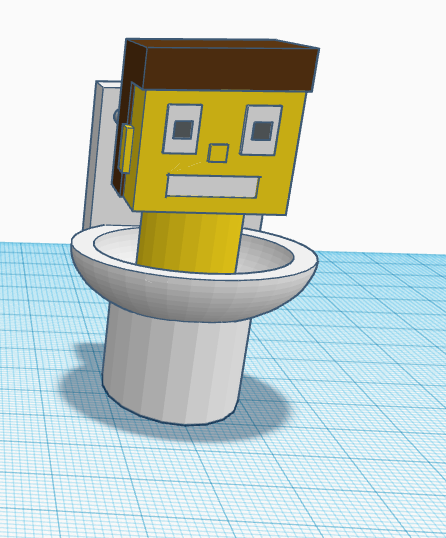
We are going to use the aplication Tinkercad to create a toilet. You will have the option to put a head in the toilet to make it Skibidi.
Supplies
Computer (of any kind) or a tablet (of any kind)
How to Start the Design

For the first step you need to go onto any web browser. After that you need to click on the search bar, and type "Tinkercad.com". After that press enter, then you will need to log in. When you get onto Tinkercad click on the create button with the plus sign. Then click on the 3D design. This will bring you to a large plain.
Create the Base
.png)
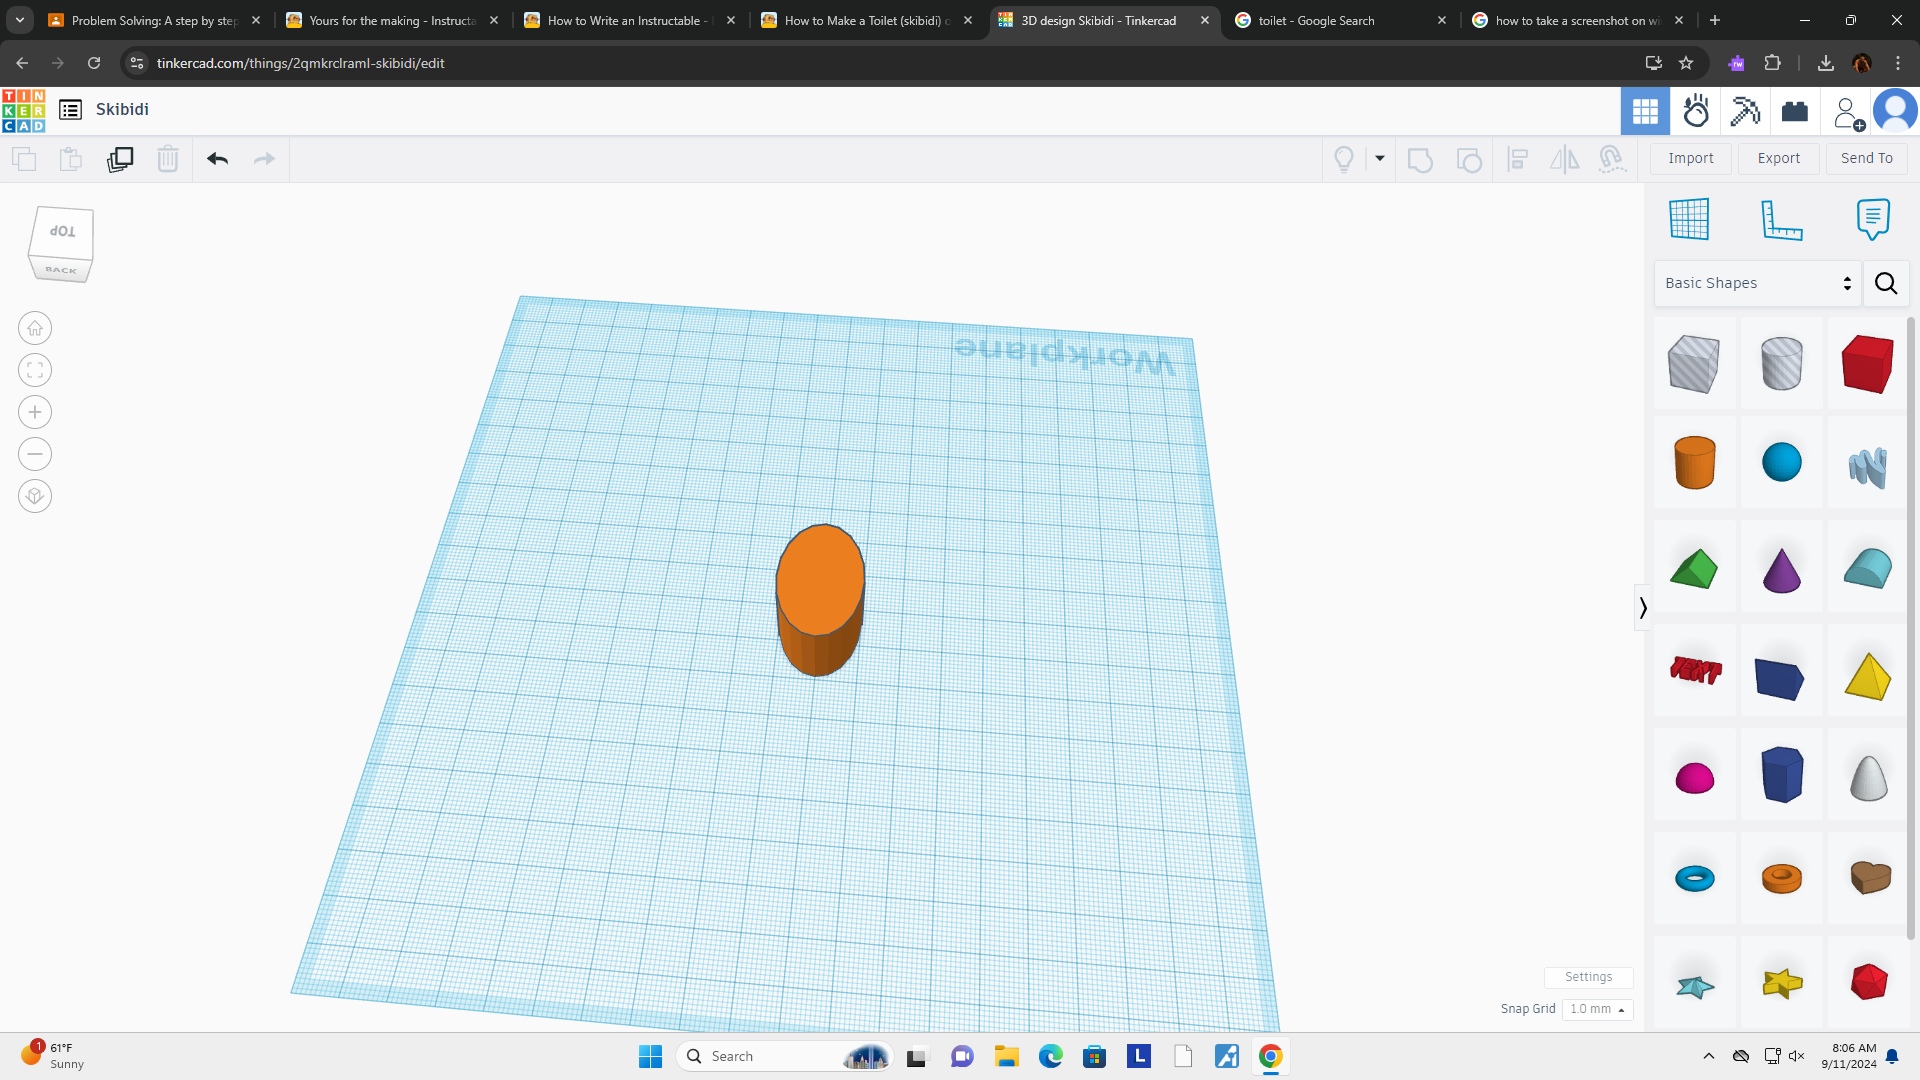
To create the base, you will need to bring your cursor to the side bar which contains the shapes. After that you will need to put your cursor over the orange cylinder. Then click on it, this will bring it into your grasp and I reccomend you drag the cylinder to the center of the plain, and then click your mouse again to place it. There will be 4 black dots, click on the one in the back, and drag it untill it says "30 mm".
Create the Bowl
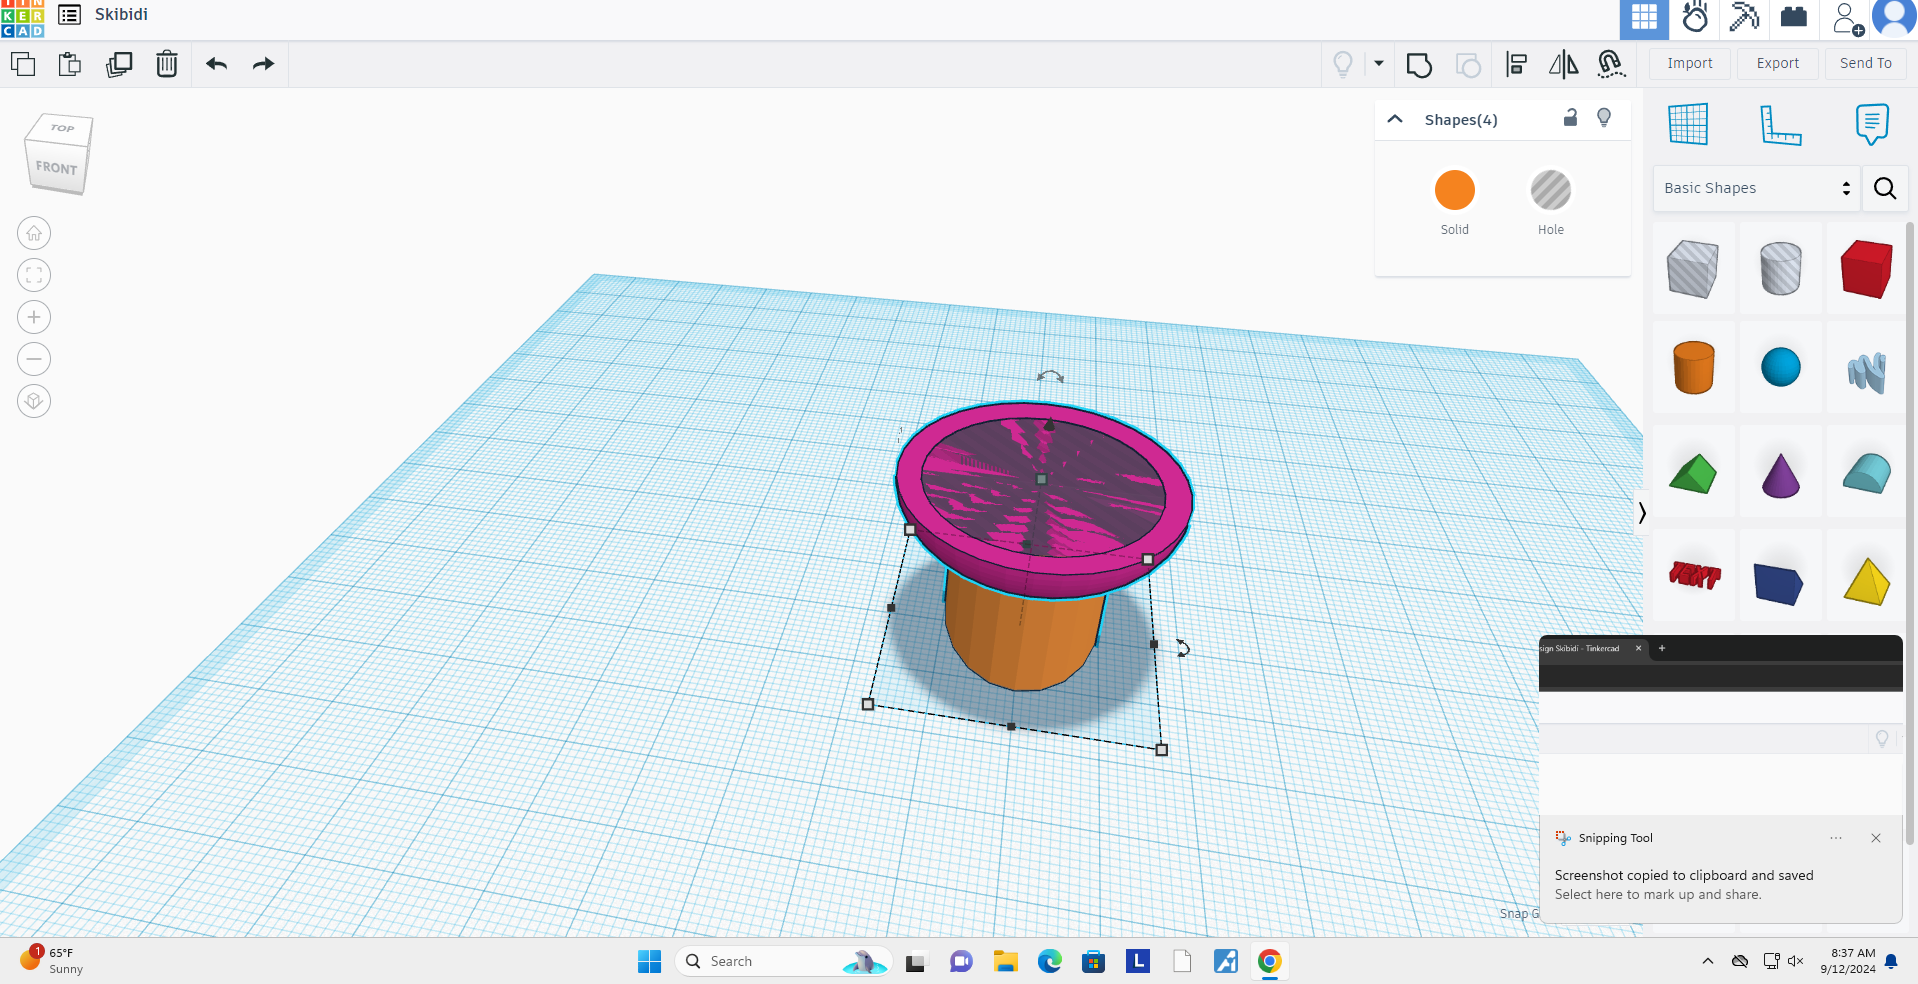
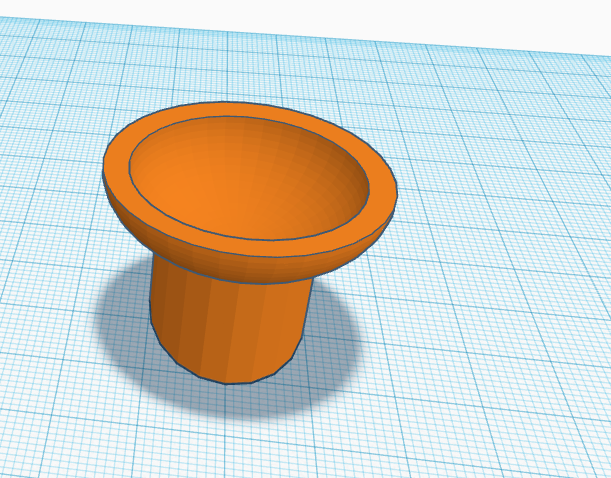
To create the bowl, you will need to bring your cursor to the side bar again with all of the shapes. Click on the pink semi sphere, that is 5 columns down and on the 1st row. Bring your cursor over to the base, and then when your semi sphere goes on top of the base place it down. There will be three rotation arrows, click on one of the arrows on the top of the semi sphere. After that flip it to 180 degrees. After that expand the length of your bowl, to 36mm and make the width 34mm. Then Grab the cone on the top of the half sphere and lower it to 13mm. After that copy your bowl by clicking it, and then cntrl C and then cntrl V. Change its size fro, 36, 34 mm. To 29, 28 mm. Then line it up with the center of your bowl, when it is lined up there will be a button that says hole. Click that button and it will be able to be turned into a hole. After that hold your mouse and make sure the blue line covers over all of the parts of the toilet and let go. Then there will be a shape that is weird in the top right corner click that, it will connect all of your shapes and create a hole in the bowl.
How to Create the Back
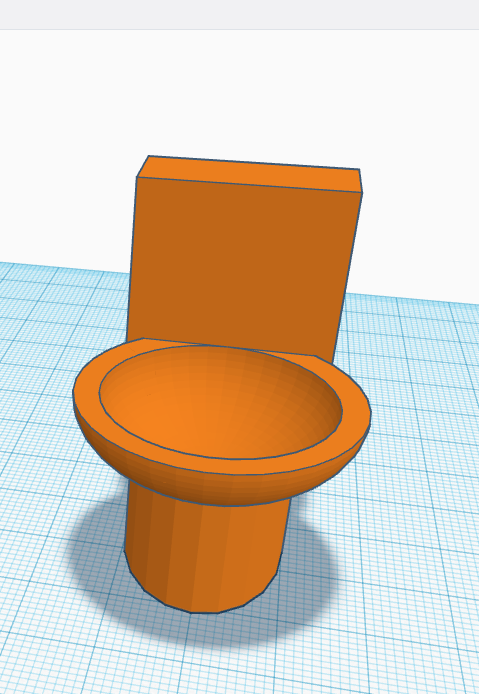
To create the back of the toilet, grab a red cube from the side, which contains all of the shapes. Drag it to the back of the toilet where the toilet bowl doesnt hang over. Rise the box up to 14mm and then make sure it is lined up with the back of the bowl. Now we are going to change the size and shape of the box, chnage the depth of the box to 10mm. Now we are going to change the width, change the width to 26mm(make sure its still lined up). Then change the height of the box to 30mm. Now select all of the shapes and hit the group button once again.
How to Color It and Add a Flusher
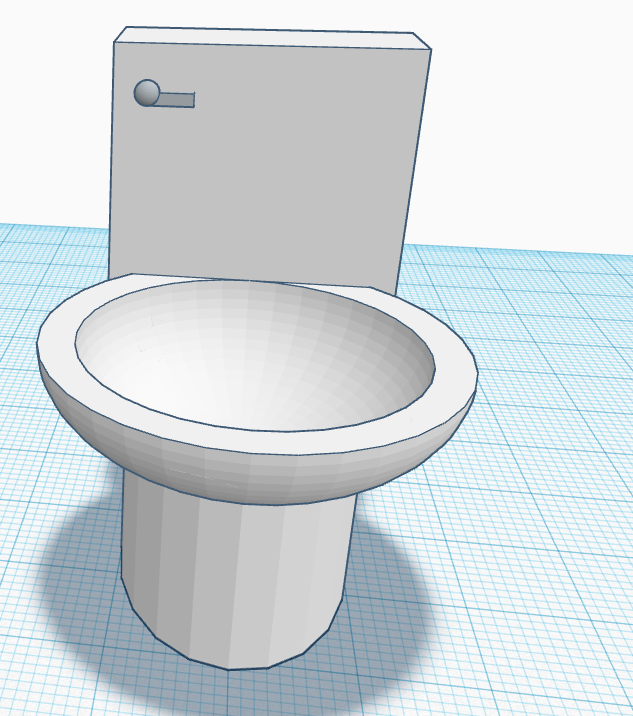
Okay, now we will color the toilet I will be coloring mine white, but you can choose whatever color you want. Do what we have done in the past few steps and select all your shape. Now do you see the colored button that says solid, click on that. You will have tons of options of colors, choose whatever color you want! As I said before I will be choosing white. Now you have a colored toilet now we will make the flusher. Grab the blue sphere and put it next to the toilet, now change the width to 2mm, and change the length and height to 2mm. grab a cube, and put it next to your tiny sphere. Change its length to 5mm and make the width to 2mm and make the height 1mm. Now put your little rectangle into your little sphere. Now select both of them and group them, now change the color to gray to make it look like a flusher. Now bring the flusher up to 39mm. Then line it up on the front of the toilet and make sure it isnt floating. Now we are done with the toilet stick around for more if you wanna learn how to make it skibidi.
Turn It Into a Skibidi Toilet
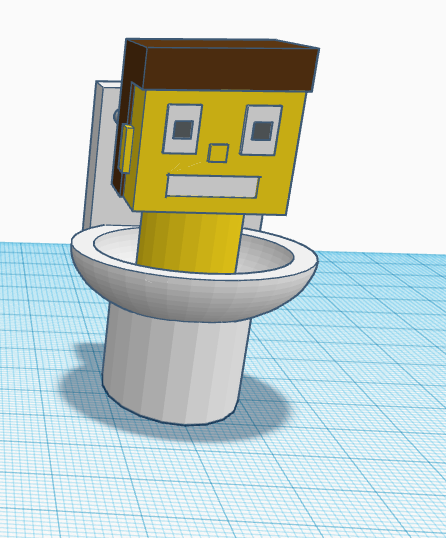

Since we are done with the toilet, it is time to make it skibidi! Now we are going to make a neck for our skibidi man. Grab a cylinder and change its width to 14mm, and make its length 14mm aswell. Change the height to 18mm. Change the color to the yellow color. After that move the neck up to 13mm and out the neck inthe center of the bowl. On the side click on basic shapes and change it to characters. Now select the big blocky head and move it up to 30mm and place it on the Neck. Make sure it is centered on the neck and not going into back of the toliet. You can also create a custom head with the other shapes if you would like but I am only going to explain how to do it this way.