How to Make a Toaster Pinhole Camera
by ggeeyyii in Craft > Photography
1451 Views, 0 Favorites, 0 Comments
How to Make a Toaster Pinhole Camera
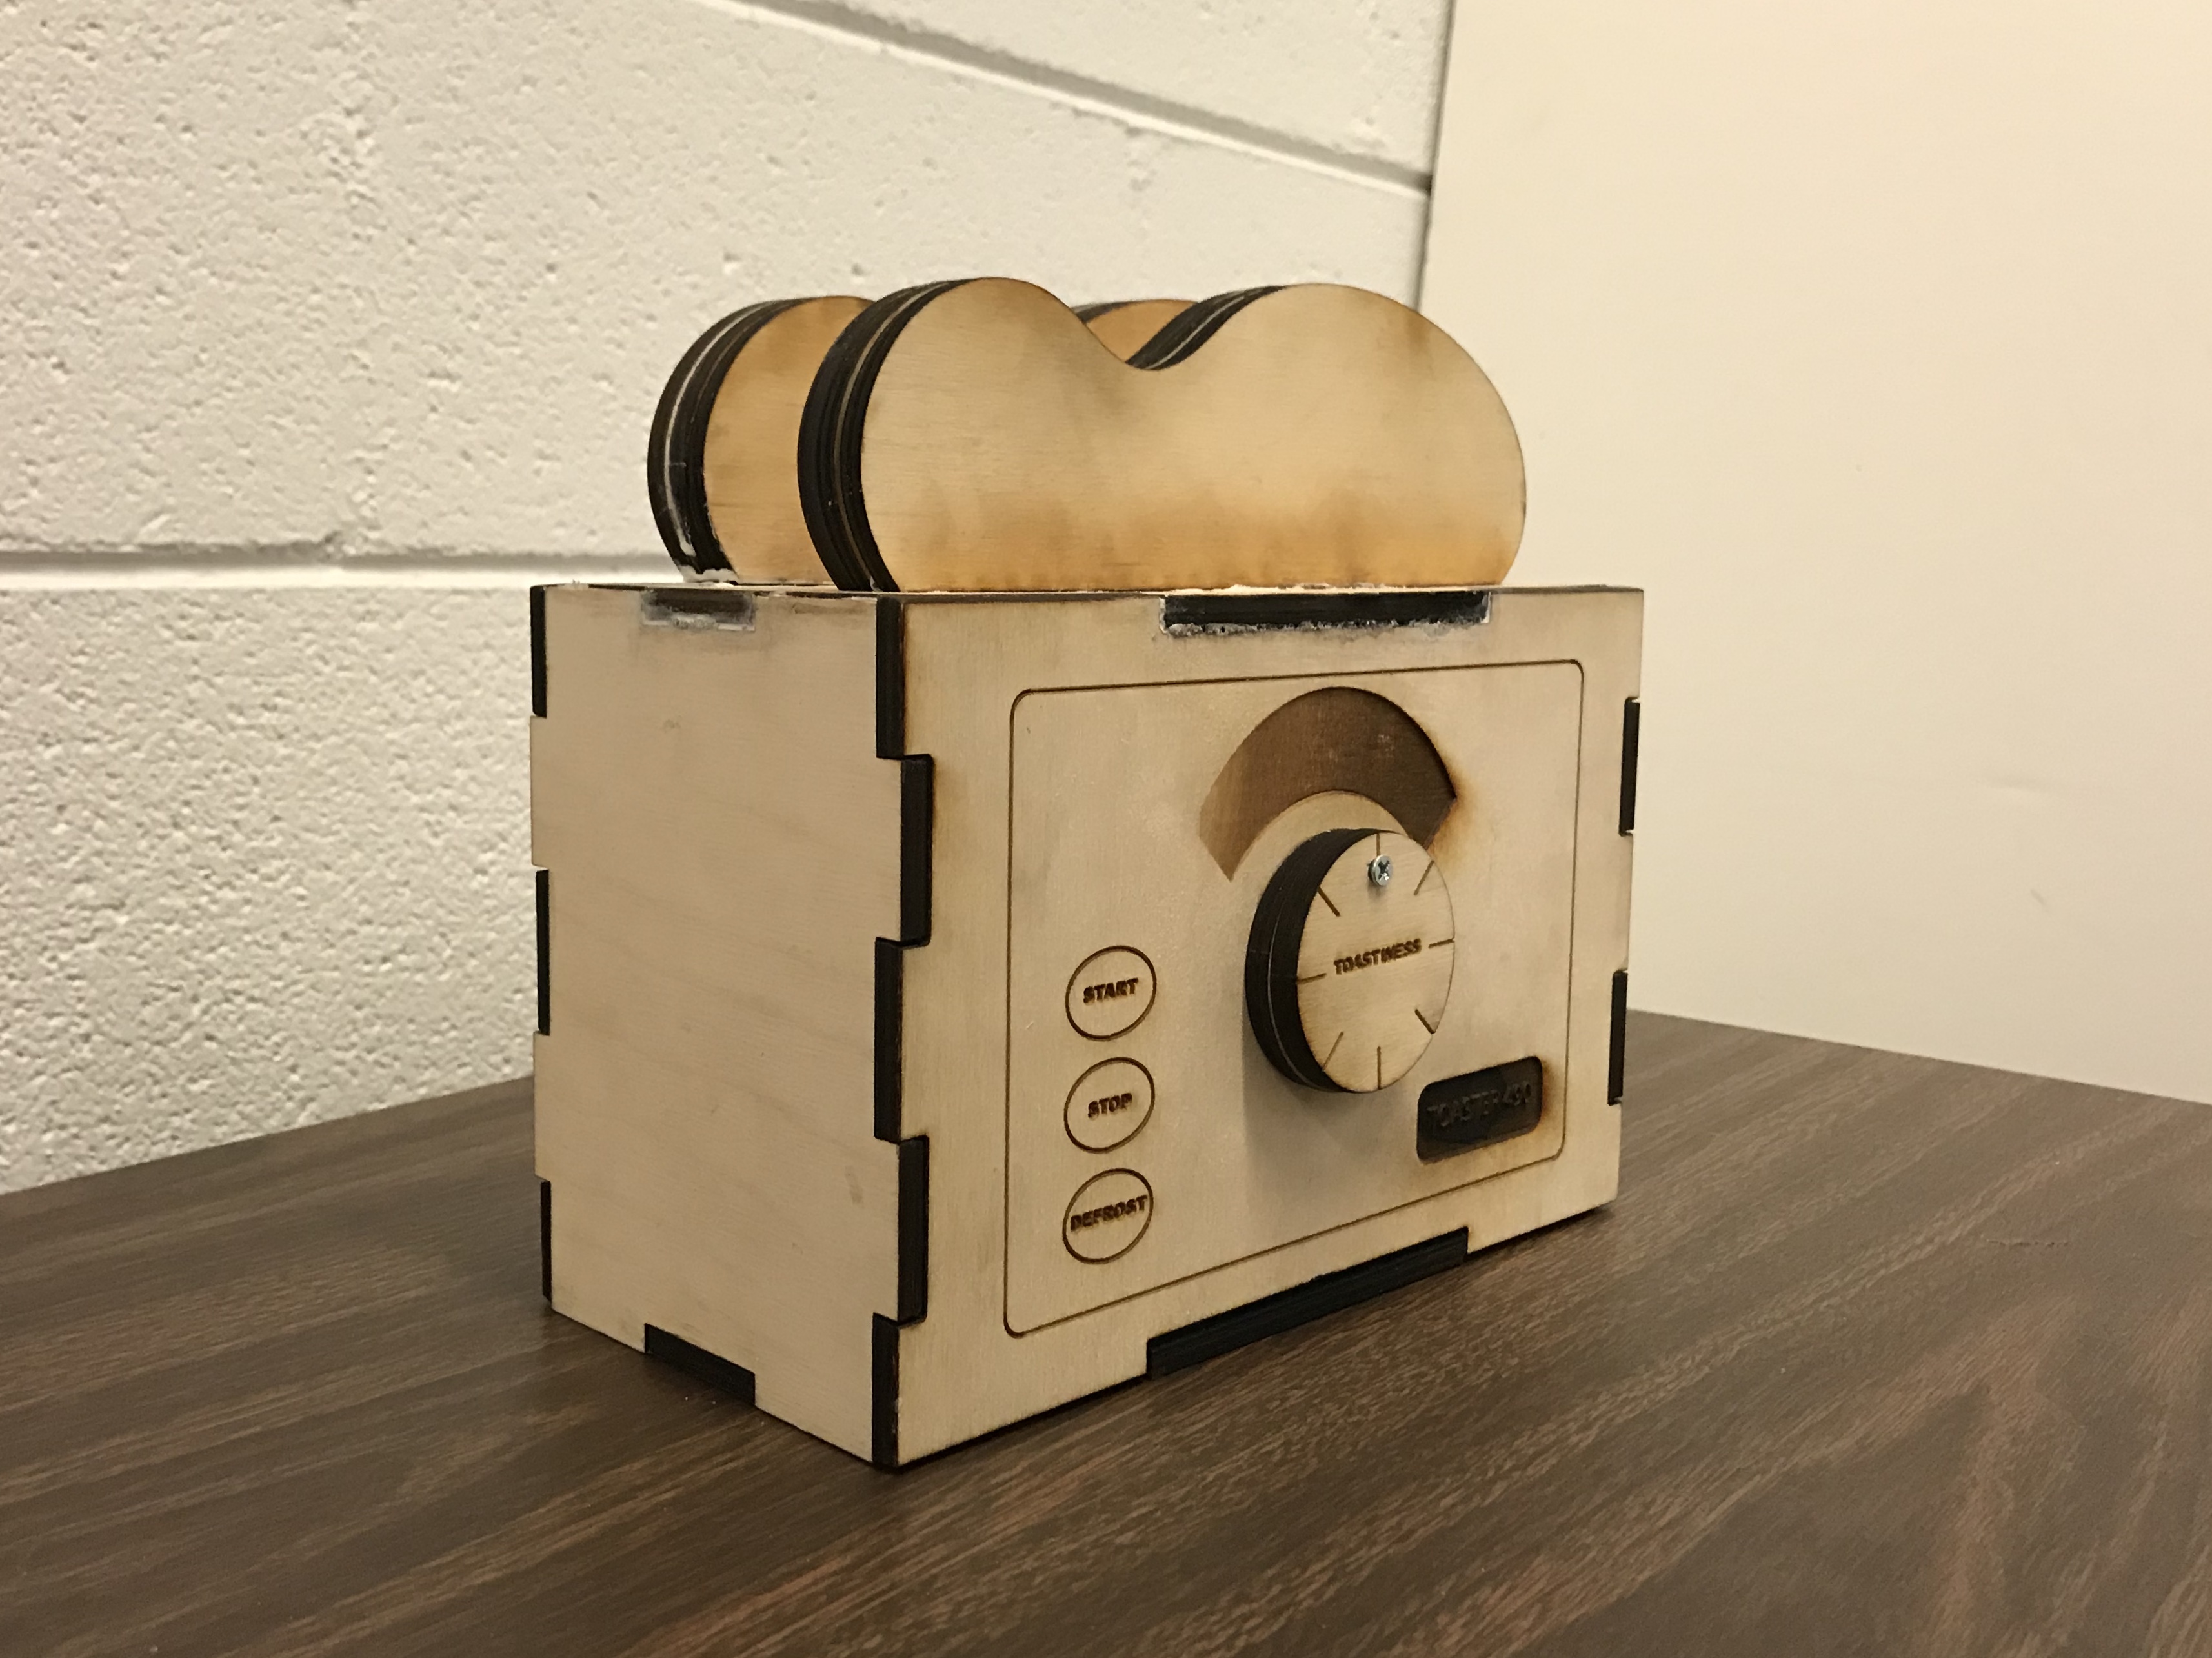
Do you want to make a camera by yourself?
Do you want to feel the joyfulness of seeing photos developed in darkroom?
If all the answers are yes, let's learn how to make a cute pinhole camera right now!
You will need:
your camera sketches/design
Adobe Illustrator
A big piece of wood
Laser Cutter
Black paint
Brush
Drill
Nail
Can
Scissors
Clog
Hot glue
Tape
Step 1: Use Illustrator to Design

Once you got your idea, you can open illustrator to design your pinhole camera. For me, I got the idea from the toaster, so after a few research and sketches, I put my design on Illustrator. One of the special design is I use the toast as the photo tray, so we can change the photo paper as we pull out the toast from the toaster.
Be sure to follow the laser cutter instruction, such as the line's color and stroke. And make sure vectors and rasters are correct.
Step 2: Use Laser Cutter to Print Out Design
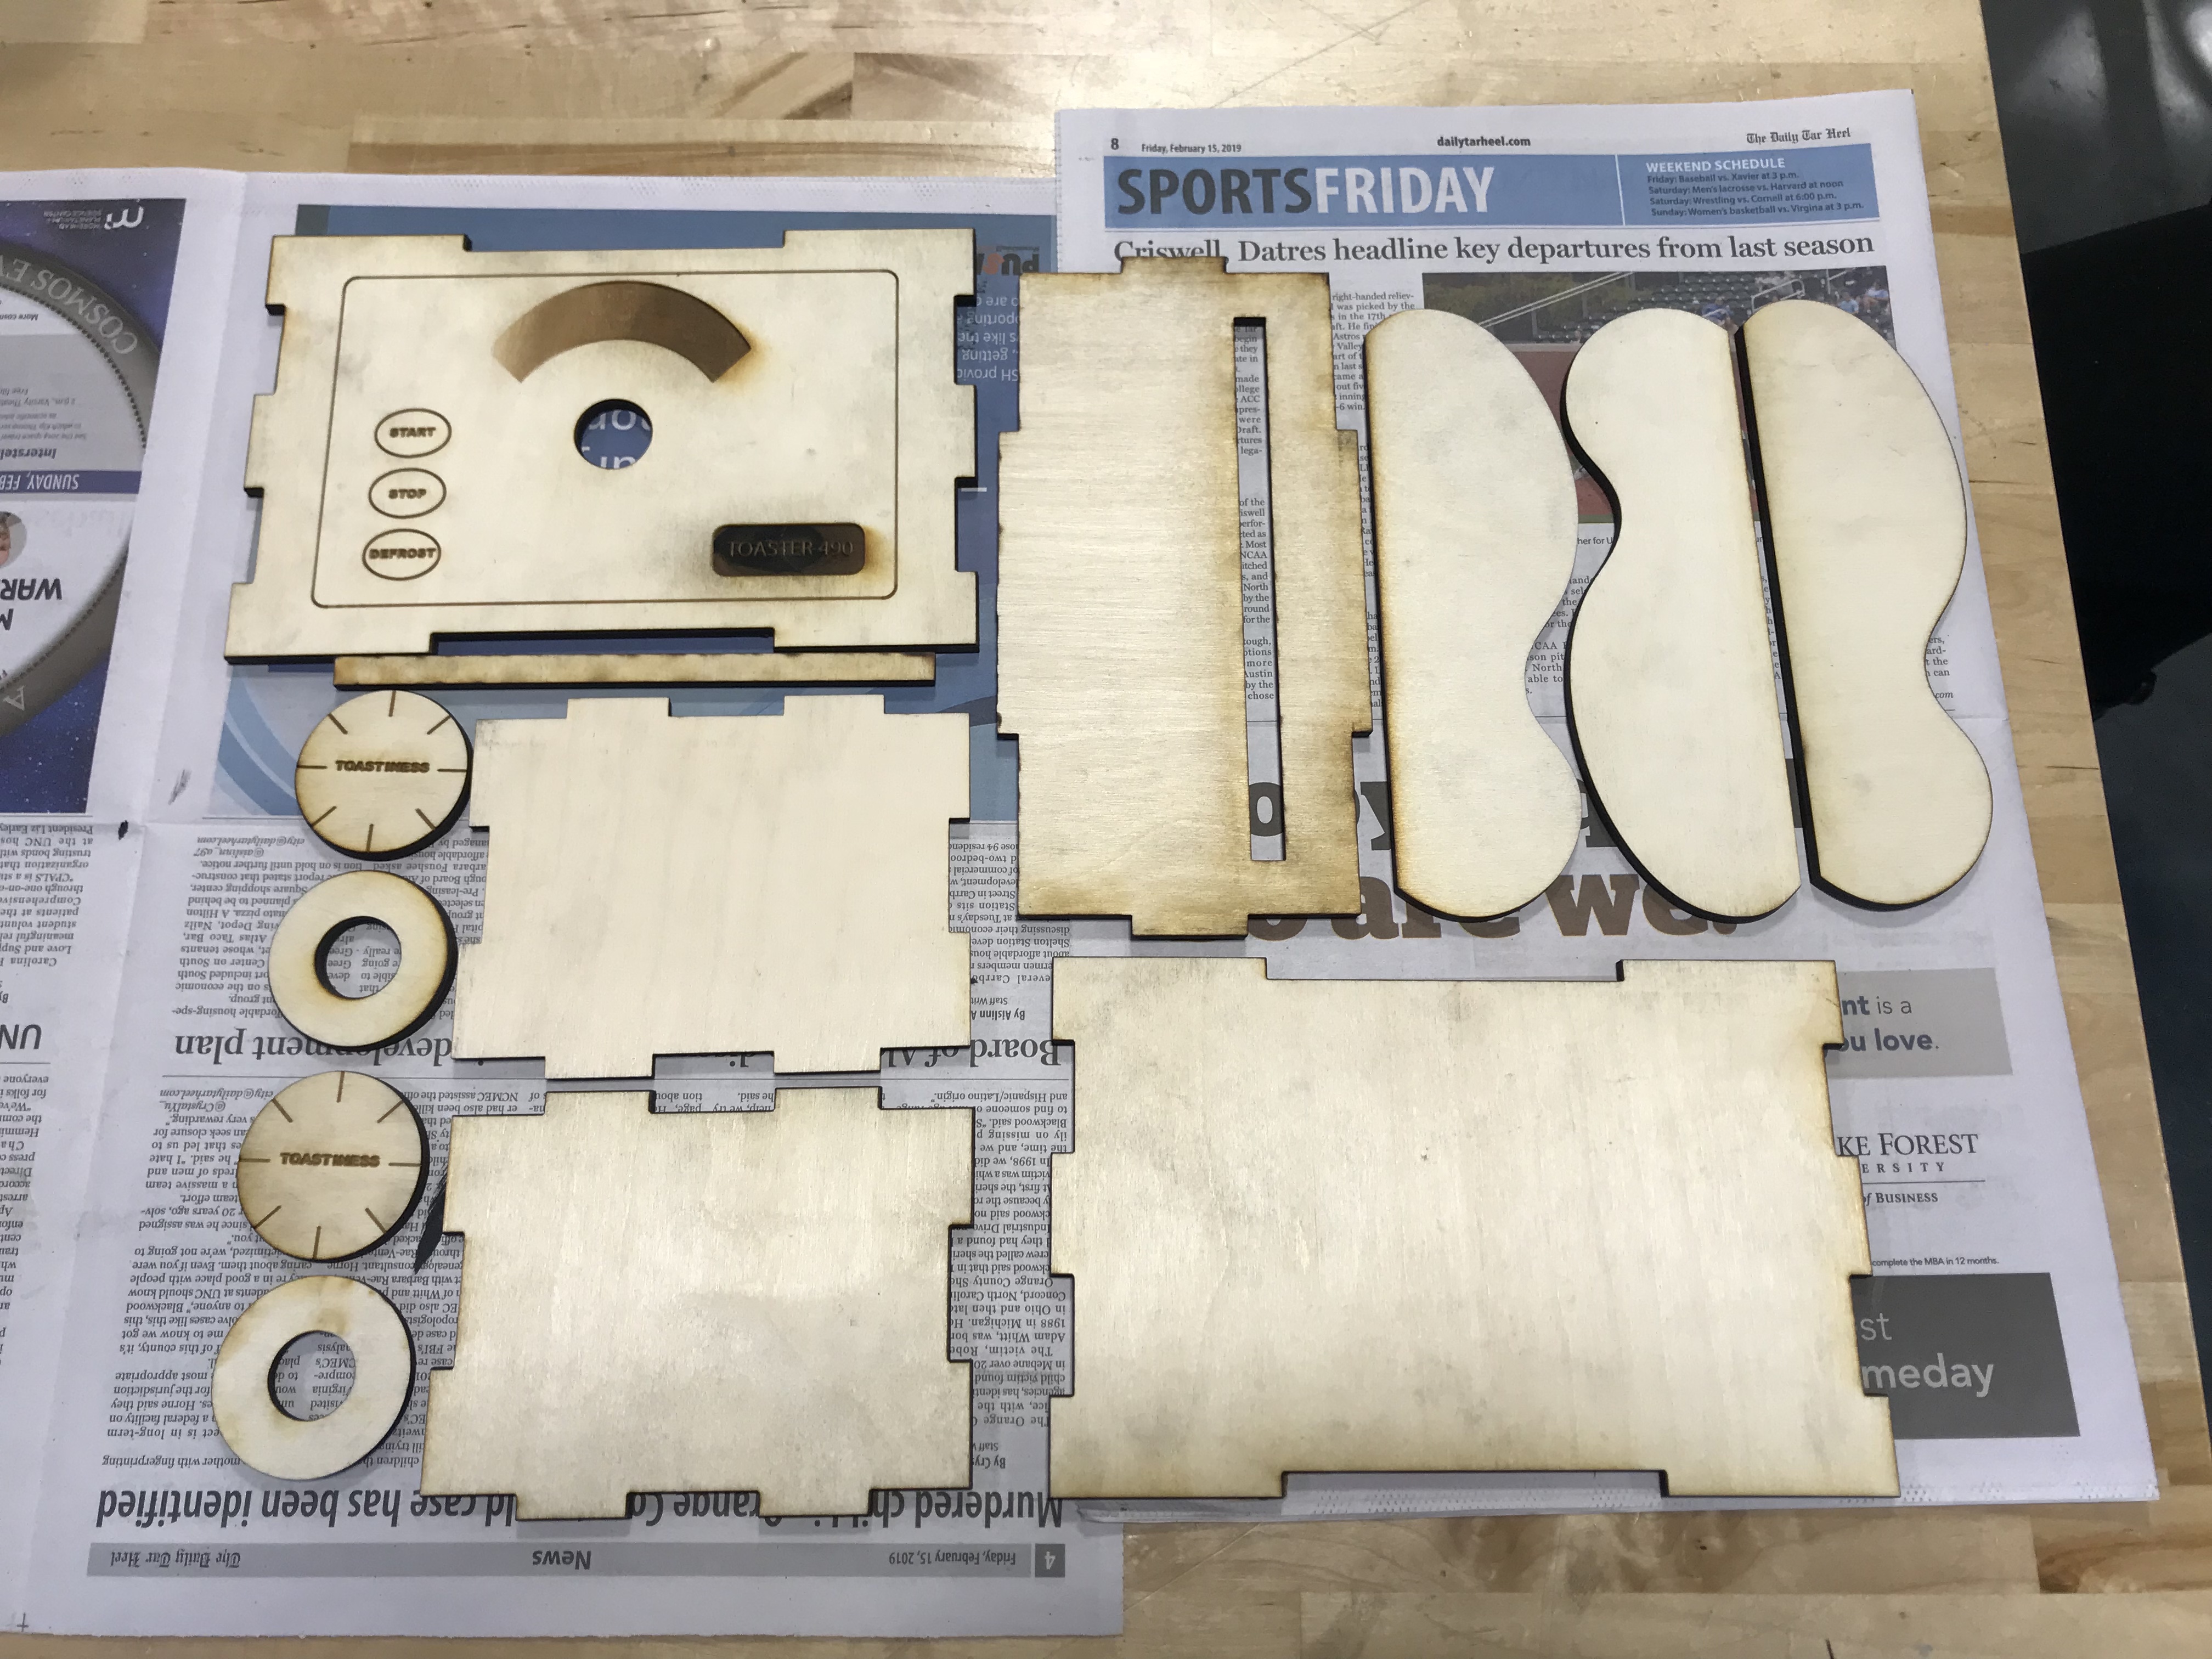
Put the wood into the laser cutter, adjust setting, laser positions, and wait for the laser cutter to print out the design. After the laser cutter finished printing, take out the wood pieces and find what pieces are suppose to be together. You can also assemble them to see if those pieces fit together.
Step 3: Paint the Inside Black
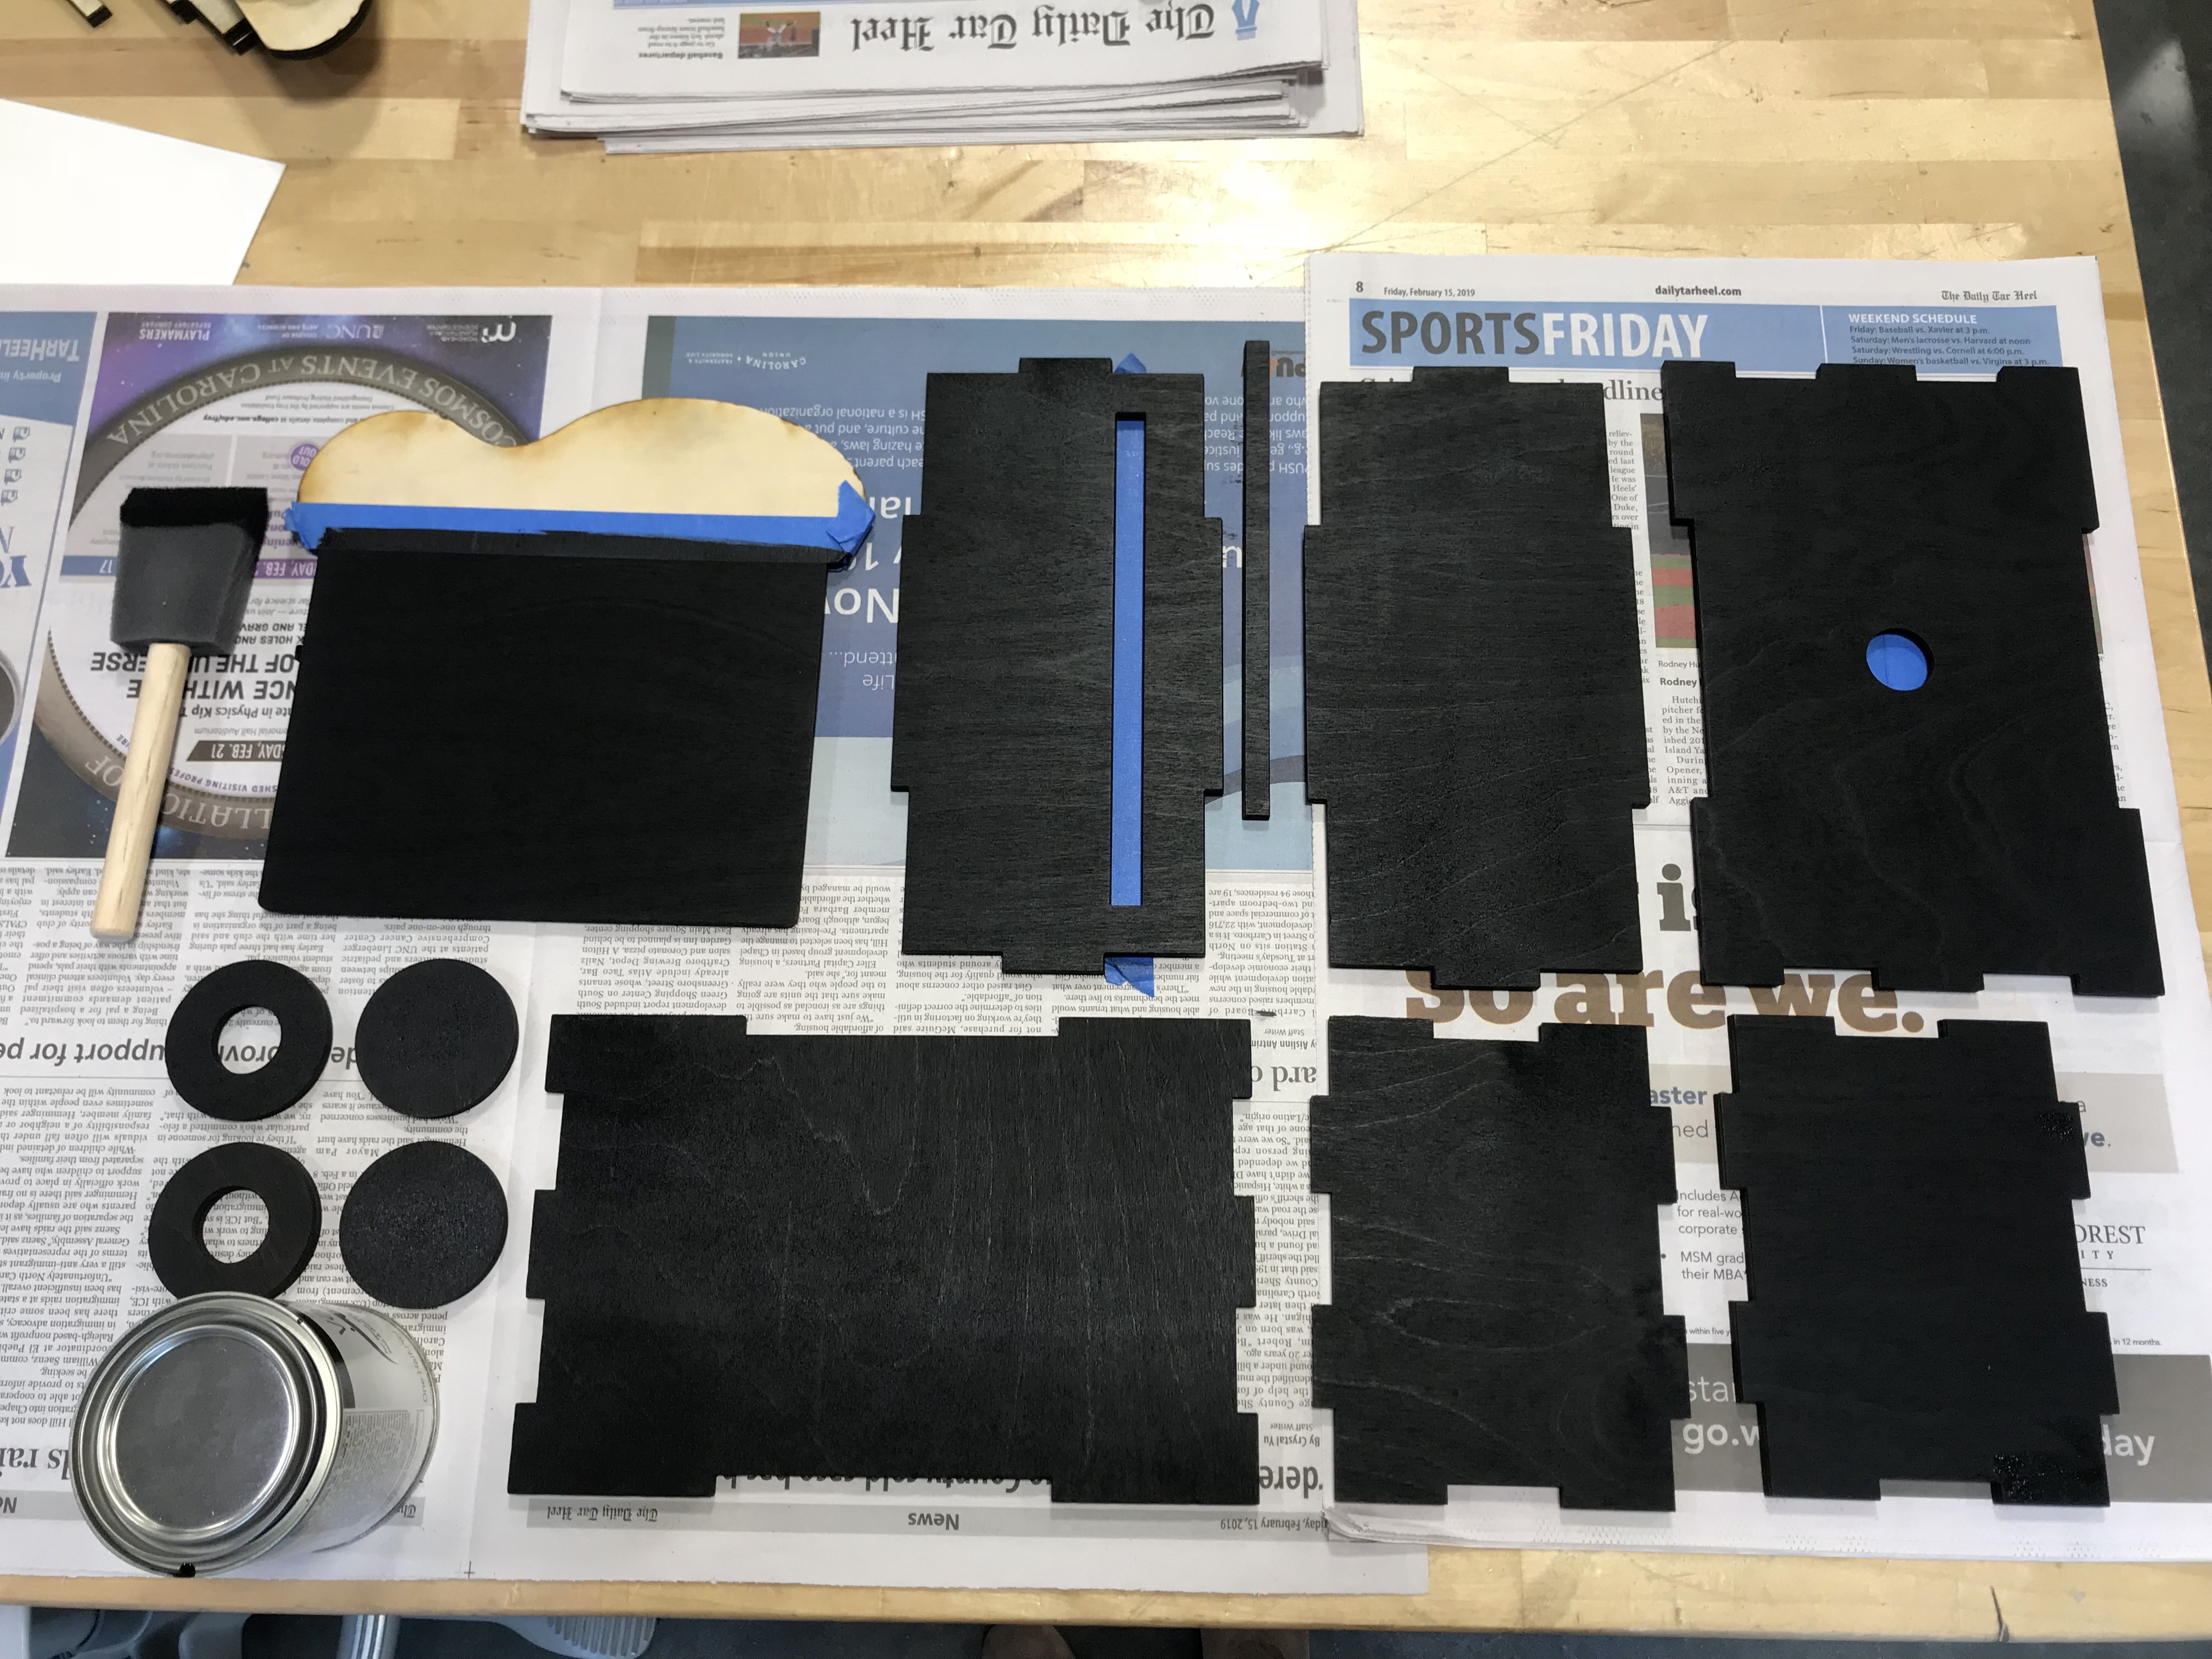
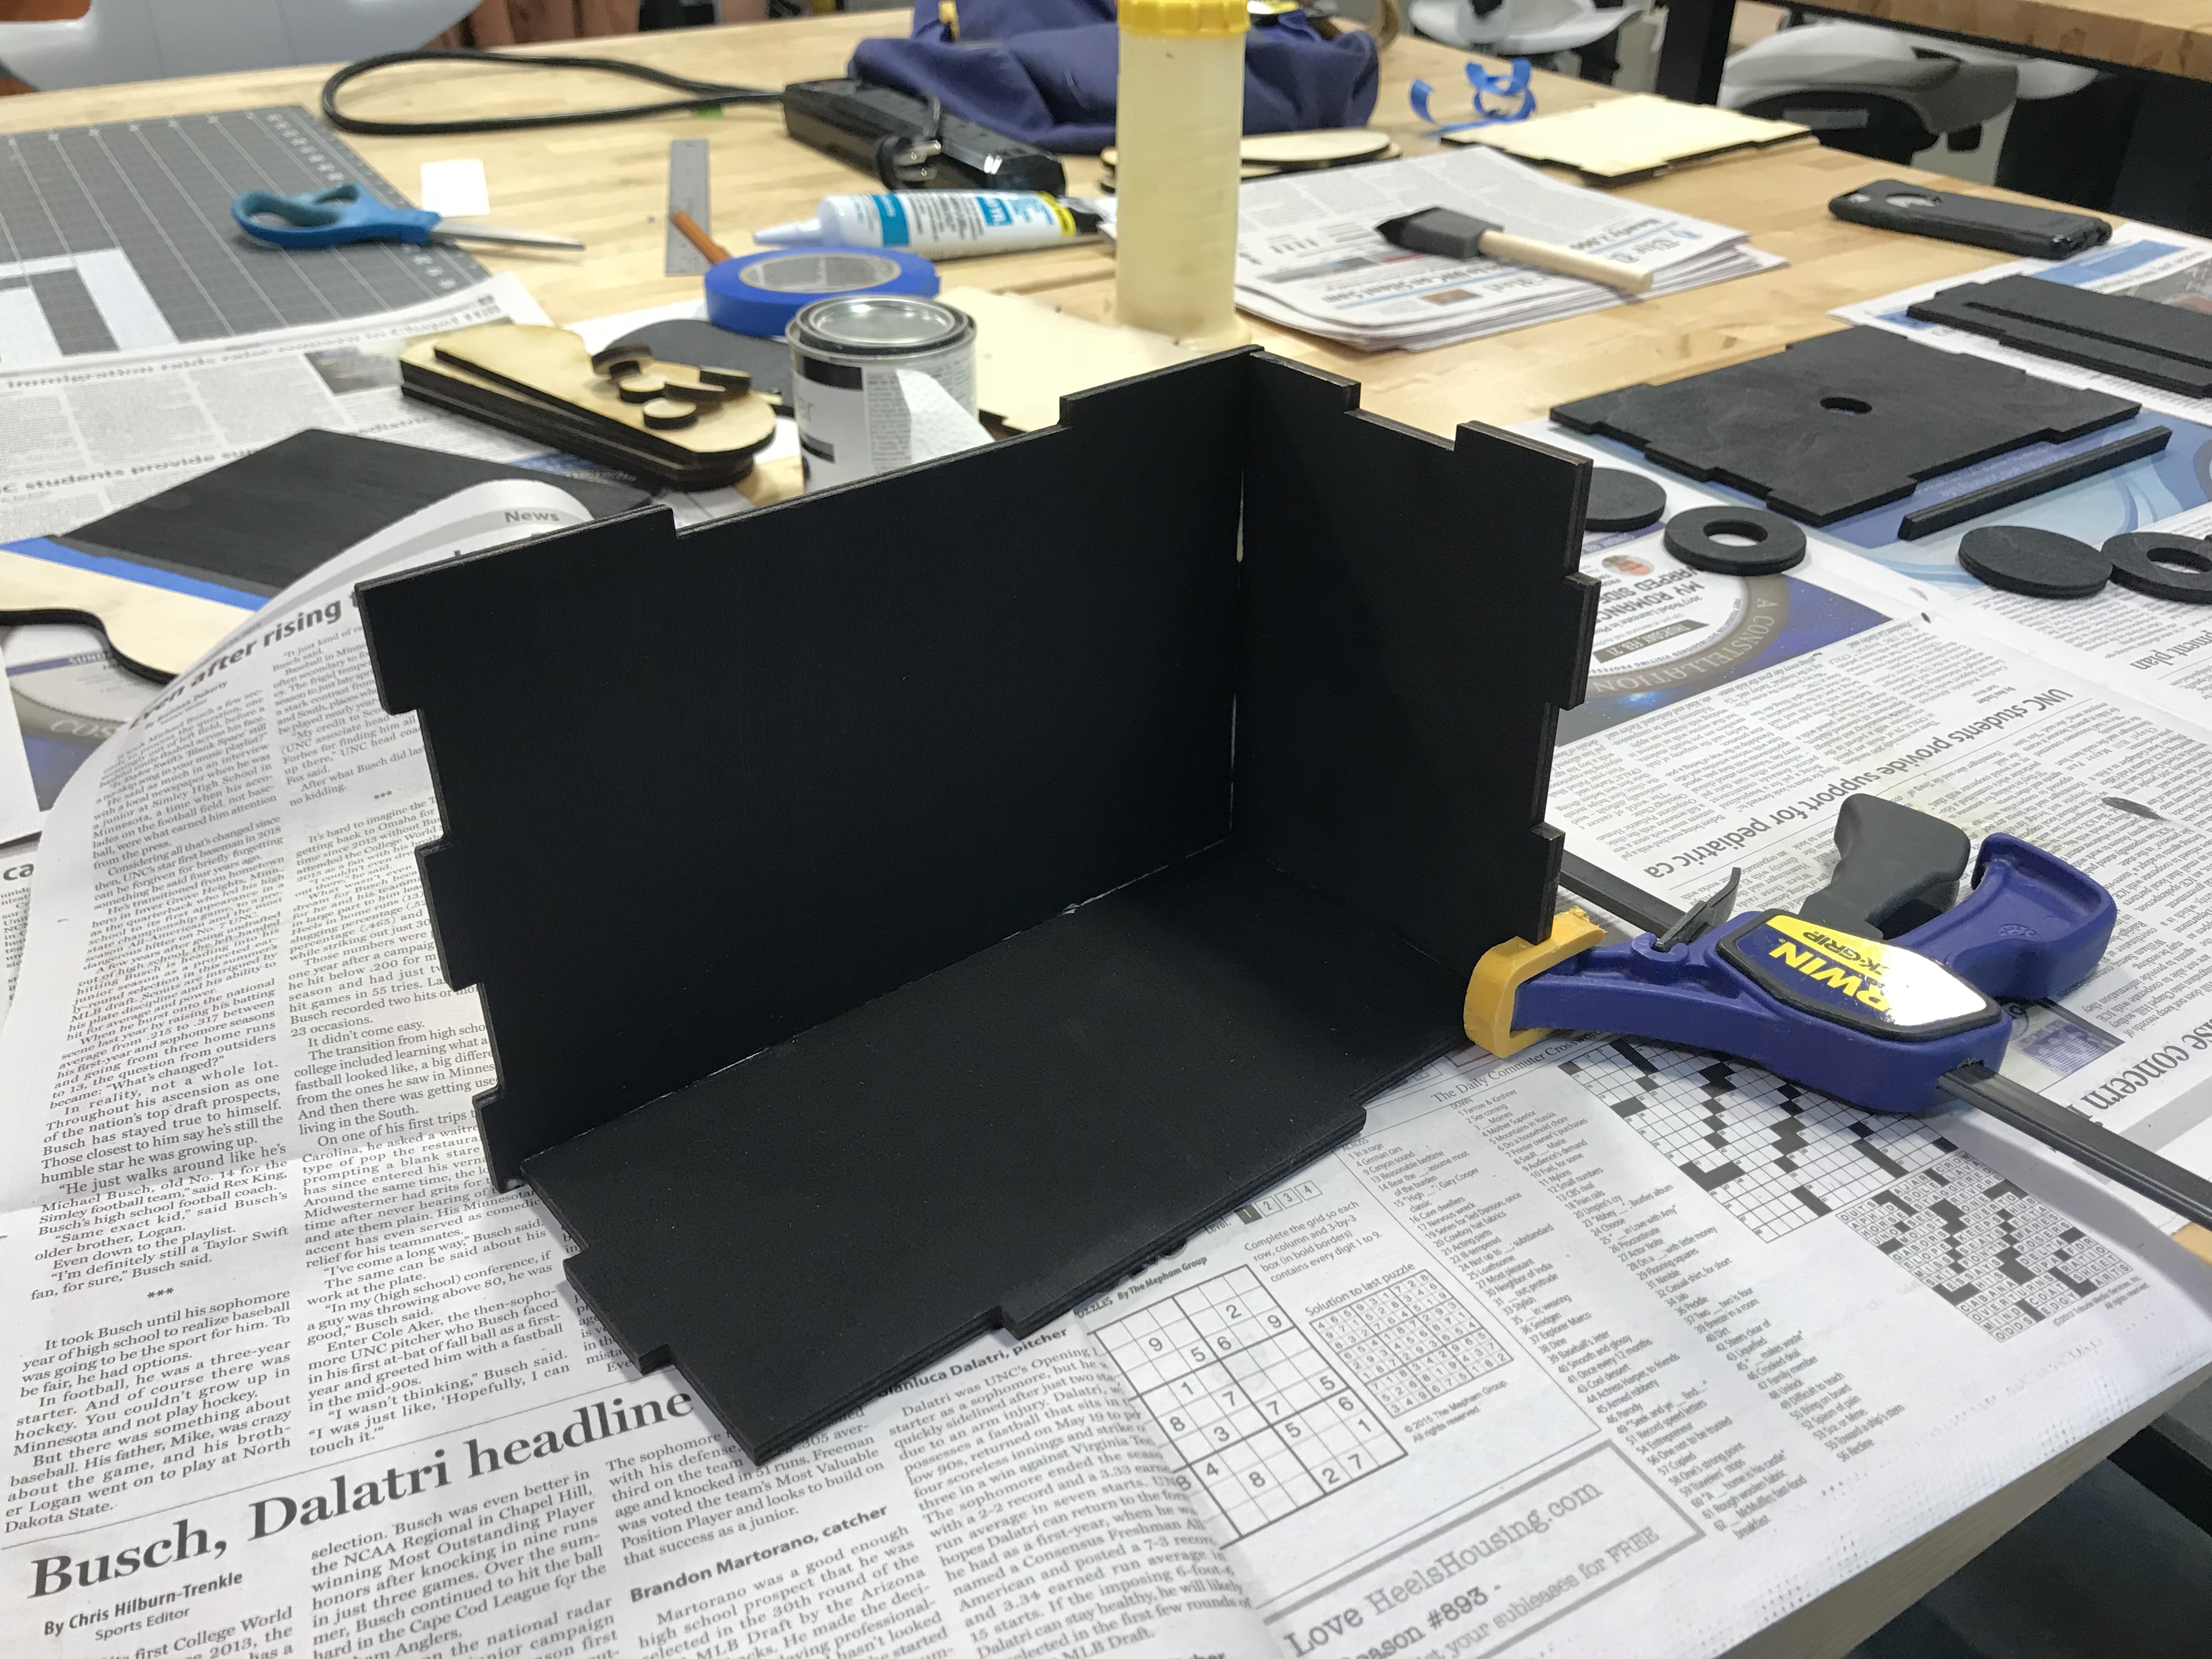
Once you assembled the camera, pay attention to which sides are inside, and use the black paint to paint them. It is very important to prevent light leak in Pinhole Camera, so that is why the inside must be black.
Also, because I designed the toast as the photo tray, the upper part of the toast piece do not have to be black. So I put the tape to prevent the paint get to the upper top.
Step 4: Make the Shutter
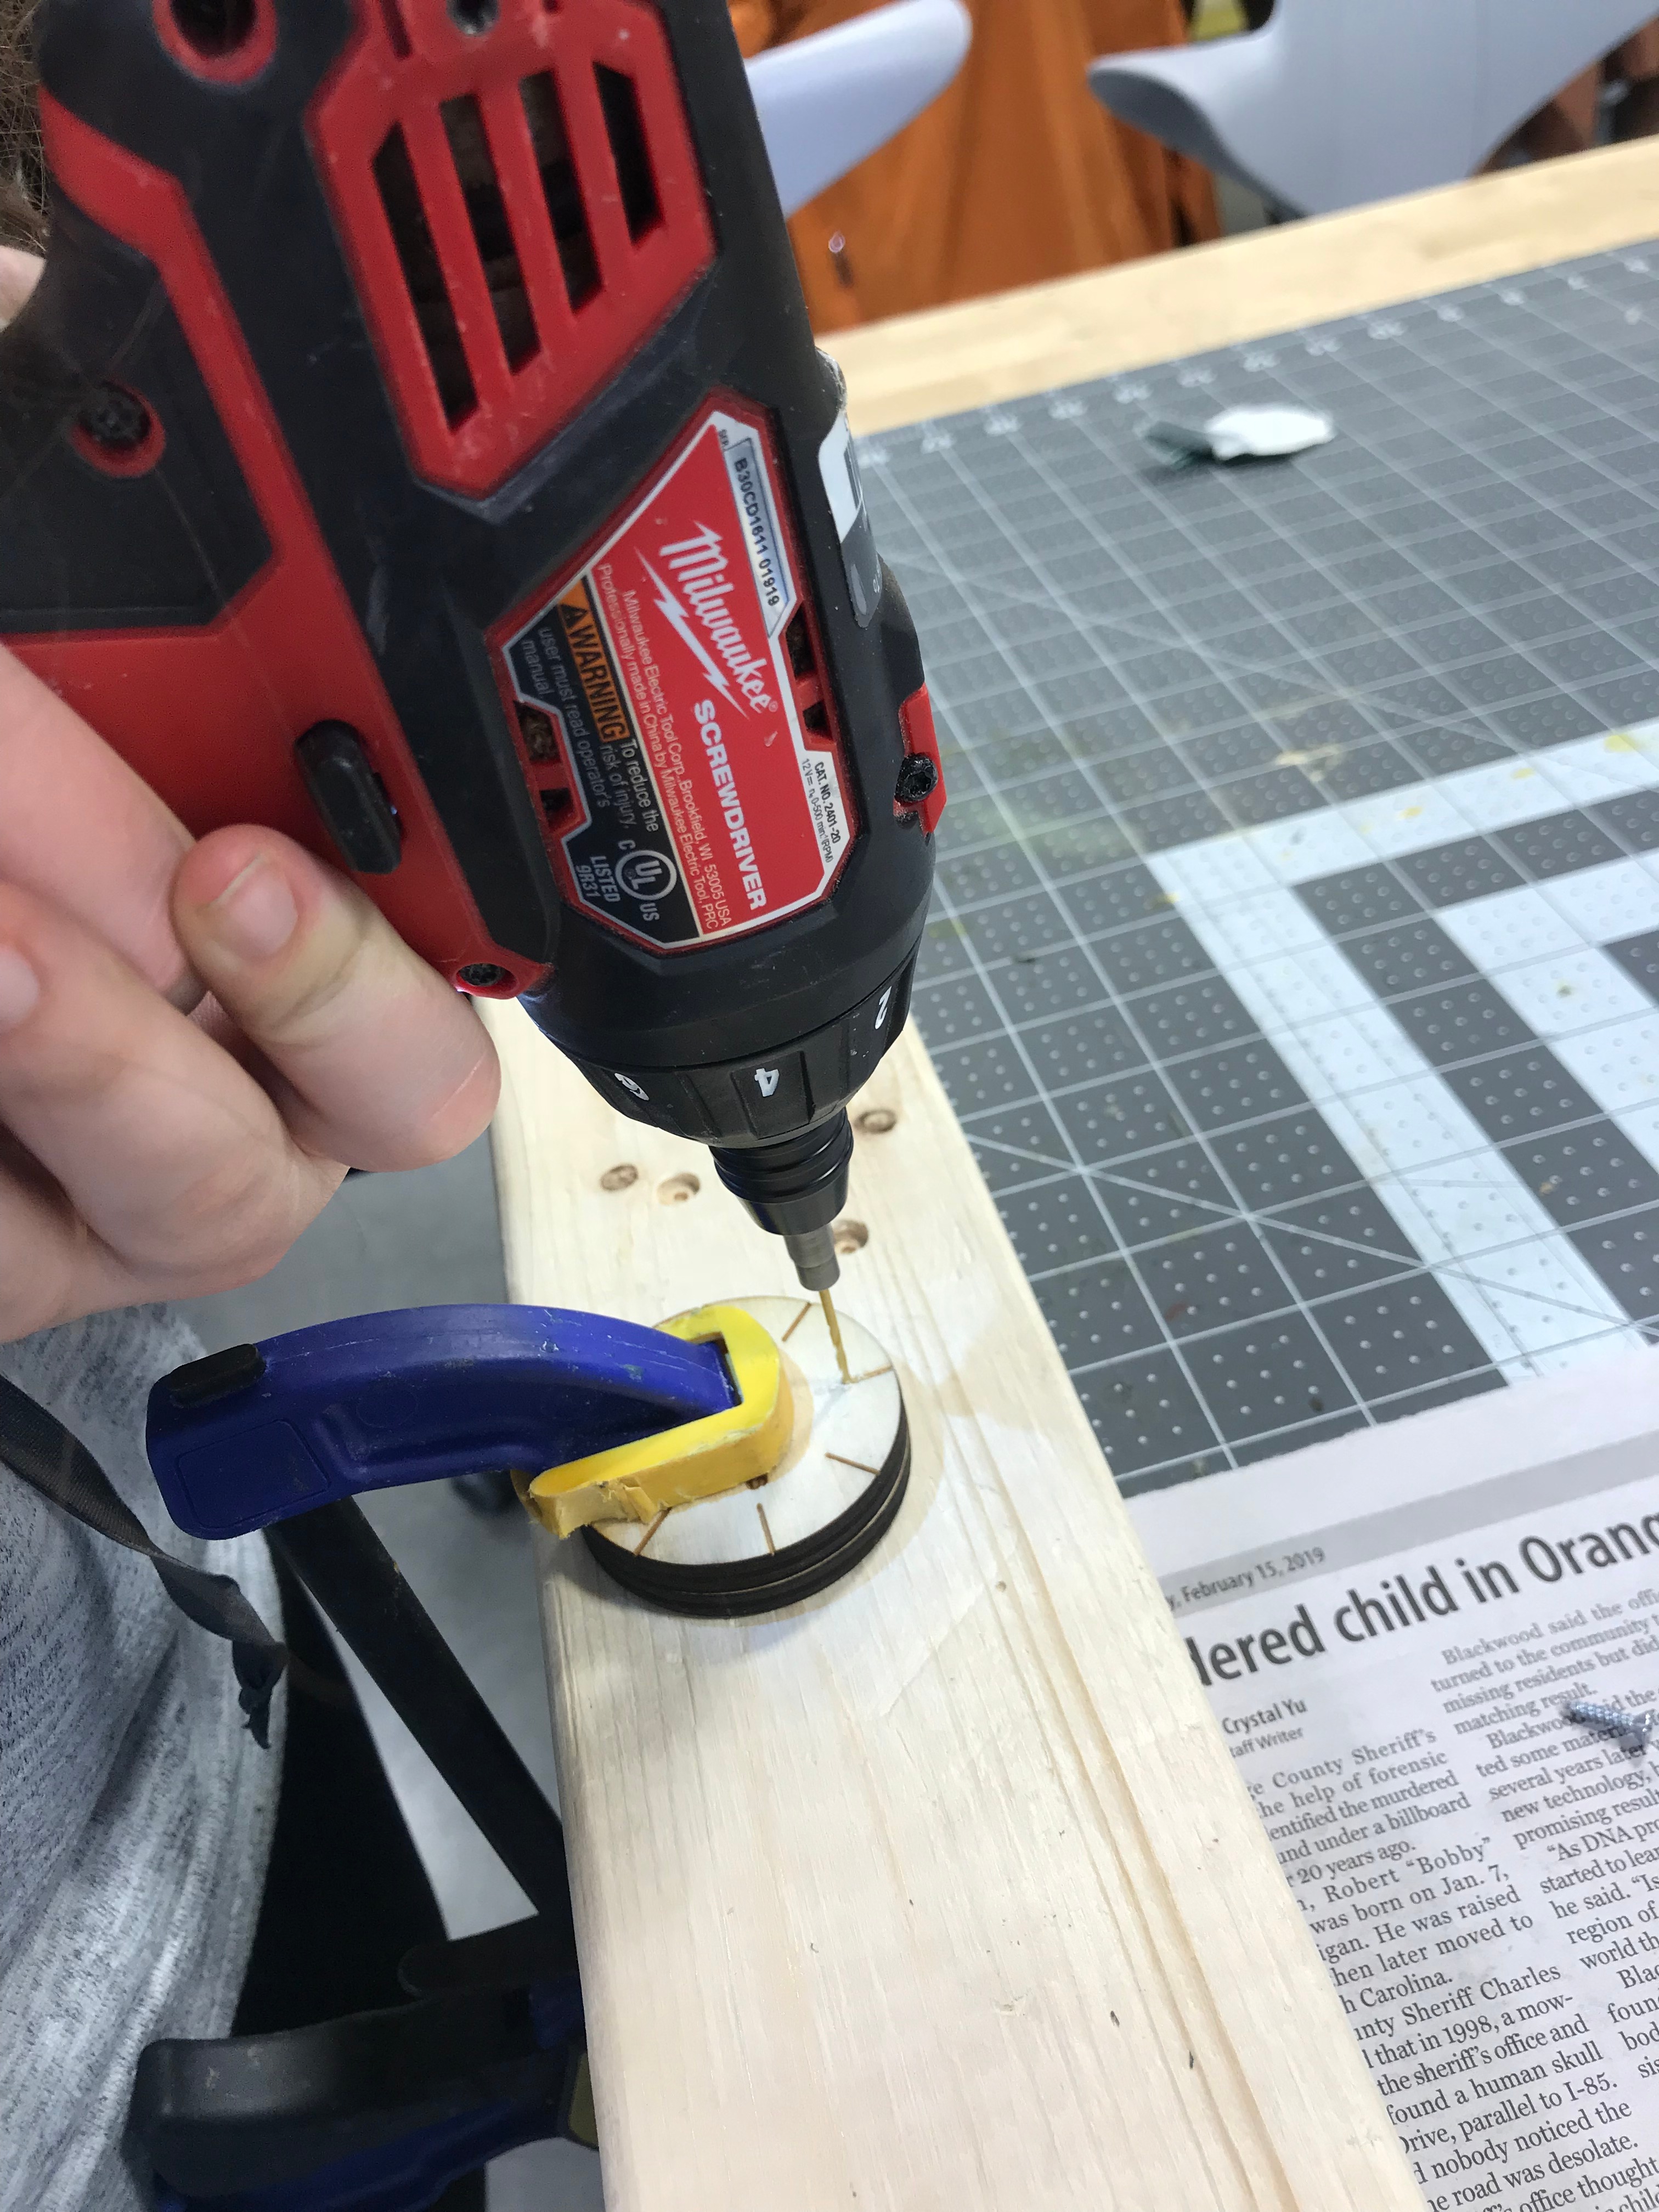
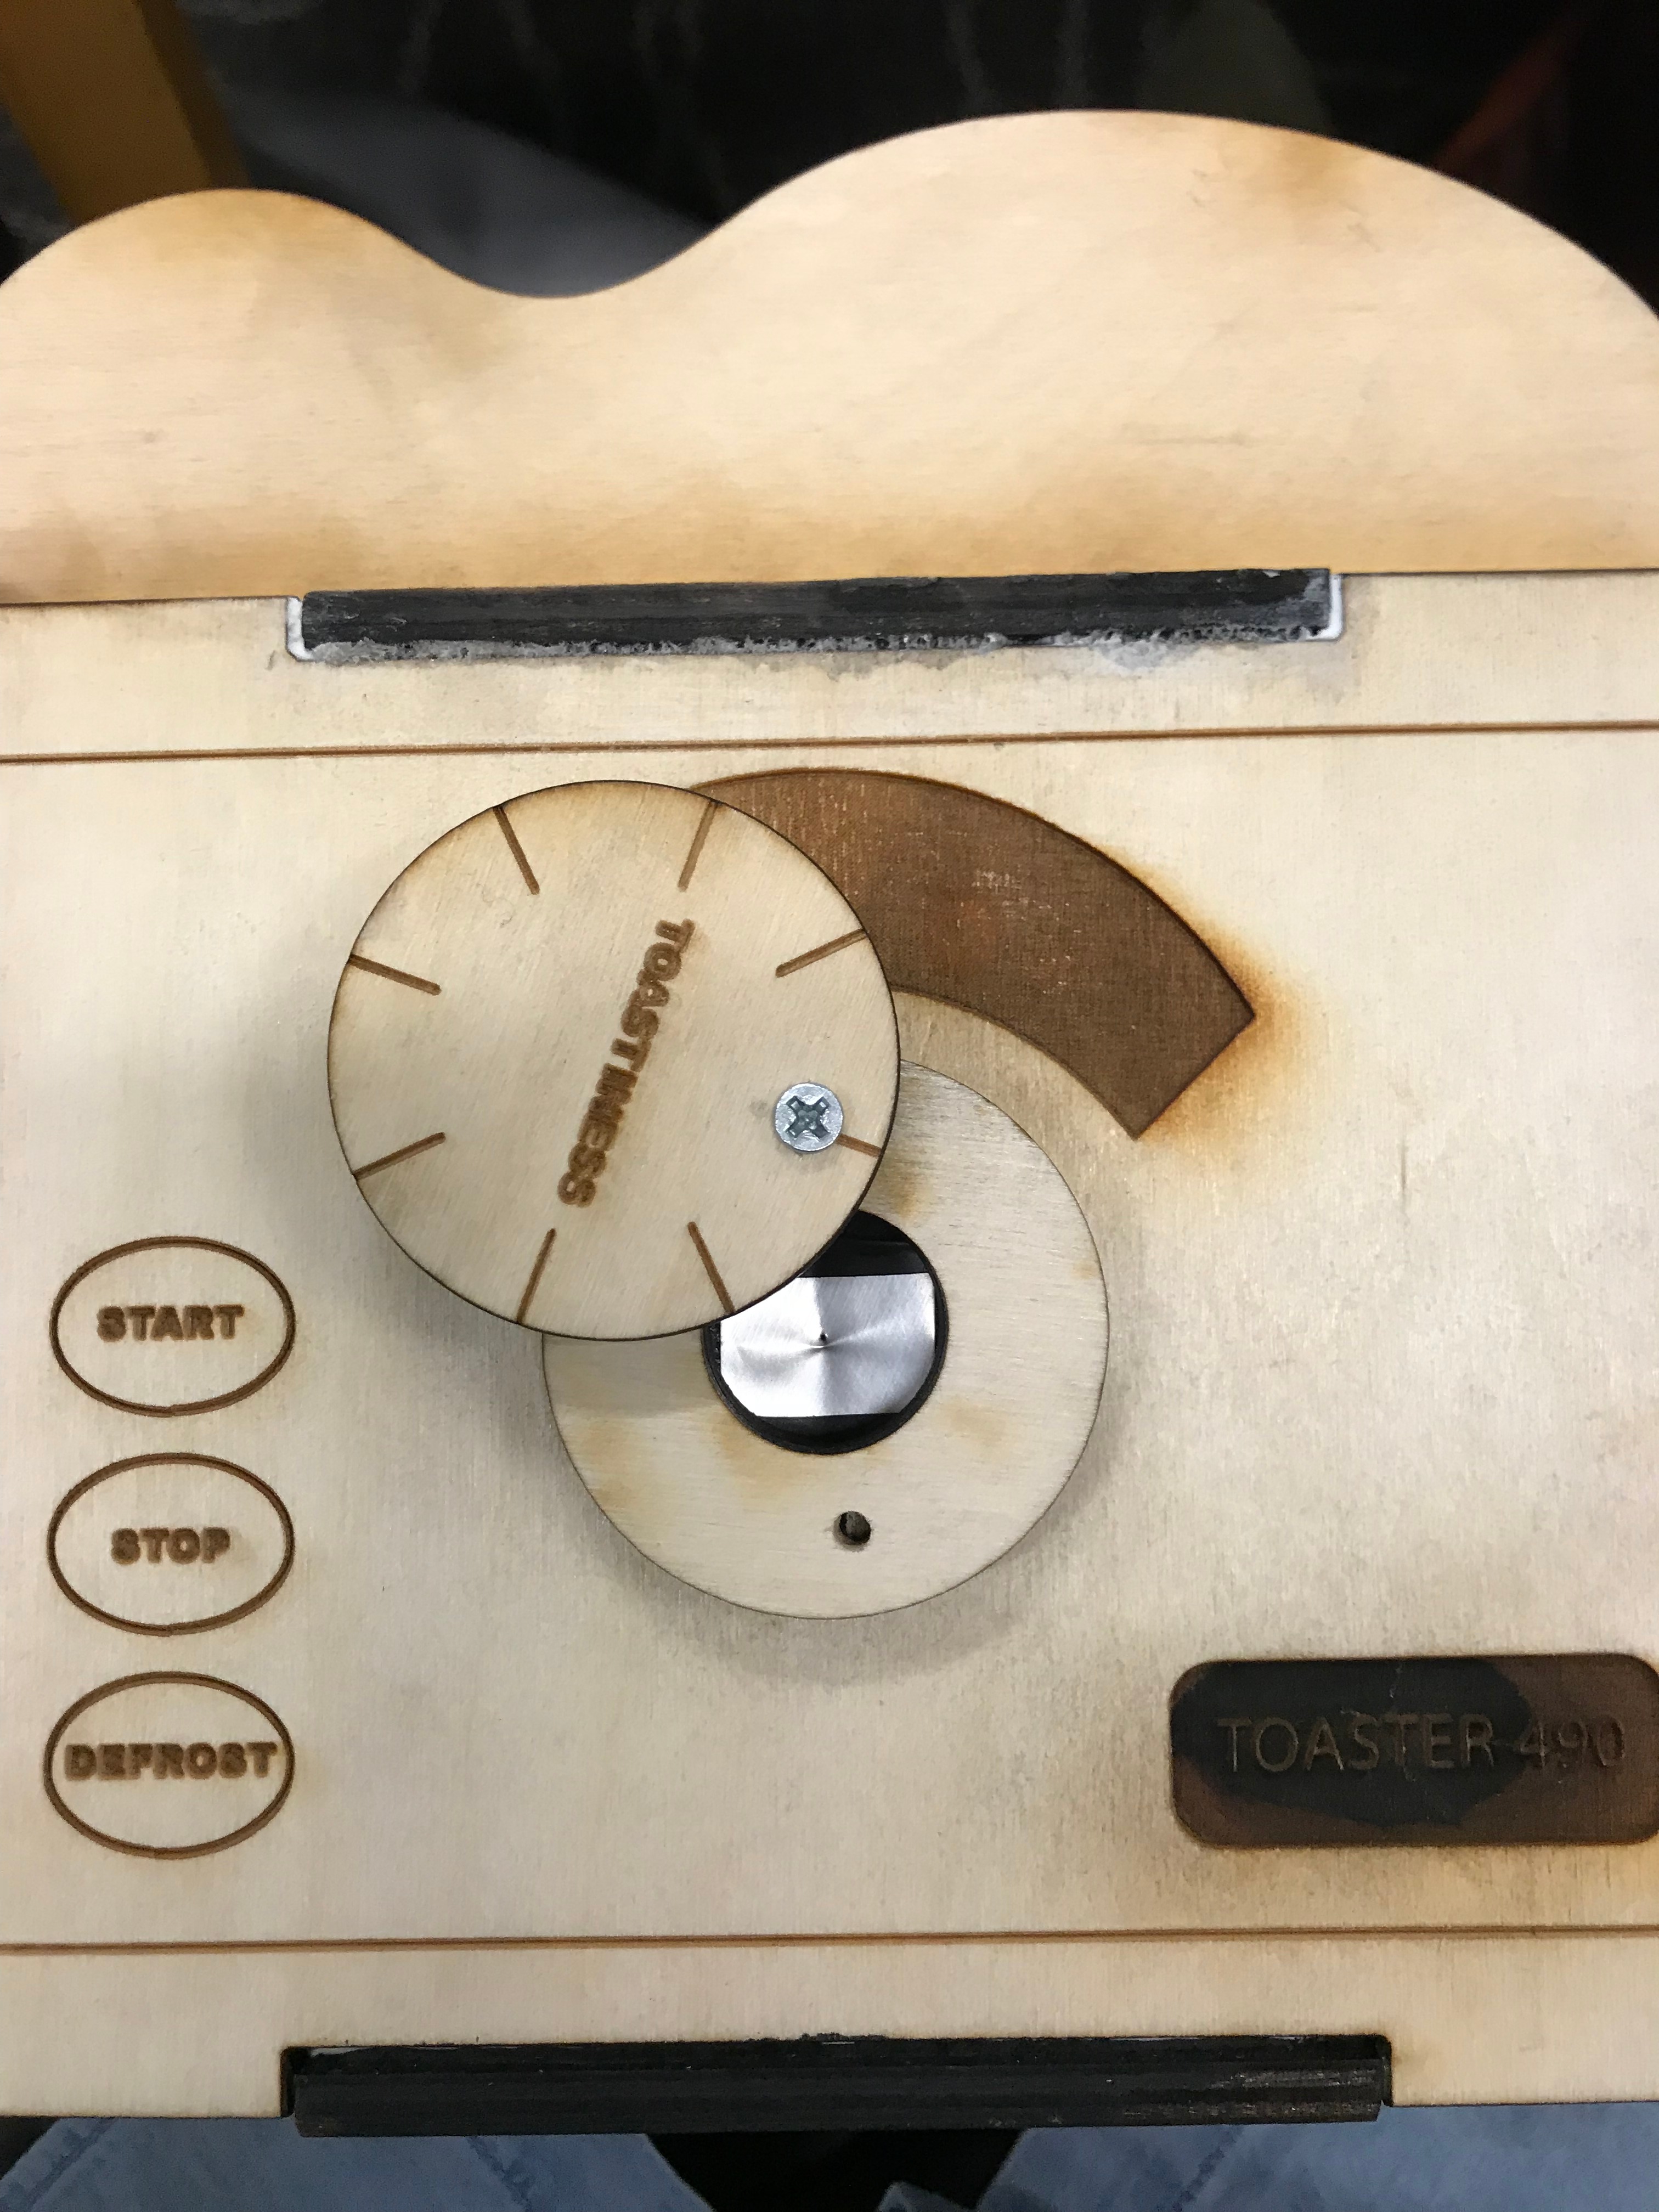
Now let's make a lens and a shutter to protect the lens. First, find a can and cut a small piece. Use the needle to drill a small hole in the middle of the piece, and this will be the lens.
Then, because I want the shutter to be slidable, I can drill a hole and connect the other piece using a small nail.
Step 5: Put the Camera Together and Clog It
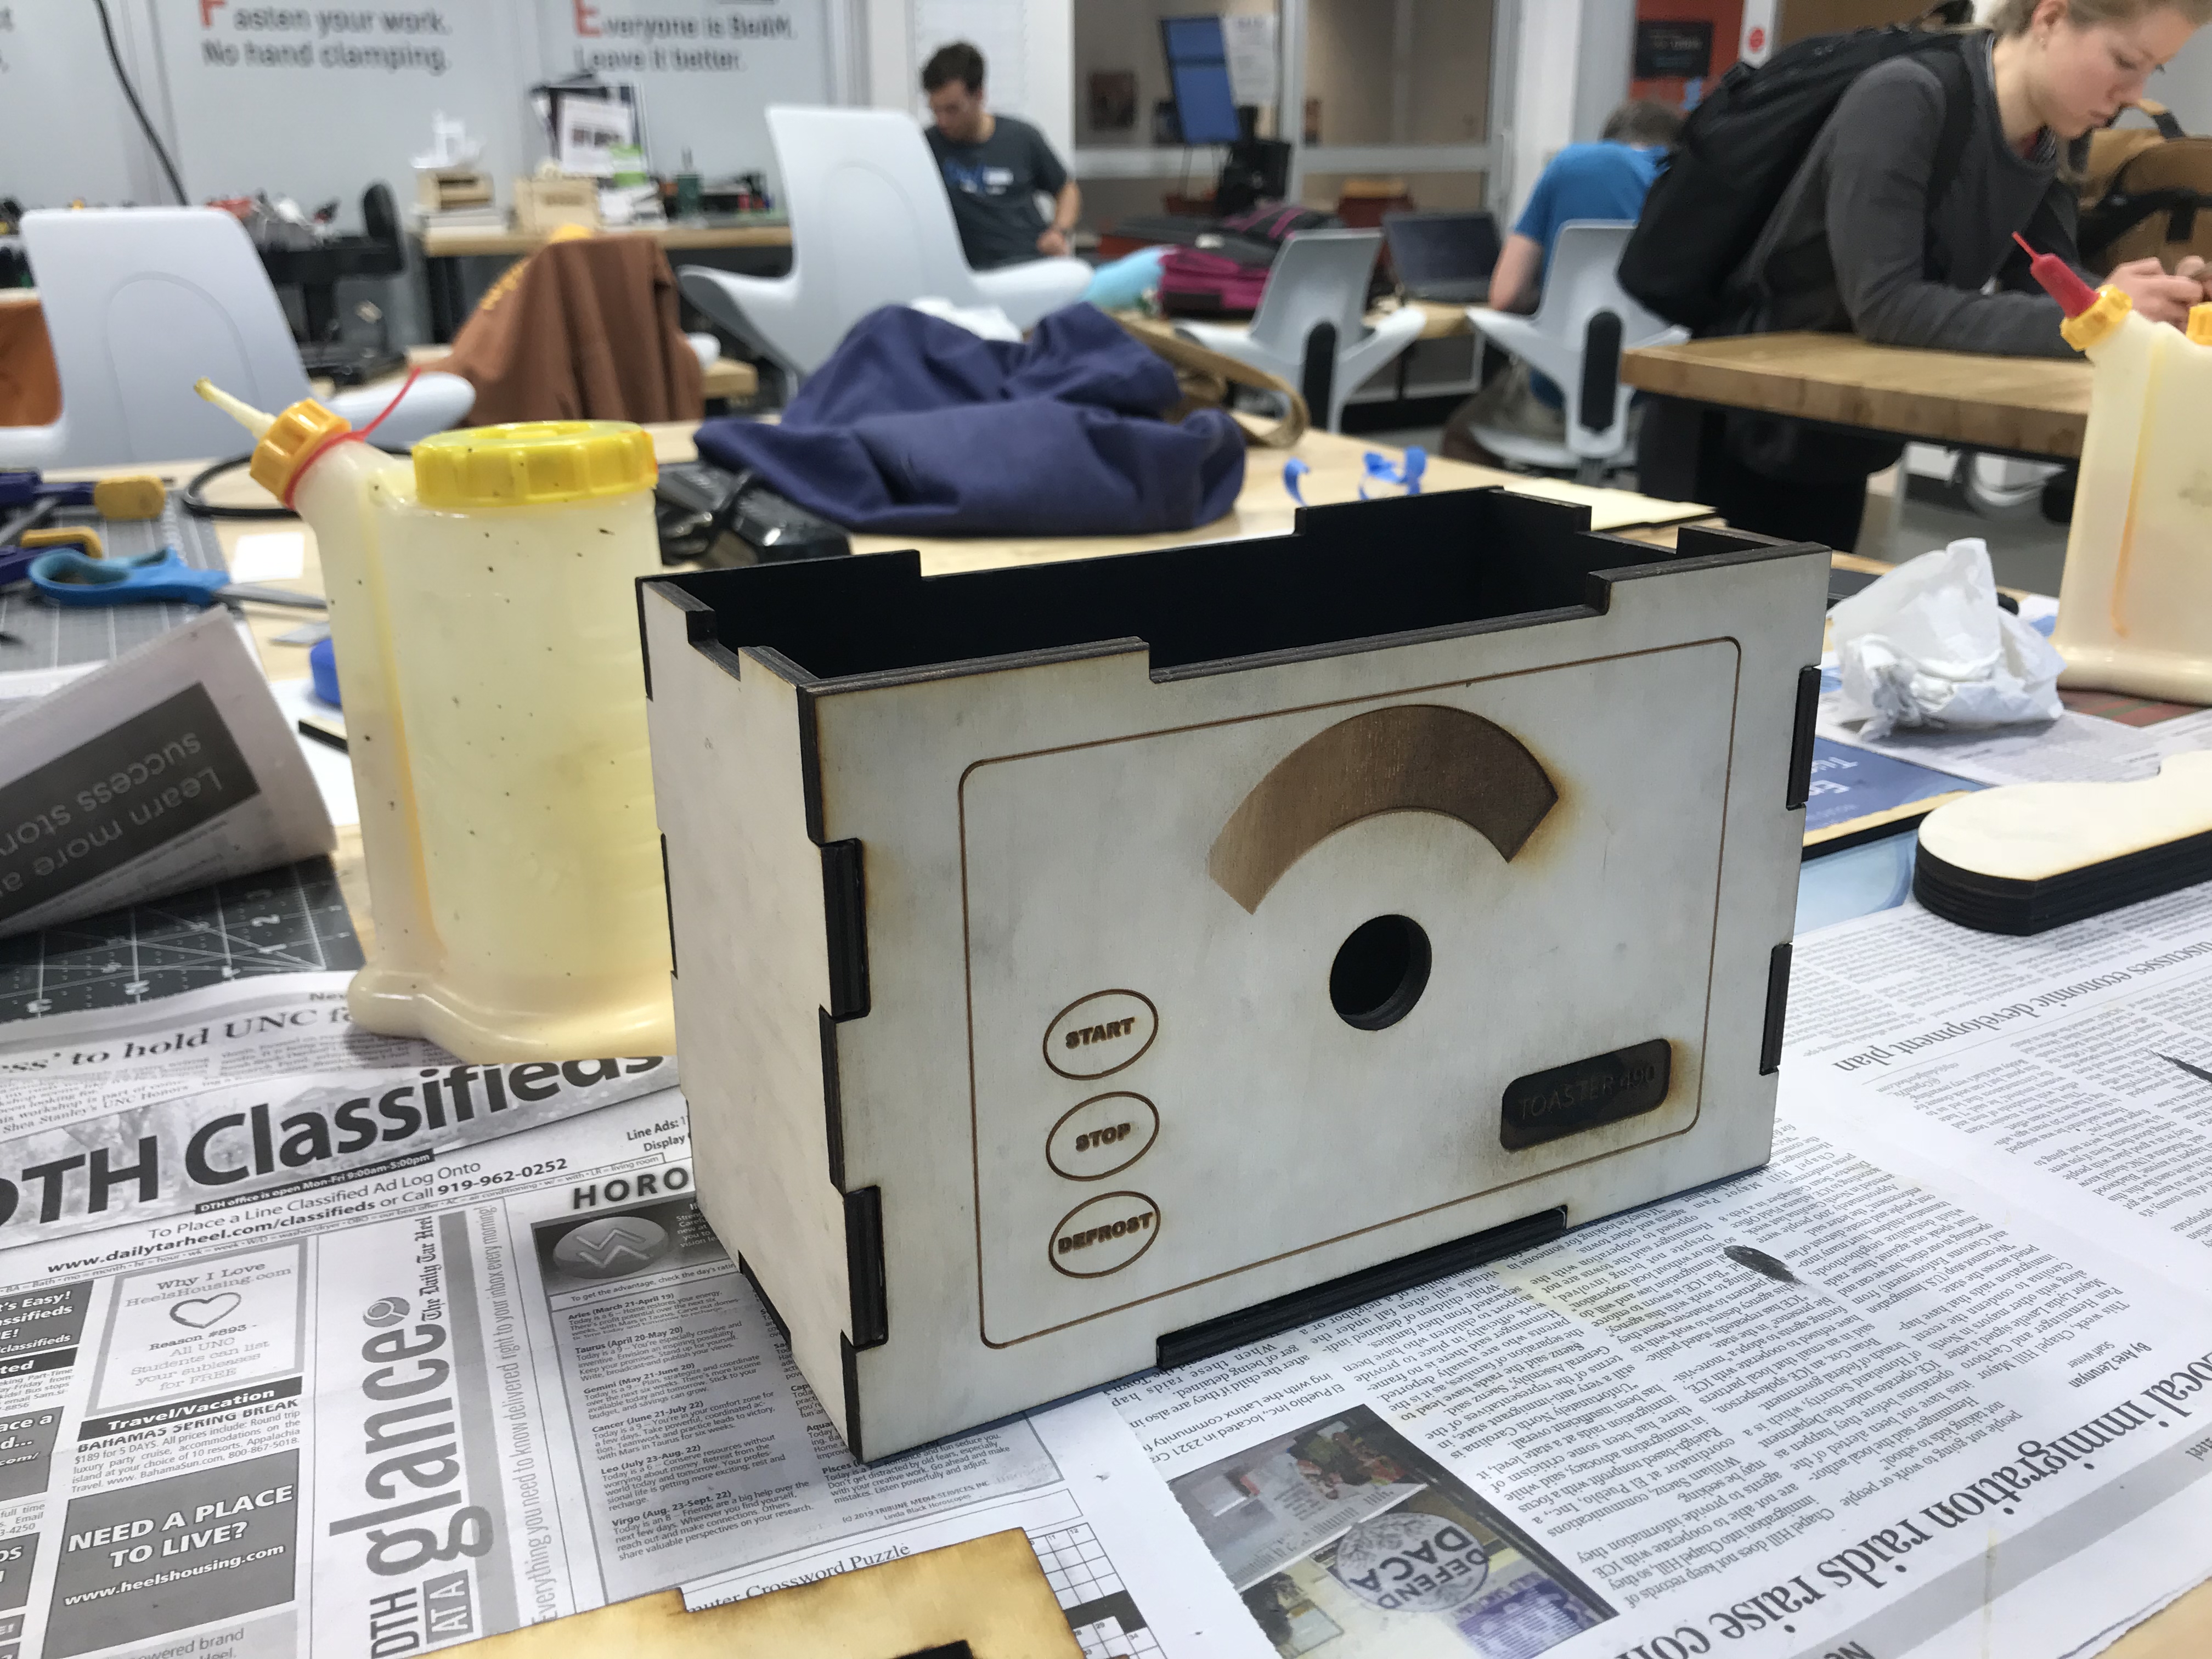
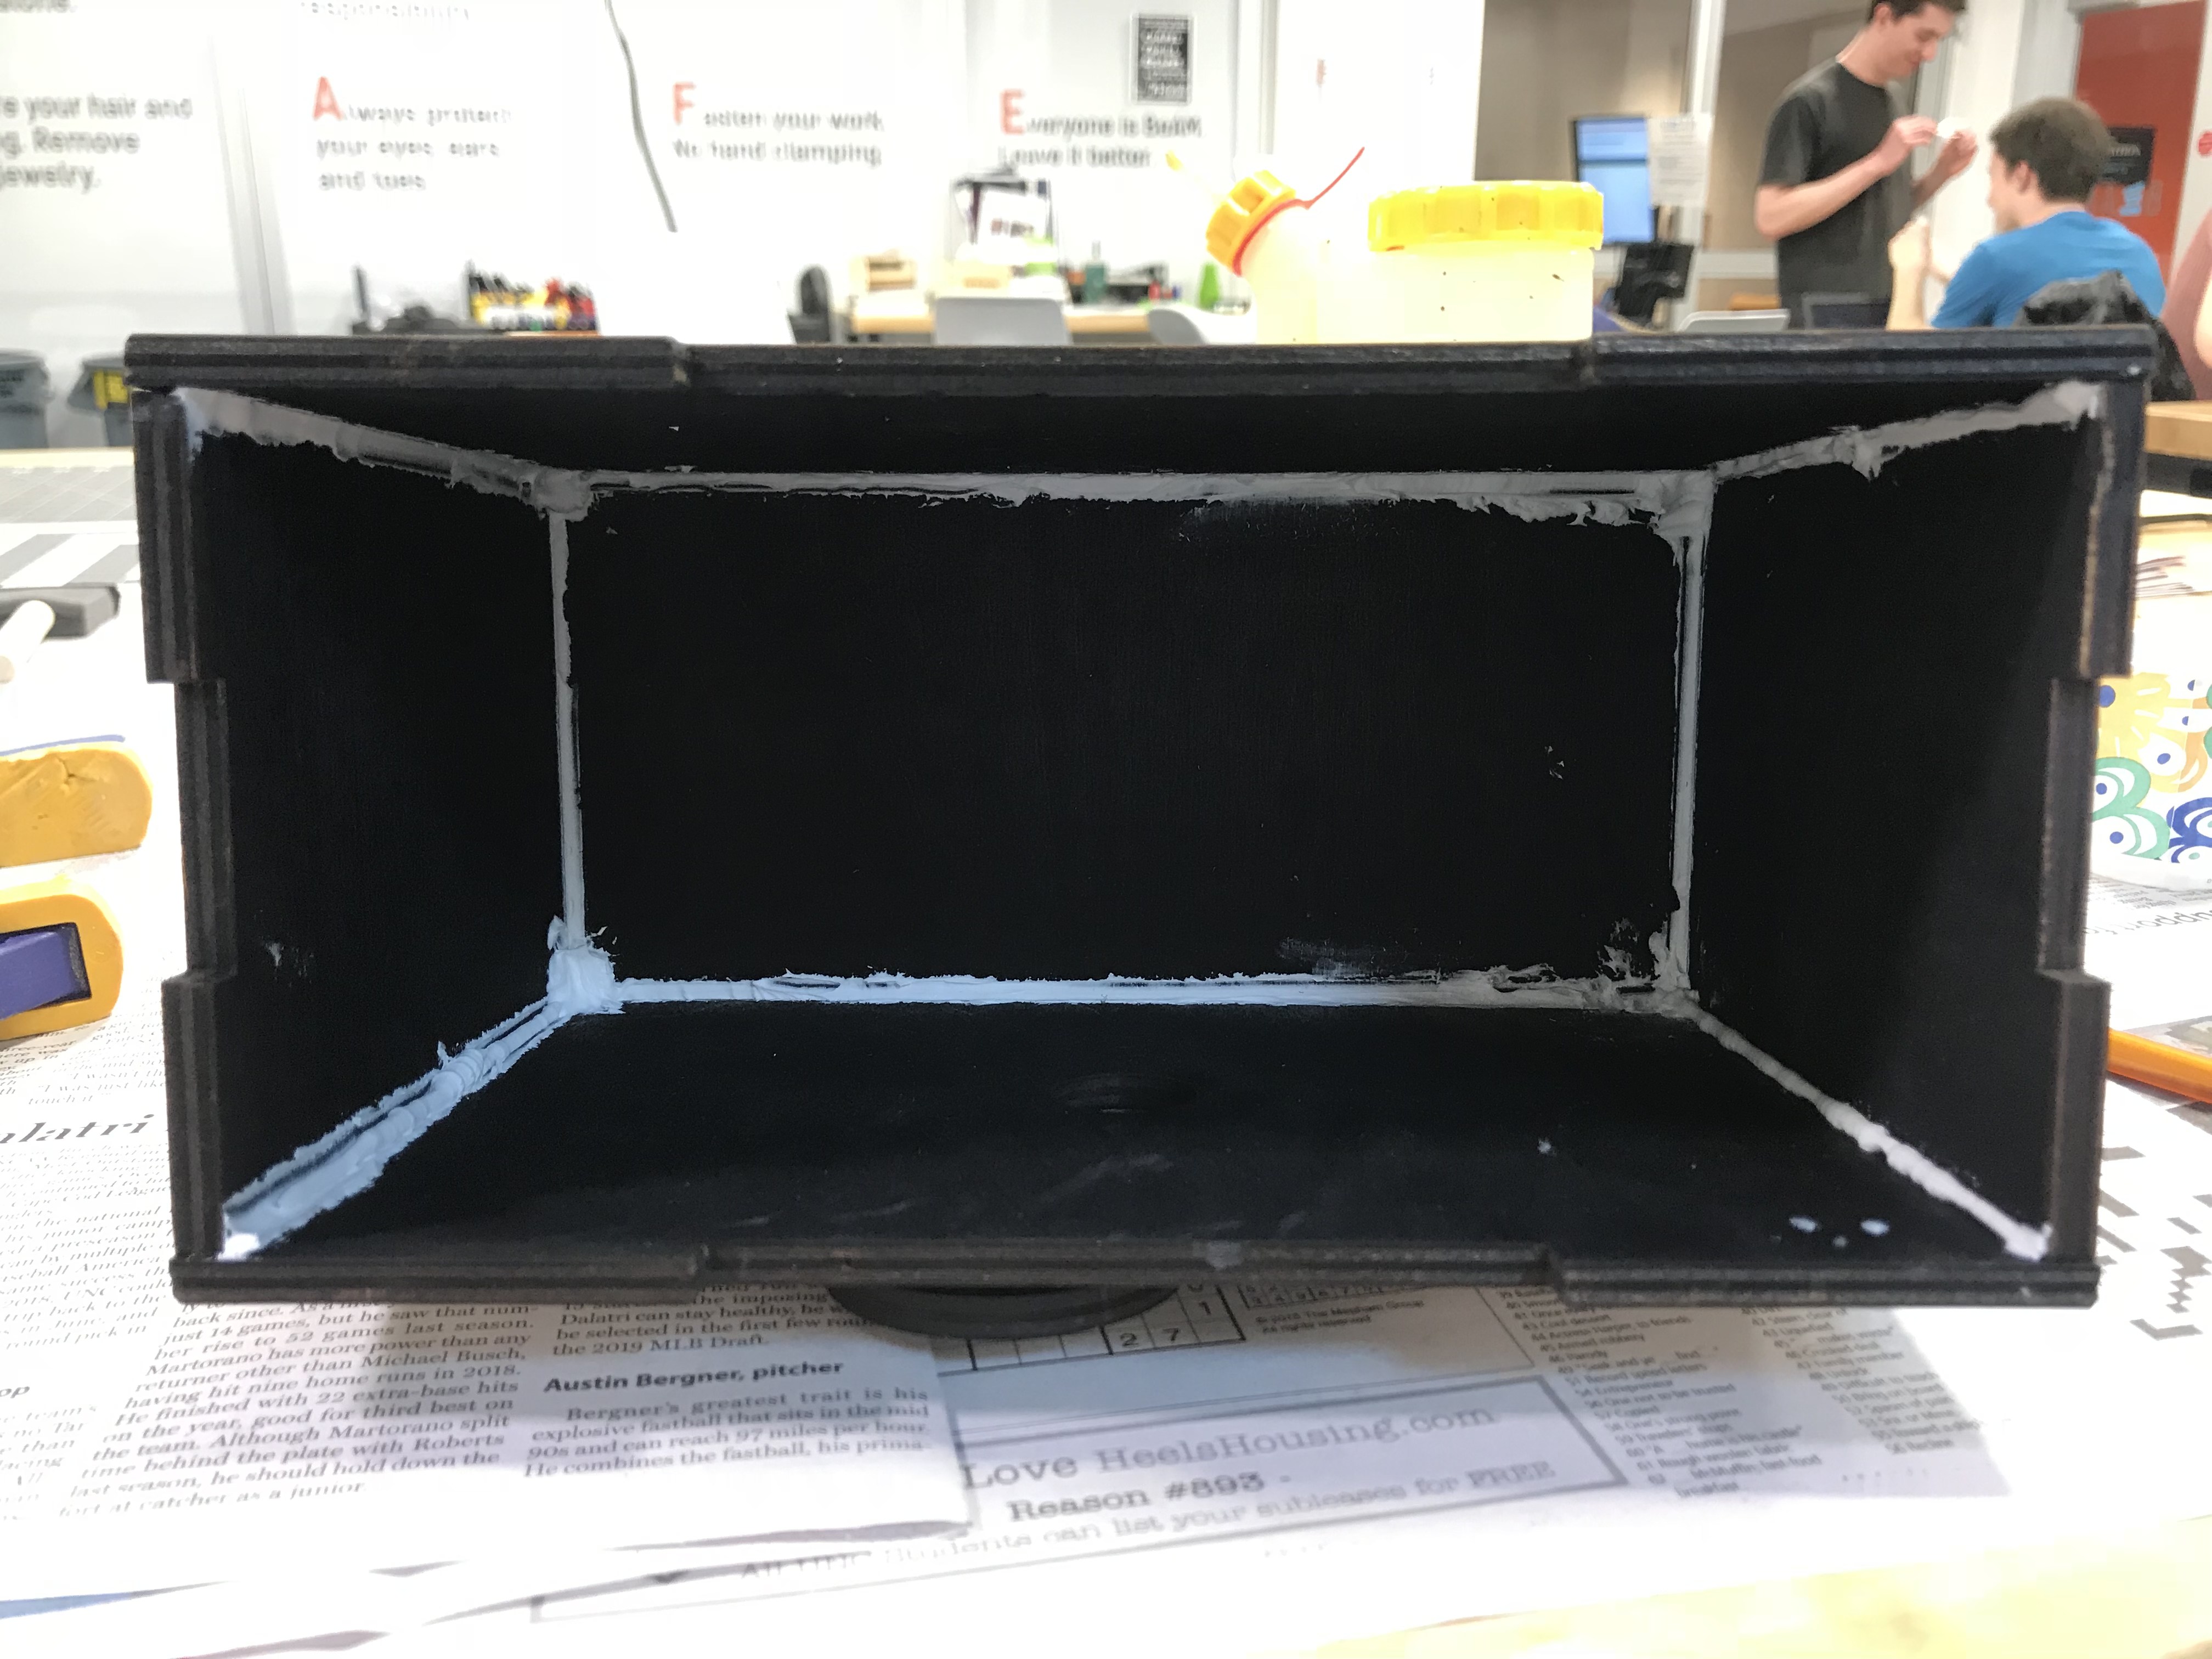
Now we can finally assemble the pieces the last time. Use hot glue while assembling them.
After glueing all the pieces together, use the clog material to fill in the little gaps between the wood pieces. We are trying to prevent any light leak situation here. Use more clog material to clog the lid, including the gap for pulling out the toast.
Step 6: Photoshoot Time!

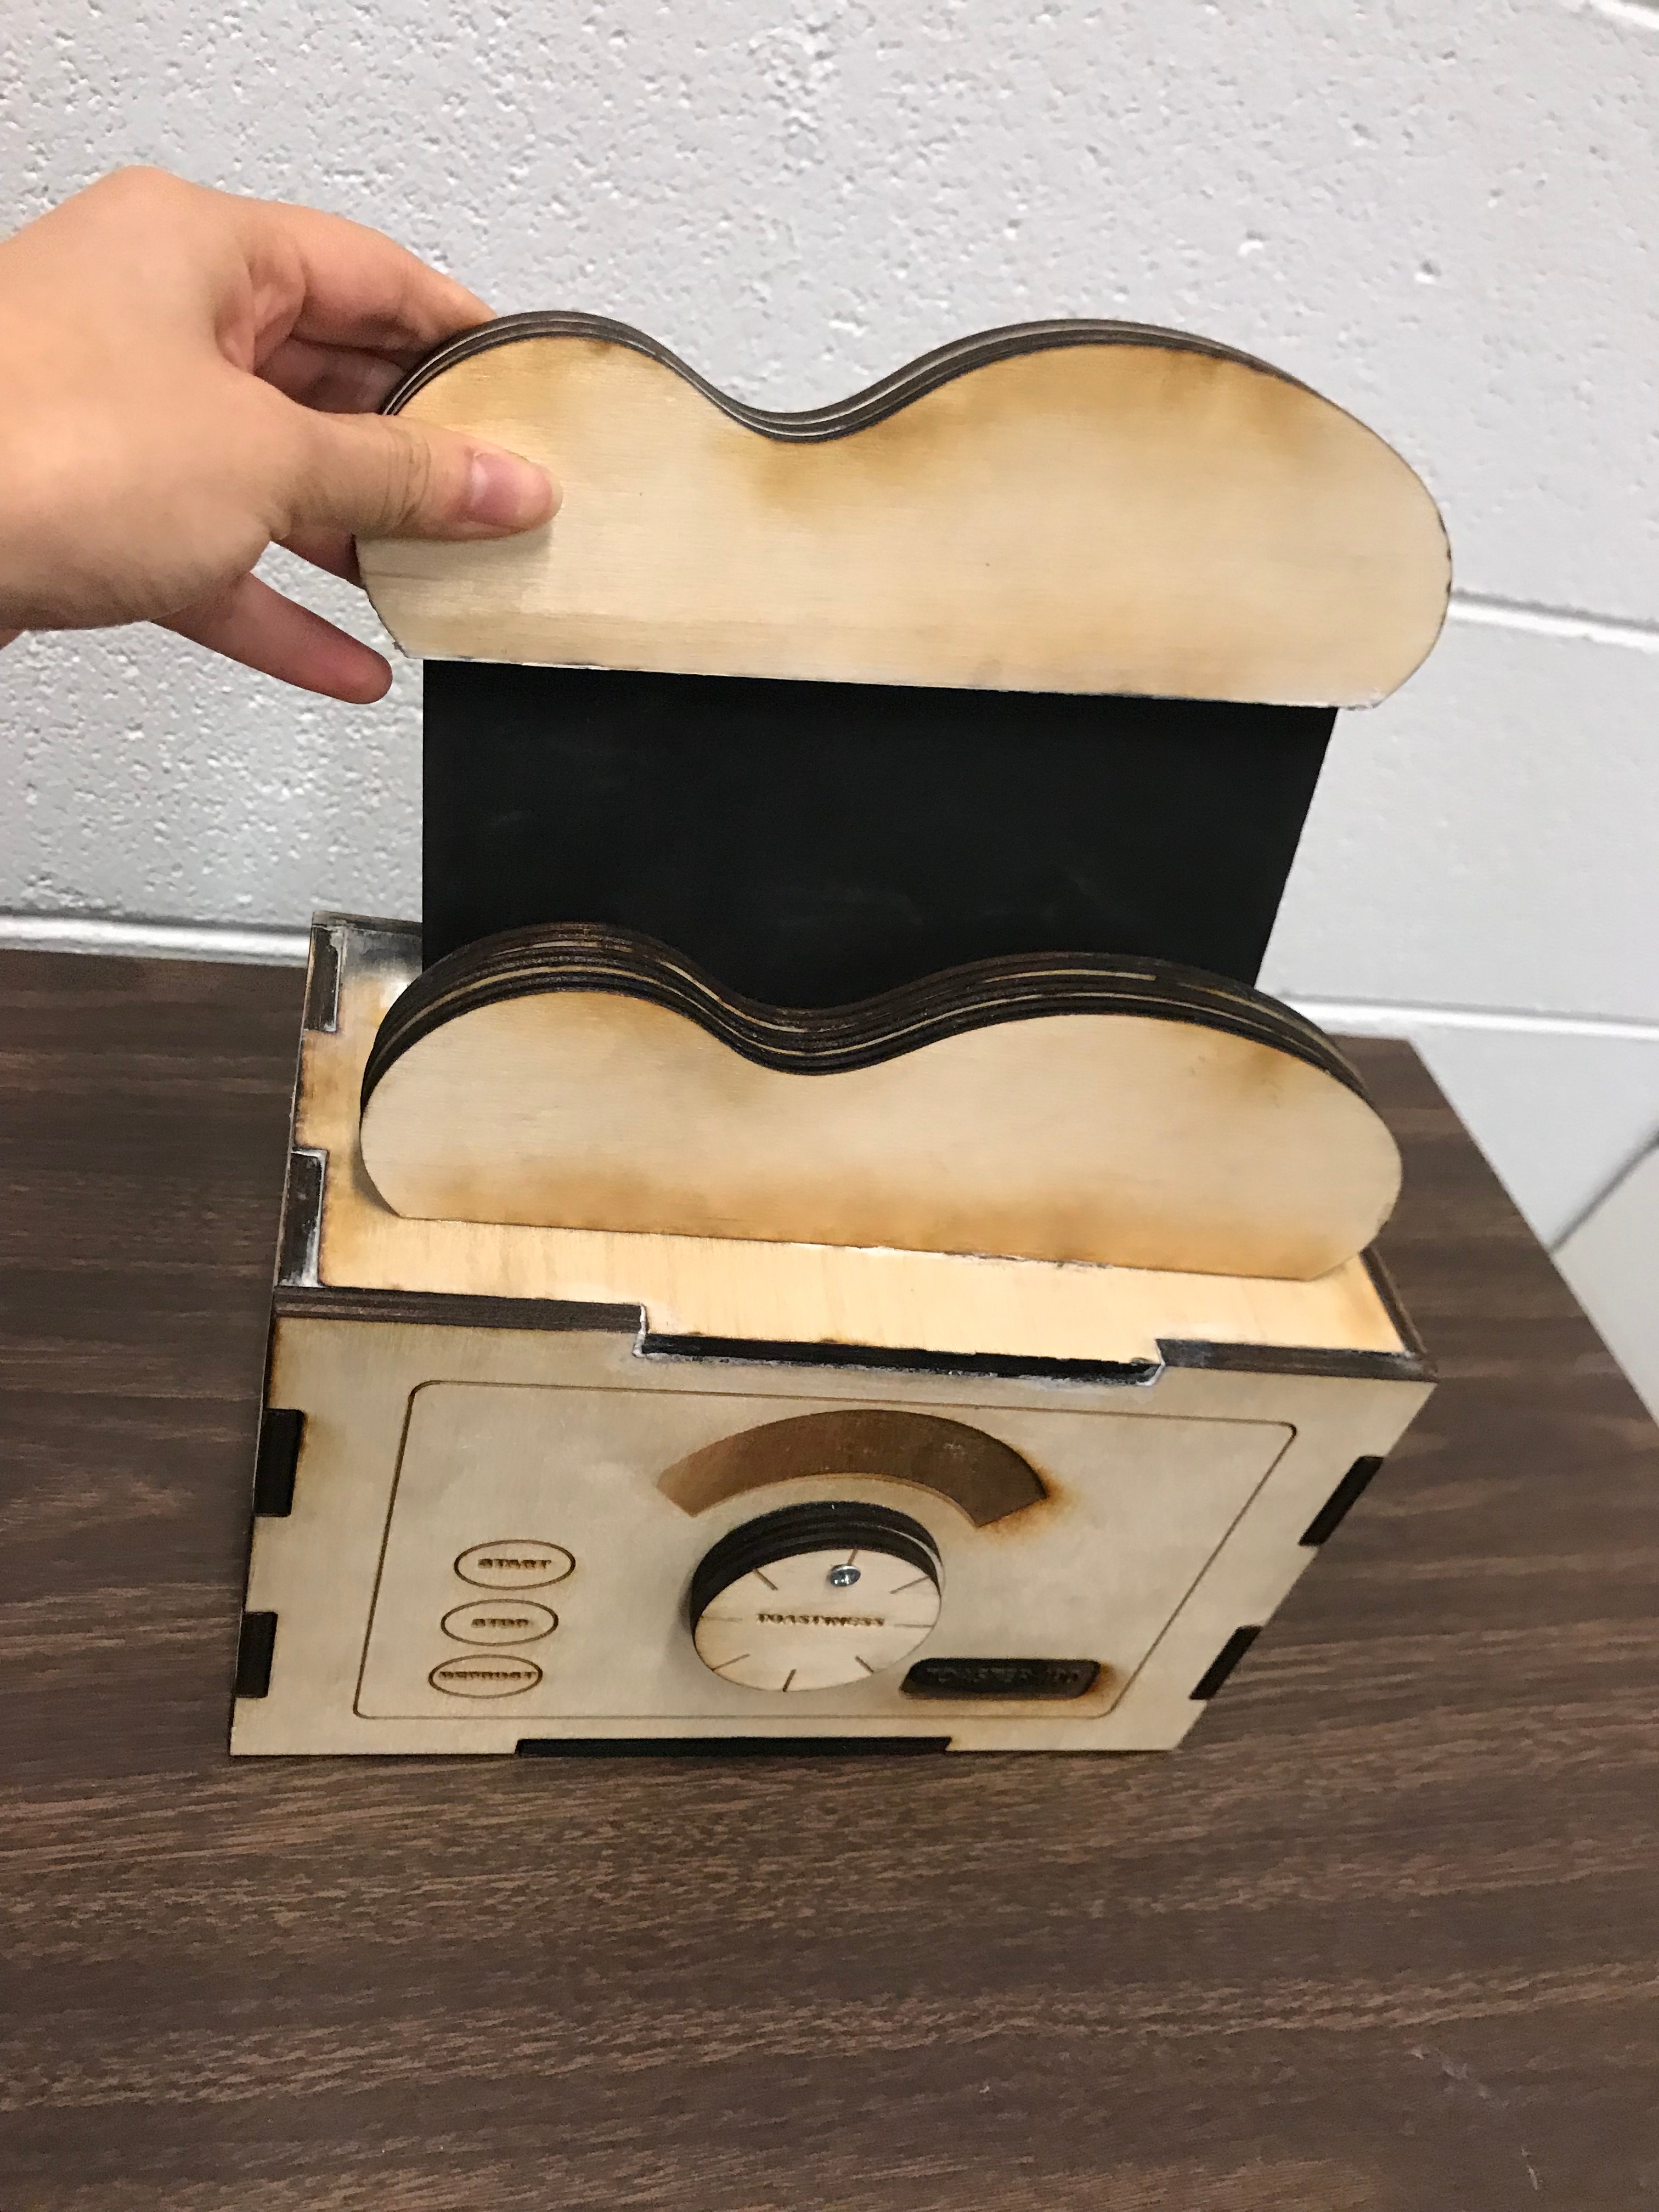
After we put them together, you will see this cute toaster like pinhole camera. You can pull the tray out and put a photo paper in it while you are in the dark room. Then let's take the camera outside and enjoy our photoshoot!