How to Make a Textbook Chapter Outline
by morgae3 in Living > Education
108223 Views, 11 Favorites, 0 Comments
How to Make a Textbook Chapter Outline
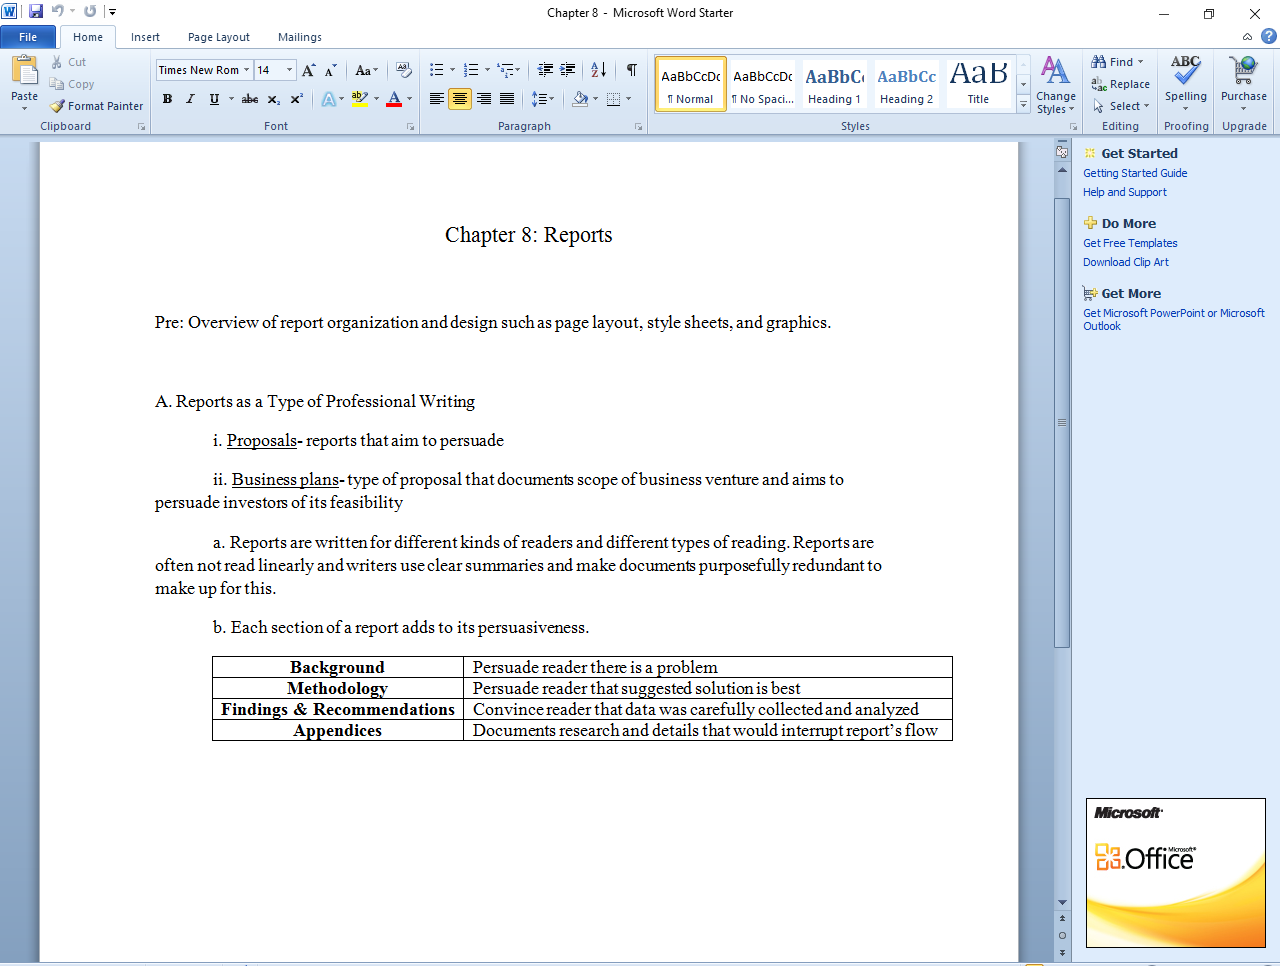
As a college student, learning from your class' textbook is often essential. However, being a student also means that time can rarely be found. I also personally find it hard to focus while reading to the point where my mind wanders shortly after beginning to read. This is where outlines are useful. Outlines let you absorb information without reading a whole chapter. Additionally, outlines can be used later to review for an upcoming test. I personally find it easier to focus on the outline and it helps me save time where I'd otherwise be struggling to focus. Outlines are also easy to do! You'll find your own personal style and have a better sense of what should be included in the outline within a couple of times of doing one.
Gather Your Materials
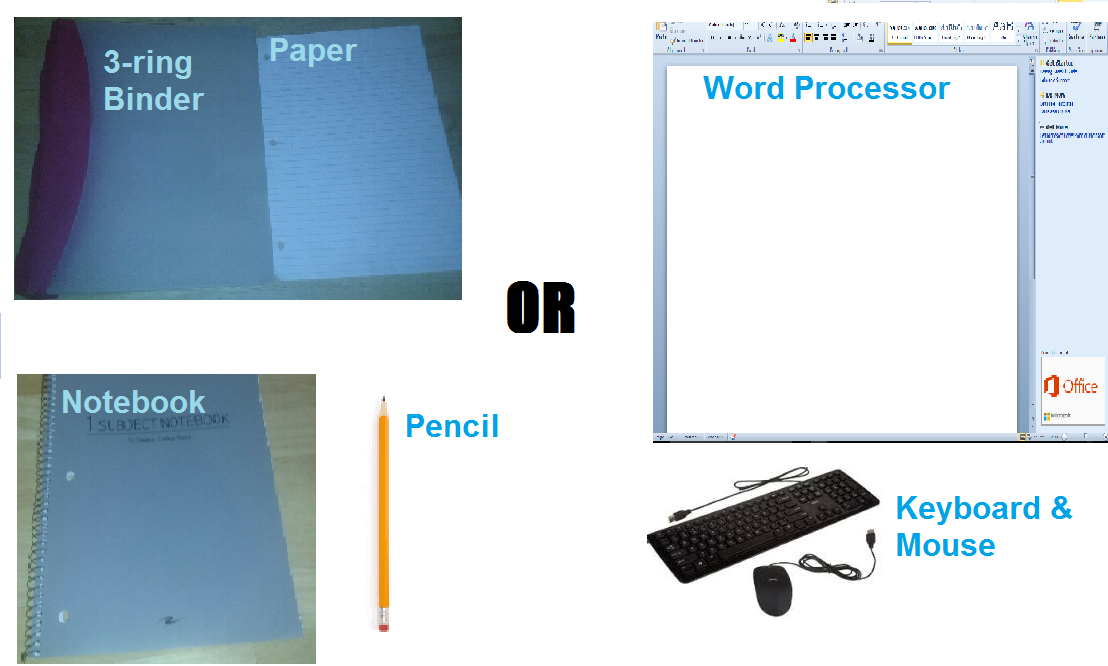
An outline could be made in two ways. What you need depends on whether you want to write it on paper or type it on the computer. Along with your textbook, you will need:
If you want to write it on paper you will need:
- Something to write on; I'd recommend:
-
Loose leaf paper and 3-ring binder
-
OR
-
College ruled notebook
-
- Pencil with eraser
If you want to type it on a computer you will need:
- Keyboard
- Mouse
- Word Processor (Microsoft Word, Open Office, Google Docs, ect.)
For the sake of clarity and readability, I will be typing the example outline. However, I recommend writing it out because writing is the more efficient way of learning.
Choose Your Chapter

Outlines are done one chapter at a time. Go through your textbook and choose the chapter you want to do an outline on. You will probably choose your chapter based on either of these situations:
- Your professor has assigned reading for homework.
- There is a test coming up on a chapter that is particularly full of important information.
I will choose Chapter 8 from one of my textbooks for the sake of an example.
Starting Your Outline
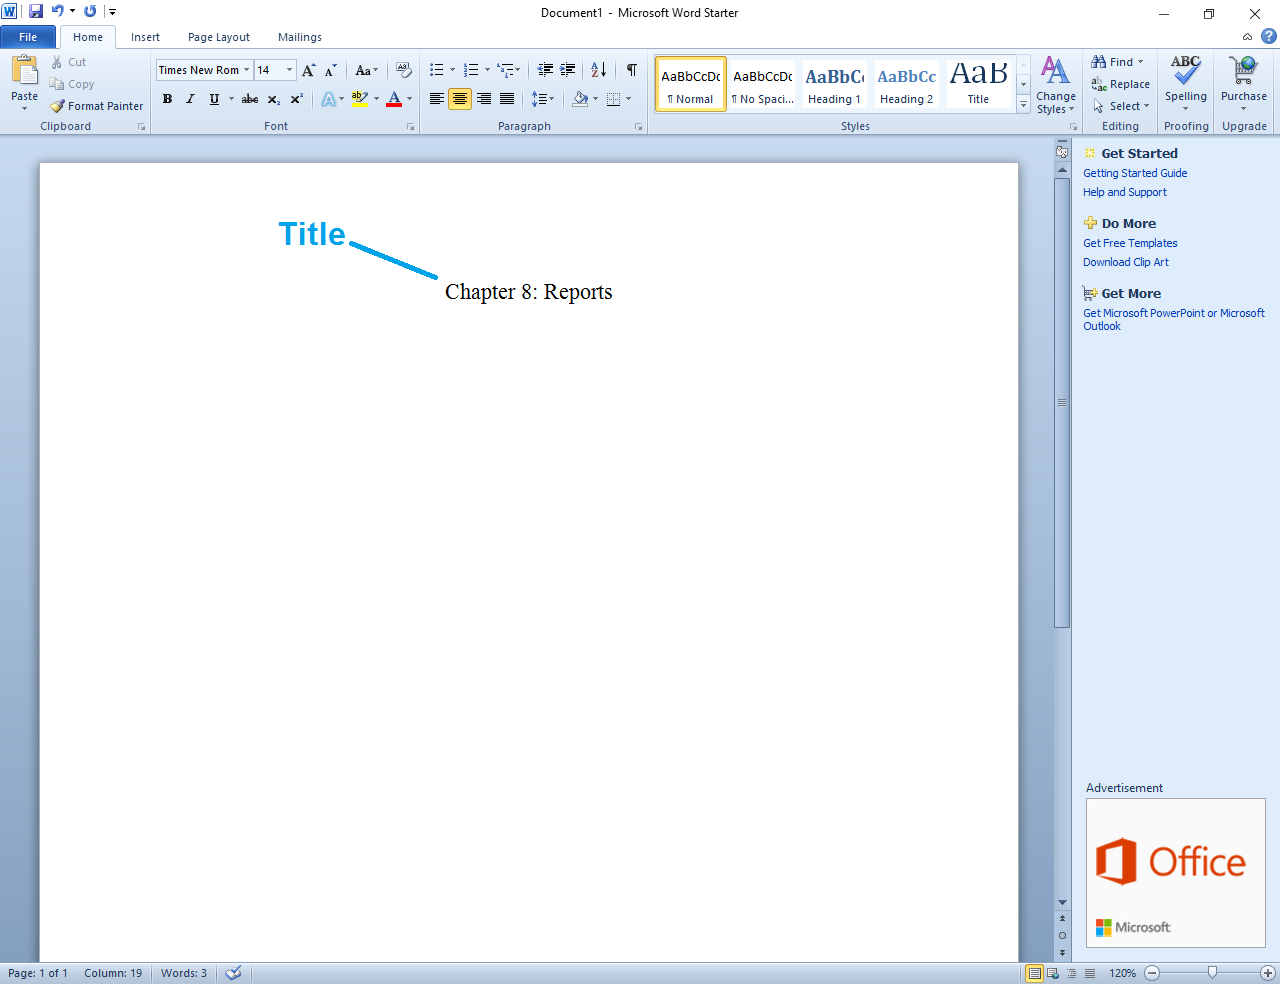
Once you choose your chapter, you can begin the outline. The first step is to write the chapter that your outline is on the top of the page. Include both the number and title of the chapter. This will make it easier to find and study from later on. I use 14pt Times New Roman font but you may use whatever you like.
Write a Preview of the Chapter
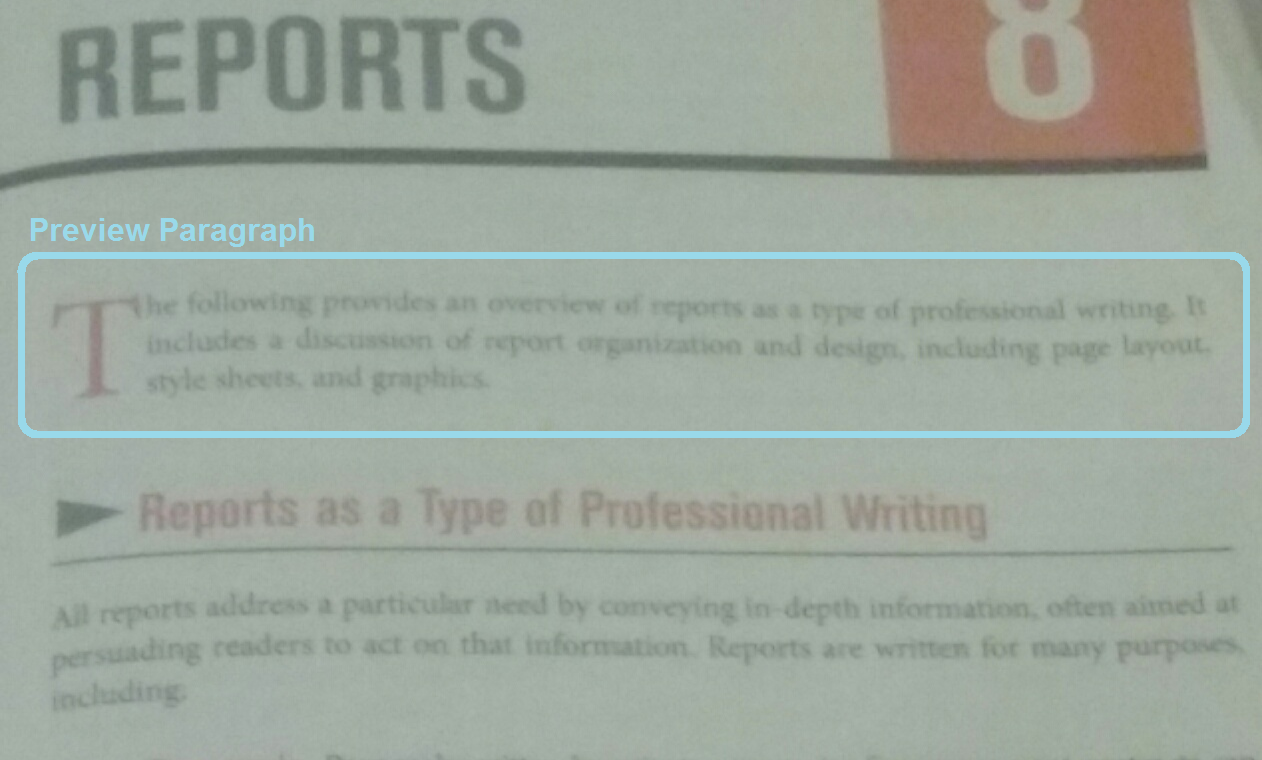
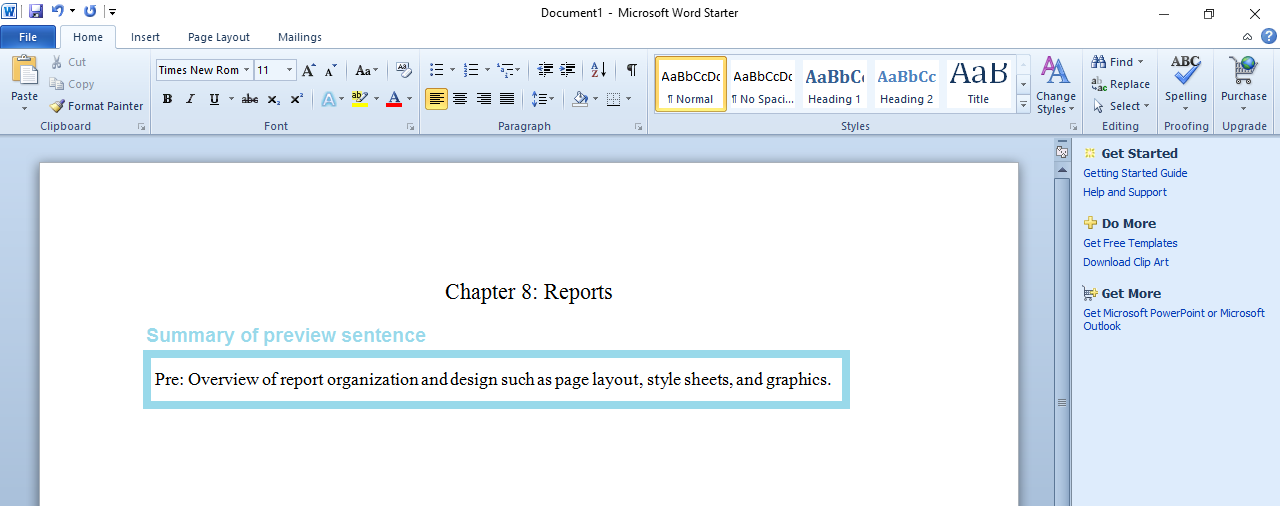
Textbook chapters often include a preview paragraph before the first bolded headline. Before getting into the real content of the chapter, write down a summary of this preview paragraph in the outline. Your goal here is to give yourself a good idea of what the chapter is about. This particular preview paragraph is short. If your preview paragraph is a bit longer, skim through it and look for the basic idea.
If your chapter does not have a preview paragraph, you may skip this step.
Labeling Each Section
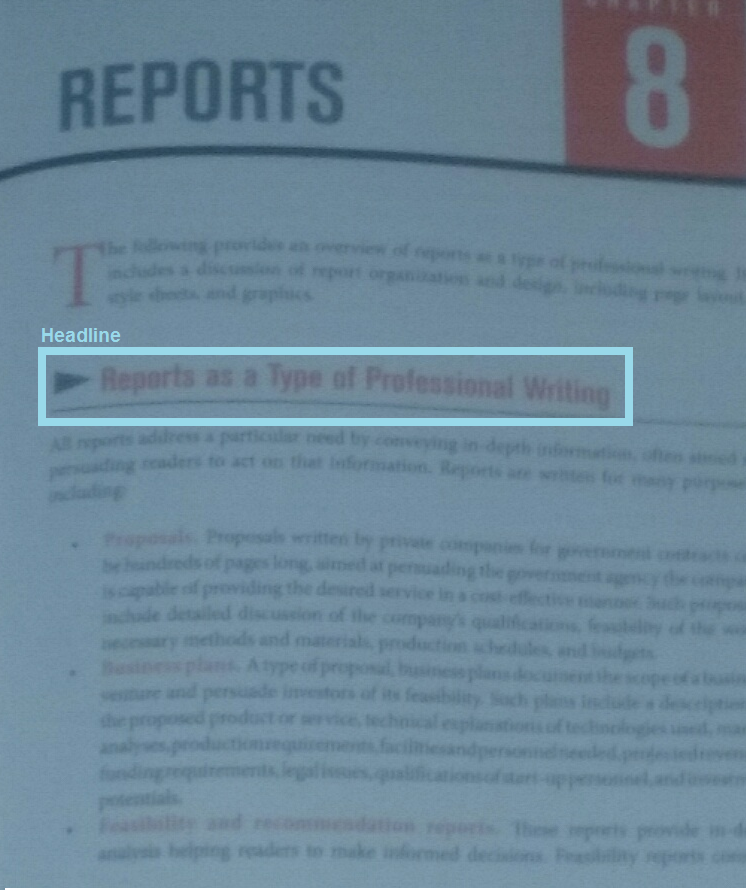
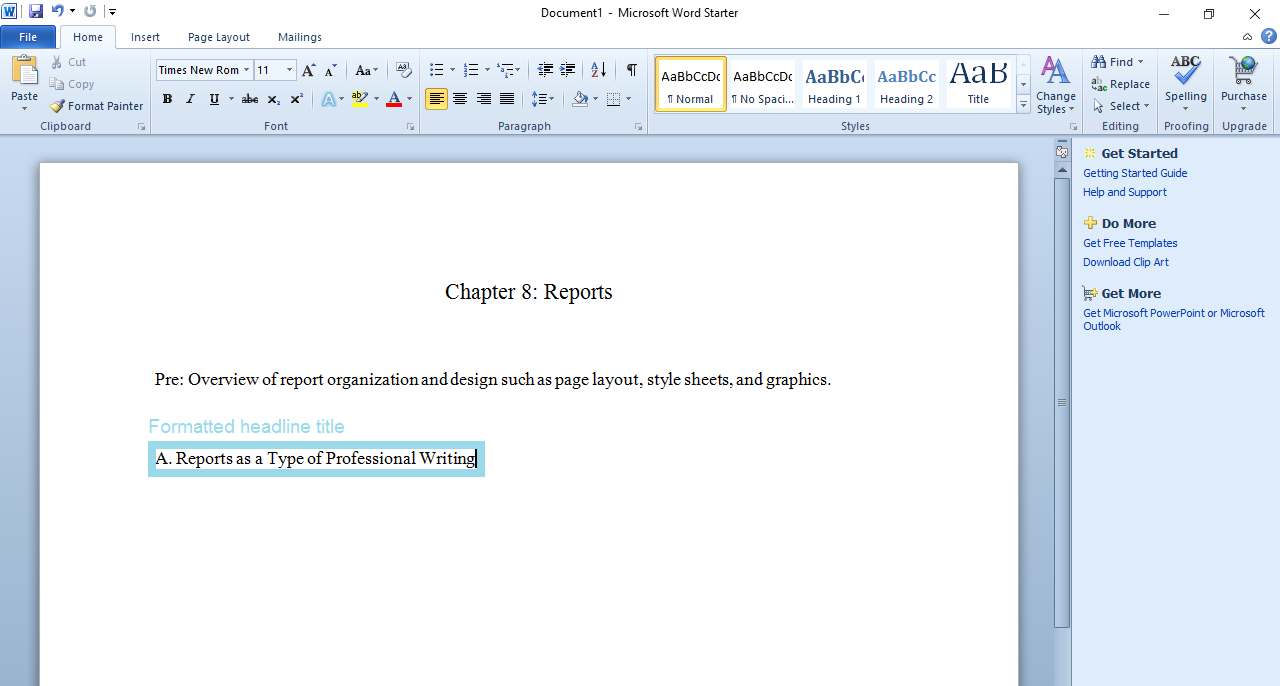
Now it's time to get into the content of the chapter. Each section of the chapter is separated by large bolded letters called a headline. This makes the chapter organized and will also make our outline organized. On your outline, use some method of formatting such as having an A, B, C, ect. for each headline. You may use roman numerals or something else if you like. I will be using letters.
Write Definitions for the Section

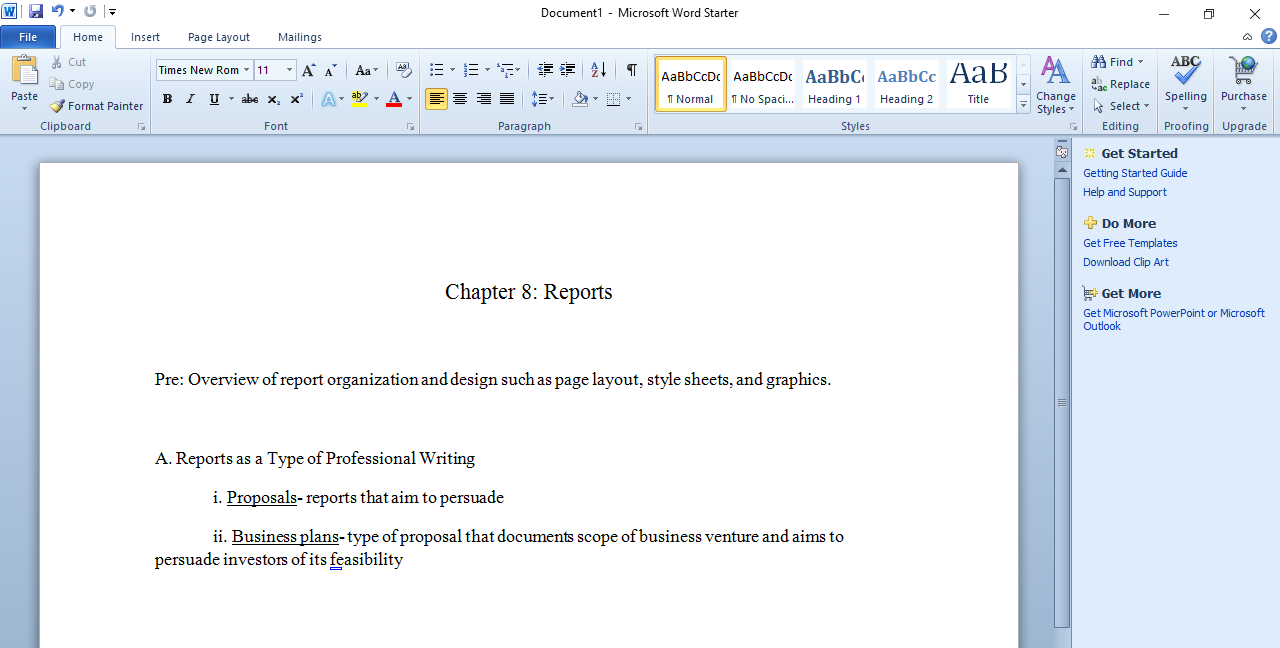
Skim through the current section and look for any definitions on the side or any words in bold. Write them in your outline in an indented line below the title following your format choice (I will use lowercase roman numerals). Underline the word and follow it with the definition. If the word is followed by a paragraph instead of an obvious definition like it is here, glance at the back of the book for a glossary at the back of the book for the definition. When all else fails, skim through the paragraph and try your best to come up with a definition on your own.
Summarize the Section
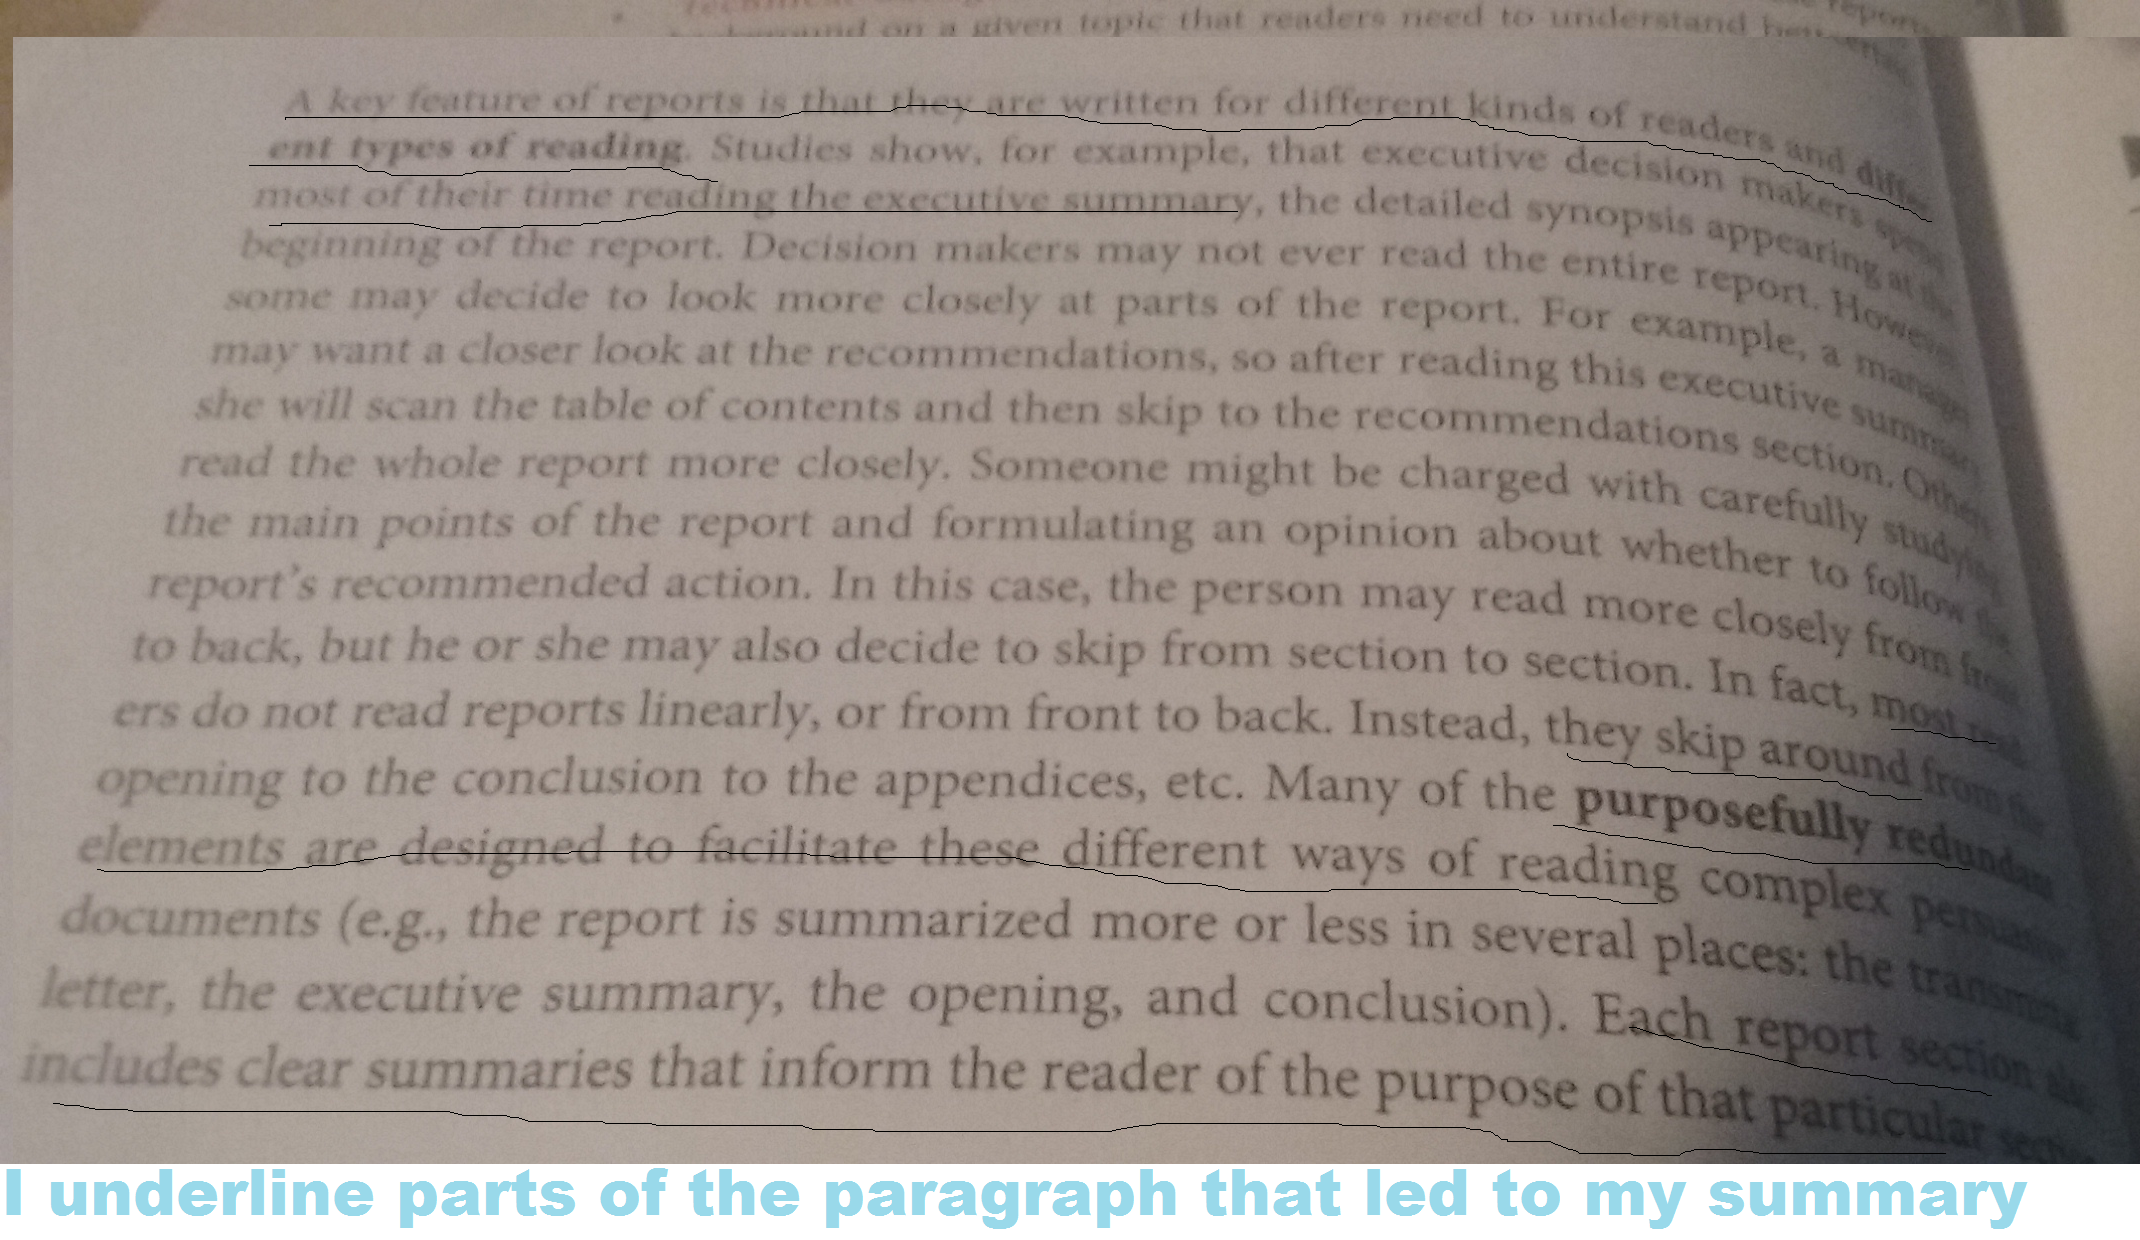
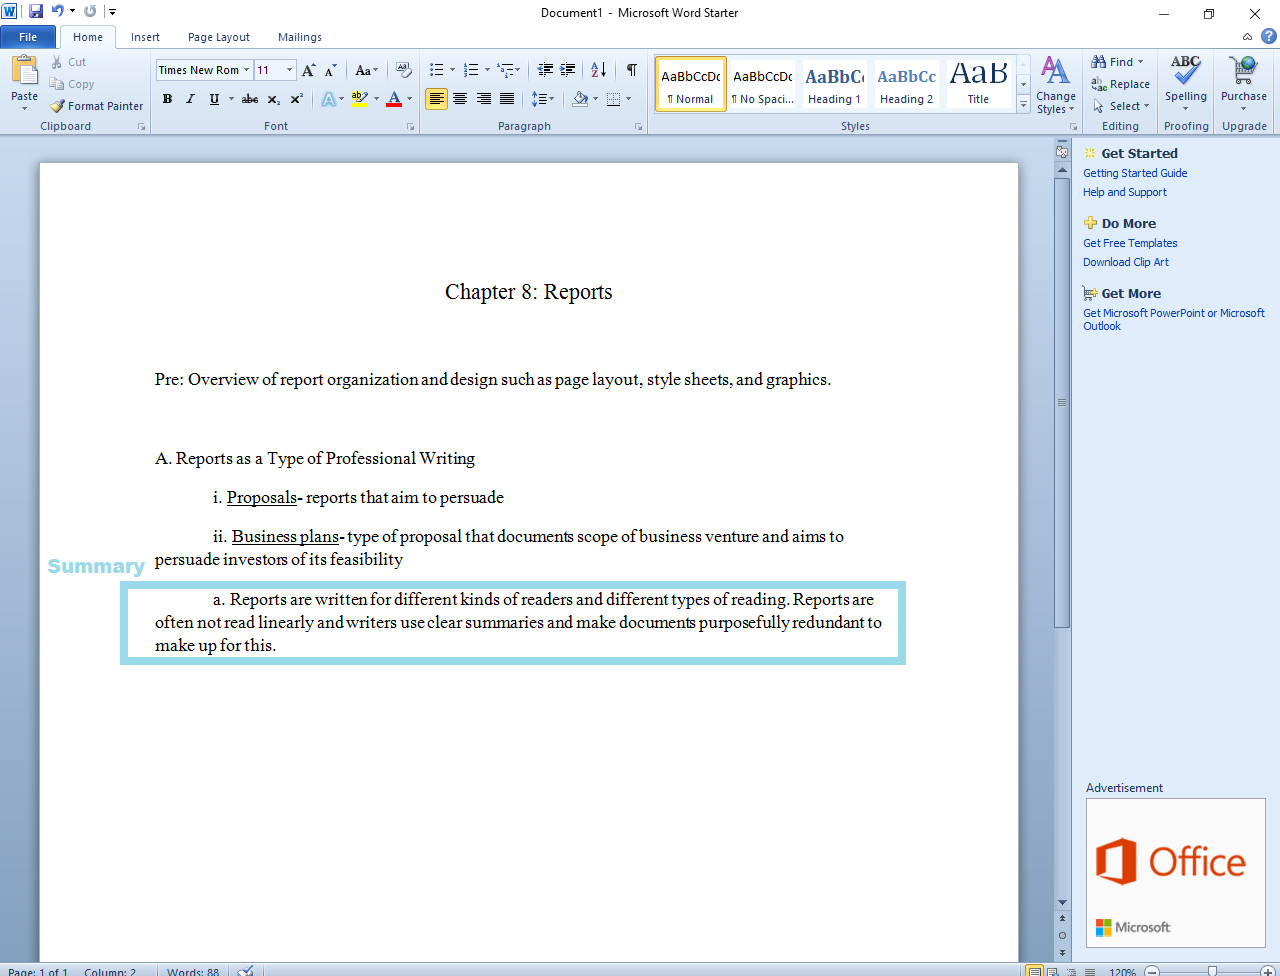
Skim through each paragraph and search for important facts and key information. The first and last sentence often include important information or give a better idea of what to look for. Write a 1-4 sentence summary on your outline below the definitions. Keep it on the same indent level as the definitions but use a different letter, number, ect. for each paragraph summary. I will use lower case letters. If the concept is particularly difficult, include provided examples as part of the summary.
Draw Tables and Charts

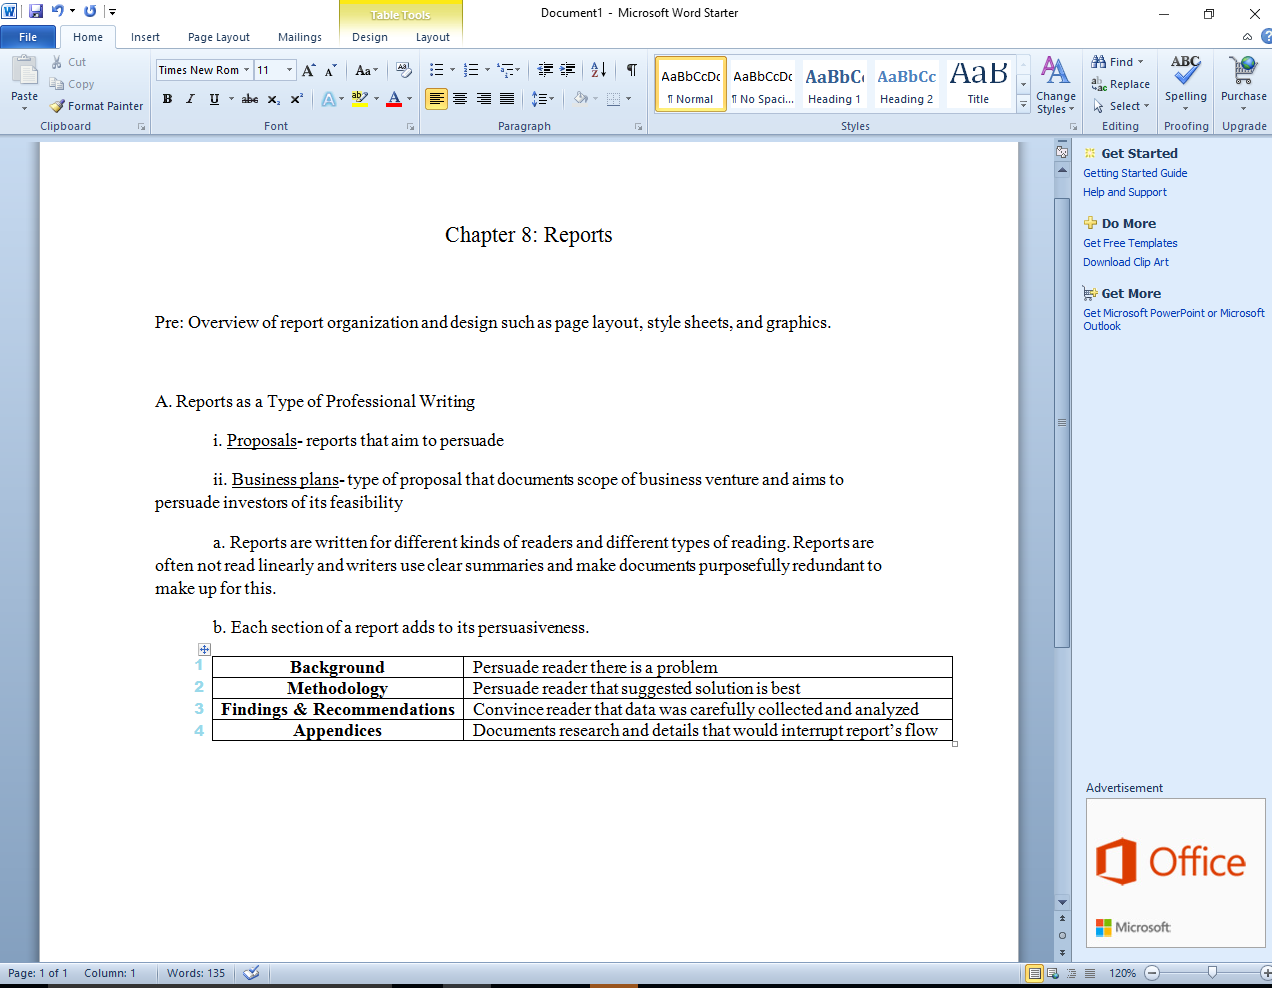
When you summarize each paragraph, include helpful tables and charts. This does not just include copying charts and tables printed in the book. Sometimes information included in a paragraph is better expressed as a table or chart than as written sentences. For example, The above paragraph seems to almost have its information like a list. The paragraph briefly describes different parts of the main idea. Perfect for a table!
Repeat Steps 4-8 for the Rest of the Chapter
Follow the mentioned steps for each section, keeping in mind what information is important. Sometimes there are entire paragraphs of examples. It is okay to skip these paragraphs if you have already grasped the concept.
Answer the End-of-Chapter Questions
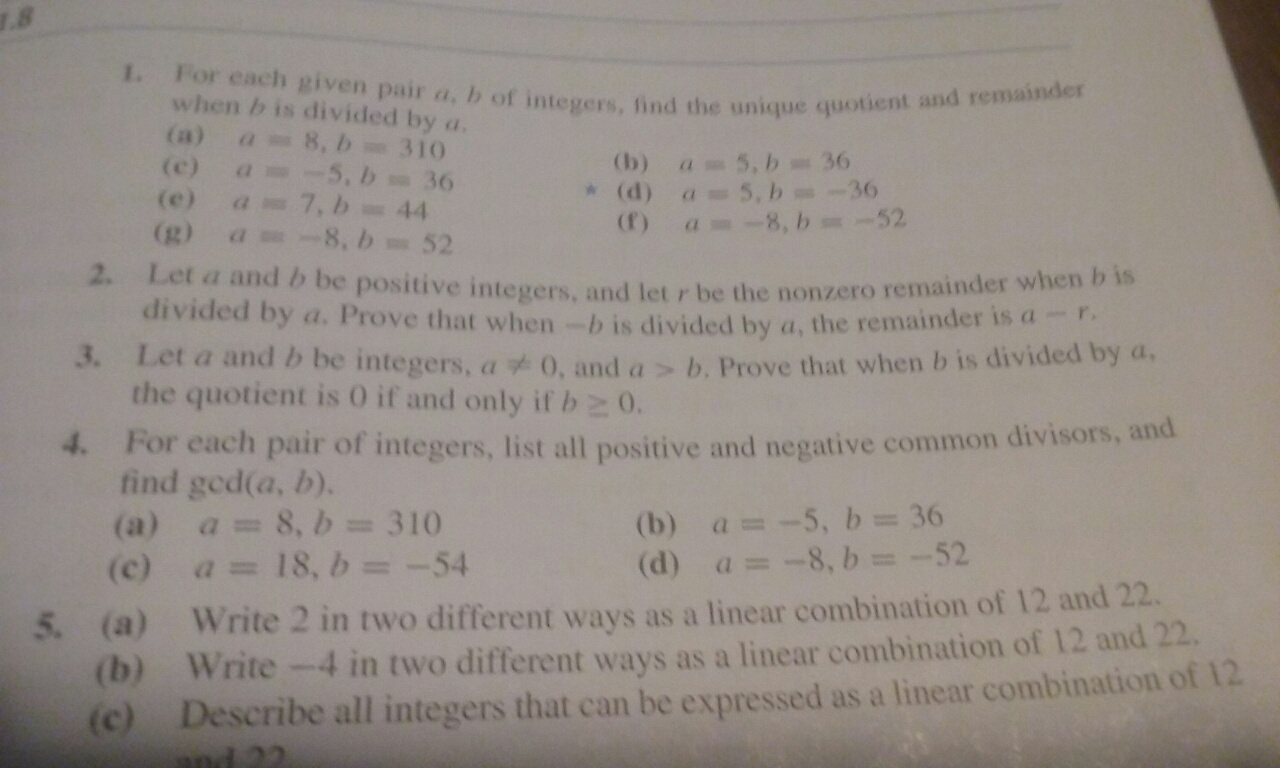
My textbook did not have questions at the end, but yours likely will. The picture is from a different textbook for the sake of an example. Feel free to skip definition questions if you already have the definition in your outline. Likewise, your textbook most likely has multiple questions covering the same concept. If this is the case, write down at least one question (and solution) for each concept at the end of your outline. Check your answer.
Optional extra step:
If you have questions about the chapter, write them at the very end. Review your notes to find the answer or ask your professor. They'll appreciate your interest in the subject!
Save Your Finished Outline and Keep It Somewhere Safe

Great job, you made your outline!
If you wrote it on loose paper:
Put the outline in the 3-ring binder. Keep all outlines from the same text together in the binder. It will stay organized and make for easy access.
If you typed it on a computer:
Make a folder dedicated to the class that you did the outline for. Drag the outline file into the folder.
If you wrote it in a notebook:
You're already set! You may add a bookmark to signify where your outline is if you see fit.