How to Make a TRON Style Lamp: the MADYLIGHT
by Greg Madison in Workshop > Lighting
254166 Views, 1389 Favorites, 0 Comments
How to Make a TRON Style Lamp: the MADYLIGHT

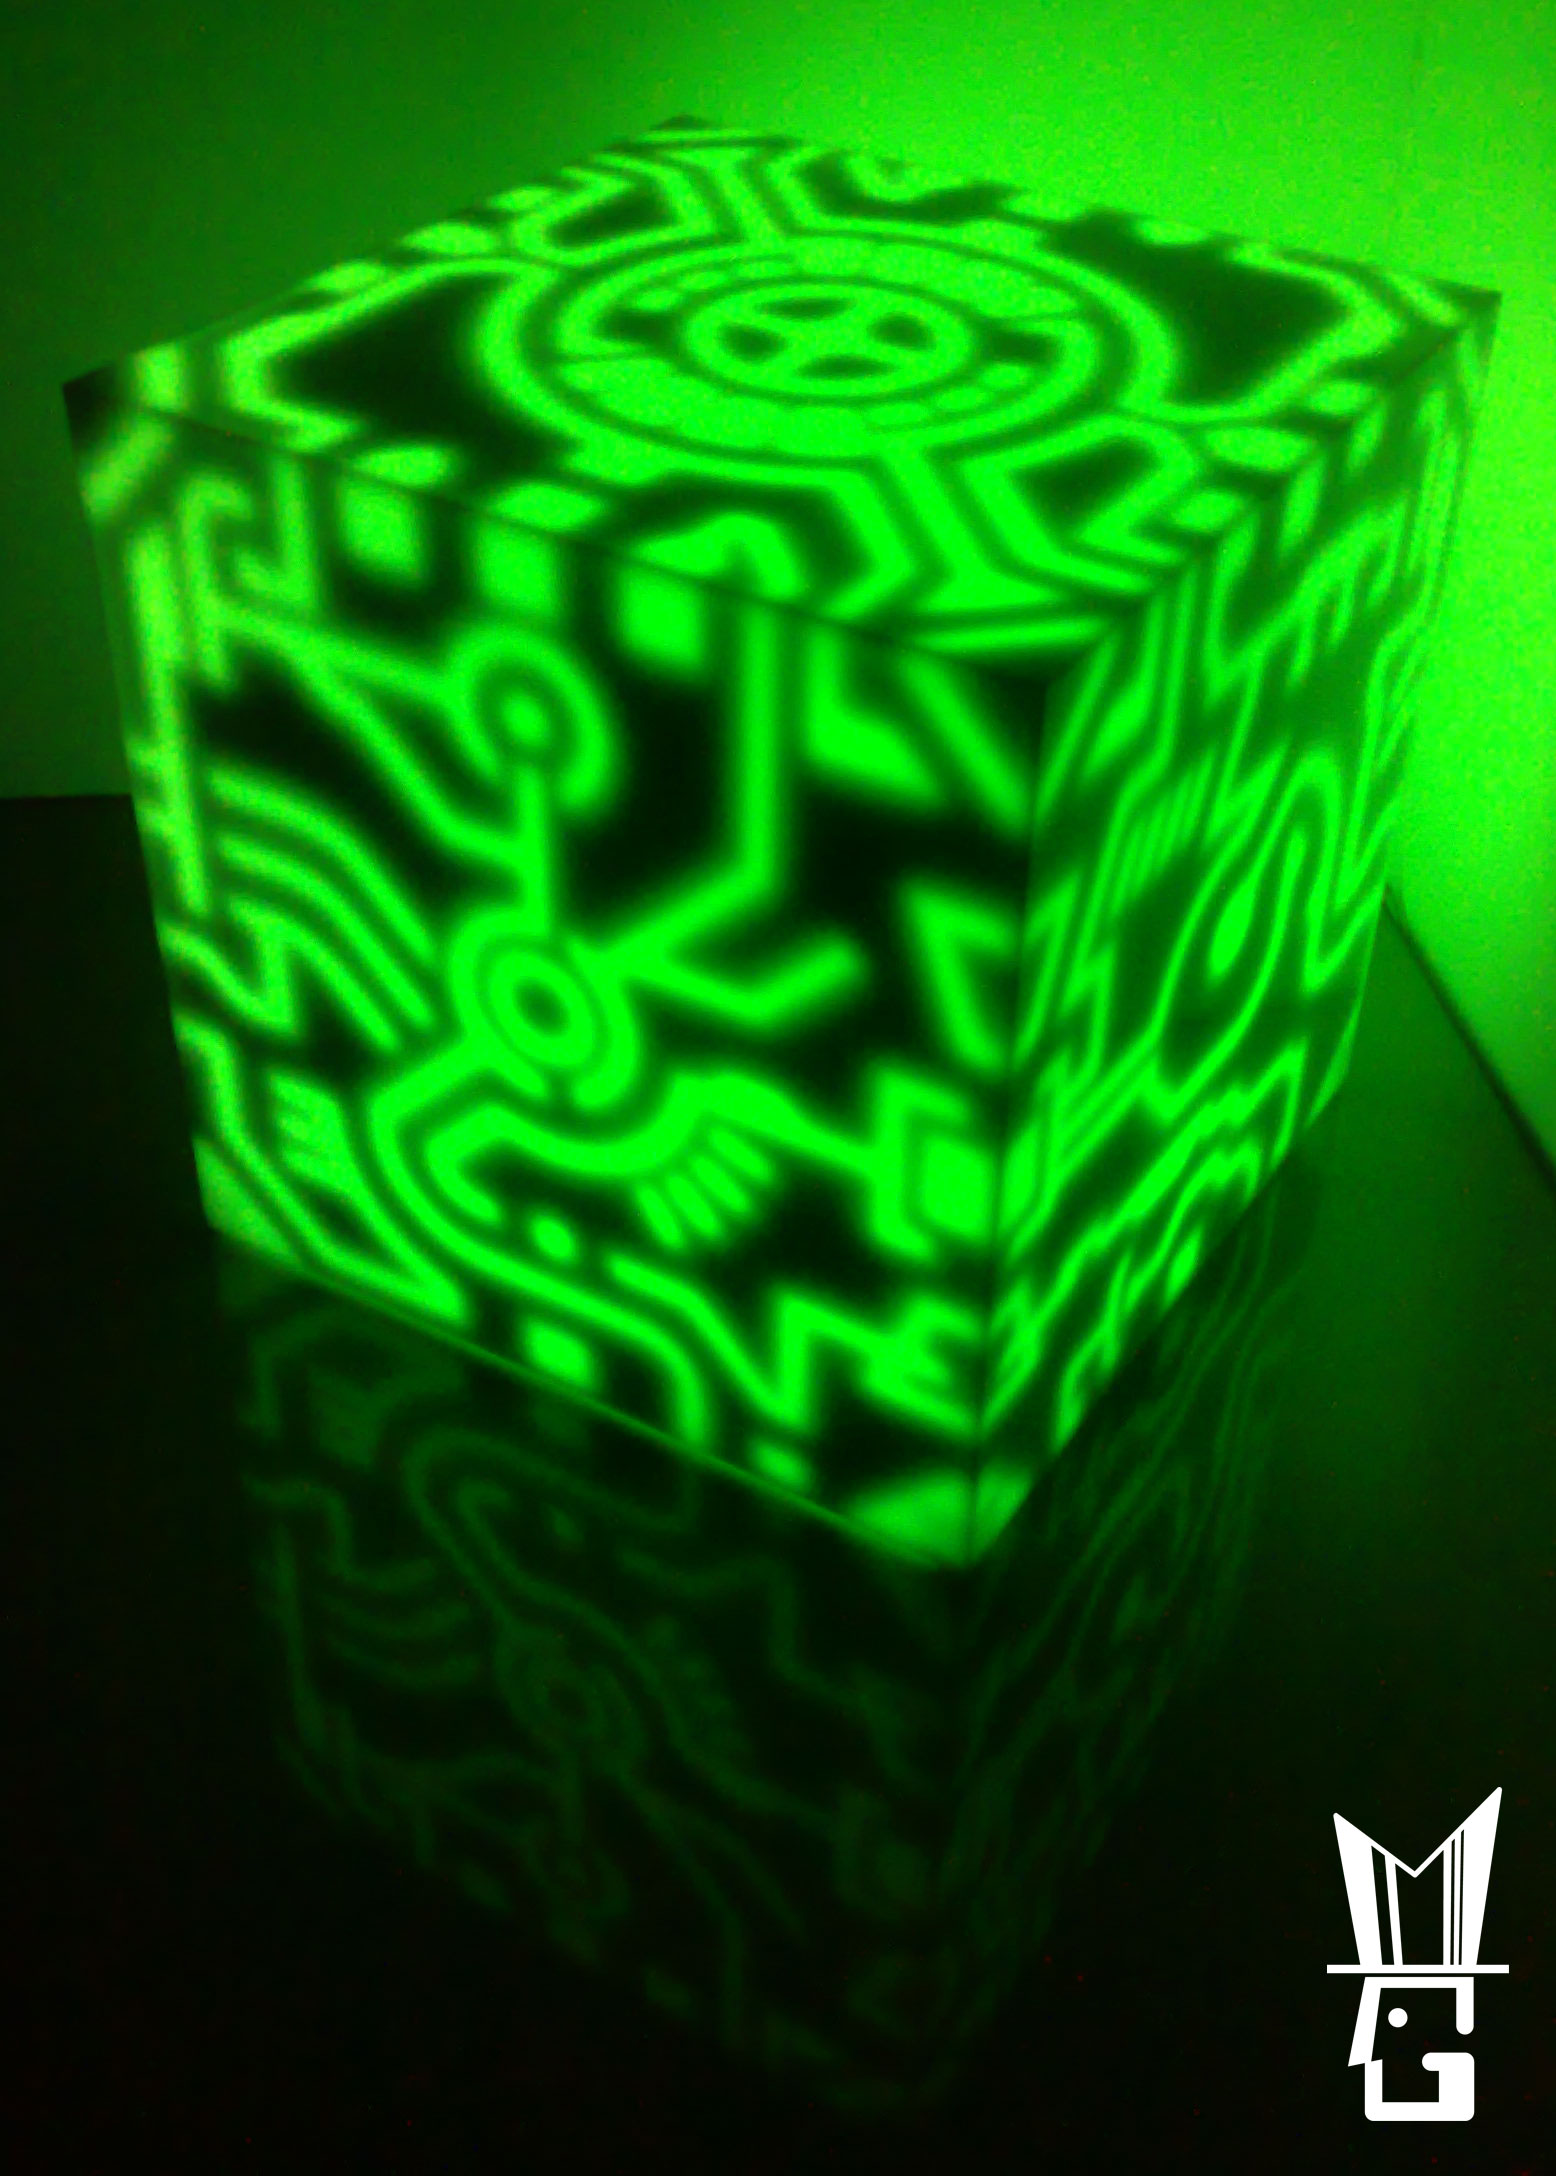

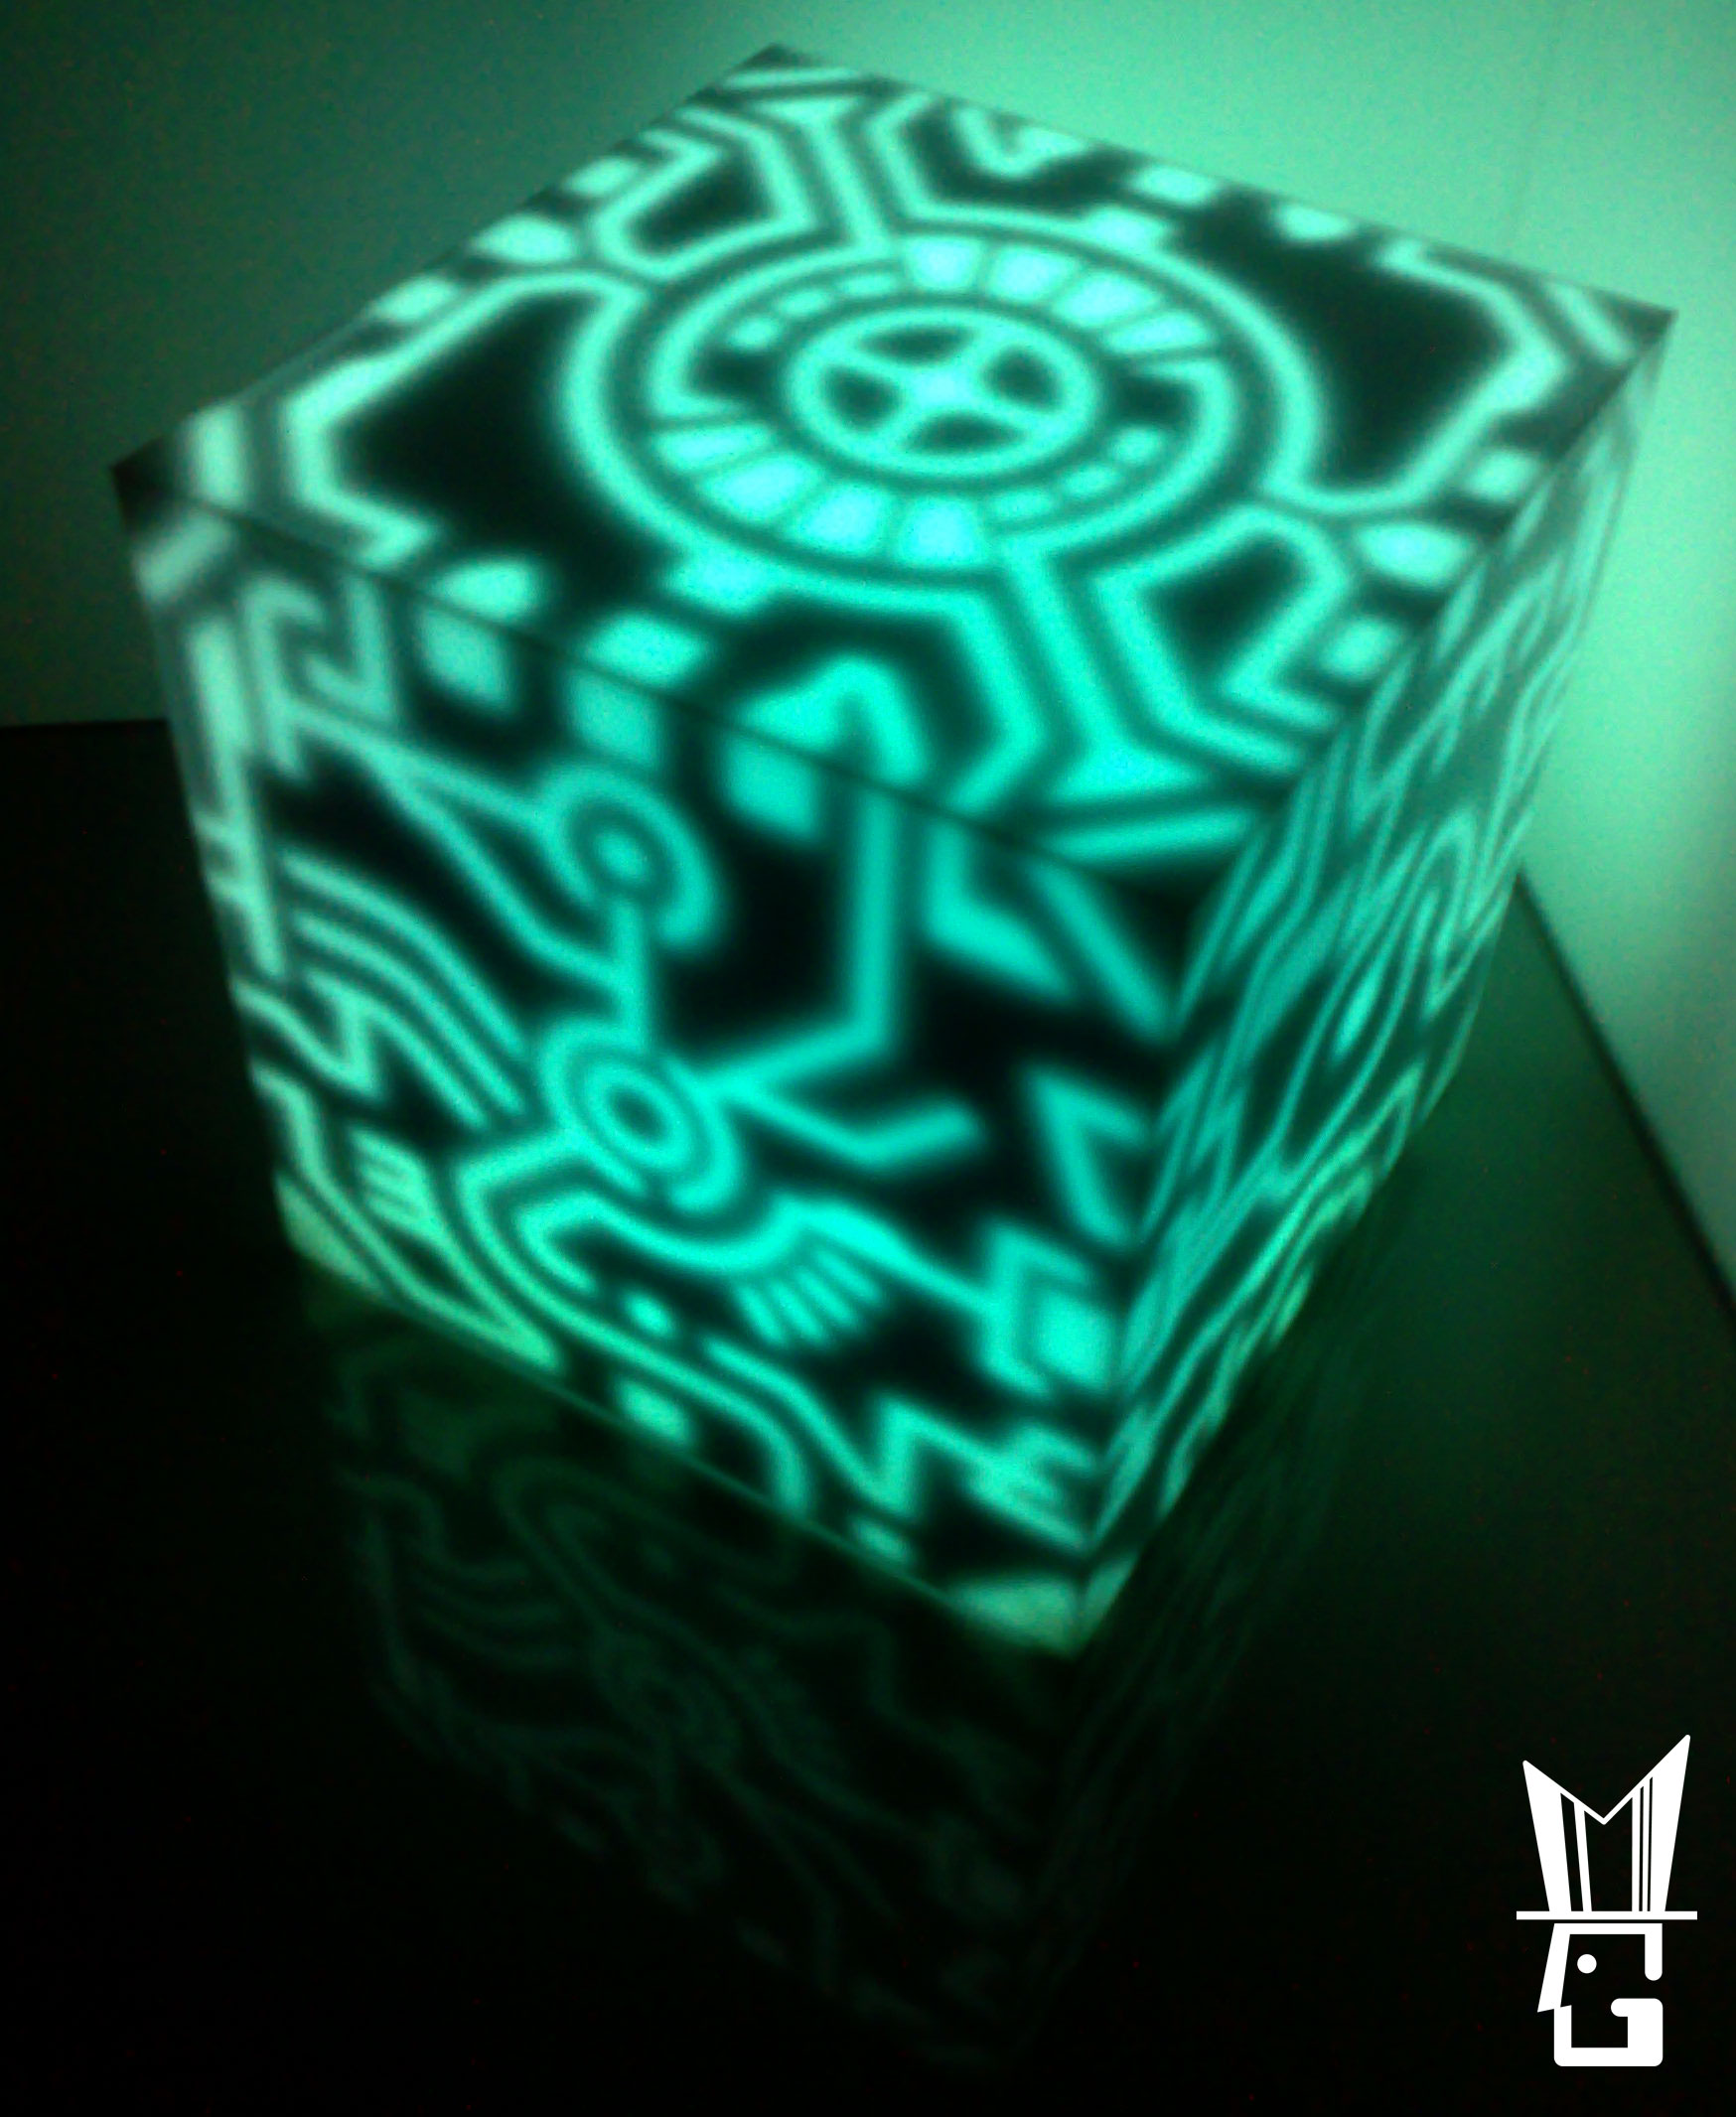


Version francaise : cliquer ici !
Thanks to my job as a magician, I have been able to acquire skills to materialize in our reality, effects that at first might seem completely impossible to achieve (except of course in special effects movies) like transforming a human being in a snow storm... Always surpassing limits is by far my favorite challenge.
Unfortunately I will neither be telling you on this tutorial how to cut your wife into four pieces (she will thank me) nor how to make your car levitate in the air (though it might be very useful when changing the tires)... Professional secrecy.
My main source of inspiration resides in movies, video games and science fiction. Well, what is the common point between TRON, Zelda, Final Fantasy, etc???
Answer: The luminescent shapes which represent electronic circuits or magic spells. I have always been marveled by these visual effects and I do think I am not the only one.
I have recreated this effect on a cube in order to explain the main mechanism.The goal here is to achieve reproducing this effect in any other object of everyday's life; like a coffee table, a Plexiglas chair, PC modding etc. I have a list of objects I am already working on .
This is my first online contribution to the world of design and I hope the beginning of many others.
(By the way I seize this opportunity to say that I am also looking for firms which could be interested in producing and launching my creations like the following lamp. Thank you very much.)
Ideas & Materials
My lines of reflections
I wanted to create an object which would blend with an apartment's interior along with the furnitures during the day and reveal it's mysterious aspect in the dark.
I have avoided using big and complexe tools so that it could be possible for anybody to make this lamp.
I have started to create my luminous patterns with Adobe Illustrator , after several 3D light simulations with Carrara, I have determined, according to me, the best harmony between light and darkness. My conclusion :
The lamp must not be overcharged with too many luminous lines because the visual effect will get degraded, on the contrairy if there are not enough lines, we simply lose the primary utility of the lamp ; to enlighten.
I have choosen to use Opaline Plexiglas ( also called Frosted Plexiglas ) for it's classy aspect and also because of it's light diffusion properties.
In order to liven the lamp up, I have used a color changing led light bulb.
The trick I found for having the maximum light through the lines of the pattern while having areas remaining completely dark was to use a mirrored paper to cut the pattern.
You will find the list of the materials needed, and all the instructions about how to make this lamp, in the following video.
The Cube


Go to a specialized shop where you would be able to find already cut Plexiglas sheets ( or, if the shop assistant is cool, he will do the cutting for free )
Let us make this cube.
Remove the protective film from the plexiglas sheets.
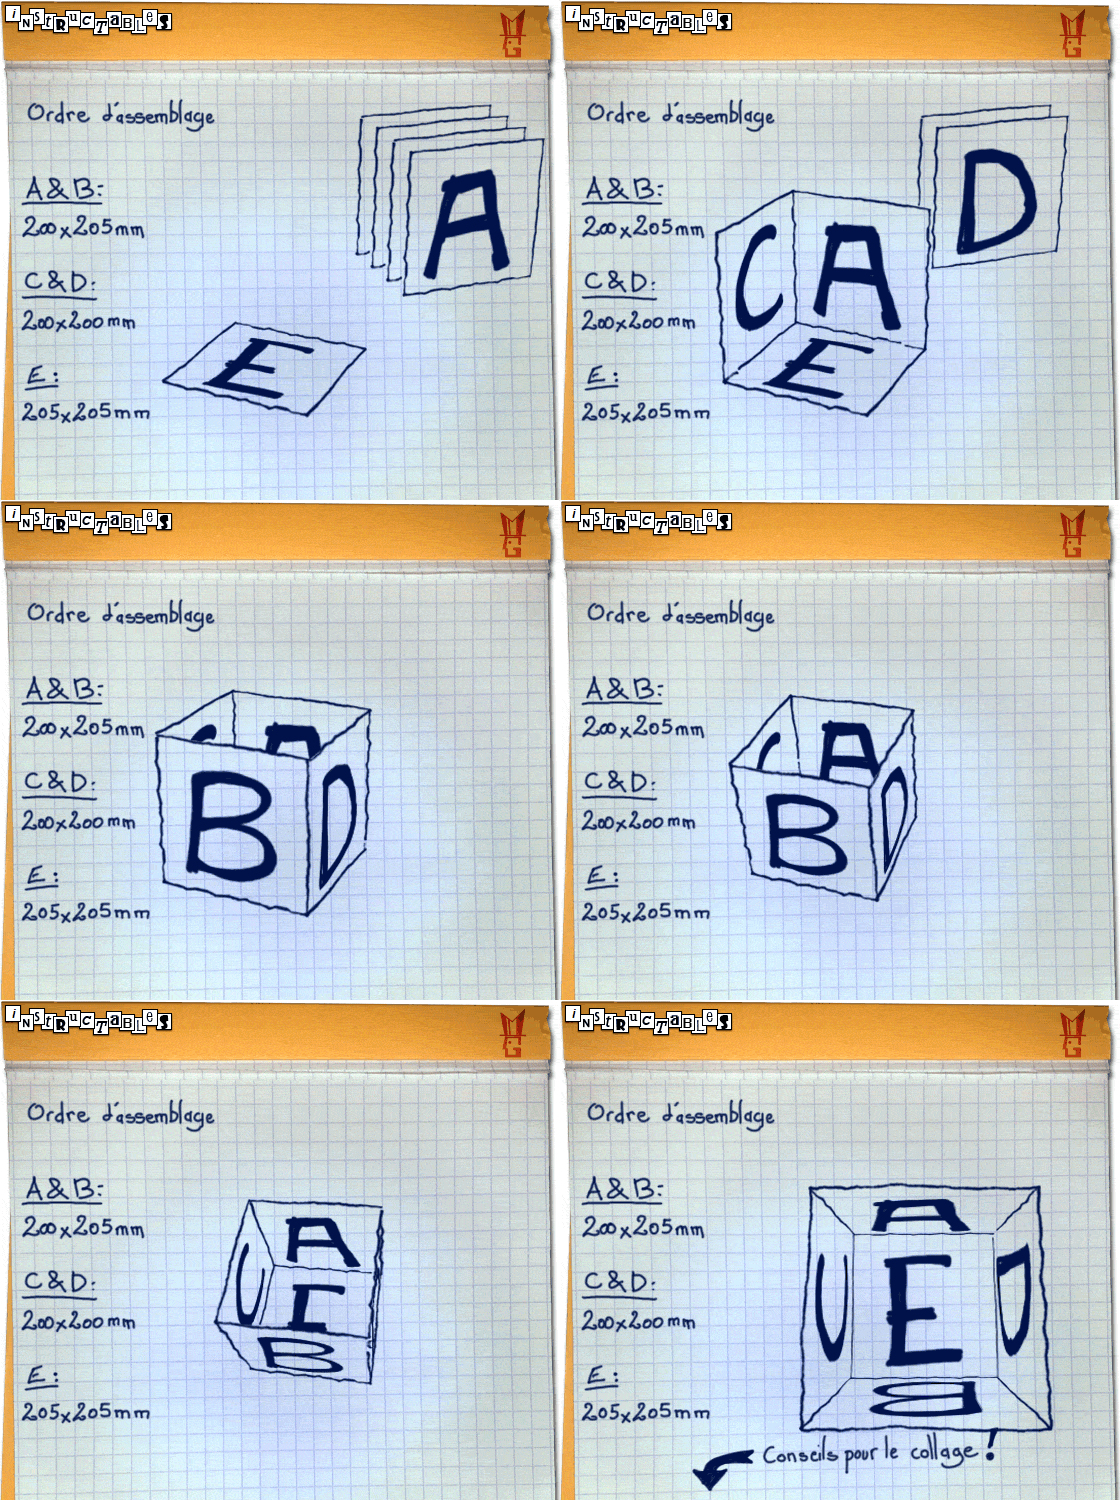
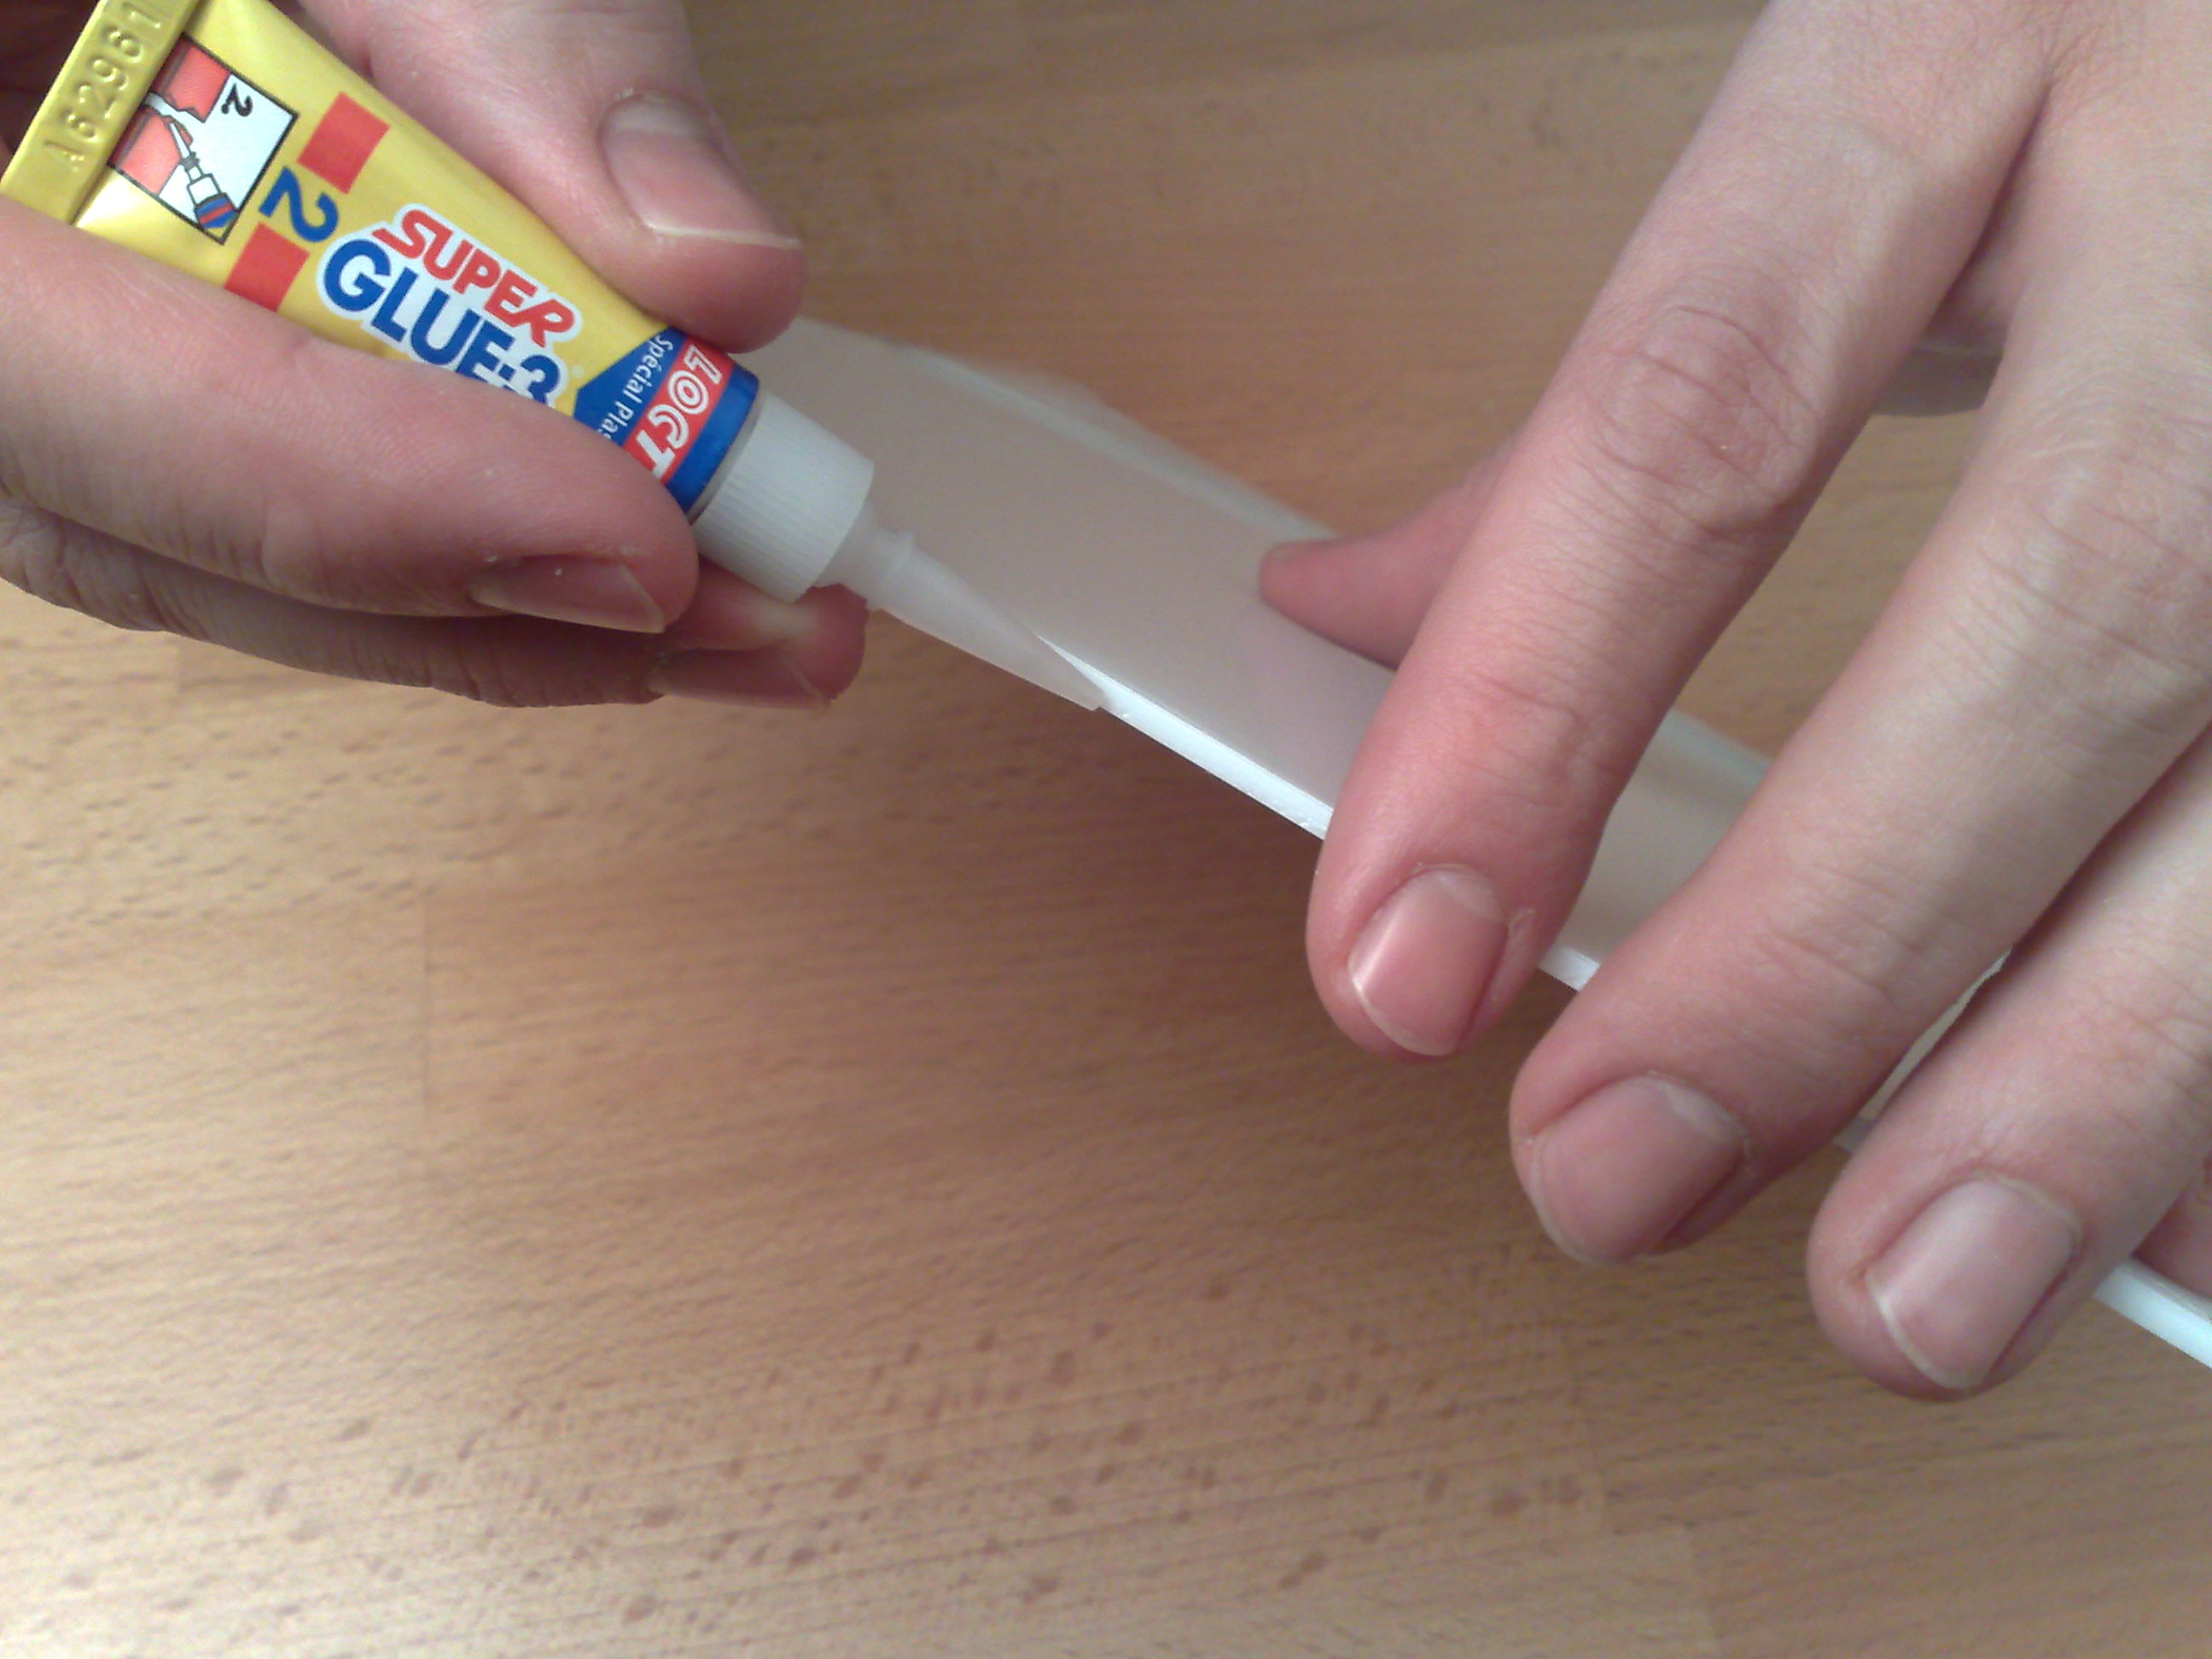
Refer to picture number one for the gluing order. Use a thick book as a bevel to help you to glue the different sheets ( stick a piece of adhesive tape on the edge of the book to prevent it to open during the operation )
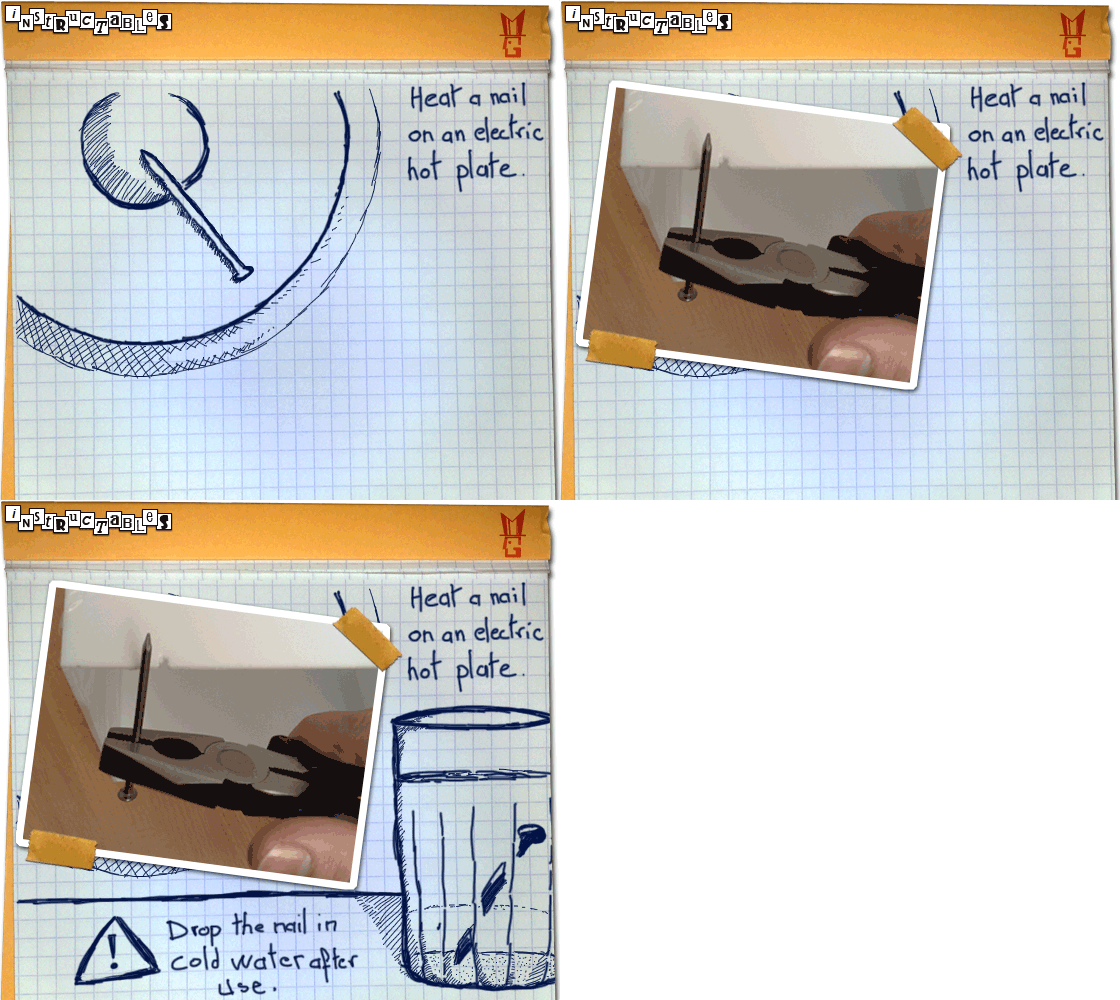
Once the cube has been made, heat a nail on an electric hot plate ( avoid using a flame because the black residue will stain the plexiglas )
Then, with the help of pliers, do a notch about the size of your powercord.
the Cutting Phase

Open the ZIP file and print the ' AandB.jpg ' file twice, the ' CandD.jpg ' file twice and te ' E.jpg ' once.
Cut the patterns, leaving a security margin of at least 1 cm, then stick them on the mirrored paper.
Use the X-acto knife and the french curves to cut the curved lines, then the utility knife to cut the straight lines.
After having cut one part, place a piece of adhesive tape on each side in order to maintain them in place. At the end, cut the squared shape ( be careful about the four corners which will be detached).
Downloads
The Sticking Phase
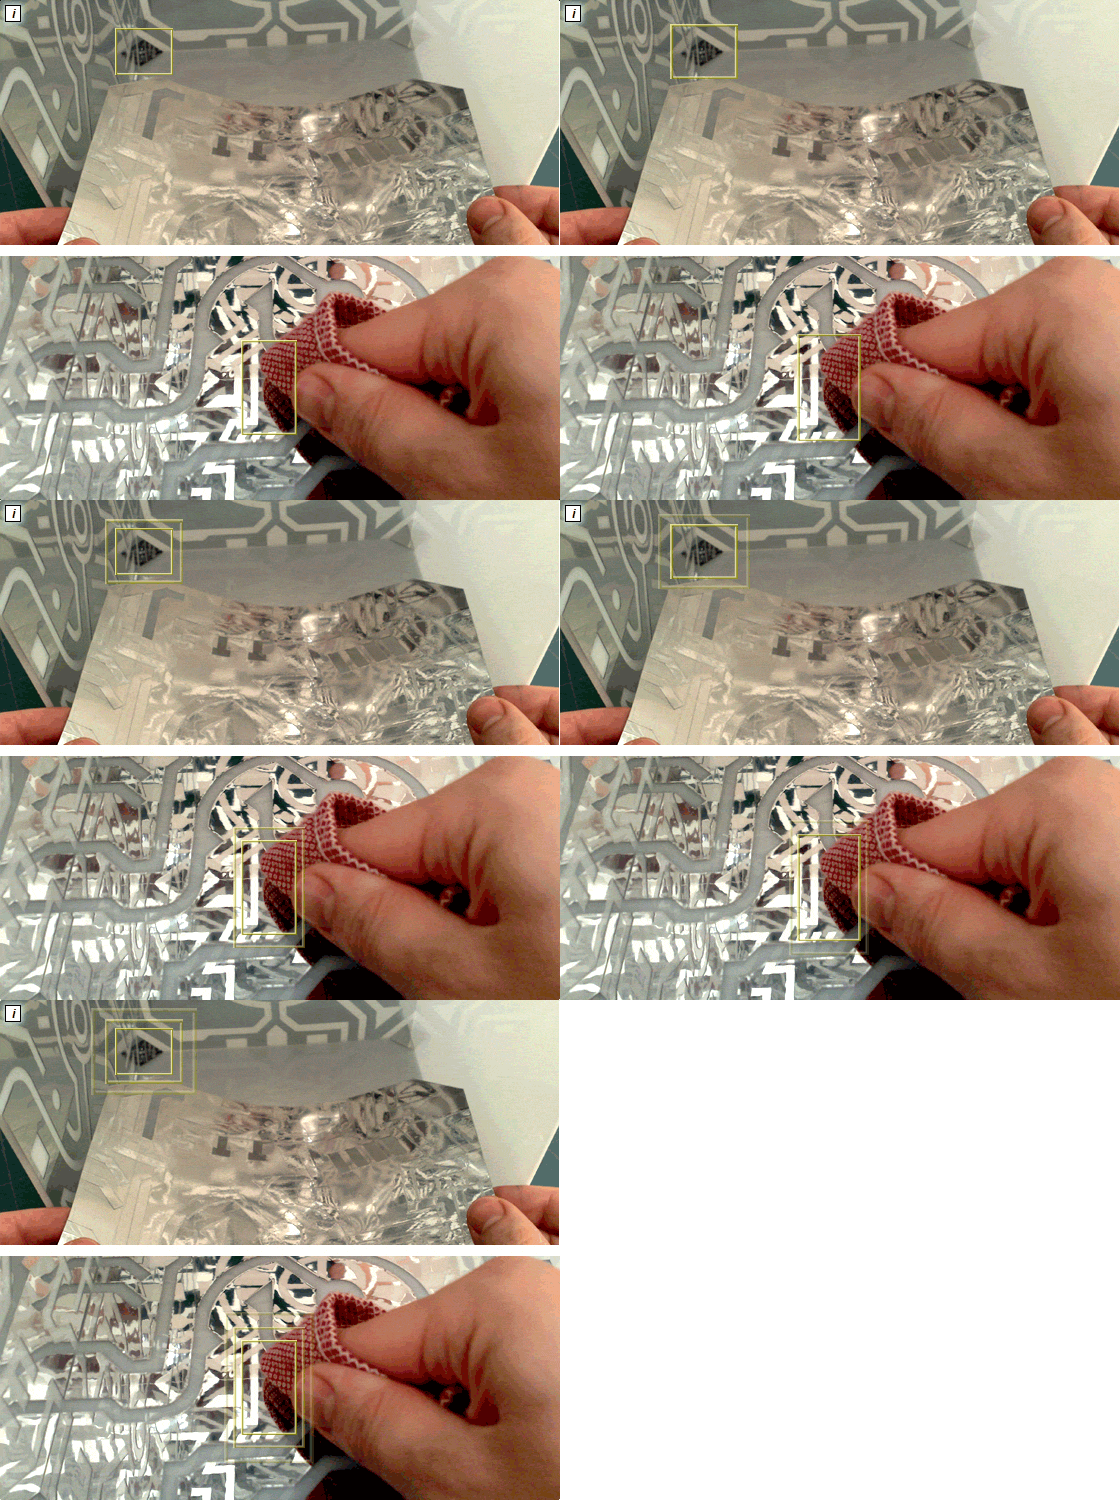
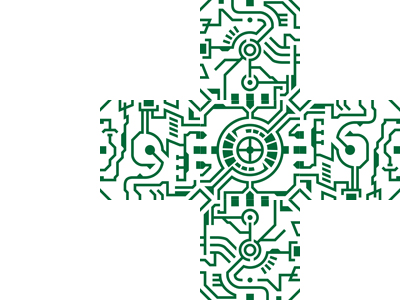
Remove the adhesive protection of the mirrored paper ( without removing the adhesive protection found on the lines of the pattern) .
Stick the four little corners, then place and stick the pattern inside the cube, while being careful about the upward and downward side of the latter ( see picture below).
Now unstick the protection of the mirrored paper.
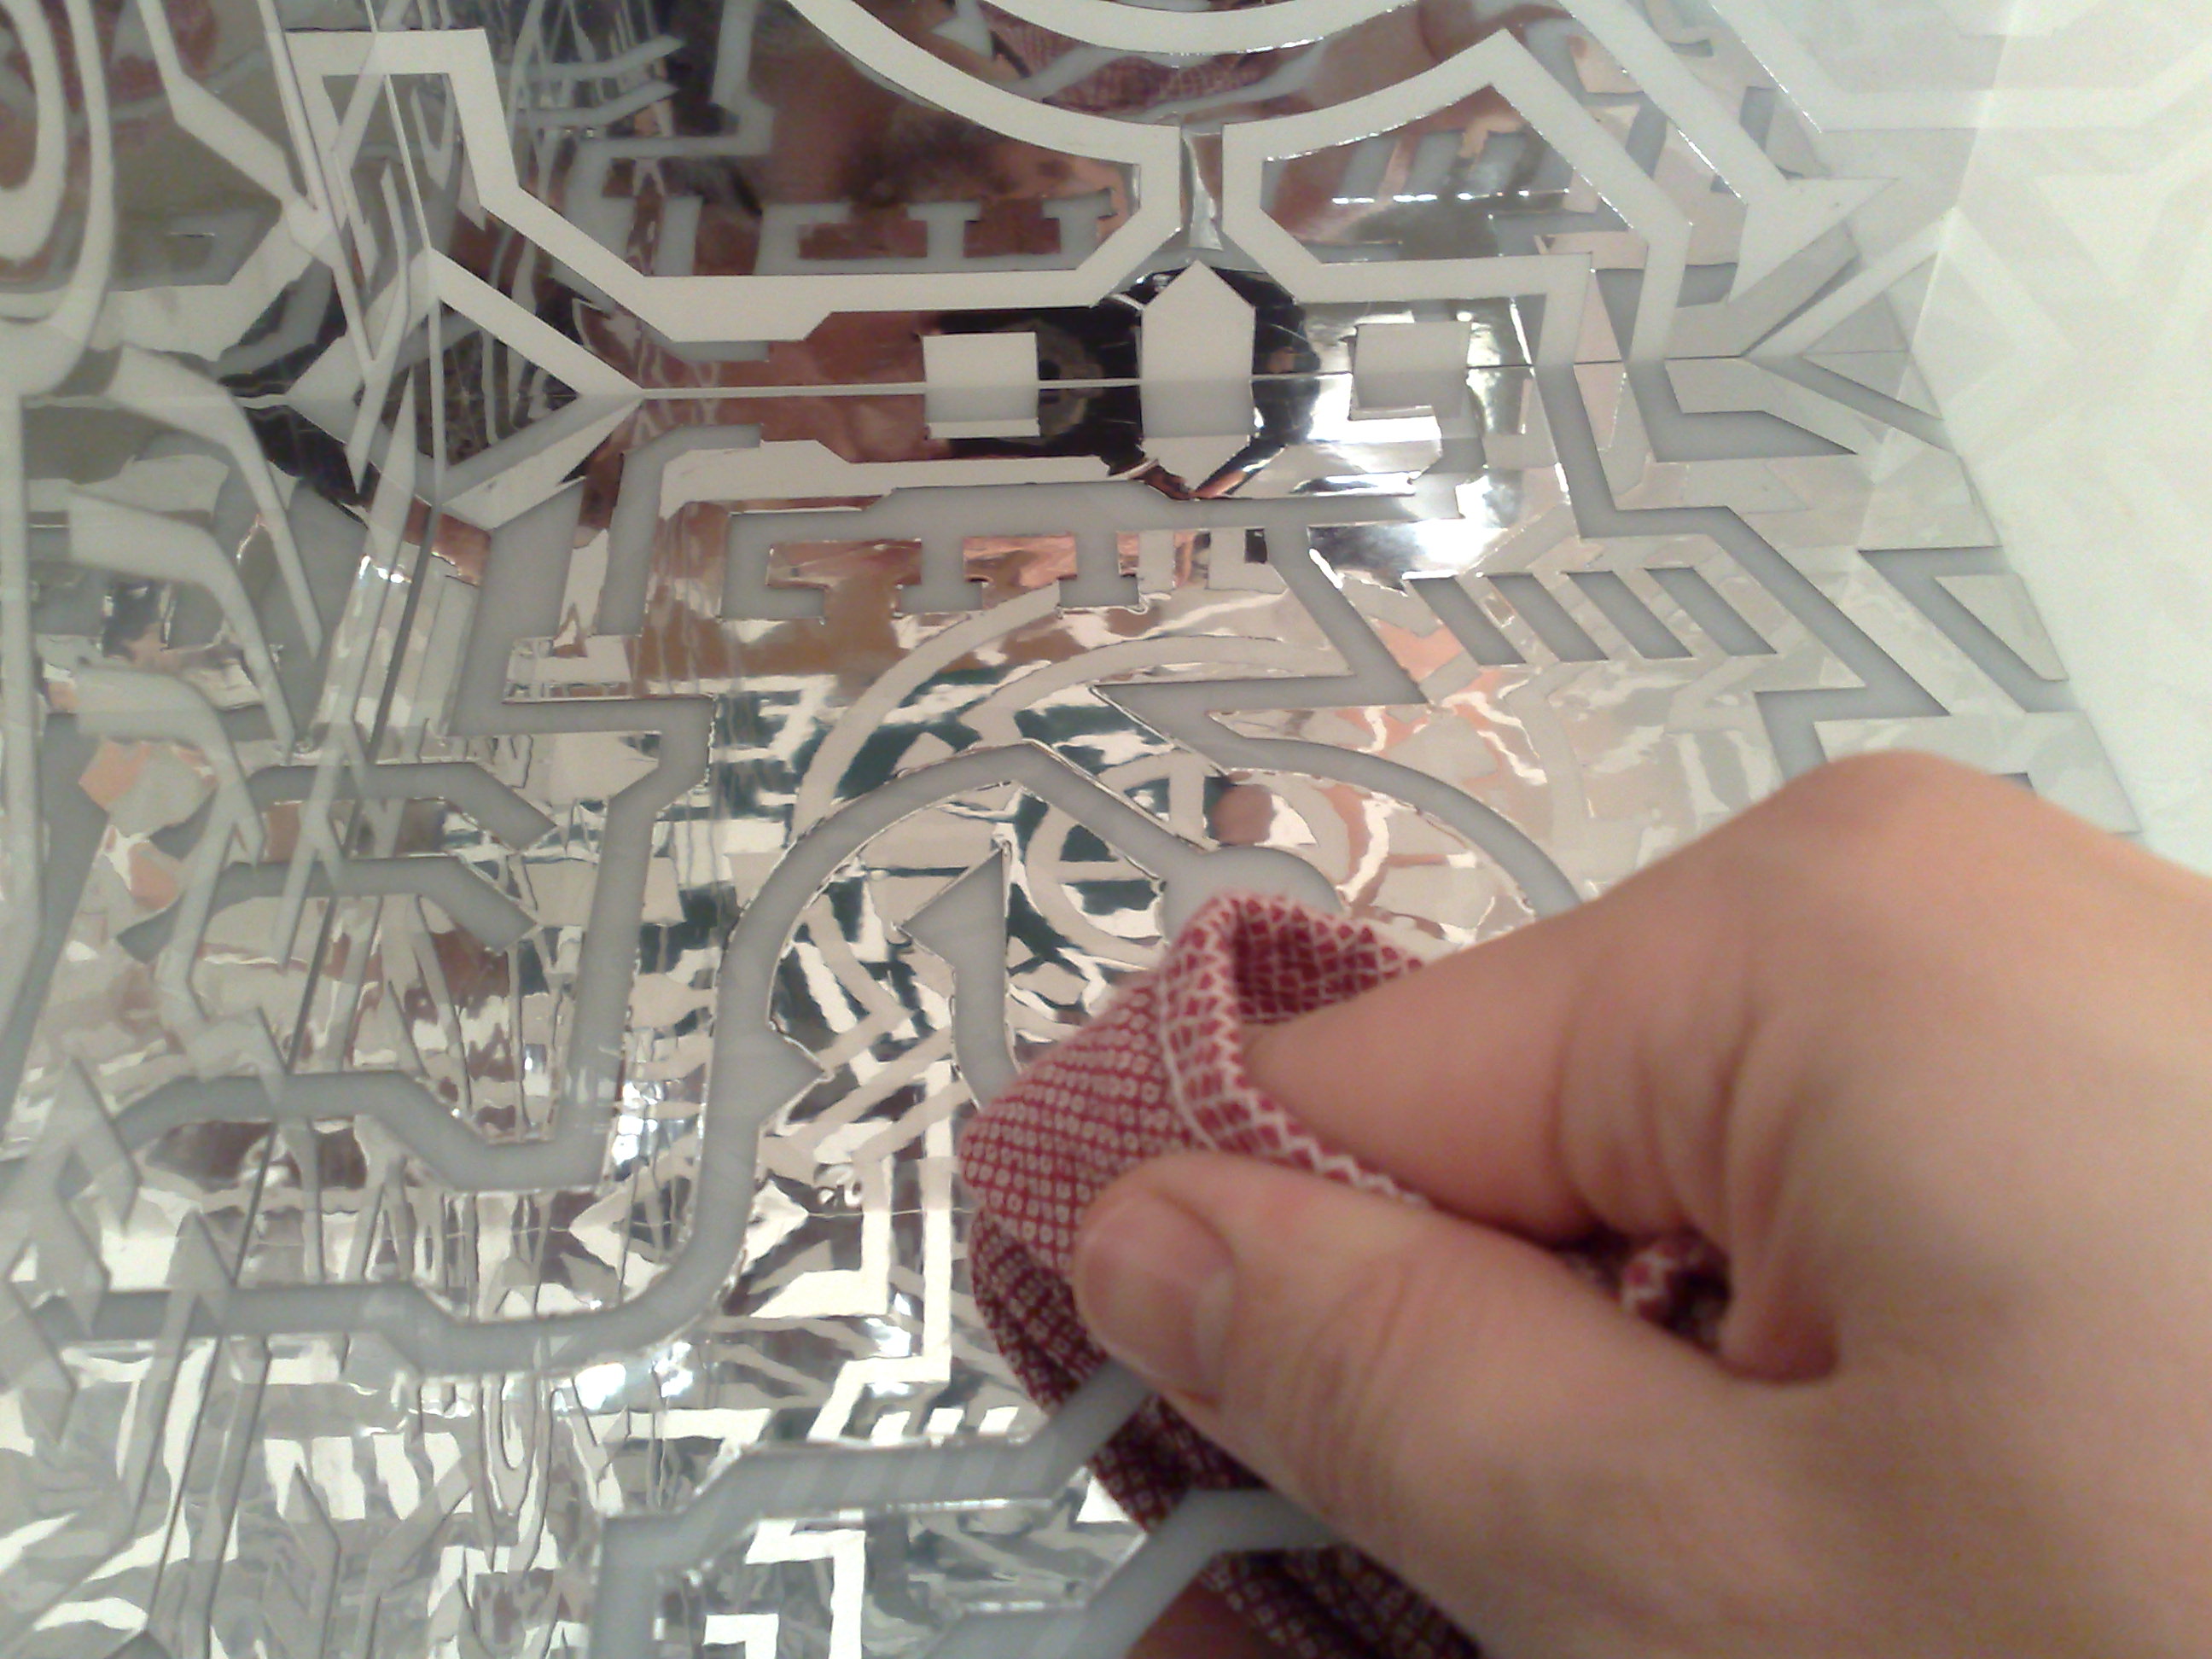
Once the 5 sides stuck, with the help of a piece of fabric, press firmly on the mirrored paper to remove the air bubbles
The Lamp

______________oOOooOOo-- and Voila --oOOooOOo______________

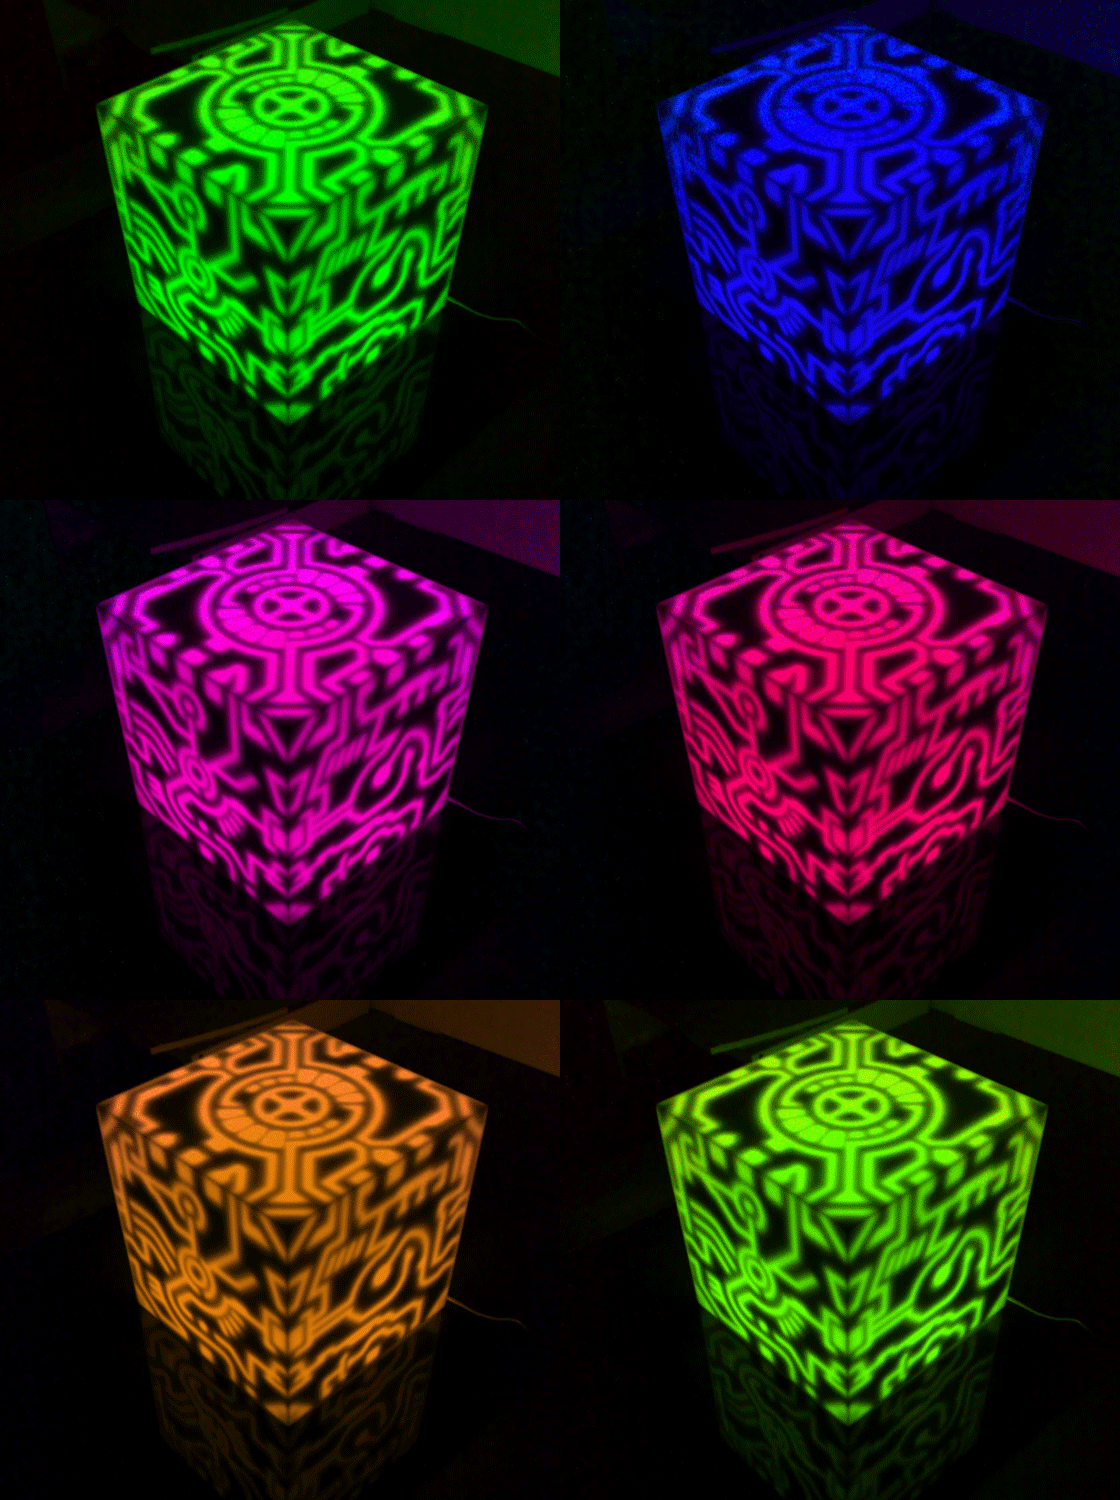
Now all you have to do is, place the cube on top of your lamp, place the powercord in the notch and light it up .
The Prestige


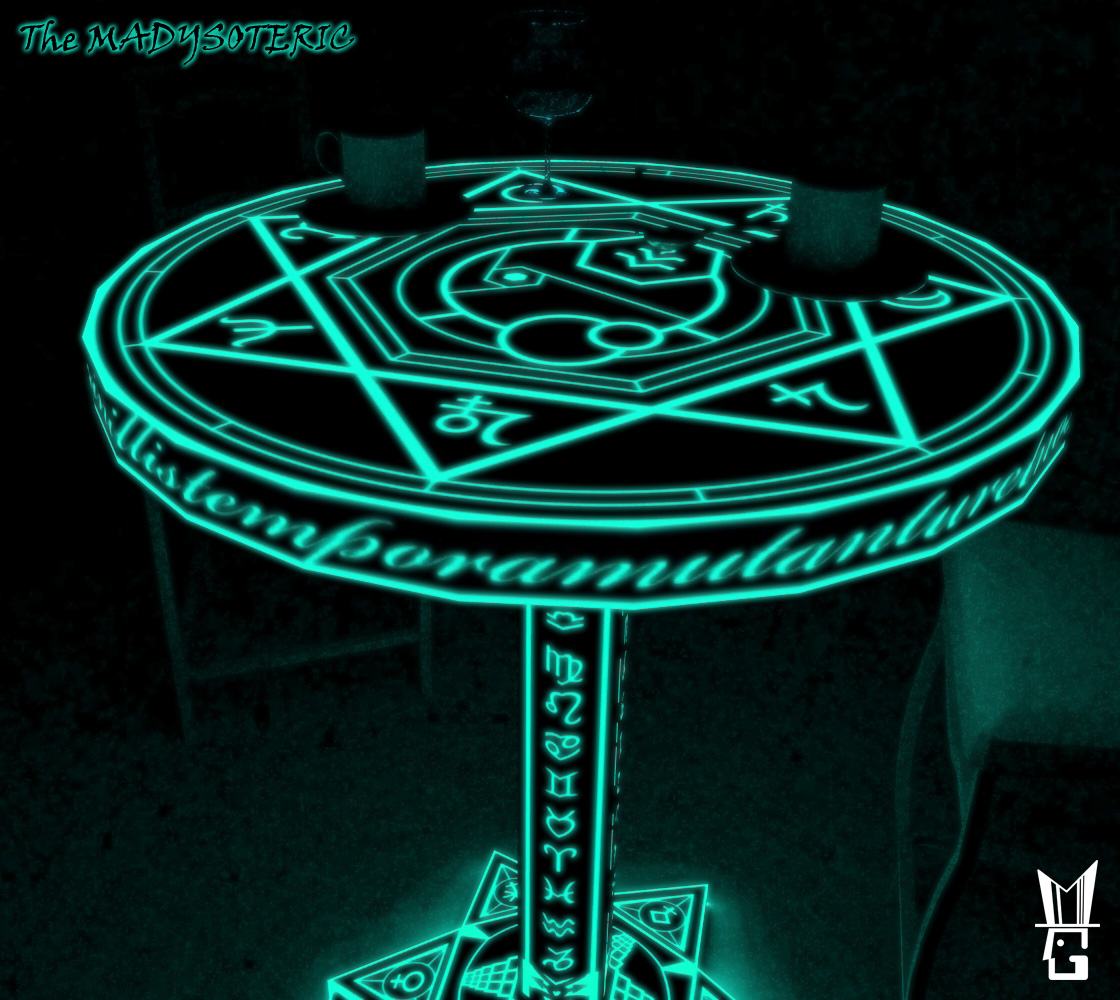


In order to demonstrate the various incredible possibilities of this Instructable, I will try to imagine an object which uses the MADYLIGHT effect every 2 or 3 days and this, until the end of this contest on 31 of January 2008.
One can reasonably think about creating a system ( THE MADYMOTIONS ) which will enable all the electronic devices to be interlinked thanks to a Bluetooth system, like a PC, new generation video game consoles, the "AMBILIGHT SYSTEM" by Philips and all mobile devices.
This will enable the adaptation of the different colors of your movies, music, games, mail receiving, entering calls and SMS notifications.
The MADYLIGHT 2.0
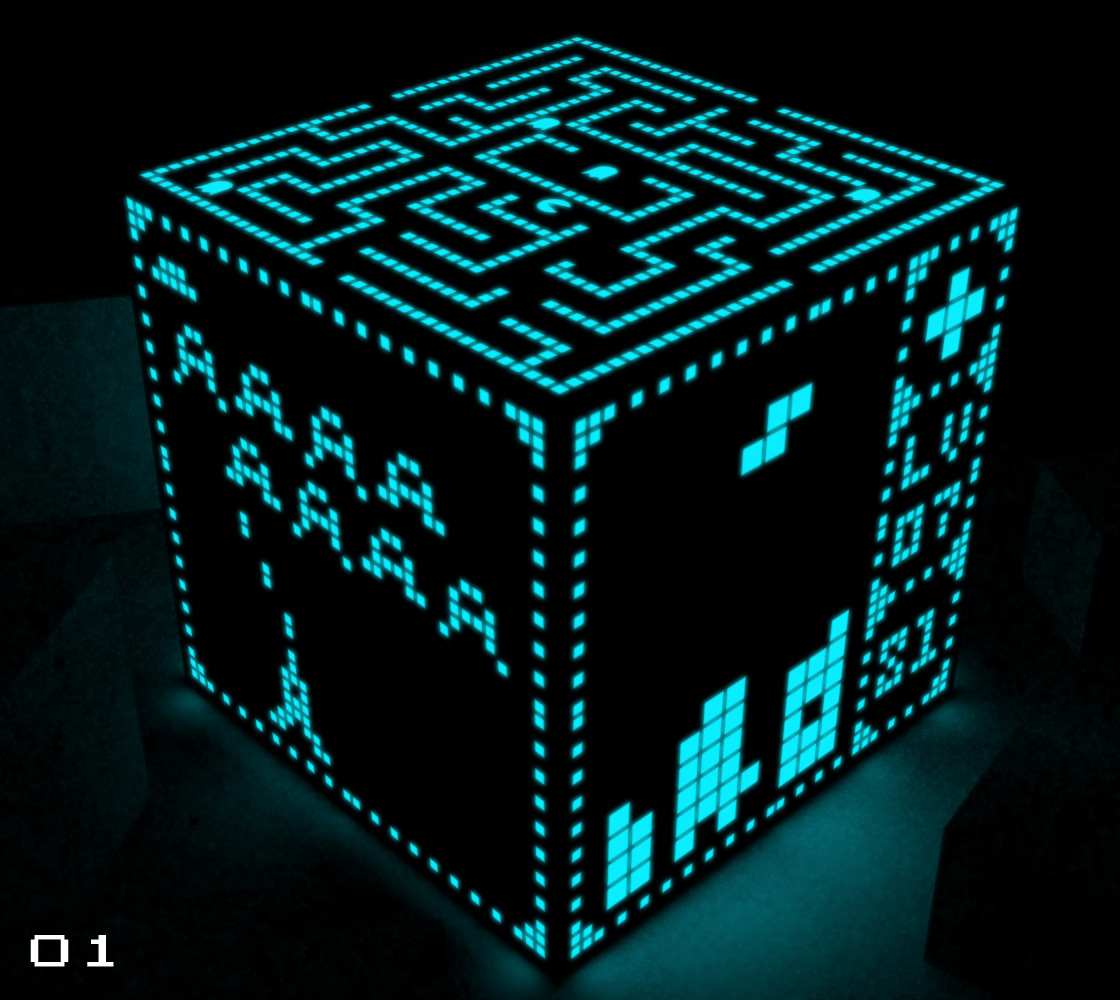


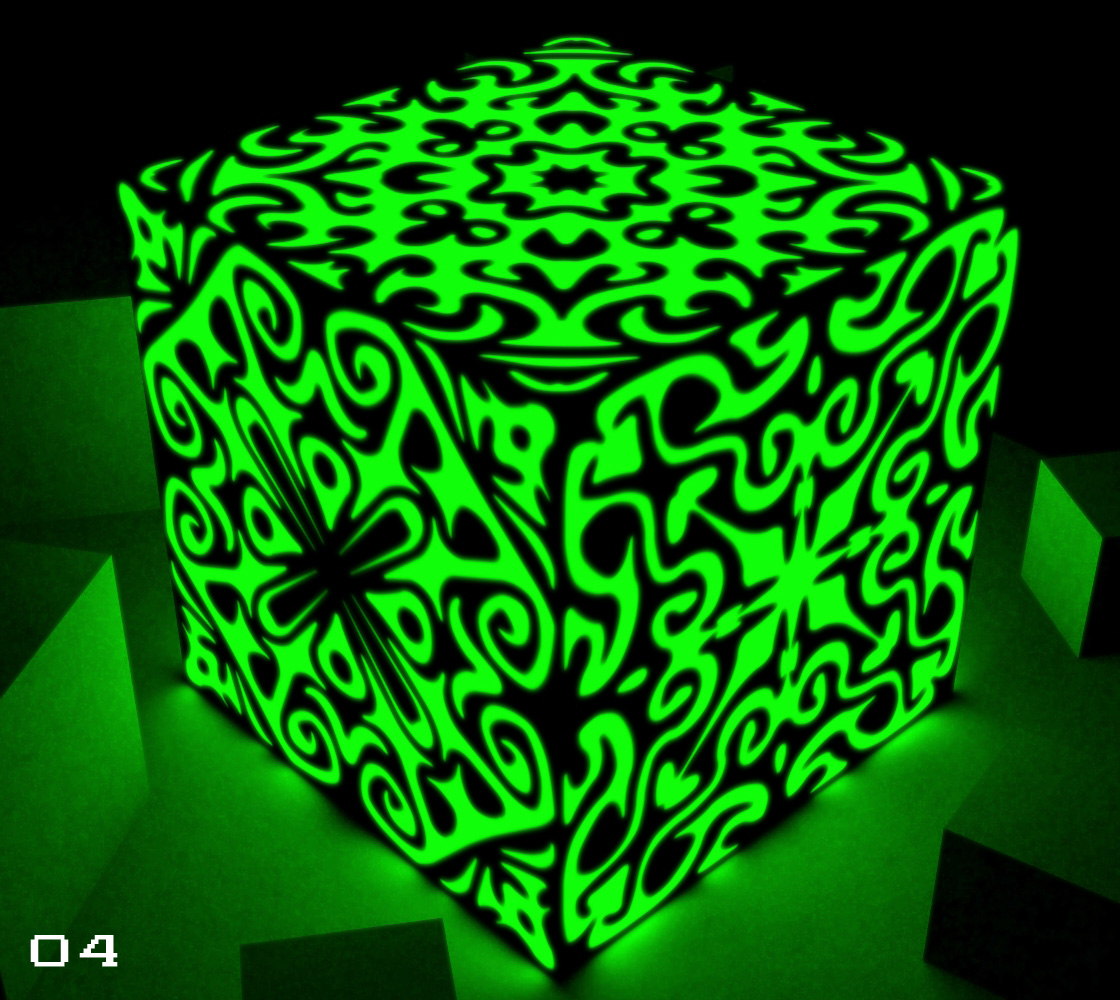

What the Madylight 2.0? It is YOUR Madylight !
Show your creativity on this support. Create your pattern in black and white according to the following dimensions: 1181px x 1181px in 150 dpi.
Contact me by private message and I will take care of the rest (ZIP file, simulation of the final result in 3D and credits)
Intro - Fabriquer Une Lampe Digne D'un Film De SF : the MADYLIGHT


Grace a mon metier de magicien, j'ai acquis la competence de materialiser dans notre realite des effets qui sembleraient au premier abord totalement impossibles (sauf bien sur, dans les films a l'aide d'effets speciaux) par exemple: transformer sur une scene, un etre humain en tempete de neige... Toujours surpasser les limites est de loin mon challenge prefere.
Malheureusement, je ne vous expliquerais pas dans ce tutoriel comment couper votre femme en quatre (elle me remerciera!) ni comment faire leviter votre voiture dans les airs (bien que, tres pratique pour changer les roues)... Secret professionnel oblige !
Ma principale source d'inspiration se trouve dans les jeux video et dans la science-fiction. D'ailleurs, quel est le point commun entre TRON, Zelda, Final Fantasy, etc ???
Reponse: Les lignes luminescentes qui representent des circuits imprimes ou bien encore des invocations magiques. Cet effet m'a toujours emerveille et je suis sur de ne pas etre le seul dans ce cas.
J'ai recree cet effet dans un cube afin de valider la faisabilite de la technique que j'ai developpee. Le but etant de pouvoir transposer le "MADYLIGHT EFFECT" dans la plupart des objets de la vie quotidienne, comme une table basse, une etagere, la customisation d'unite centrale pour PC etc... J'ai actuellement une tres longue liste d'objets sur laquelle je travaille deja.
Ceci est ma premiere contribution online au monde du design, et j'espere que ce n'est que le debut d'une longue serie.
(D'ailleurs, je profite de cette occasion pour vous informer que je suis a la recherche d'une societe qui serait interessee par la fabrication et la distribution de mes creations. Merci d'avance)
Idees Et Materiel
Mes axes de reflexions
- Je voulais creer un objet qui se fonde dans le mobilier d'un appartement le jour et qui revele son mystere la nuit venue.
- Que l'on puisse le fabriquer sans avoir a utiliser de gros outils afin que tout le monde ait la possibilite de realiser cette lampe.
J'ai commence par creer mon motif sous Abode Illustrator. Apres de nombreux tests de simulation lumineuse 3D avec Carrara, j'ai determine selon moi, la meilleure harmonie entre les parties lumineuses et les parties sombres.
Ma conclusion:
Il ne faut pas surcharger le motif de la lampe, car l'effet visuel perd de son impact surnaturel. Au contraire, si le motif n'est pas assez dense, on perd tout simplement le but premier d'une lampe : eclairer.
J'ai choisi d'utiliser du plexiglas opalin (aussi appele Frosted Plexiglas) pour son aspect neutre et classe ainsi que pour sa propriete de diffusion de lumiere.
Afin de donner de la vie a cette lampe, j'ai utilise une ampoule LED qui change de couleur (detail important: elle ne produit pas de chaleur).
Le systeme que j'ai cree, pour avoir le maximum de lumiere qui irradie des lignes et obtenir des parties totalement sombres, est de decouper mes motifs dans du papier miroir.
Vous trouverez la liste de tout le materiel dont vous aurez besoin ainsi que toutes les instructions necessaires a la construction de votre MADYLIGHT dans la video suivante.
(J'ai trouve tout ce dont j'avais besoin au BHV de Paris.)
Le Cube


Trouver un magasin qui pourra vous decouper les carres de plexiglas aux dimensions voulues (dans la plupart des grandes enseignes, la decoupe est gratuite)
Allez ! Commencons par fabriquer ce cube.
Enlevez les films de protection de chaque plaque de plexiglas
Referez-vous a l'image ci-dessous pour l'ordre d'assemblage. Aidez-vous d'un gros livre en guise d'equerre afin de coller vos plaques en angle droit (pour eviter que le livre s'ouvre pendant l'operation, pensez a mettre un morceau de scotch pour relier les deux battants de la couverture).
Une fois le cube termine, faites chauffer un clou sur une plaque electrique (contrairement a une flamme, l'electrique ne fera pas un depot noir qui risquerait de tacher le plexi)
Maintenant, avec l'aide d'une pince, faites une encoche du diametre de votre cordon d'alimentation.
Le Decoupage

Ouvrez le fichier ZIP que vous trouverez en bas de cette page et imprimez le motif "AandB.jpg" deux fois, le "CandD.jpg" deux fois et le "E.jpg" une fois.
Coupez le superflu de papier autour des motifs en laissant une marge de securite d'au moins 1 cm, puis scotchez-les sur vos carres de papier miroir.
Decoupez toutes les courbes avec le scalpel en commencant par le centre, enfin terminer par decouper les lignes droites avec le cutter.
Attention! Apres avoir decoupe une piece, veillez a mettre un morceau de scotch de chaque cote afin de maintenir le tout en place. Terminer par decouper la peripherie du carre (surveillez bien les 4 petits coins, ils vont se detacher et se melanger avec les chutes).
Downloads
Le Collage

Enlevez la protection de la partie adhesive du miroir (sans enlever la protection des parties correspondantes aux traces du motif)
Collez les quatre petits coins puis votre motif sur l'une des faces (interieure) du cube. Pensez a jeter un coup d'oeil, en bas, au dessin de reference pour ne pas vous tromper de sens.
Retirez des a present le film protecteur de la partie reflechissante, normalement les lignes decoupees viendront avec ... si ce n'est pas le cas, aidez-vous du scalpel.
Une fois les 5 faces collees, avec un morceau de tissu dispose sur votre index, chassez les bulles d'air.
La Lampe

______________oOOooOOo-- Et Voila --oOOooOOo______________


Les seules choses qui vous restent a faire sont: poser le cube sur la lampe, passer le cordon d'alimentation dans l'encoche et allumer votre oeuvre !
Le Prestige !


Pour vous demontrer les incroyables possibilites de cet instructable, je vais essayer d' imaginer 2 ou 3 objets qui utilisent l'effet MADYLIGHT.
On peut raisonnablement penser creer un systeme (The MADYMOTIONS), qui rendrais tous ces objets communiquant entre eux par liaison Bluetooth avec votre PC, consoles de jeux nouvelles generations, le systeme "Ambilight" de Philips et vos appareils mobiles. Il permettrait d'adapter les couleurs a vos musiques, filmes, jeux video, notifications de mails ou de SMS.
La MADYLIGHT 2.0


Qu'est ce que la Madylight 2.0 ? C'est VOTRE Madylight !
Exprimez votre creativite sur ce support. Creez vos motifs en noir et blanc aux dimensions suivantes 1181px X 1181px en 150 dpi.
Puis contactez-moi par message prive et je m'occuperais du reste (compression du fichier, simulation de lumiere 3D et fichier texte vous citant comme auteur ainsi que vos coordonnees)
Pictures






---