How to Make a Snowtrooper Skiing Helmet
by bravoechonovember1 in Craft > Costumes & Cosplay
6341 Views, 38 Favorites, 0 Comments
How to Make a Snowtrooper Skiing Helmet

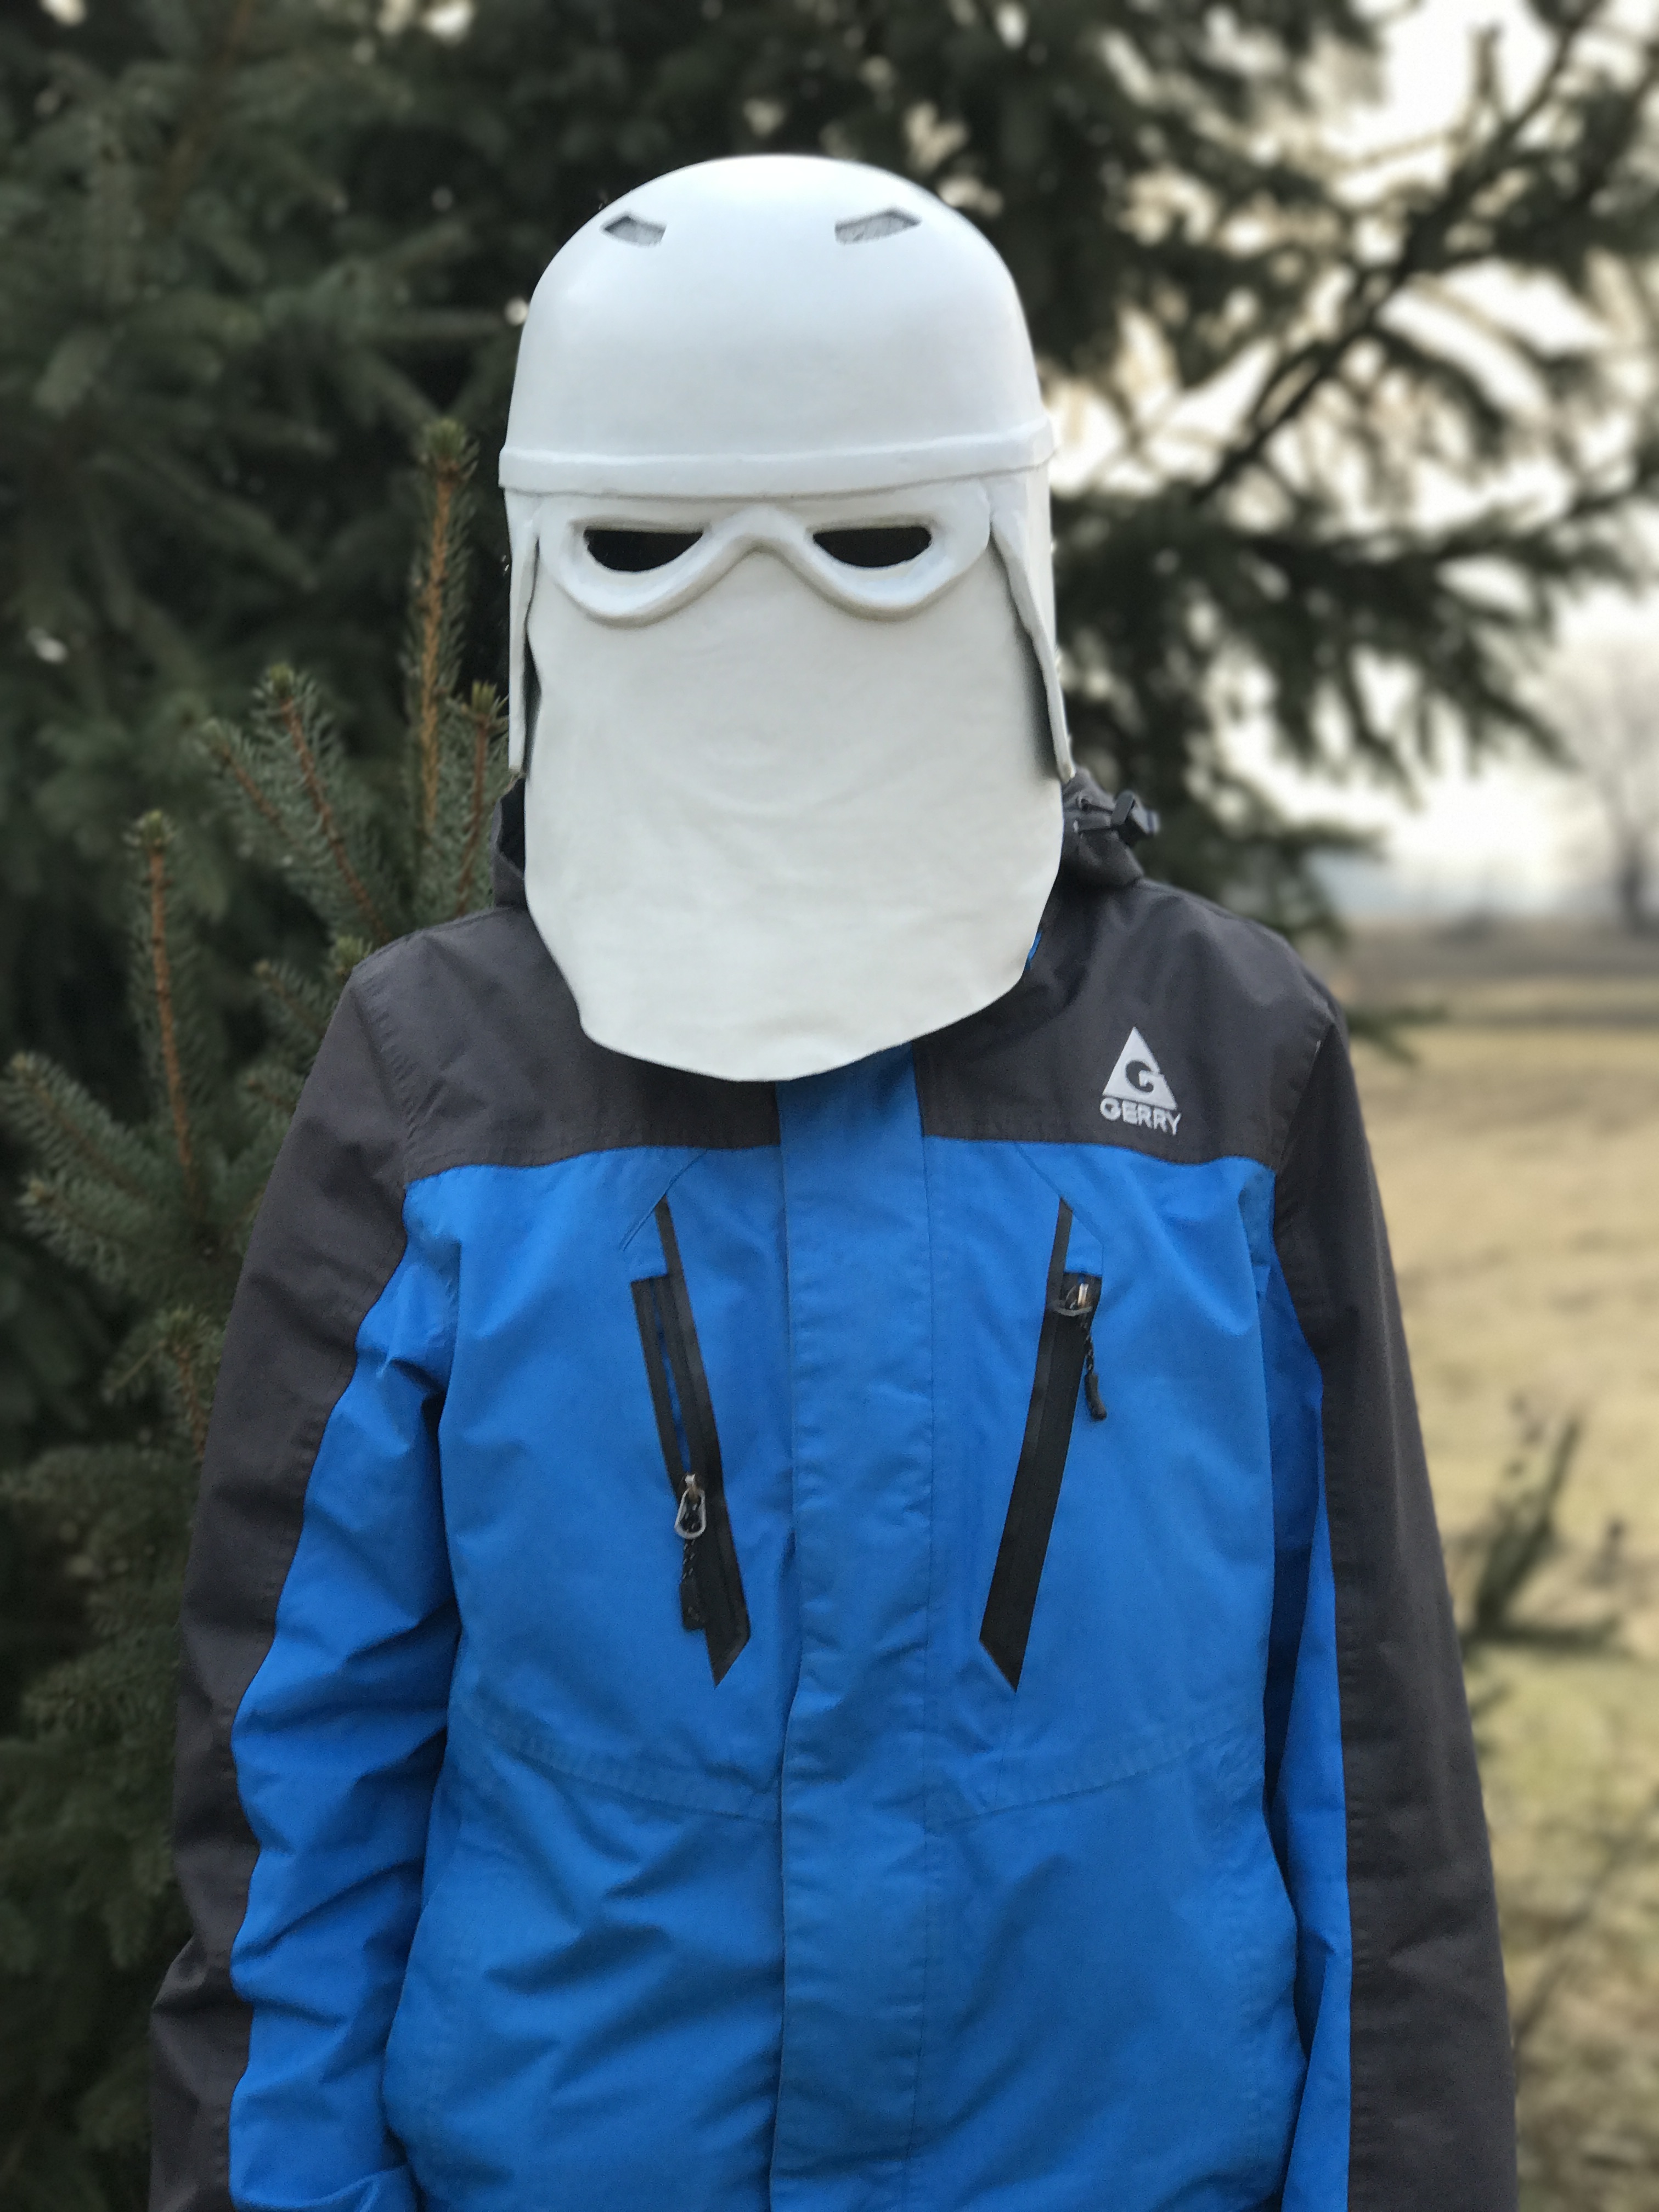


Every year my family goes on a ski trip and there are always people wearing good (and bad!) costumes. I've always wanted to make something that not only would look cool but wouldn't hinder movement. So when the new Star Wars came out I realized I could make something from Star Wars; and what better helmet to make for a snow sport than a snowtrooper!
Materials and Tools You Need
- A ski helmet (this GIRO Ledge helmet works well)
$45
- A plastic mop bucket
$2.50
- Bonding putty
$14
- Two cans of spray paint
$8
- Vinyl cloth
$7
- Cloth bonding paper
$5
- Sunglasses
$0
- Body filler
$8
- Plastic mixing cups
$0
- Palm sander w/ sandpaper
- 3D printer
- Putty knife
- Scissors
- Handsaw with small teeth
- Glue gun
- Clothes iron
- Hot glue gun
3D Print

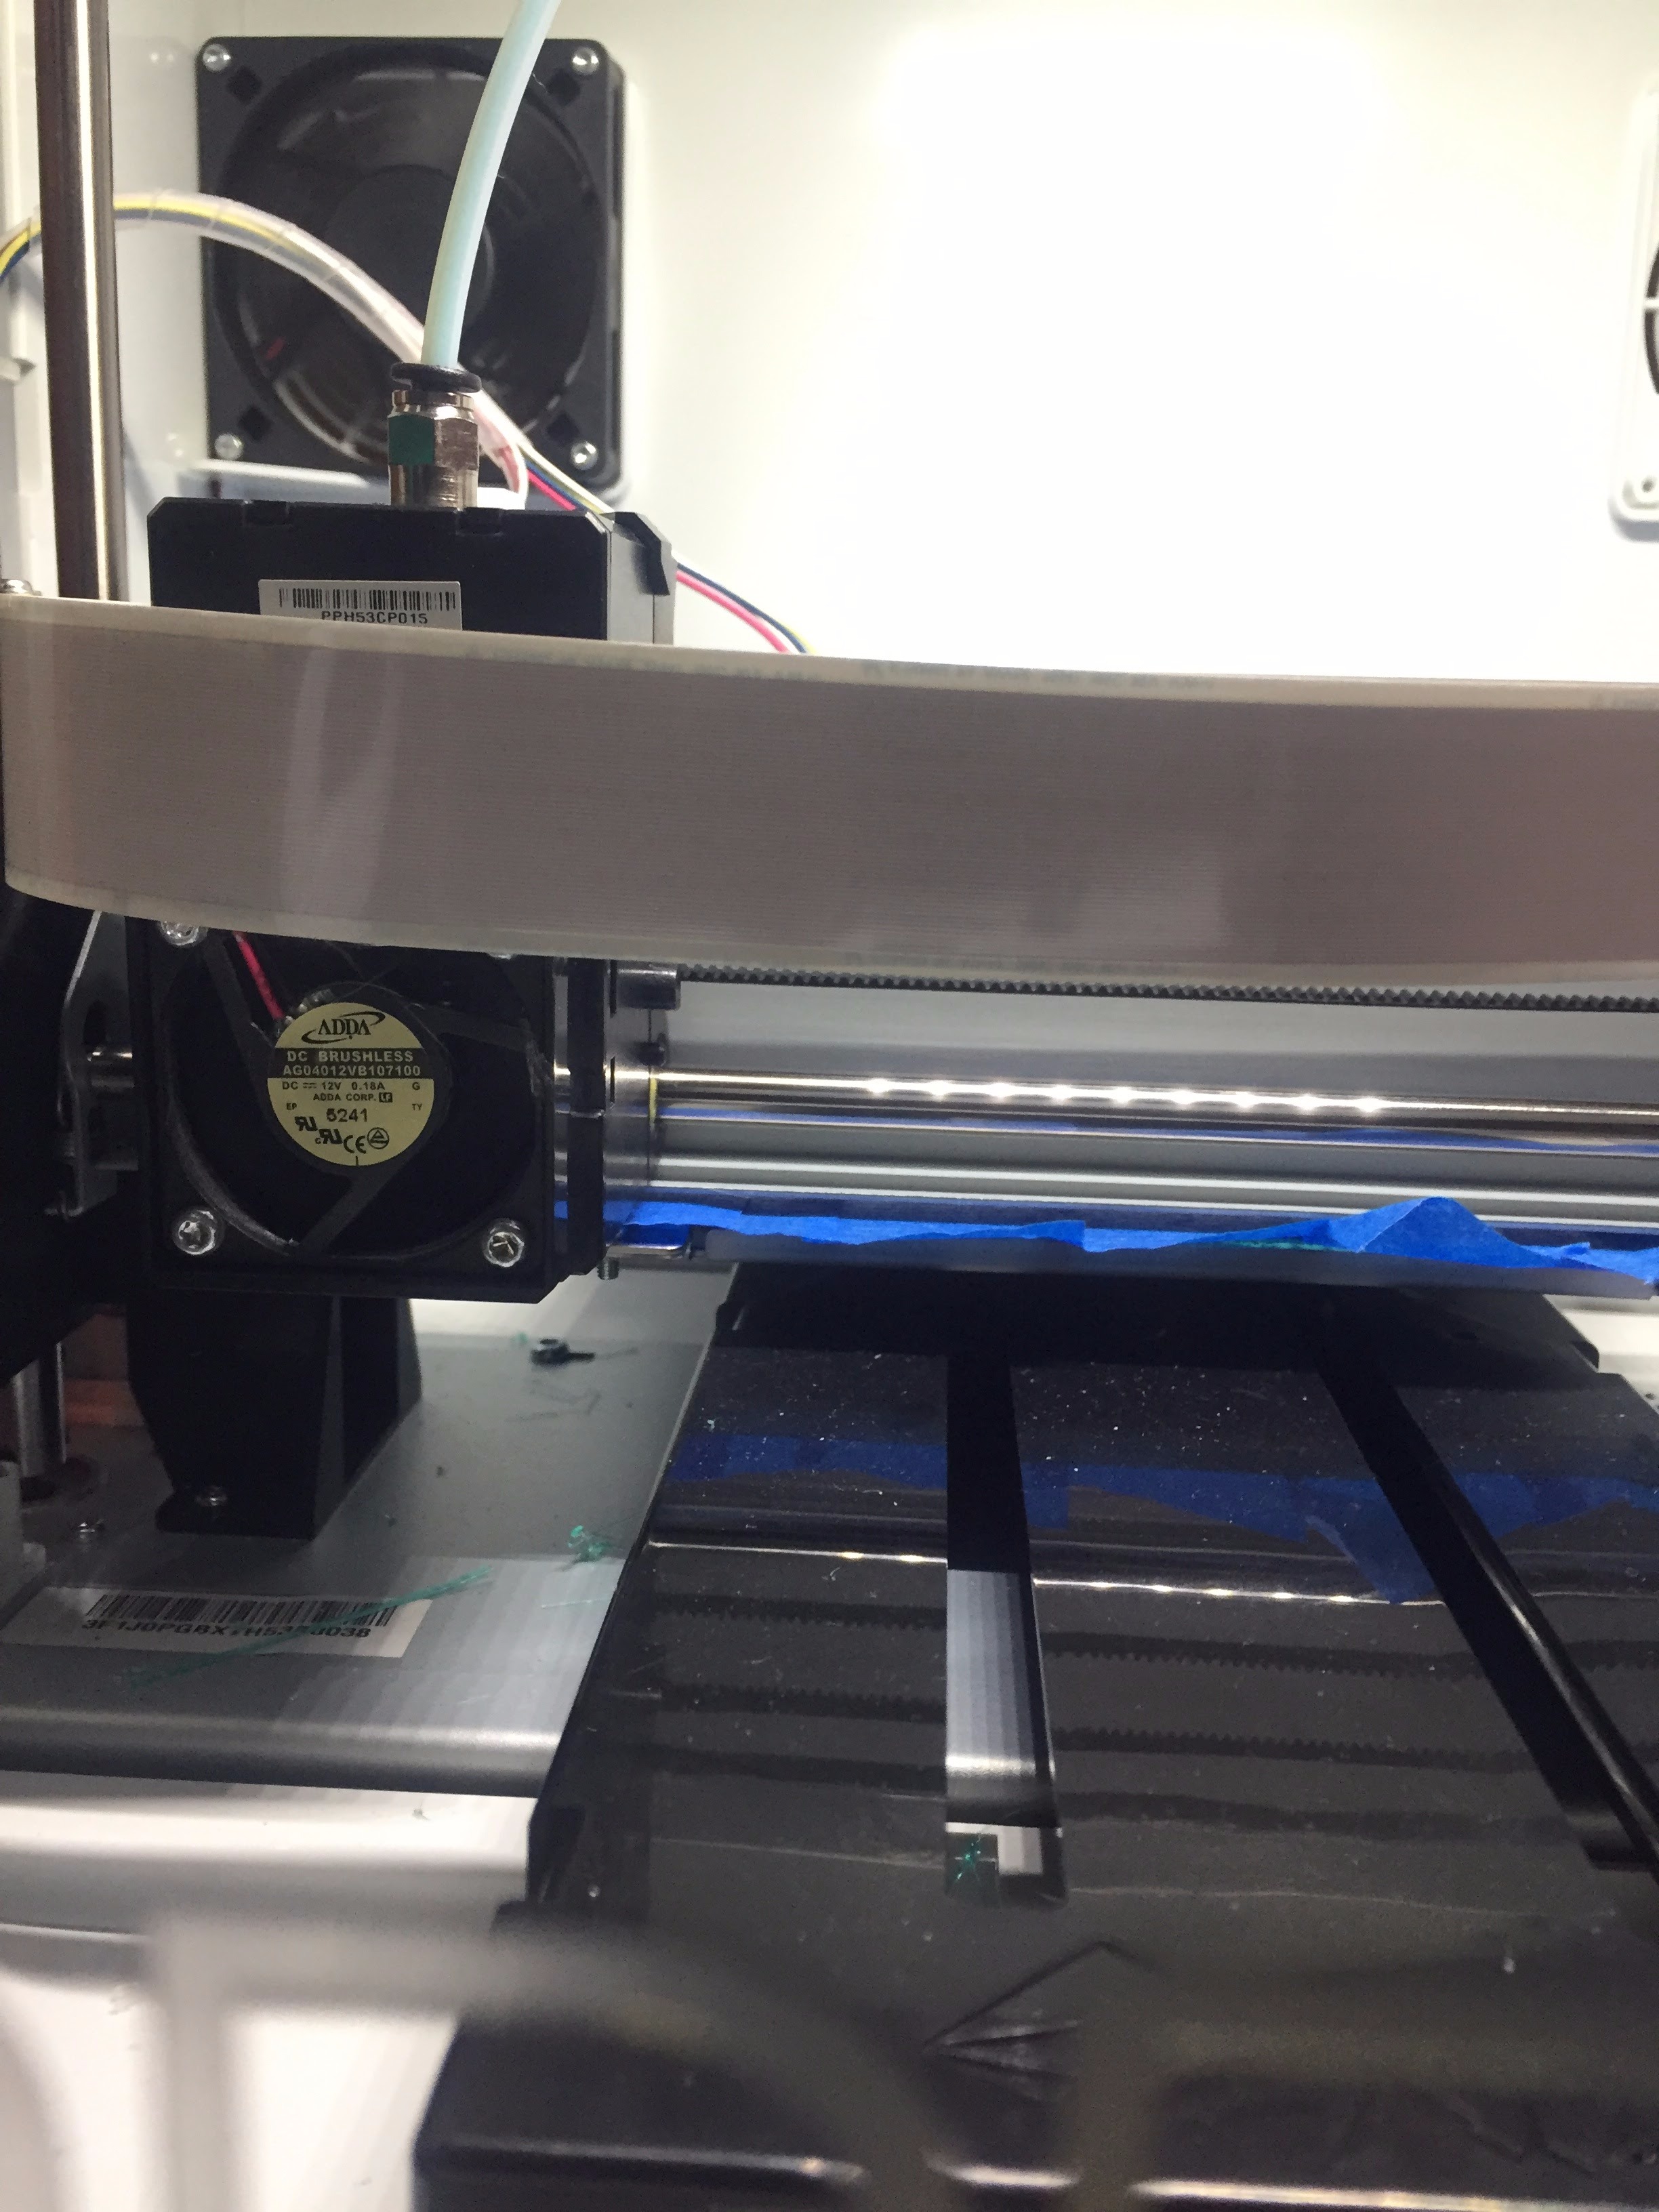

The first step is to 3D print the back indents (.stl provided). Once the file is printed get some medium grit sand paper and sand the whole piece.
Downloads
Cut the Bucket Up


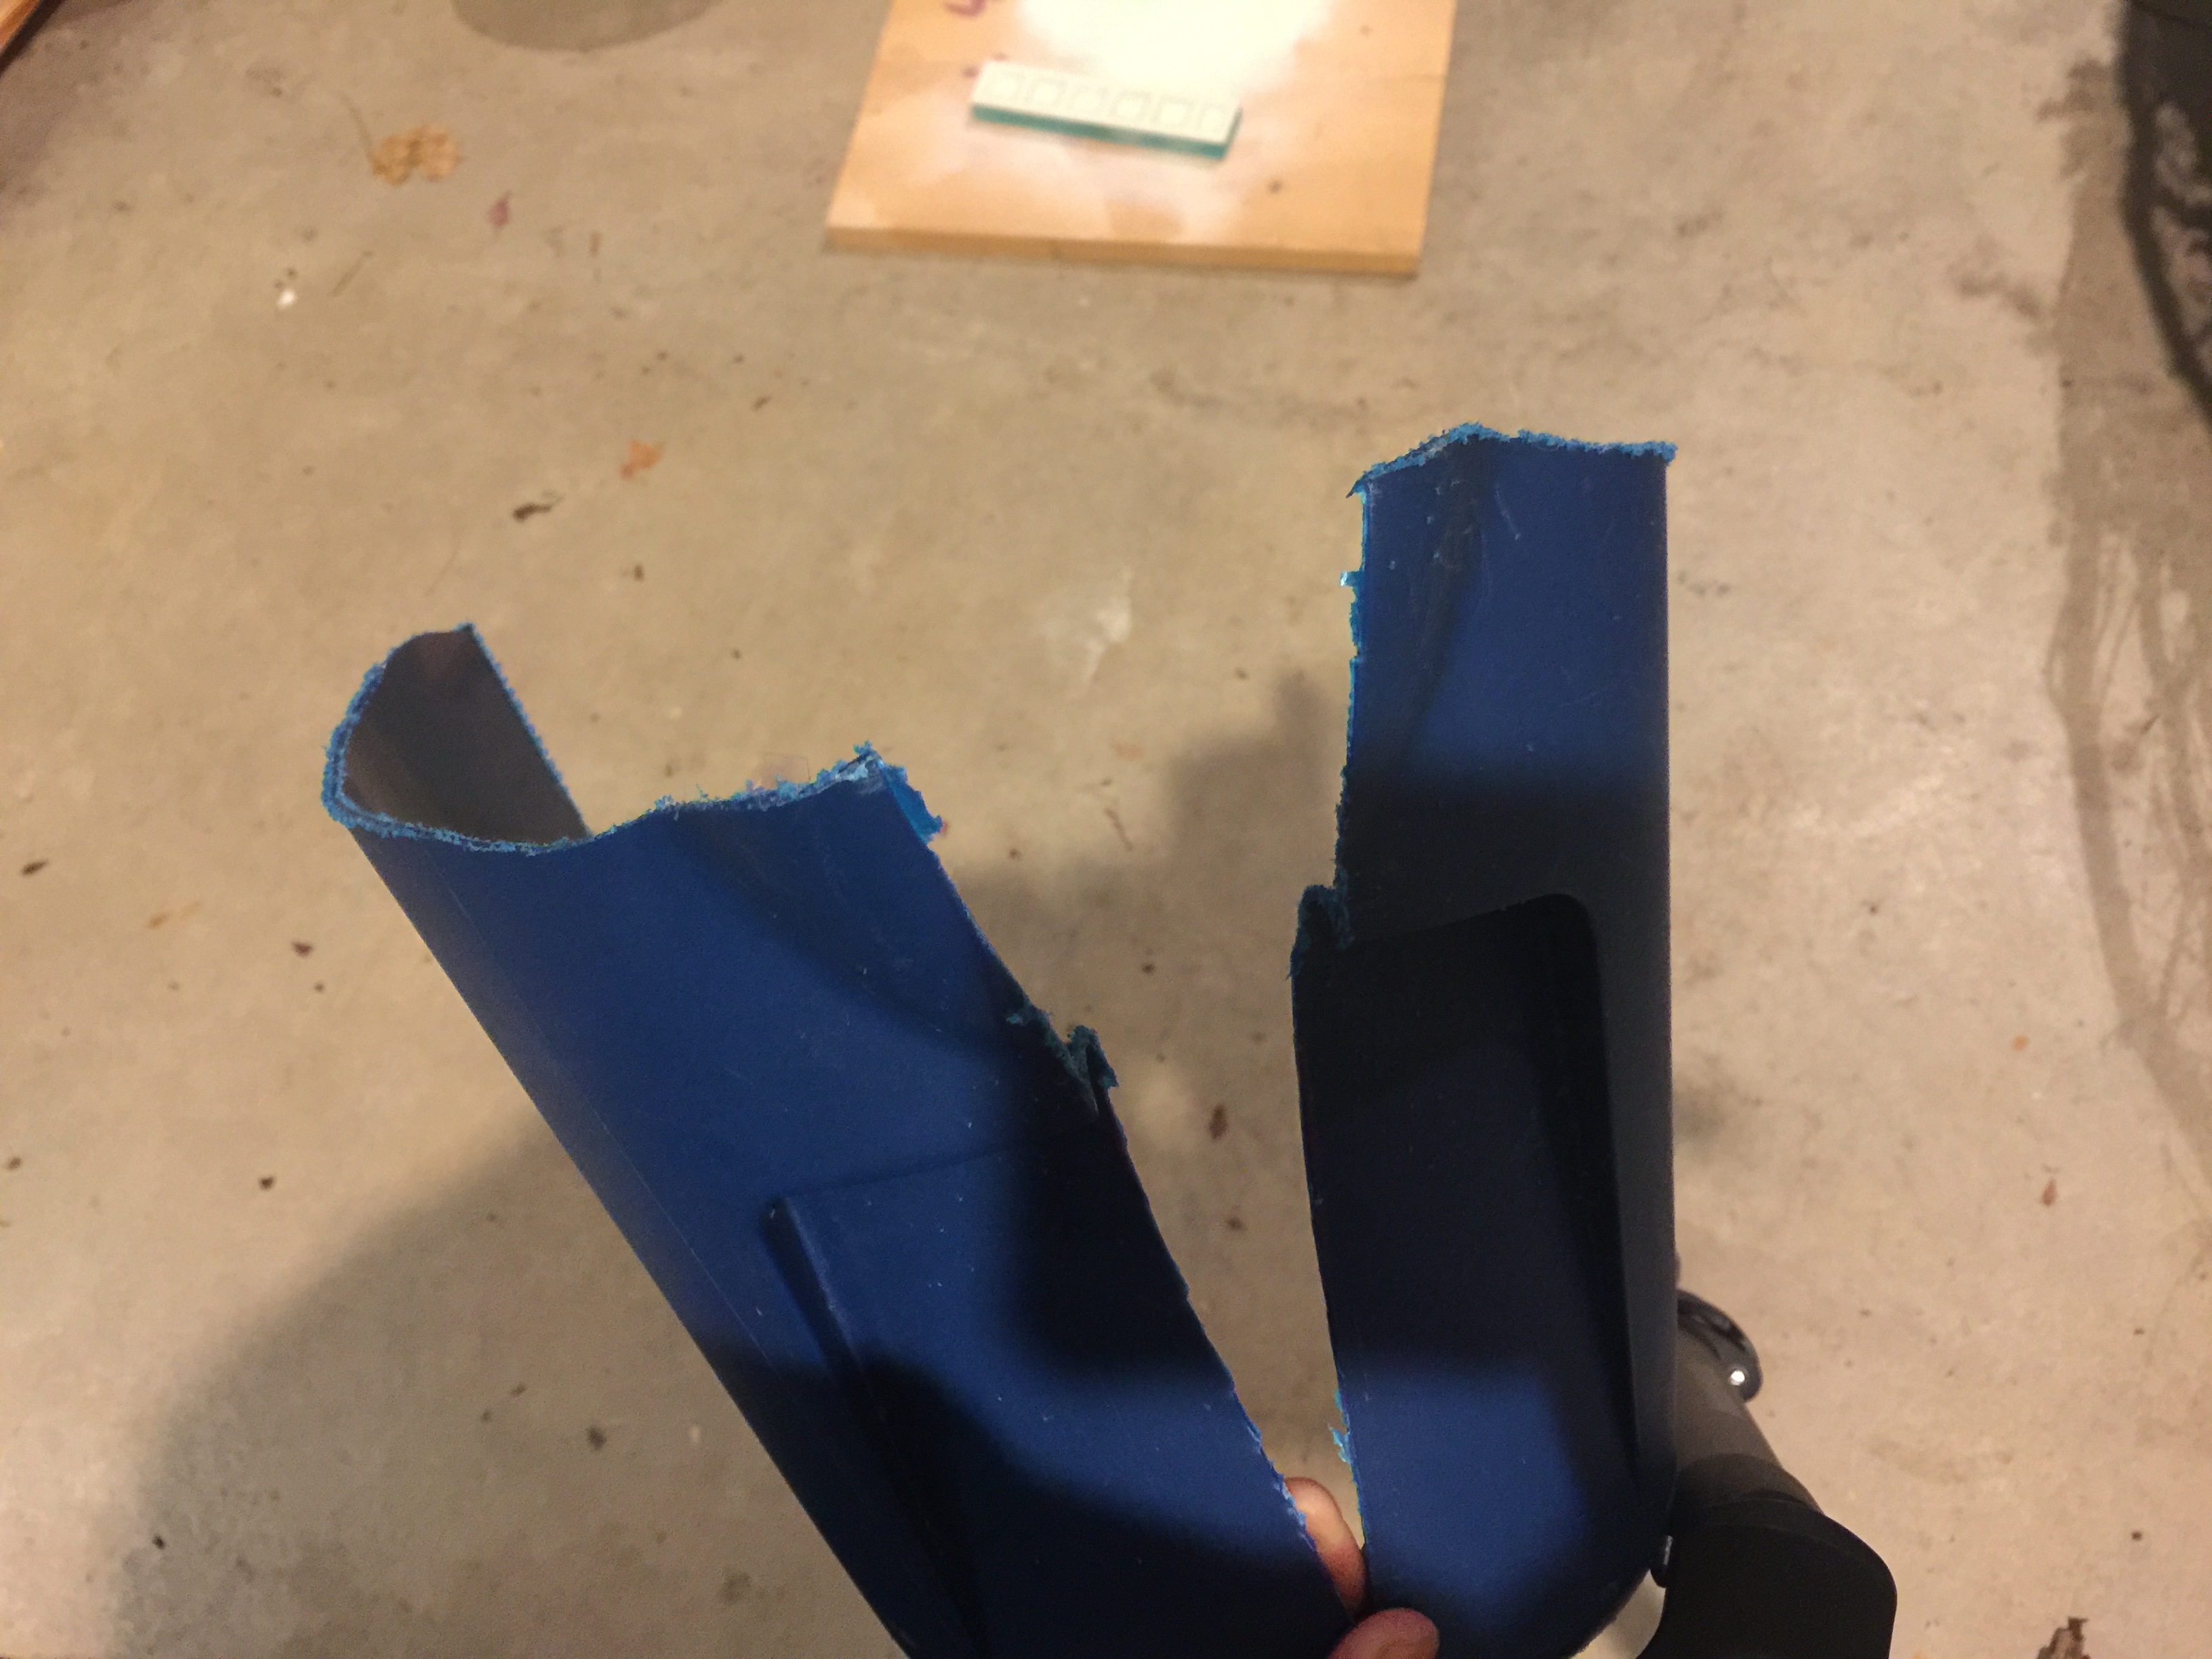
The next thing to do is to cut the mop bucket in half

then cut the bottom out

next cut it length-wise and width-wise.

Then cut it so that you have two 6.5" (height) pieces.

After that, measure .5" up from the 'far' edge and cut an arc to bottom of the other side.
Prep and Glue the Helmet


Before you glue the bucket on rough the surface of the helmet up with low grit sandpaper. Next, position the pieces so that the front 'line' is continued with a gap at the back for the 3D print. Now use the epoxy stick to glue the pieces on. Then use some more putty to round the intersection of the bucket and the front of the helmet.
Body Filler
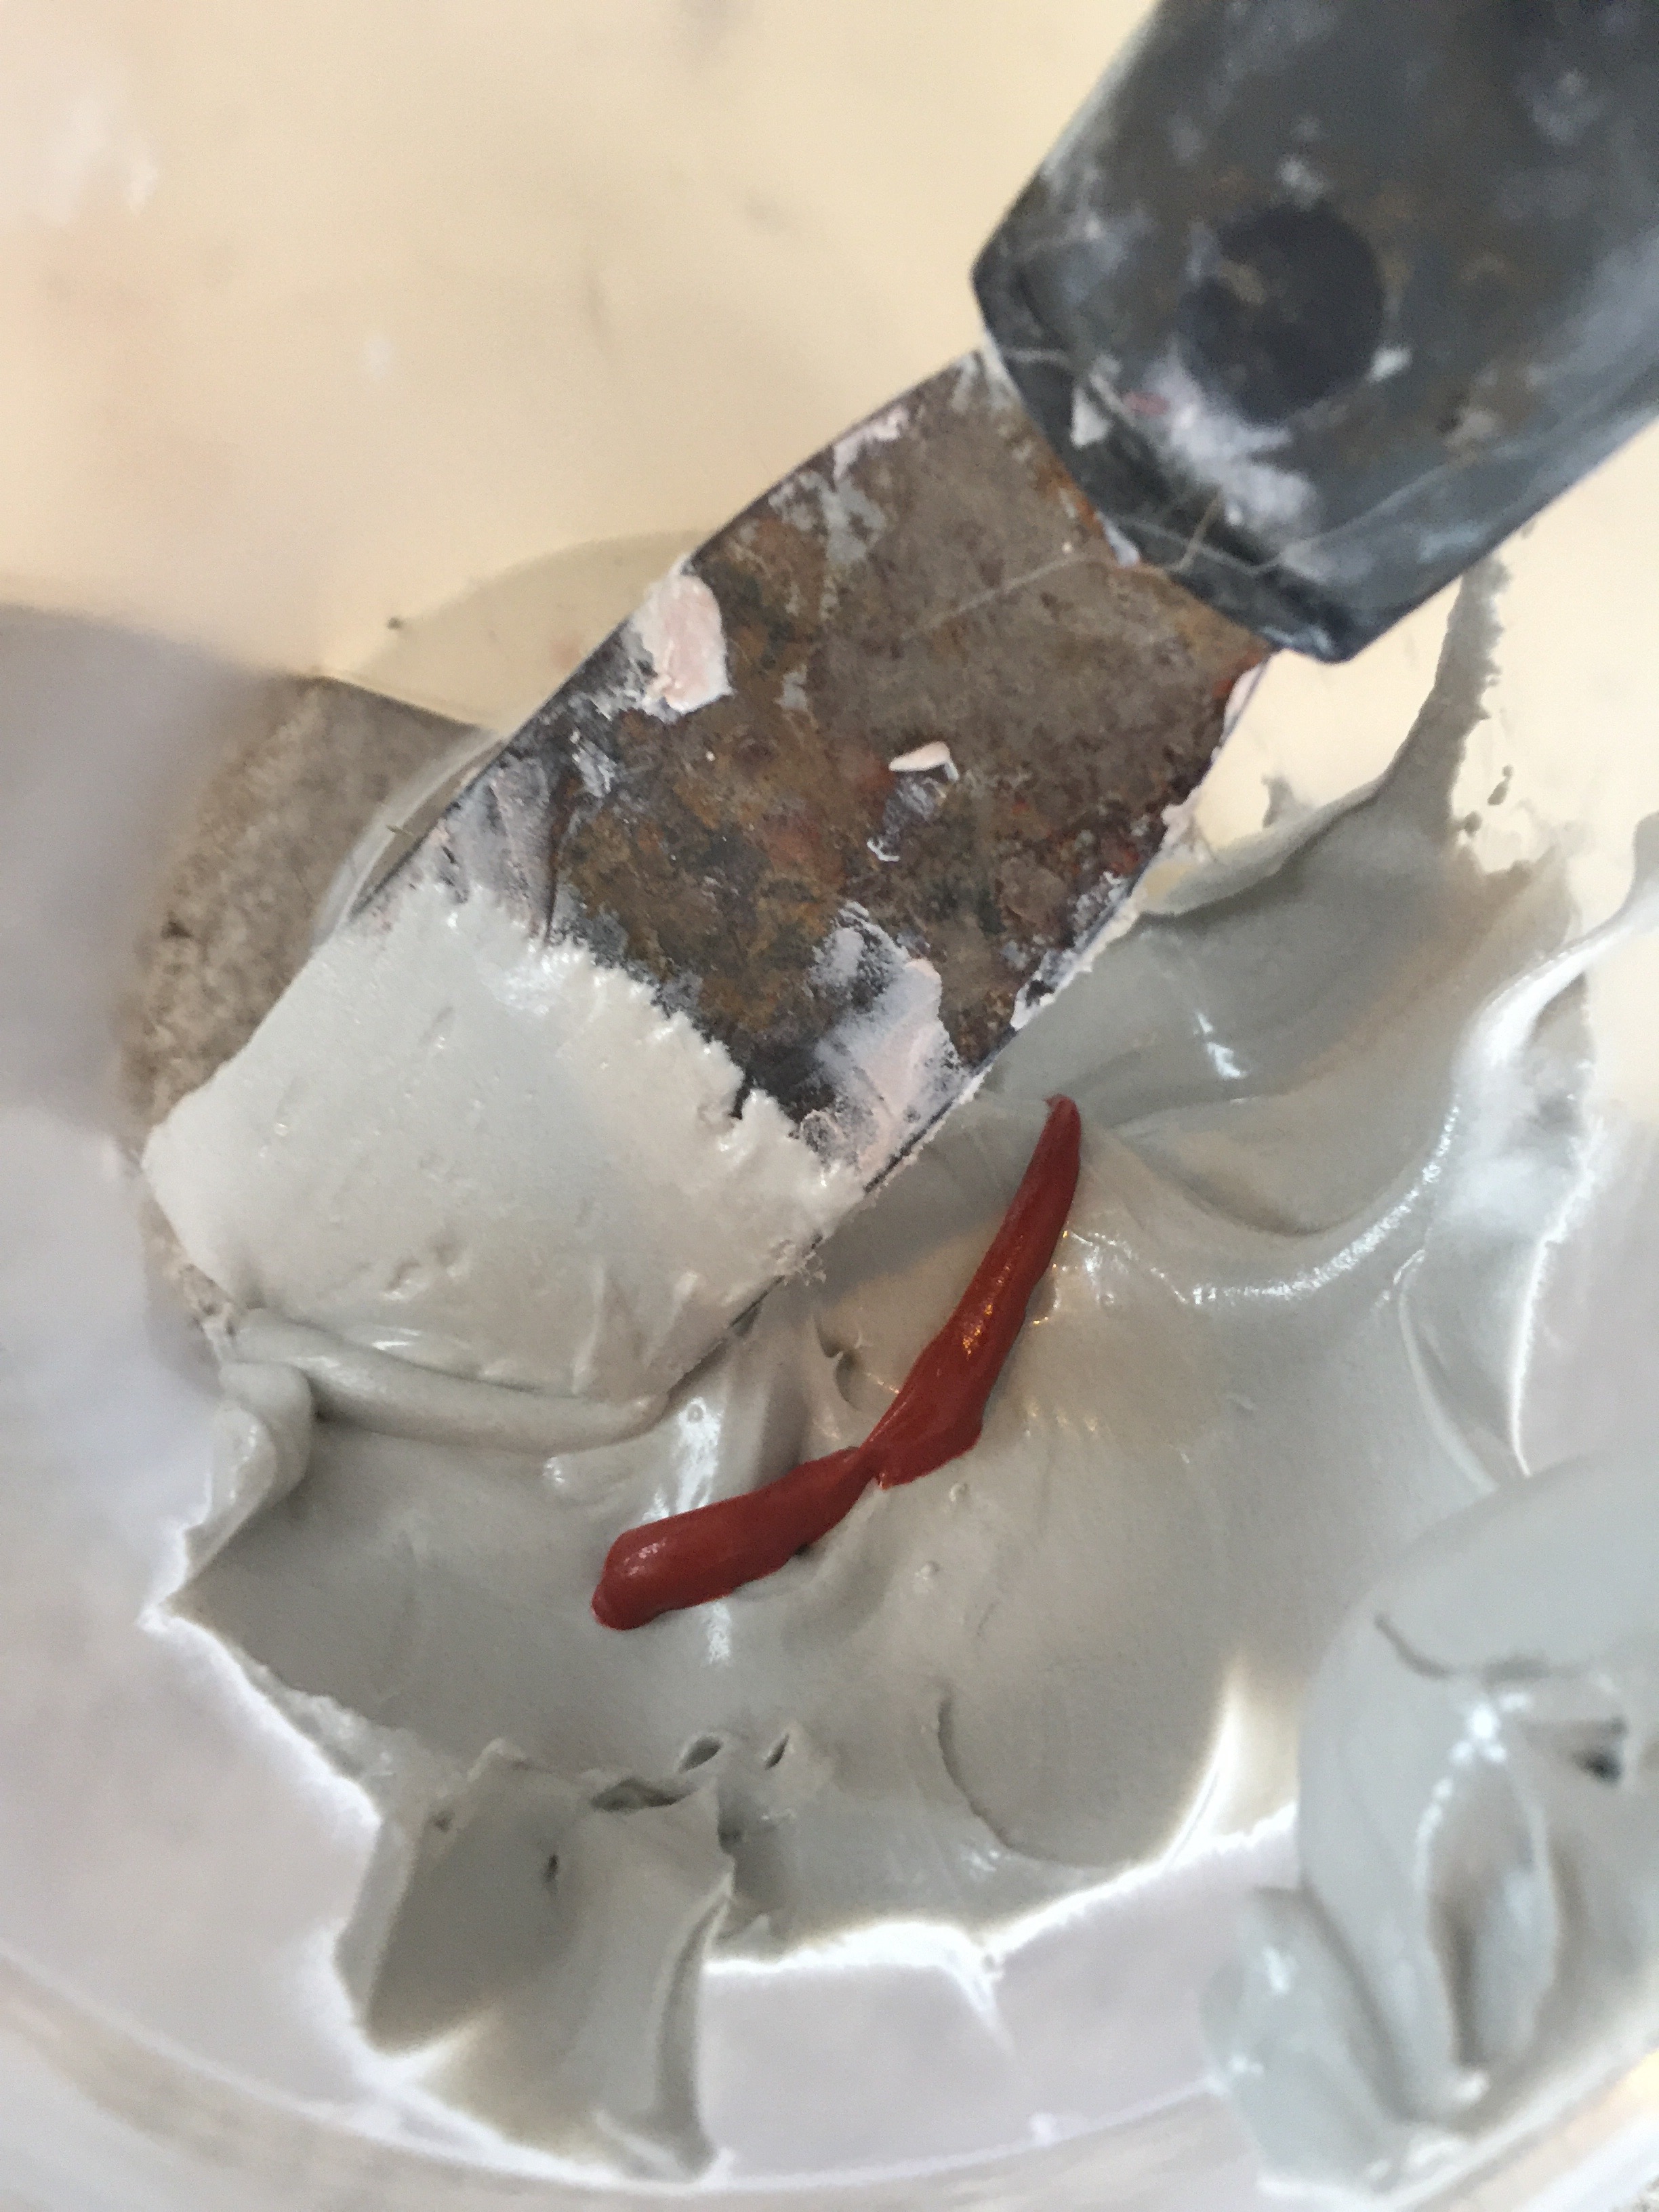
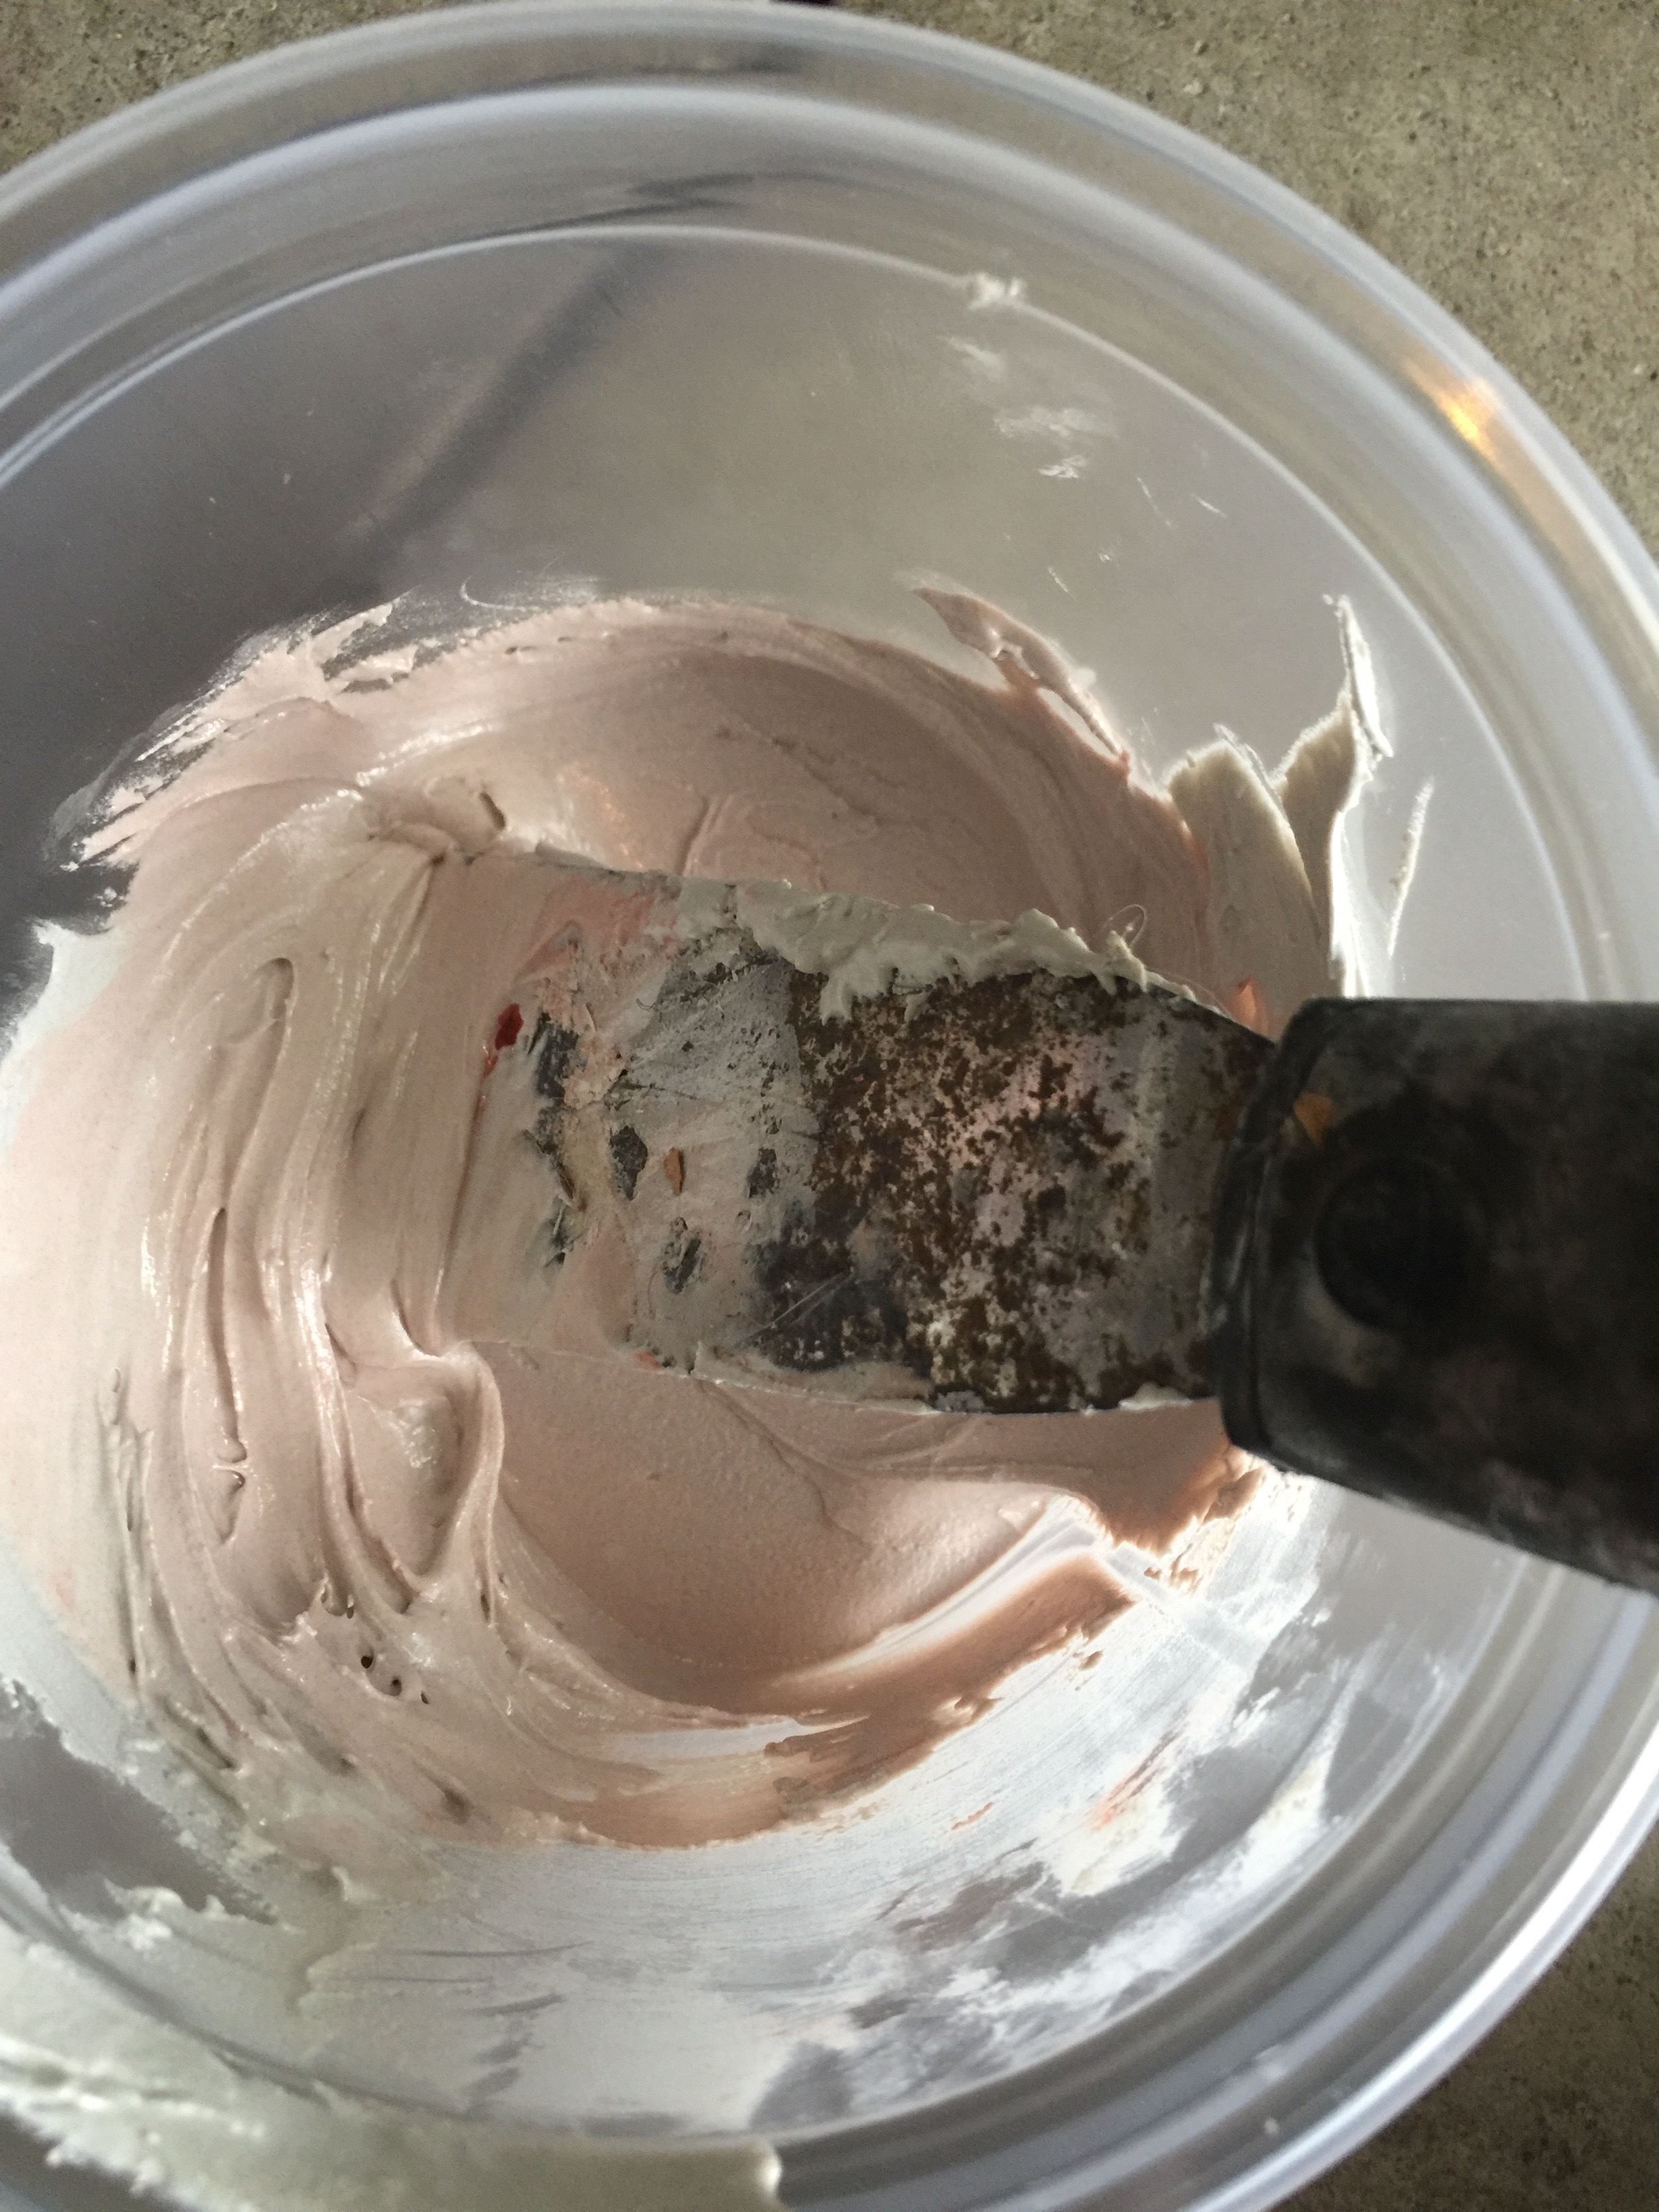
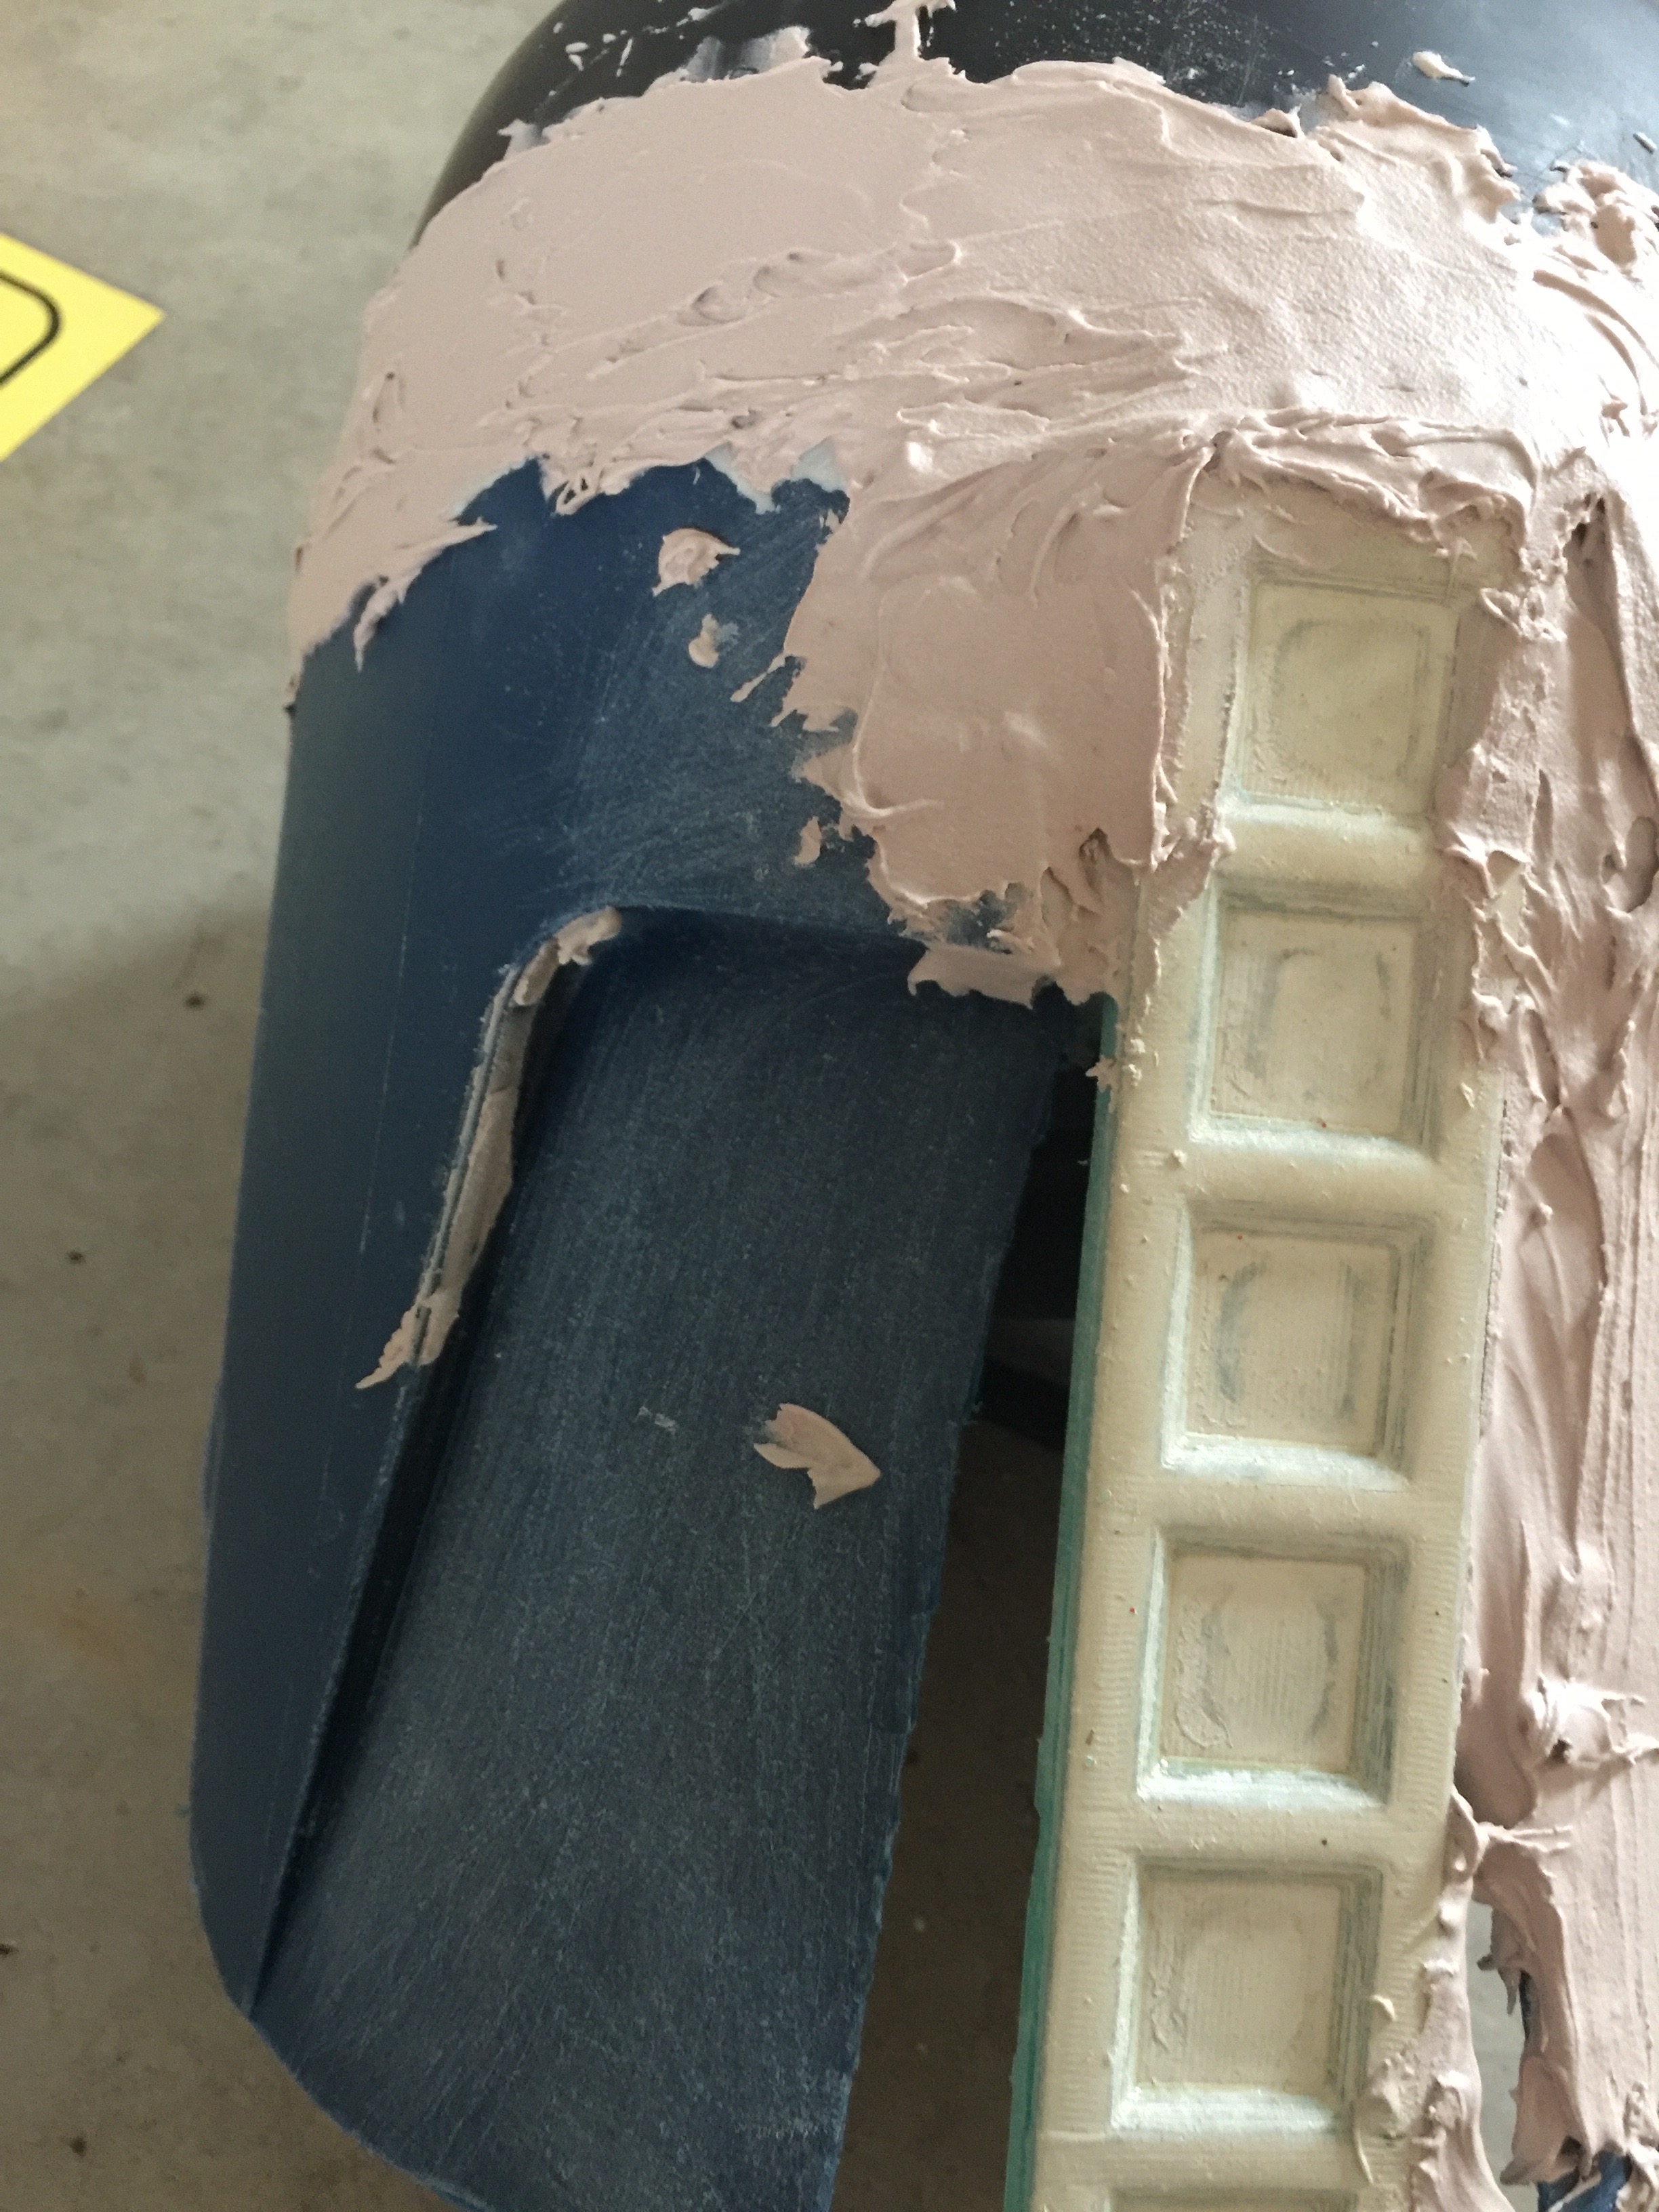

Now mix some body filler and fill in the empty spaces, gaps and holes. Once the body filler has dried use the
palm sander to sand it. To get the whole helmet smooth it might take several rounds of body filler and sanding.
The Band

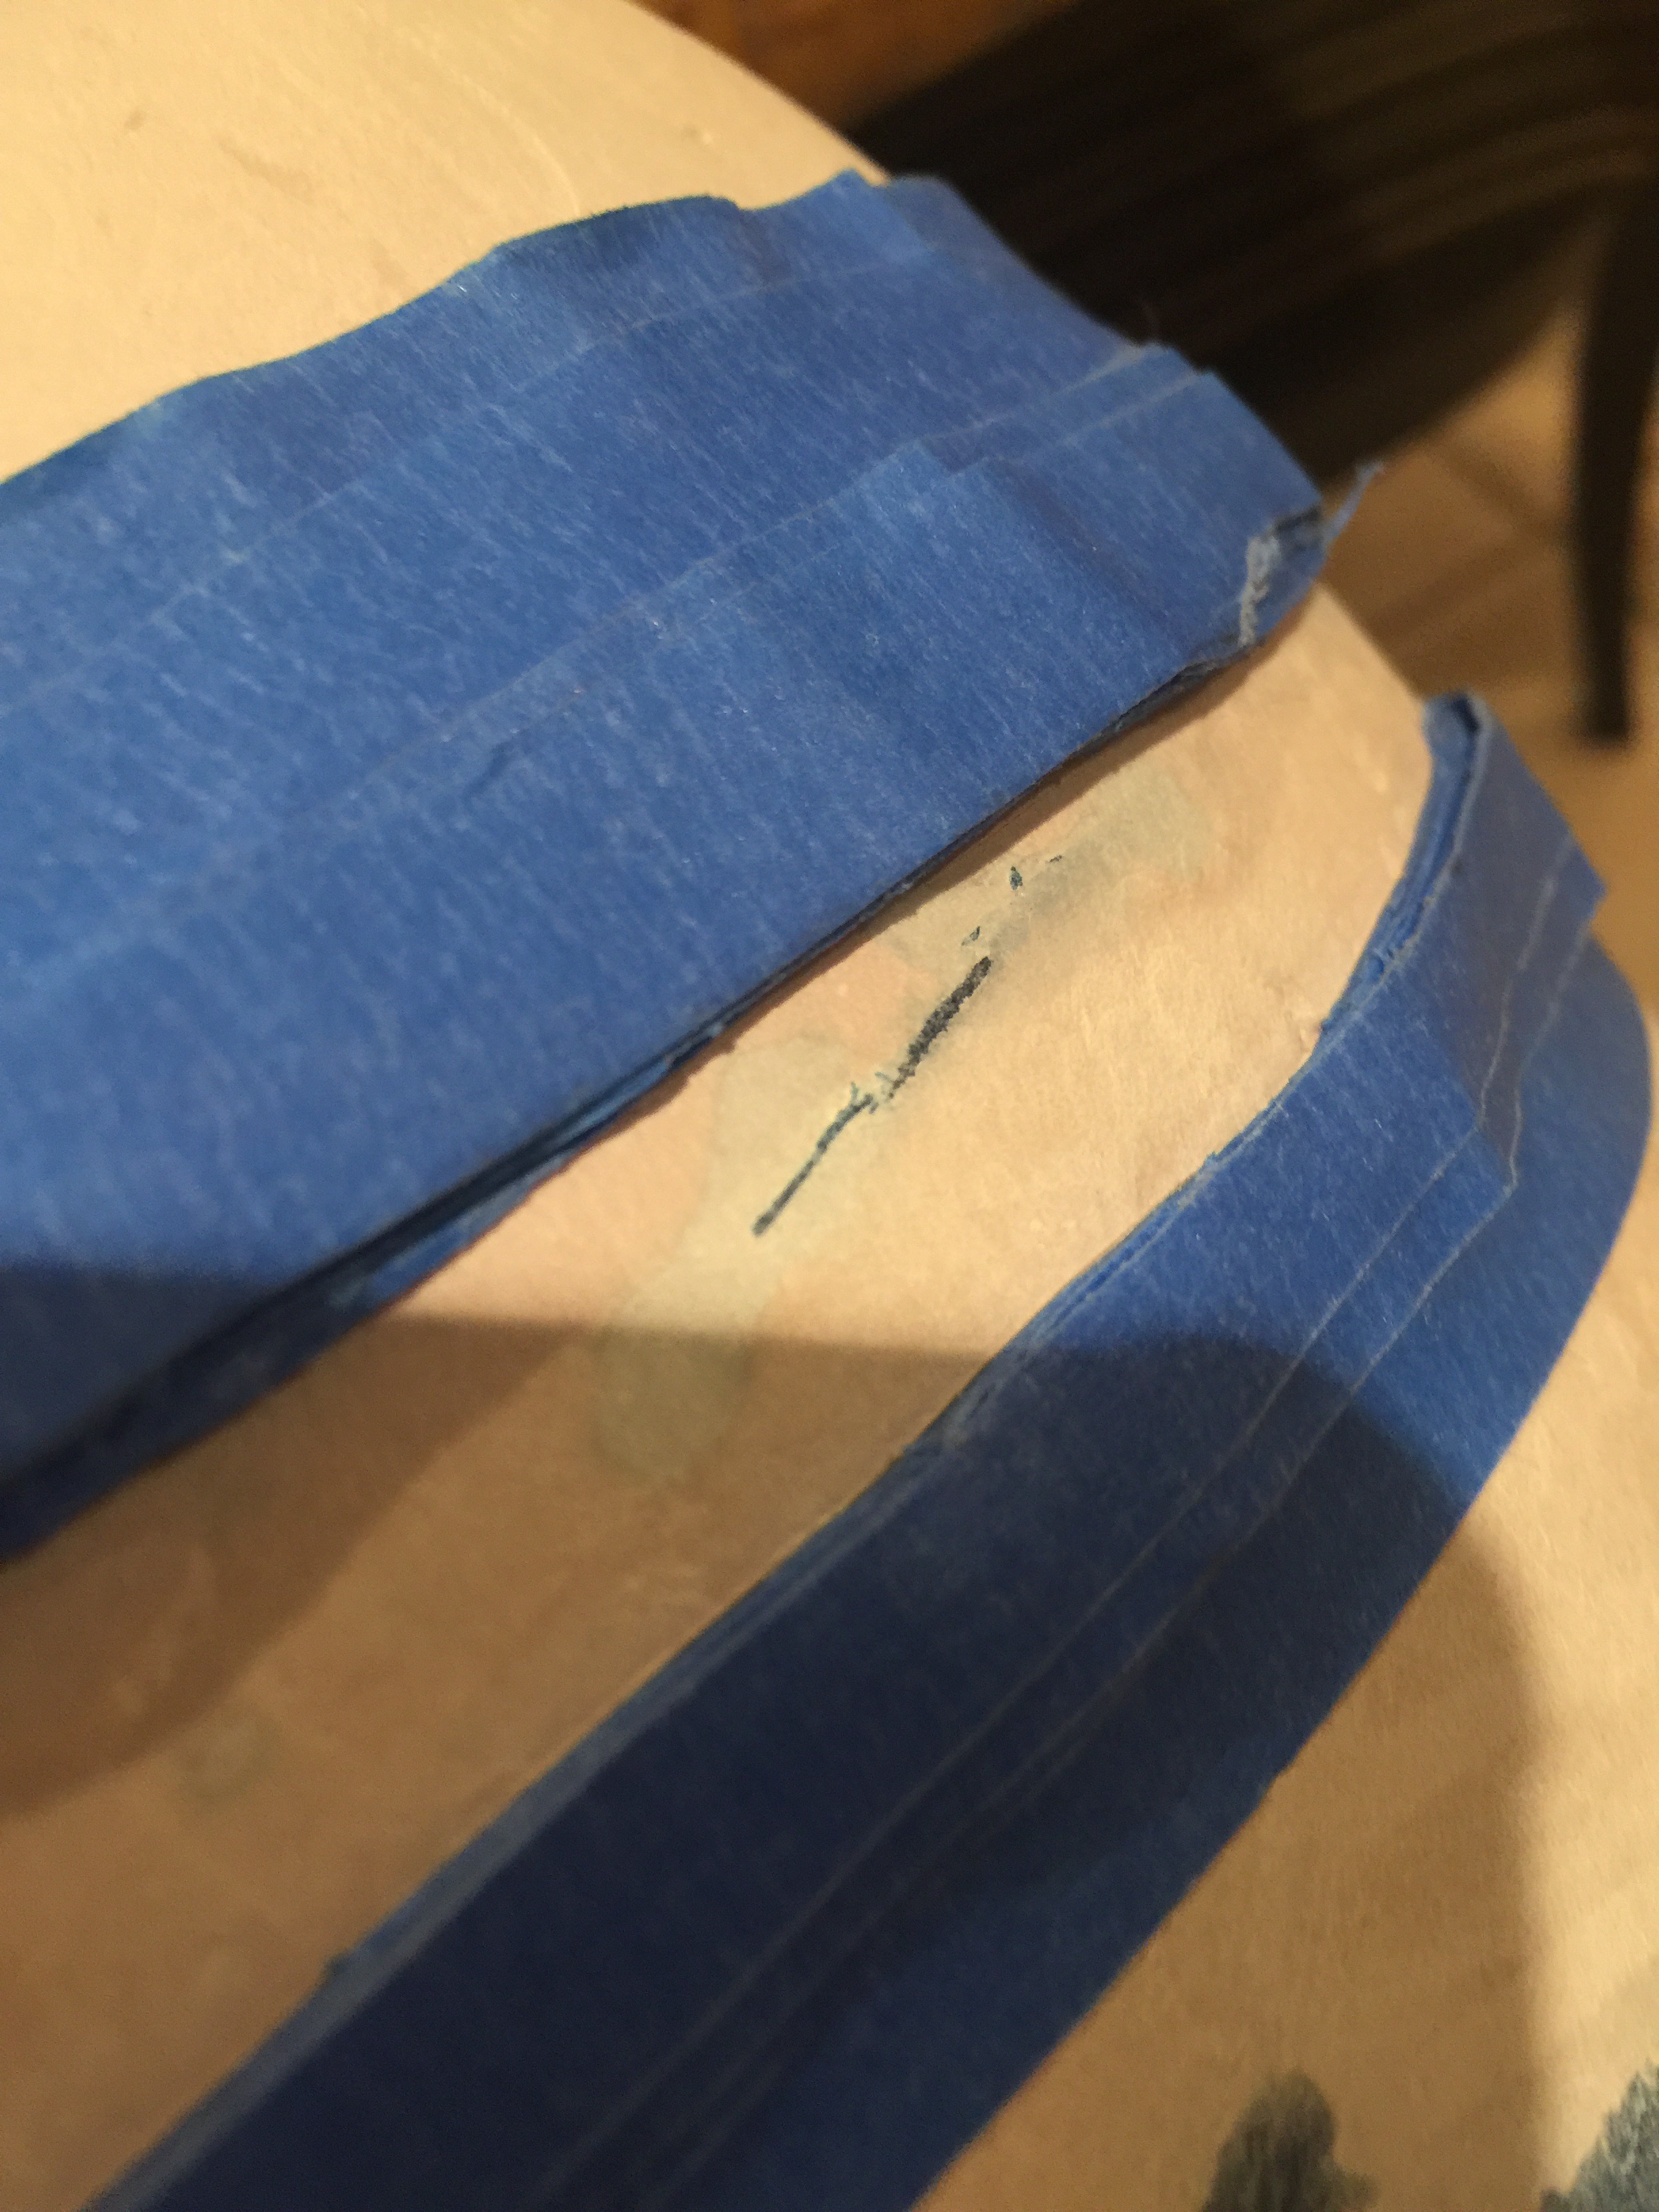
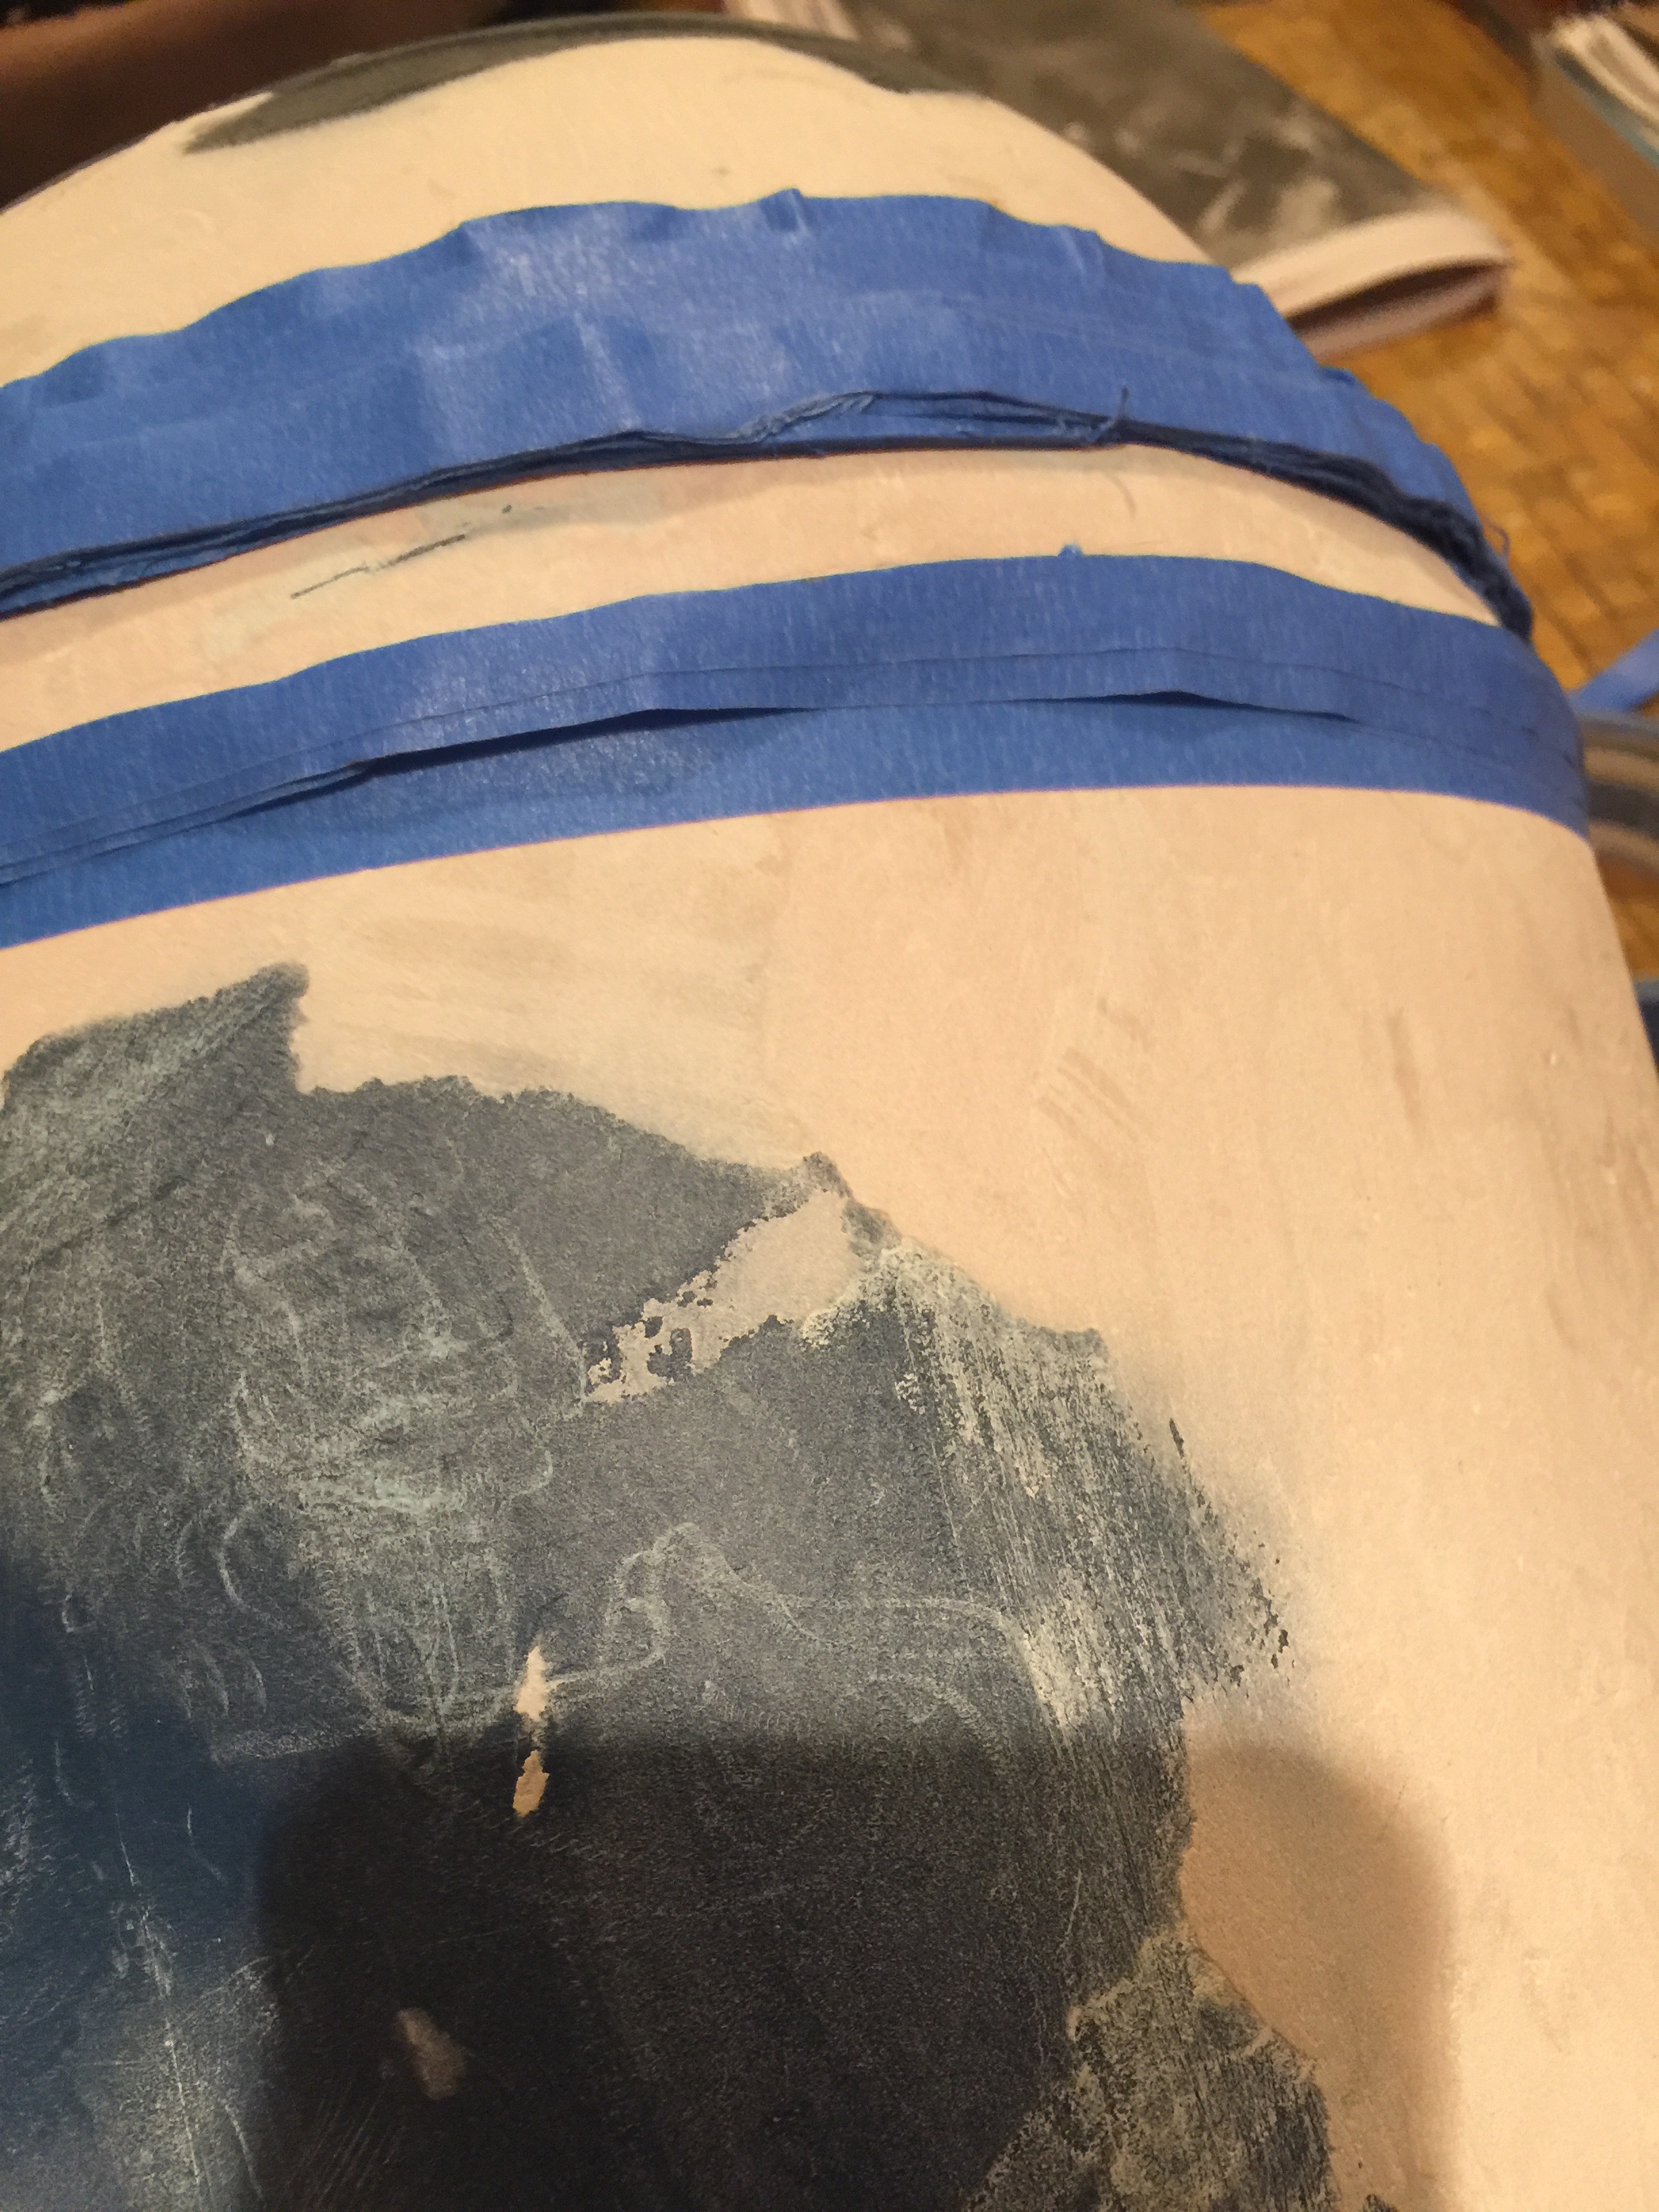


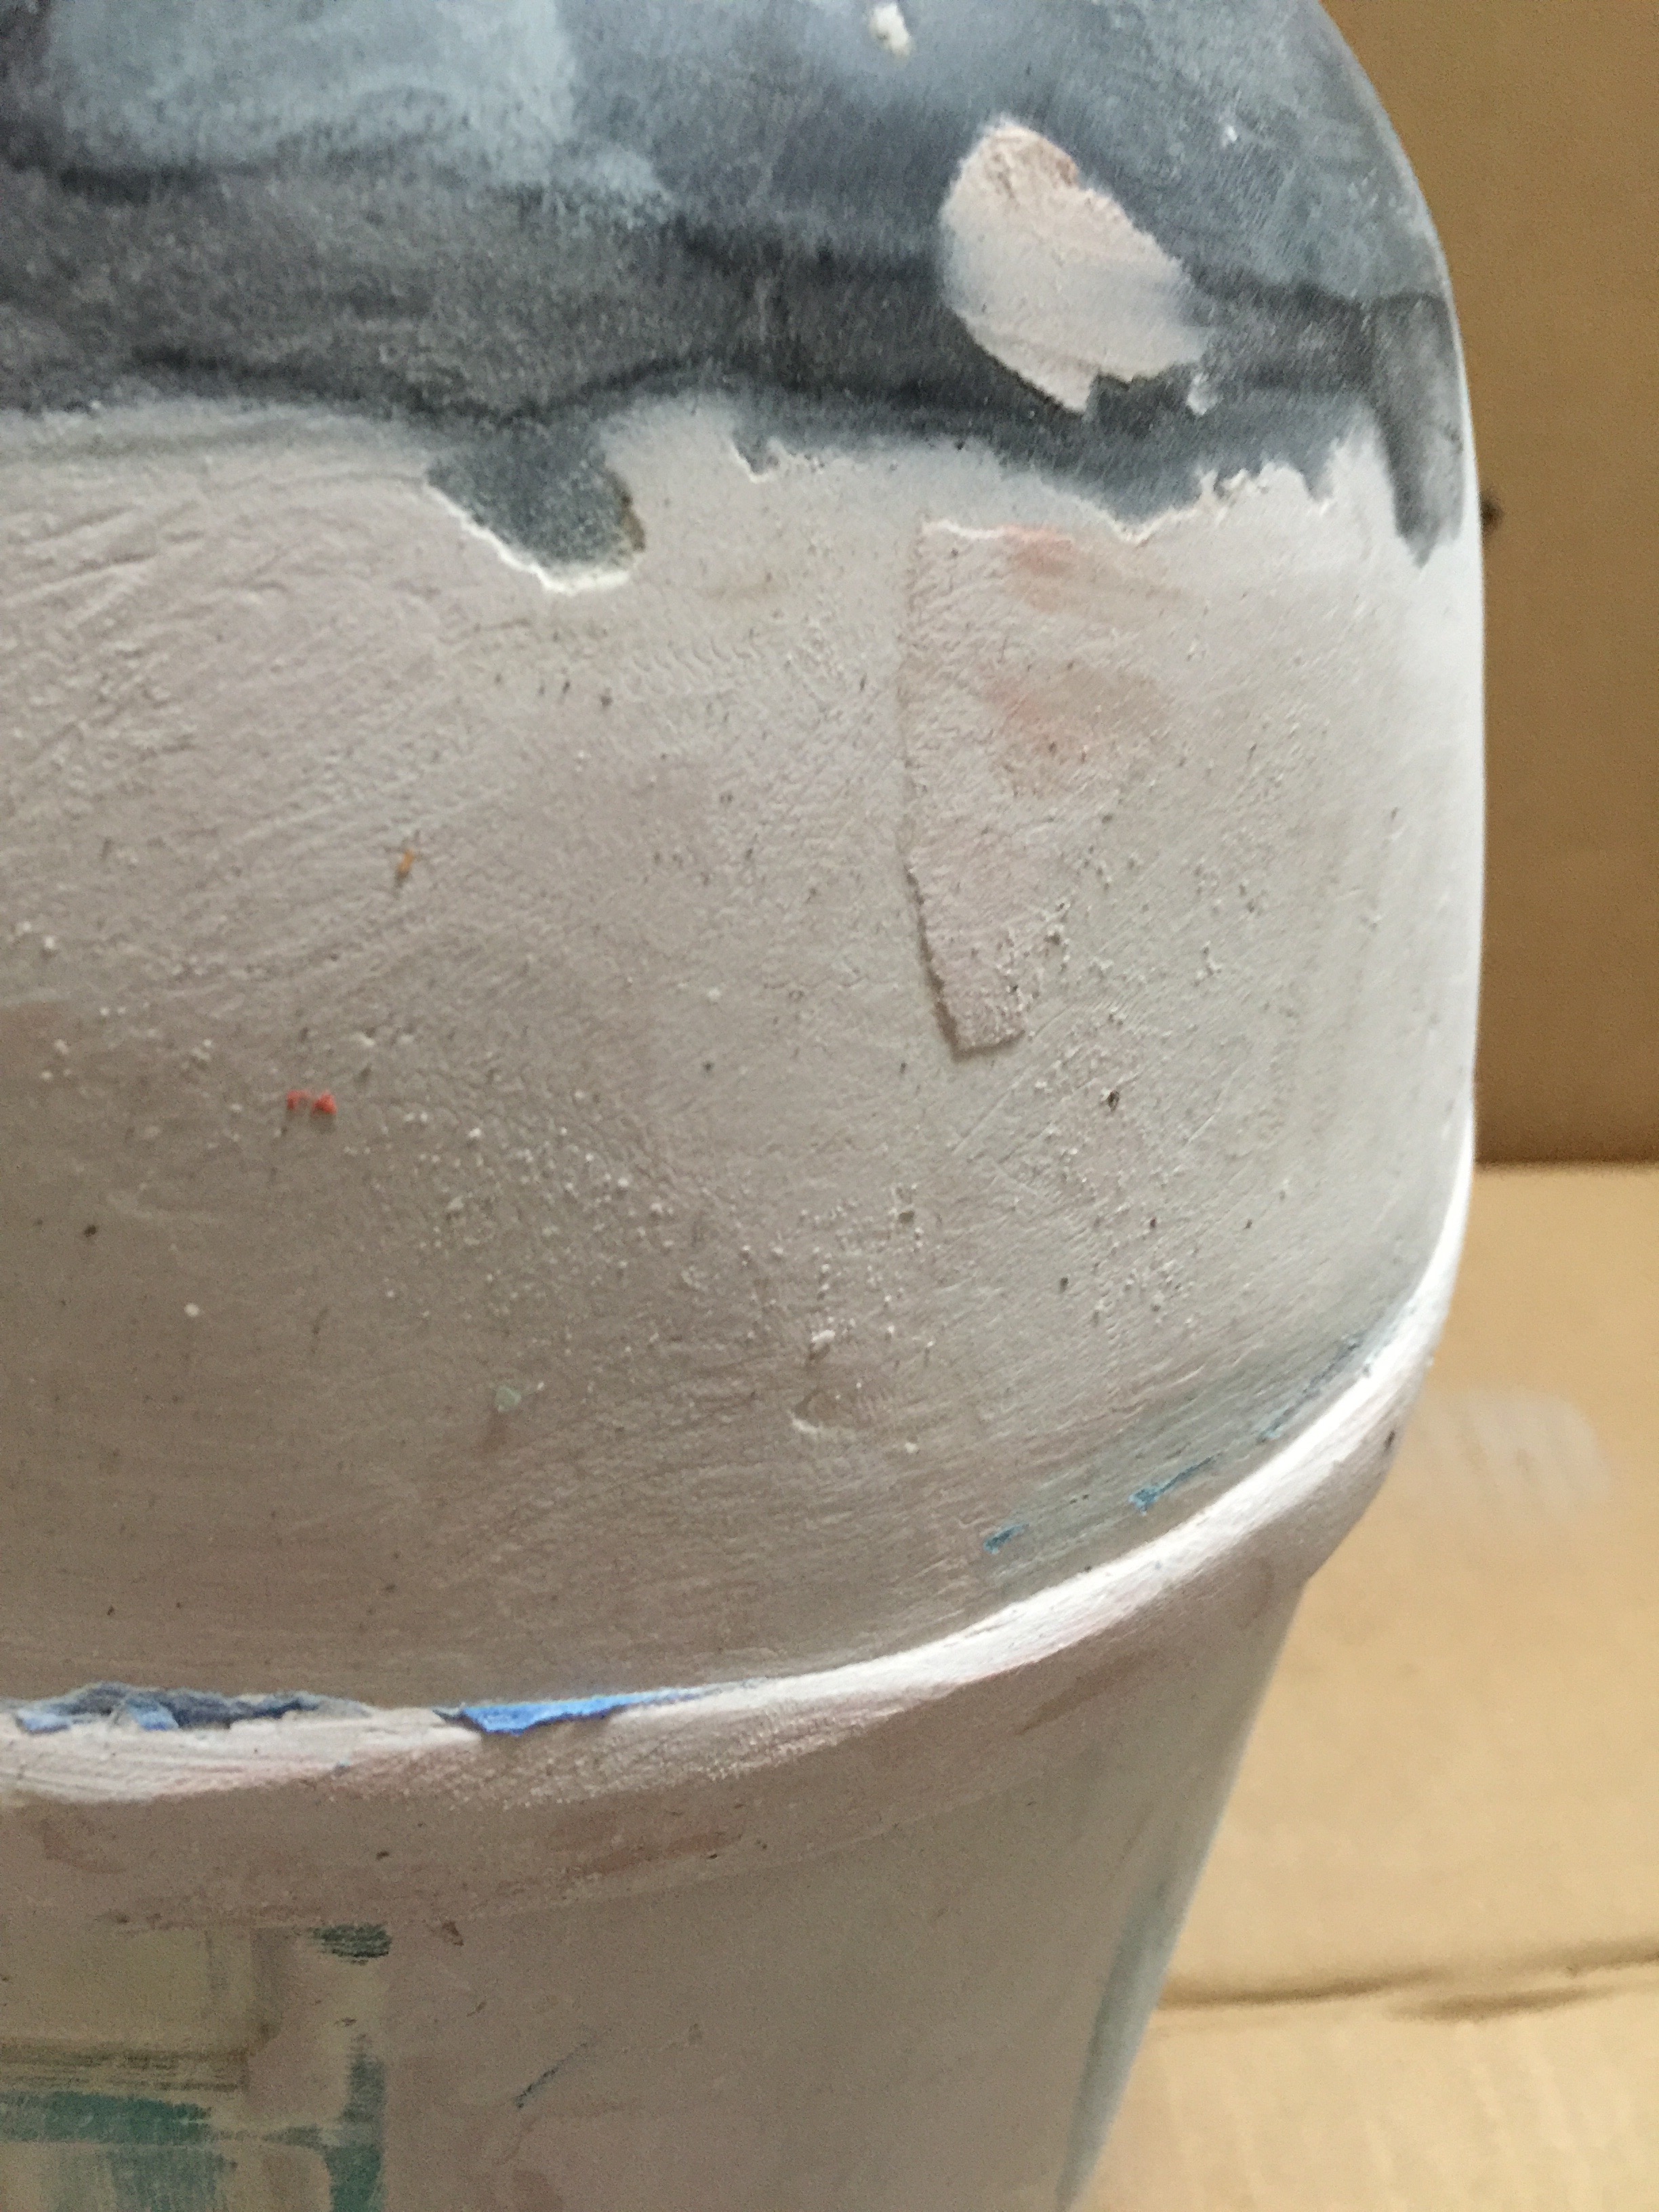
To make the band that goes around the helmet, get some painters tape and wrap it around until it is .5 mm thick. Then use a utility knife to make a .5 inch gap all the way around with the bottom of it at the top of the 'brow' of the helmet. Next, fill it in with body filler and wait until it dries. Now, take the tape off and bevel the top edge with the sander.
Make the Eyeholes

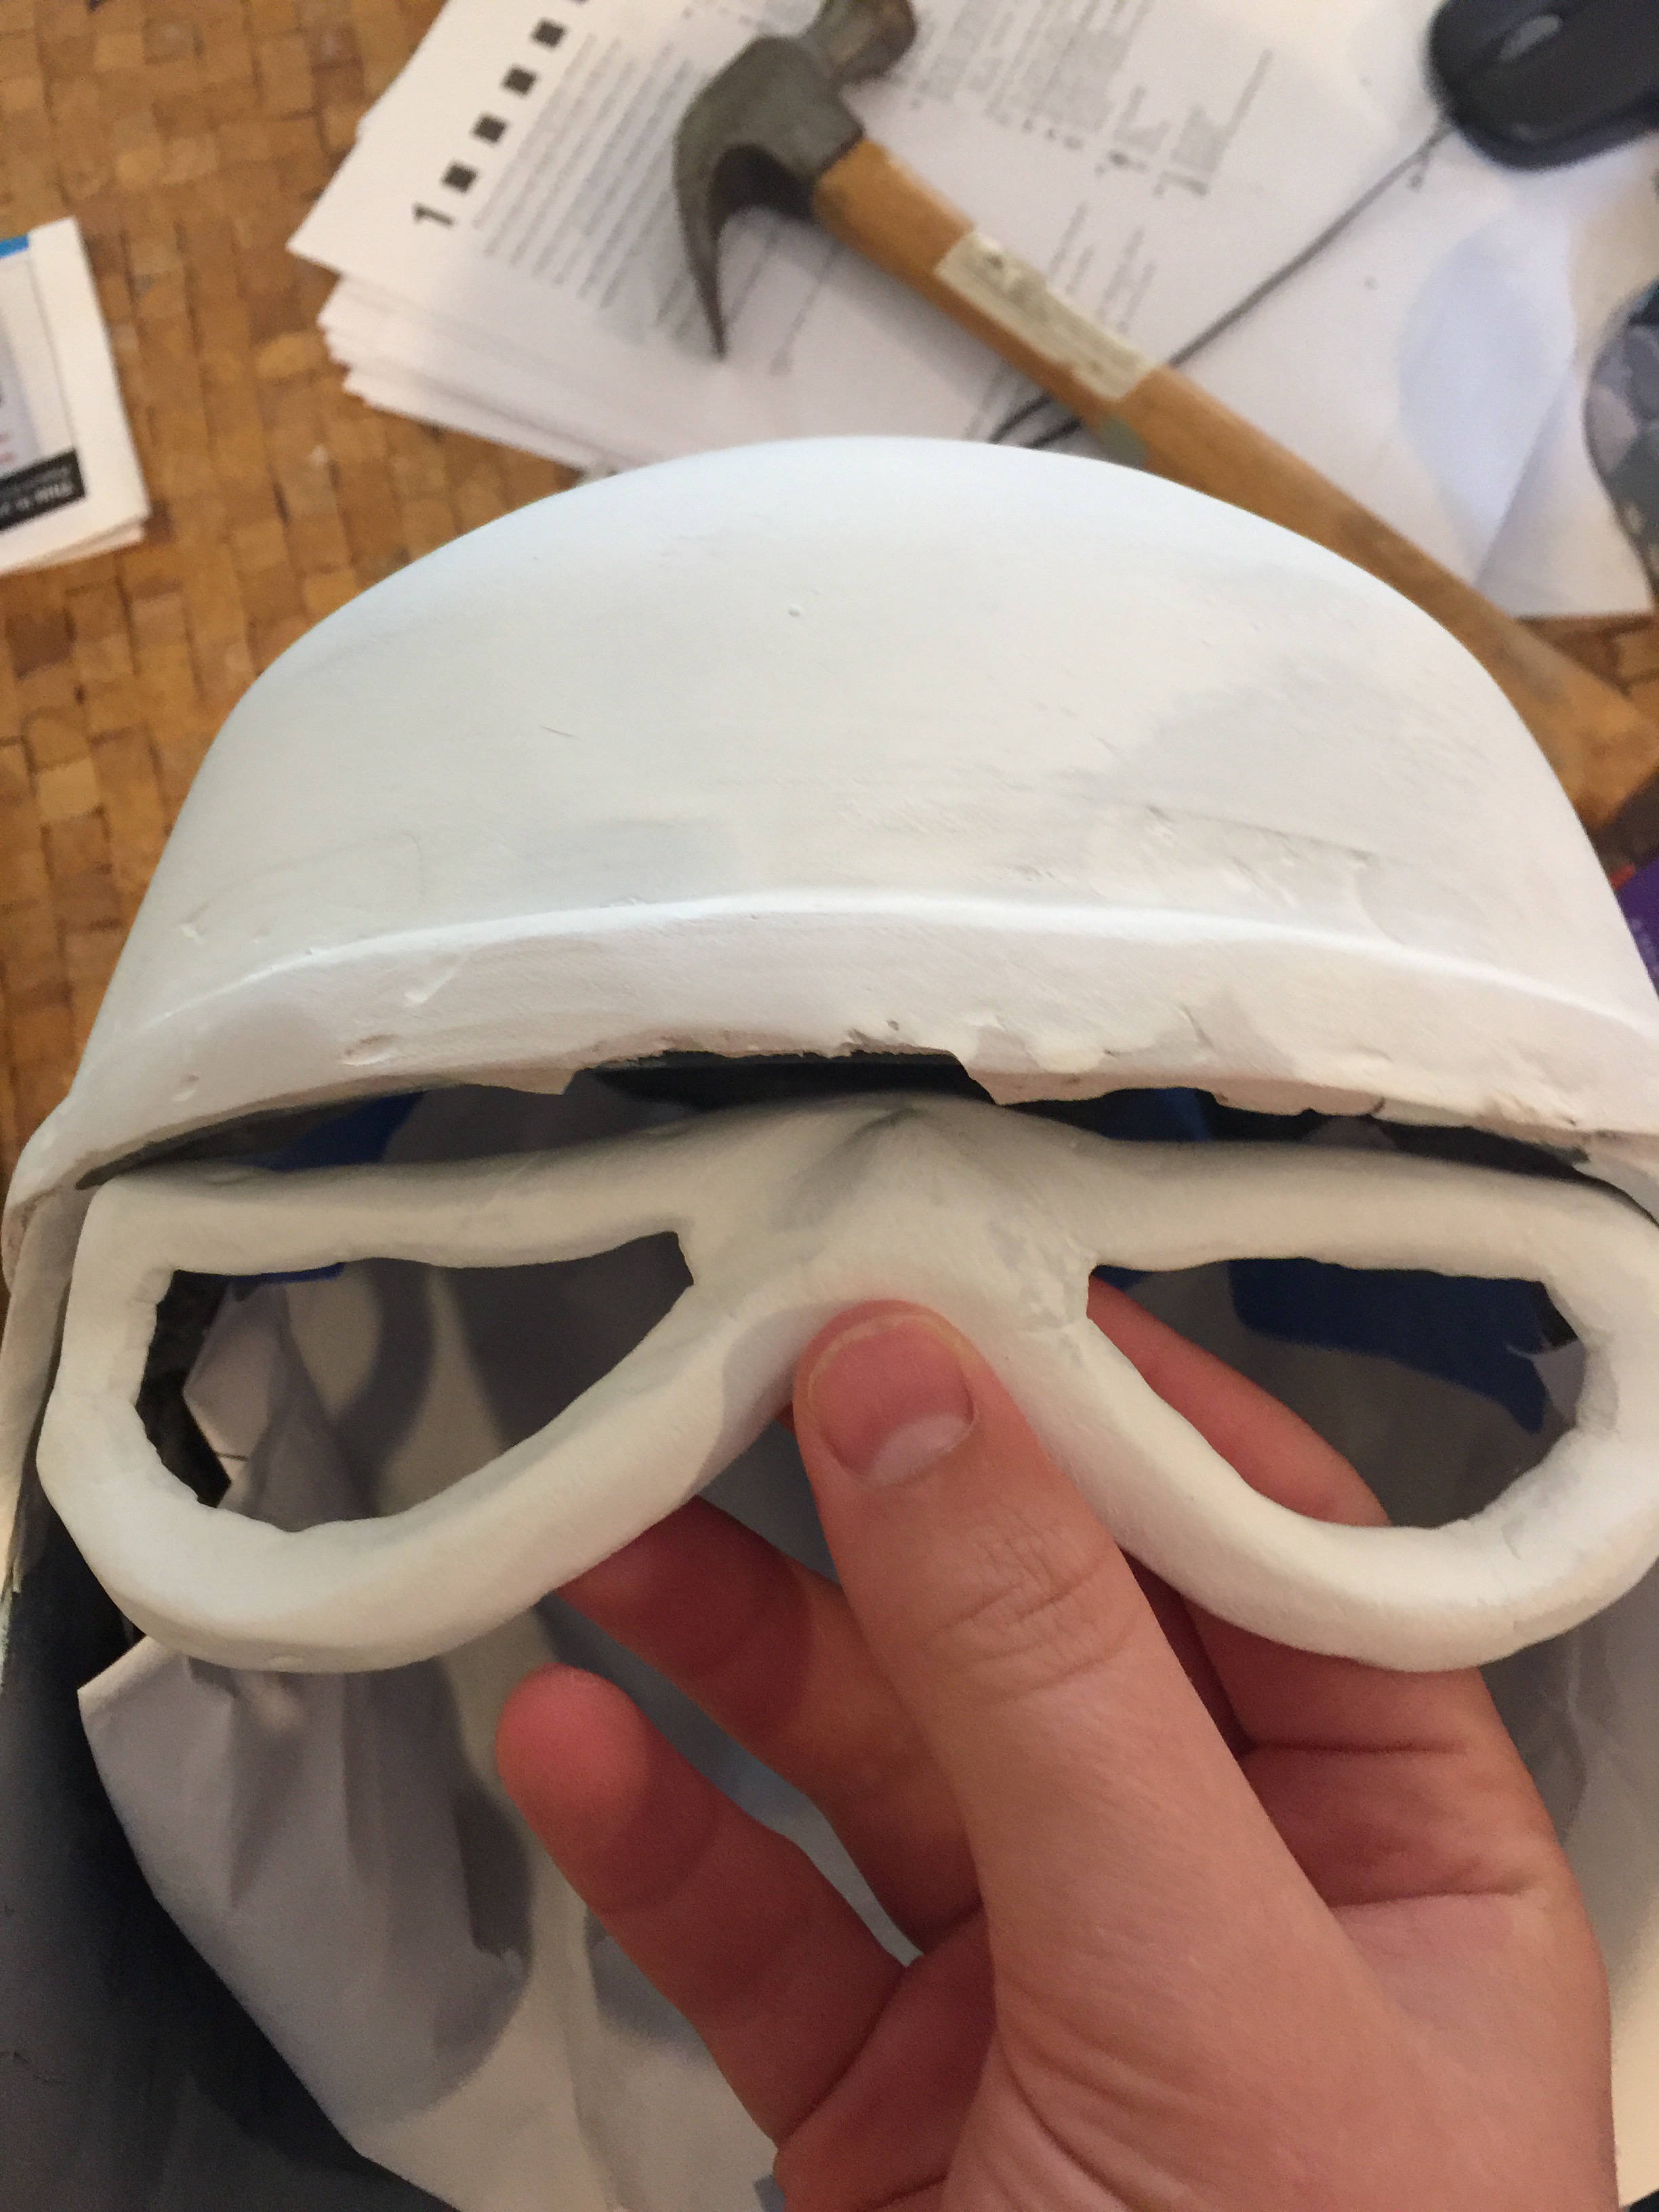
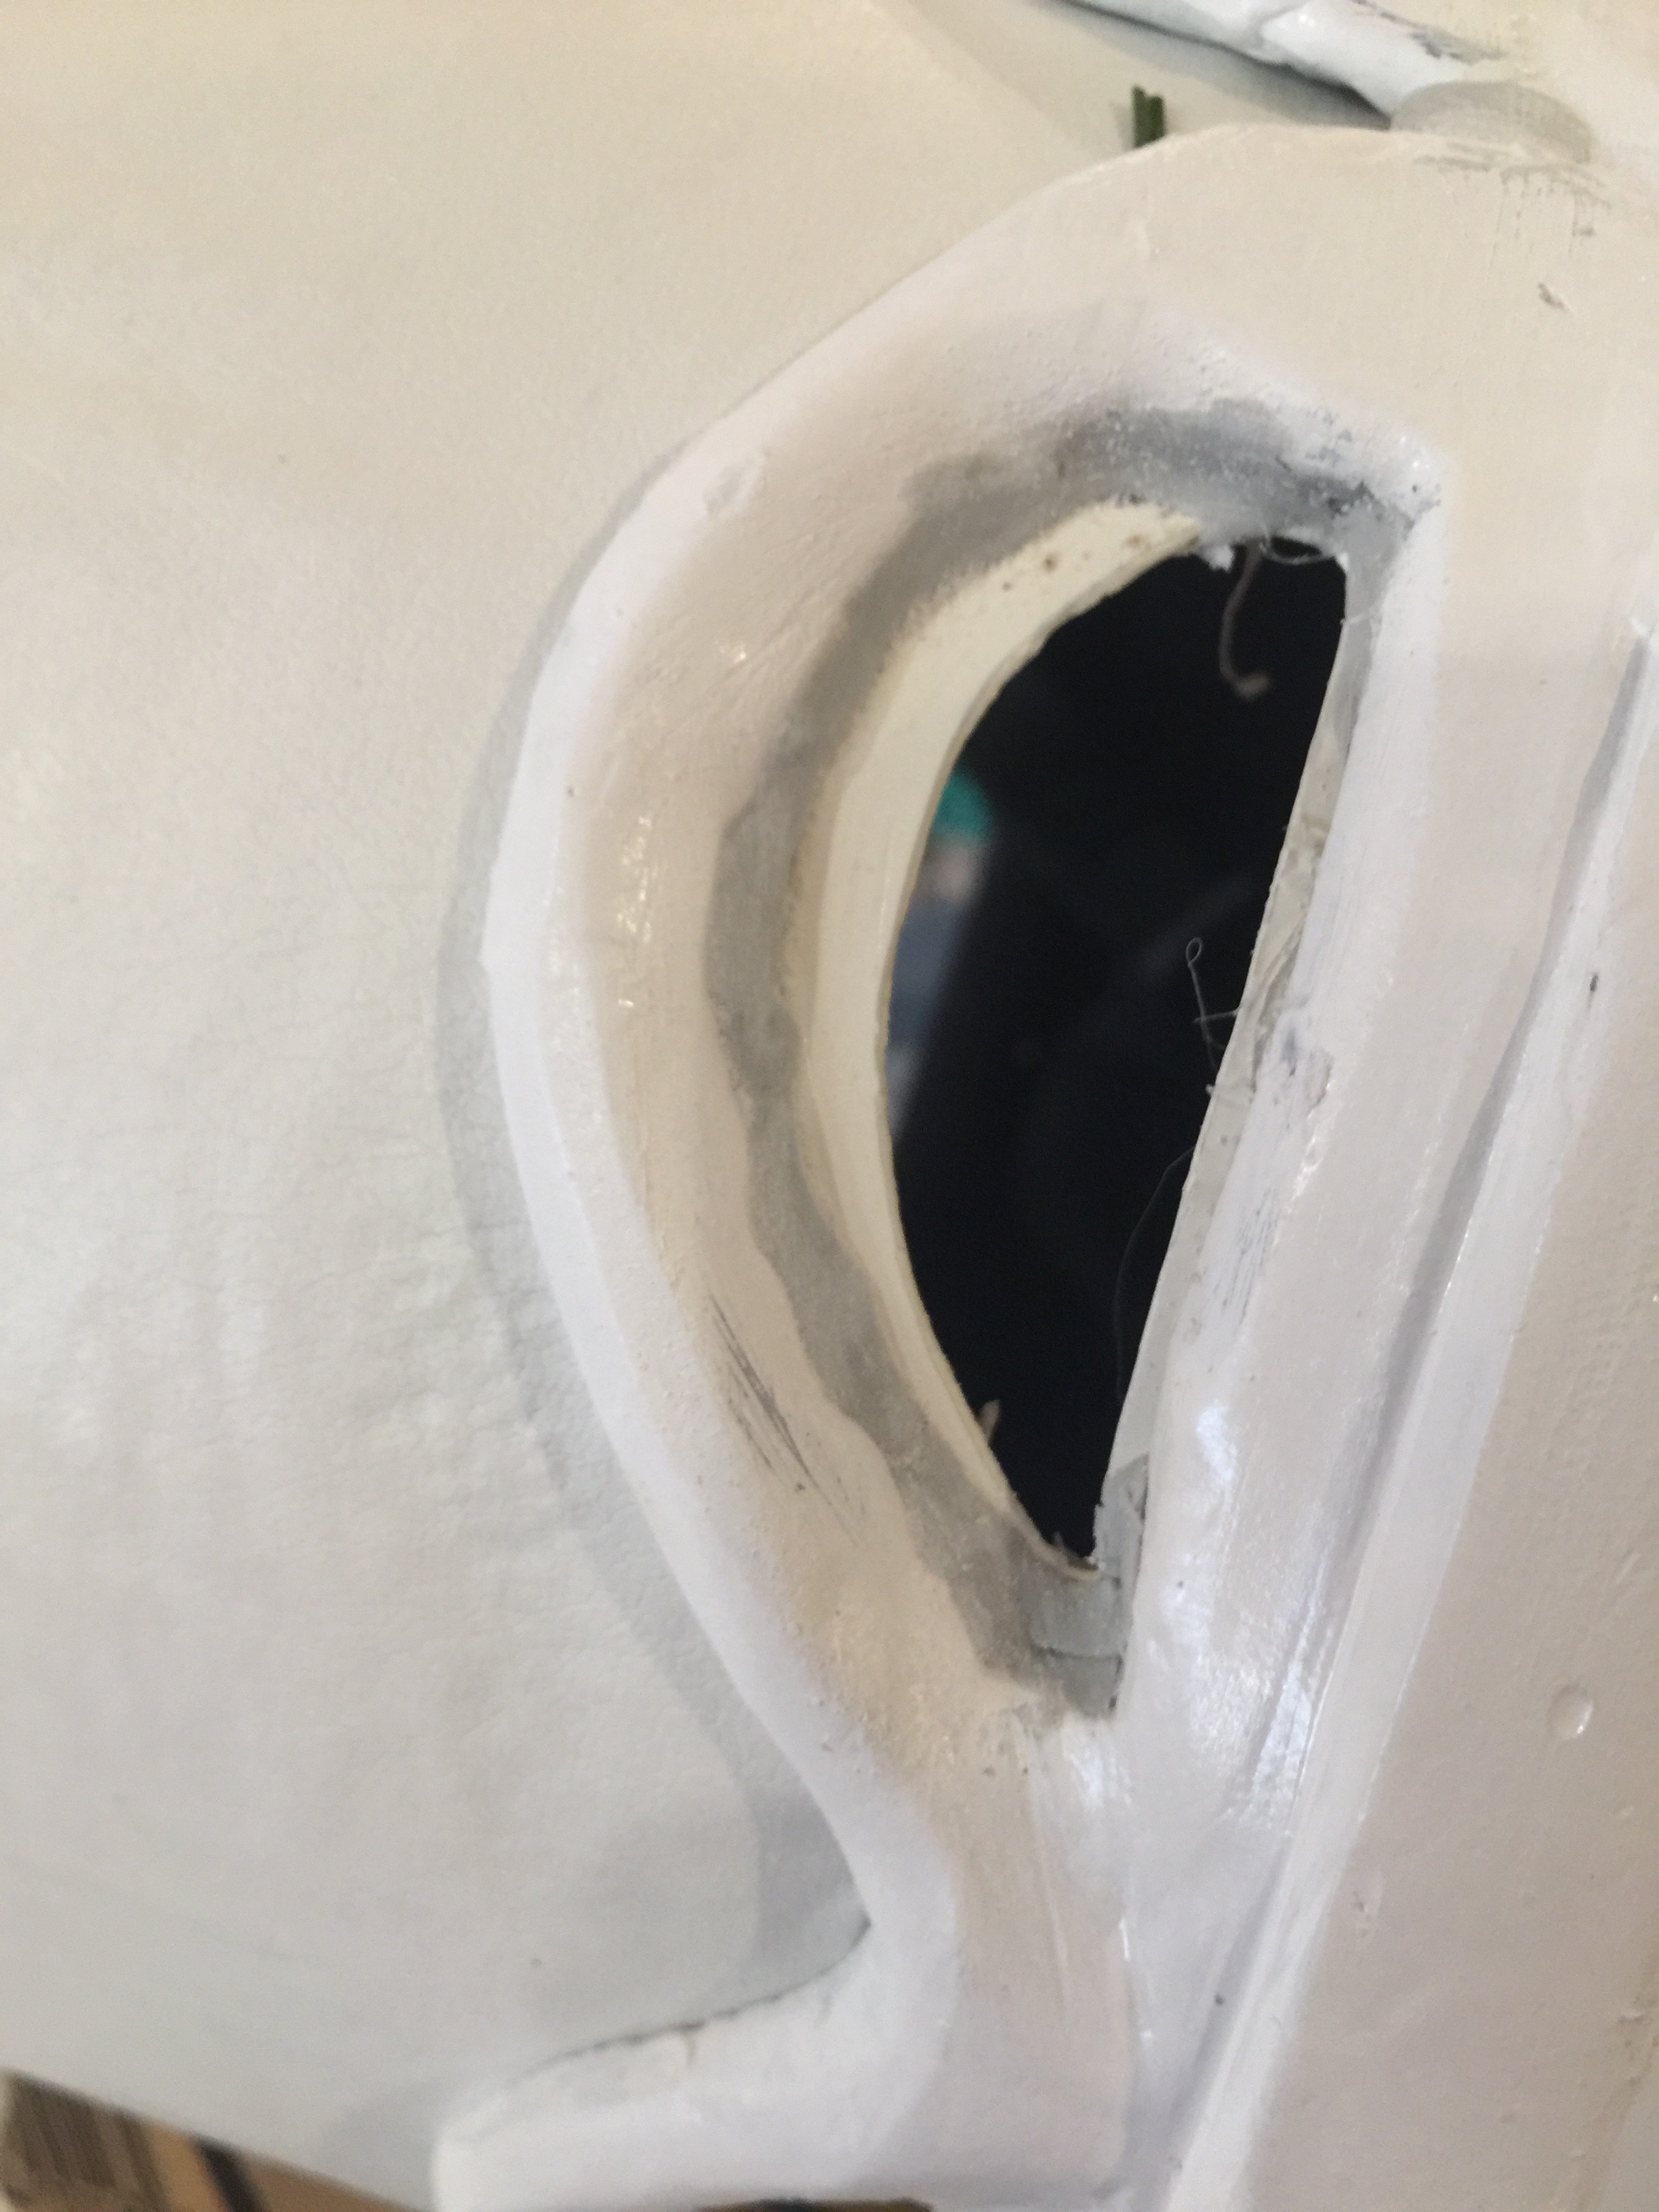
To make the eye holes get a thin piece of plastic and cut it 9" x 3" with it coming to kind of a point. Then get some epoxy putty, bend the plastic and mold it onto the plastic in shape shown HERE with the inside eyeholes 2" x 1". After the putty hardens you should be able to peel the plastic off and sand it smooth. After that, get the thin piece of plastic and trace the cured epoxy putty and cut along the inside.
Paint
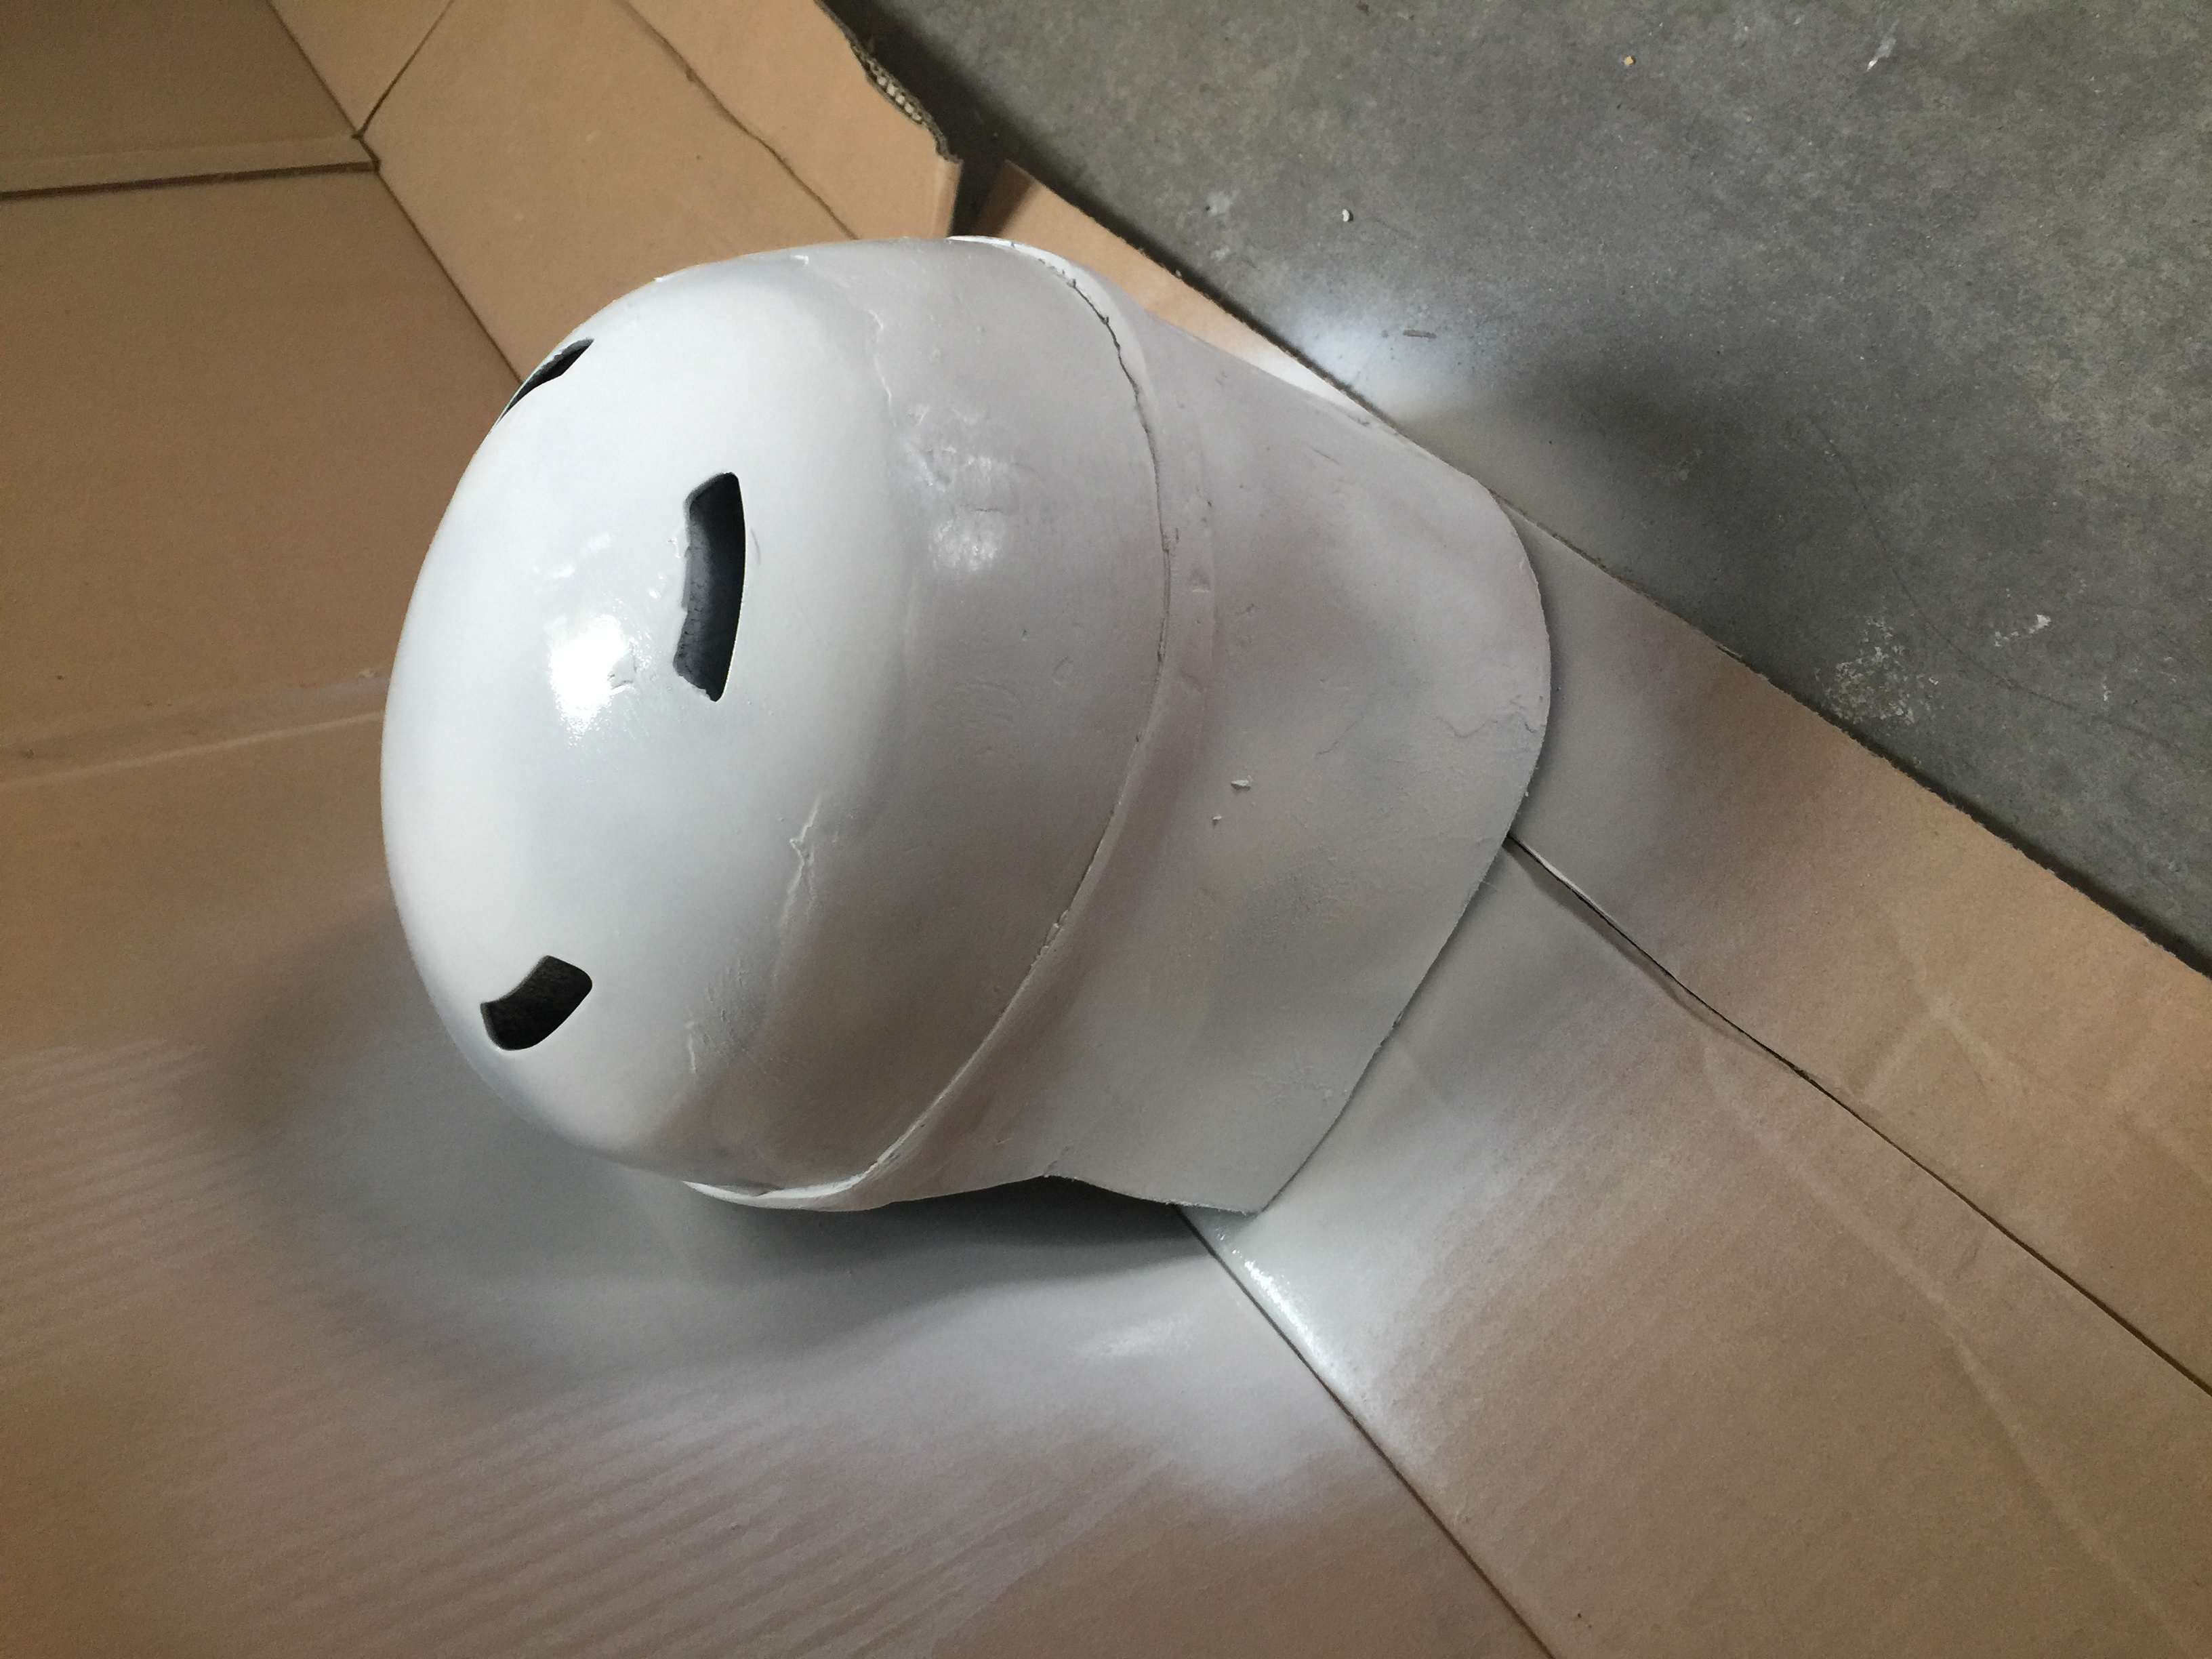

This step is mostly self-explanatory just paint it! Before you paint make sure to tape up any cloth left in the helmet.
Gluing


Once the eyehole piece is sanded and painted glue it on with more epoxy putty. After the epoxy is cured sand and use body filler to smooth the area where it's glued on.
The Cowl(s)


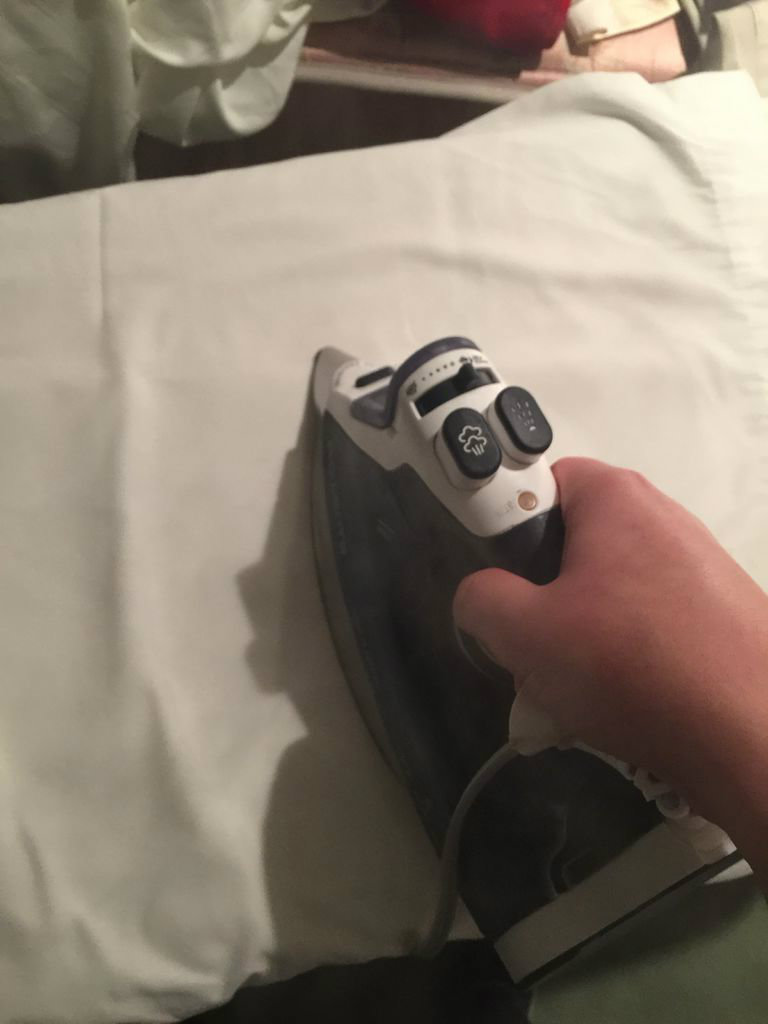


Since I was making mine to ski in I wanted a 7" cowl so if you aren't skiing I recommend 20" instead of 14". The first step to make the cowl is to cut a 25" x 14" piece of vinyl. Next, fold it width-wise with one side 1" longer than the other. Then using some fabric adhesive glue the two sides together. Now put the side with the extra material up to the eyeholes, trace the shape and cut it out. Next, mark 2" up on the left and right. Then using some string trace and cut an "arc" with the middle as the bottom and then cut along the line. For the back cut an 8" x 6" piece and measure 2" up on both sides. After that, cut an "arc" from the measurements to the bottom middle.
Attaching the Cowls


First, using the hot glue gun, glue the front cowl to the eyeholes; pushing it up far enough that you can't see an edge but not far enough that there is any material showing inside the eyeholes. Then with some putty and hot glue attach the thin piece of plastic to the eyeholes. Next, with hot glue attach the back cowl to the front cowl with 3" of the front under the back cowl. If you glue many more places it will ruin the look.
Sunglasses

First get the pair of sunglasses and break the lenses out. Then glue them onto the inside of the eyeholes.
Wear It!
