How to Make a Sliding Lid Compartment Box in Tinkercad
by Firefox0809 in Living > Organizing
3002 Views, 25 Favorites, 0 Comments
How to Make a Sliding Lid Compartment Box in Tinkercad

This Instructable will show you how to make a Sliding Lid Compartment Box in Tinkercad.
Supplies
-A Tinkercad Account
-Preferably a Laptop or PC
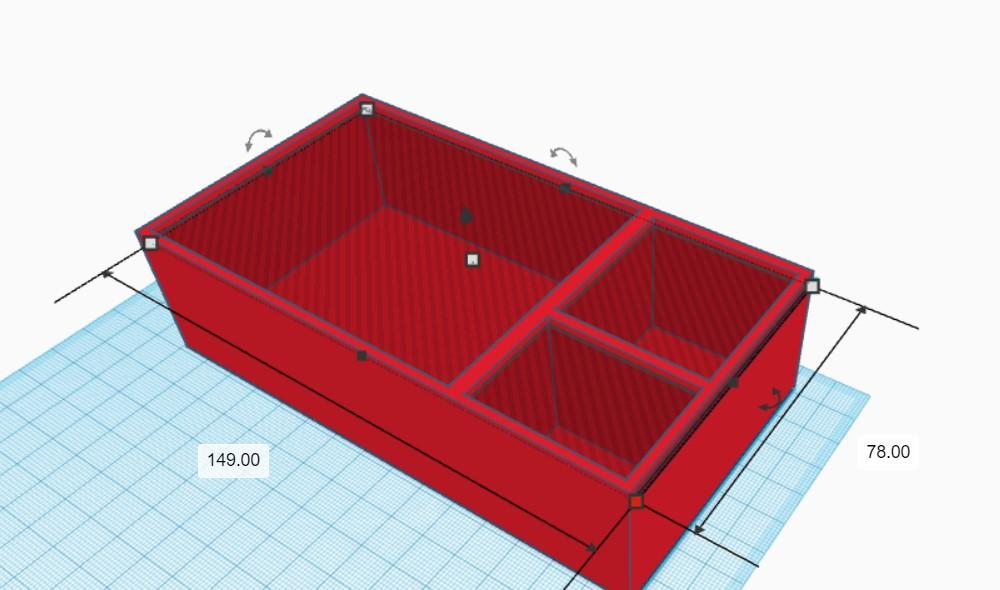
Make the Cuboid
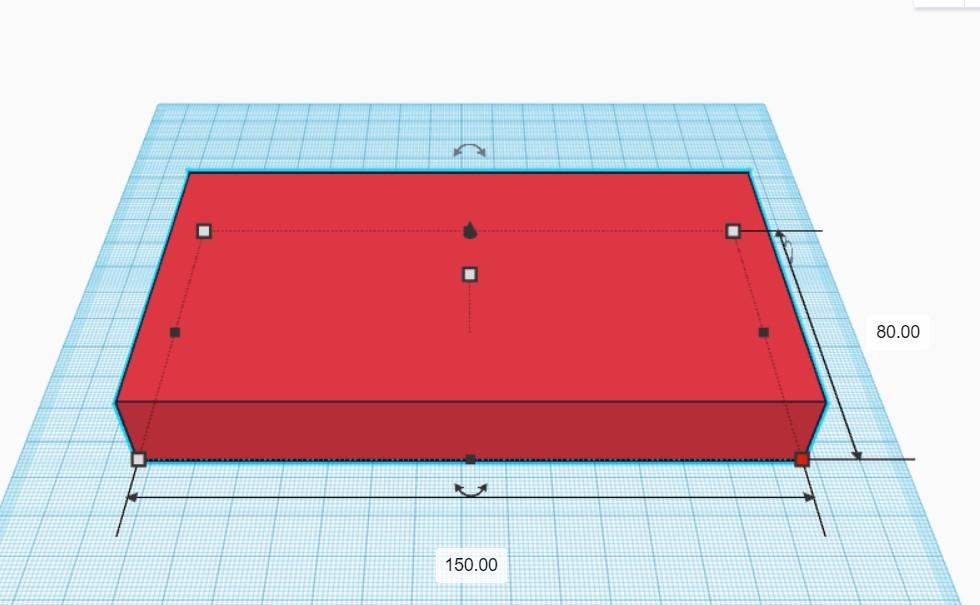
The first step is to make the cuboid, change the cuboid to the same dimensions as the image.
Change the Height
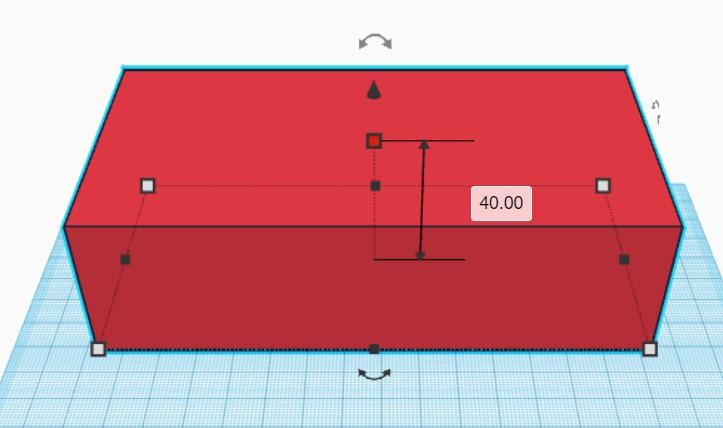
In this step you can change the height according to your need, for now the height I will be keeping is 40mm
Add the First Hole
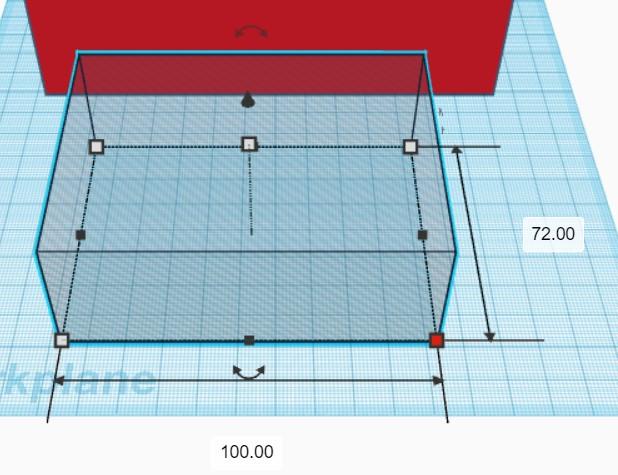
Make a hole and change the dimensions according to the stuff shown in the image (the height is 38mm). Place the hole as shown in the shape as shown in image 2.(The hole is raised by 2mm). The image is a bit messed up make the 72 into a 76mm.
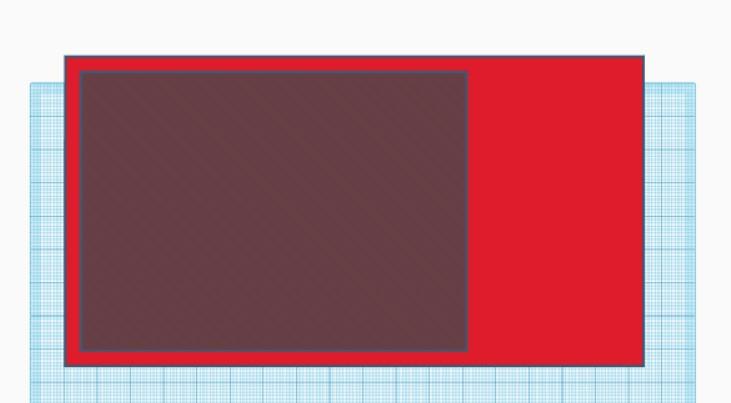
Make the Next Hole
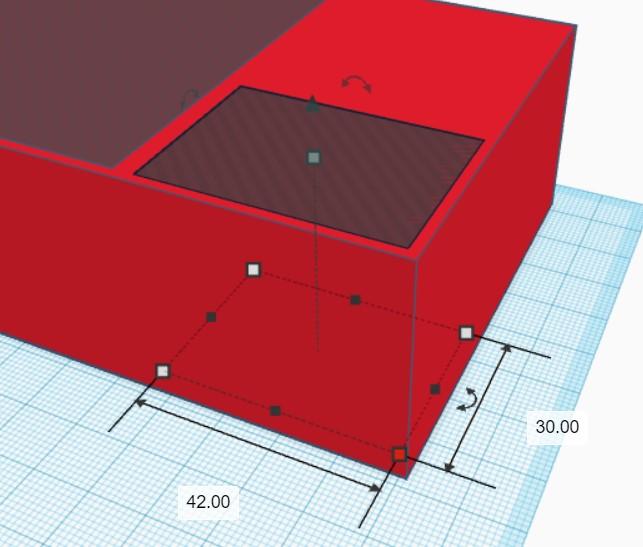
Make the hole and place it as shown in the images. The image also shows the dimensions. NOTE - Raise it 2mm above the ground.
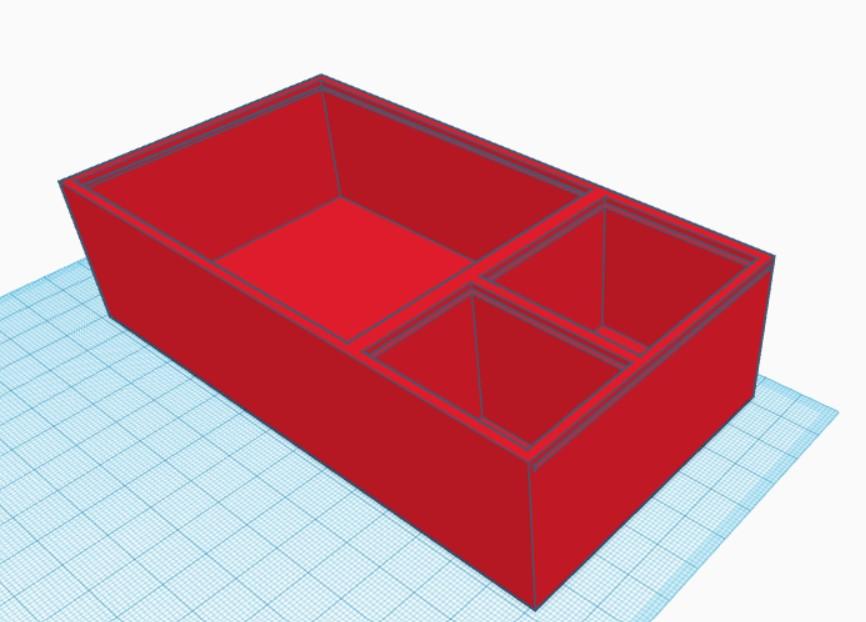
Group the Shapes
Group all the shapes
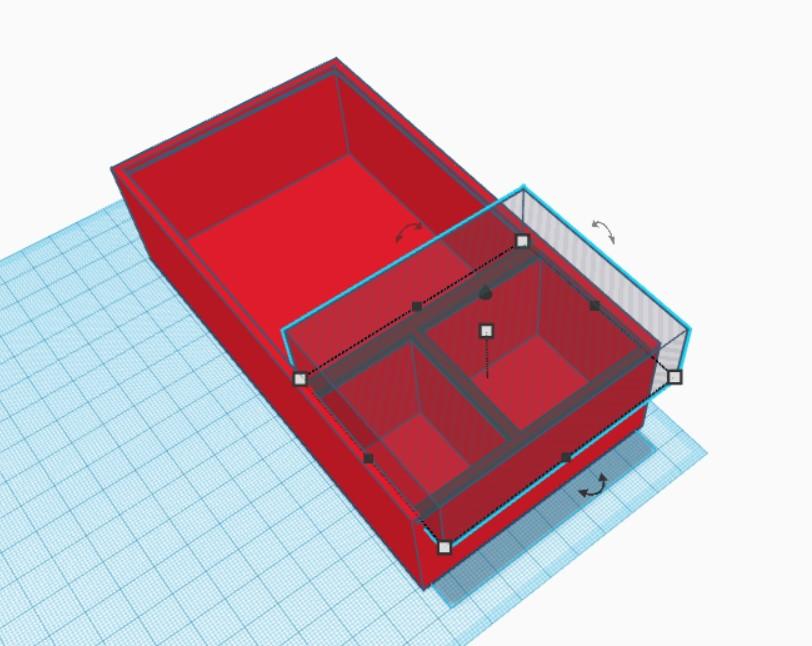
Third Hole
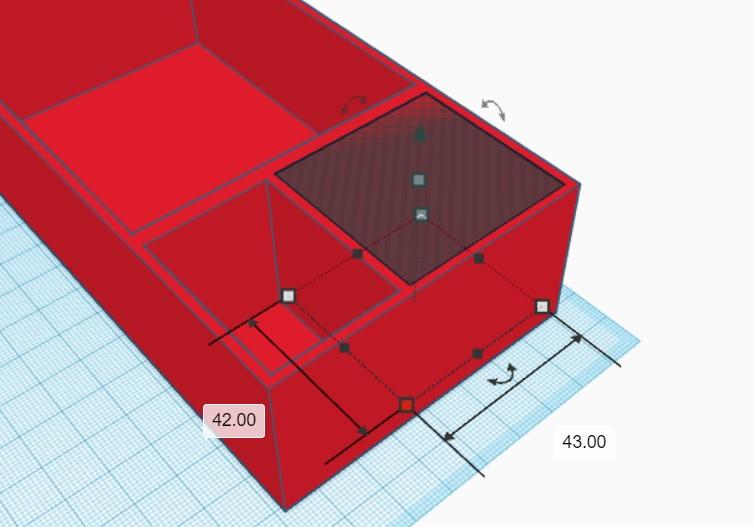
Make the third hole cube and place it 2mm above the ground and place it the way the image shows it.
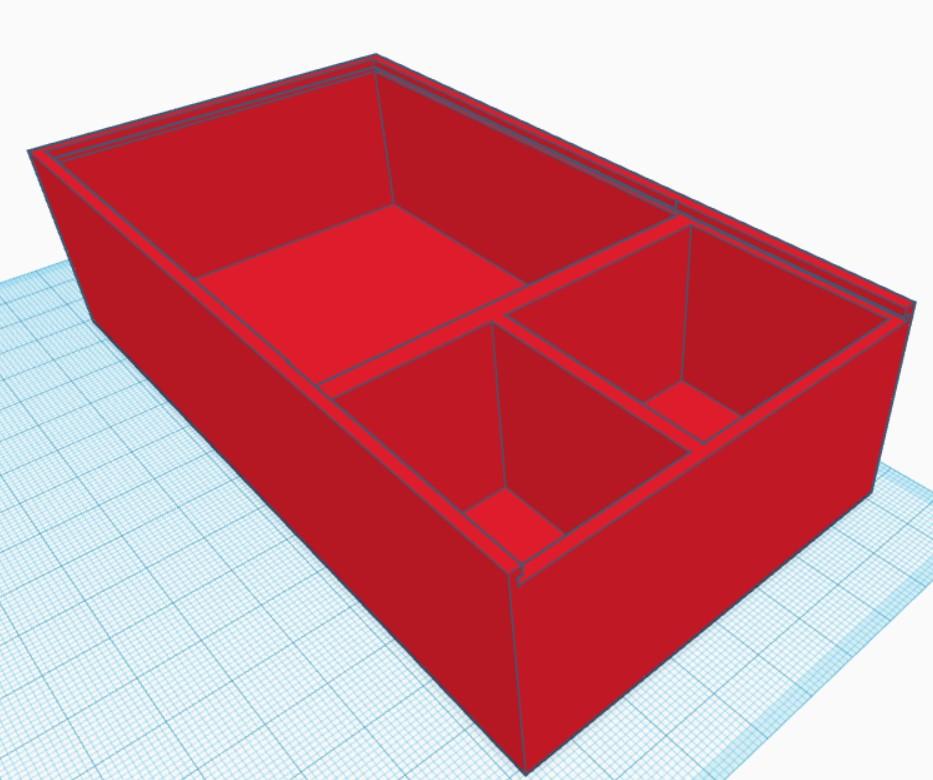
Group Everything
Select absolutely everything and group it.
Making the Grooves for the Lid
Make a cuboid as shown in the image with the exact same dimensions. Make it 1.5mm high. Raise it 37mm high. Group both shapes together.
Making One More Hole
Make one more cuboid as shown in the image only up till it shows in the image (Dimensions = 61 * 76). Group everything again.
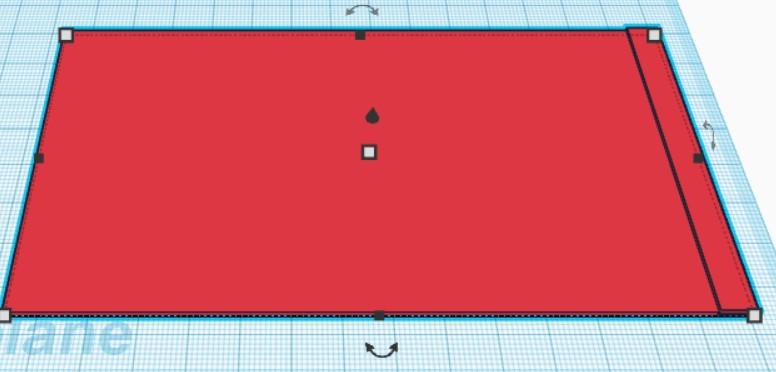
Making the Base for the Lid
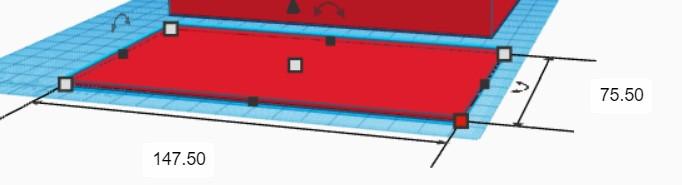
Make a cuboid as shown in the image with the same dimensions. Make the height 1.3mm.
Making the Grip on the Lid
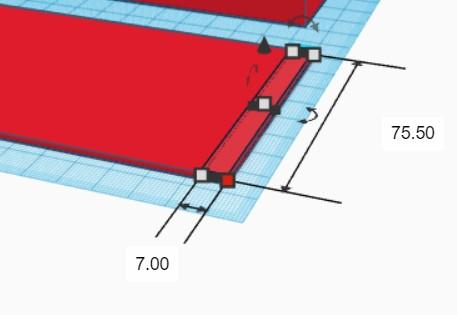
Make one more cuboid as shown in the image with the same dimensions and raise it 1mm above the ground. The thickness of the cuboid is 1.3mm
Group
Group the two cuboids together.
Printing
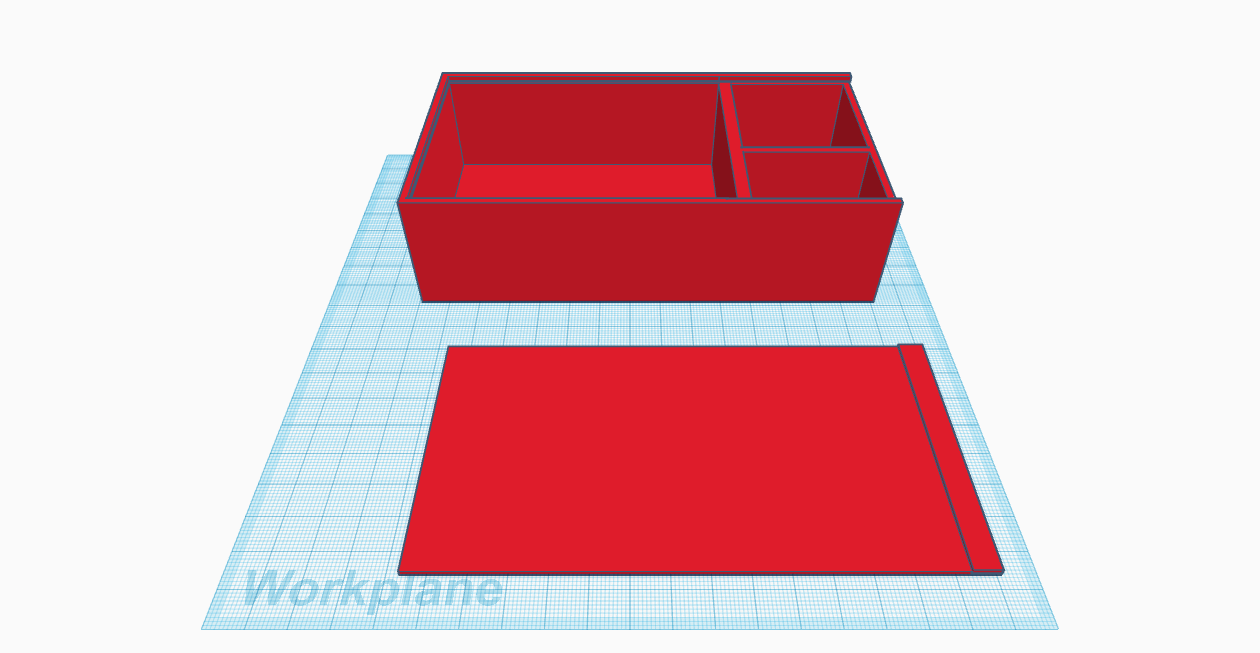
You can just print these two pieces separately and it should slide pretty easily! With that you're done!