How to Make a Scribble Portrait With Tinkercad
4817 Views, 37 Favorites, 0 Comments
How to Make a Scribble Portrait With Tinkercad
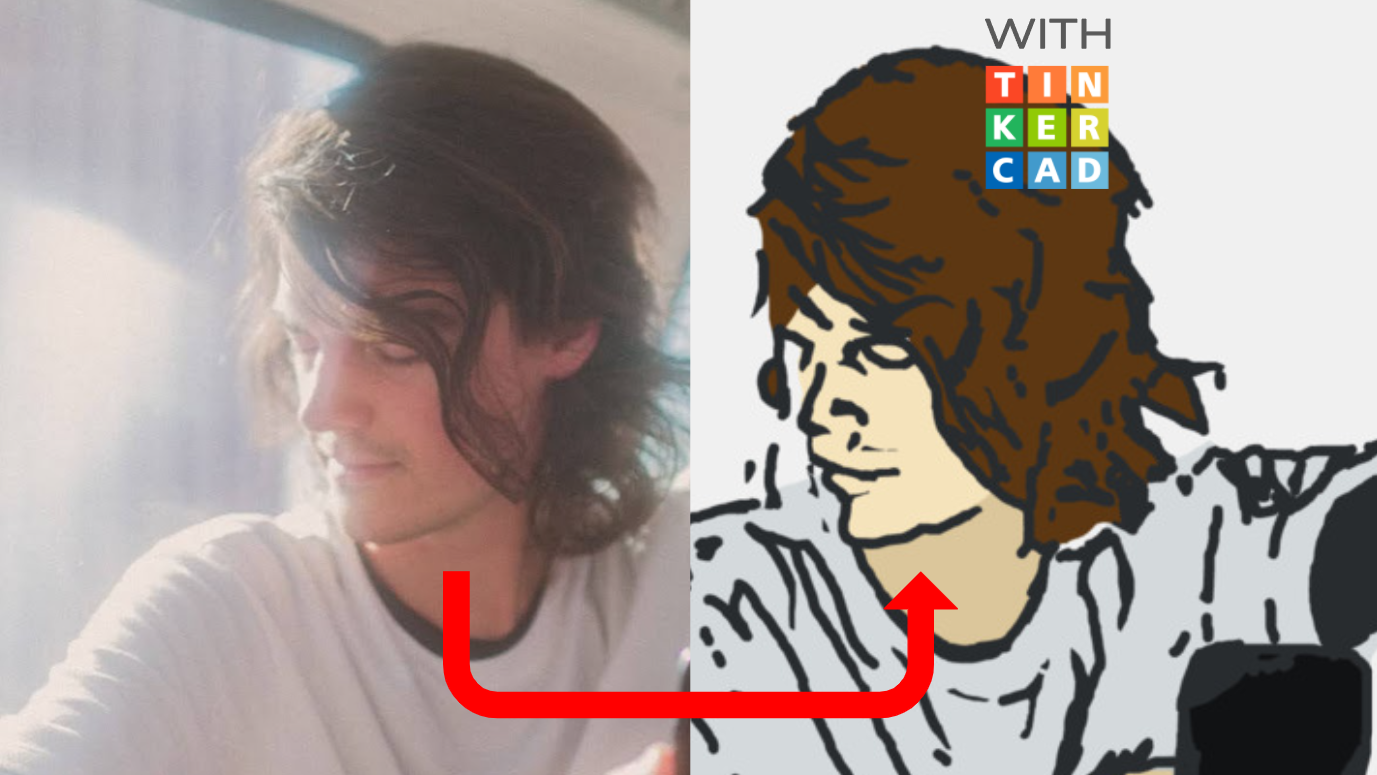
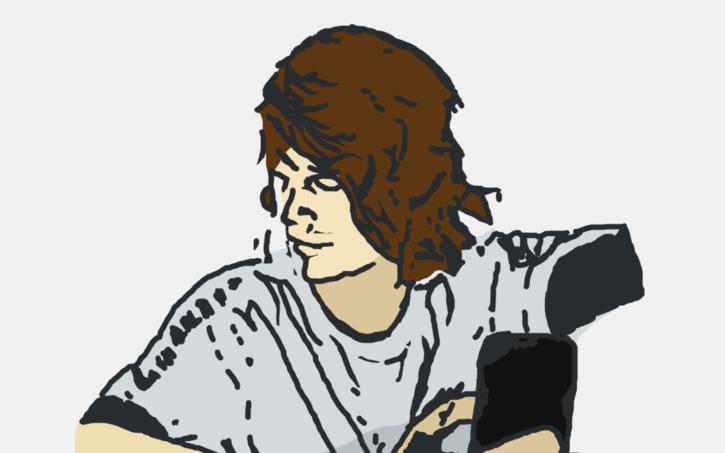
Ever wanted to sketch an original portrait of someone without using a lame SVG converter? Well, with Tinkercad's scribble tool, you can do just that! This Instructable will teach you how to do it.
The scribble portrait used in this Instructable depicts Asher Postman, an independent producer, songwriter, and remix artist.
The design can be accessed here: https://www.tinkercad.com/things/08weheM3oFe
Supplies
You'll need
- A Tinkercad account, which you can make for free using an email, Apple, Microsoft, or Facebook account
- A reference picture of the person you are trying to scribble
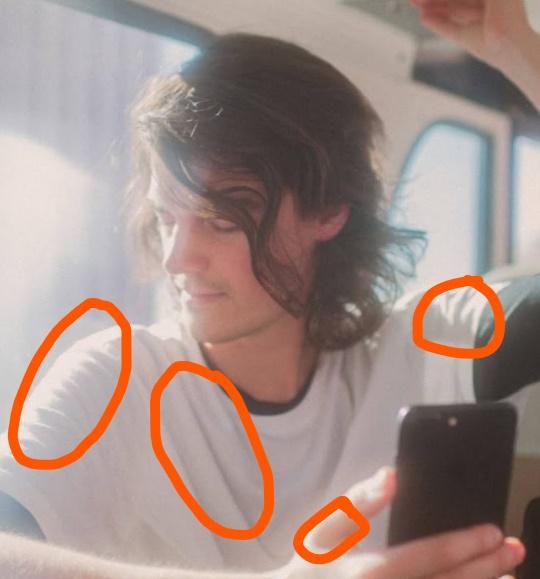
Attaining the Reference Image
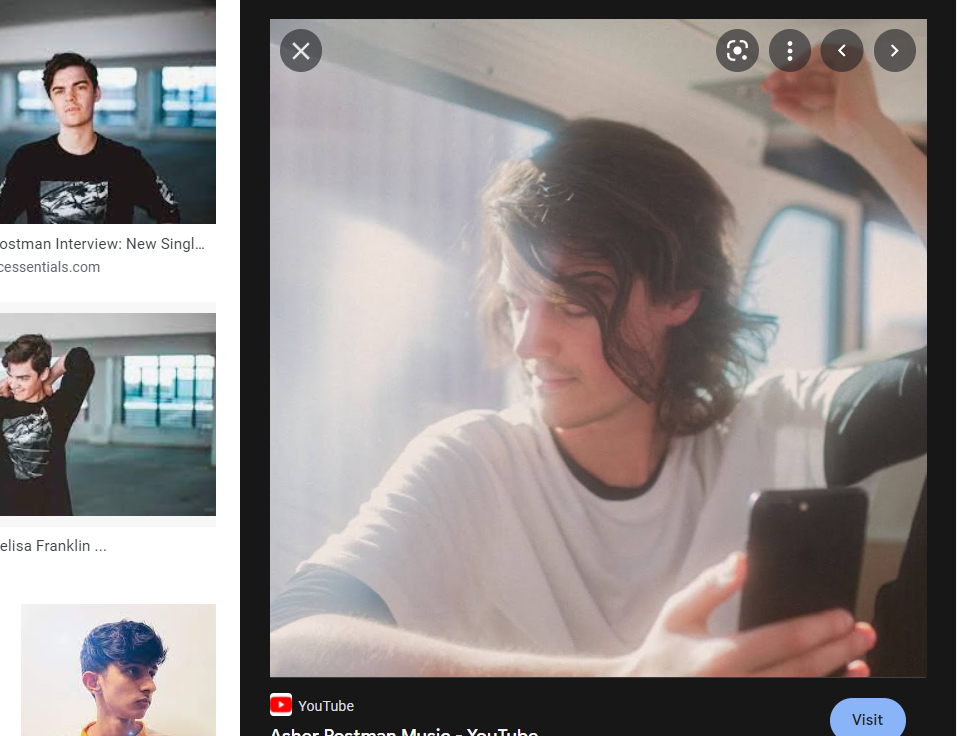
For this step, all you'll need to do is get a reference image of the person you'd like to scribble. This can be done with a quick Google search. Make sure to save this image to your local files.
Utilize Splitscreen
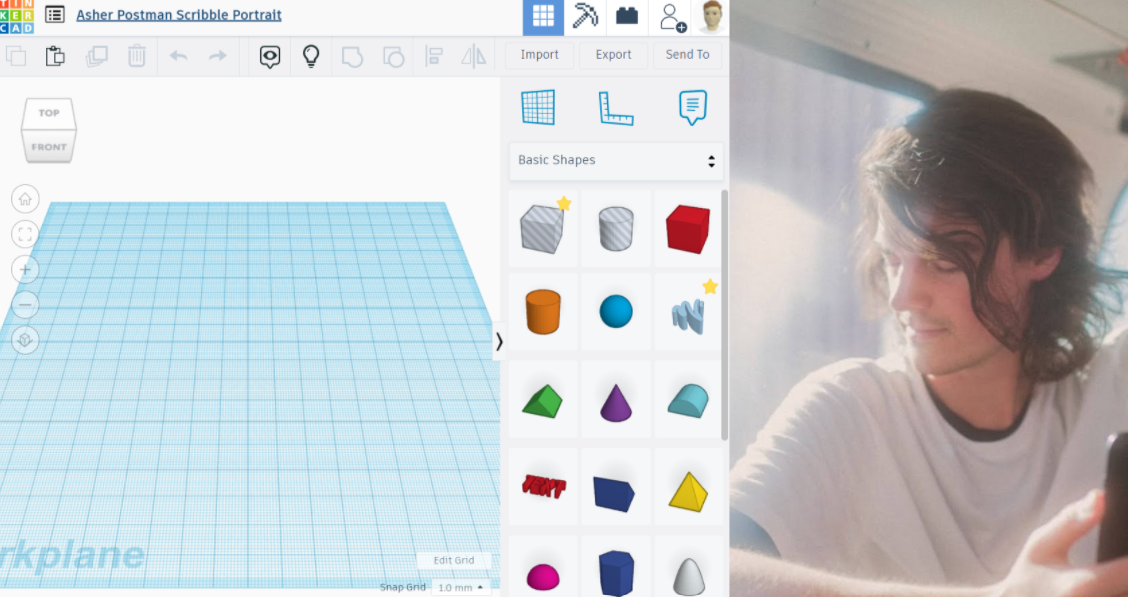
After saving the image, open it in your device's photo viewer. At the same time, open a new Tinkercad project and split the screen with the image. That way, you'll be able to do a side-by-side comparison of the image and your portrait.
Sketch the Outline
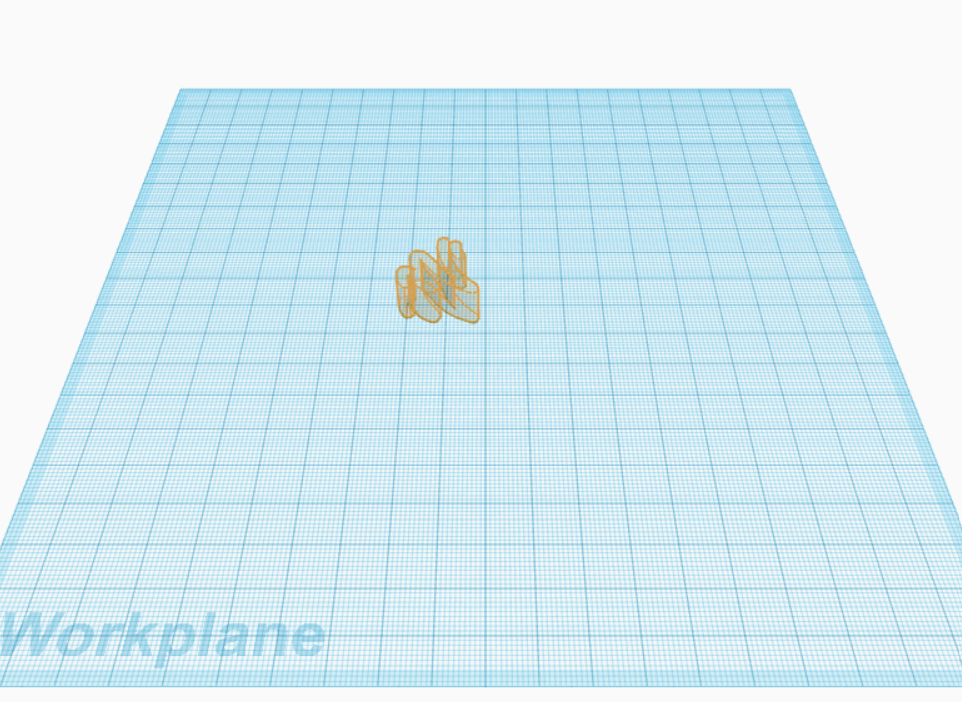
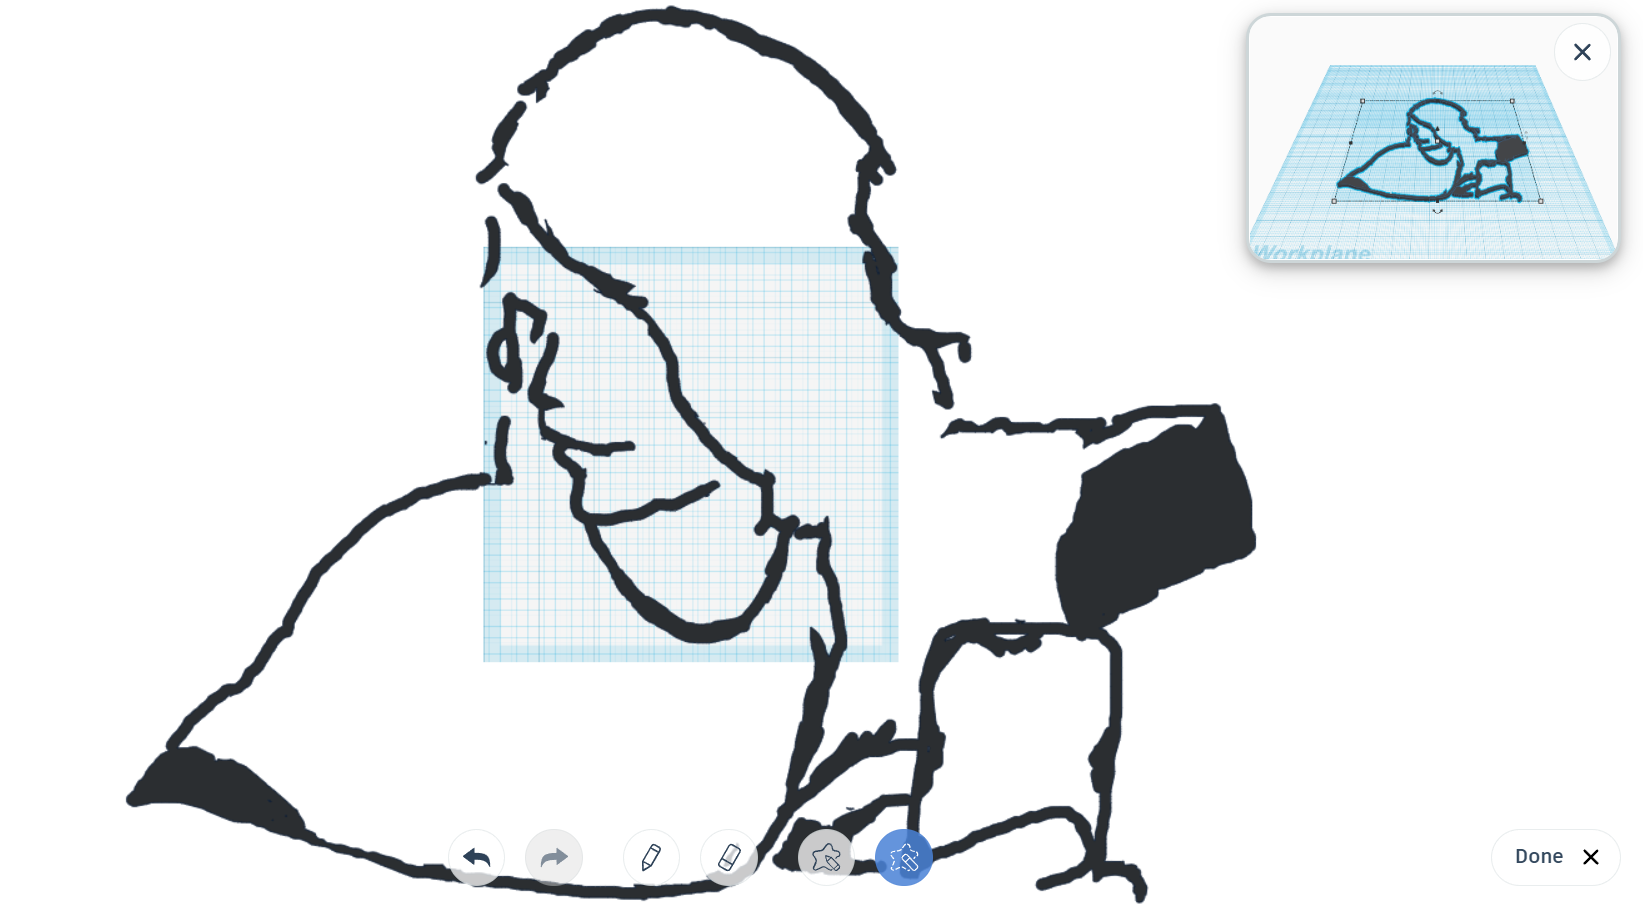
Drag the scribble tool out from the "Basic Shapes" tab. As soon as you place it, you should be greeted with a grid-like interface that you can scribble on. From there, start sketching the outline of the person. It also helps if you practice beforehand by tracing the outline using a paint application, but that is 100% optional.
Fill in the Details
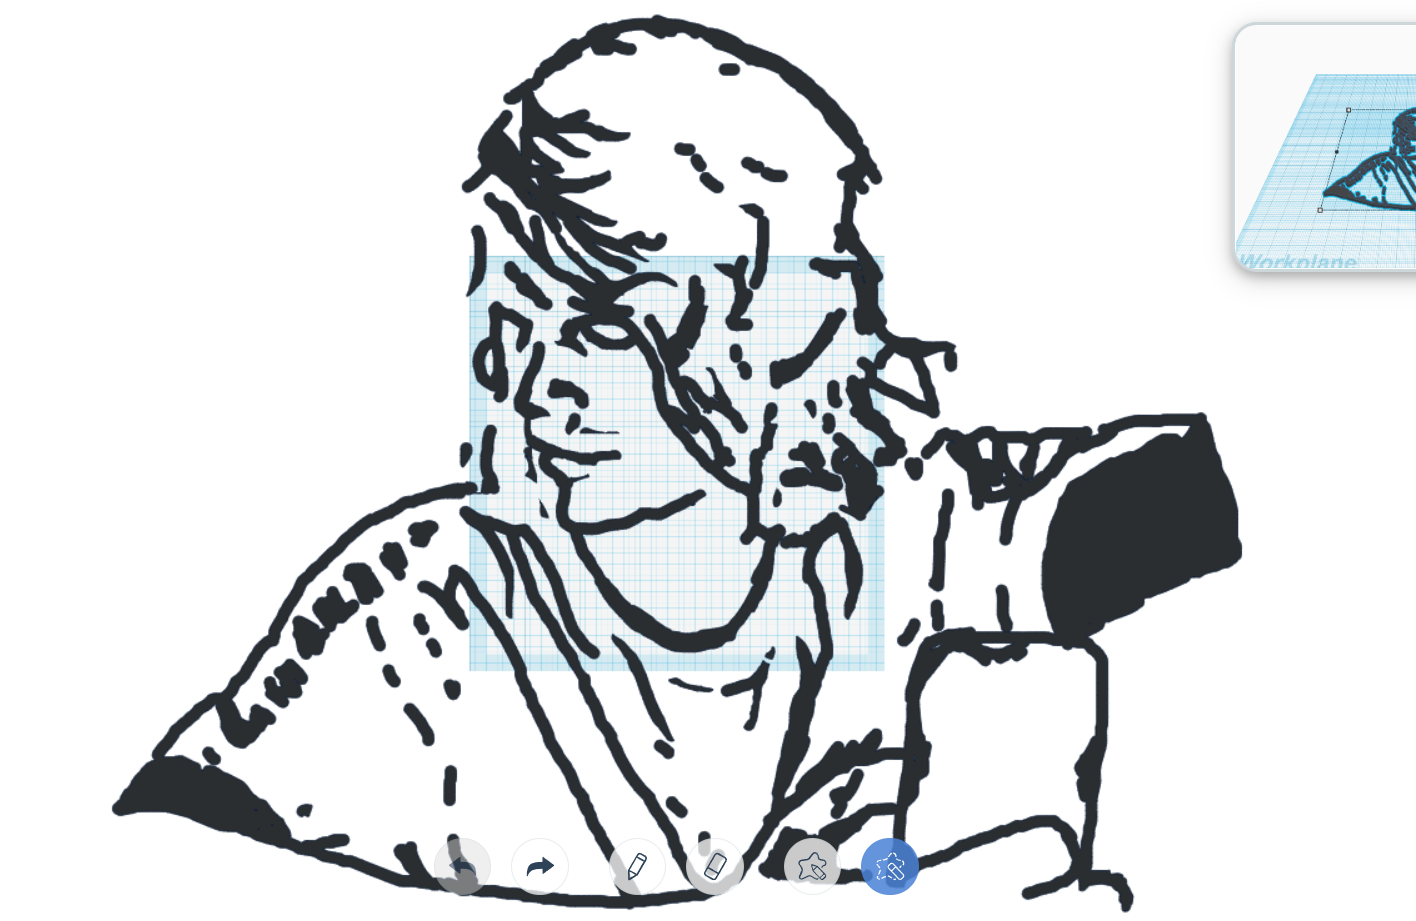
Next, start by sketching simple details, like the eyes, nostrils, etc. Then, take a look at where shadows or darker areas appear on the person. Sketch those details for an even greater realism effect. The easiest way to do this is by outlining the individual parts and filling them in afterwards.
Coloring

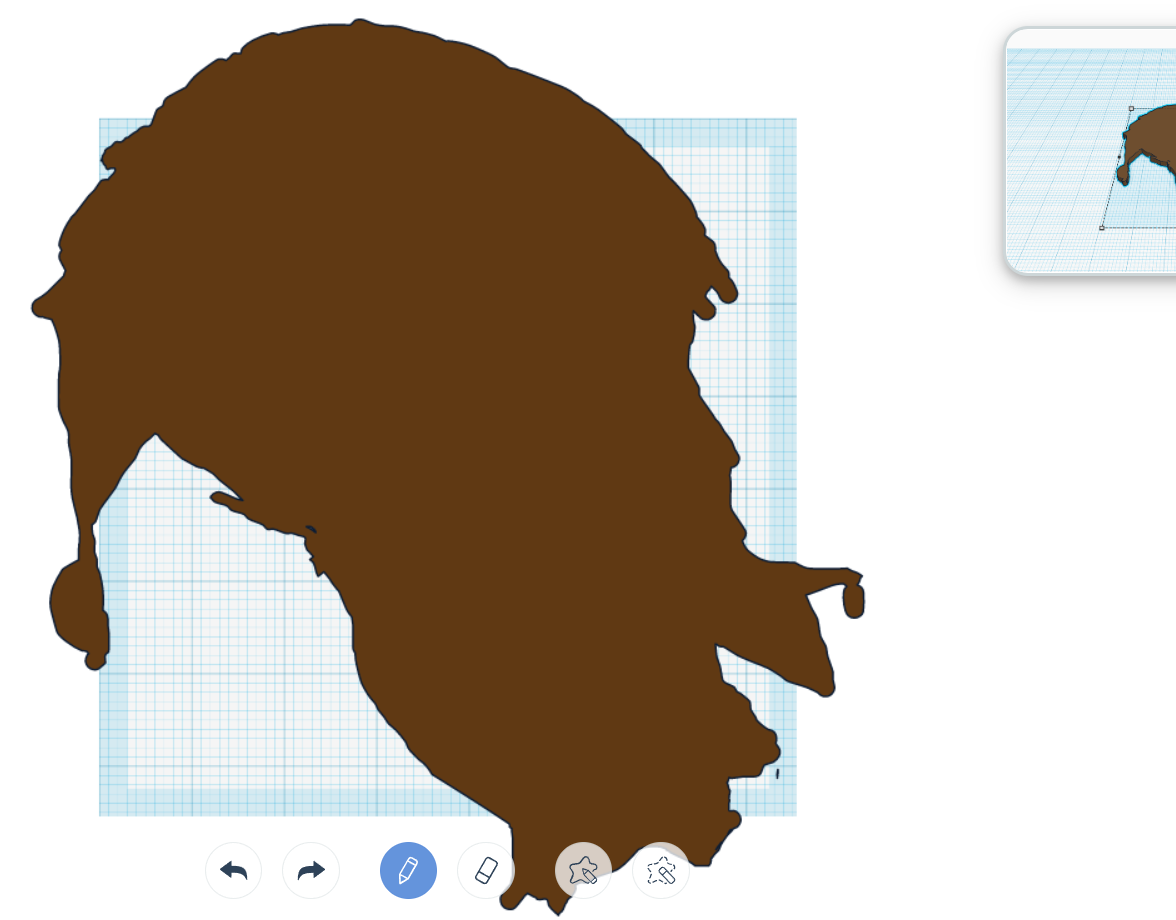
For this step, you want to duplicate the base scribble. Exit the scribble interface and press Ctrl+D when selecting the scribble. This should create a duplicate scribble. Double click the duplicated scribble and isolate the part that you want to be a specific color by erasing everything except the area you want and coloring it the color you want using the color picker. Remember, each part can only have one color, so that's why this step is so crucial.
Grouping
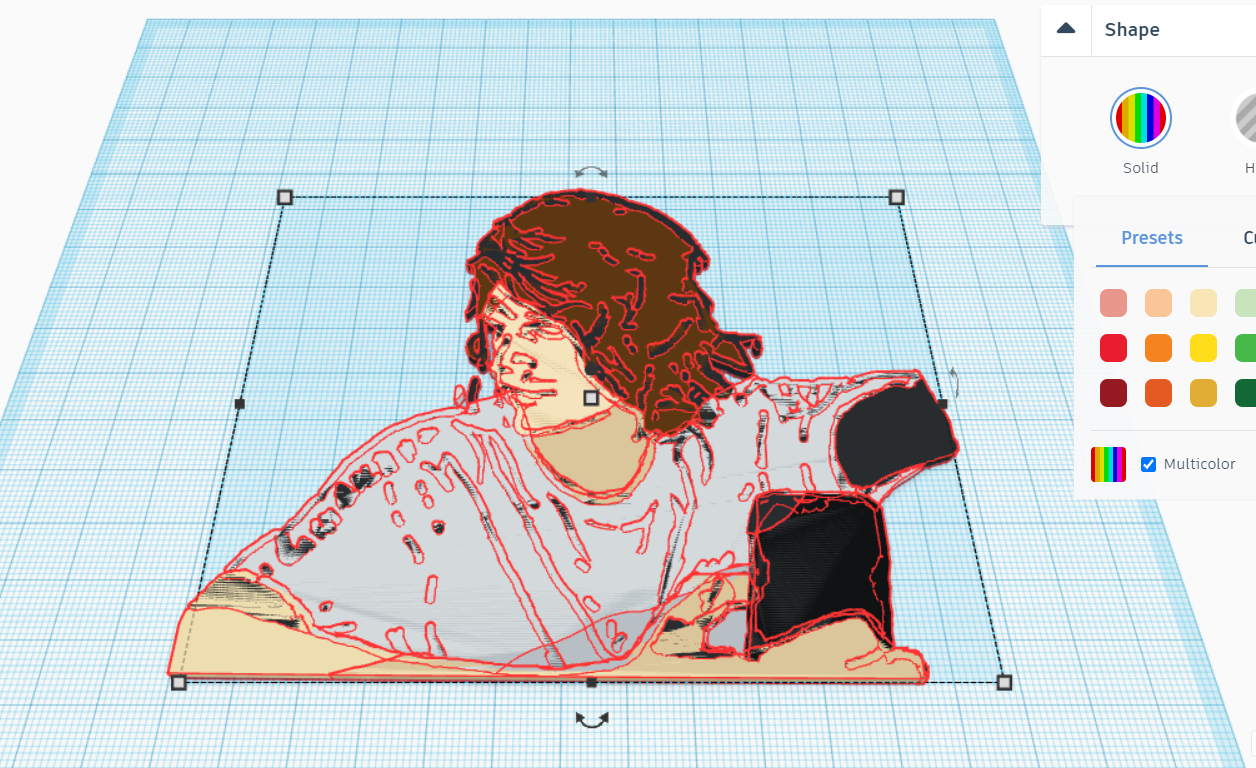
In order to achieve the final result, we've got to group the different colors together. In order to do this, click on the outline, and then, while holding the Shift key, click all the other filler colors. Then, once you've grabbed every part, press Ctrl+G. While doing this, click on the color changer and hit the Multicolor option. This will allow you to see all the colors individually rather than just one.
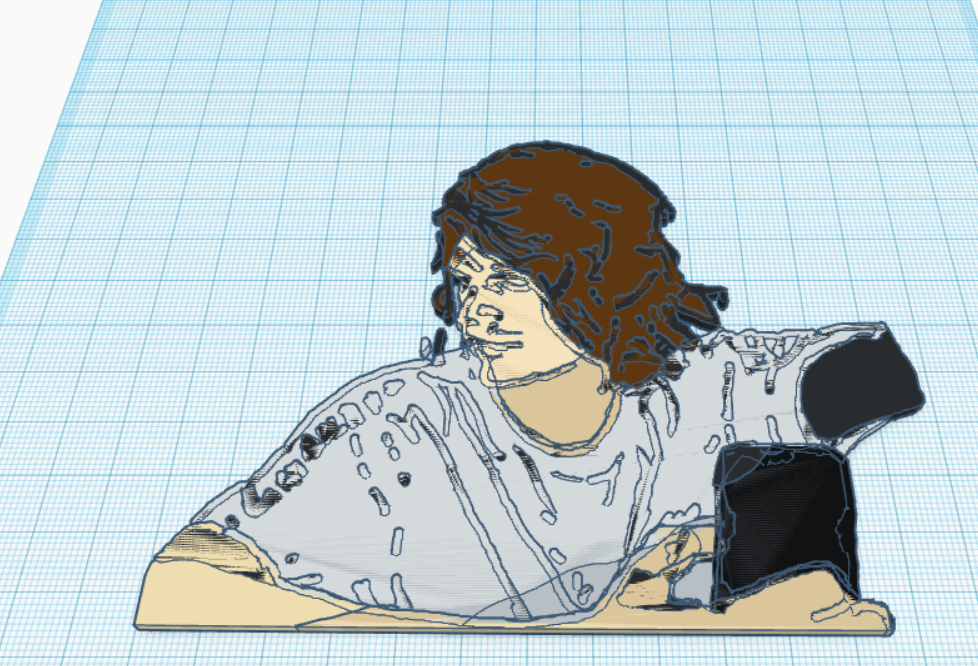
You're Finished!
There you have it! You've finished an amazing scribble portrait following these simple steps! Thanks for taking the time to read through this, hope you learned something new!