How to Make a Screw and a Threaded Hole in 123d Design
by Pure Carbon in Workshop > 3D Printing
10387 Views, 26 Favorites, 0 Comments
How to Make a Screw and a Threaded Hole in 123d Design
If you enjoy my work then Please consider going and donating a small amount of money to me to help fund an open source tablet I'm working on for a future project.
http://www.gofundme.com/Rpitablet
-Thanks
----------------------------------------------------------------------------------------------------------------------------------------------
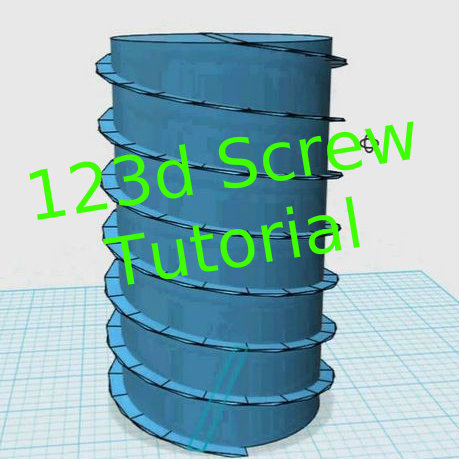
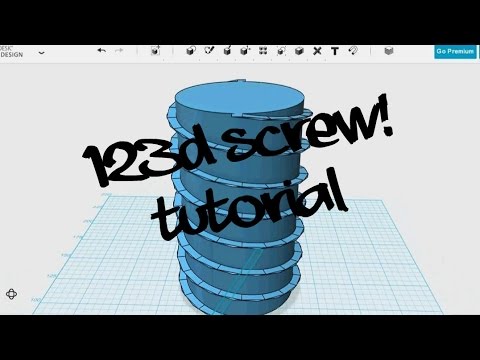
In this Instructable I will show you how to make a screw and a threaded hole in Autodesk 123d Design. its a simple process, but if you don't know the basics of using this software then this tutorial might be difficult for you
video:
https://www.youtube.com/watch?v=dv0EYRY-8Hs
To summarize the process you create two sketches raise one and rotate it. Then using the loft tool, turn the two sketches into a solid. Next you export then import the piece you just made and rotate it. Repeat this until you have a full circle. then export the new piece and import it, now raise the piece up until you have the desired height of the screw. Finally add a cylinder with a diameter smaller than that of the spiral.
To summarize creating the threaded hole take the screw you made and put it in a cube. Then remove delete the screw this will leave a hole in the shape of that screw.
to do this you will need:
- A computer
- Autodesk 123d design
- some basic knowledge of the software
- A ruler (to measure know the size of the screw you are making)
Knowing how to make something as simple as a screw will allow you to make your 3d projects more functional. this can make mounting holes more precise and accurate. this will be easier then using a metal screw to carve the threads (which could ruin your print). The simple machine that is a screw is extremely useful.
I hope you like this one, be sure to subscribe to me for many more instructables like this one coming soon, also if you like this then be sure to favorite it. If you have any questions or comments then be sure to leave them below, I'm very good at responding and if I don't right away then just be patient and I will respond to you soon. also Please be sure to vote for me in the 3d printing contest, thank you.
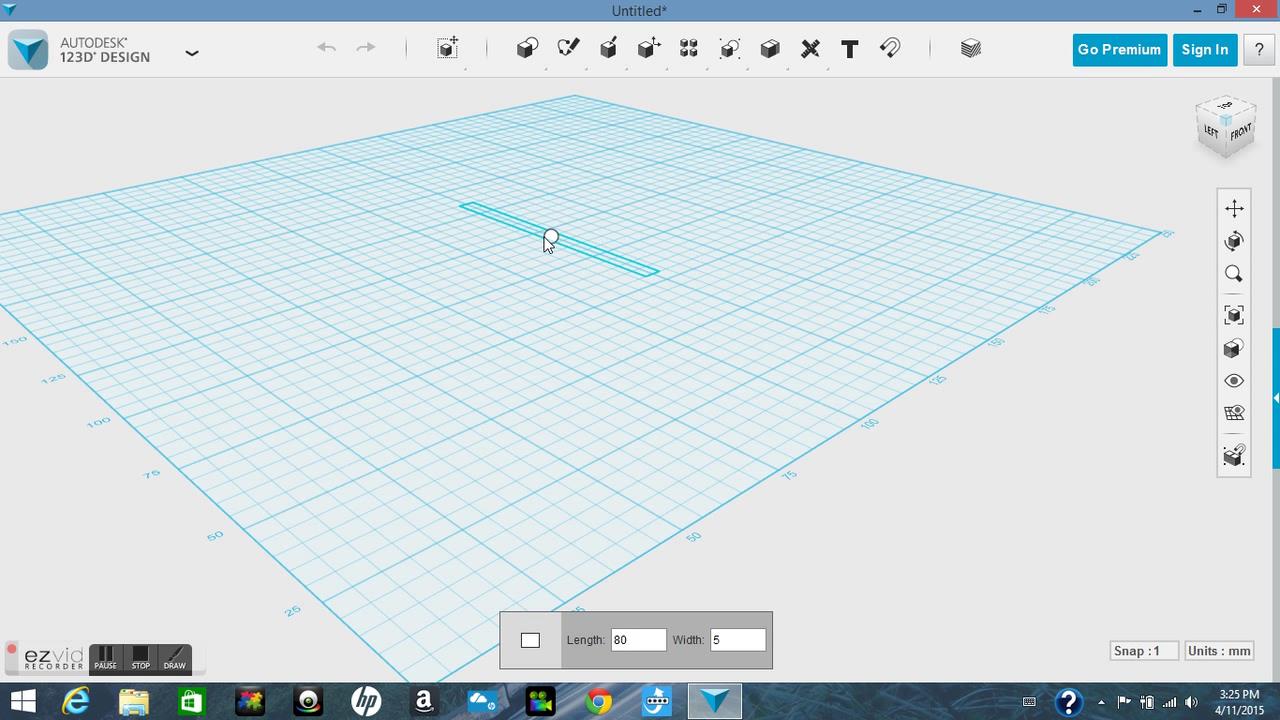
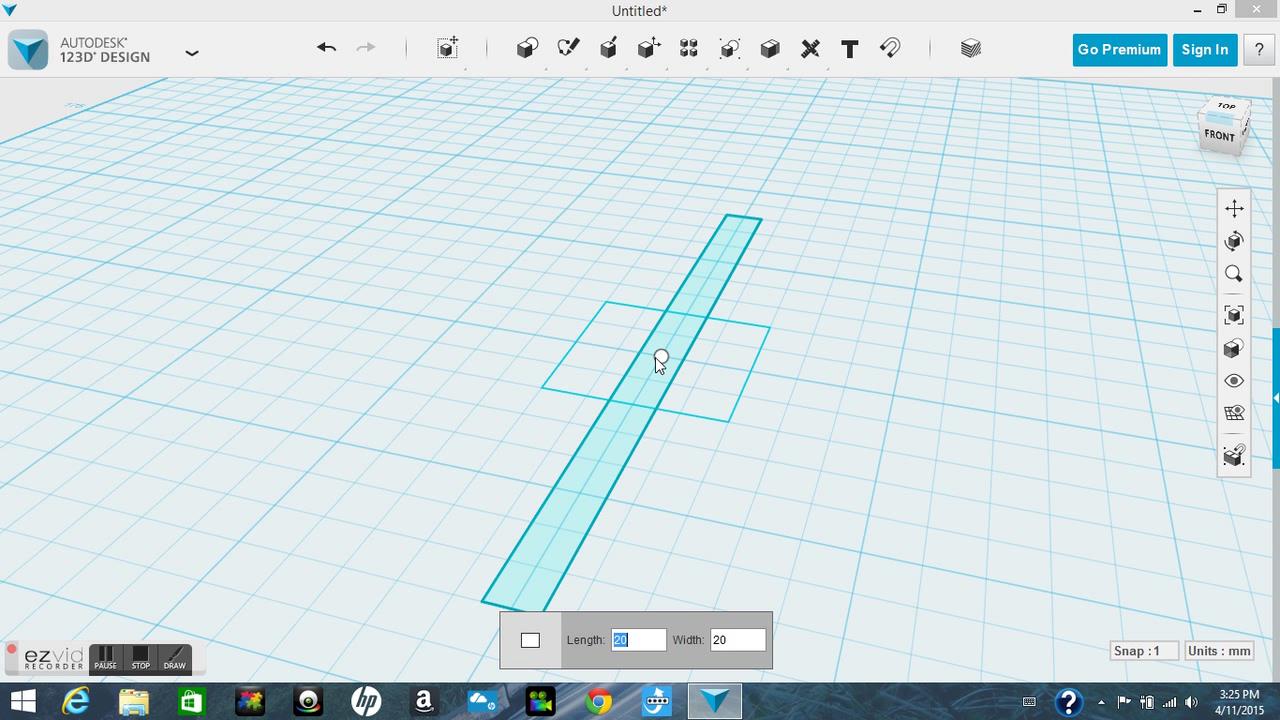
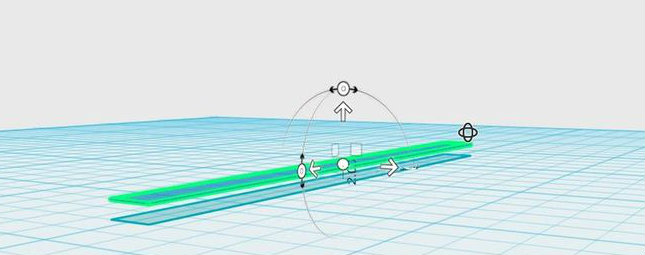
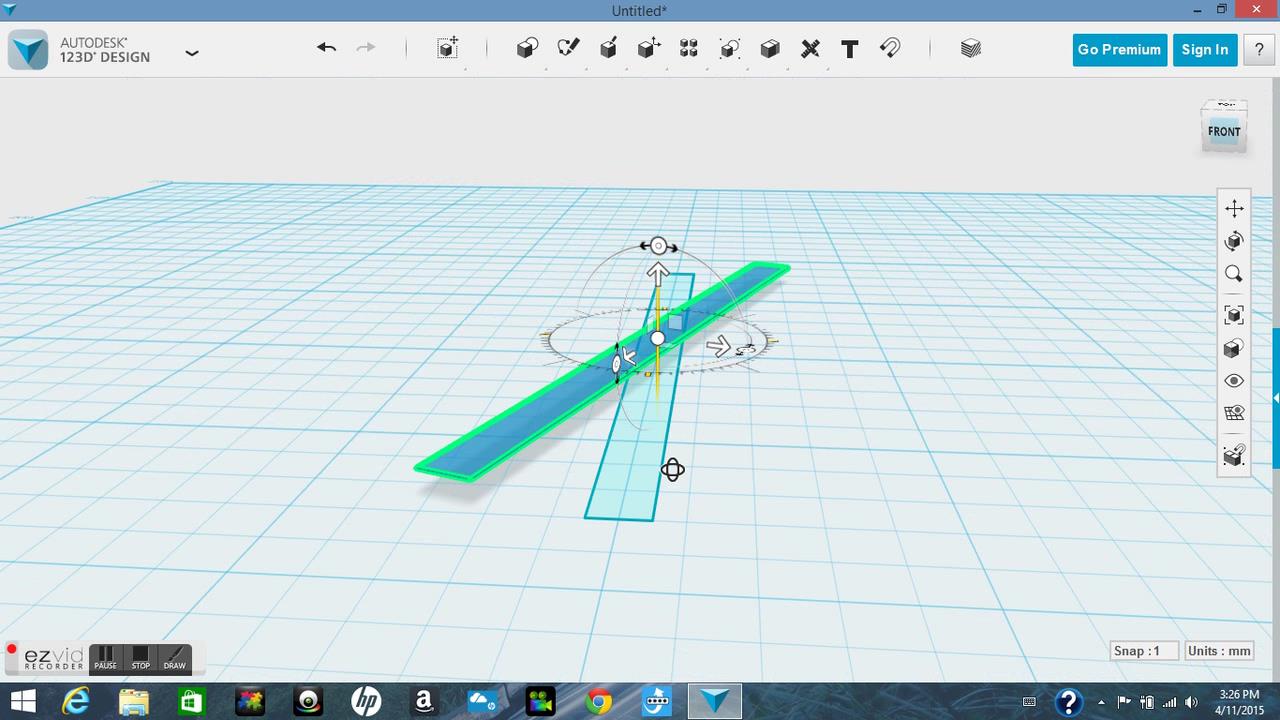
Start by making a rectangle (the one that I made was 80/5 mm). The length is the diameter of the screw. Next you need to make another rectangle that is the exact same size and shape, you will raise it above the first sketch. The distance between the two will affect the distance between threads on the screw that you are trying to make, so keep that in mind (mine was 2mm). Then you will rotate the raised sketch, the more you rotate it the smaller the angle of the threads will be.
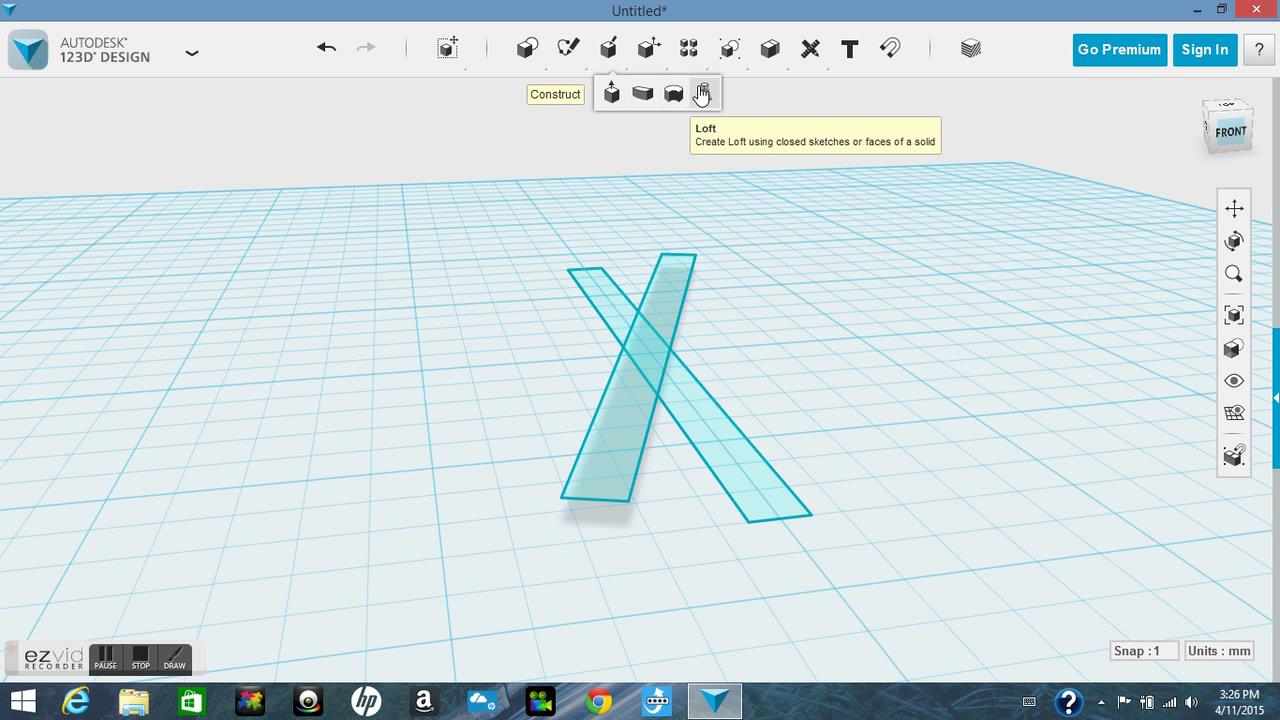
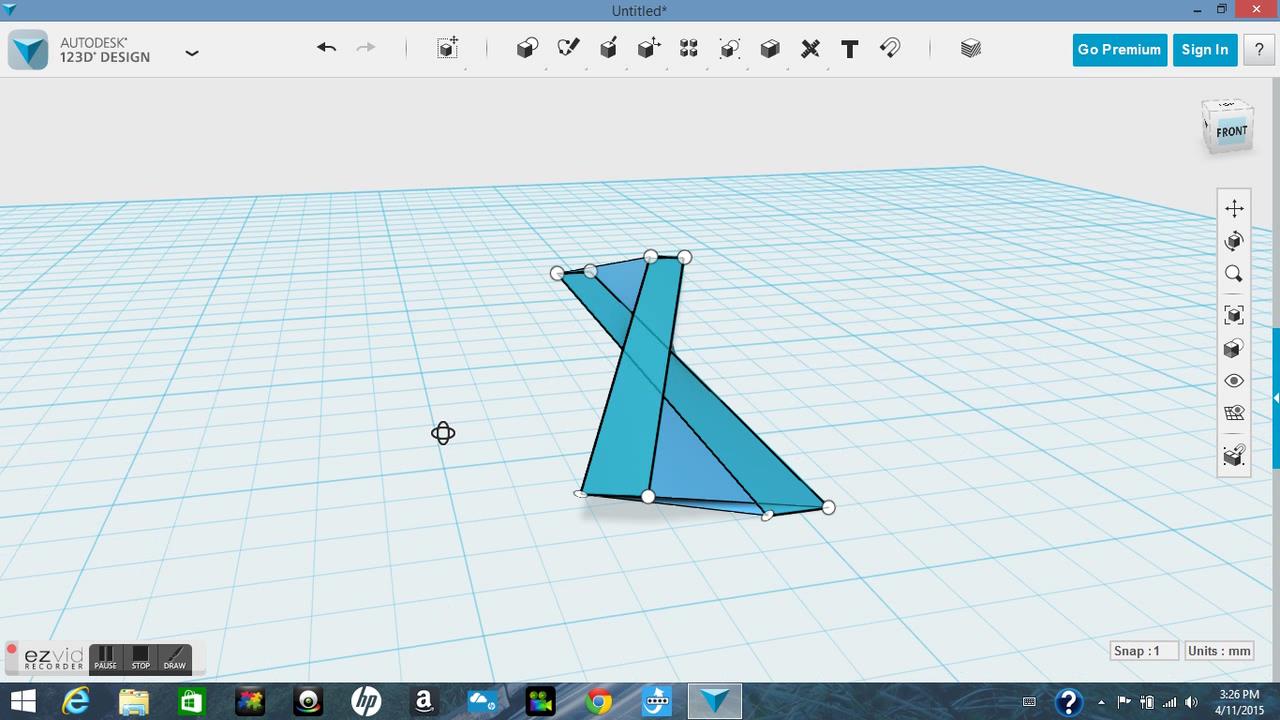
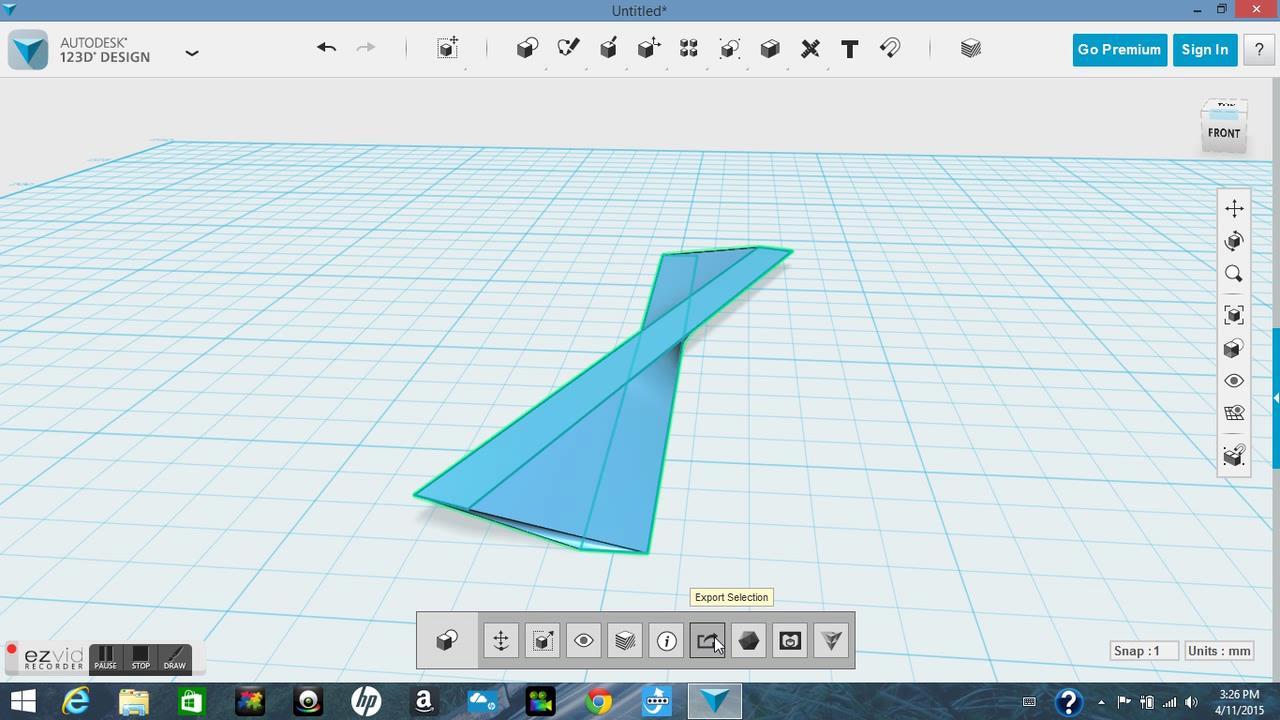
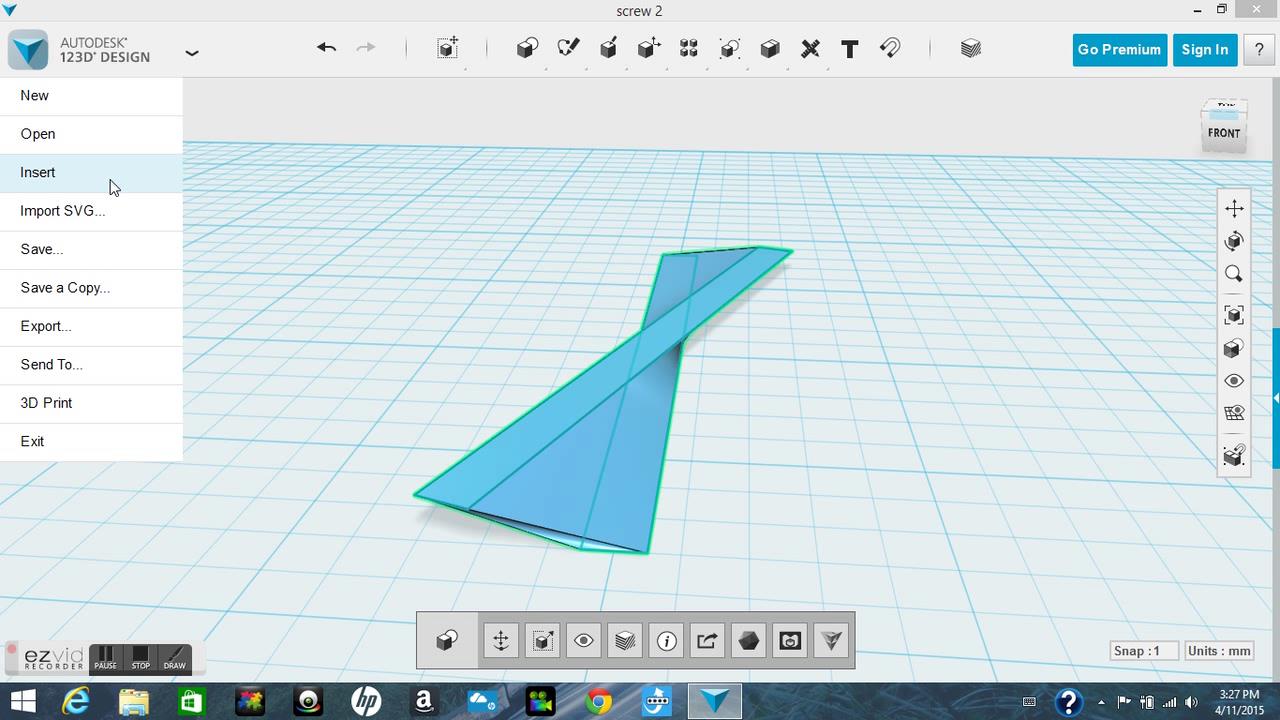
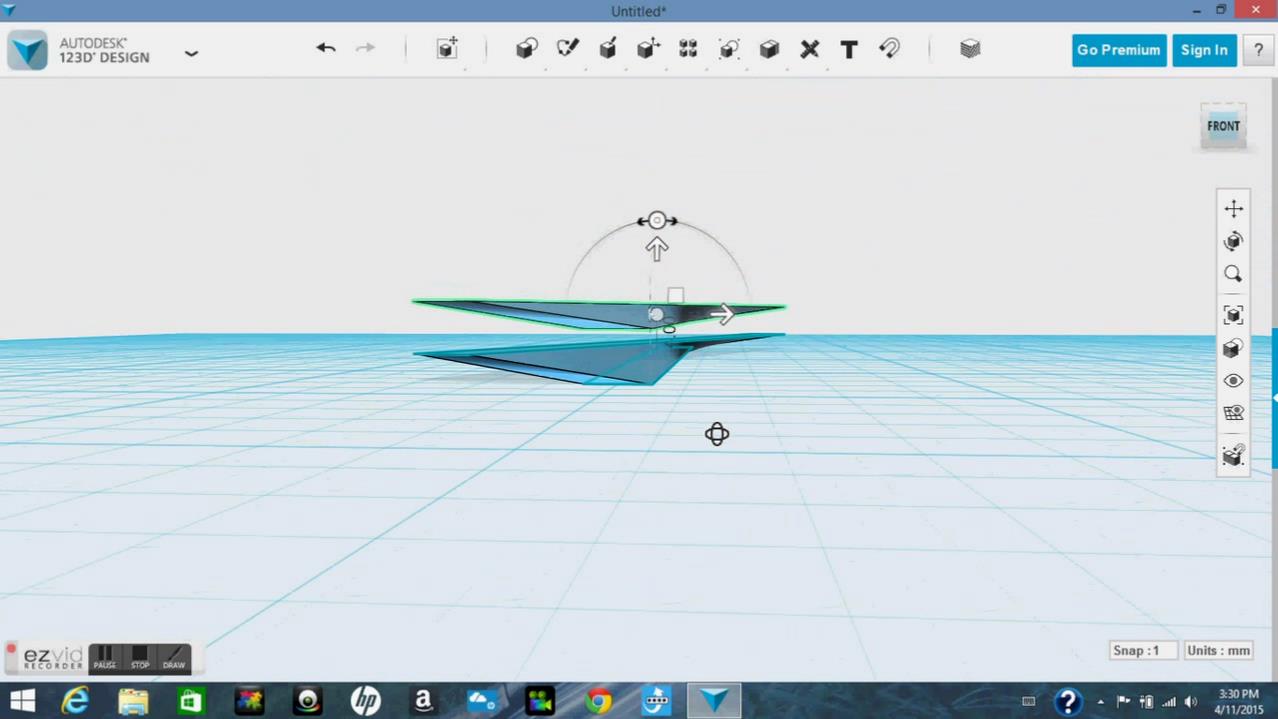
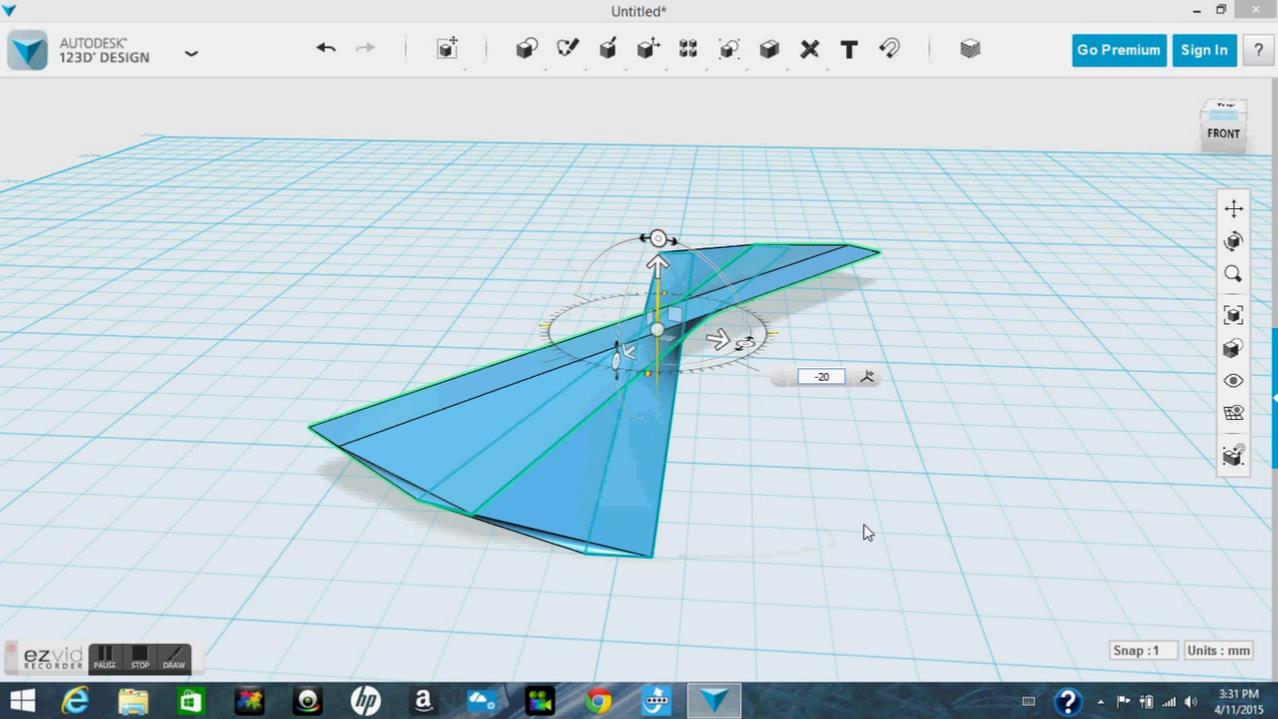
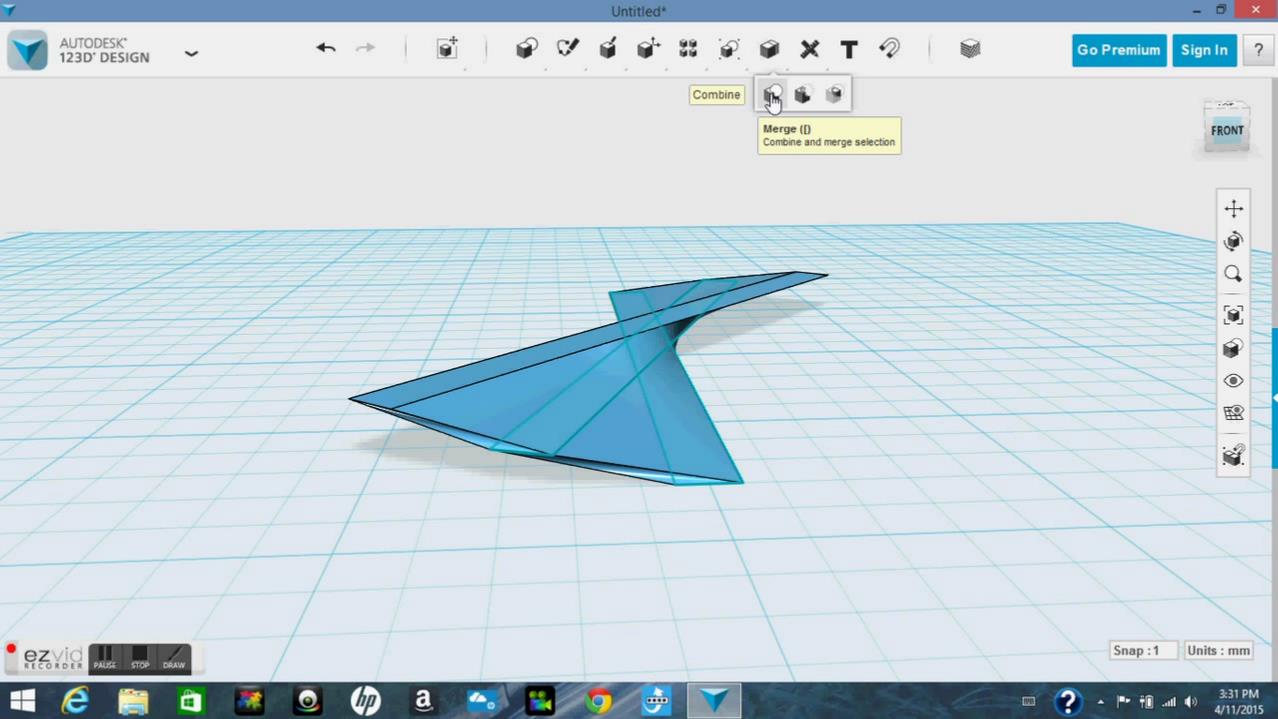
next you need to go to your tool bar and select loft, then click the bottom sketch and then the top sketch. Now click anywhere on your screen and the two sketches will combine to become a solid. Now export the solid and then import it, there will now be two solids exactly the same. Raise one of the solids so that it is directly above the other(I rose mine 2mm because that was the height of my original sketch). Then you will want to go ahead and rotate the raised solid so that it touches the end(I rotated mine 20degrees). next you will select the combine tool and make the two solids one. Finally you will need to import the same solid multiple times until you have a complete circle. The height of the circle you just created will be the distance between threads.
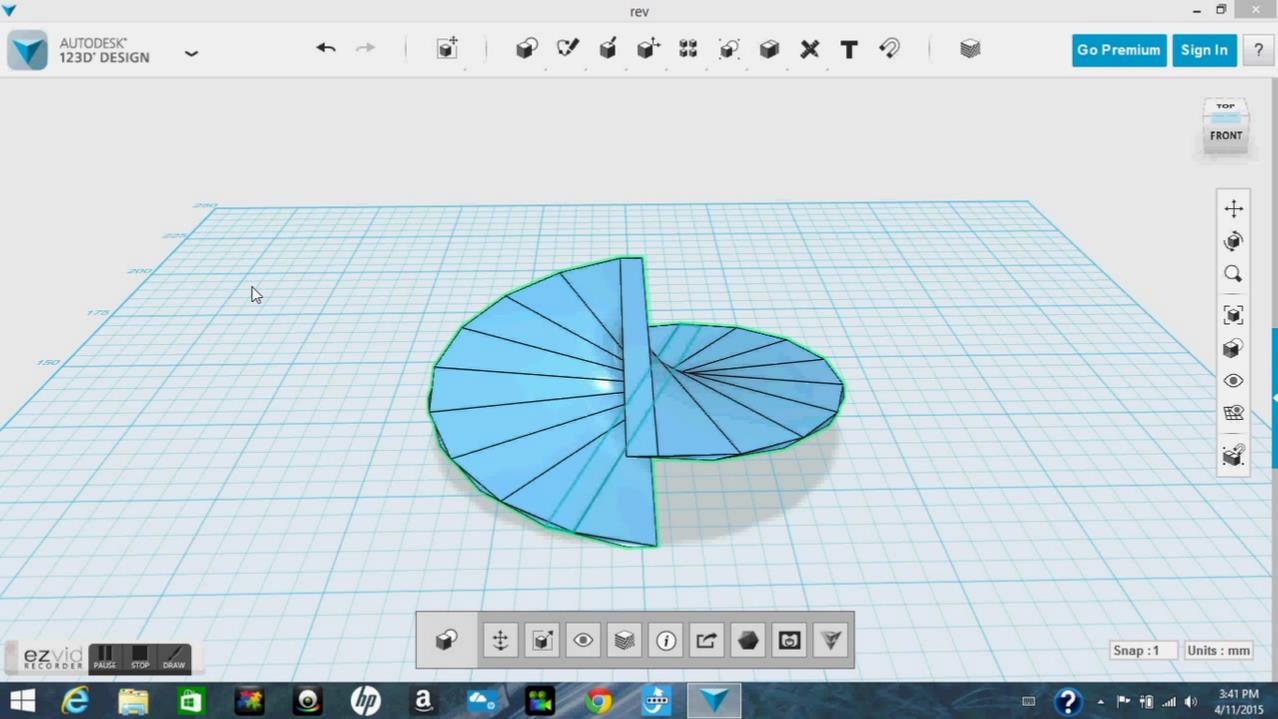
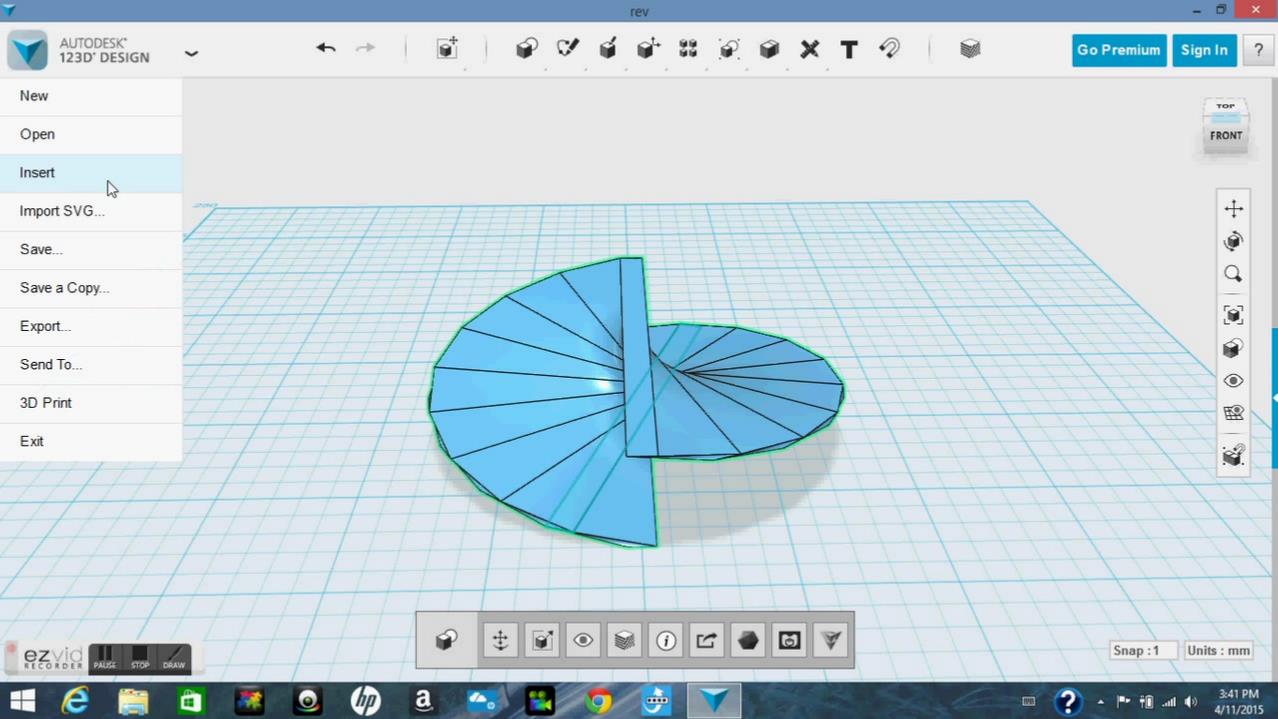
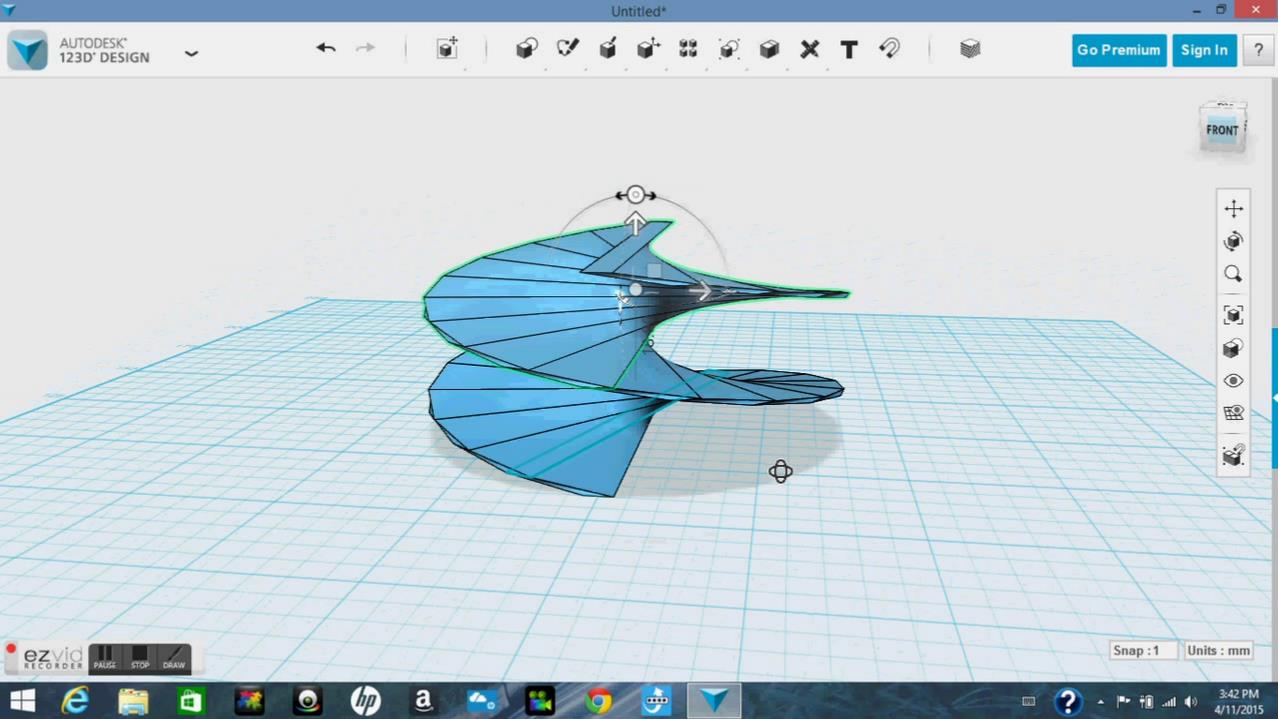
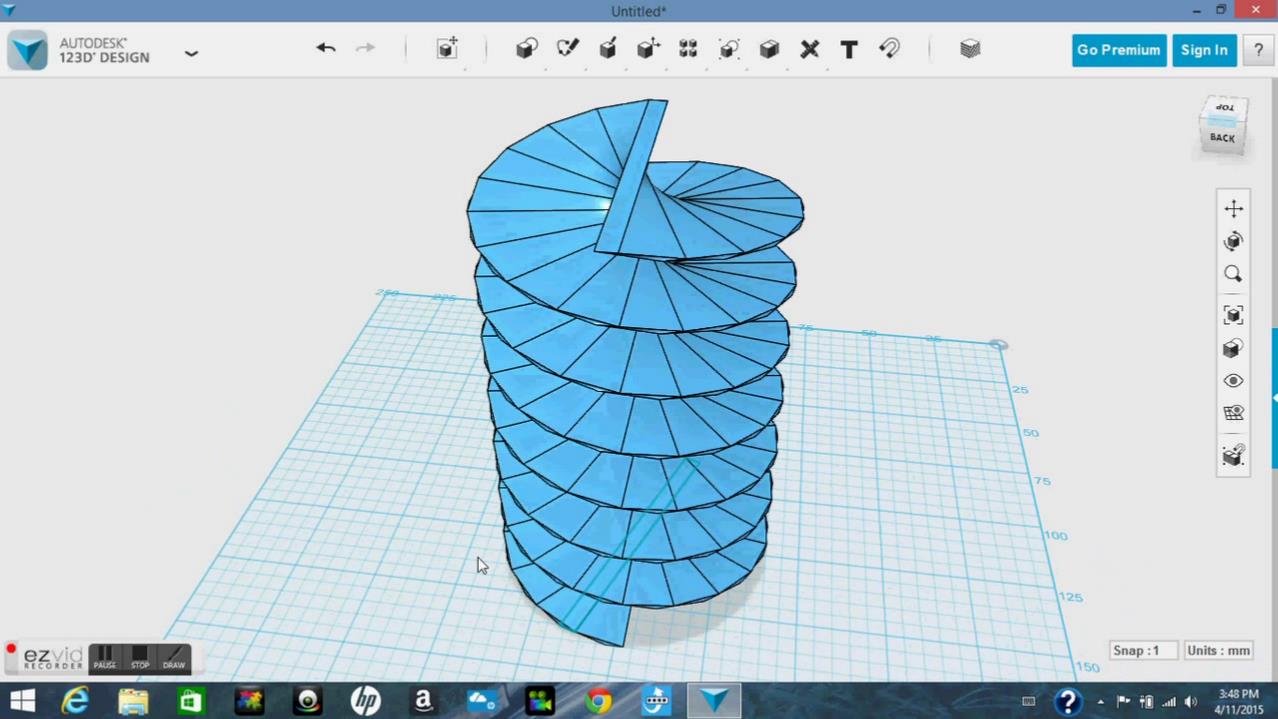
Once you have created the circle (as shone in the picture above) export that piece and then import it. now raise the new piece so that it touches the top of the old one. Then combine them, you should start to see the spiral at this point. repeat this step until you have the desired height.
Note: if you cant get the exact height you want using the increments of the height of the circle, make the spiral taller then what you want then use the push/pull tool to make it shorter until you have your desired length.
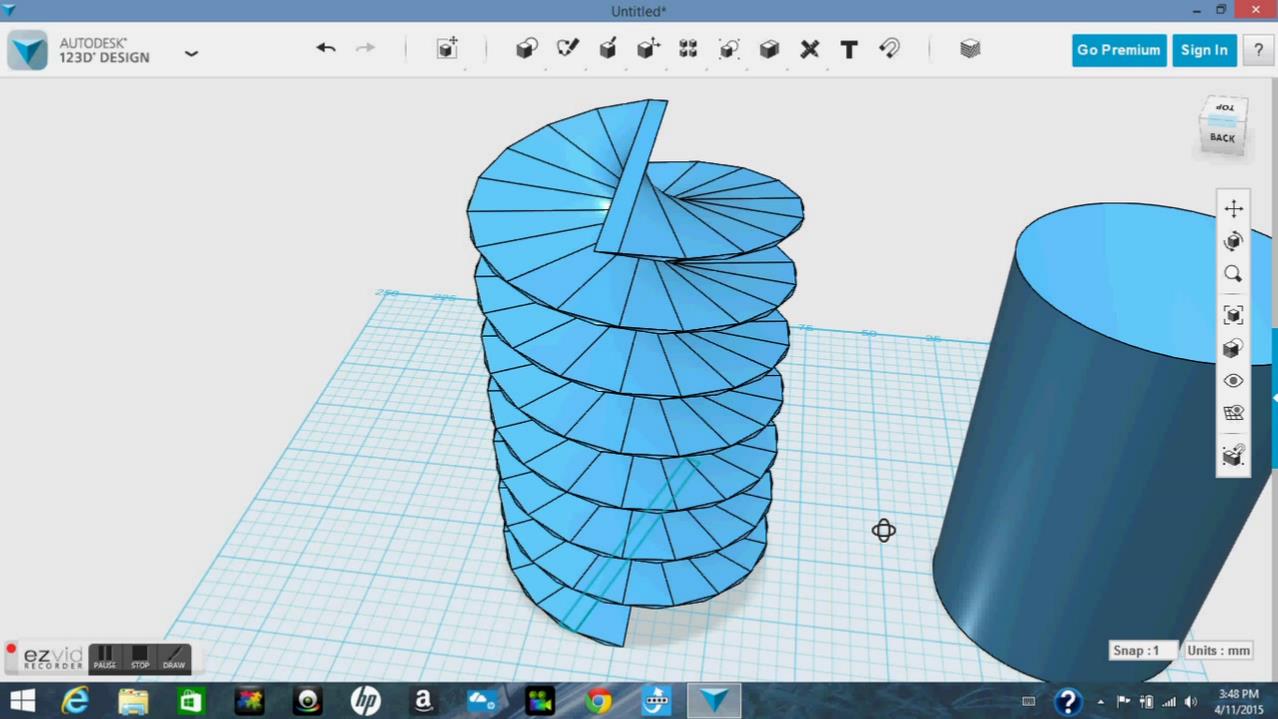
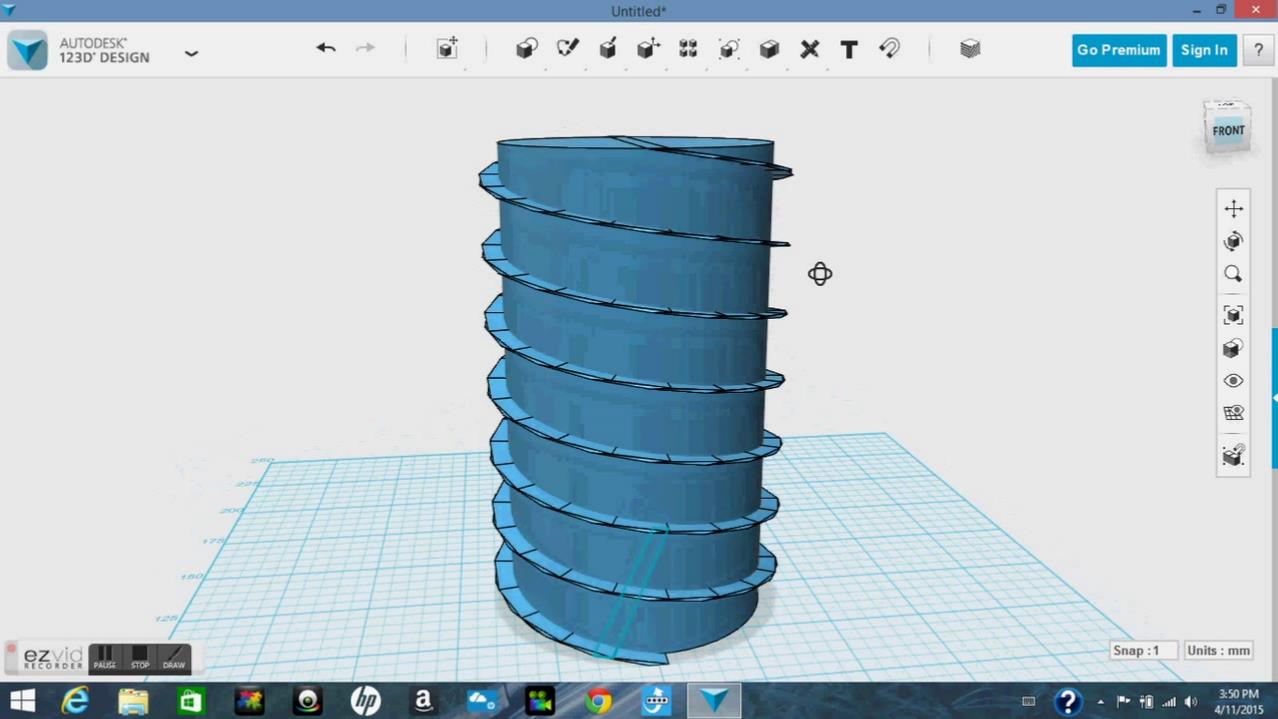
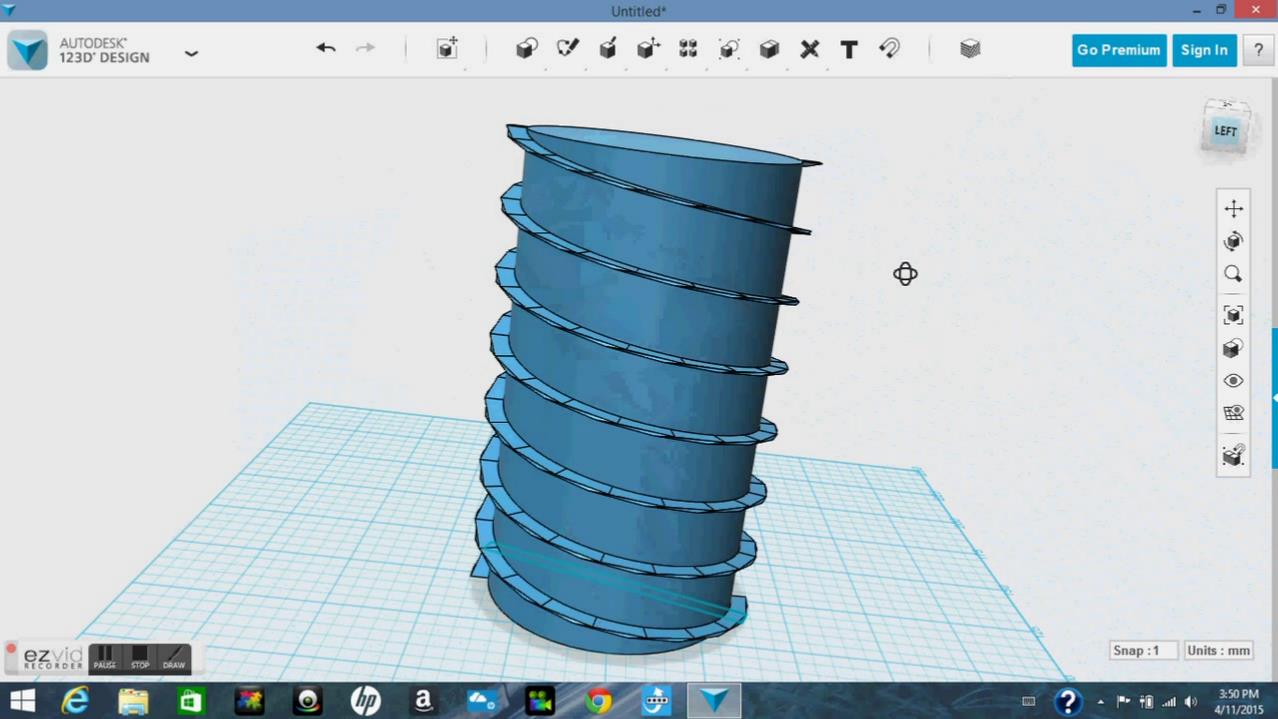
Next add a cylinder that is the same height as your spiral with a diameter that is slightly smaller then that of your spiral. Put the cylinder inside the spiral and combine them to finish your screw.
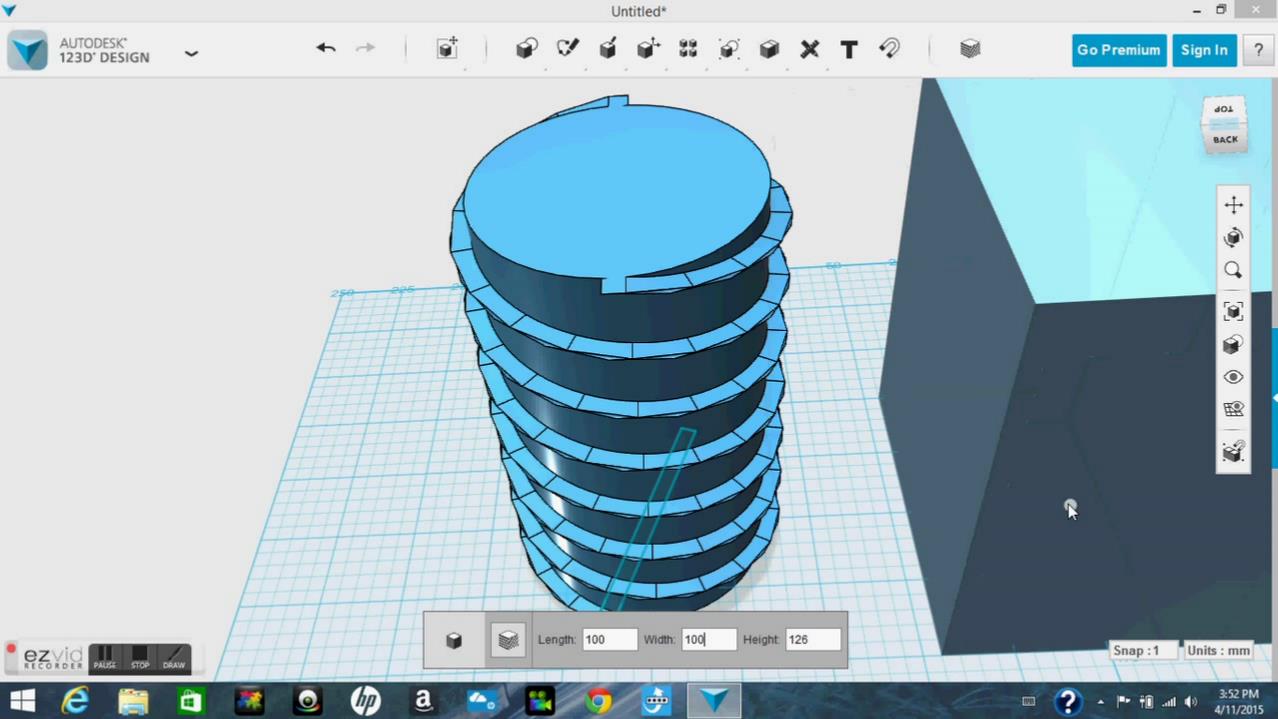
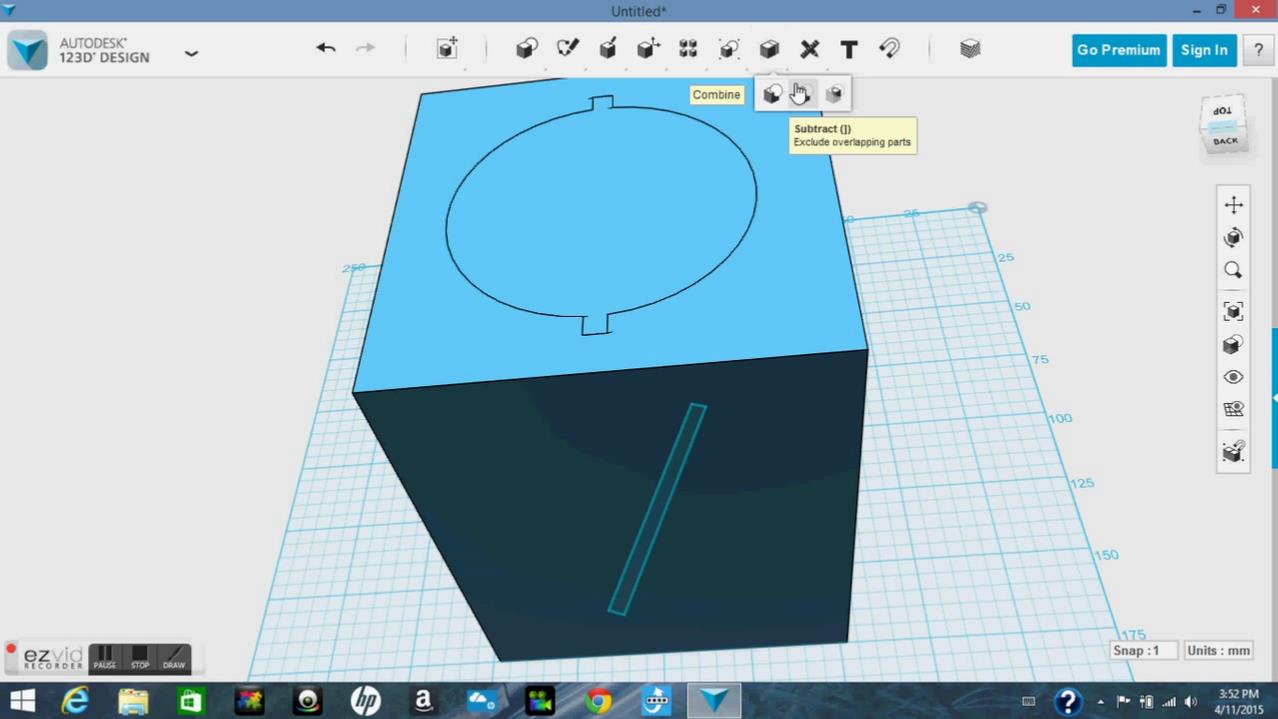
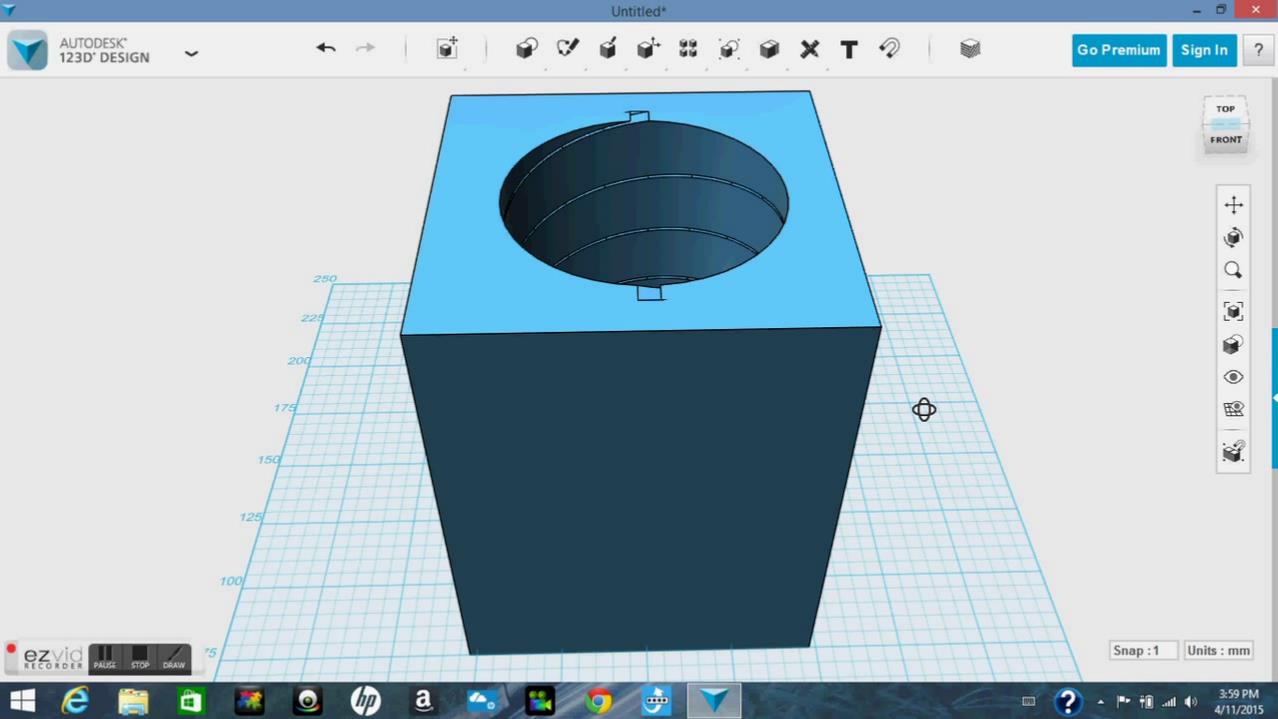
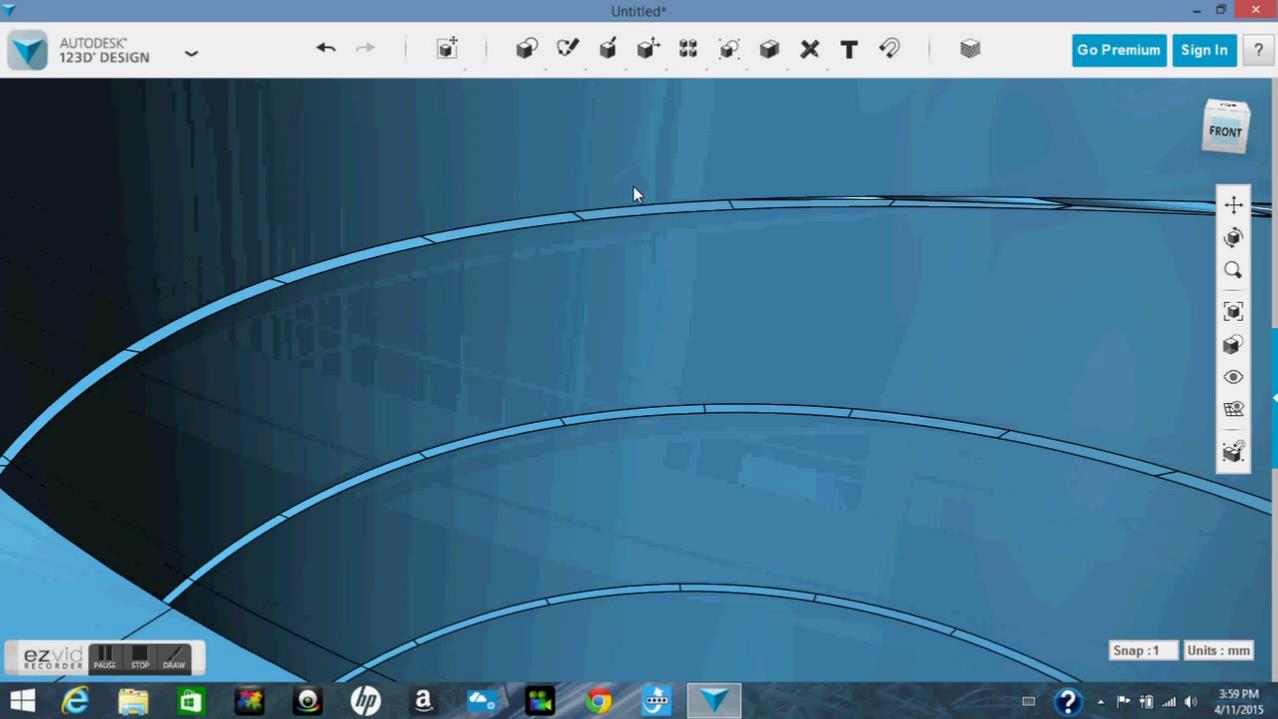
To make a threaded hole put the screw you just made inside of the solid that you want the threaded hole to be in. Then using the subtract tool remove the screw leaving a perfectly threaded hole.
I hope you like this one, be sure to subscribe to me for many more instructables like this one coming soon, also if you like this then be sure to favorite it. If you have any questions or comments then be sure to leave them below, I'm very good at responding and if I don't right away then just be patient and I will respond to you soon. also Please be sure to vote for me in the 3d printing contest, thank you.