Flat-pack Cut-out Decorations
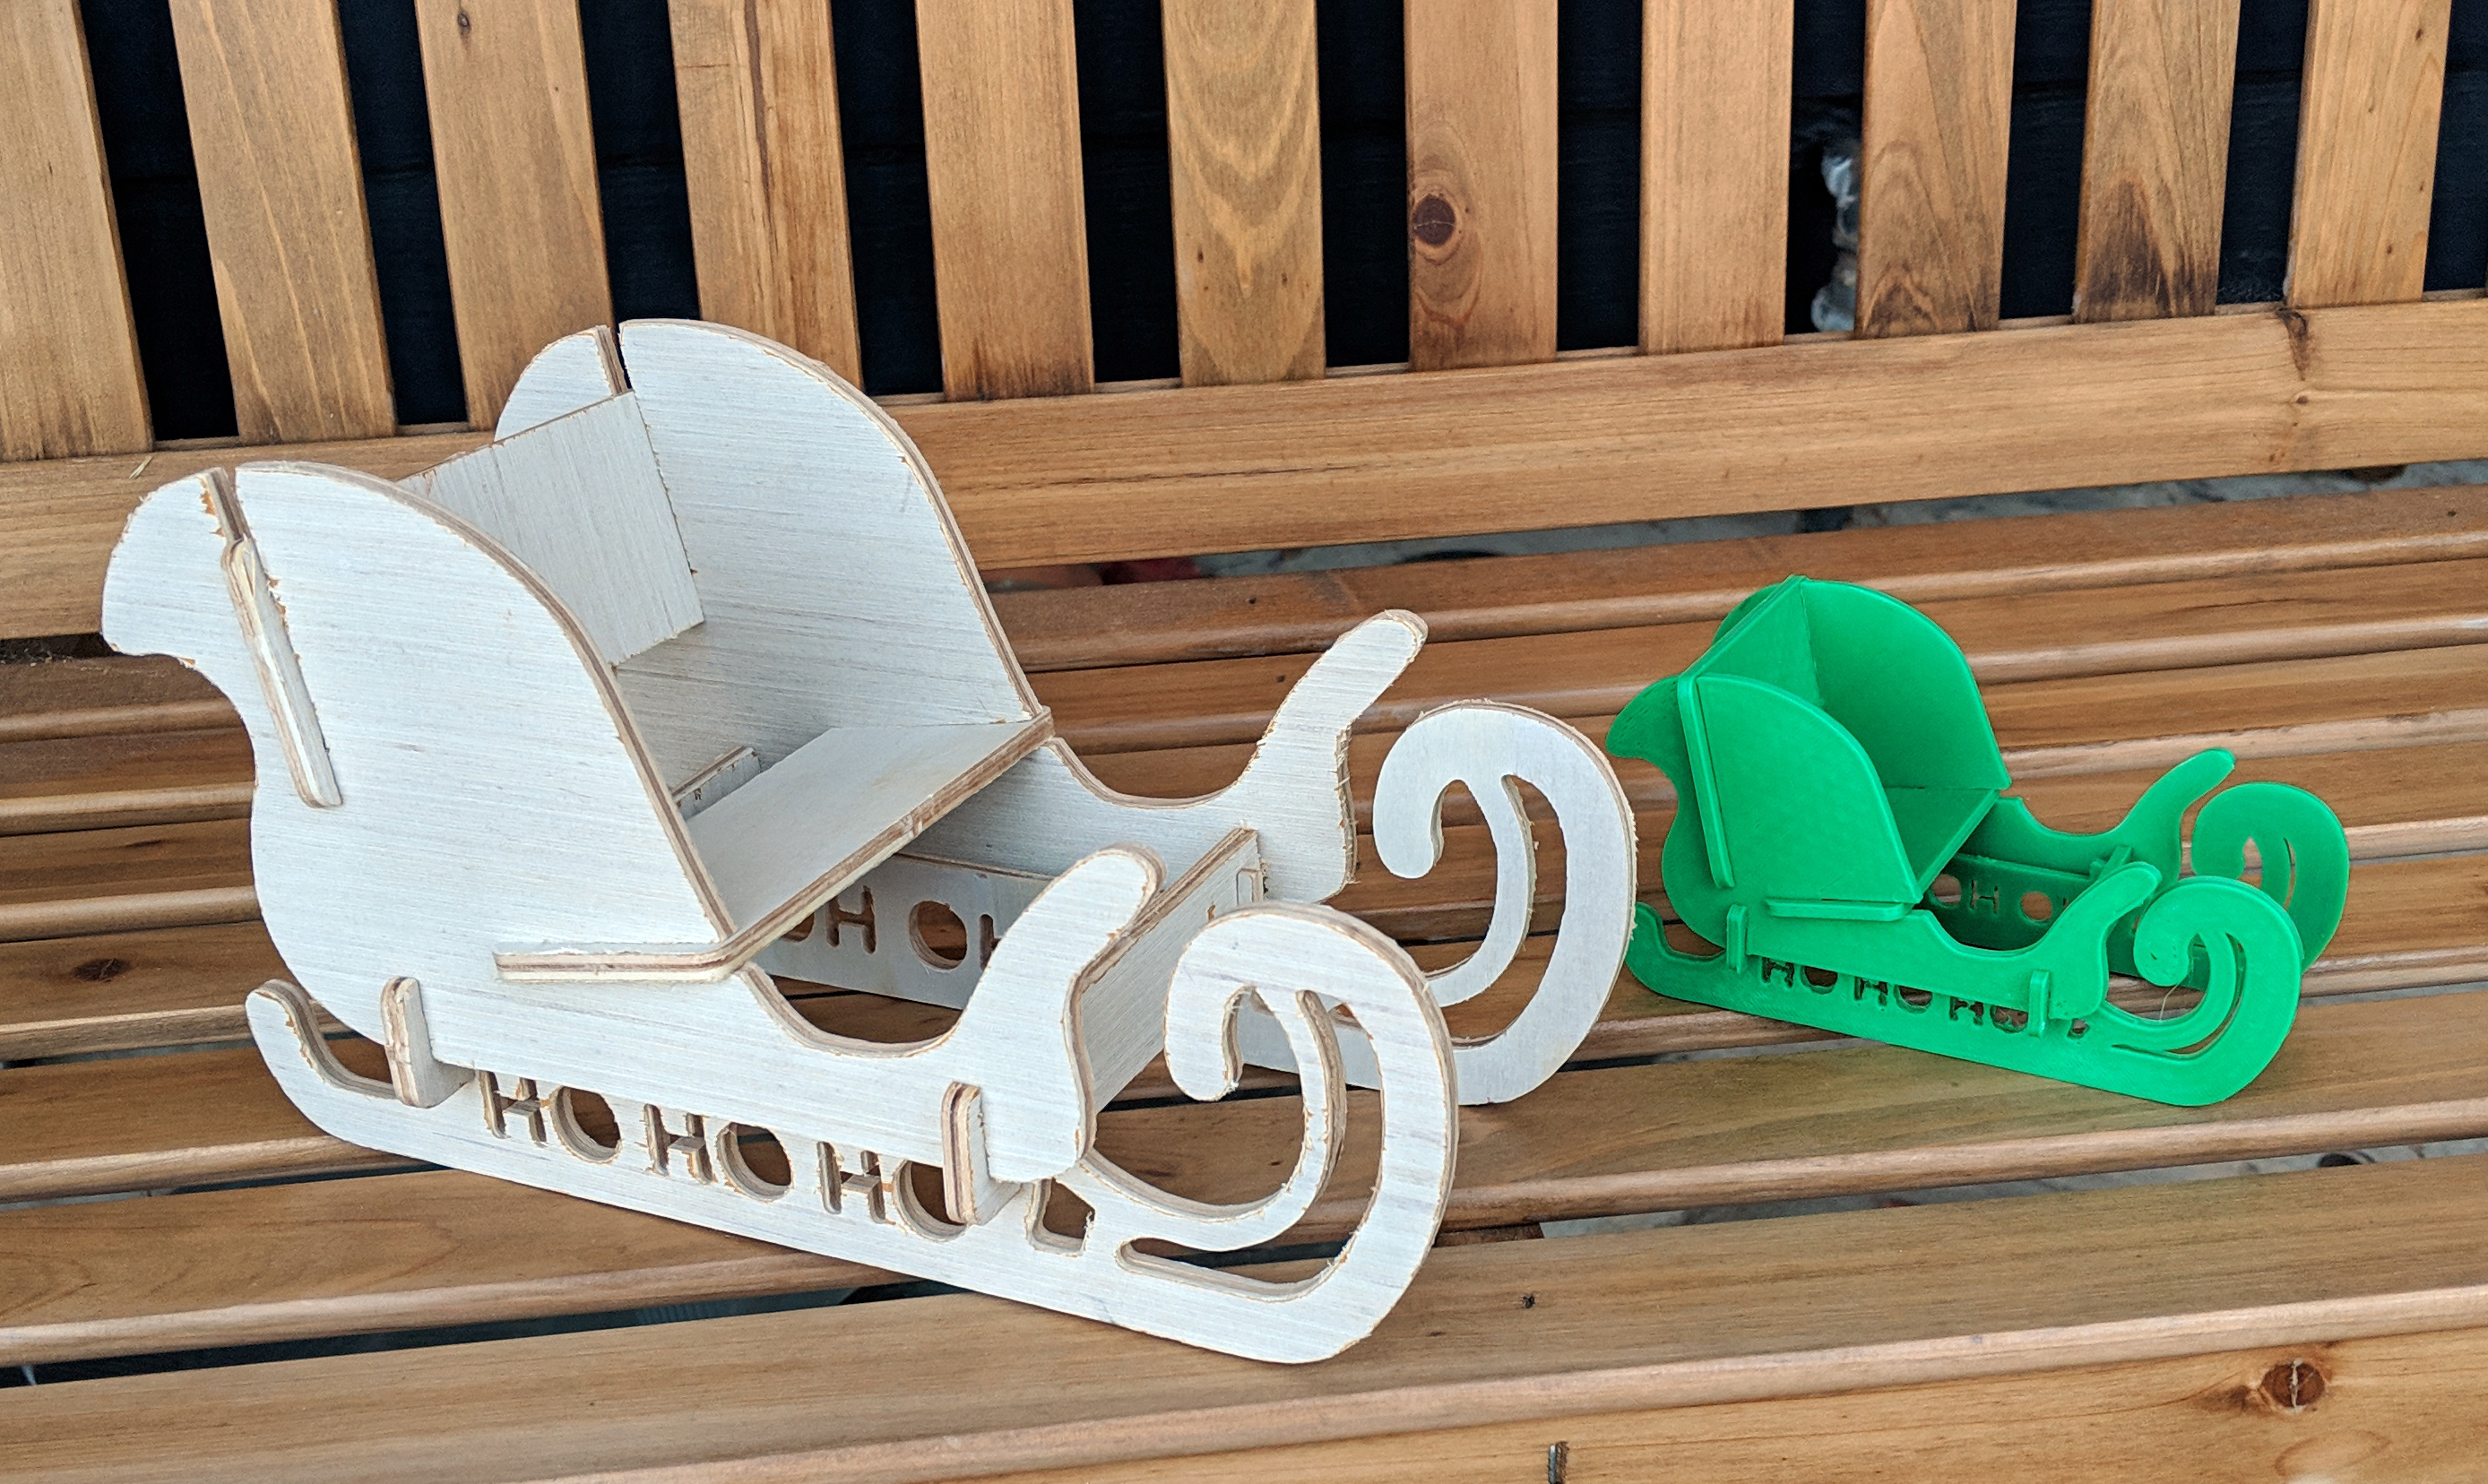
During the Holidays every year, I always like to continually step up my Griswold game. This year, I wanted to build some decorations that are fun and simple, and also pack away easily.
I have fond memories of those 3d dinosaur skeleton sets, which come in a few small sheets of wood, but expand to a much larger object, so I want to go with that style of cutout boards. I also thought it would be easy to make this whole thing scalable, so you can 3d print a “Christmas card” which can be popped out and assembled, or you can make household decorative reindeer, or even make a full Santa Sleigh complete with 8 reindeer! This year I’m going to focus on small to medium scale, but next year, I’m going all out with life-size cutouts!
Note that the point of this guide is to illustrate the process. Feel free to use the same product, but you can apply this process to a multitude of results. I’m thinking dinosaurs, ride-on toy cars, rocking horses, 3-dimensional puzzles. Also note there are many workflows, especially later on in the process. You can use anything from a $10 $25 jigsaw and cheap box-store plywood, to a laser-cutter and fancy baltic birch plywood, or a plasma cutter on sheet metal! Personally, I have a Robo R1+ Plus 3d printer, which I used to build a MPCNC, so I’m going to use that to cut out of 0.21” plain birch plywood that I found at Lowe’s.
Research
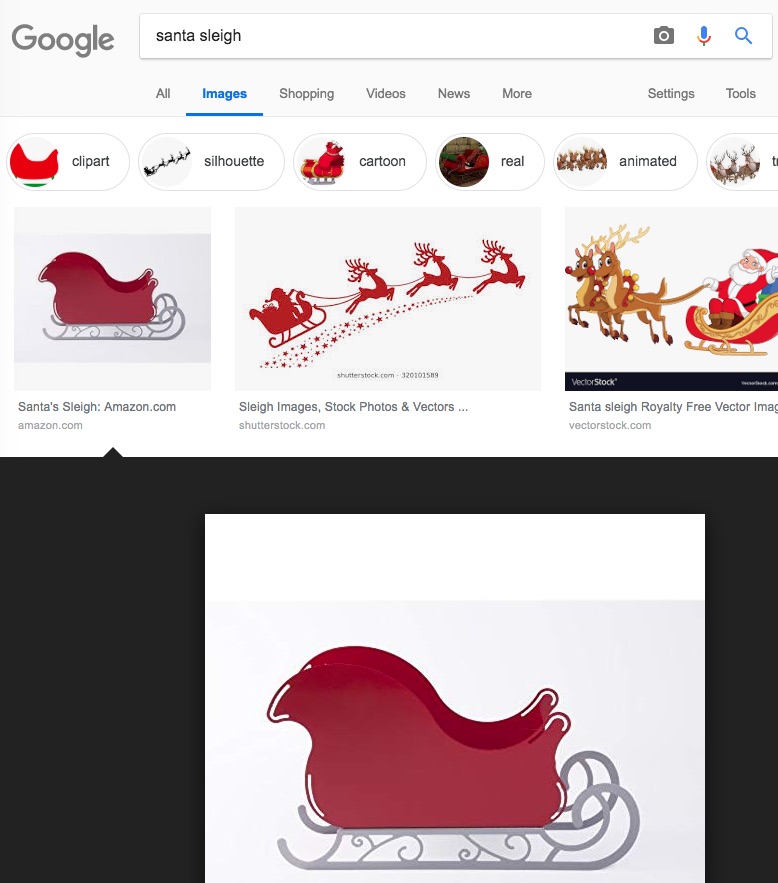
Find/draw images to base your design off. If you can find SVG files, that might save you time later on!
Design (the Hard Part)
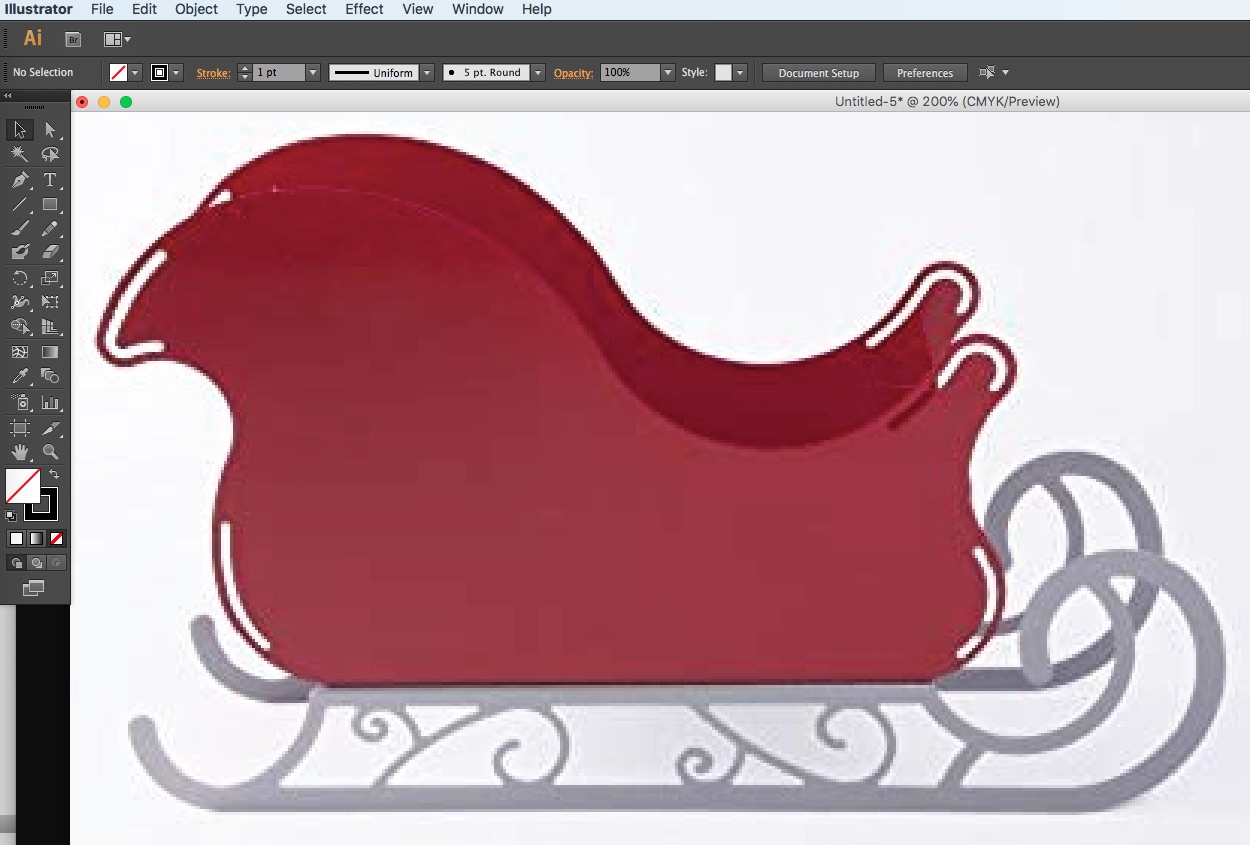
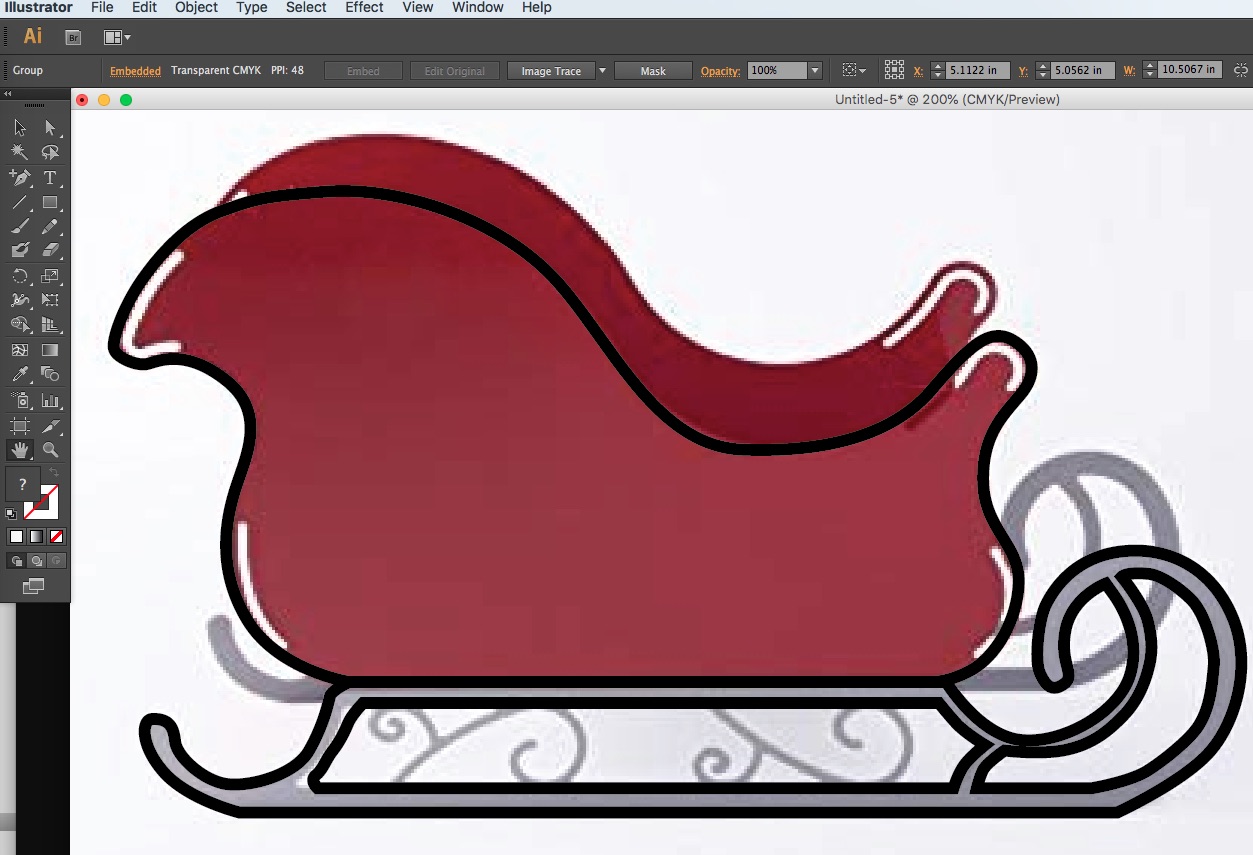
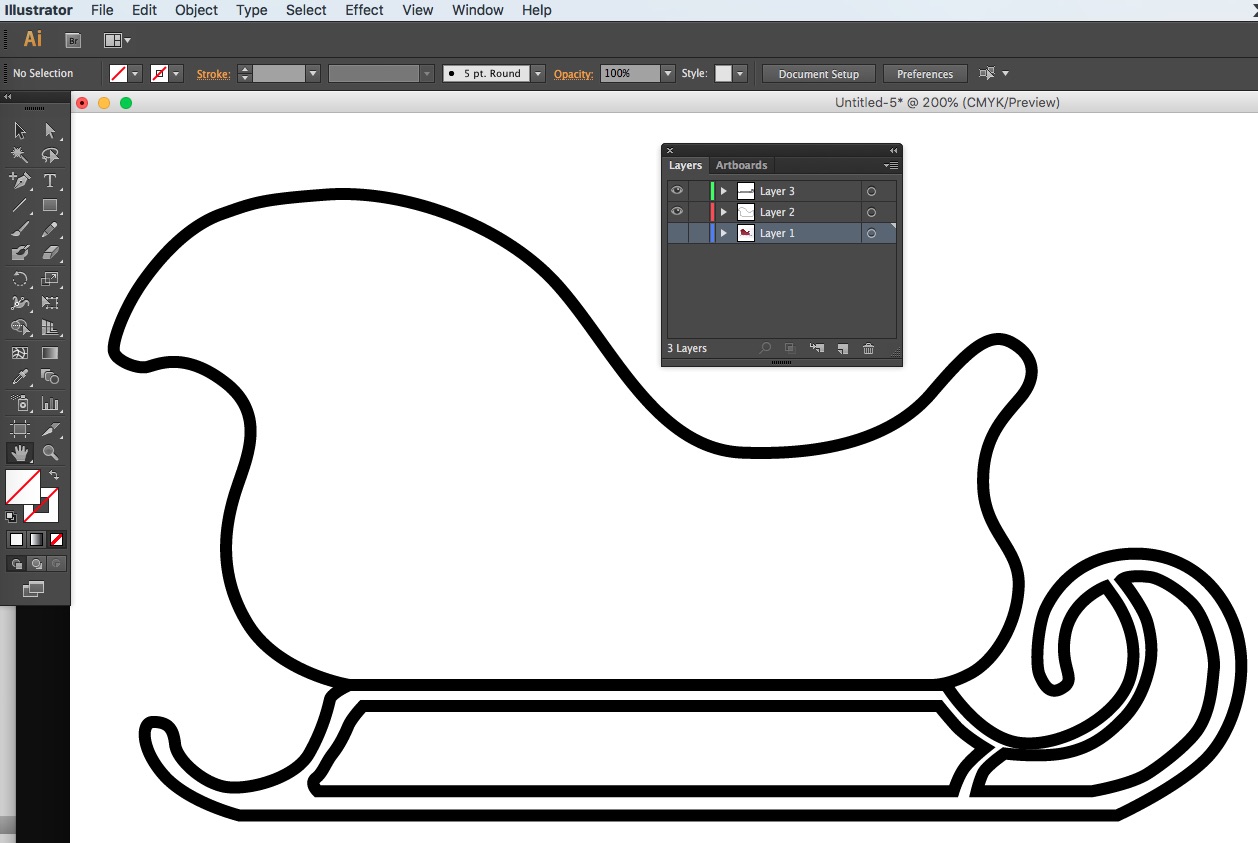
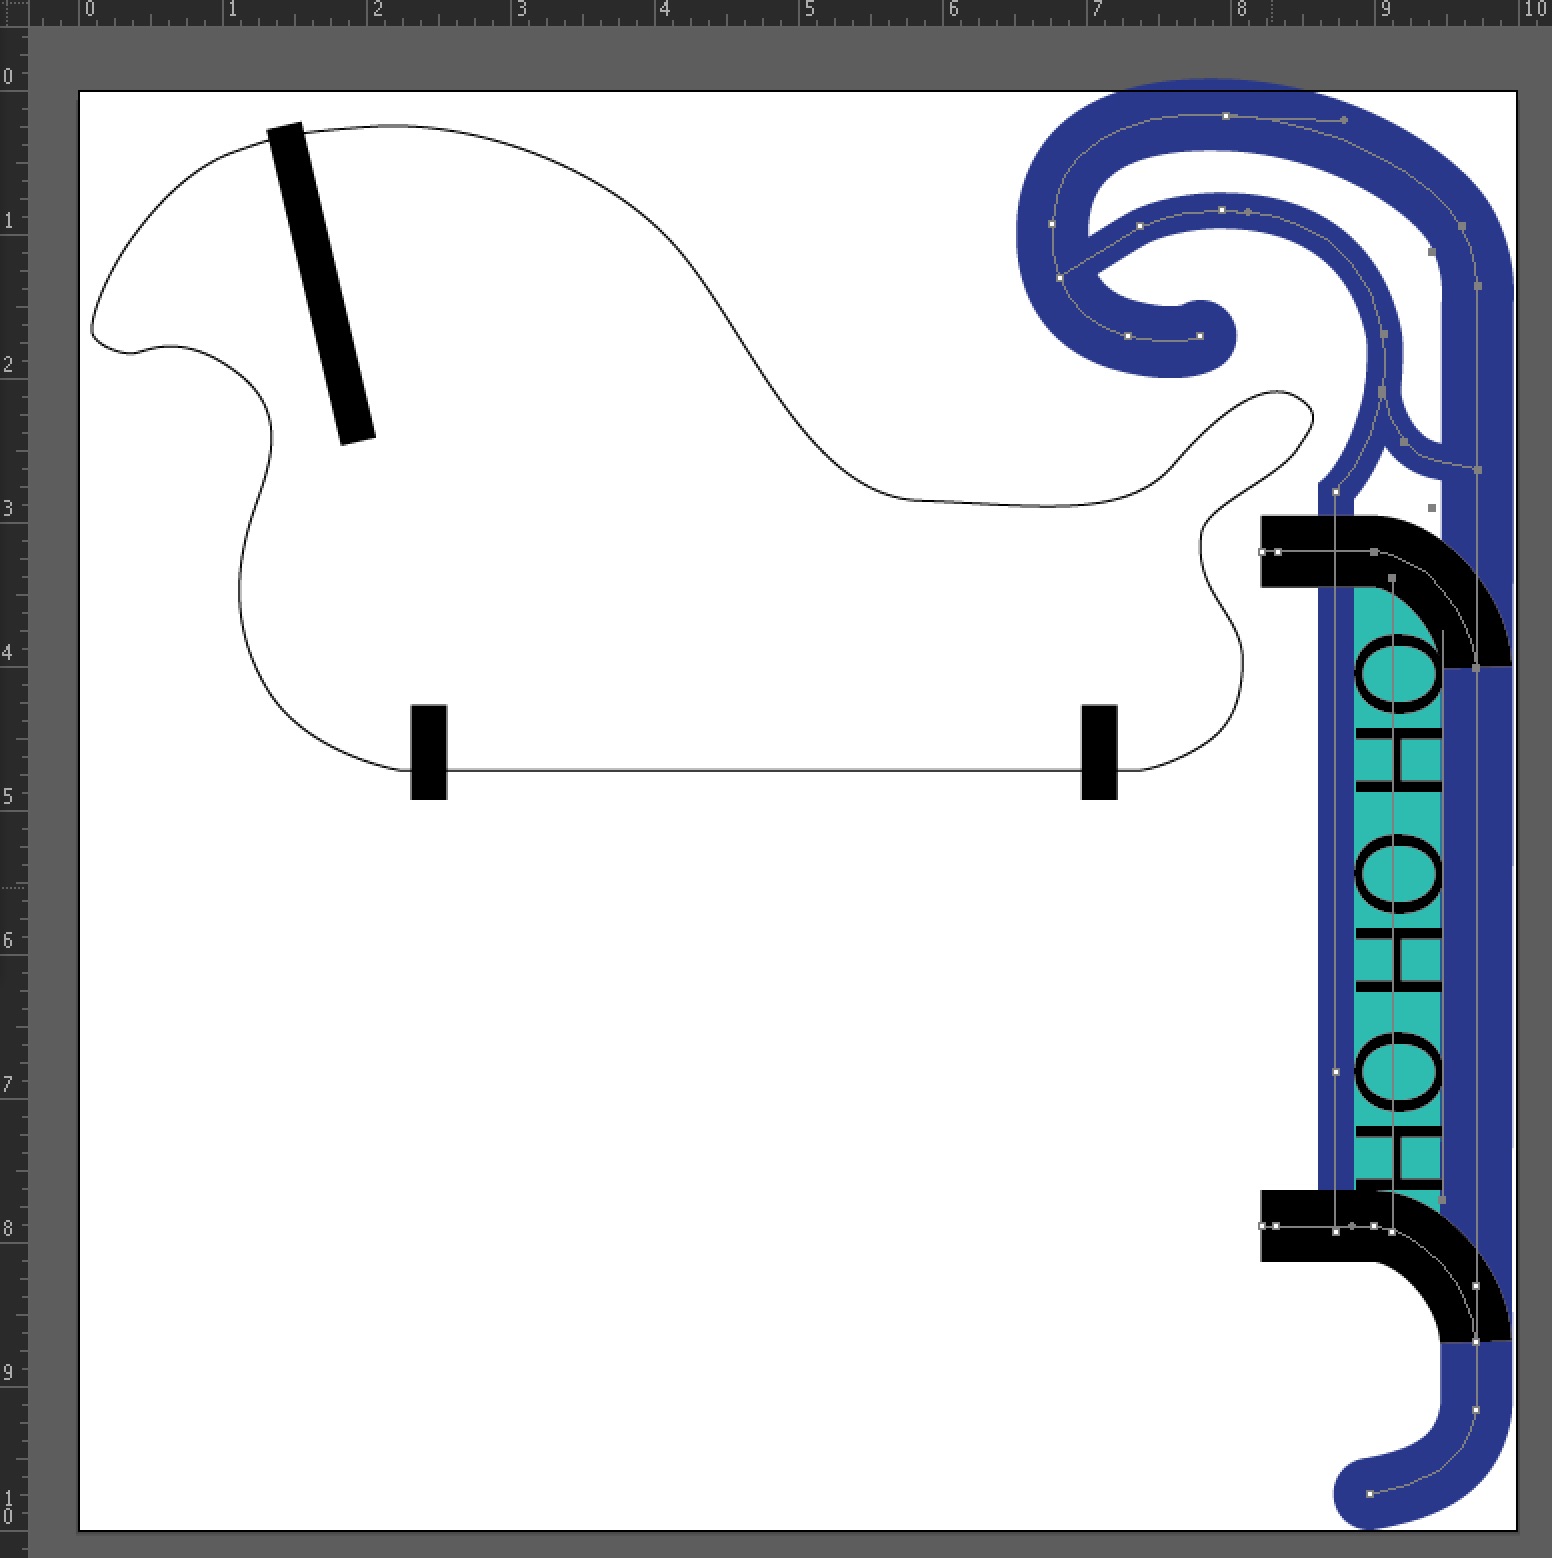
- Import the image/drawing into your favorite vector graphics program (i.e. Illustrator, Inkscape, etc).
- Trace profiles. At this point, do not draw the connecting sections cutouts, but just round them over.
- Figure out how you will connect the pieces. If the profile is large, you are going to want several connection points in order to hold things together securely.
- *IMPORTANT* for scalability: for each connection, draw a single line to mark where the perpendicular piece will slide in.
- Make sure to keep track of all of these either in a group or layer or something. If you are using a CNC/laser, try to group the sections to be on as few sheets as possible.
- Keep in mind the width/kerf of your tool. If you are using CNC with a ⅛” endmill, then make sure each profile is at least that far (preferably double that distance) from each other.
- If you are going to have two separate profiles, you need to make parts that will connect them together.
- Save this file, and make a backup in case you accidentally overwrite it later on.
Scale
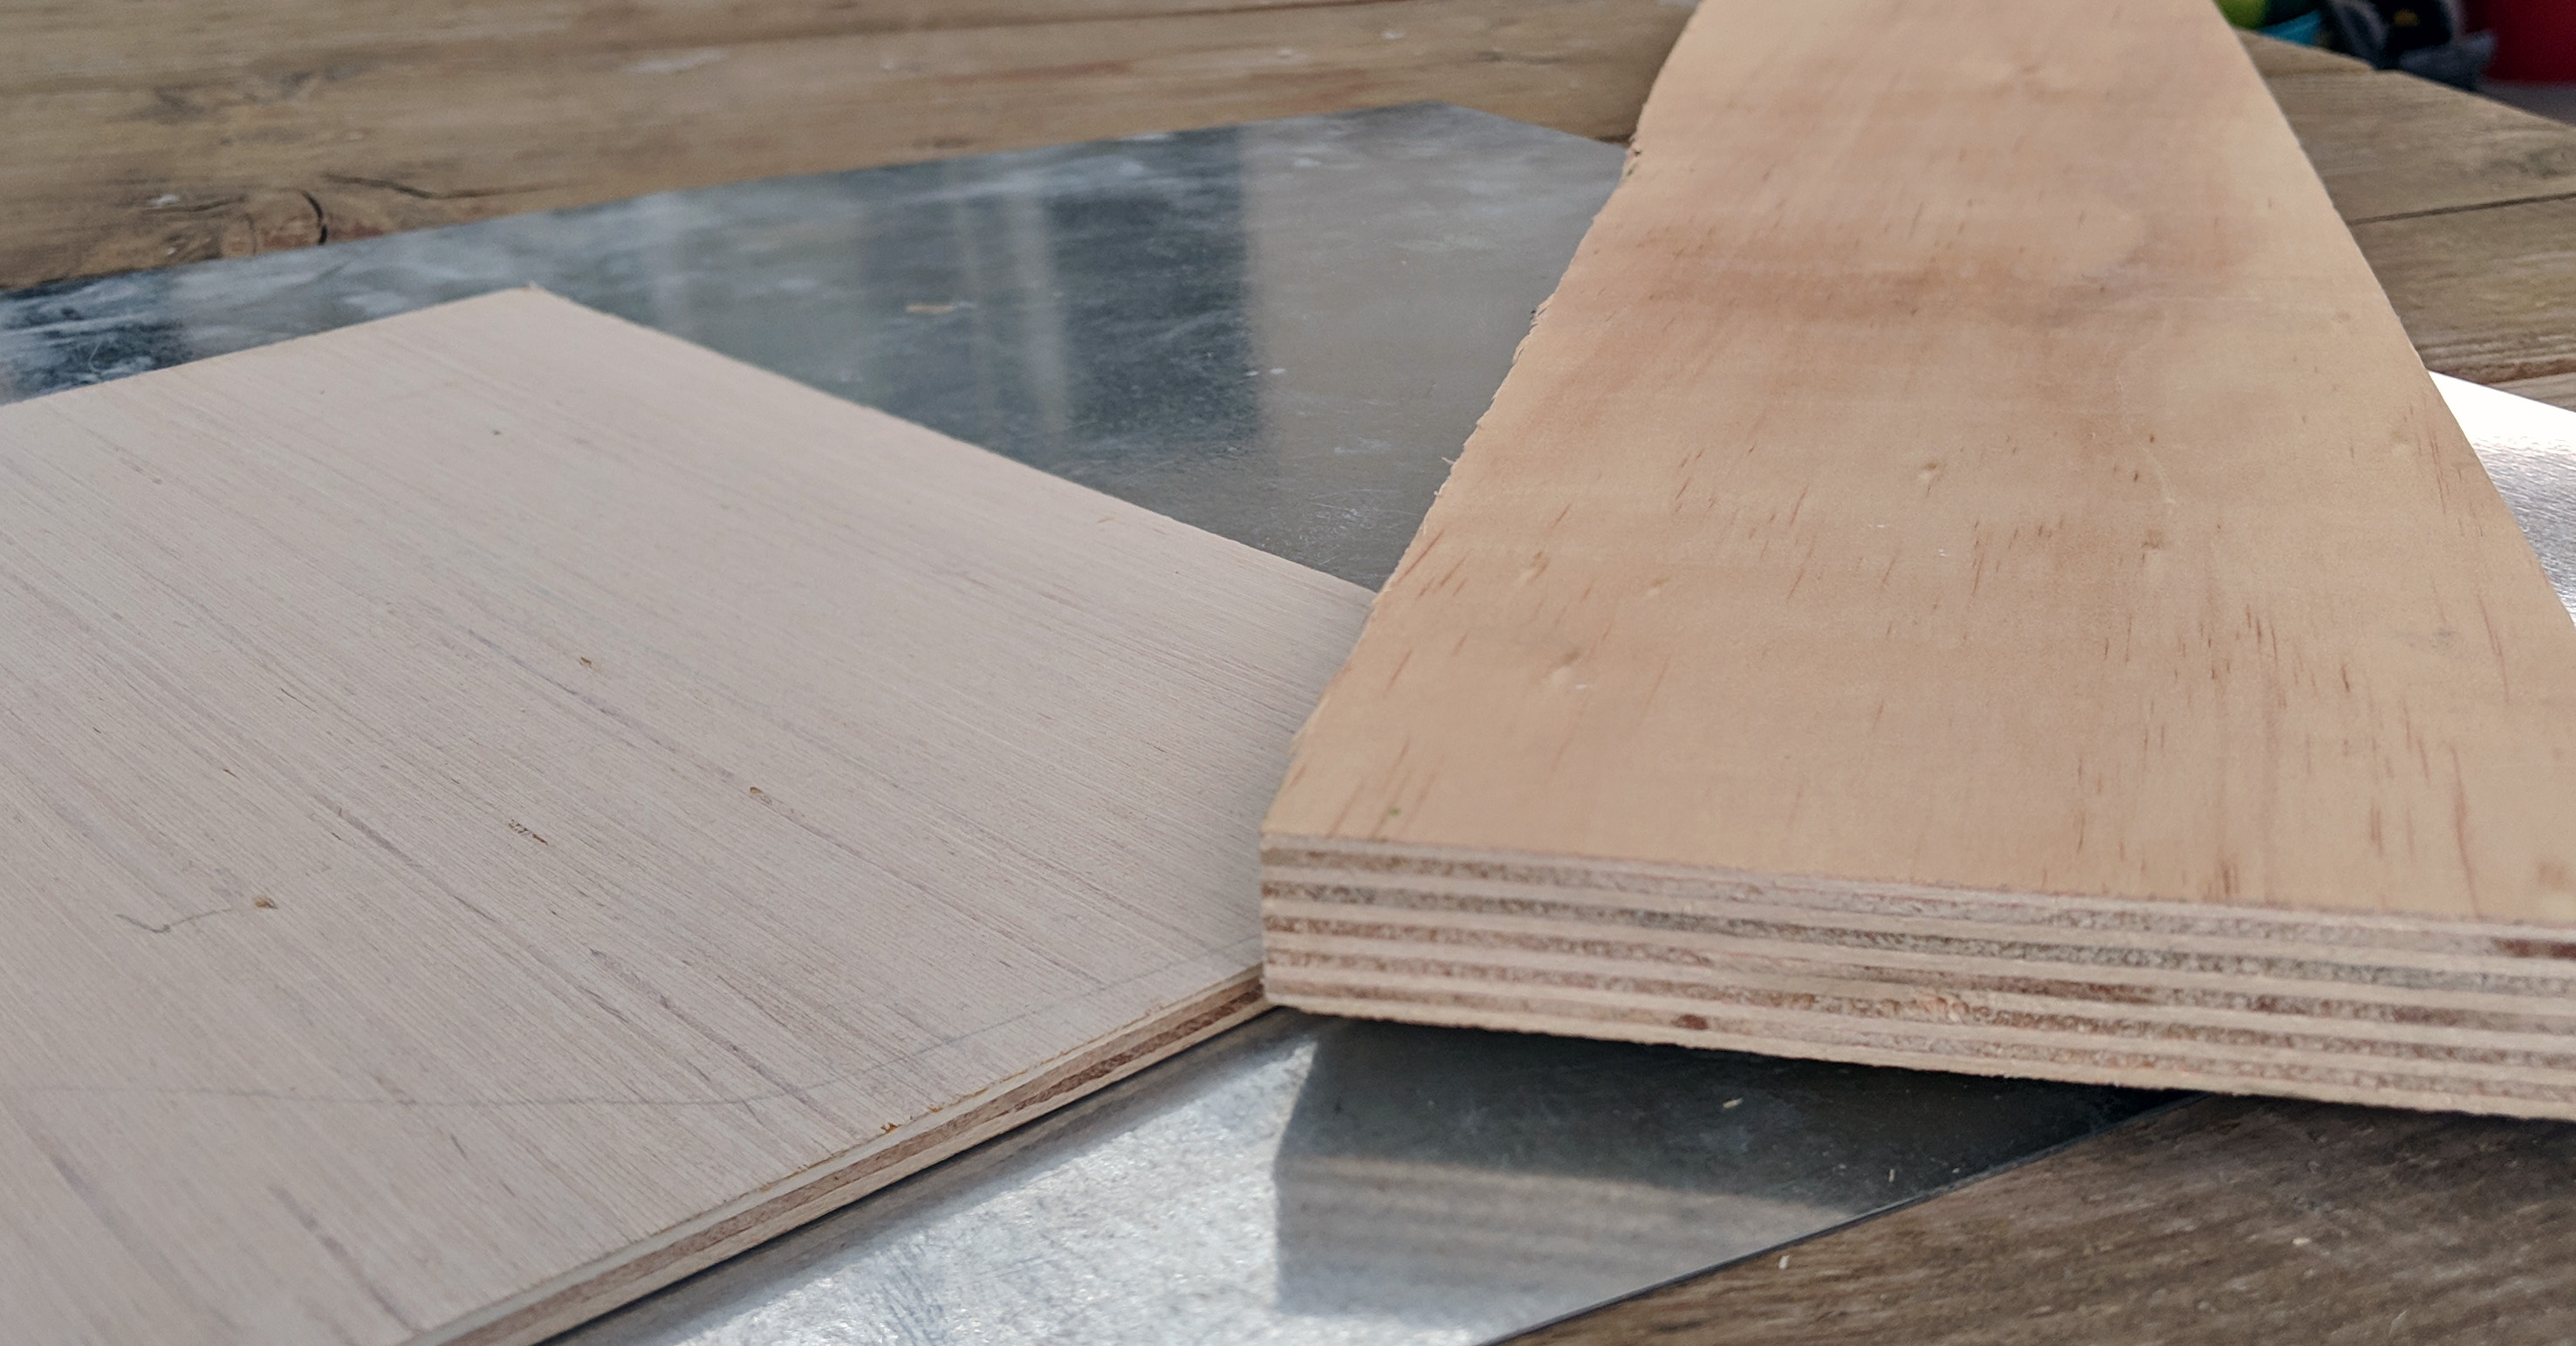

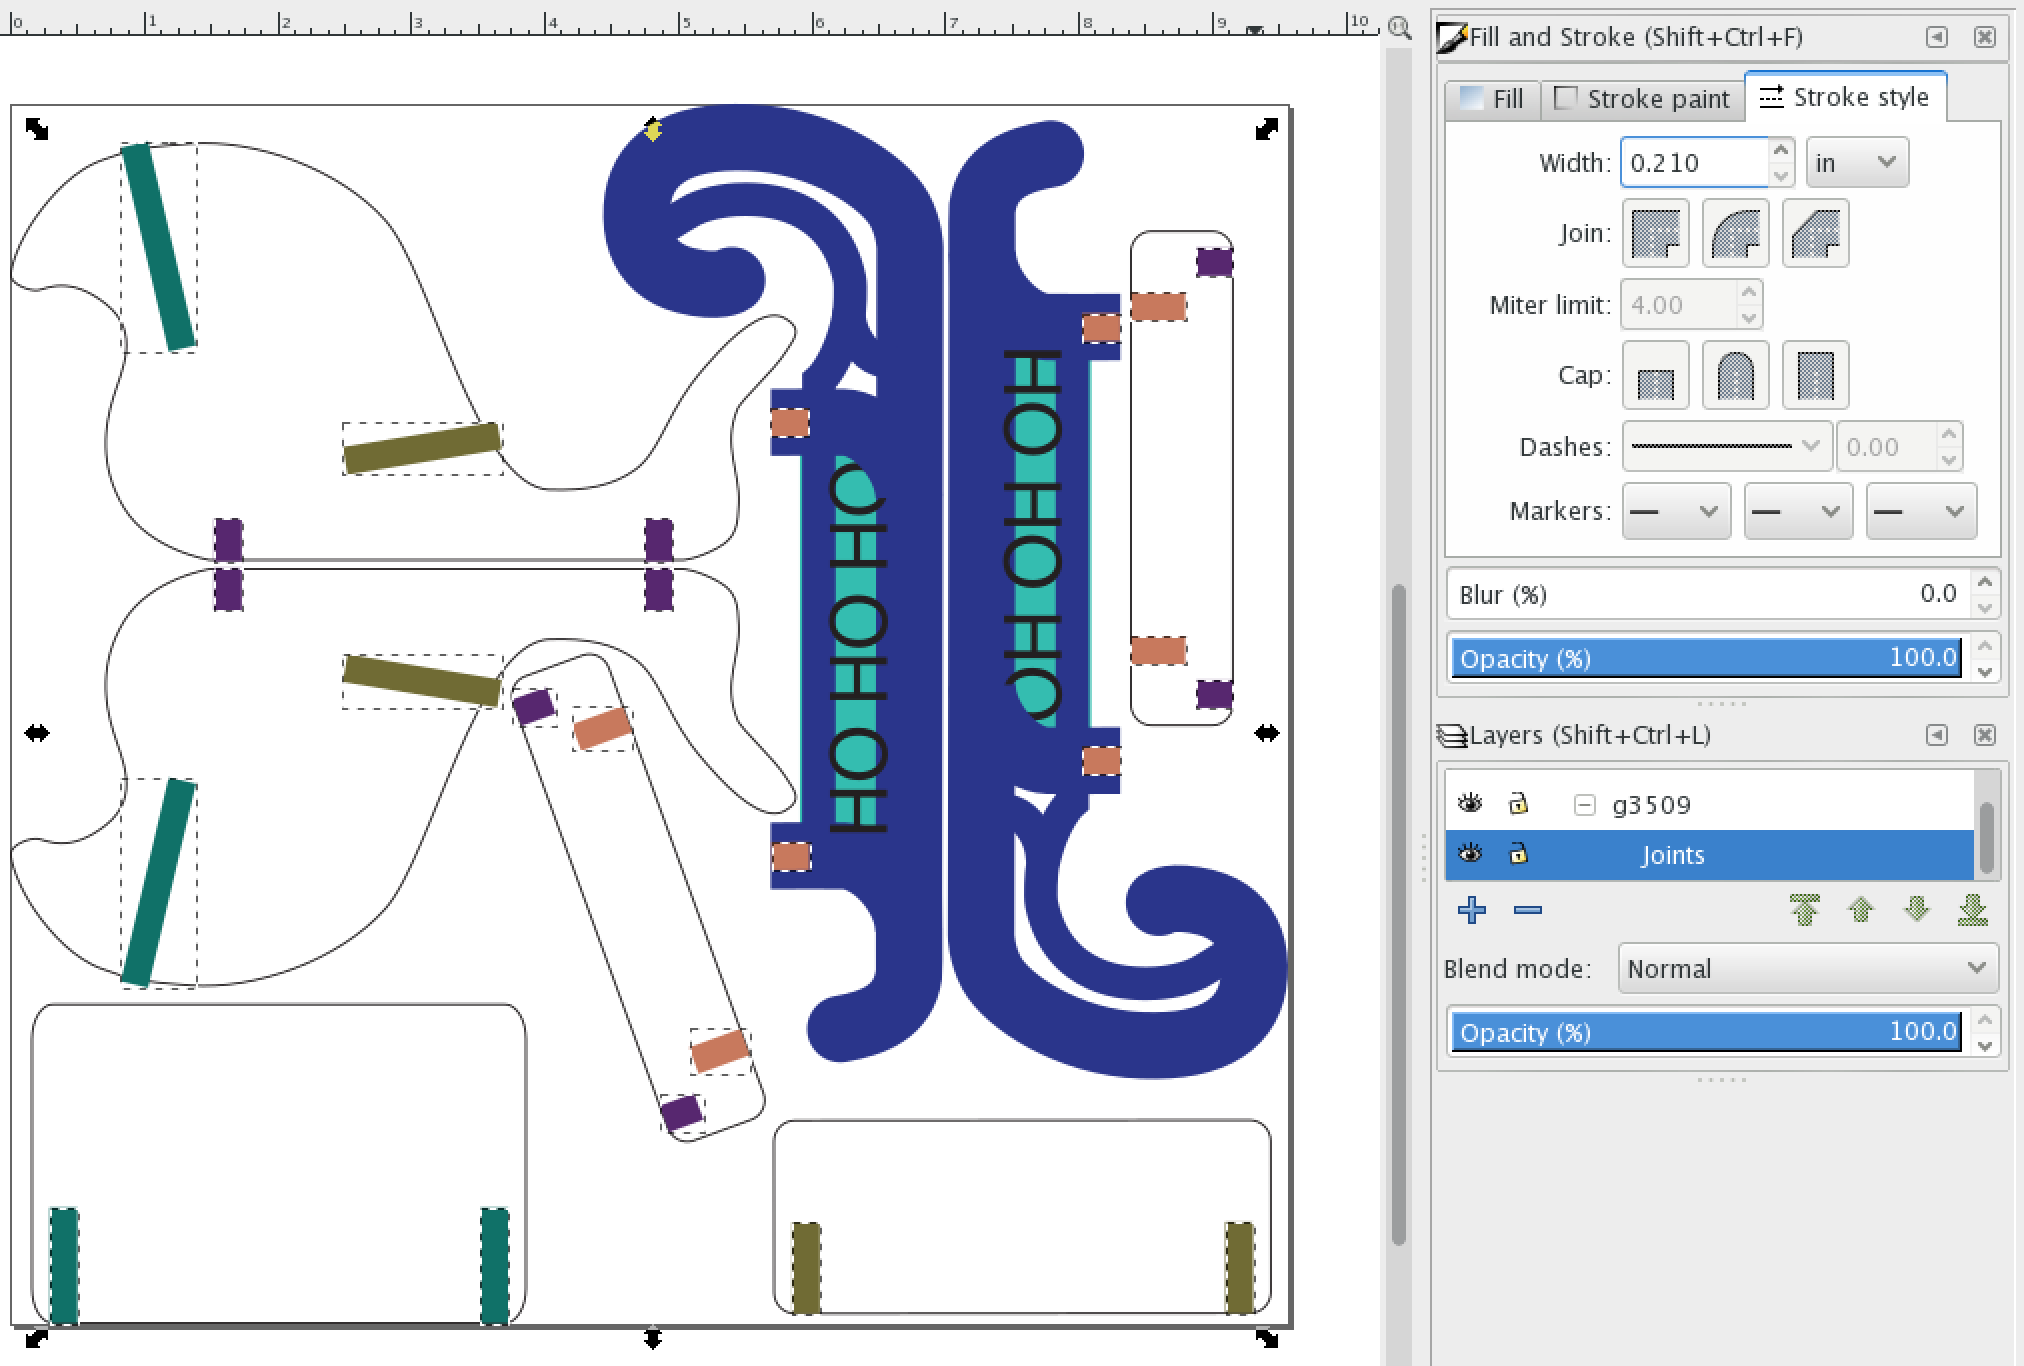
Scaling is a key point of this guide. If you do this part correctly, you can use the same design to create a tiny 3d printed ornament, to a larger plywood based household decoration, to a full size usable object made from 3/4" plywood! You could even use sheet metal for a more industrial look!
- First you need to get your model to the final dimensional size. Turn on the rulers, select all, and resize.
- Decide what scale you want the end result to be. You should scale thickness to the appropriate size. For example, use ¼” thick material for table-top fun, ½” thick material for child toy size, and ¾” thick material for full-size props.
- Set line/stroke widths for interlocking sections to the thickness of your material. You may want to add a small amount to make the joints easier. Most vector based image editors allow you to use any unit of measurement, so if you are using 1/2" plywood, simply enter '.5in' in the line thickness pane. That should then automatically convert to points (~36pt).
- (Optional) To keep things simple, put all of these joint lines on a separate layer from the other objects.
- (Optional) At this point, make a copy of your work.
- Convert lines to rectangles/shapes. This part is a little trickier, and pretty much every app calls it something different. First select all the joint lines. Then, in Illustrator, you select Object → Path → Outline Stroke. In Inkscape, you select Path → Stroke to Path. Basically, instead of a line with no body, you want a body with no outline.
- Subtract the converted lines from the shapes they come from to create the cutout. This is also tricky, as the process differs greatly from app to app. In Illustrator, you can use the Pathfinder toolbar, select “Minus Front” (it should be the second icon). In Inkscape, it’s under Path → Difference. The other tricky part is if your layering is off, it will remove the large profile shape from the cutout. If that happens, just make sure your cutout shape is “above” the profile shape (i.e. use “Bring to Front” or equivalent).
- At this point, you are ready to either print the cutouts (for manual sawing), or import your drawings into a program that can generate G-Code out of the shapes. *Pro tip* I like to make a box around all of the drawings that I can use as a reference to make sure the scale didn’t get messed up. Then when I import it (or print it), make sure the size lines up correctly.
- If you are importing into another app, save each page/section into a separate SVG.
If you are printing, go ahead and do a test print. Also, skip the next step.
Fabricate
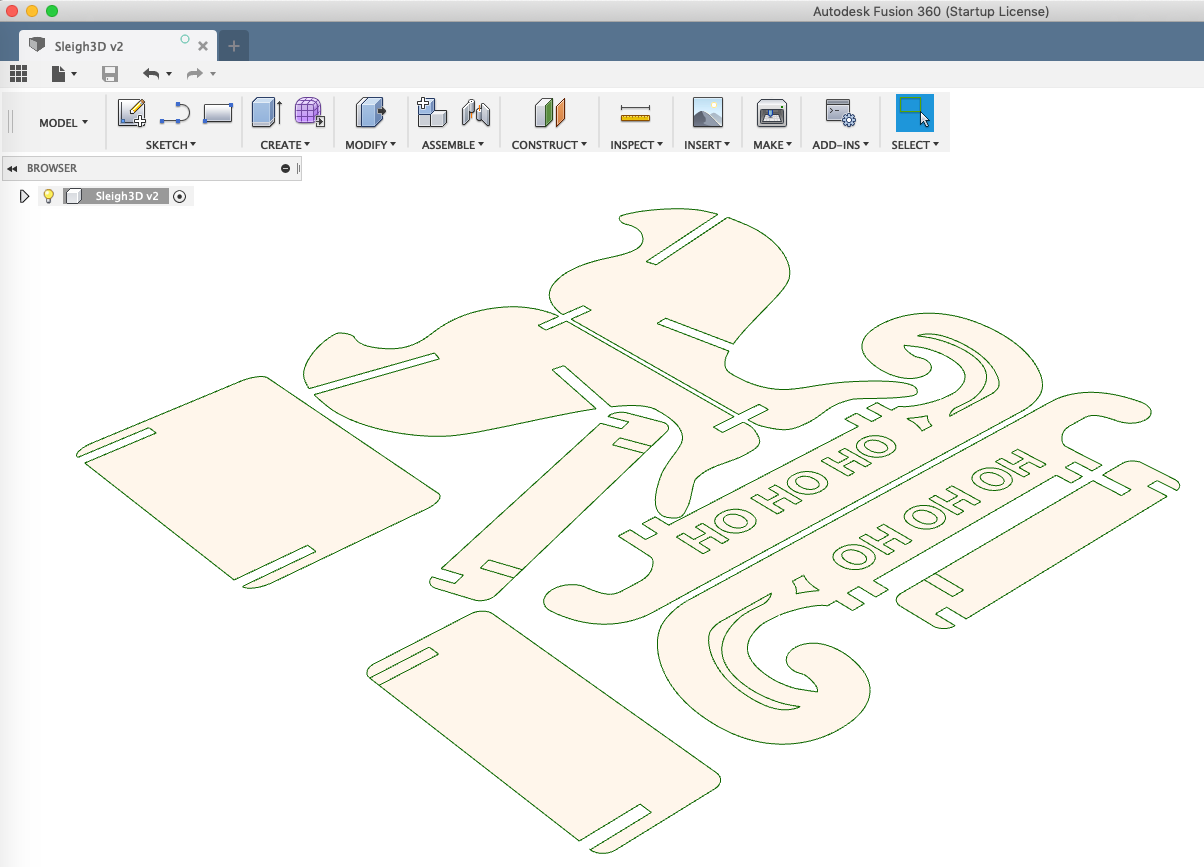
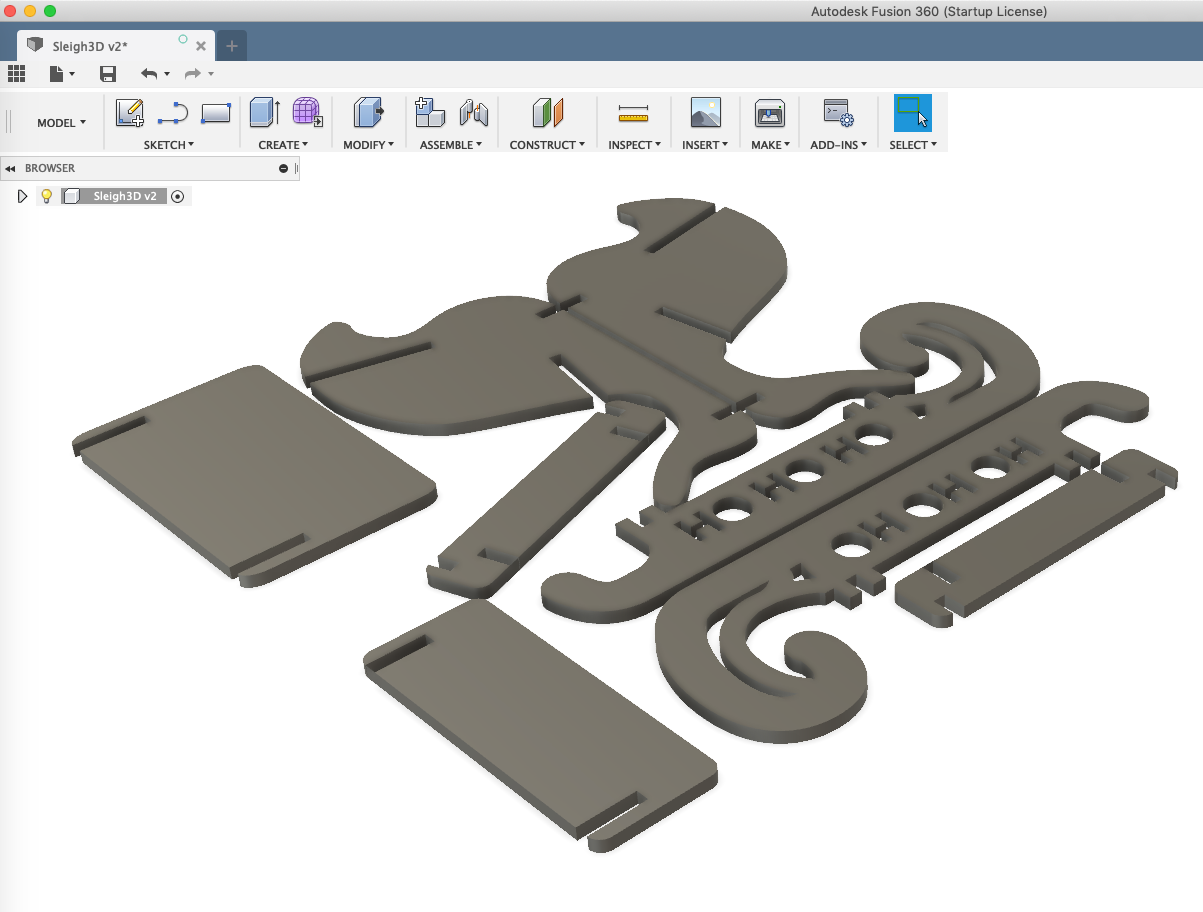
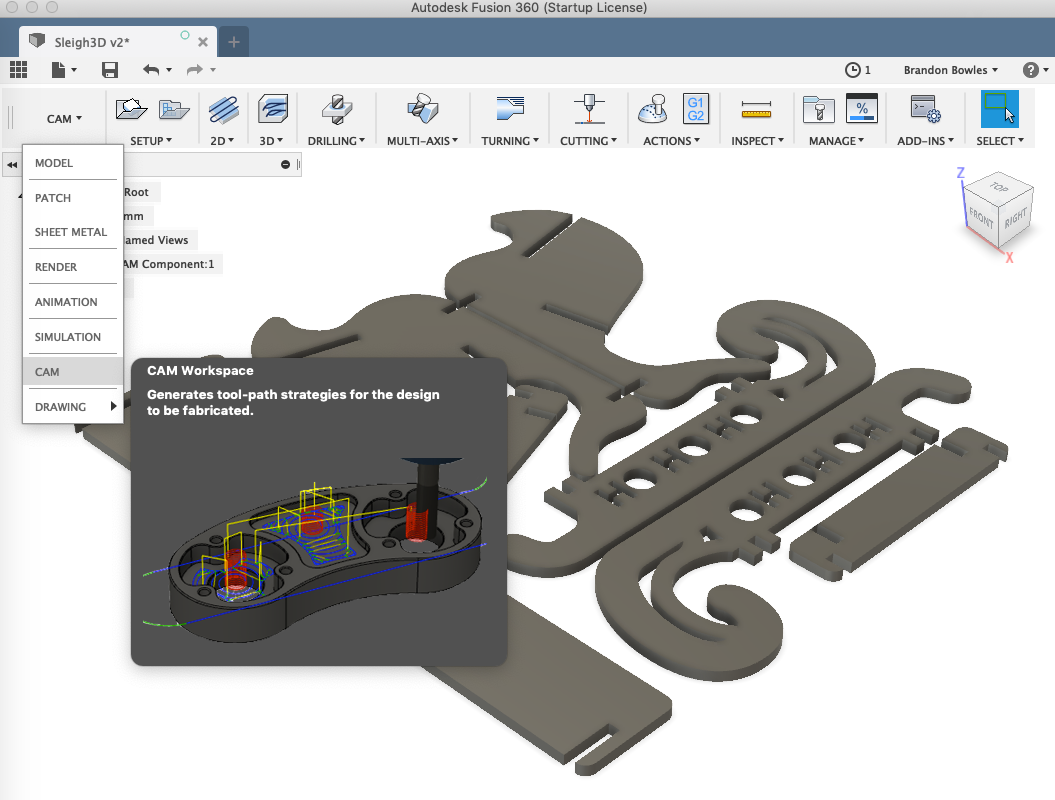
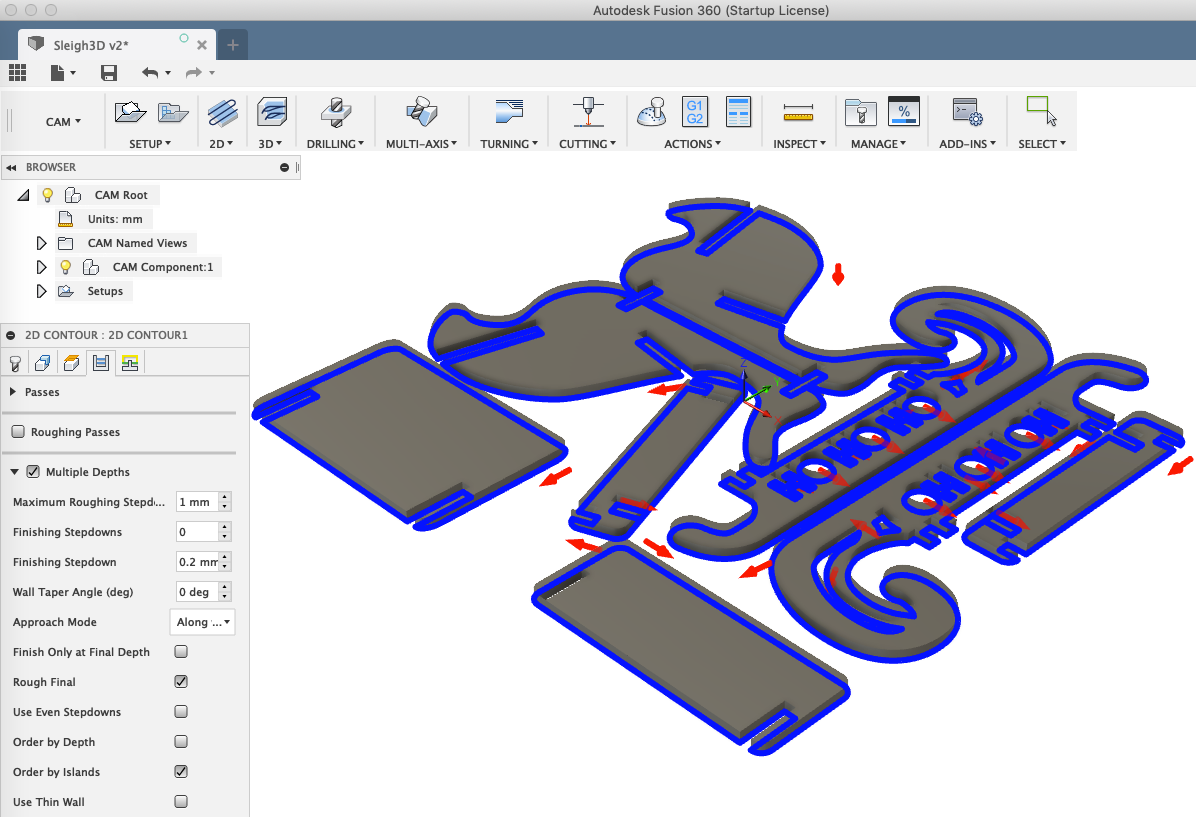
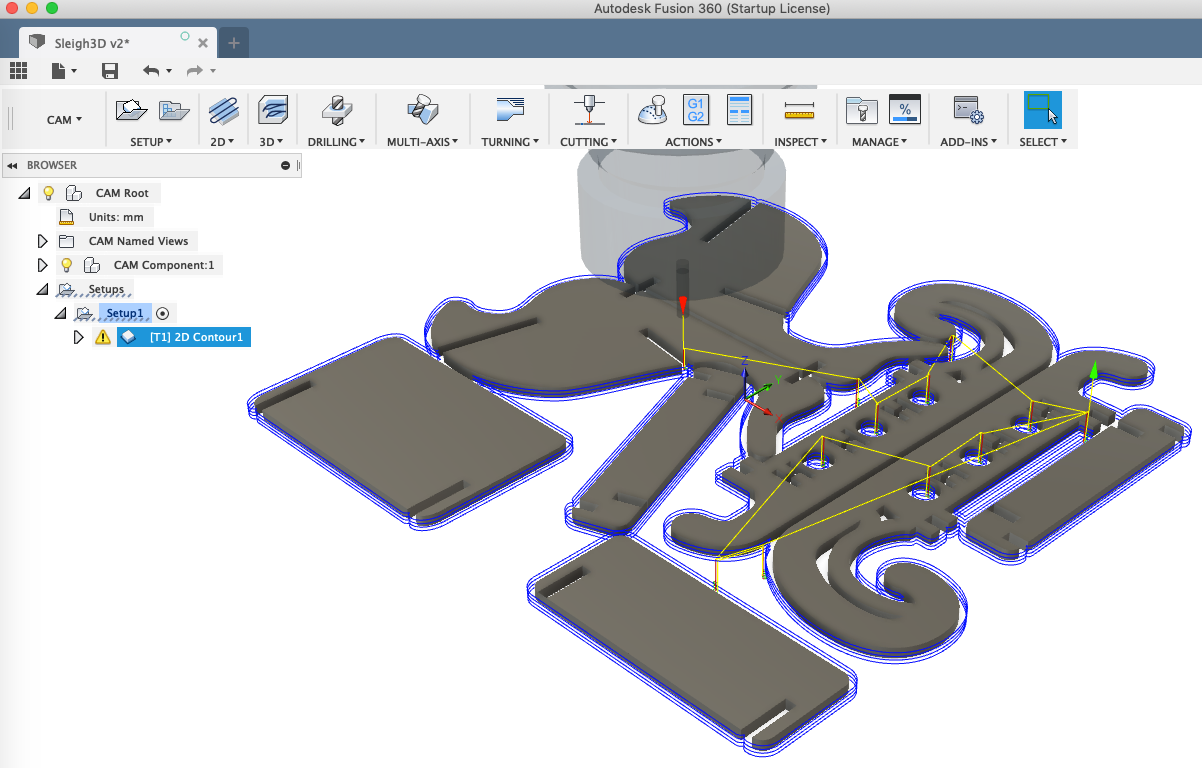
There are different apps that allow importing of drawings, manipulation, and export of GCode. My favorite is called EstlCam, which is nagware but offers a very simple interface for this sort of CNC work. You can also use Fusion 360 (which allows free use for makers).
For CNC/laser, generate CAM (computer-aided manufacturing) files. For 3d printing, generate STLs and slice into GCode.
If you are using EstlCam, here are the steps to turn the SVG into GCode to send to your CNC:
- Open the SVG. Set the SVG Unit to Pixel, and set the DPI to 72.
- Make sure the tool selected is the diameter of the tool you are cutting with. The default tool is 3mm, and I am using 1/8" which is ~3.17mm. You can tweak the other tool parameters at this point.
- Cut “parts” for each profile. Cut “holes” if you have any sections that require holes.
- I like to use holding tabs, and set their height to 2mm or so. This keeps each part in place until the whole cut is finished. This obviously is unnecessary if you are laser cutting.
- For the main profile, I like to add an extra partial-depth (i.e. 0.5mm) pass that I force to occur first (via "Machining order"). This helps me know exactly where the boundaries of the cut are early on, in case I need to move my workpiece for various reasons.
- Save CNC program. Set the toolpath depth to the thickness of your piece. This will create the GCode files you can feed into your CNC.
You could also use Fusion 360 which is simple enough as well:
- Import SVG (Under Insert toolbar button).
- Select all of the profile sections.
- “Press Pull” to the thickness of your material.
- Select CAM workspace.
- Generate toolpaths using 2D contour. Selecting the bottom contour lines under “Geometry”.
- Select “Multiple Depths” (under “Passes”) for CNC.
- Hit "OK" to go to the Tool Selection window. I typically just search the samples for '1/8" Flat Endmill' because that's what I'm using.
- Hit "OK" to generate your toolpath.
- In the main toolbar, select "Post Process" to generate an actual code file.
Finishing
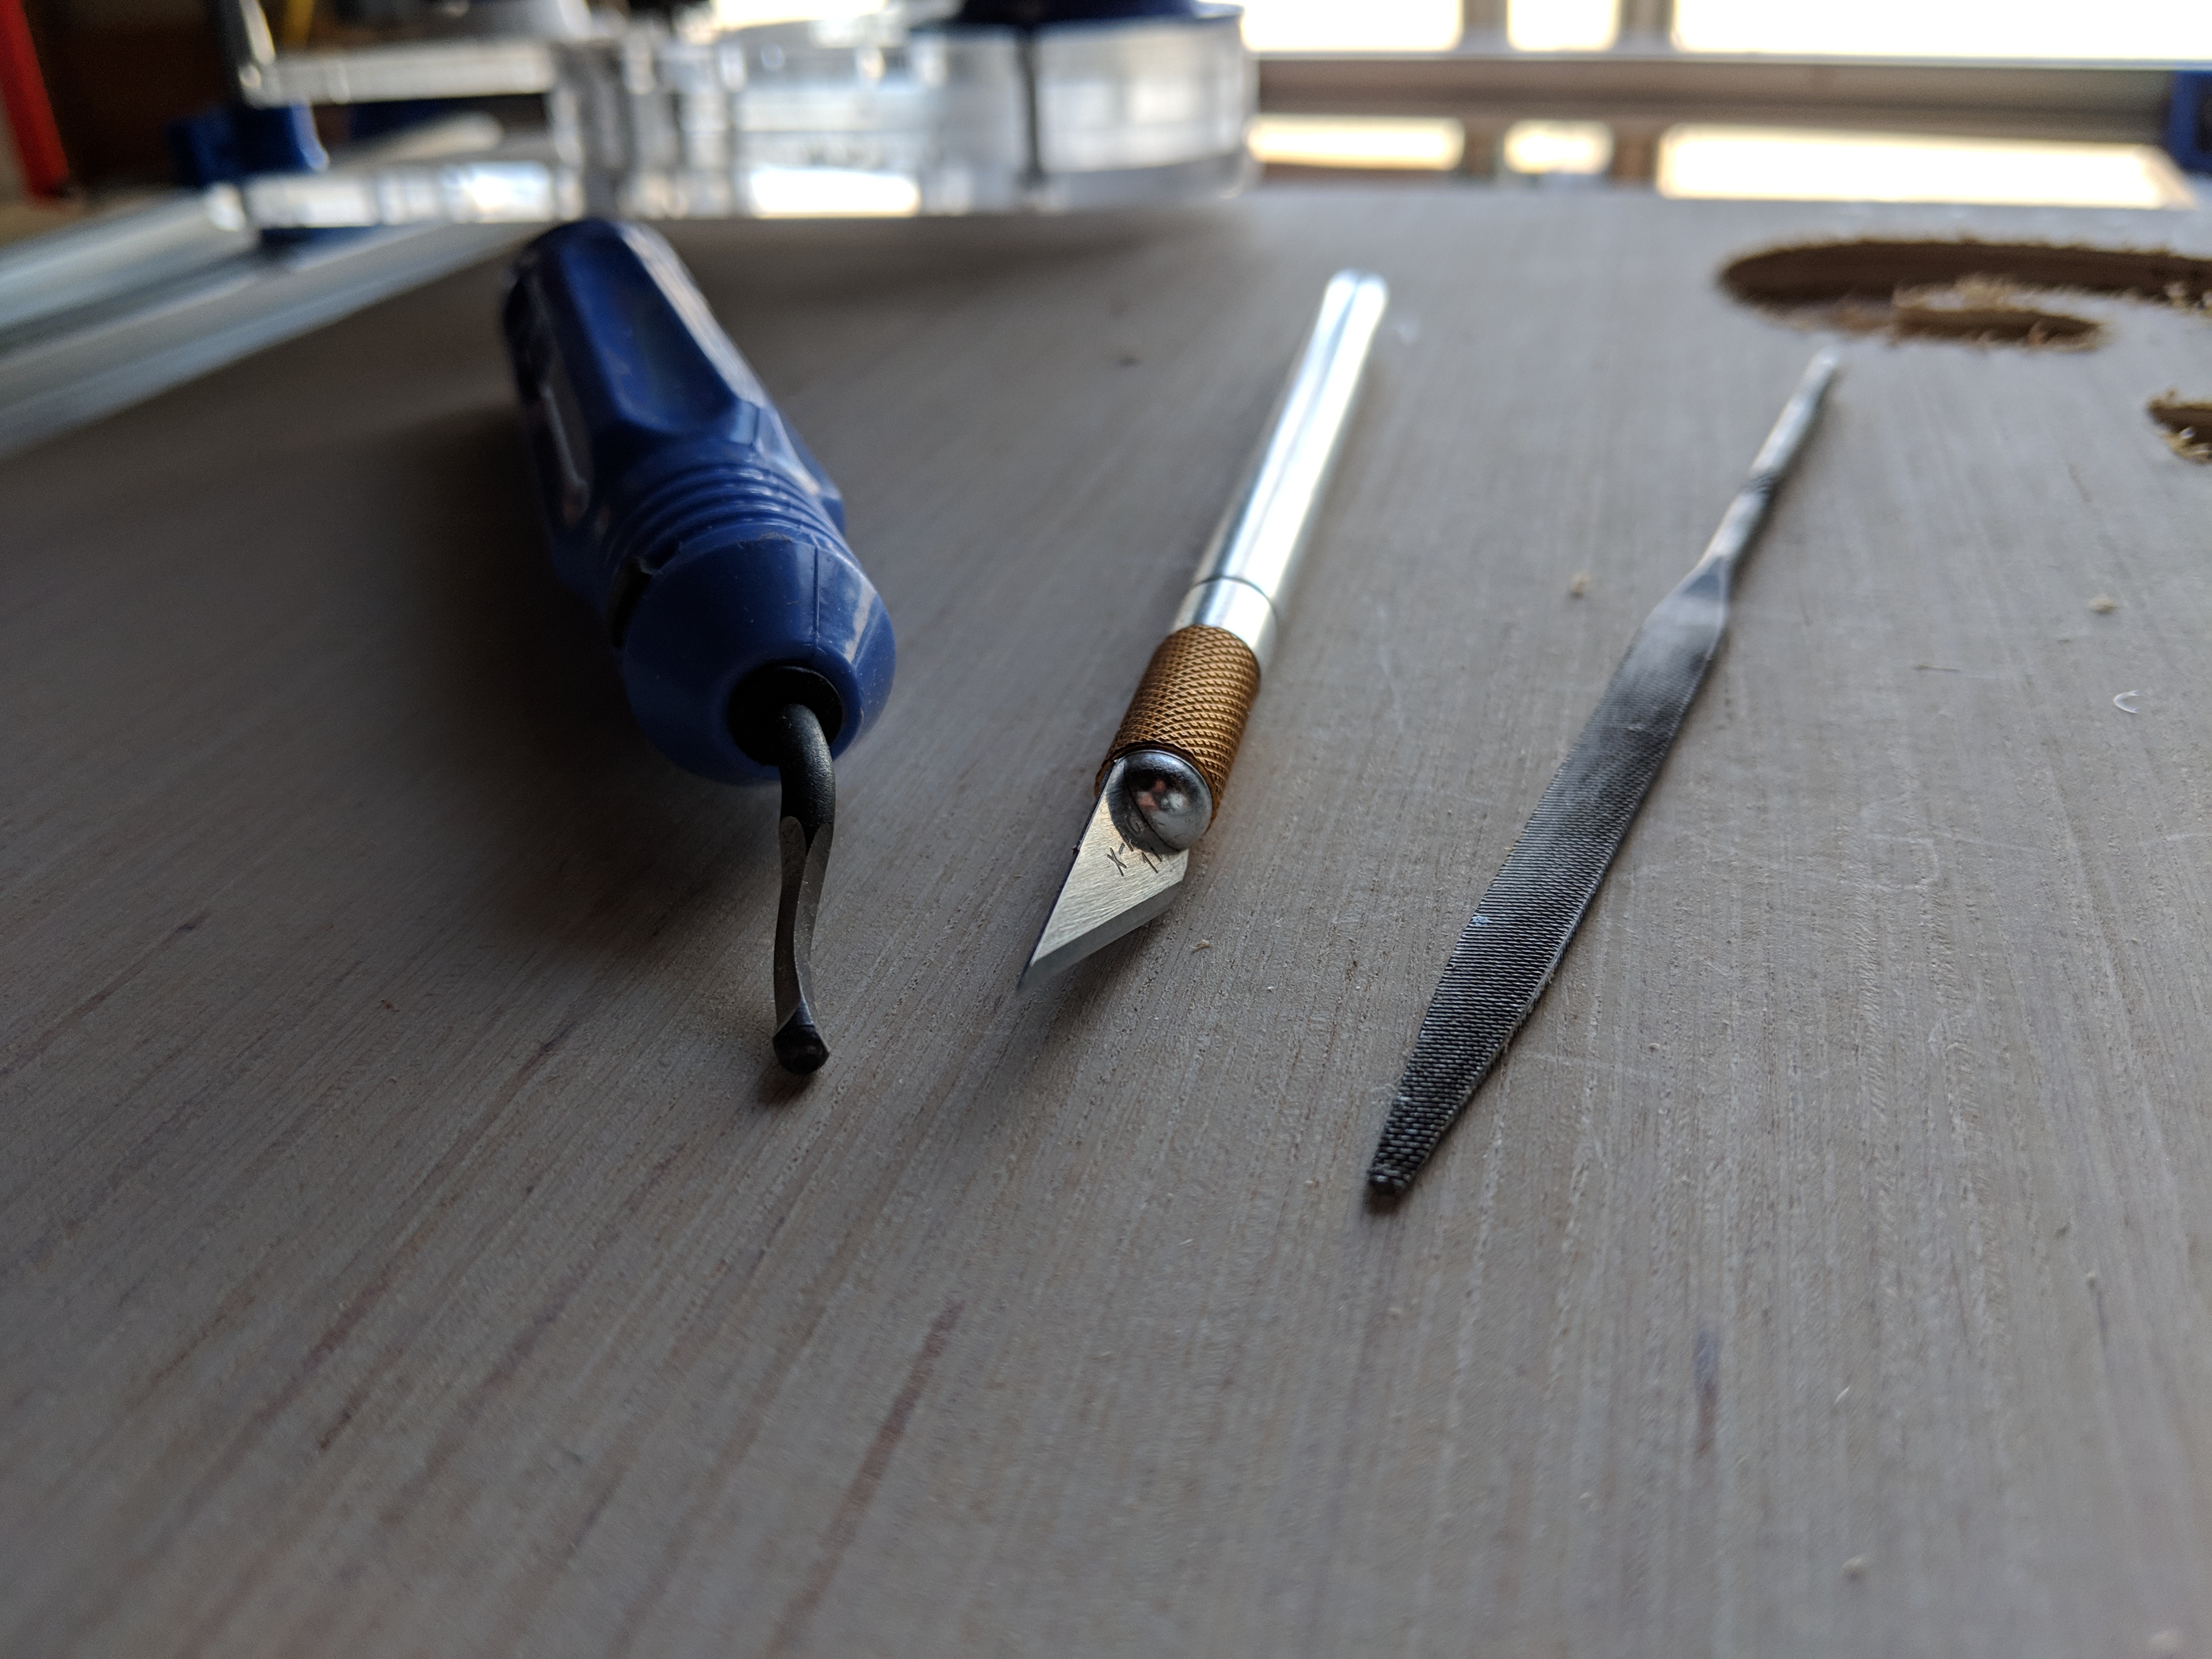
- Clean up any rough edges. For wood, start with a flat file. For 3d prints, trim the edges of the bottom layer with a sharpish object. I found a reamer on eBay for just a few dollars, and it has been a life saver. An X-acto knife will work great on edhges as well.
- Sand the edges down. I prefer tiny files, but sometimes sandpaper is more efficient.
- Paint, if that suits your fancy. People say to do multiple coats blah blah blah.
- Protect with a clear coat. I like MinWax Polycrylic (#notsponsored), because it’s water based, it doesn’t yellow the wood, and is relatively inexpensive.
Assemble!
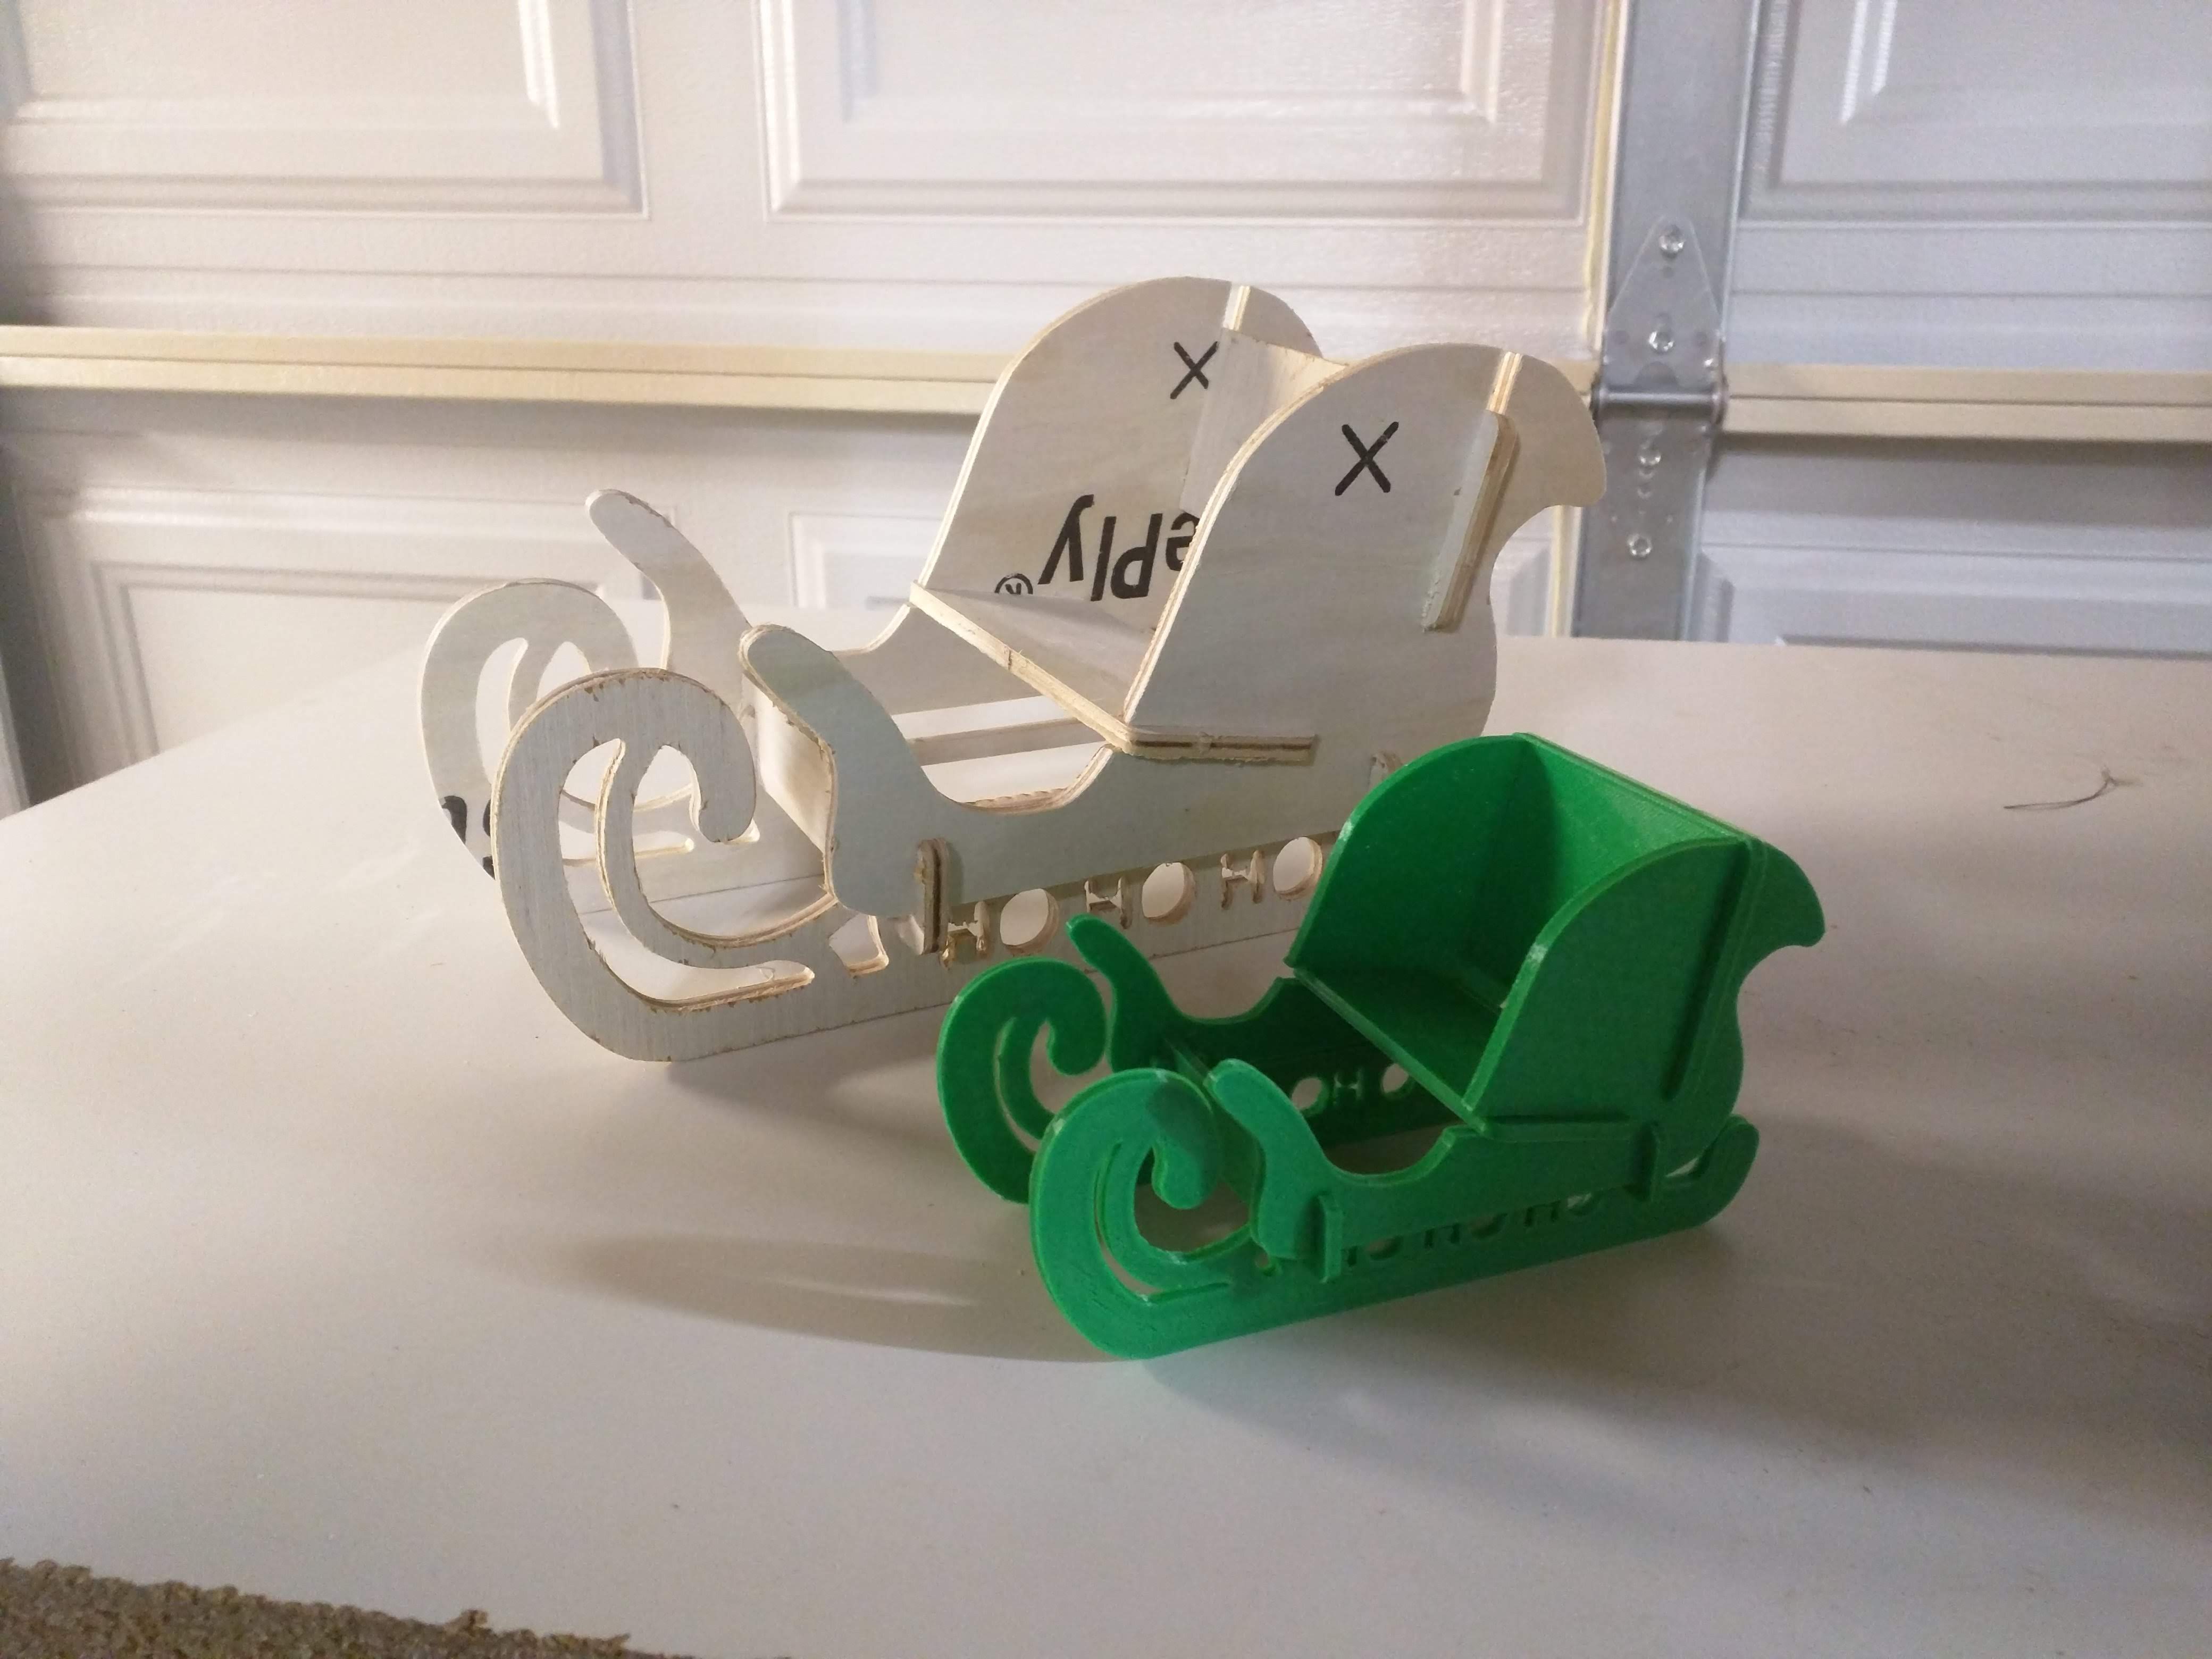
Pack It Up!
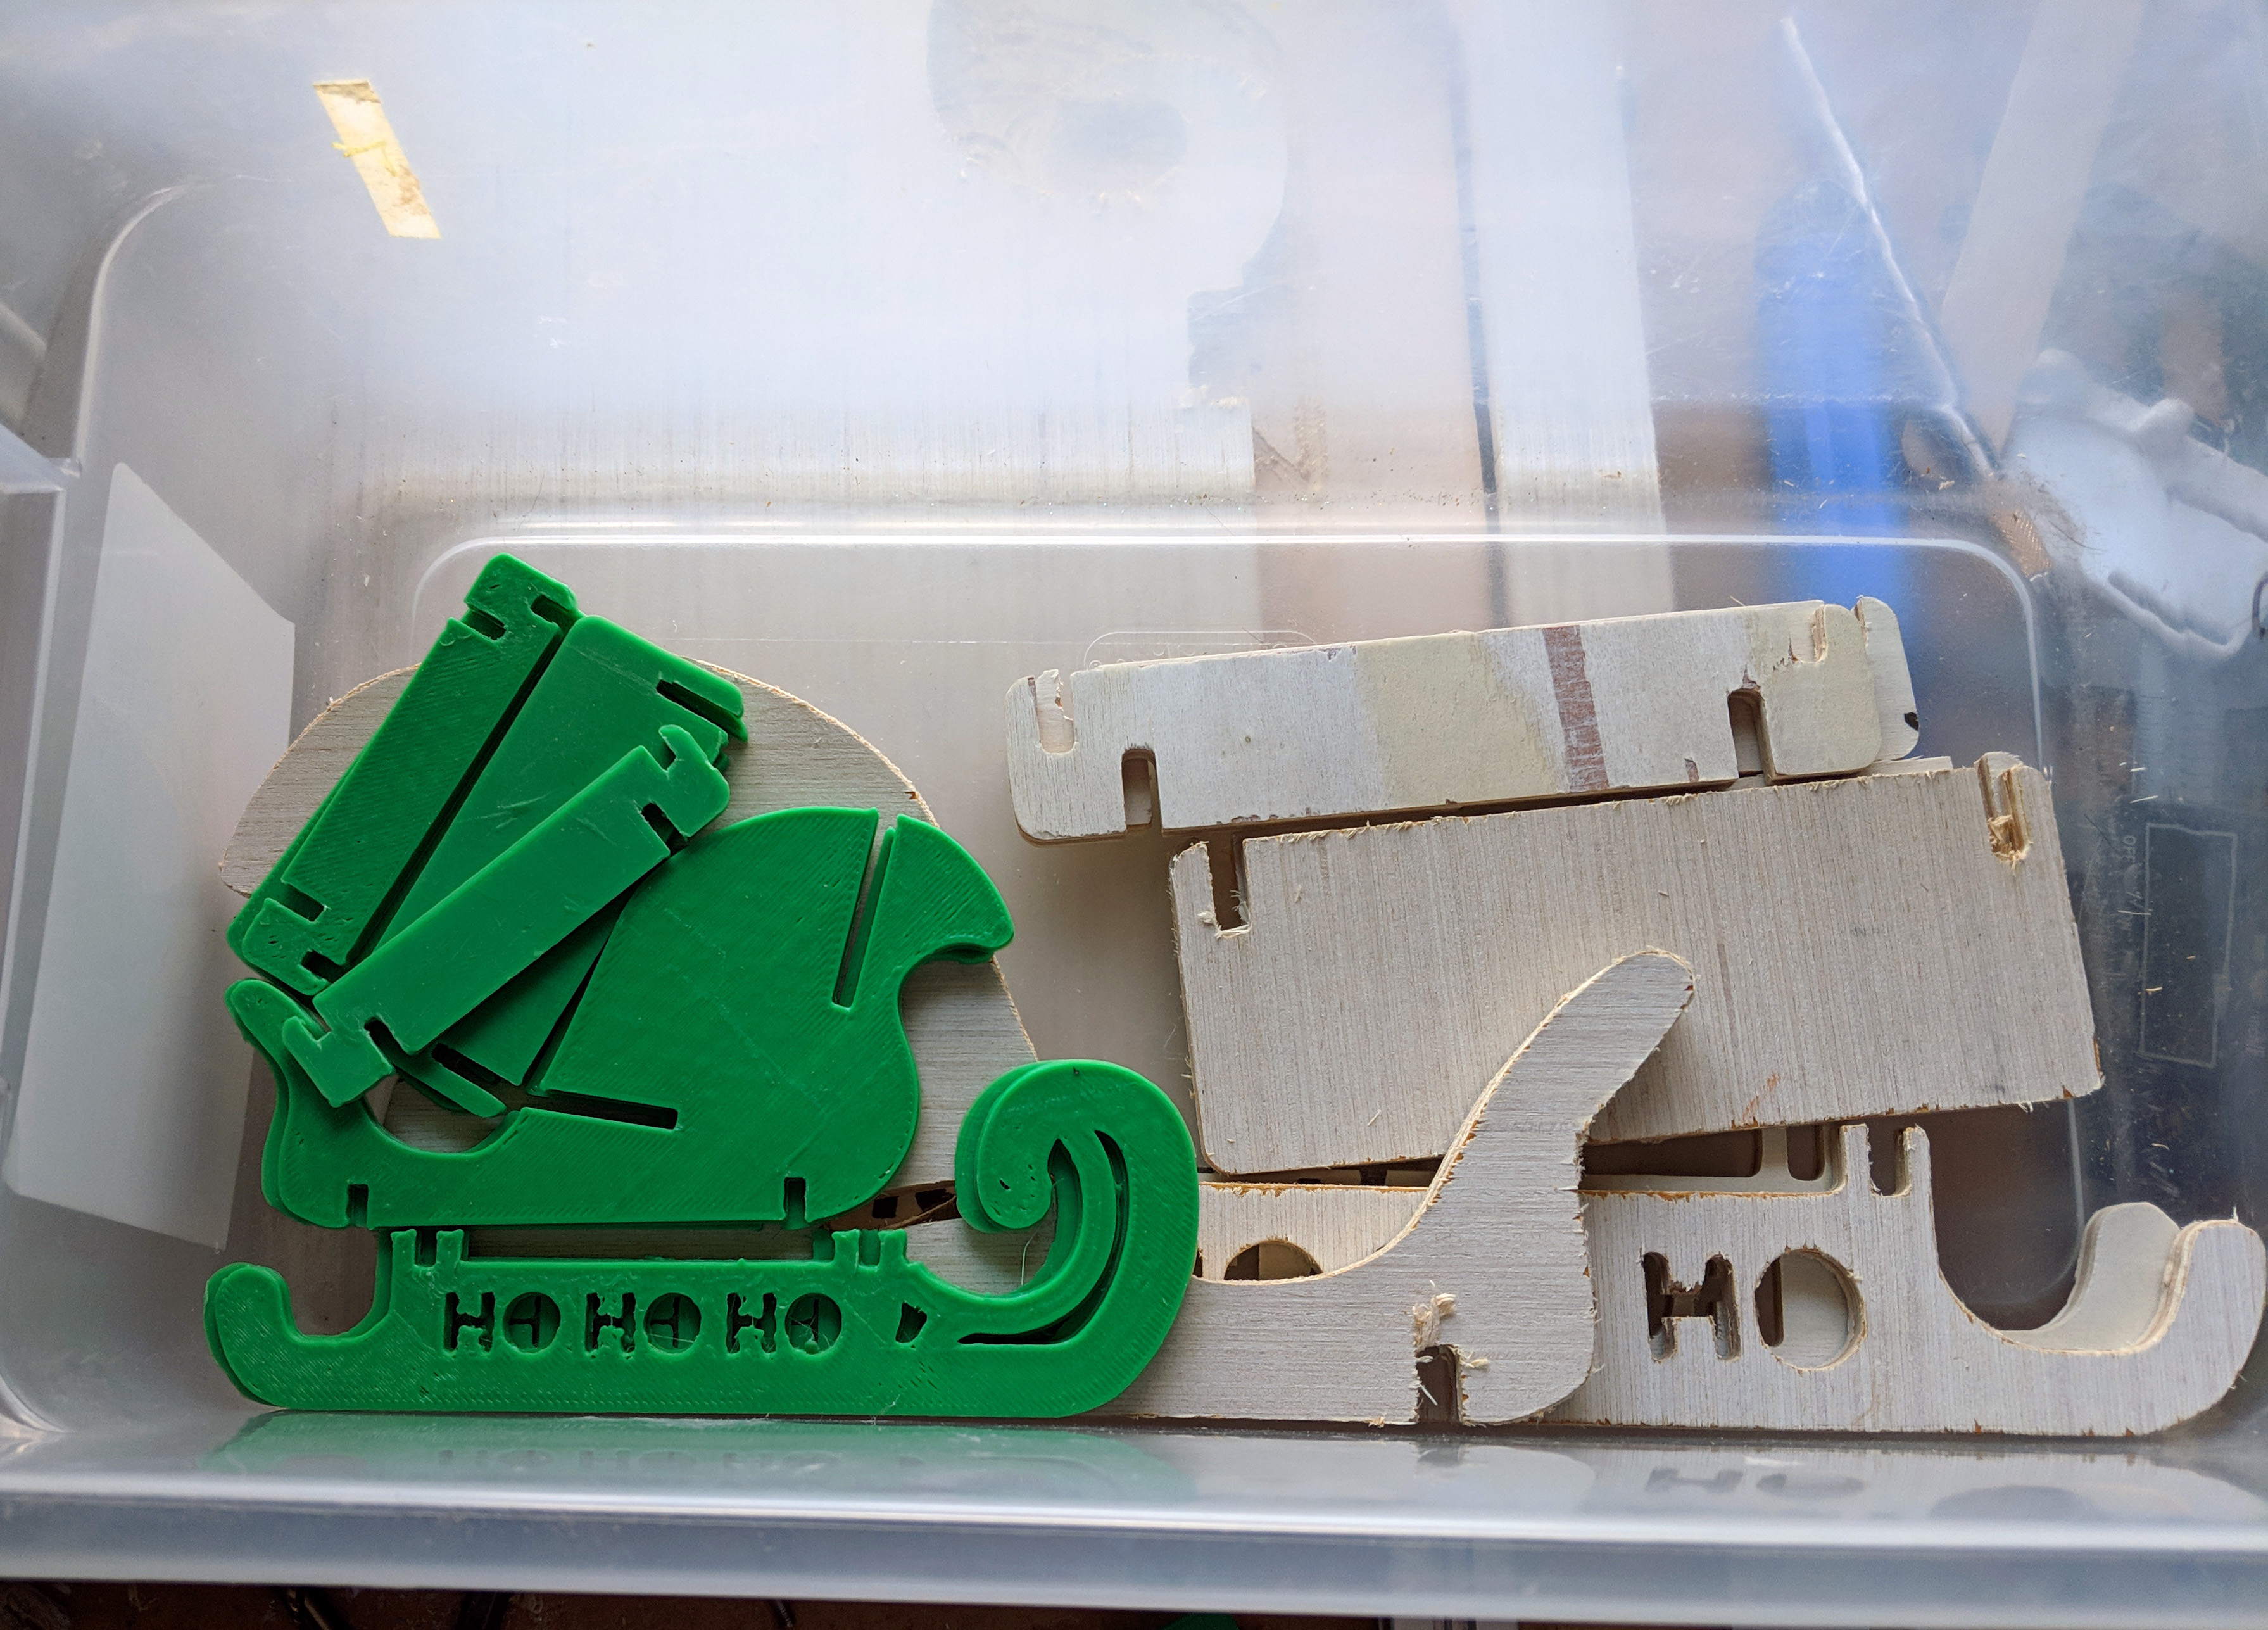
The best part about this type of assembly is the way that it packs back up flat! If you are anything like me, and you have very limited storage space, and a family that likes lots of decorations, then flat-pack cut-outs can be a real life-saver!