How to Make a Raspberry Pi Weather Station
by Logyboy77 in Circuits > Raspberry Pi
814 Views, 6 Favorites, 0 Comments
How to Make a Raspberry Pi Weather Station

In this tutorial I will be going over the process of installing a SenseHAT and importing the code required to turn that SenseHAT into a fully functioning weather station capable of recording temperature, pressure, and humidity.
Materials and Definitions
To begin you will need the following materials:
Raspberry Pi 3 With Raspbian installed (Raspbian is the Operating System)
SenseHAT
GPIO Pin Extender
Python 3 Software
Standard computer accessories (Keyboard, Mouse, Monitor)
Definitions and links where you can purchase/install each component are available in the attached text document.
Downloads
Installing the SenseHAT

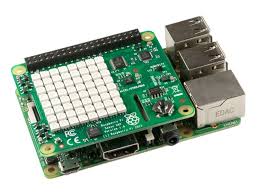
Once you have all of the required equipment, you must begin by installing the SenseHAT. First launch the Raspberry Pi, open the terminal and perform this command "sudo apt-get update" without the quotation marks, then perform this command "sudo apt-get install sense-hat" again, without quotation marks. Once you have done the previous command run "sudo reboot" and let the Pi do the rest. Once that is complete, you should mount the SenseHAT on the GPIO pins, you may need to acquire a GPIO pin header if your SenseHAT does not fit properly. The attached image is what it should look like if properly mounted
Code

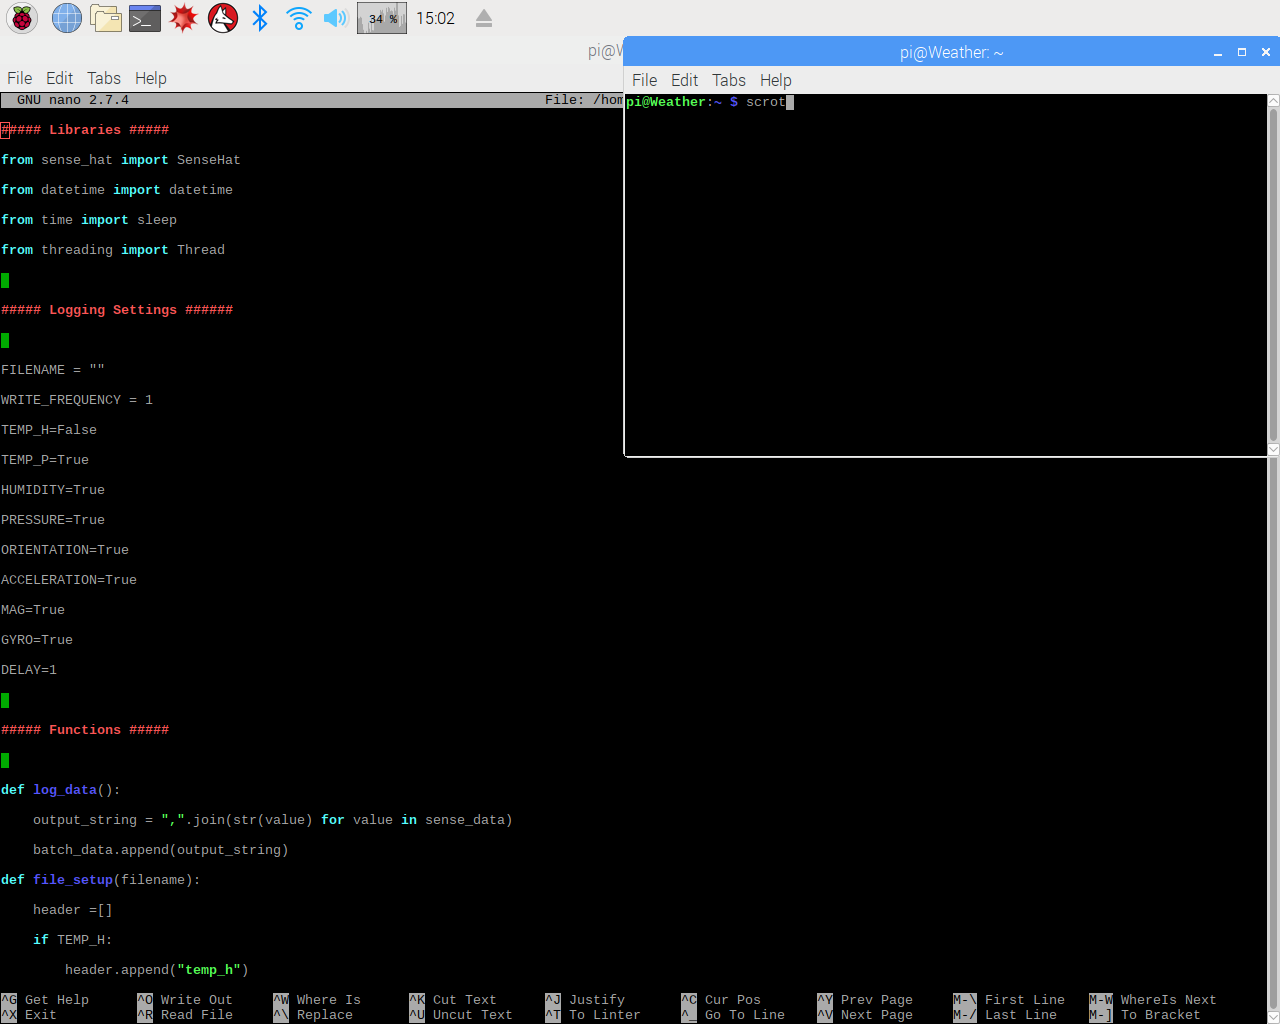
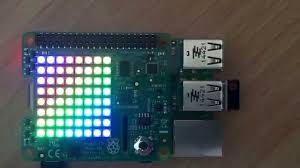
Once you have completed Step 2, ensure that the SenseHAT has booted correctly, the LEDs should be lit up in a rainbow pattern similar to the image attached once you start the Raspberry Pi, if it is not lit up like in the image, or is only partially lit up, remove the power to the Raspberry Pi, then disconnect and reconnect your SenseHAT. Your next step is to import the code that you will be using to make the weather station work, attached to this step is a file containing all the code you will need to have a weather station that can be fully customized to record only the data you need and will write said data to a file every second. Place it in the /home/ Directory. Customizing the code is as simple as changing a number. Once you have imported the code, to run it you need to run the following command (without quotation marks) "sudo python ~/logscript.py". Once you have ran the code to stop it simply press CTRL+C and it will terminate and you will be able to view the data you logged in the same directory. To Modify the code simply type the following command (without quotation marks) "sudo nano ~/logscript.py". This will open the code in the built in text editor and allow for simple modification and customization should you desire.
Downloads
Finalization

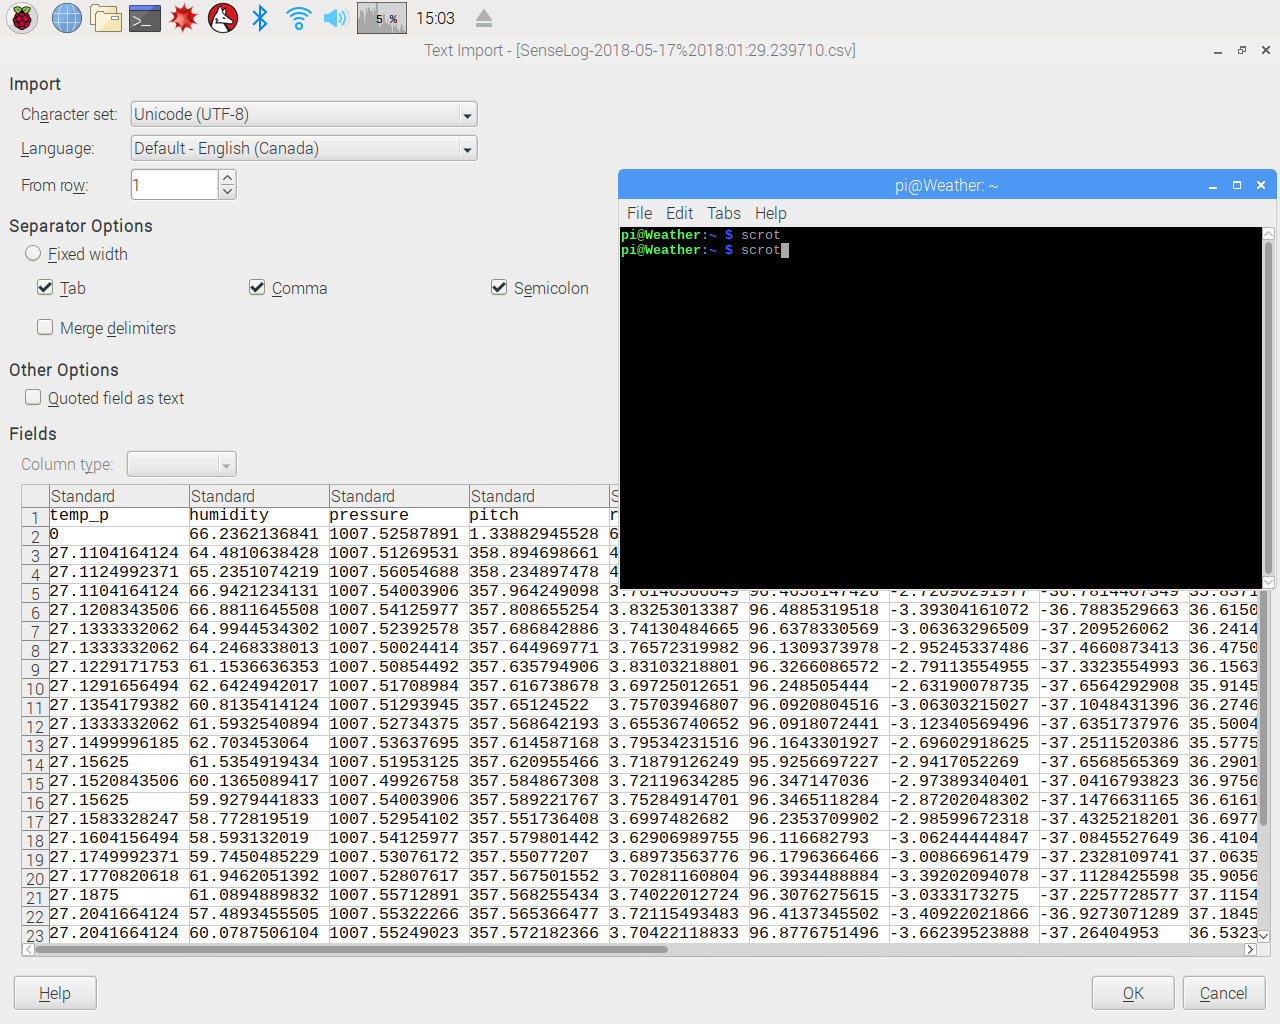
Once you have imported your code and customized it to your needs and ran it, all that is left is viewing your data, it is written to a file with the date, and time in the name and can be opened in LibreOffice. The data is sorted with the type of data as the top row, and the value being in each column, with the time is was recorded in the first column.
Completion
If you have followed the previous steps correctly you should have a fully functioning Raspberry Pi Weather Station capable of monitoring temperature, pressure, and humidity. Congratulations you may now run your weather station and gather data!