How to Make a Raspberry Pi Slideshow!
by TheRaspberryPiMachine in Circuits > Raspberry Pi
17563 Views, 15 Favorites, 0 Comments
How to Make a Raspberry Pi Slideshow!
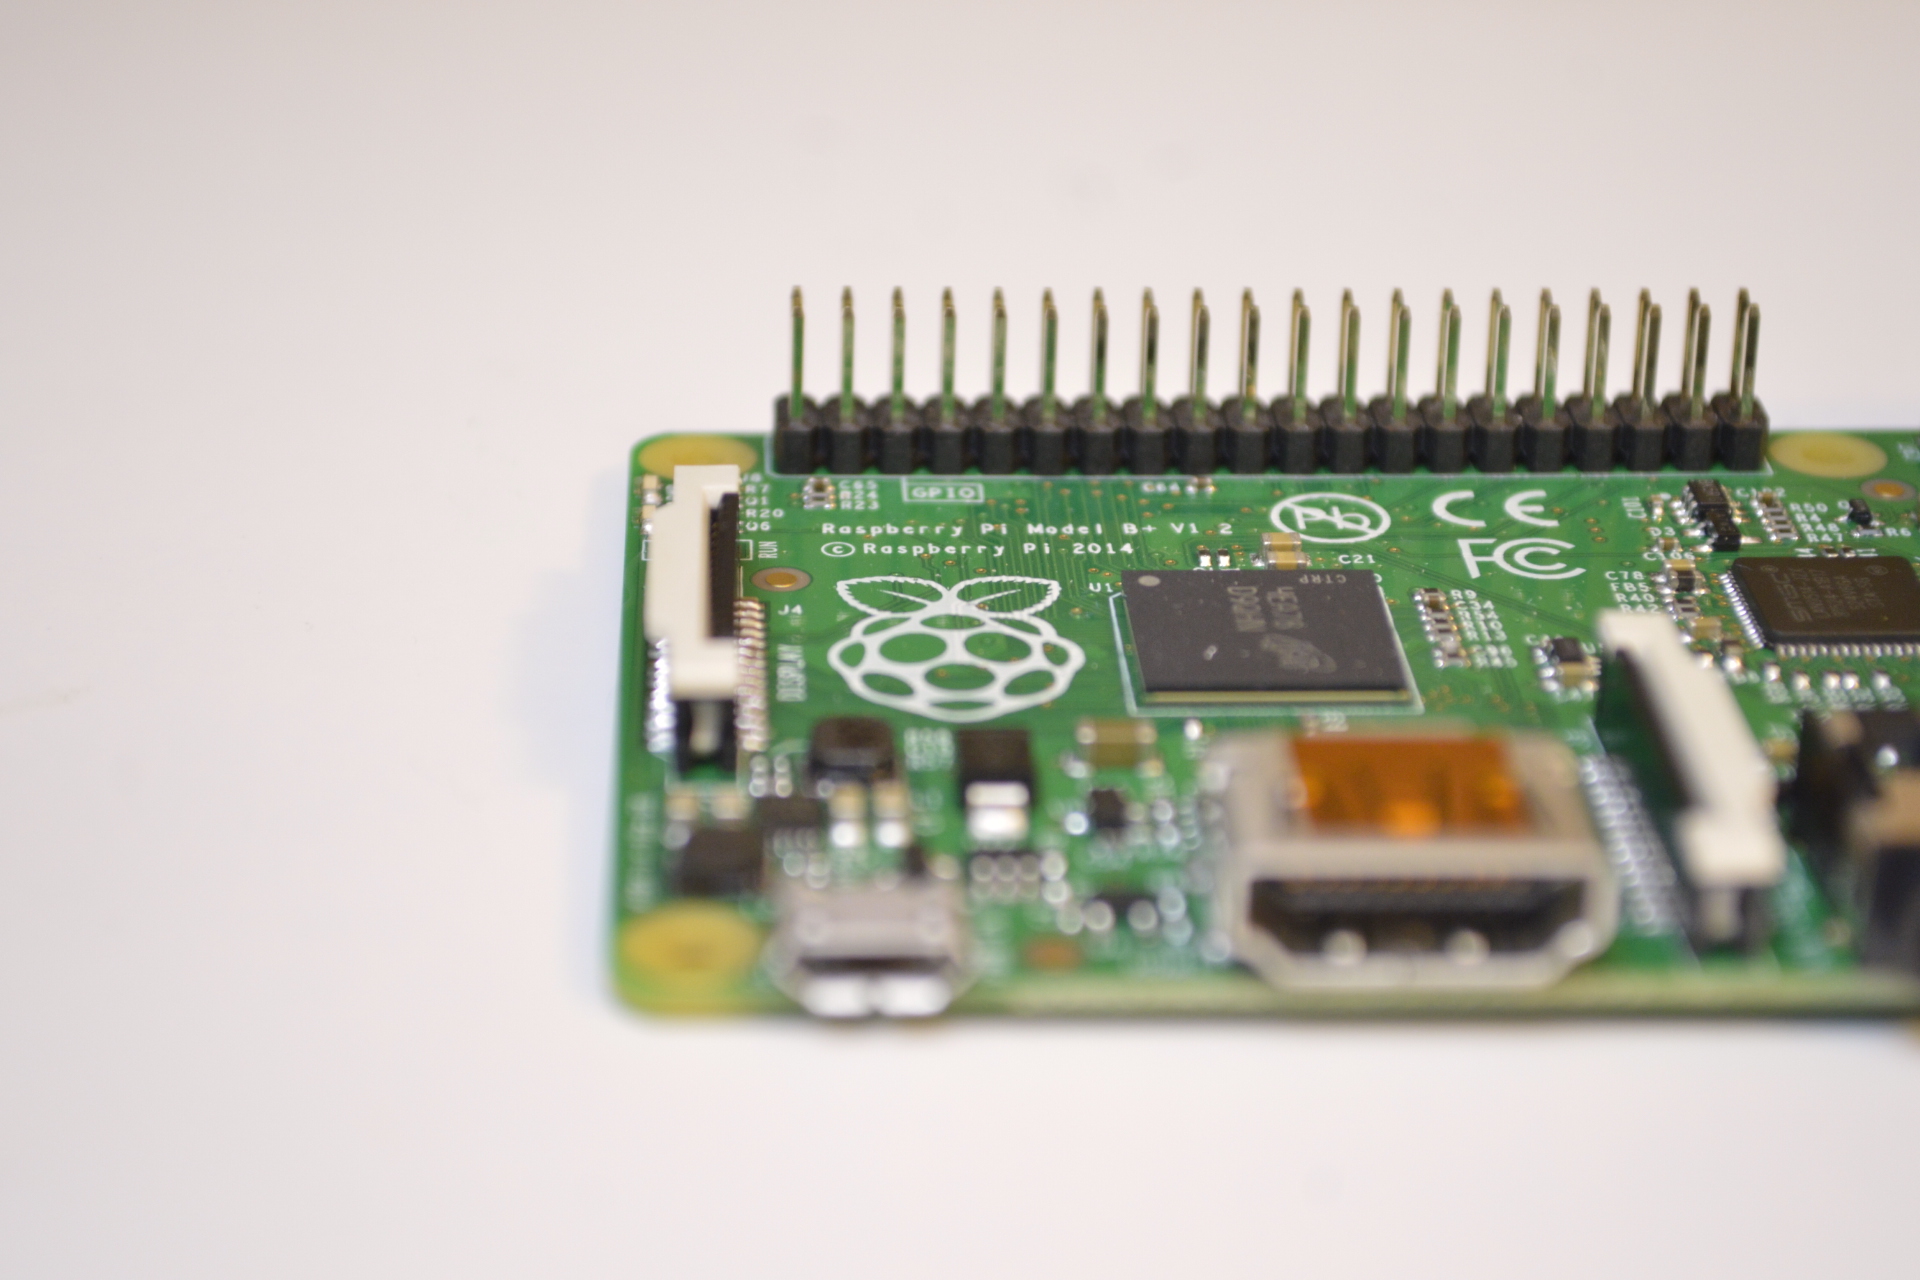
One day, the idea of making a book display slideshow came to me because my classmates don't really like reading books and I wanted to let them have a way to find books other kids liked. I knew that using a full computer would be too expensive so I decided that I would try and make one with a Raspberry Pi.
My 2 friends and I ordered a Raspberry Pi and some other stuff through our school and started working on it. After about 3 months of trial and error, our work paid off and we had a working slideshow that displays books that were recommended by students and staff.
We learned so much during the making so we decided to share it with all of you.
Materials
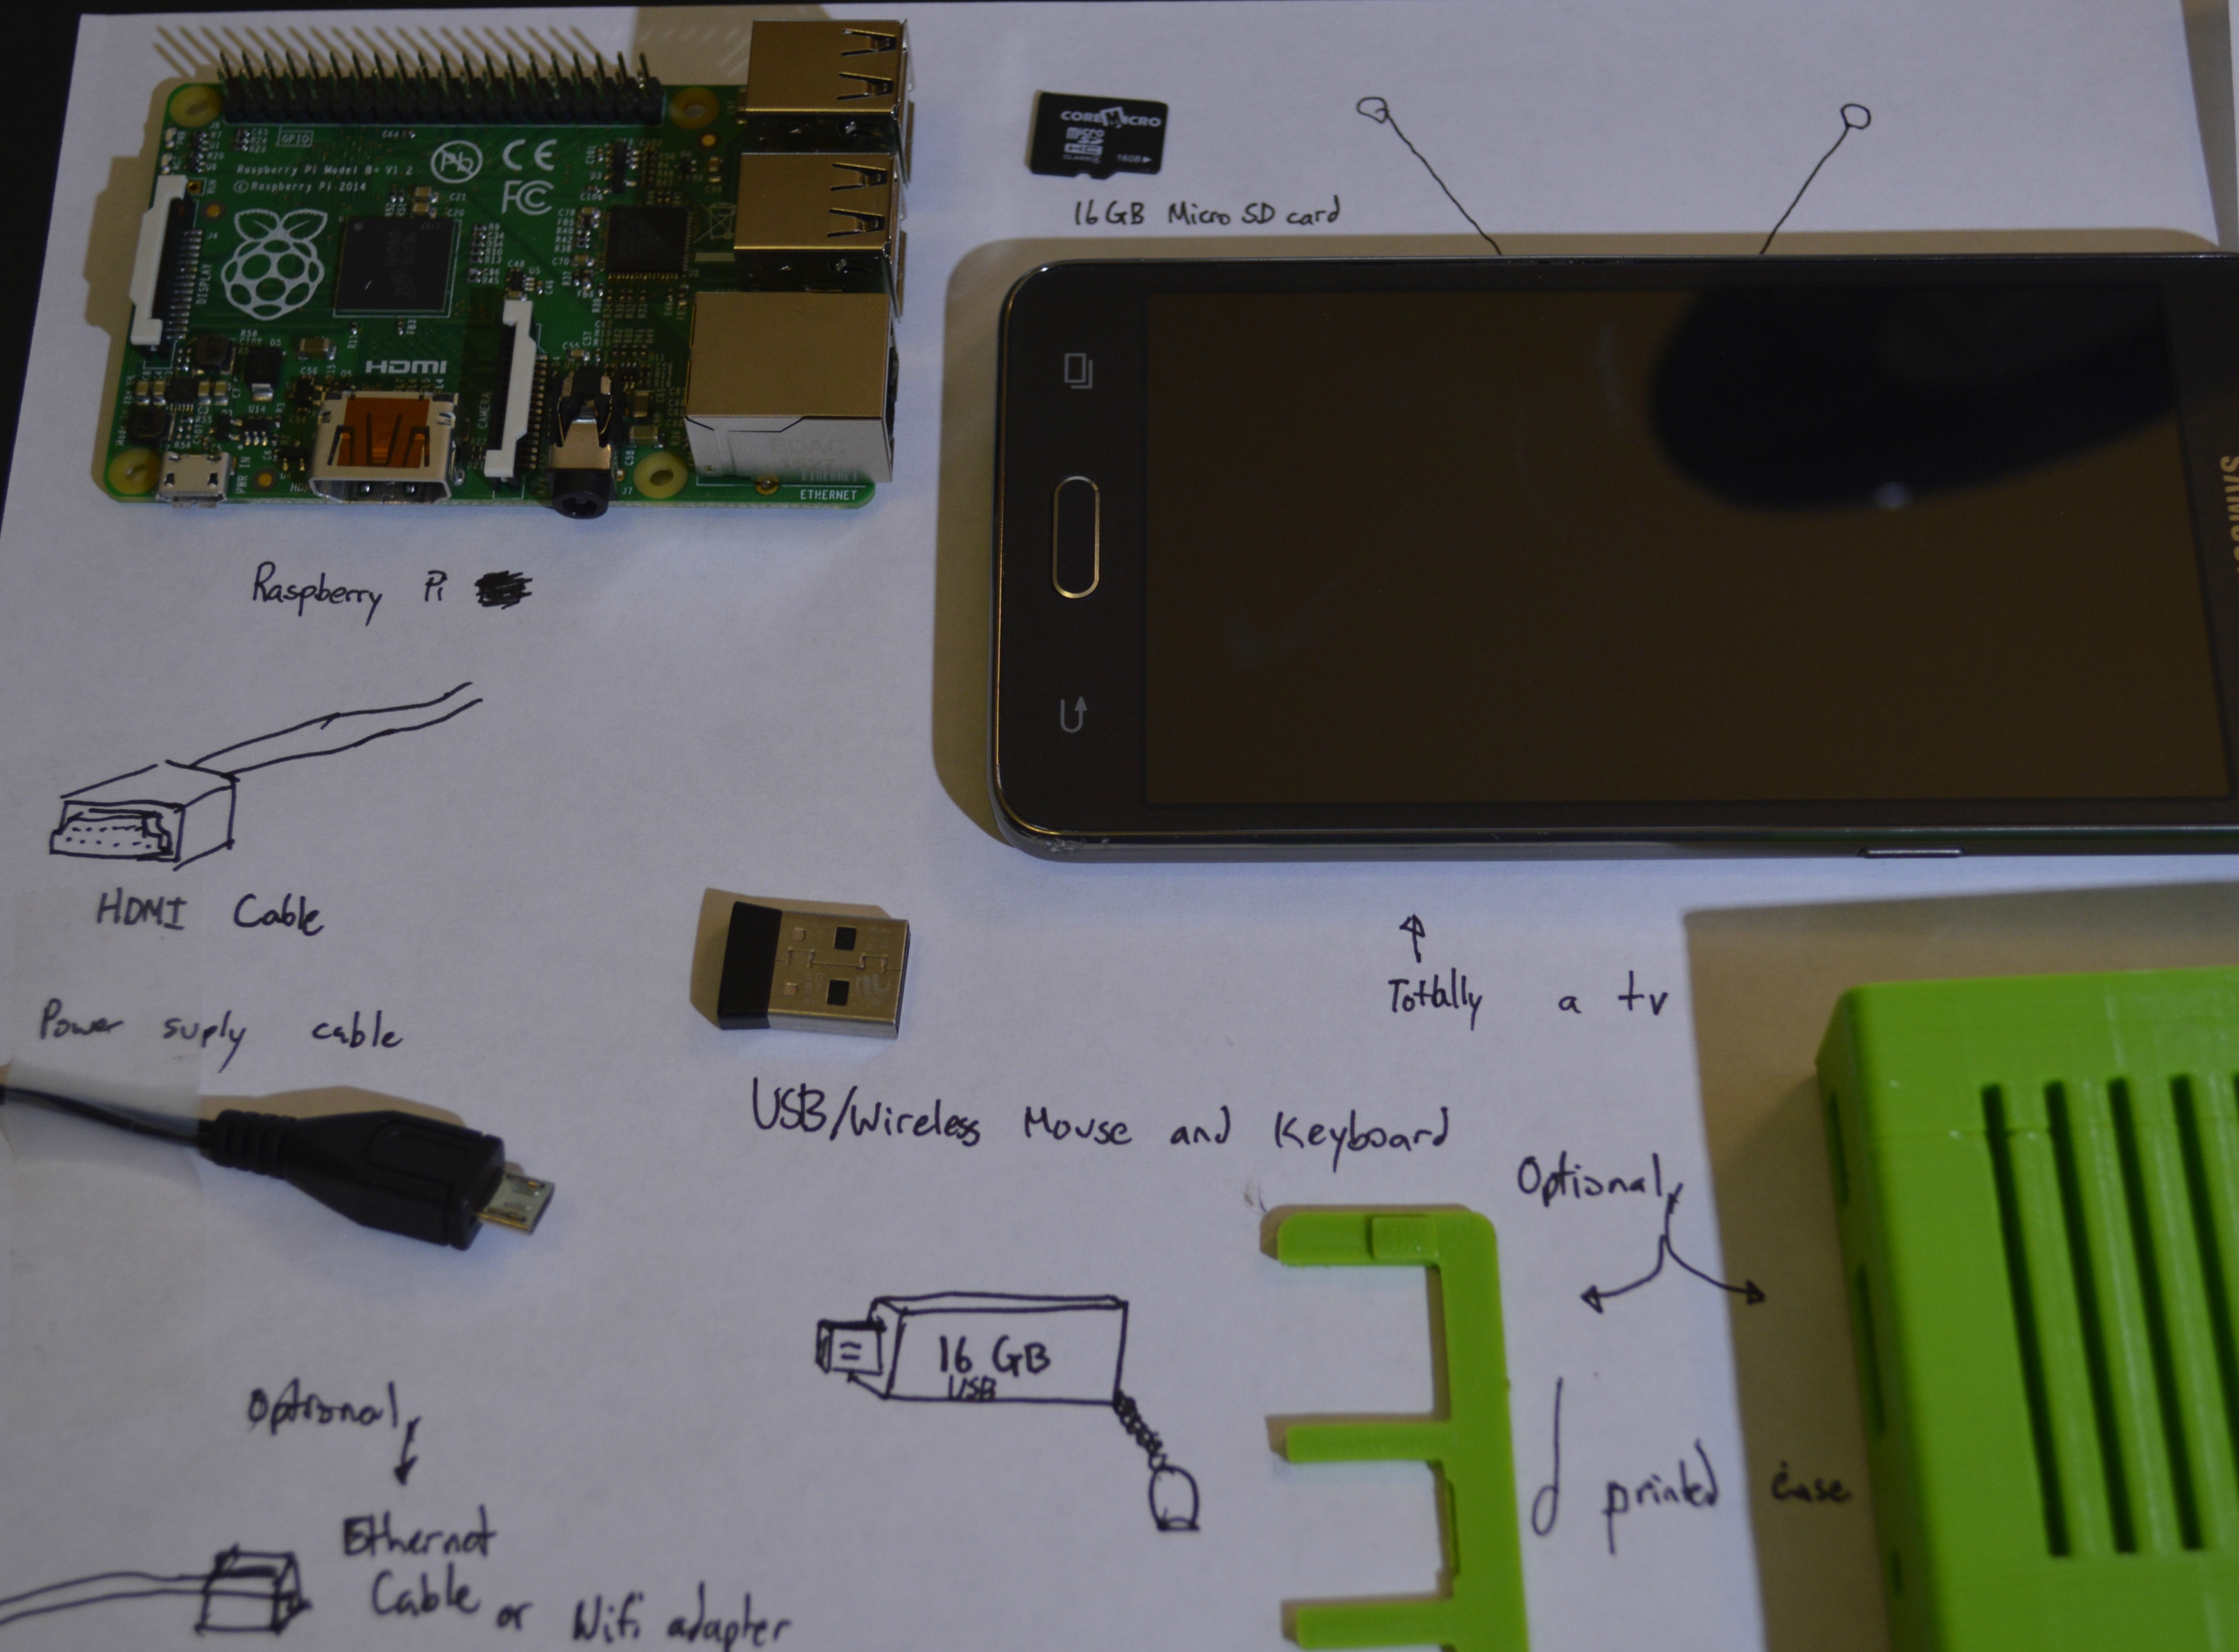
What you will need
- A Raspberry Pi Zero or another model
- A MicroSD card
- A Monitor such as a TV or backup camera monitor
- An HDMI cable or a micro HDMI cable if you are using the Raspberry Pi Zero
- A Power supply cable
- A USB or wireless mouse and keyboard
- A USB stick for file transfer
- *Optional* A wifi adapter or ethernet cable*
- *Optional* A 3D printer*
Install the Operating System Onto Your Raspberry Pi.
Go onto the Raspberry Pi website for a guide to installing the operating system. https://www.raspberrypi.org/downloads/noobs/ or follow the steps below.
- Download NOOBS onto your computer at https://www.raspberrypi.org/downloads/noobs/.
- Watch the following video about getting started with NOOBS on your Raspberry Pi. https://vimeo.com/90518800
- Put NOOBS onto your formatted micro SD card.
- Boot up your Raspberry Pi and connect it to a monitor.
- Use a keyboard or a mouse to select Raspbian.
- Wait for Raspbian to install.
- Congratulations, you can now move on to the next step!
Note, please choose Rasbian because it automatically installs LibreOffice Suite onto your Raspberry Pi. LibreOffice is what we will use to run the raspberry pi slideshow. It makes it a lot easier!
Making Your Screen Stay On.
As you play around with your new Raspberry Pi, you may notice that if you leave your Raspberry Pi alone for too long, it will turn off the screen. To prevent that from happening, you can follow the steps in https://www.bitpi.co/2015/02/14/prevent-raspberry-pi-from-sleeping/.
Slideshow Time!
Create a slideshow with the items that you want to display and put it on an USB stick.
Transfer your file to the Raspberry Pi.
Starting the Slideshow!
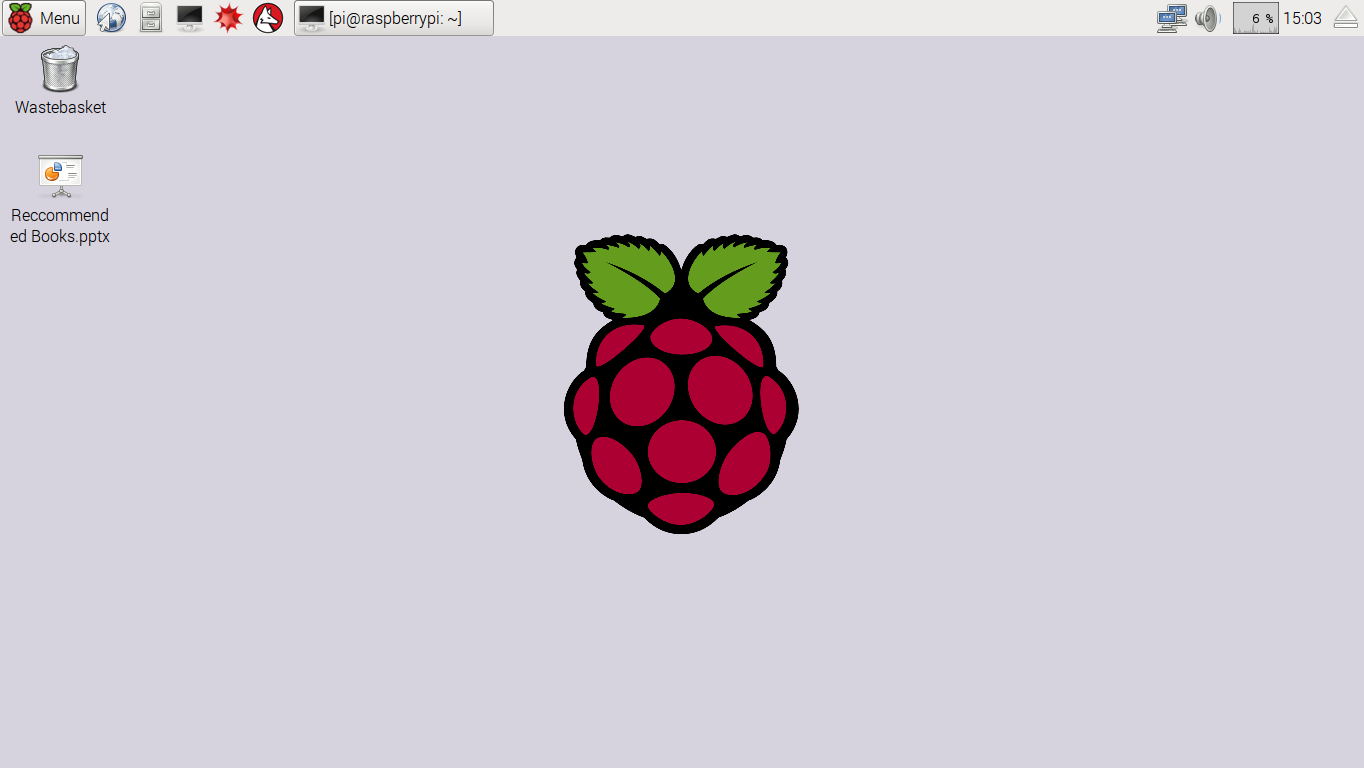
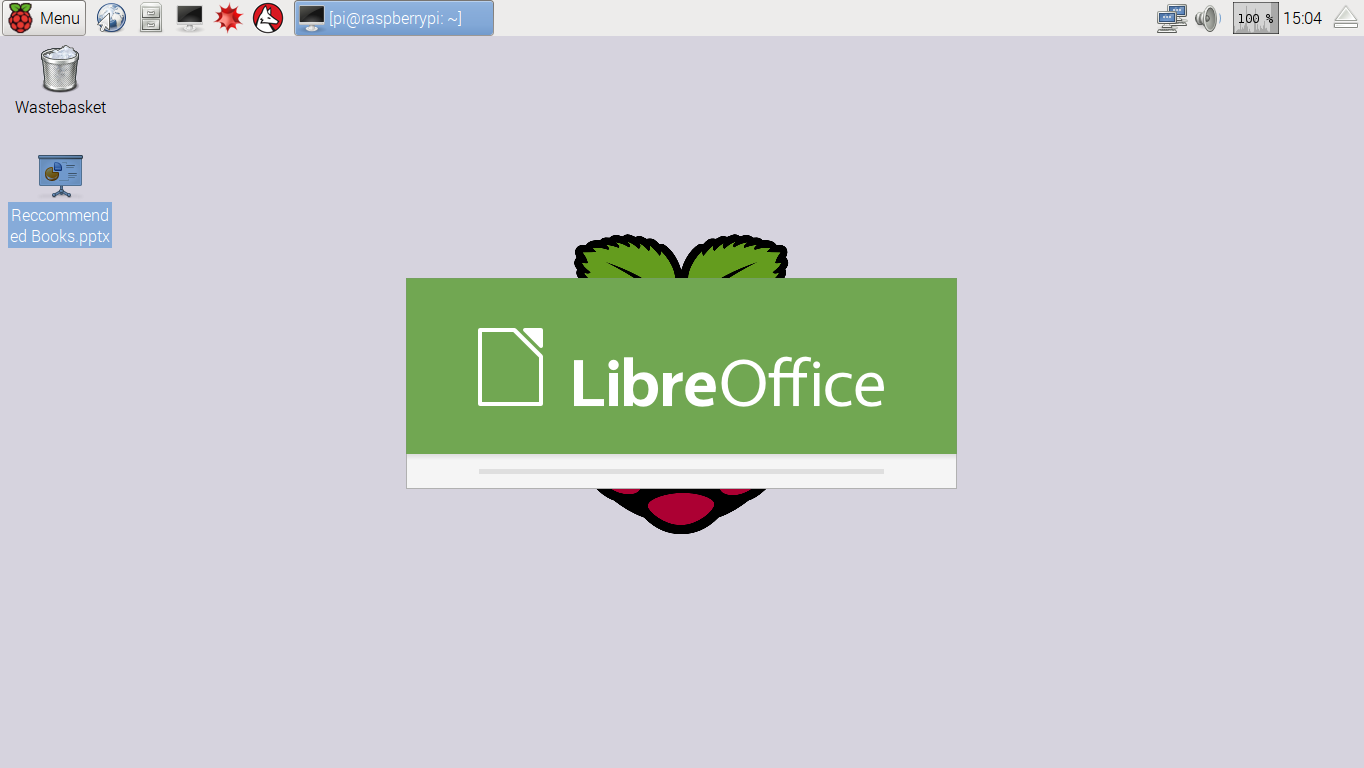
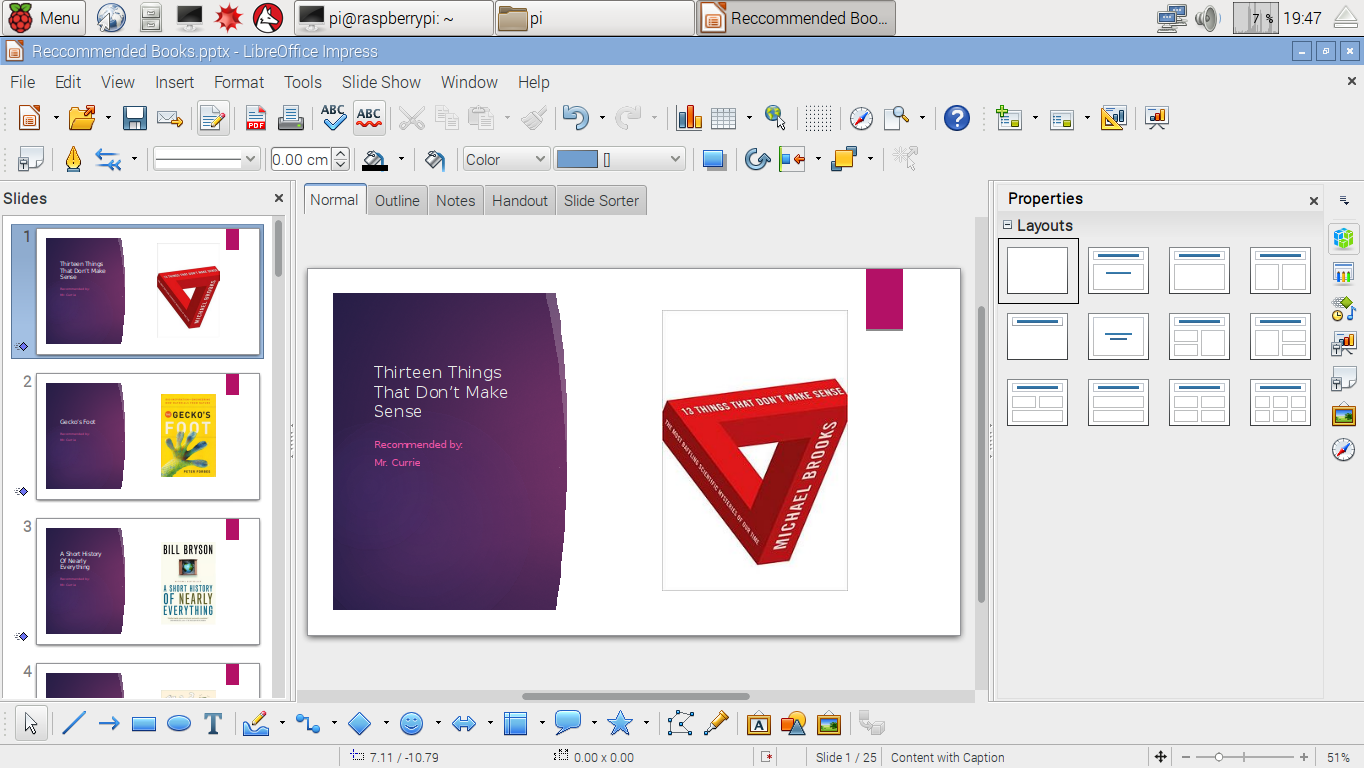
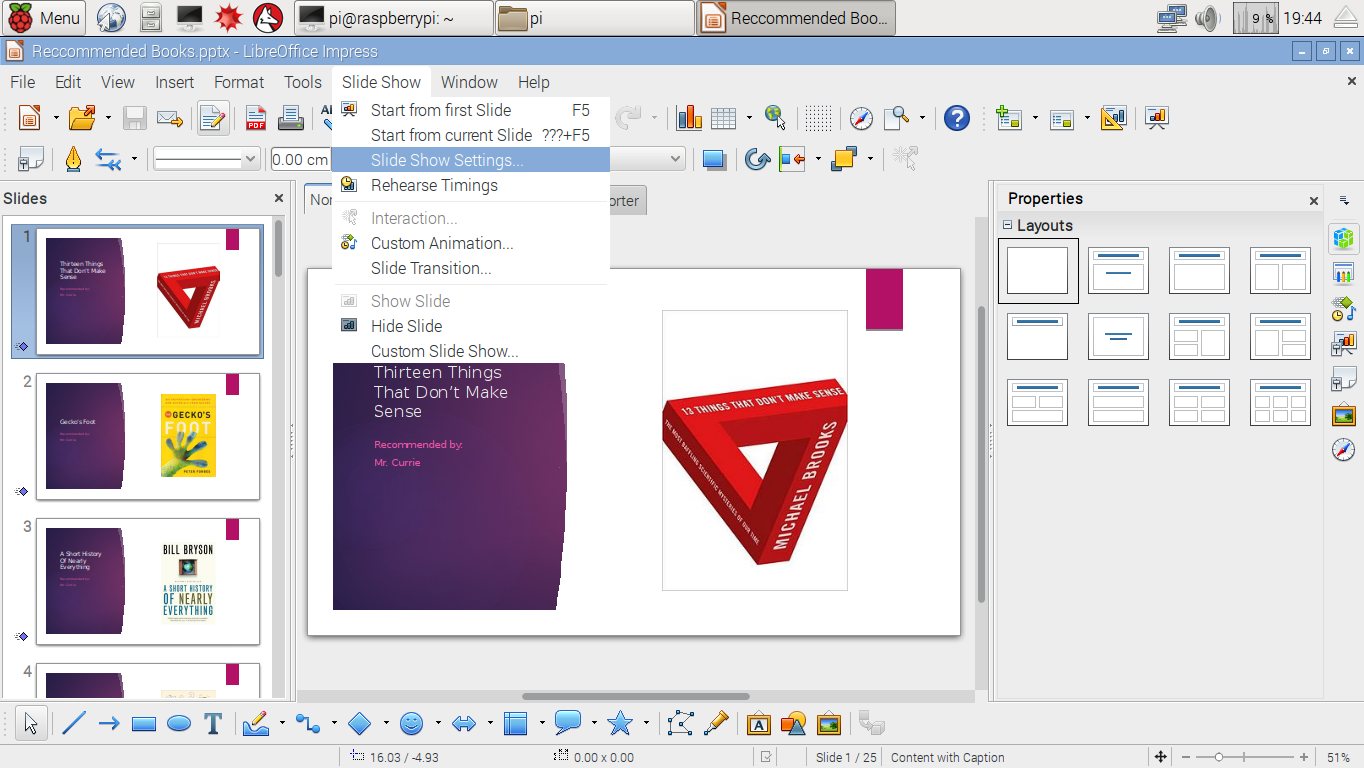
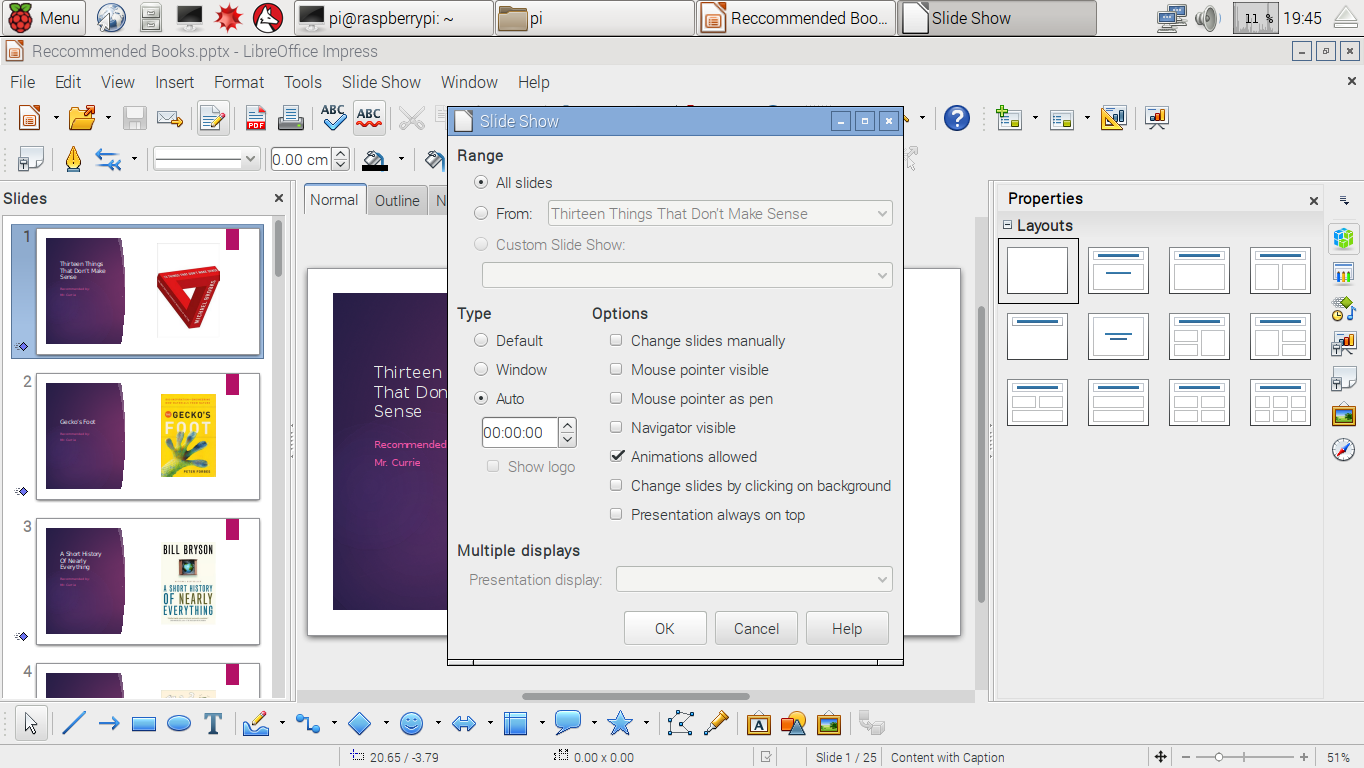
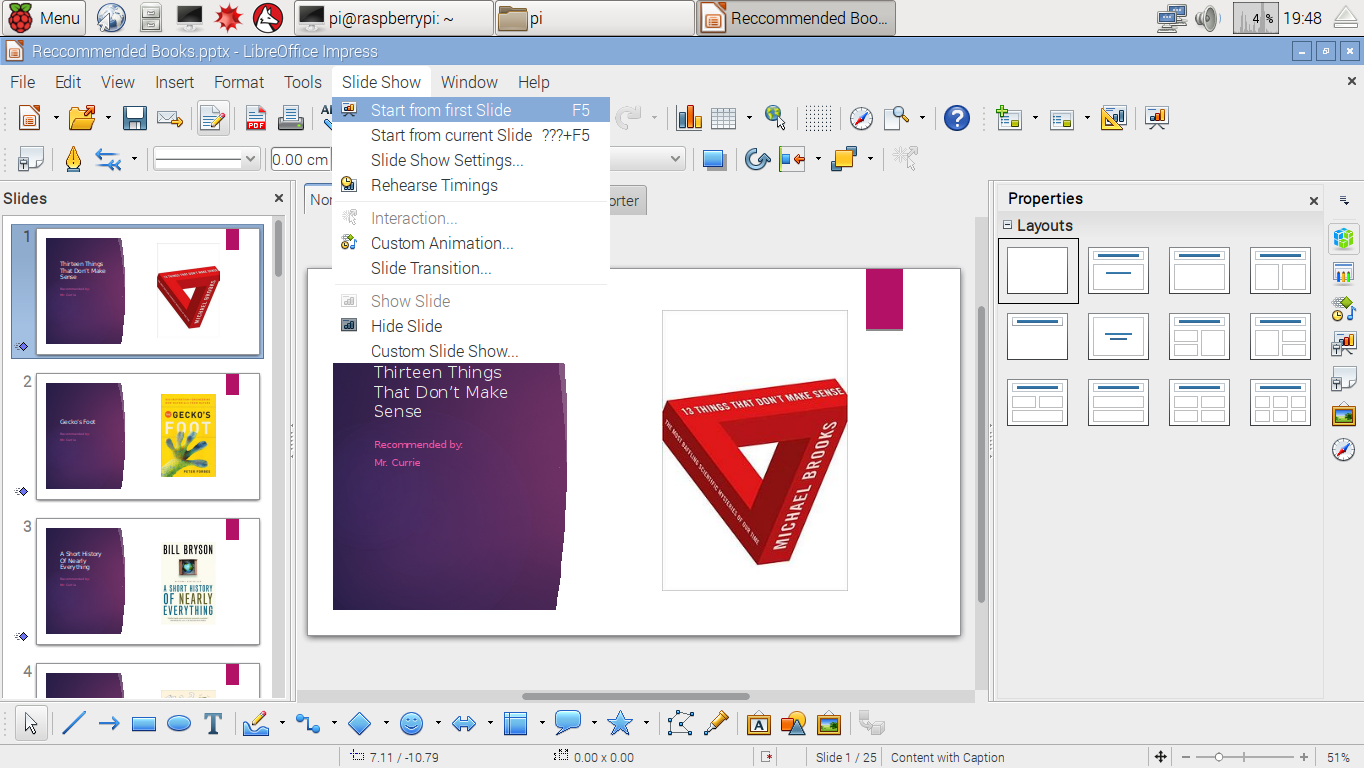
Congratulations! Your slideshow has started! Click the escape key to stop the slideshow!
Extras
For more information about this project, visit https://sites.google.com/a/wcs-g.com/thestoryoftheslideshow/
Additional ideas
- Why not make your Raspberry Pi be able to be connected to using a remote desktop server.
- Use it to recommend books!
- Use it to display fun facts in a school or office.