How to Make a Push Pin Portrait
by digitalArtform in Design > Art
91846 Views, 228 Favorites, 0 Comments
How to Make a Push Pin Portrait
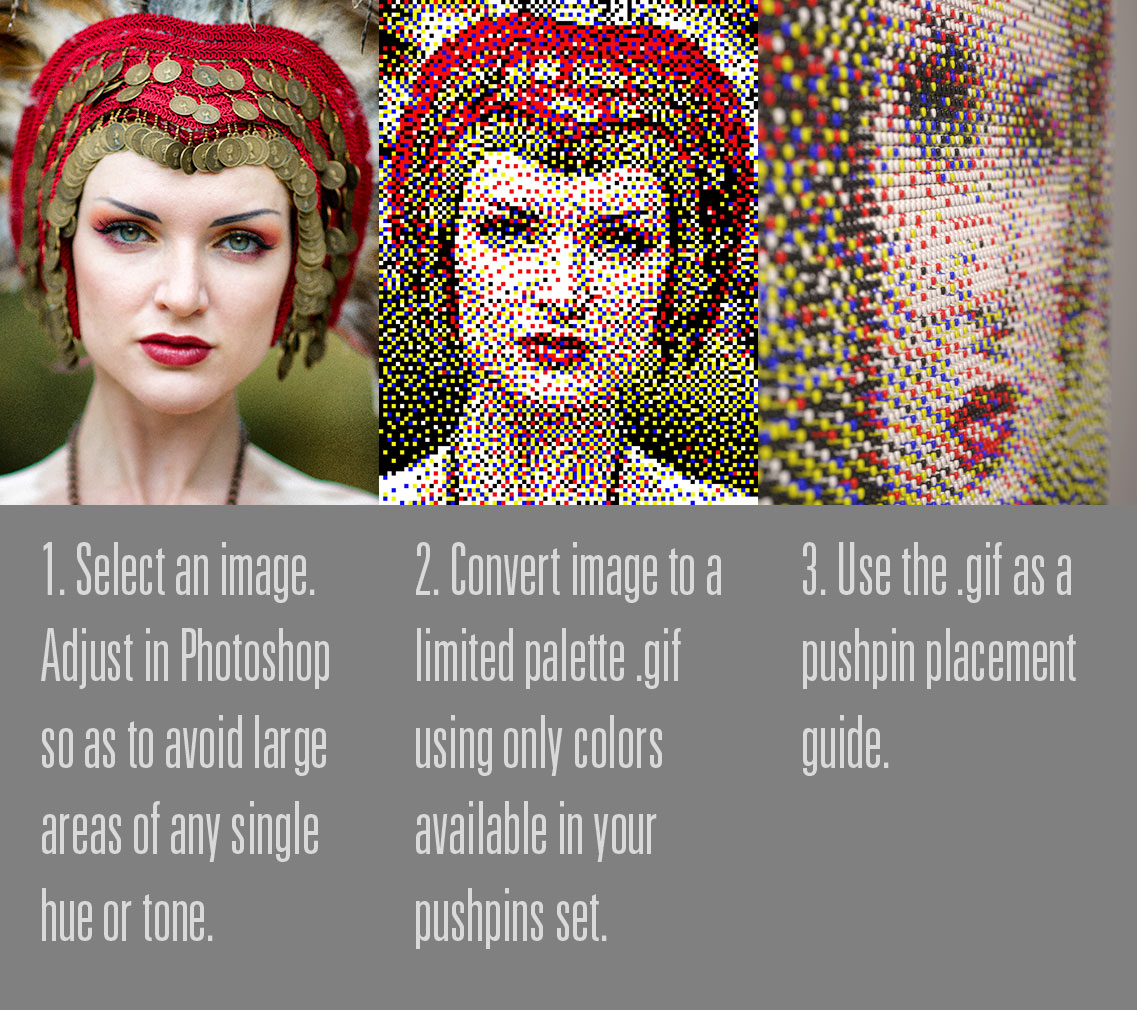
We are going to make photorealistic push pin portraits.
We will be guided in our pin placement by a low resolution indexed color gif image we will create in Photoshop. The .gif will use a limited palette restricted only to those colors in which the plastic push pins come.
This tutorial assumes you have some access to and basic understanding of Adobe Photoshop.
Select a Photograph

Using Photoshop, adjust your image so that it contains a nice range of colors and values, with no large areas of pure black or white or any other color. This will give you a dappled variety of push pin colors across the finished artwork, rather than large, boring expanses of a single hue.
I'm using a photo I took of a woman who sells her hats and headdresses on the internet.
I'm using a photo I took of a woman who sells her hats and headdresses on the internet.
Decide the Final Dimensions of Your Work in Inches

I'd like my final artwork to by 45" wide by 60" tall. My push pins are 0.5" in diameter, so I'll need to shrink my photo to 90 pixels x 120 pixels where each pixel will ultimately represent a push pin. That means I'll have 90 x 120 = 10,800 pins total.
Convert the Photo to a .gif of Limited Colors
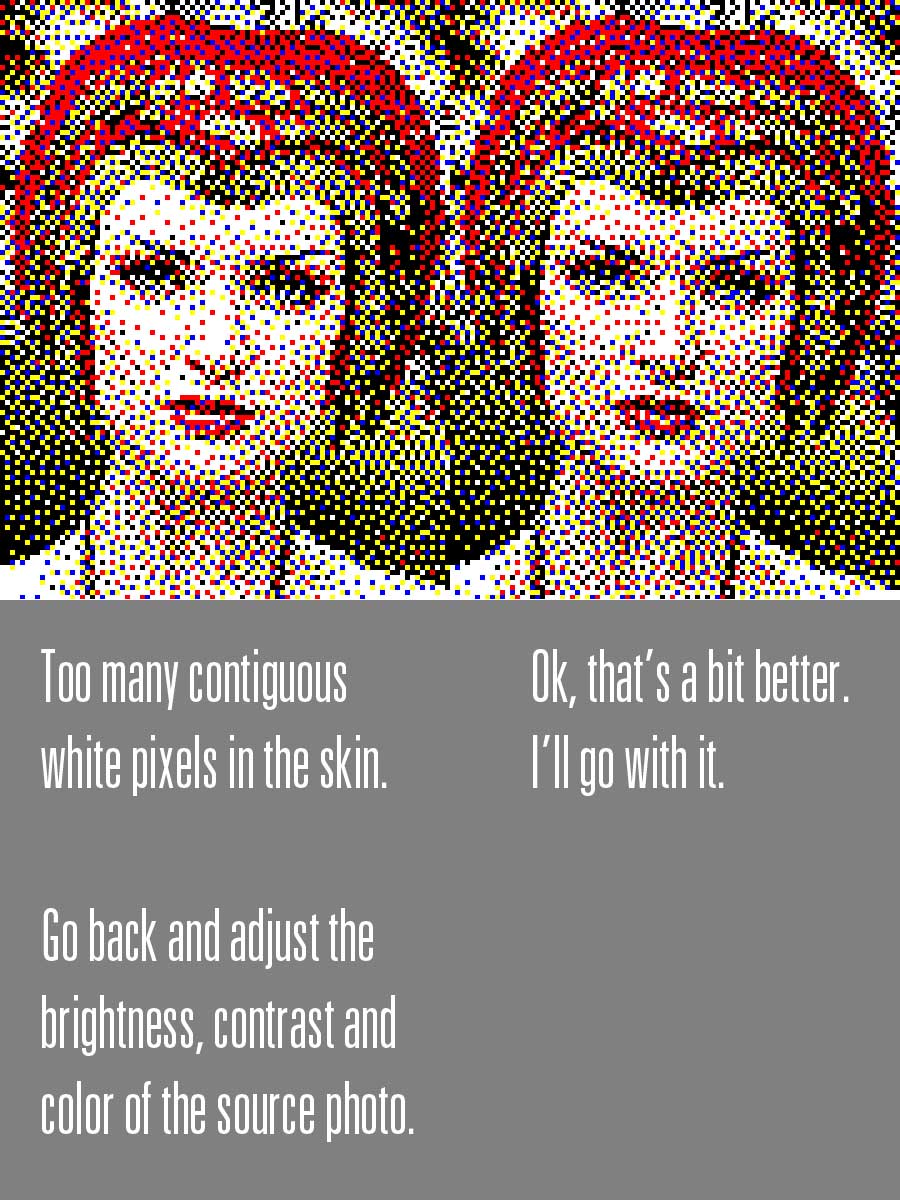
First determine the colors you intend to use. I have chosen black, white, red, yellow, and blue, for a total of 5 colors. I have omitted green from my artwork, even though push pins often come in green Notice my photo contains regions that appear green. Those regions will appear green in the finished artwork as well, even without the use of green pins, thanks to the color mixing that occurs in a dithered .gif
Count Pixels of Each Color So You Can Buy Pins Accordingly
Your histogram can count the number of pixels selected.
Using your magic wand tool set to non-contiguous regions, tolerance = 0, visit your tiny 90 x 120 .gif and select each color in turn.
Record the count reported by the histogram for each color, That's ho wmany push pins of that color you'll need.
Using your magic wand tool set to non-contiguous regions, tolerance = 0, visit your tiny 90 x 120 .gif and select each color in turn.
Record the count reported by the histogram for each color, That's ho wmany push pins of that color you'll need.
Enlarge Your Guide Enough to See It. Maybe Even Go 1:1
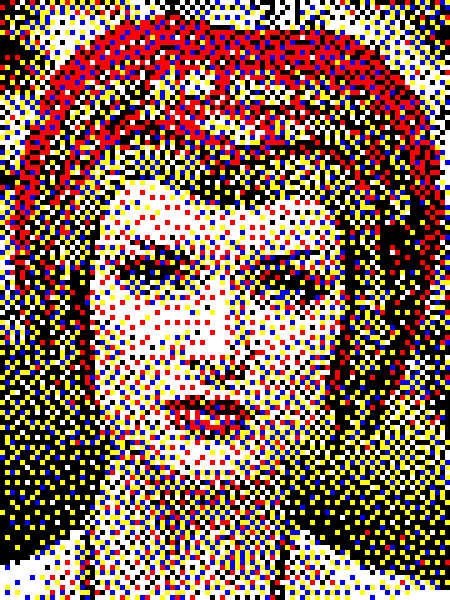
To make your tiny .gif image into a guide large enough to see, enlarge it in Photoshop by a power of two. In other words, double its size, quadruple it, increase it by 8 or 16 times. If you choose another enlargement number you may get squares of uneven size after the blowup. Here's the process:
1. Convert your indexed color .gif back into a simple rgb image
2. Set image size to 1600% (my usual choice) and use the Nearest Neighbor (preserve hard edges) option in lieu of the usual Bicubic choice. In our 90 x 120 example a 1600% blowup will produce an image that is 1440 x 1920.
You can stop there, but if you want a giant 1:1 guide (and you have access to a large format printer or know how to use a program like Rasterbator to print the artwork in smaller pieces, then...
3. Leave your artwork at its original enlarged resolution (in our case we are now at 1440 x 1920 after a 1600% blowup of our tiny 90 x 120 .gif) but set your width to 45" (as we had originally decided back in step 2), set your height to 60", and set your resolution to 32 pixels/inch, which is 1440 / 45, or 1920 / 60 (both equal 32 pixels/inch)
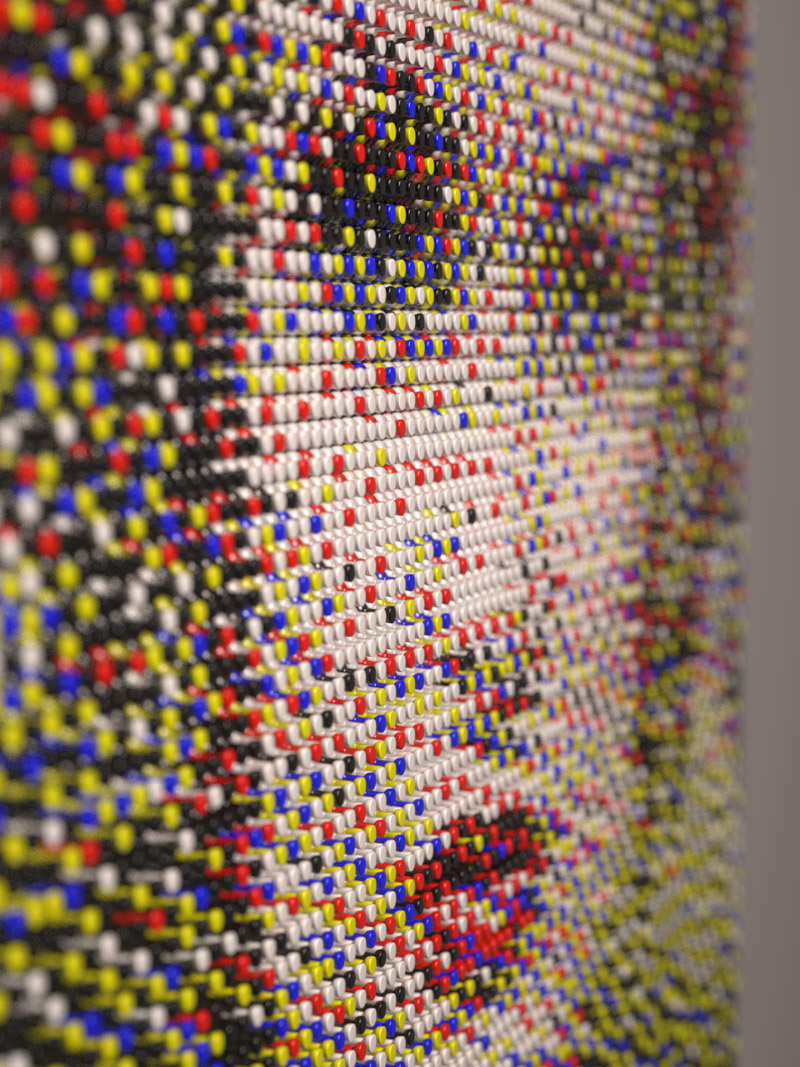
Begin placing pins according to your enlarged .gif guide.
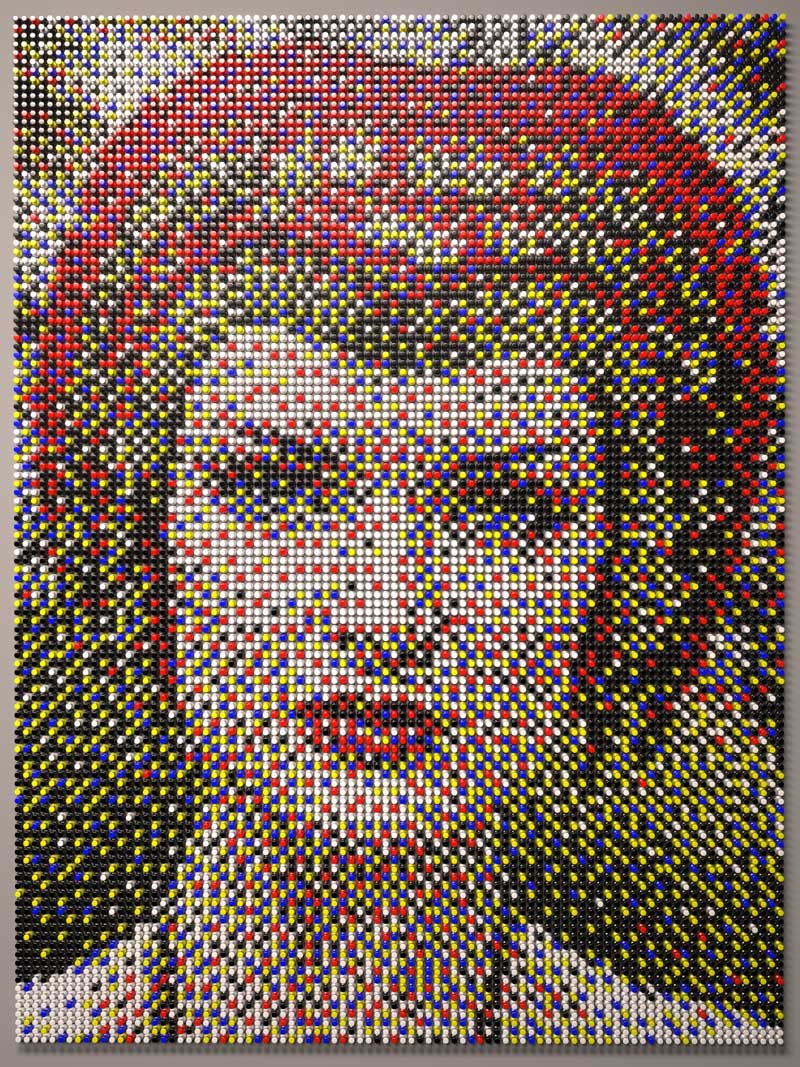
Behold.