How to Make a Pumpkin Prop

The method below examines how we went about the task.
There is a full list of materials used, all are available from our website www.modelshop.co.uk
Supplies
500mm polystyrene sphere (SB91028)
UHU Por Styrofoam adhesive 40g (AP00022)
Retractable craft knife (TK10039)
Sandpaper (60/70 grit) (TA10000)
Foamcoat 500ml (FT03005)
plus an orange emulsion/acrylic paint of your choice.
Glue & Divide

Glue the two halves of the sphere using UHU Por Styrofoam adhesive.
Draw on the segments of the pumpkin, dividing in half, then quarters, then eighths, then sixteenths.
Press & Score
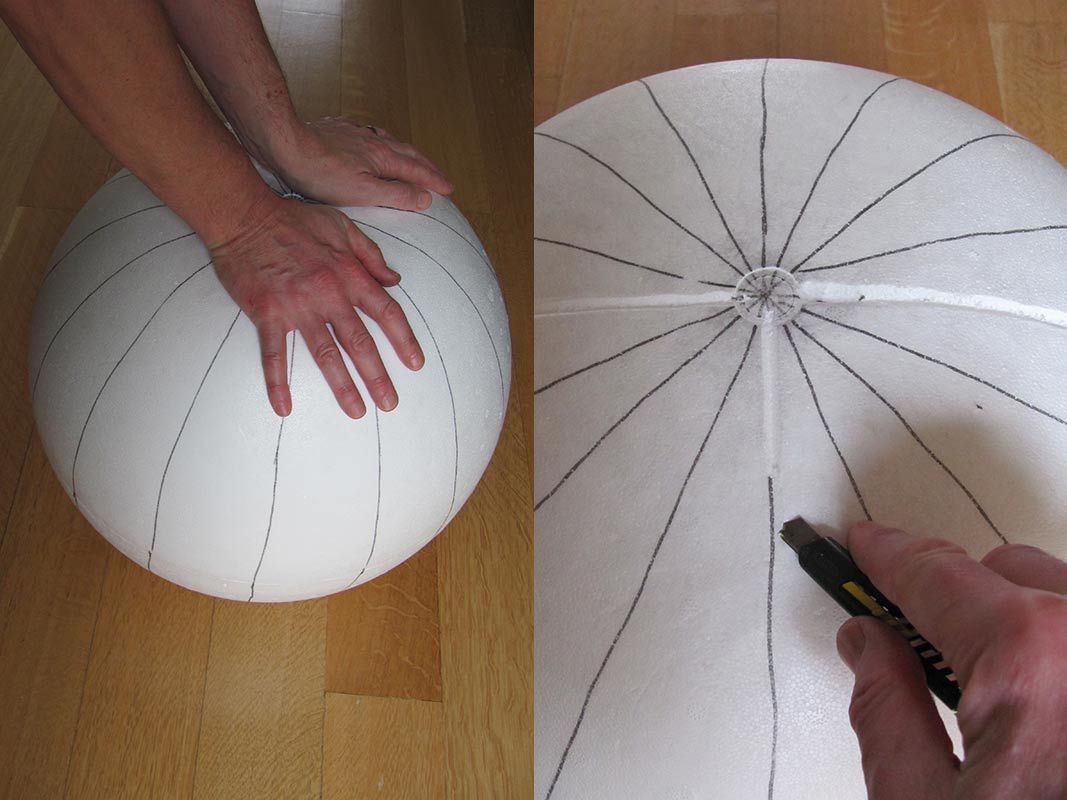
Flatten the sphere on the top by applying gentle pressure.
Using a craft knife cut grooves into the pumpkin following the drawn lines.
Sand & Coat

Gently sand the grooves to smooth them using a course sand paper.
Seal the pumpkin using watered down PVA glue (AP00037) , Foam Armour (FT03006) or Rosco foam coat (FT03005).
Sand & Seal

When dry, sand the surface to smooth out the larger imperfections.
Using a filler fill the joint. When dry sand and then seal.
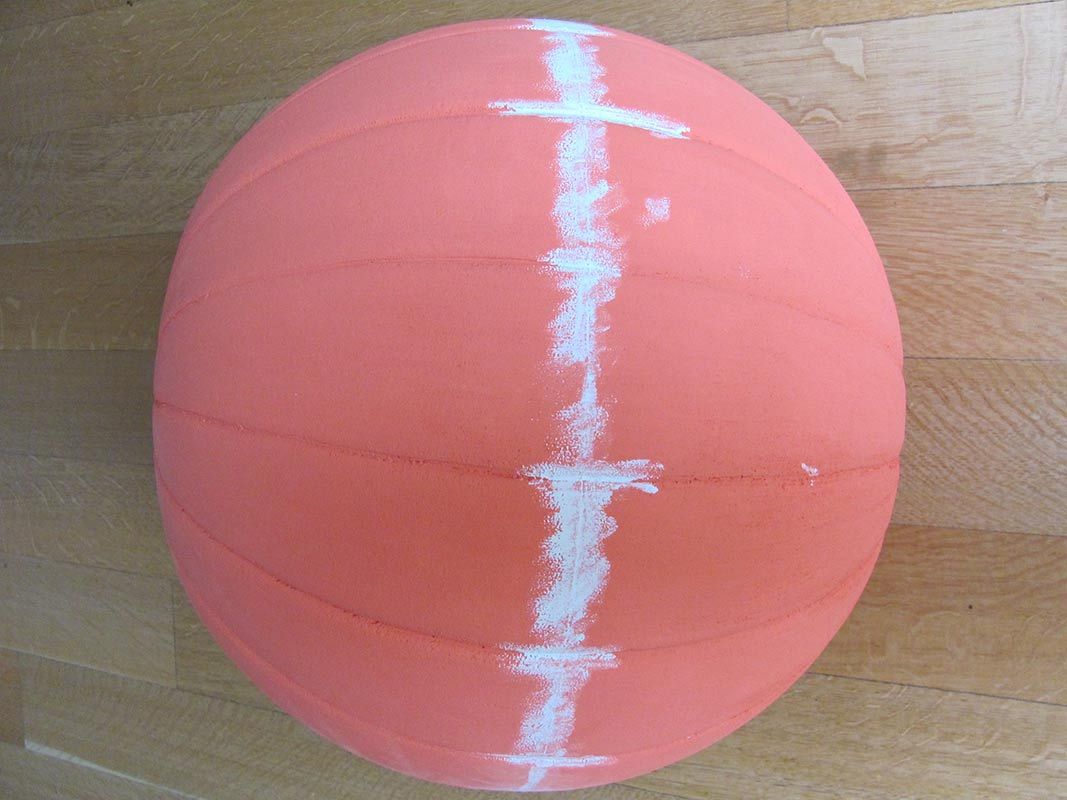
Undercoat

Apply an undercoat to the pumpkin preferably using an emulsion type paint.
Create a Smooth Surface
When painted fill any areas that are not smooth then sand, seal and paint.
Apply Top Coat

Apply a coat of Acrylic paint to give solid satin finish.
Shade the Grooves
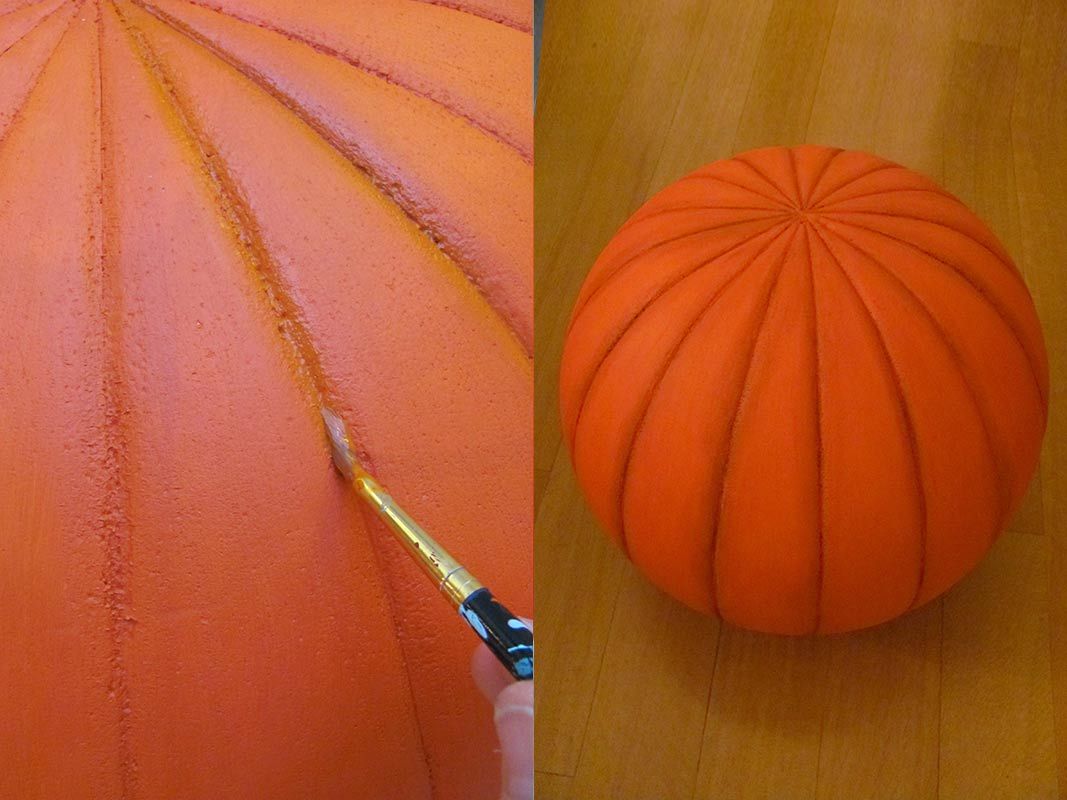
Using the acrylic orange darkened with a small amount of black paint to use as shading in the grooves.
Finishing Touches

A shaded pumpkin.
Dress the pumpkin with a stork, leaves and tendrils.