How to Make a Position Learning Machine
by cristinepotu7171 in Circuits > Arduino
273 Views, 1 Favorites, 0 Comments
How to Make a Position Learning Machine
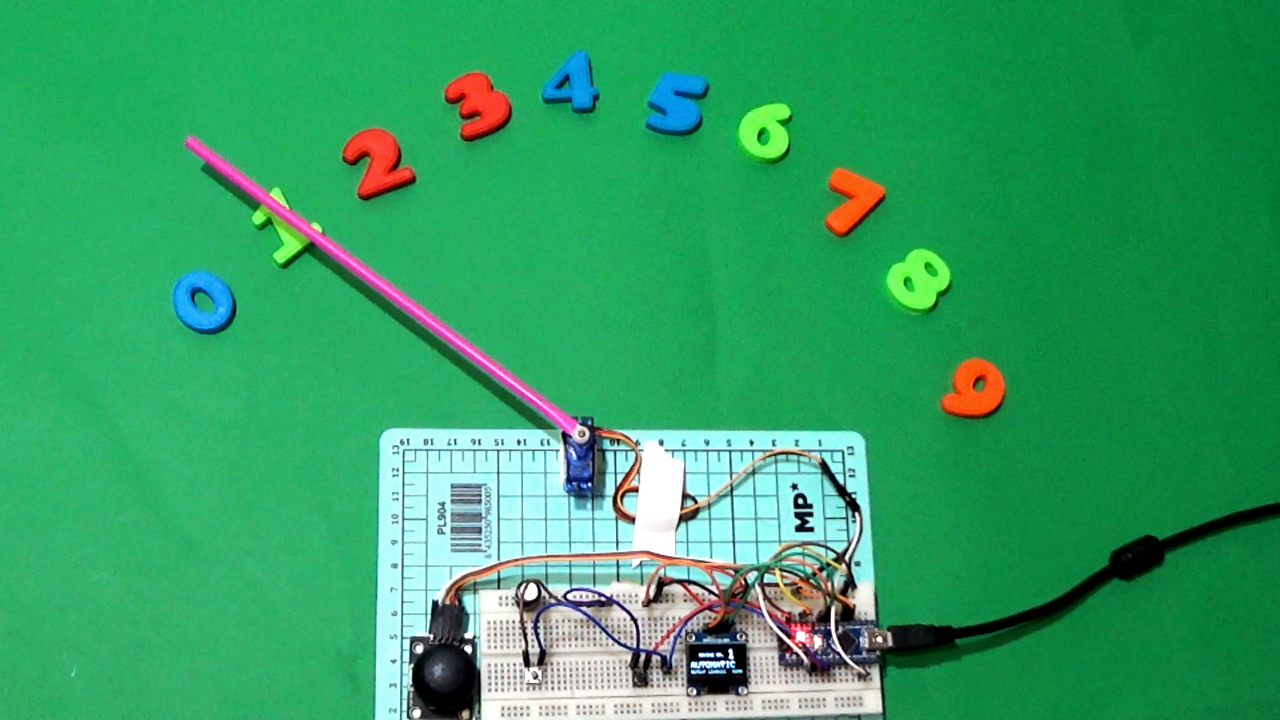
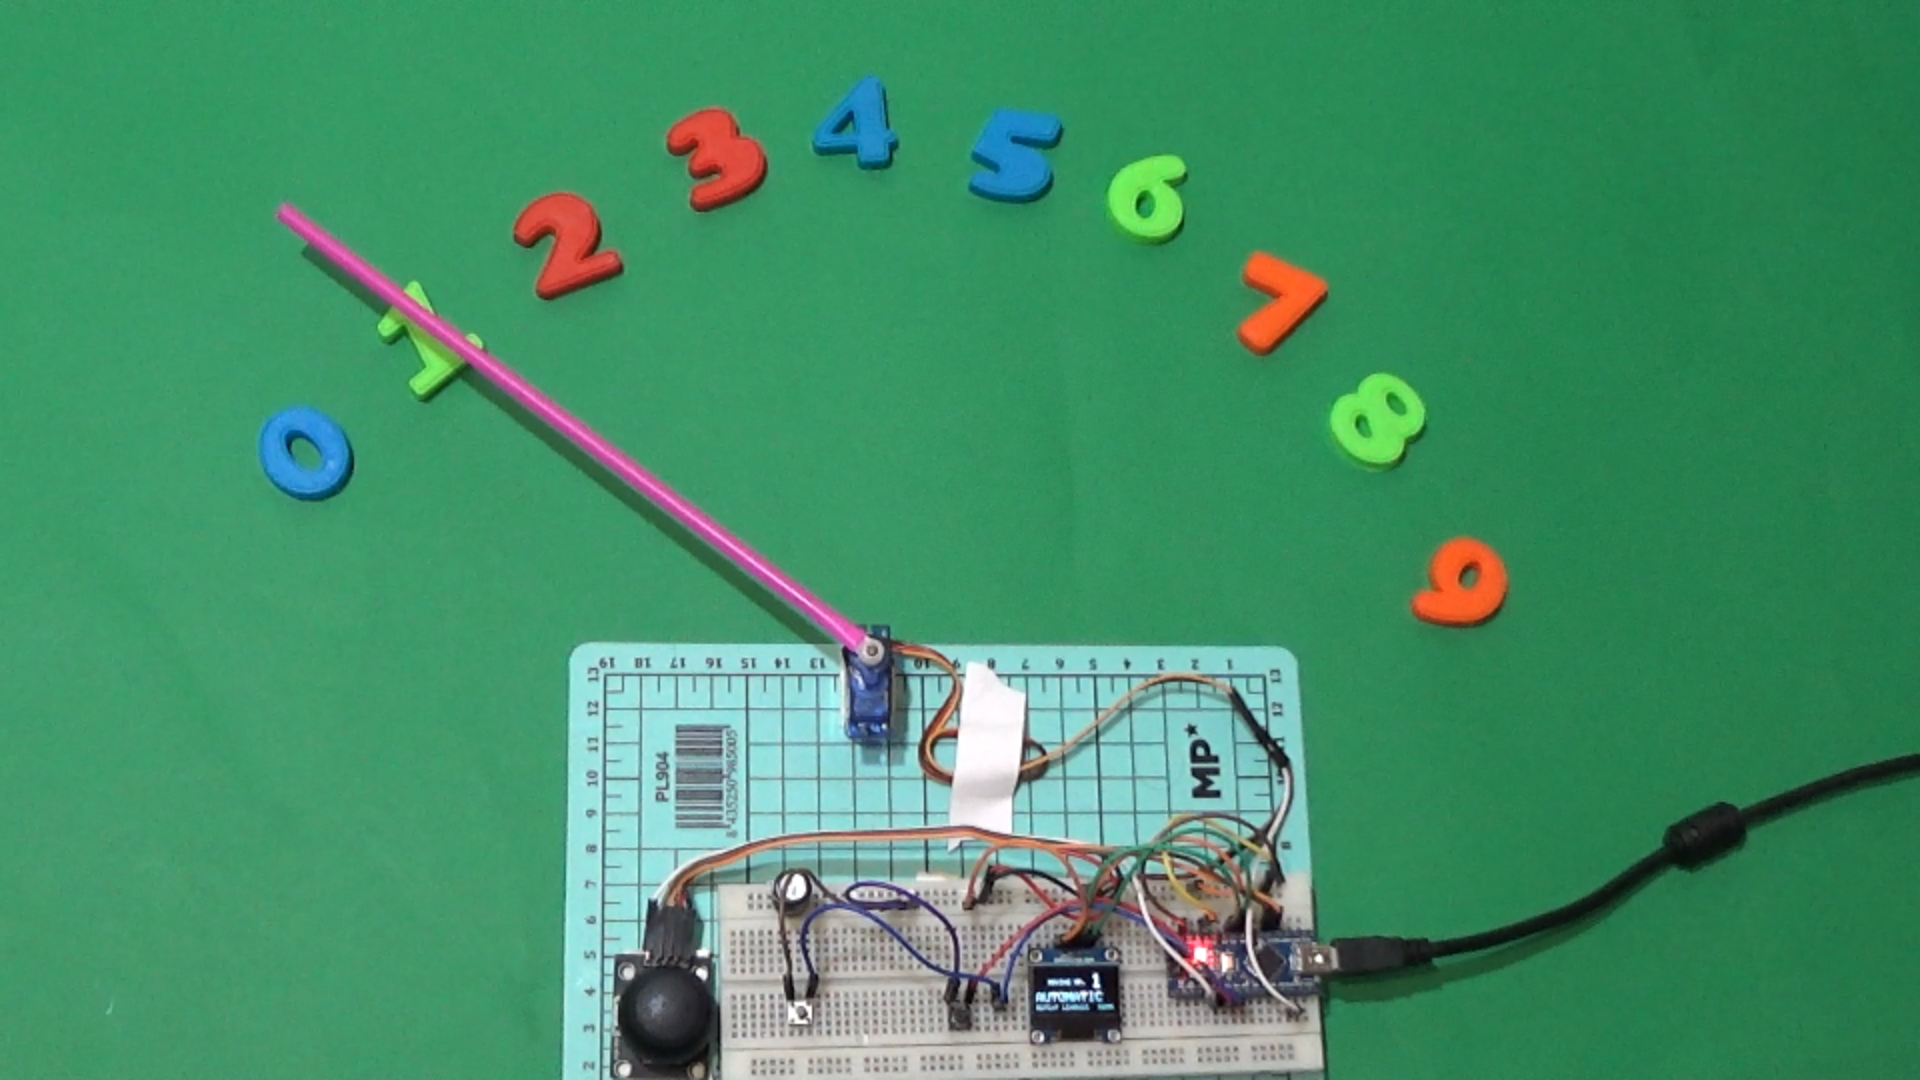
In this tutorial, we build a device with learning multiple positions of an SG90 servo motor
Supplies
.png)

.jpg)
.jpg)

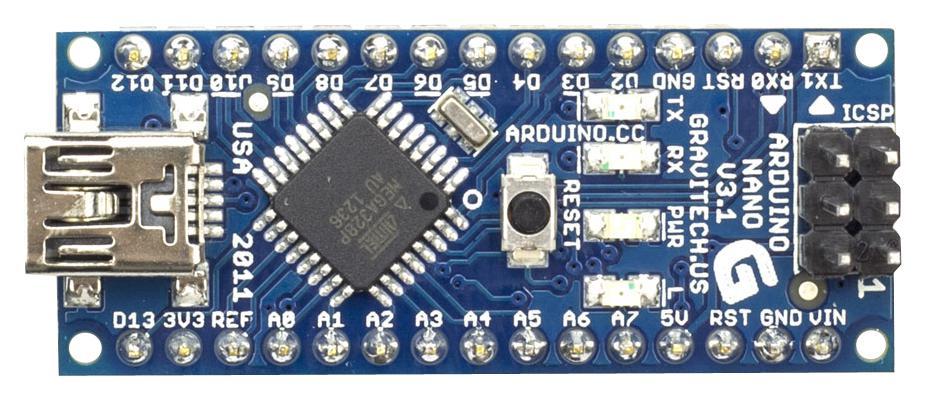
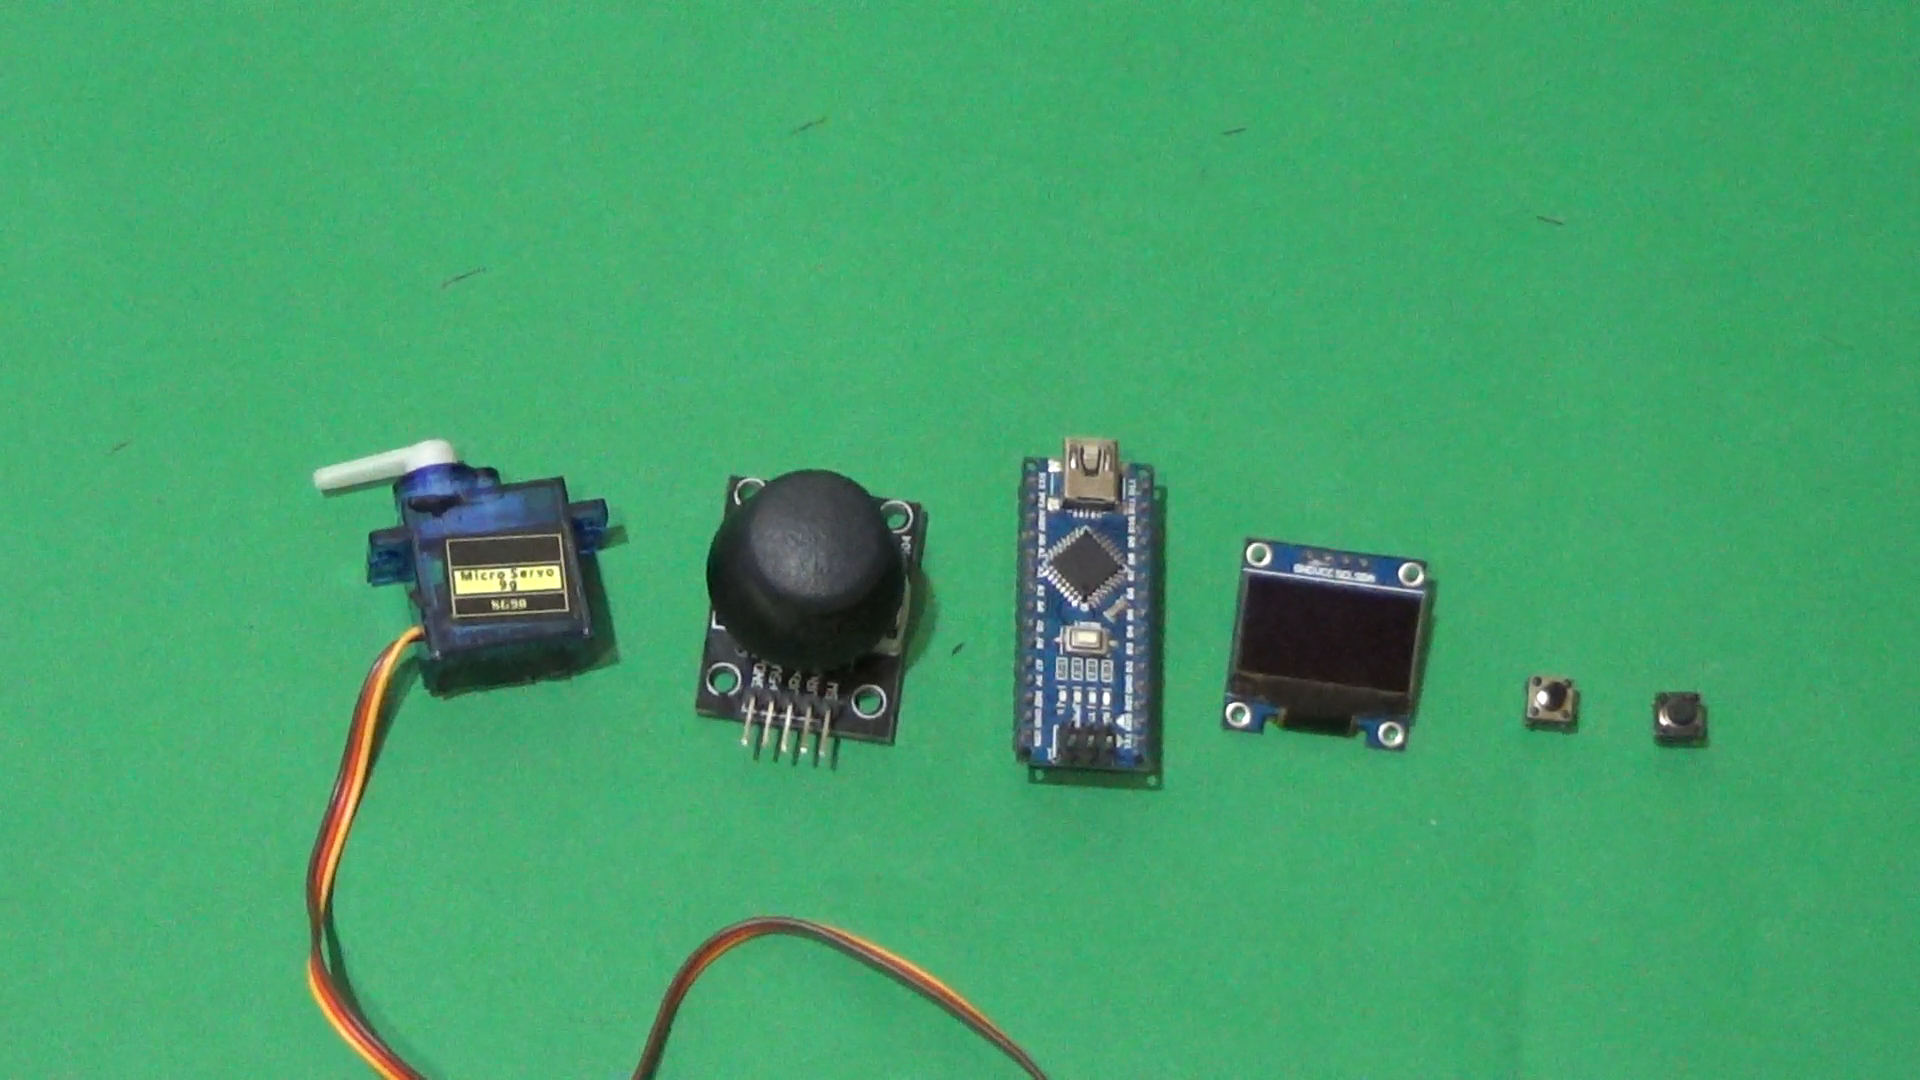
- Arduino Uno or Nano
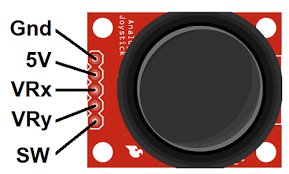
- Joystick module
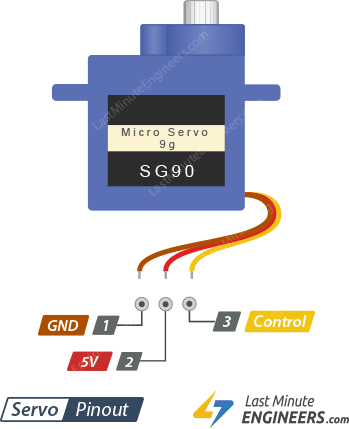
- Servo motor SG90
- Oled display 64x128
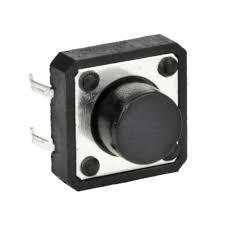
- 2x push buttons
- Breadboard and jumper wires
- Visuino software
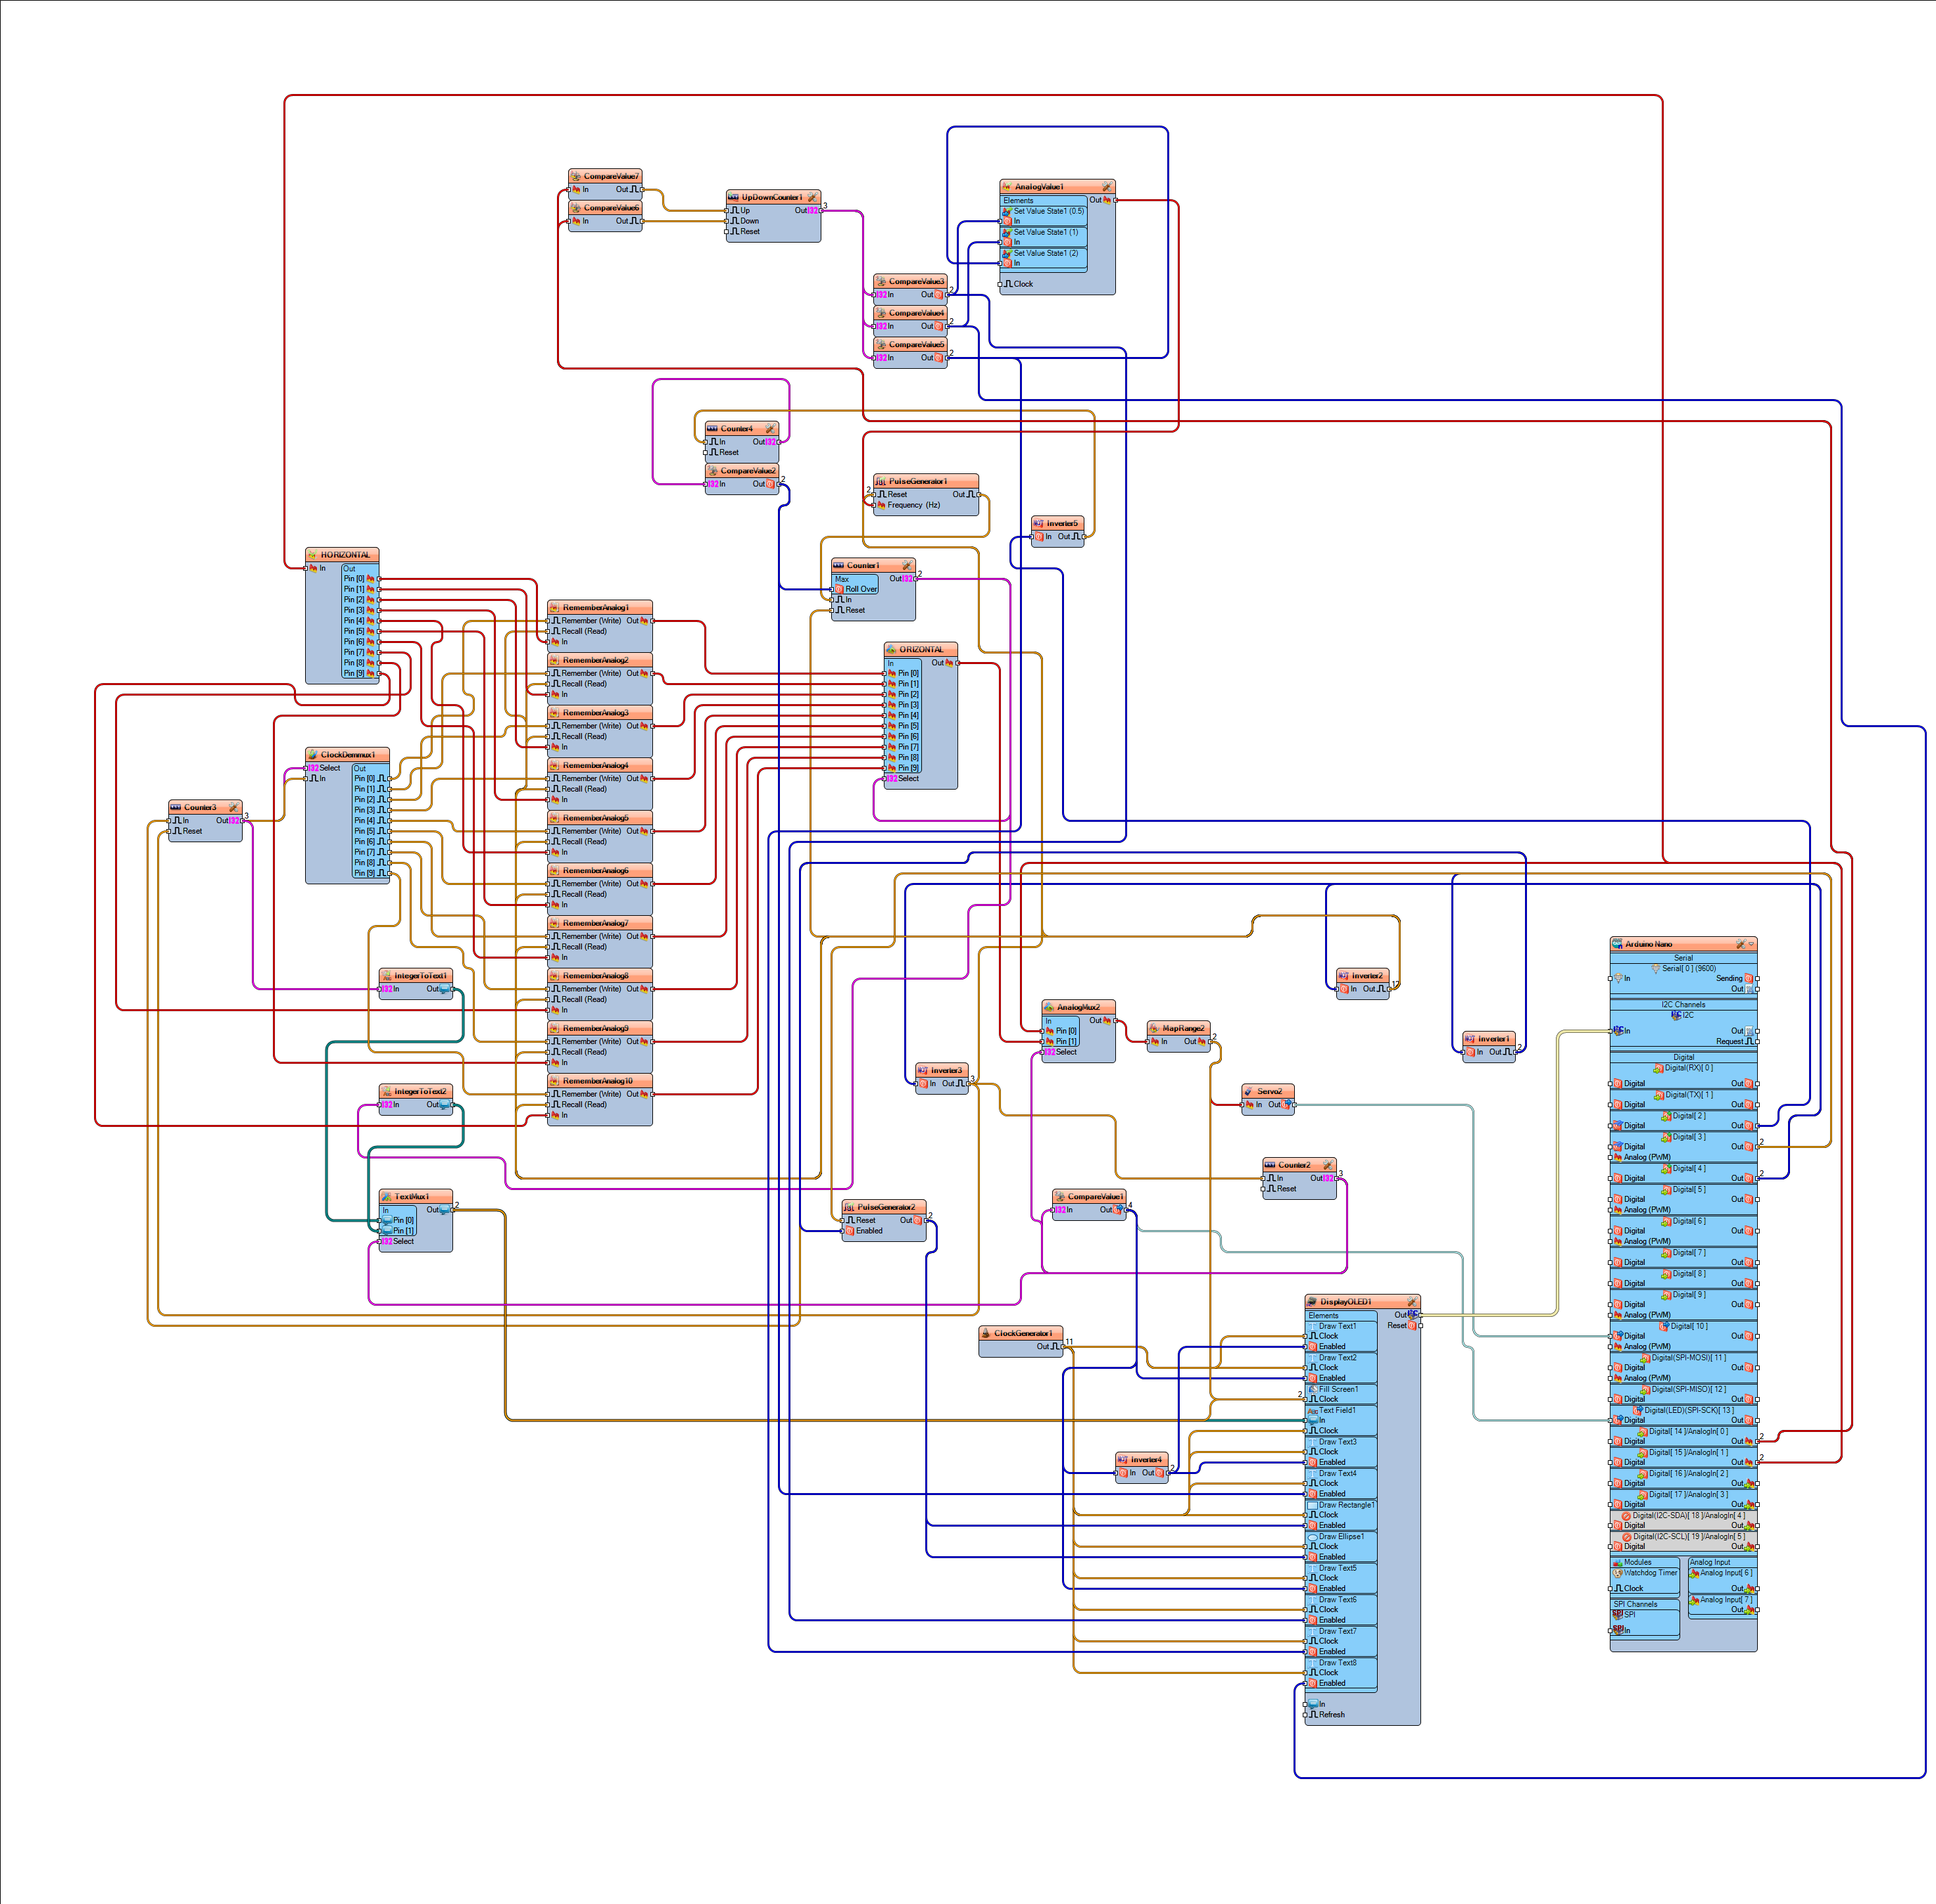
Schematic Diagram

Make the connections of the components according to the diagram below
Construction

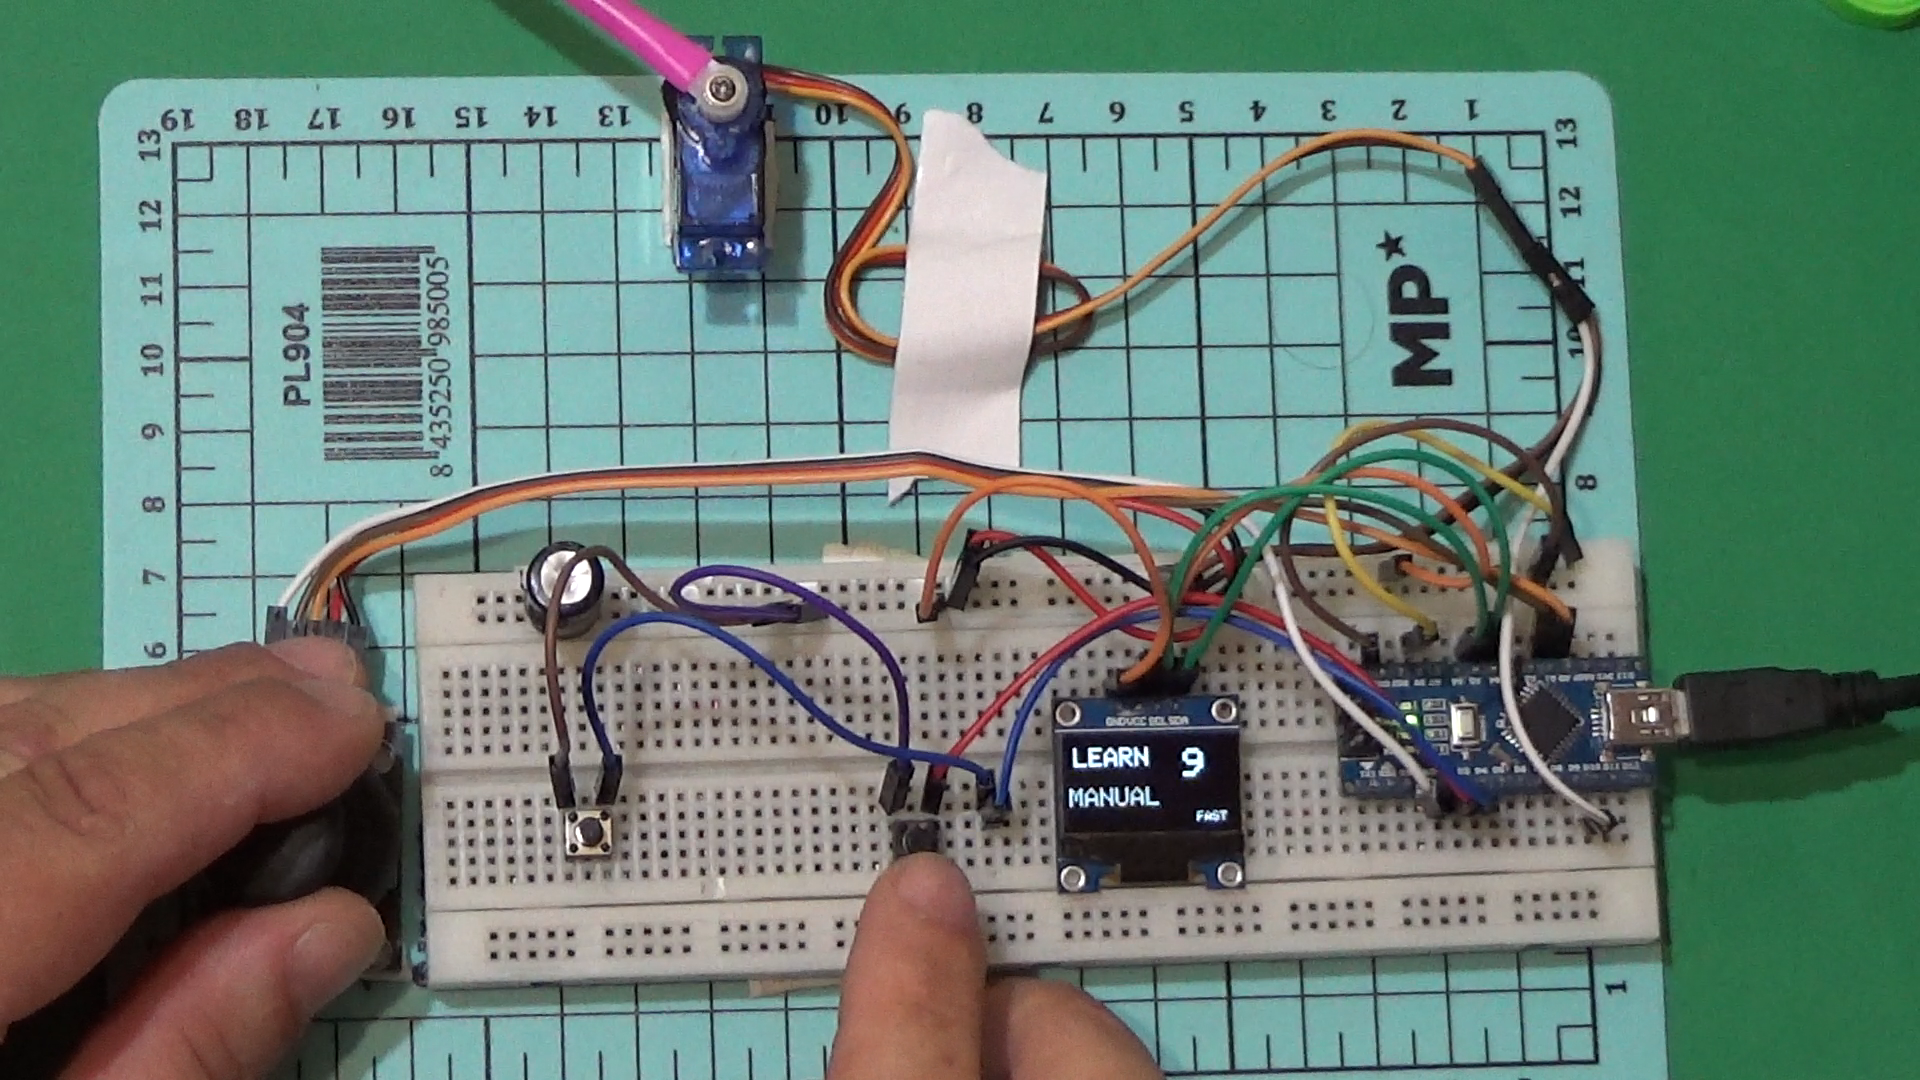

At this stage. assemble the device according to the electrical diagram above.Fix the SG90 servo motor and the joystick module as firmly as possible to the support bracket for high precision.
Upload the Code in Arduino

At this stage we load the code into the Arduino with the help of the Visuino program, you have a video on how to install it and the download link. The software is designed for 10 movements that can be memorized. You can change this value by adding the "remember analog value" component.
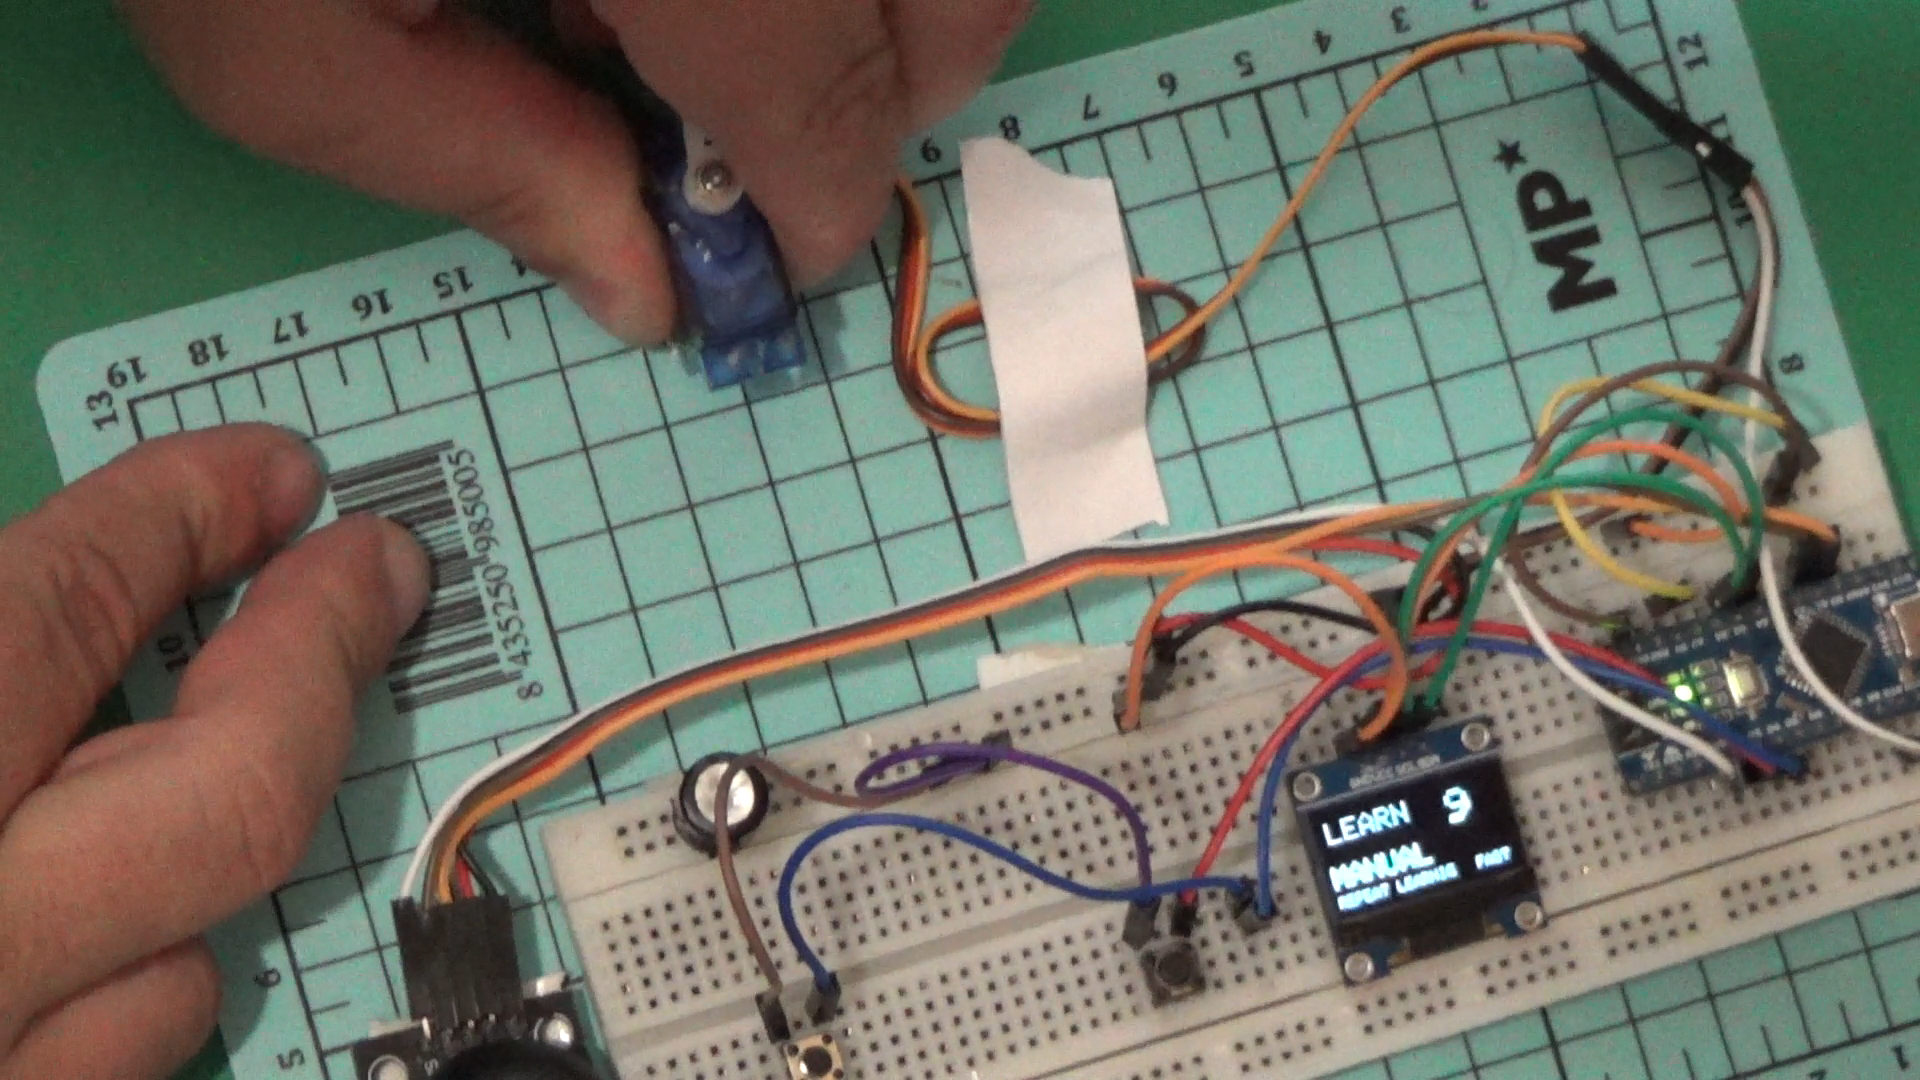
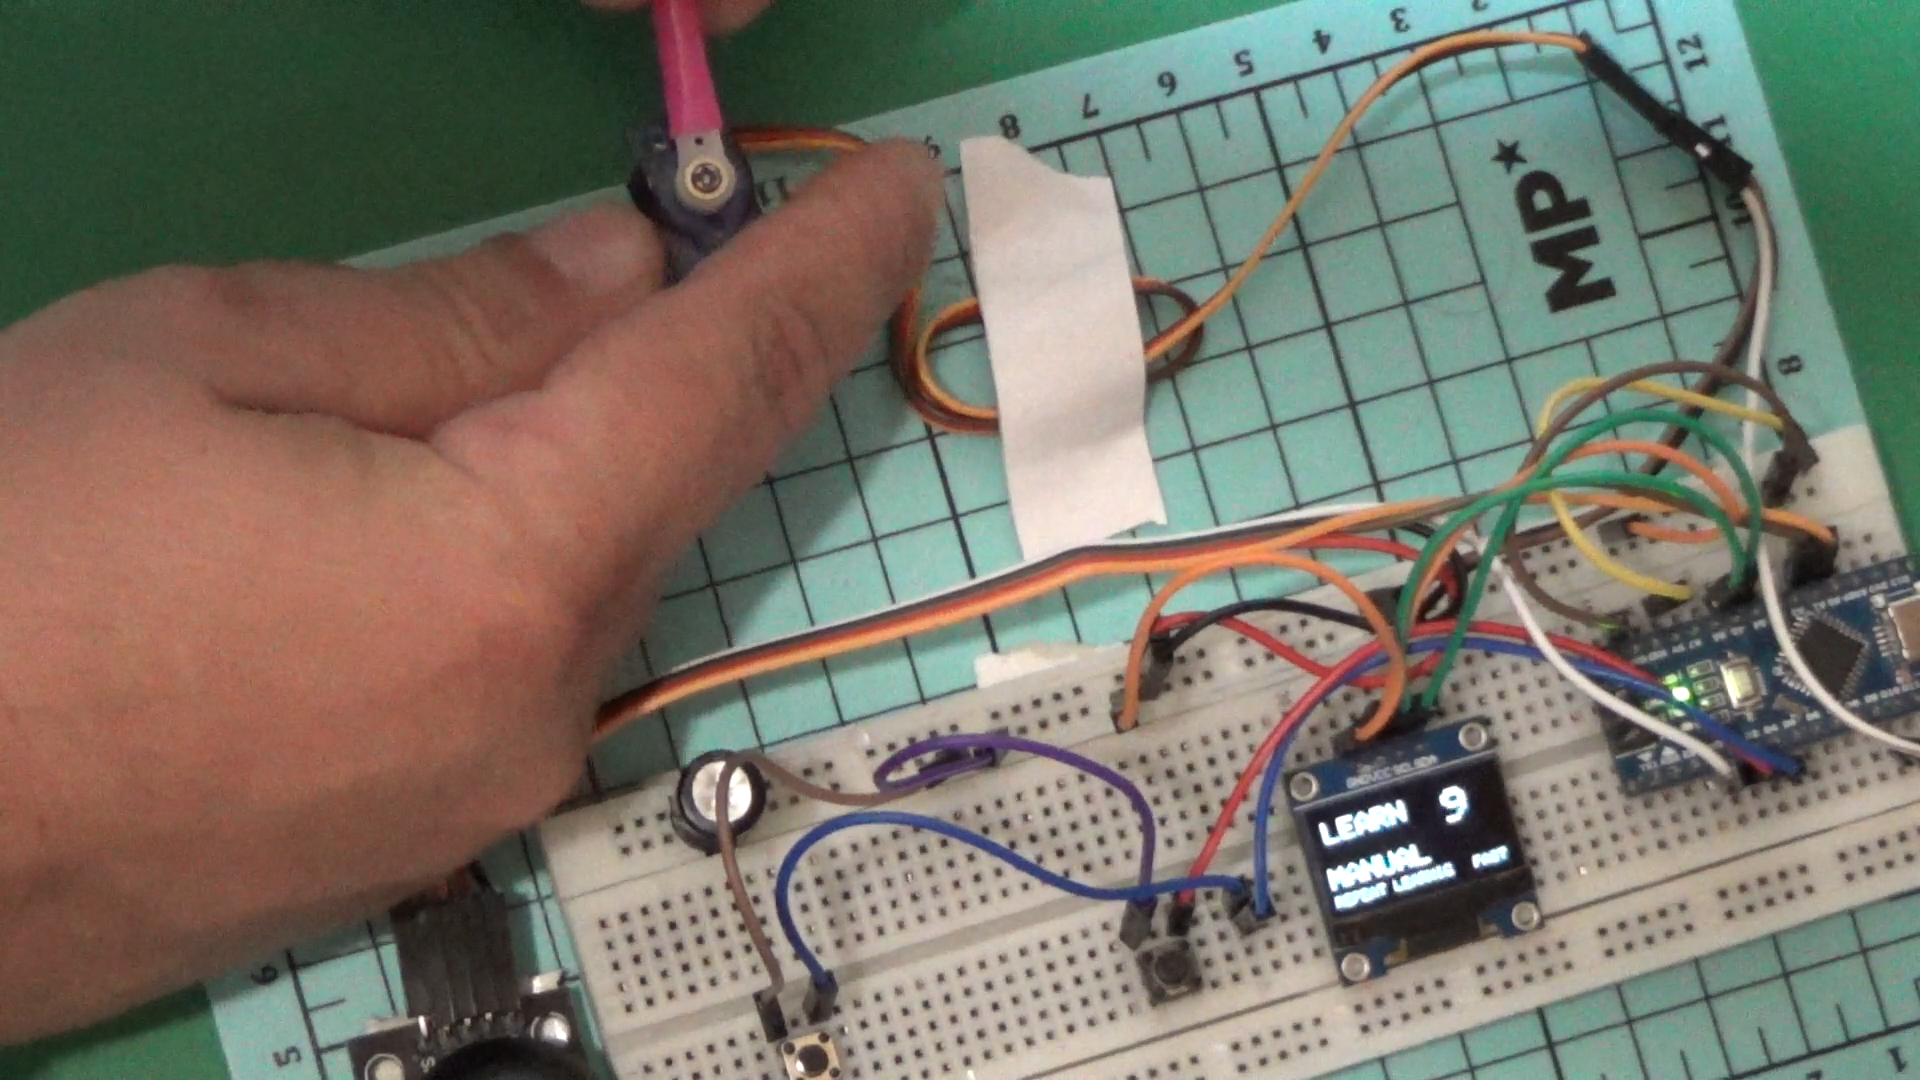
Start the Device
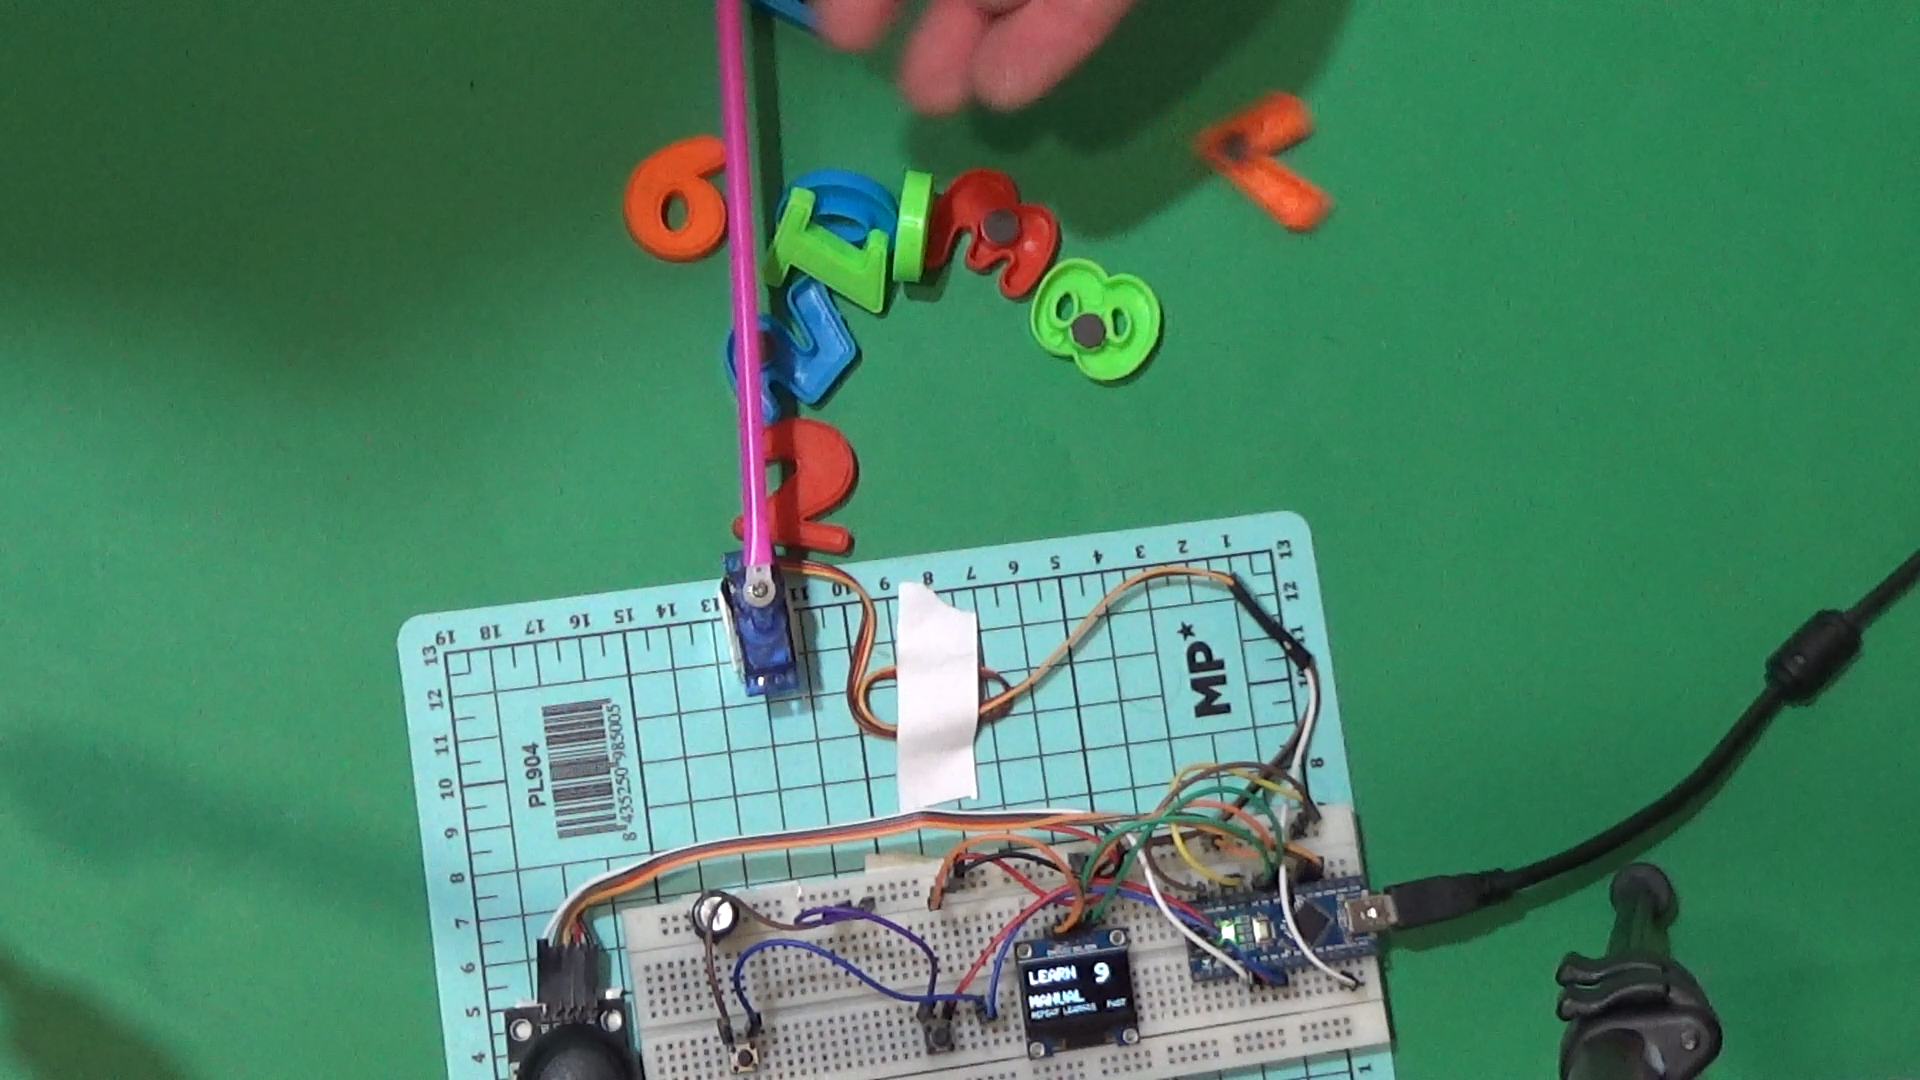


We feed the device and with the help of the joystick we move the position of the engine to the point that interests us. At this moment, push the learning button and the number of the position will appear on the screen and it will flash. We repeat for all 10 positions. Press the push button for automatic movement, and the device will follow the learned positions. For any other details, I am at your disposal in the comments. Good luck everyone!