How to Make a Pinterest Edit
by ccharlottev in Craft > Digital Graphics
1673 Views, 4 Favorites, 0 Comments
How to Make a Pinterest Edit
Here's how to make the edits that have become popular on pinterest, instagram, and tiktok
Supplies
- Picsart (app)
- Device such as phone or tablet
- Pictures (one background and 1+ for focus)
- Additional: paper texture image
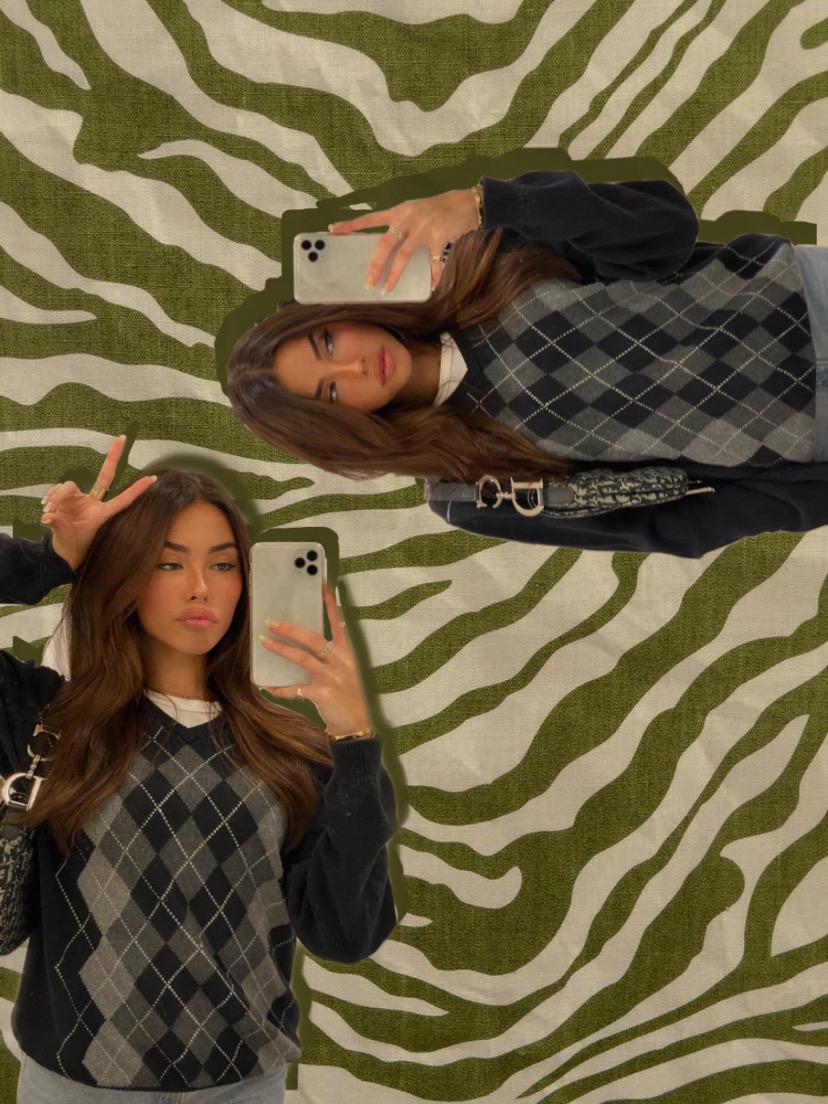
Choose Your Pictures
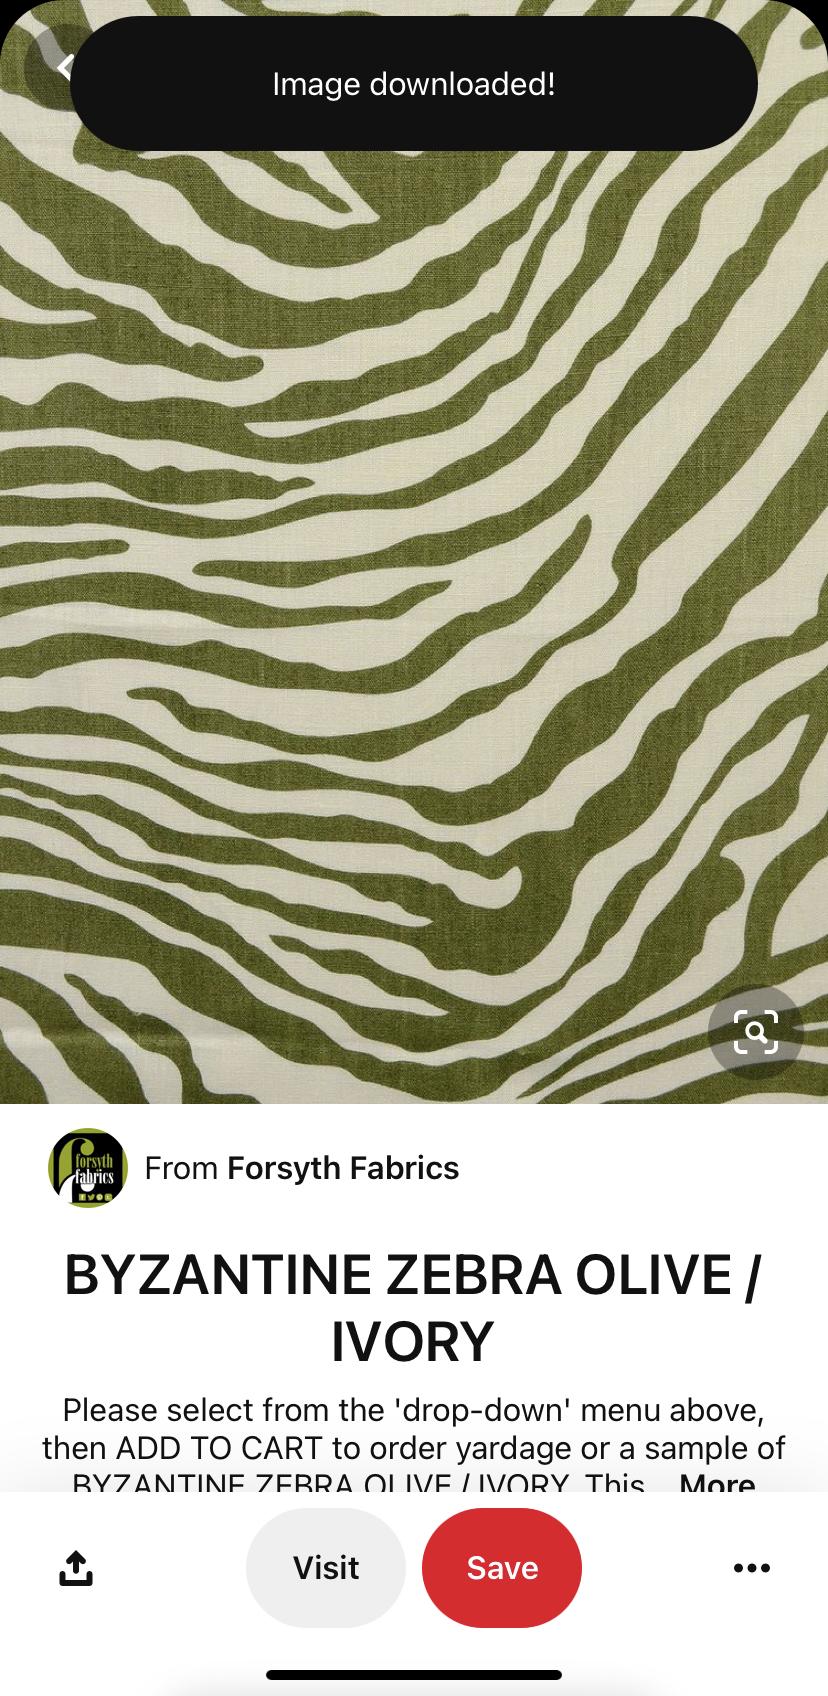
Pick a background picture from the internet or pinterest along with 1 or more pictures to be the main focus
Create a New Project
press the "+" on the bottom bar of the picsart app and choose the background image you are going to use
Adding Photos
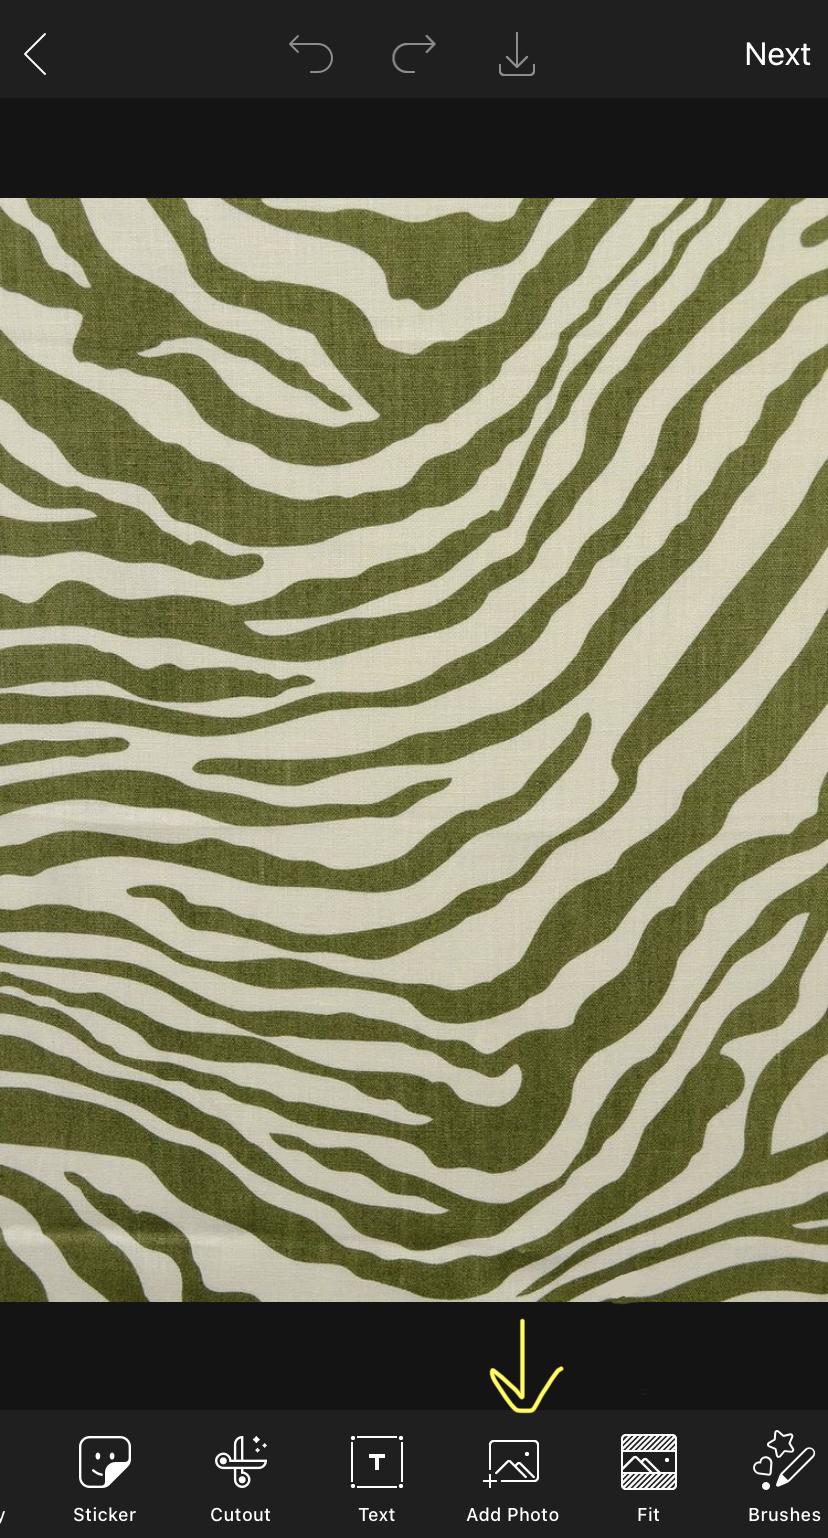

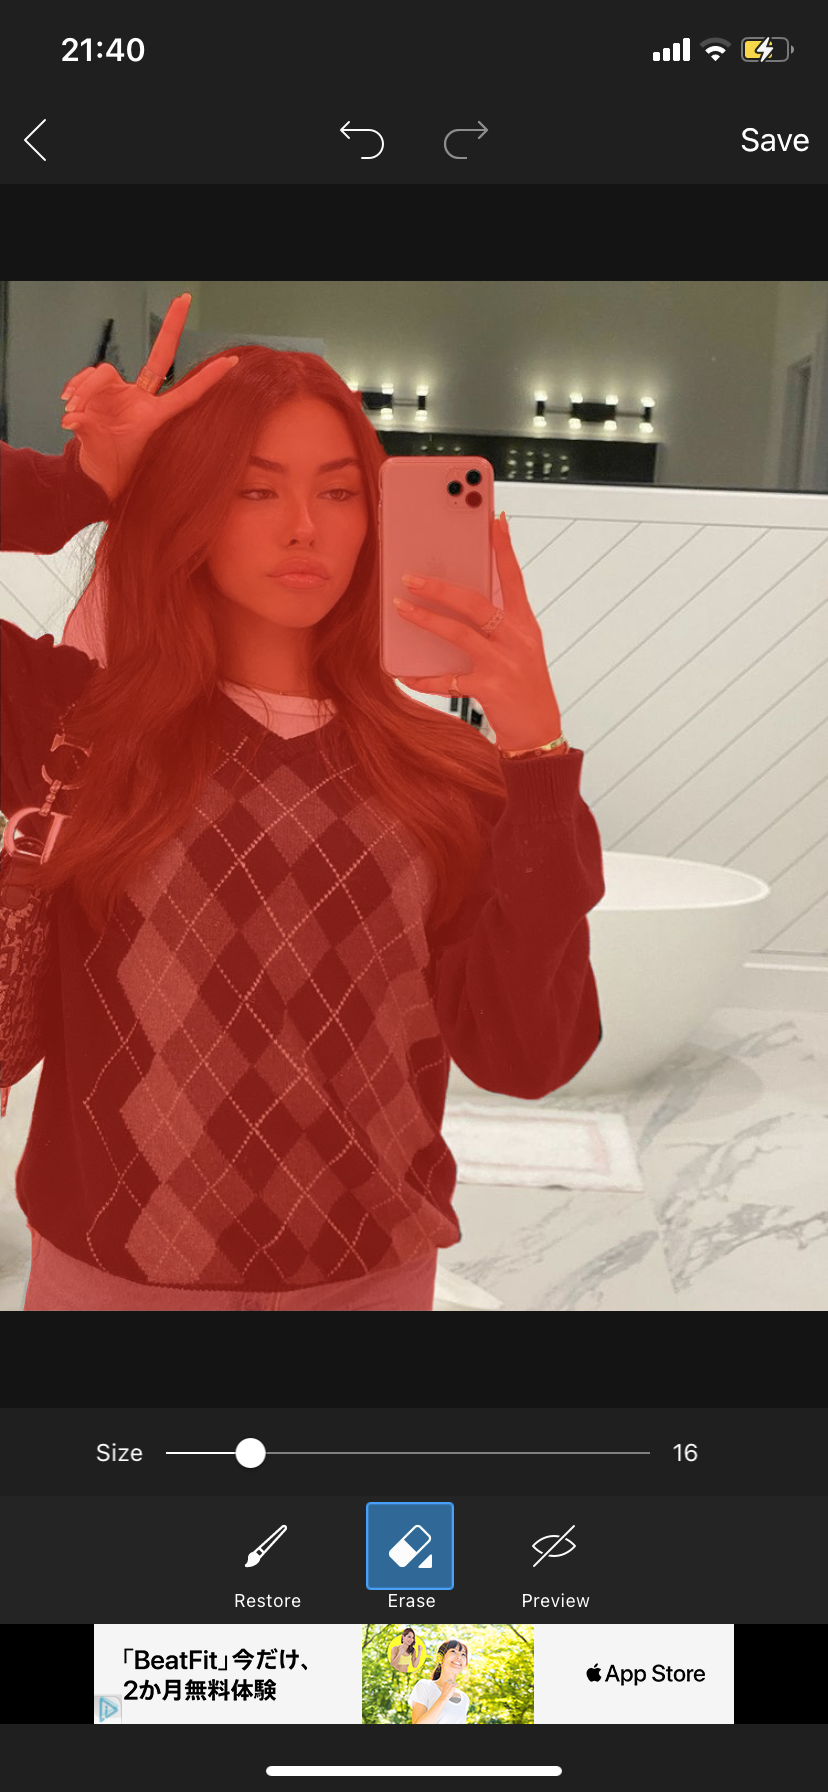
Press the "add photo" option and trace the person/thing u want on your post using the cutout tool. And press save when finished. make sure to refine edges using the different tools such as erase and fill. When finished press save in the top right corner.
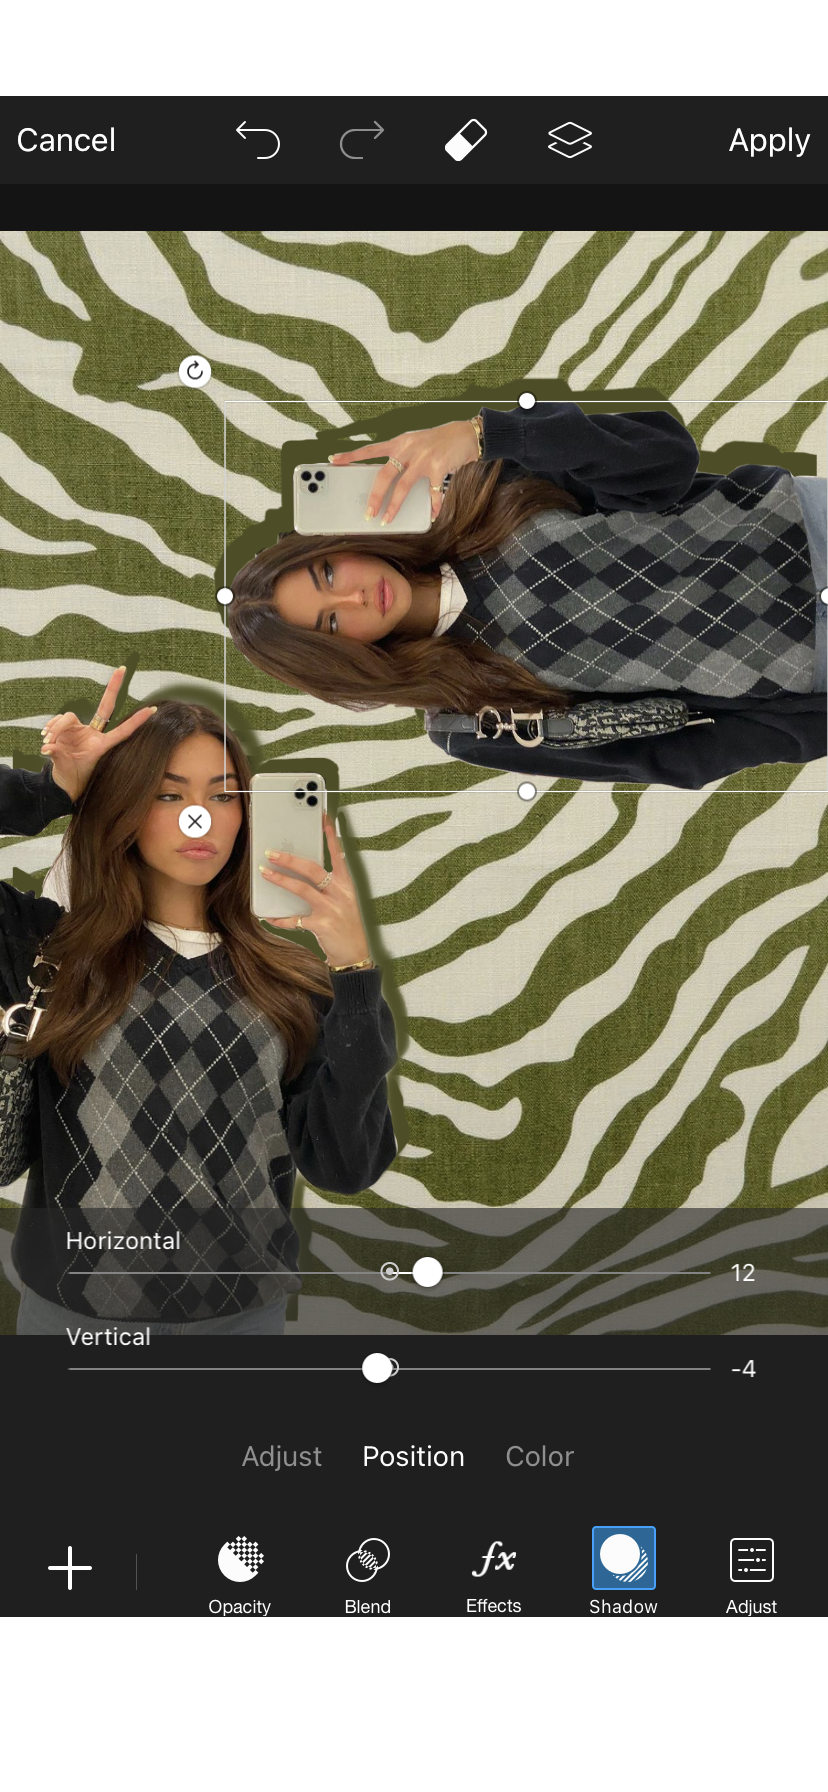
Placing Each Photo
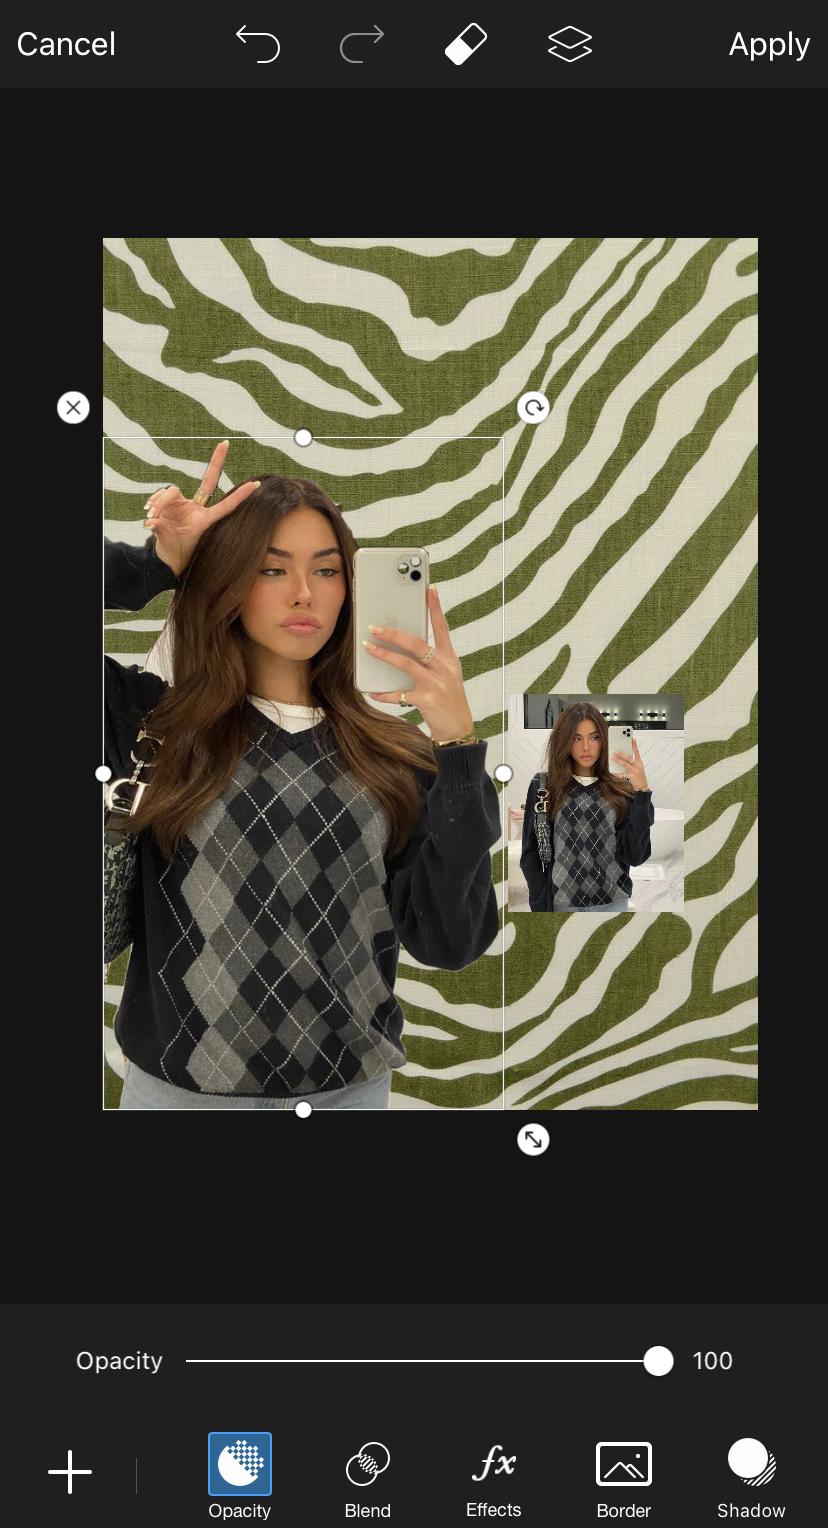
Resize and reshape the person/object to the desired size and position on the post. Do this using pinching motions with two finders or the icons on the corner of your stickers.
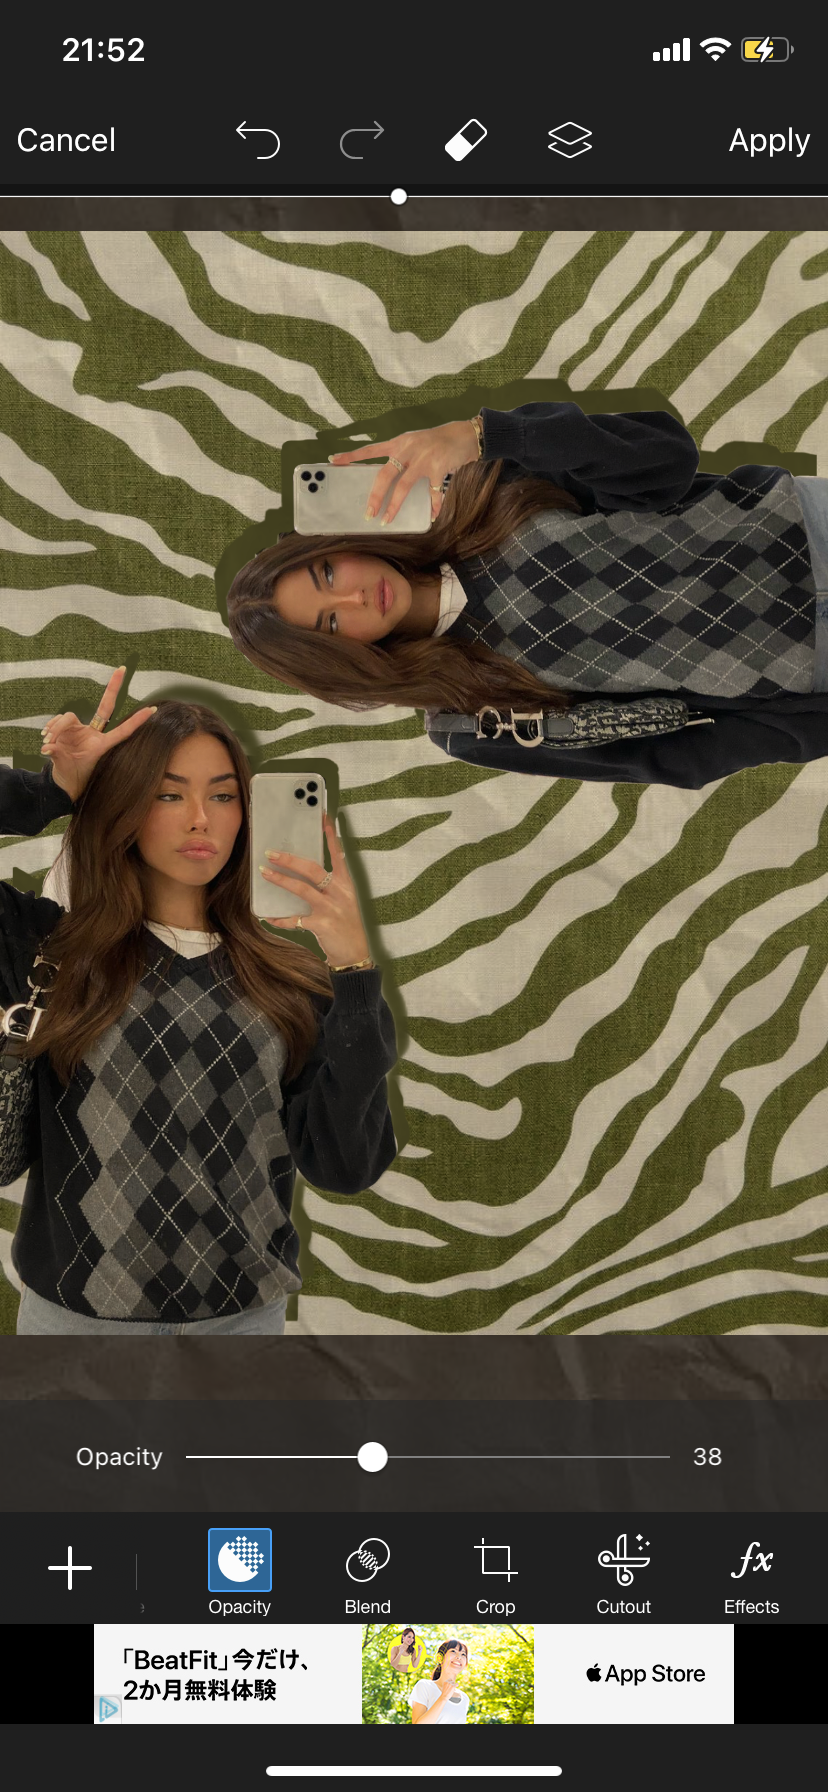
Creating Shadows
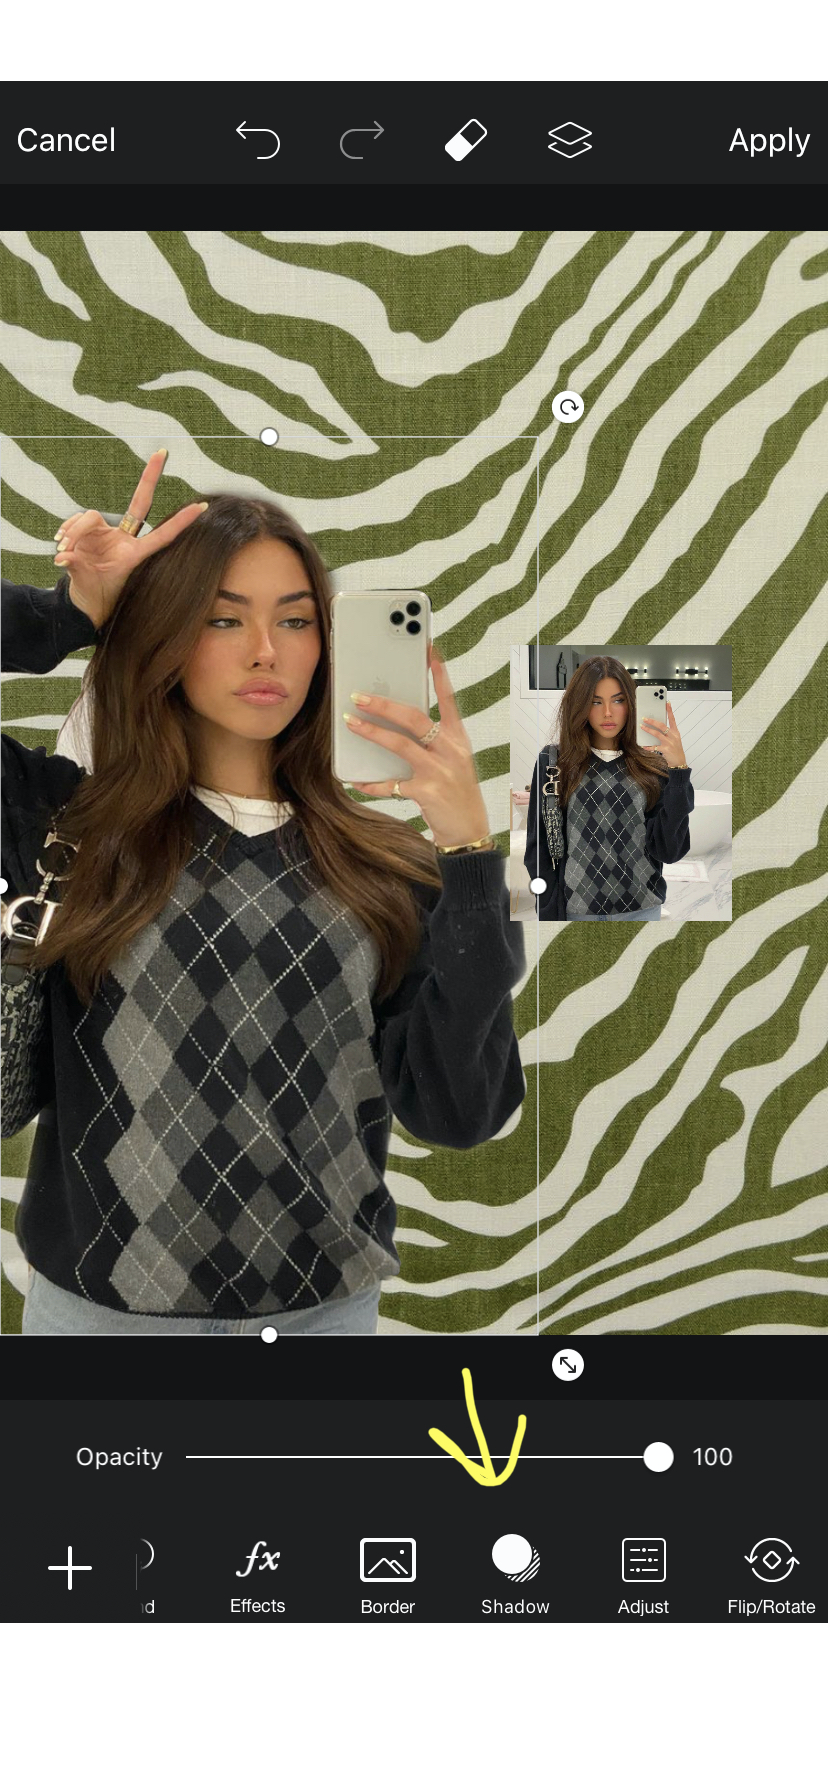
Add a shadow using the "shadow" tool when the cutout is still selected and position to your liking.
Blending Shadows
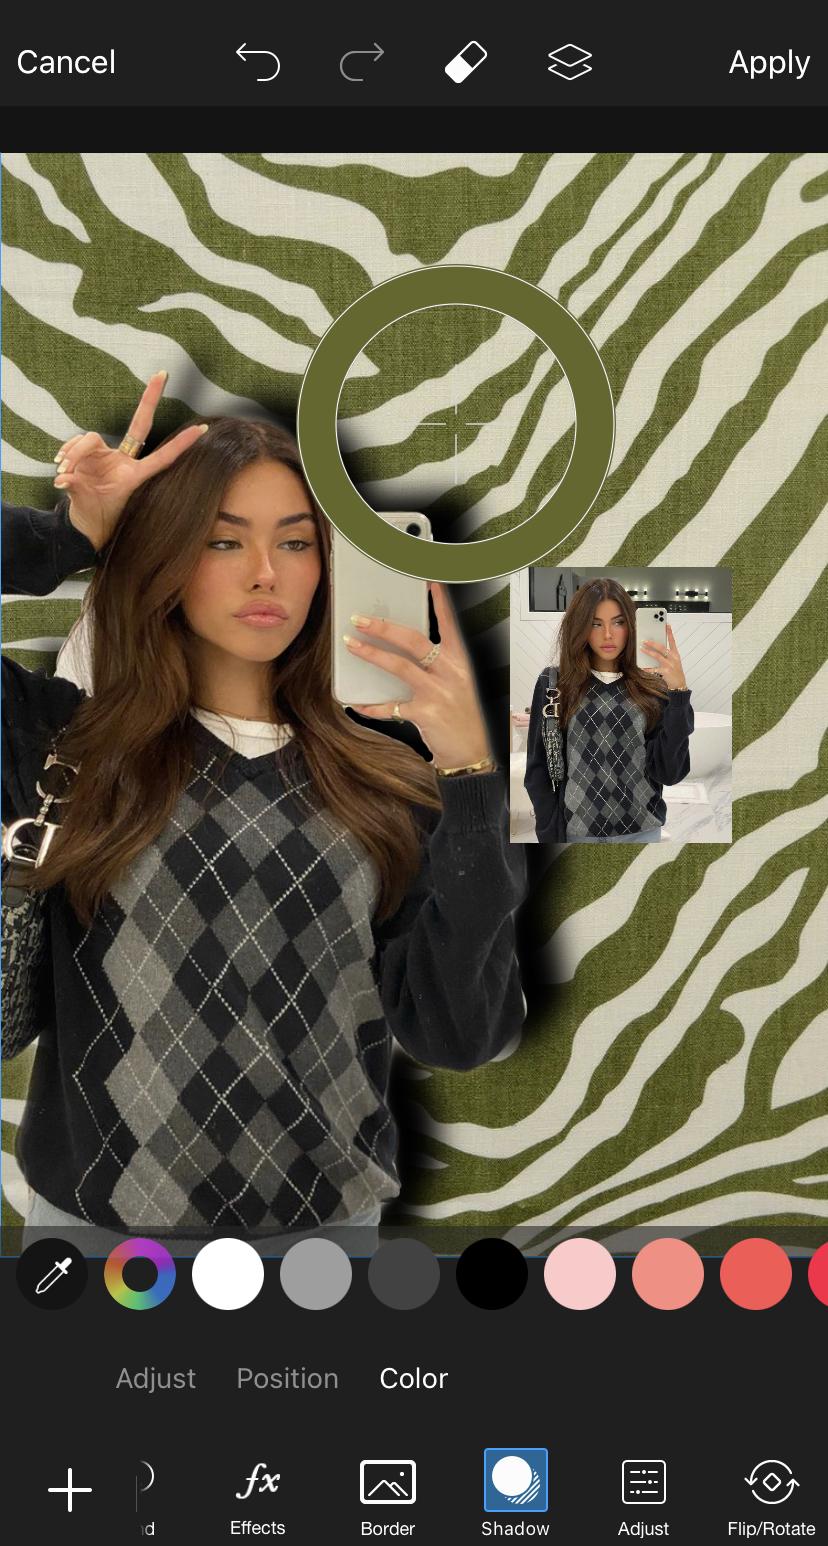
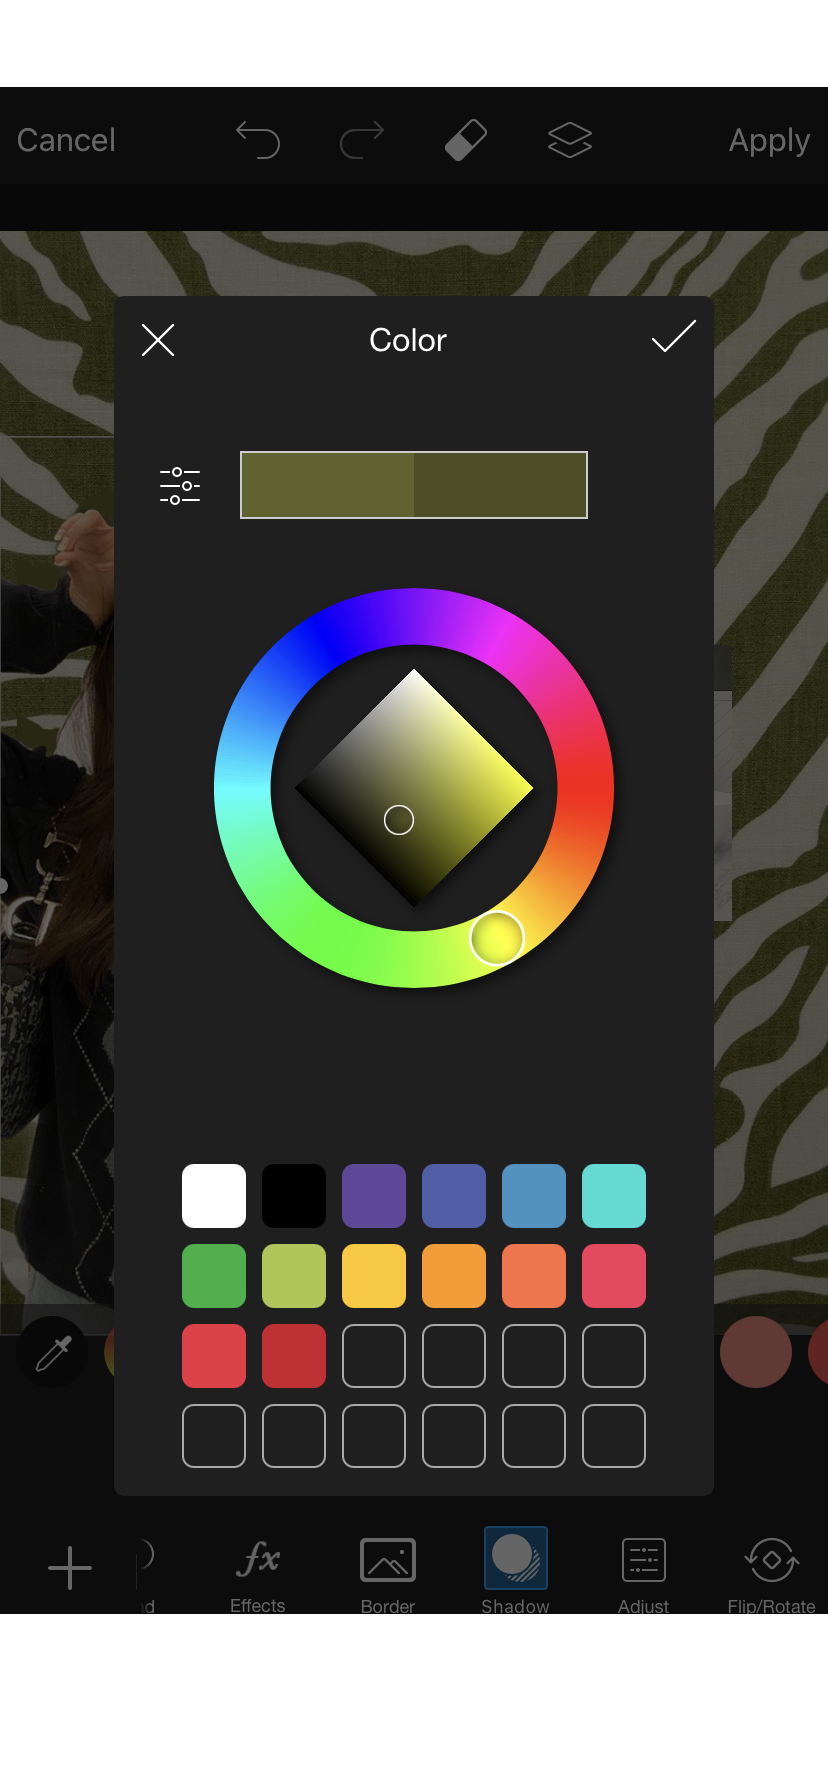
Make the shadow a color that would blend/match well with the background using the color selector tool in color. you can change the shade of the color to your liking when pressing the color wheel.
More Than One Object/person on Post
repeat steps 2-6
Additional: Creating the Paper Texture
Go on any search engine or pinterest and look for "paper texture", download your favorite one.
Importing the Texture
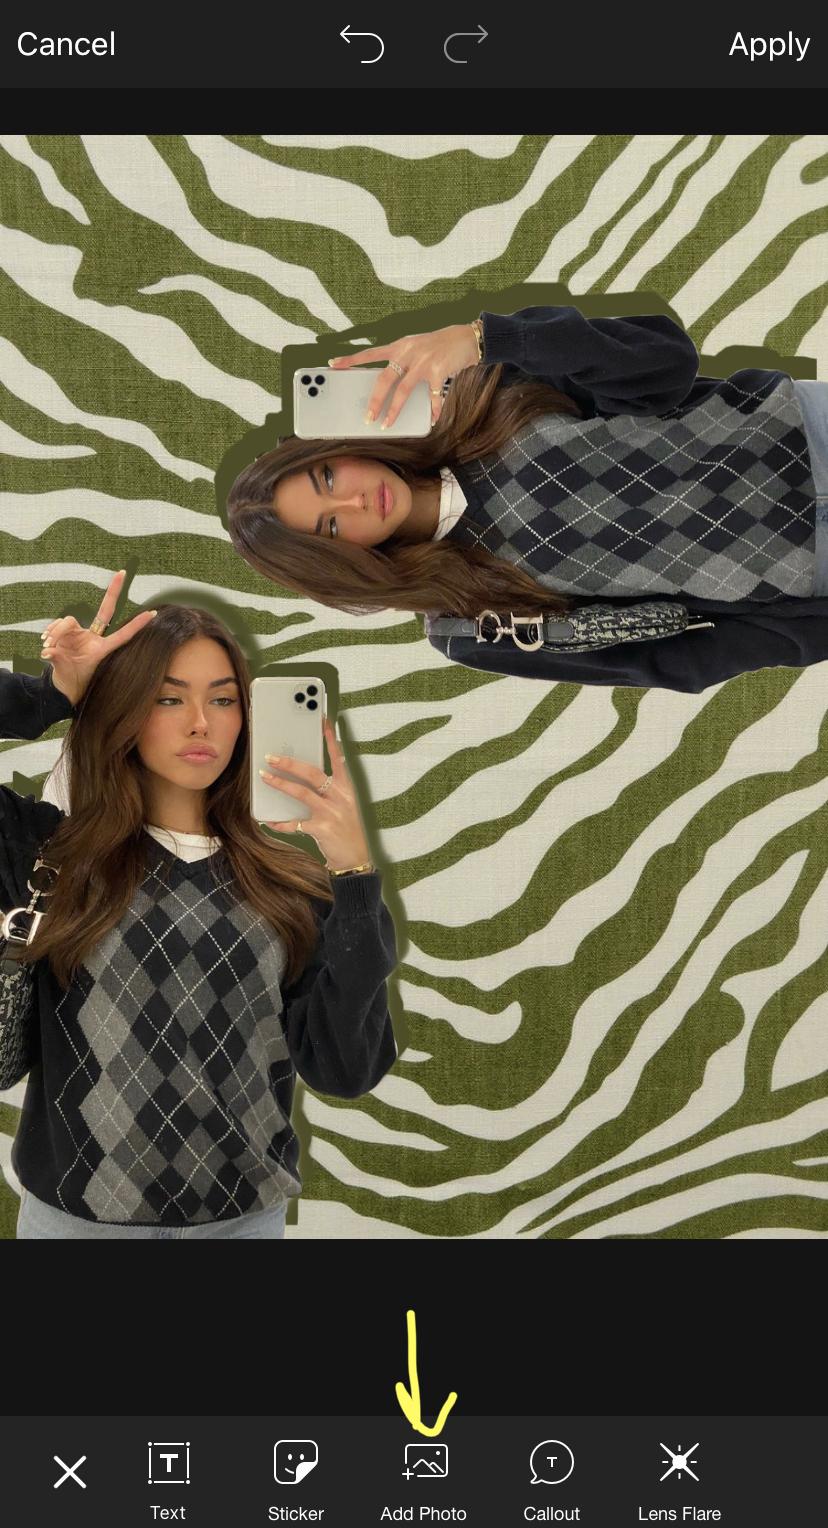
Go back to the edit on picsart and import the paper texture on top of the edit using the add image tool
Blending the Texture
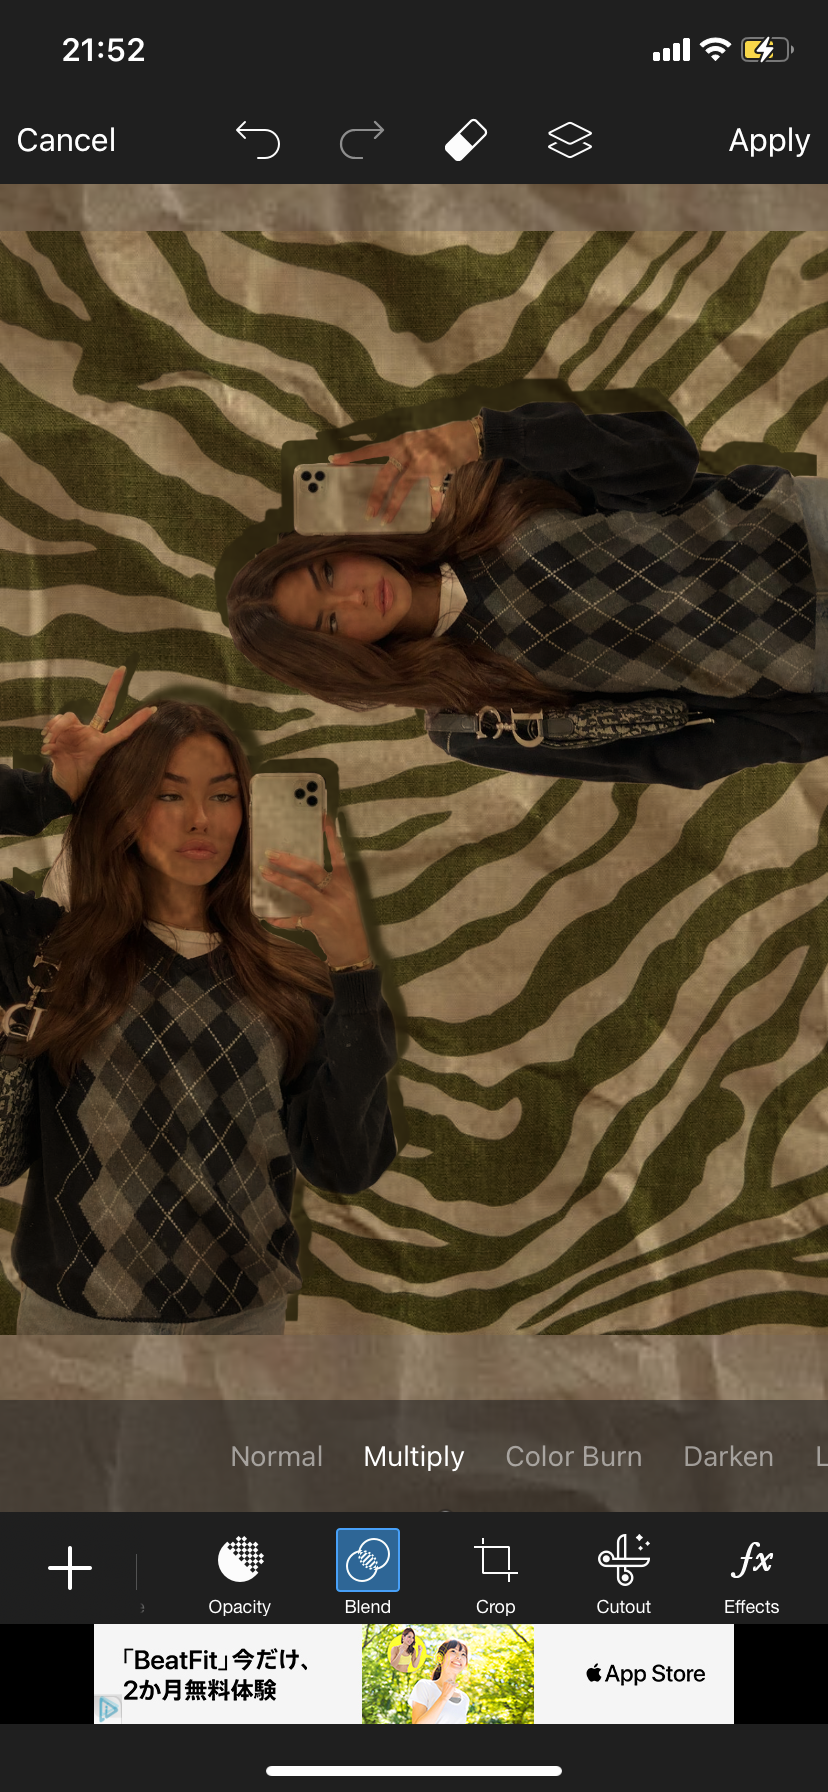
Go to the blend option with the texture and select the "multiply" option. Then use the opacity tool to change how much of the texture you want on your edit.
Saving
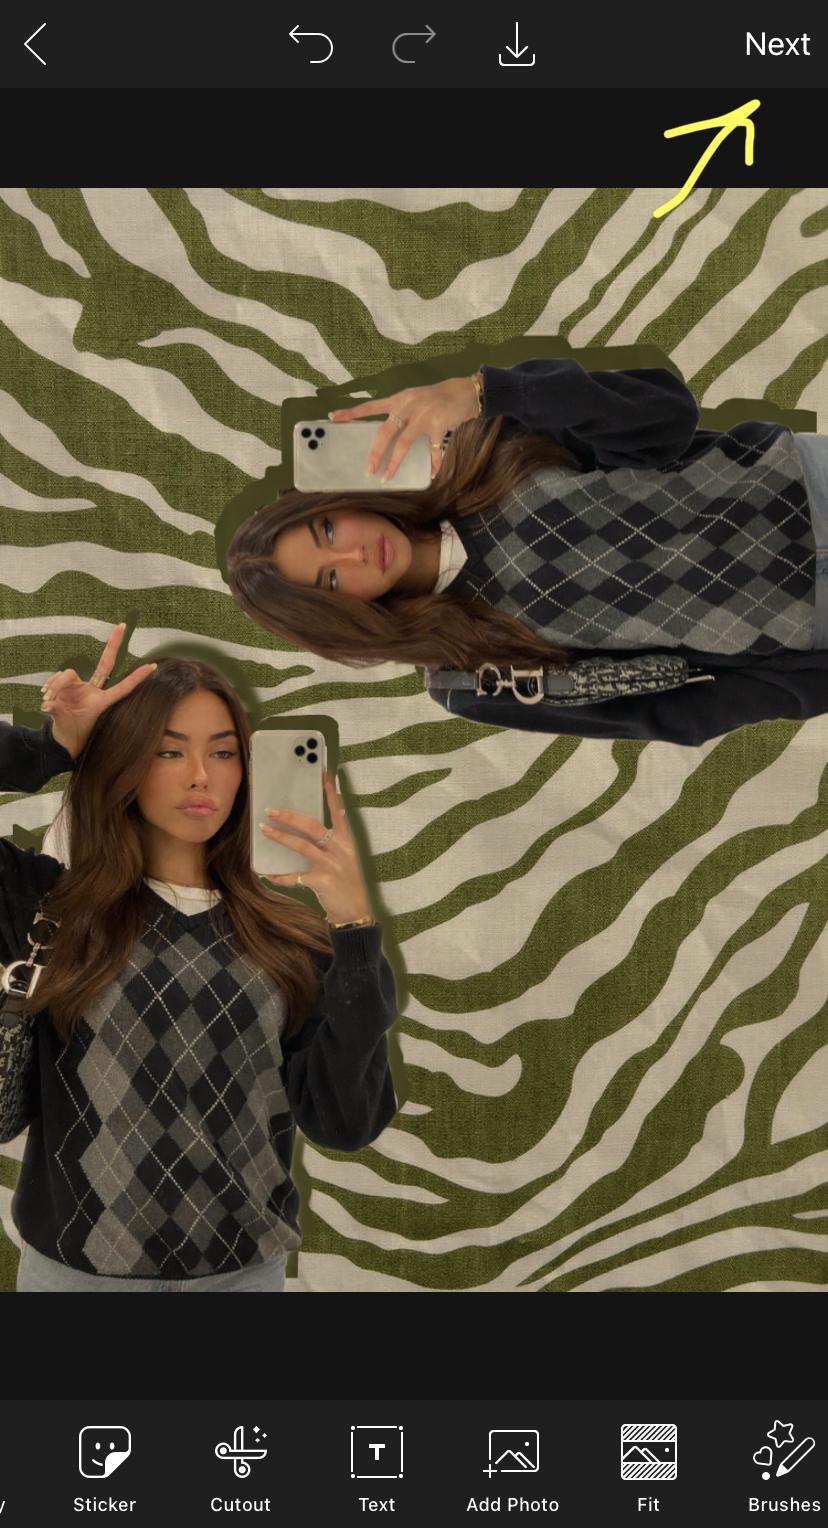
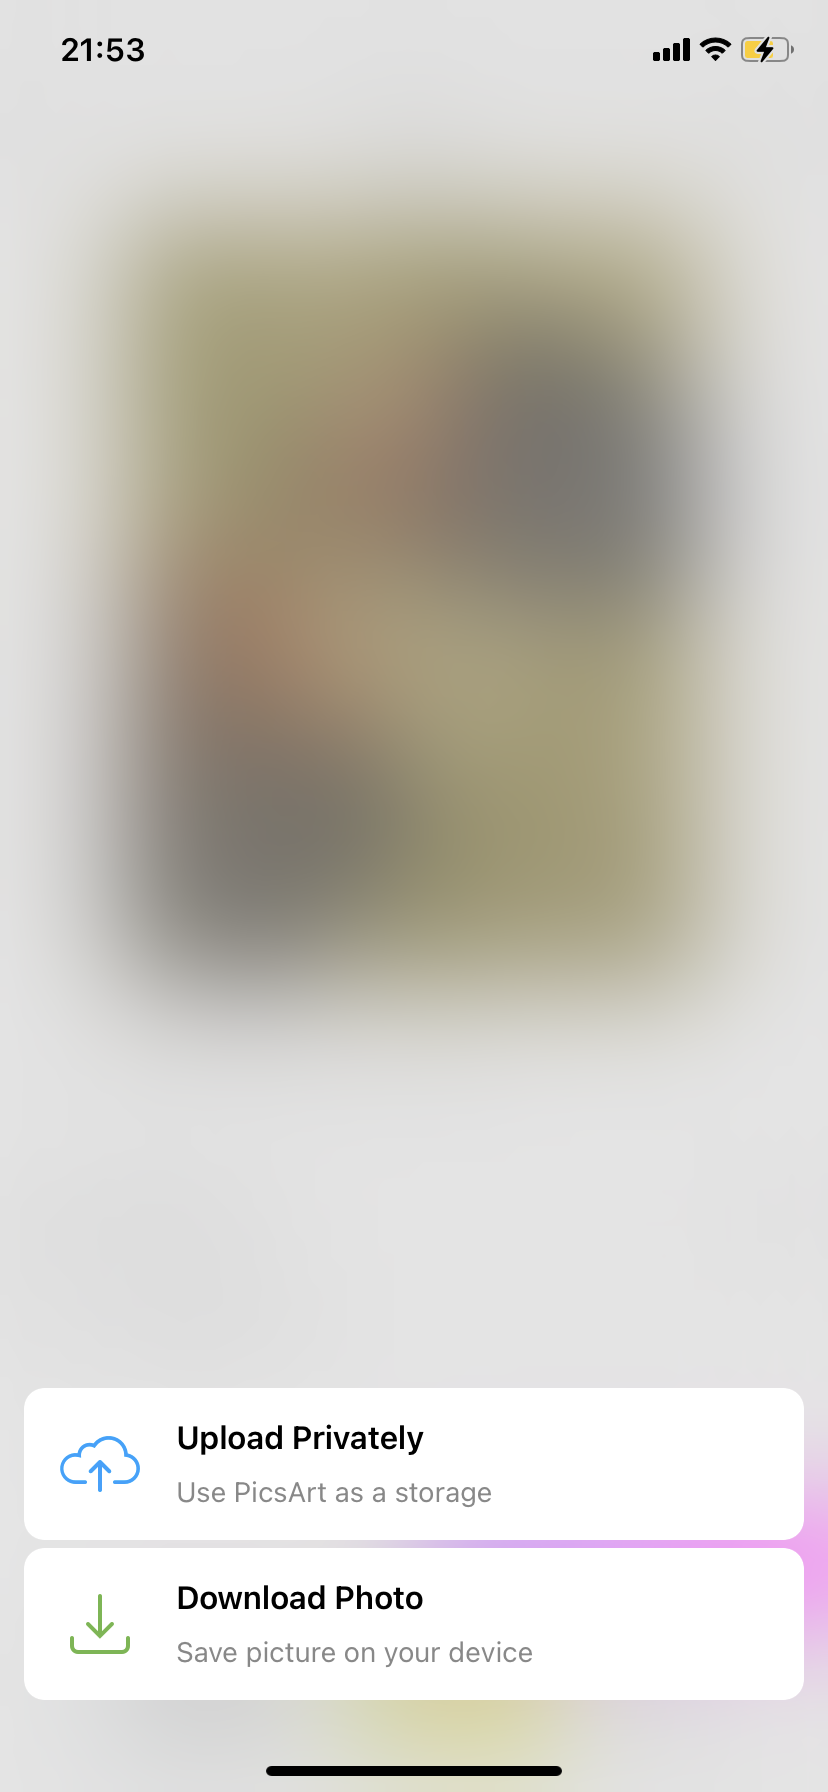
When finished, save and export to your camera roll using the next button at the top right corner of the screen. You can now share your edit to all social medias!