How to Make a Personalized Mount Rushmore!
by SecondRealmWoodworks in Workshop > 3D Printing
4942 Views, 30 Favorites, 0 Comments
How to Make a Personalized Mount Rushmore!
"Could you actually? That would be sick!" said one of my friends during the school day. "I don't see why not," I replied. And so the journey began. A quest to prove myself worthy to my peers by... 3D printing a Mount Rushmore with my brother and his 3 best friends' faces. So if you want to prove yourself worthy to your peers, or just make some people laugh, then follow along with me to create your very own custom Rushmore.
Supplies
Here is a list of what you will need for this project, and I'll post links to what I used in the asterisks.
-3D printer*: While this project inherently depends on a 3D printer, don't be scared if you do not own one. You can always ask around since many people own 3D printers these days, or you could pay an online company* to print it if you want to.
Phone for Kiri Engine*: Kiri Engine is the app that I used to 3d scan my friends. It is a simple-to-use photo scanning app that will produce good models for free.
-Computer for Blender* and Cura*: Blender is a completely free program that can be downloaded on your computer to make the model. Ultimaker Cura is the program that I used to prepare the model for printing.
-Paints: I would recommend starting with any gray primer*, and then you can add some extra pop like in Step 9 with a white acrylic paint*.
-Paint Brushes
-Assorted Sandpaper
Scan Your Subjects
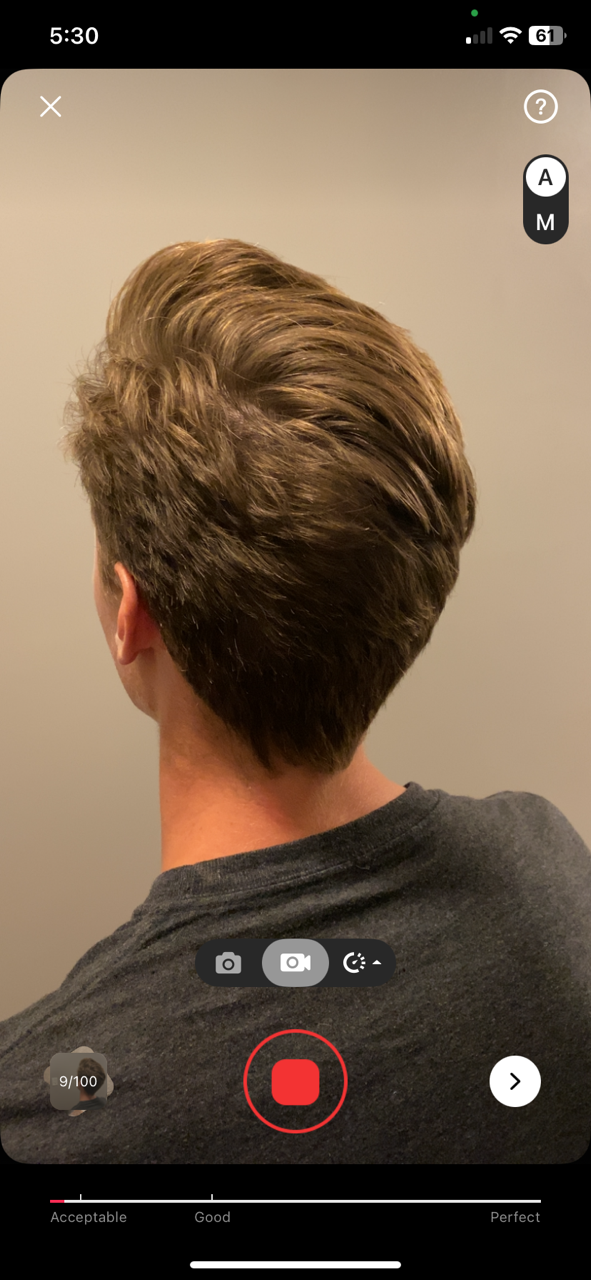
Use Kiri Engine to slowly scan your subjects from different angles (there is a tutorial in the app). Afterwards, export the model as an .obj or .stl. You only get limited exports on Kiri engine every week, so you may have to do this over two weeks.
Clean Up the Details
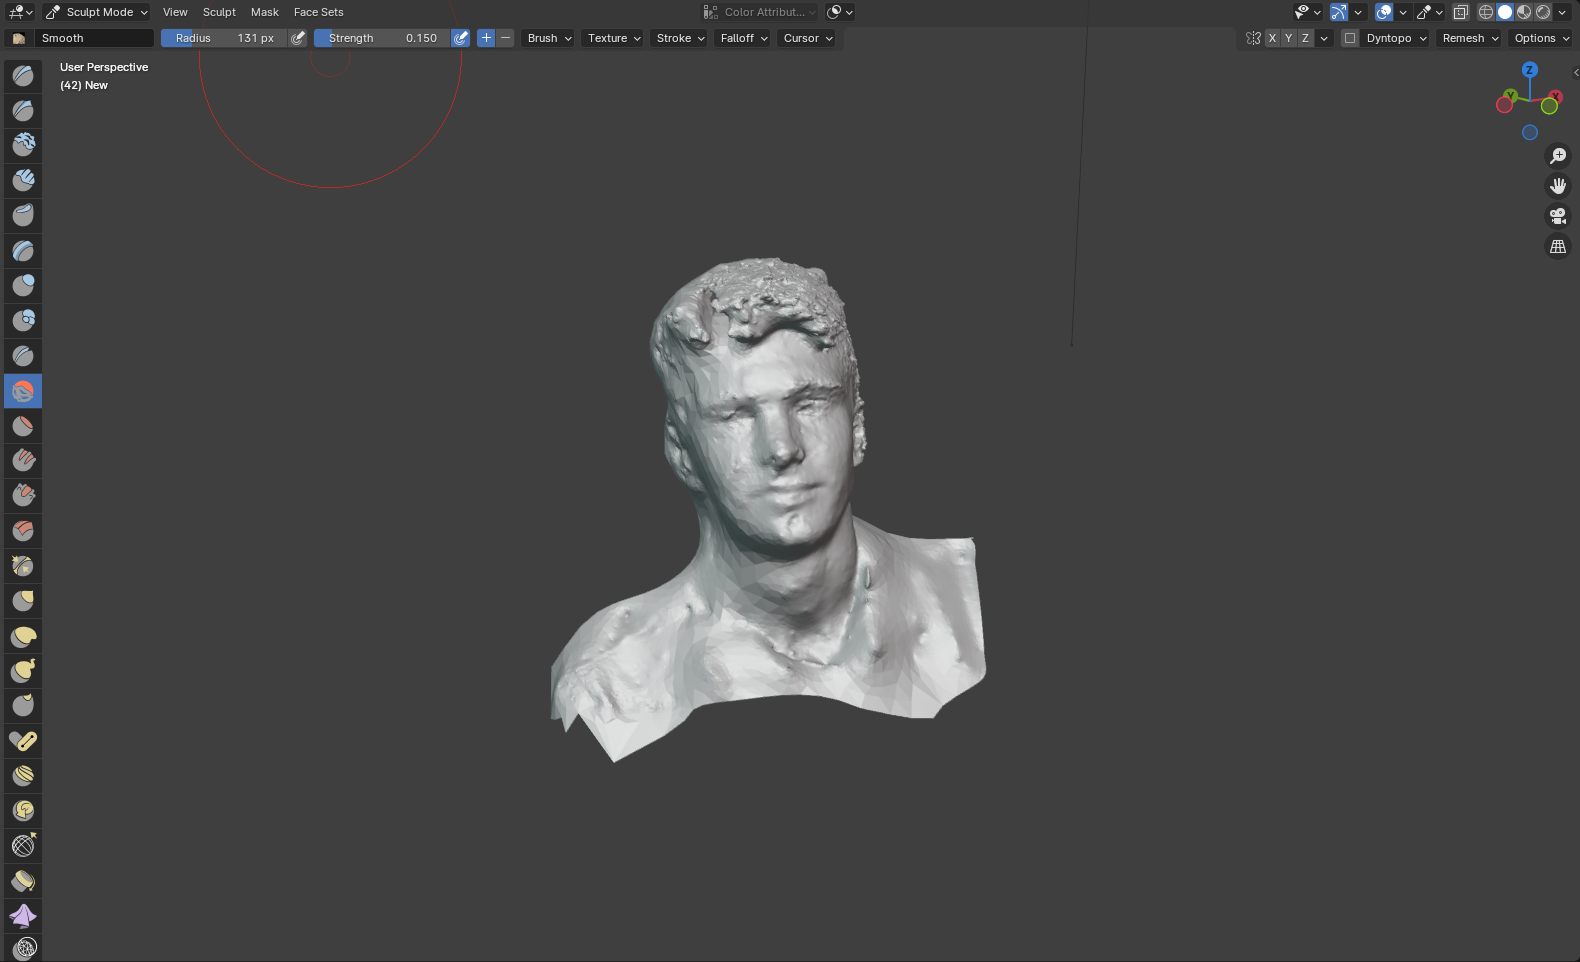
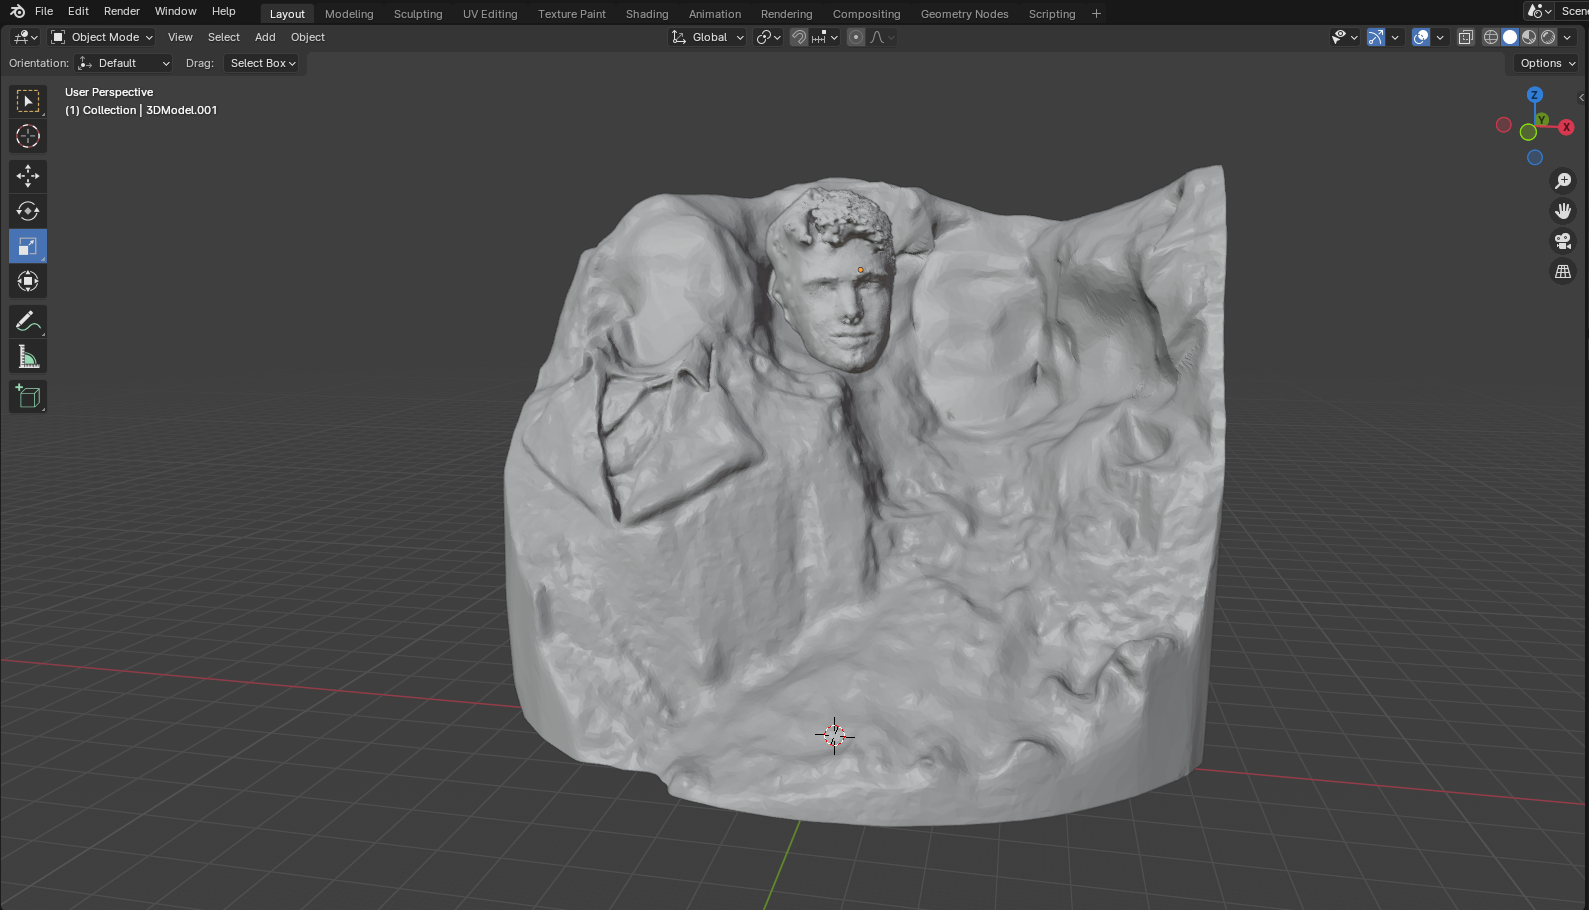
Start by clicking in the top left corner: File>import> (choose proper file type)> (find file on your computer). This will place the scan at the origin point in Blender.
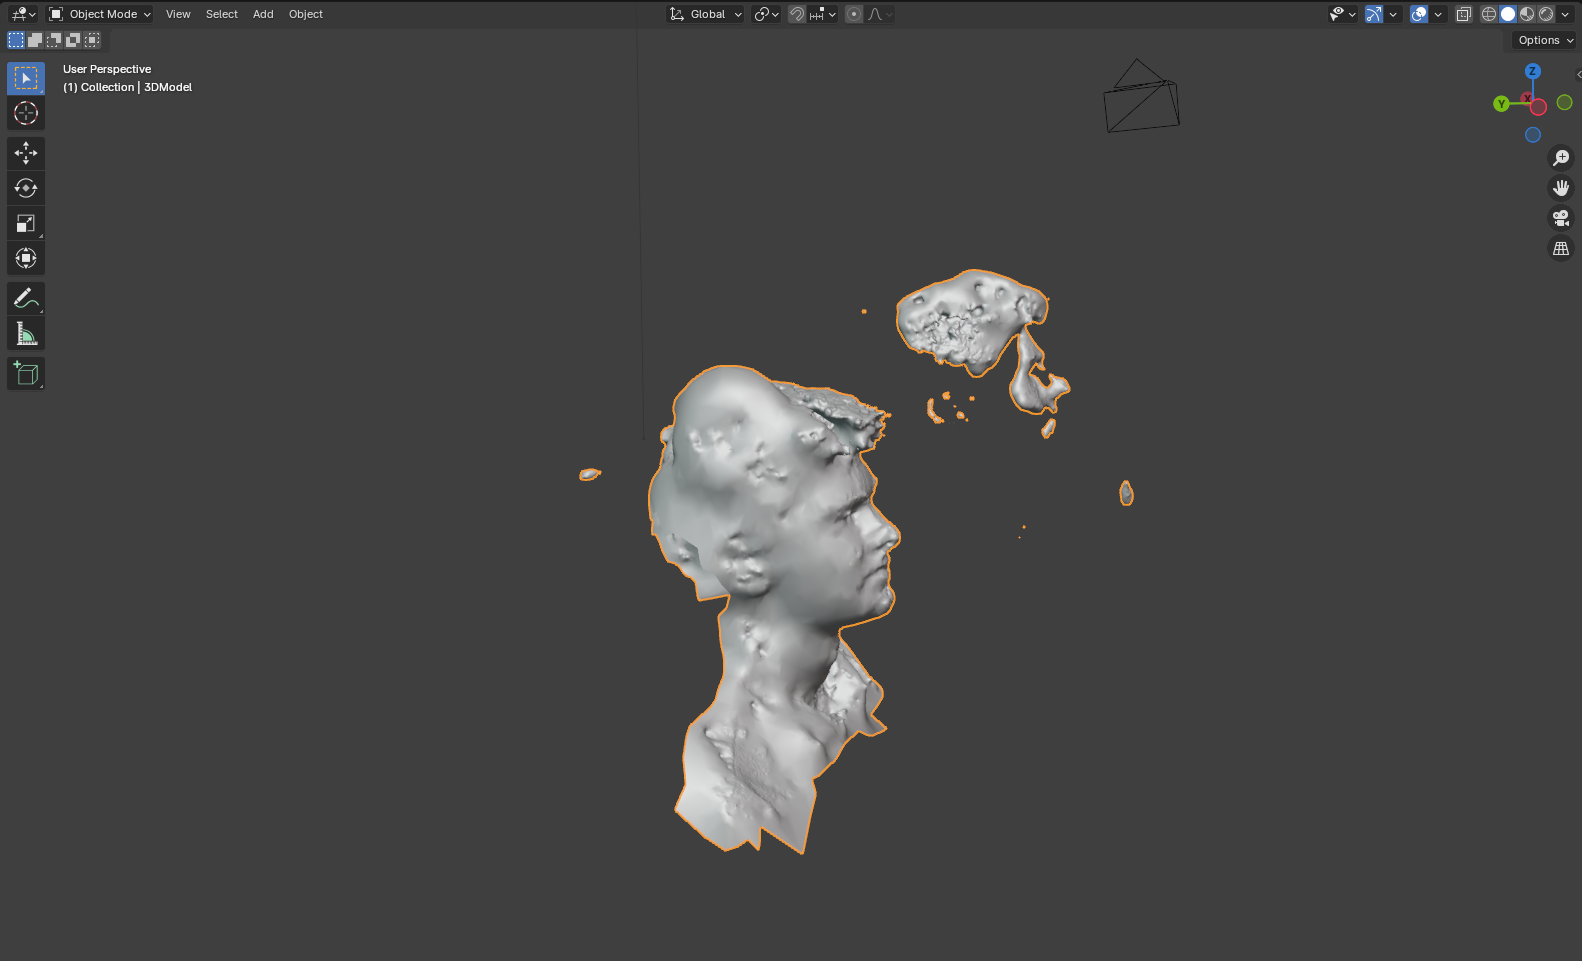
Here you will want to primarily remove floating chunks by deleting the vertices and smooth the models. Use the sculpting tools and play around with them to figure out how they work. I pretty much only use the "smooth" tool for this. All other necessary modifications can be made after you place the heads on the mountain. So without further ado, save the file and...
Place Faces on the Mountain

Import the .stl below into Blender the same way as before. Then, when you want to add faces, do the following:
click File> Append> (Select Your File)> Click Append> Select "Object"> Click Append> Select "3d model"> Click Append
This will place the selected .blend file of a face in the same workspace as the model below. Use the rotate, scale, and move functions (on the left when in Object Mode) to place the faces where you want them. Do not worry too much about placement until you have every face on the mountain, then get them just how you want them.
Check the back of the mountain to see if any parts of the busts are sticking out. If they are, then go to Sculpt Mode and use the "Grab" tool to pull it into the back of the mountain.
(The attached file is made from 3Dlirious's Mount Rushmore on Thingiverse)
Downloads
Final Details
Once all of the faces look proper on the mountain, you will want to go to Object Mode, then select all of the faces and the mountain by clicking while holding shift. Right click, and select "Join".
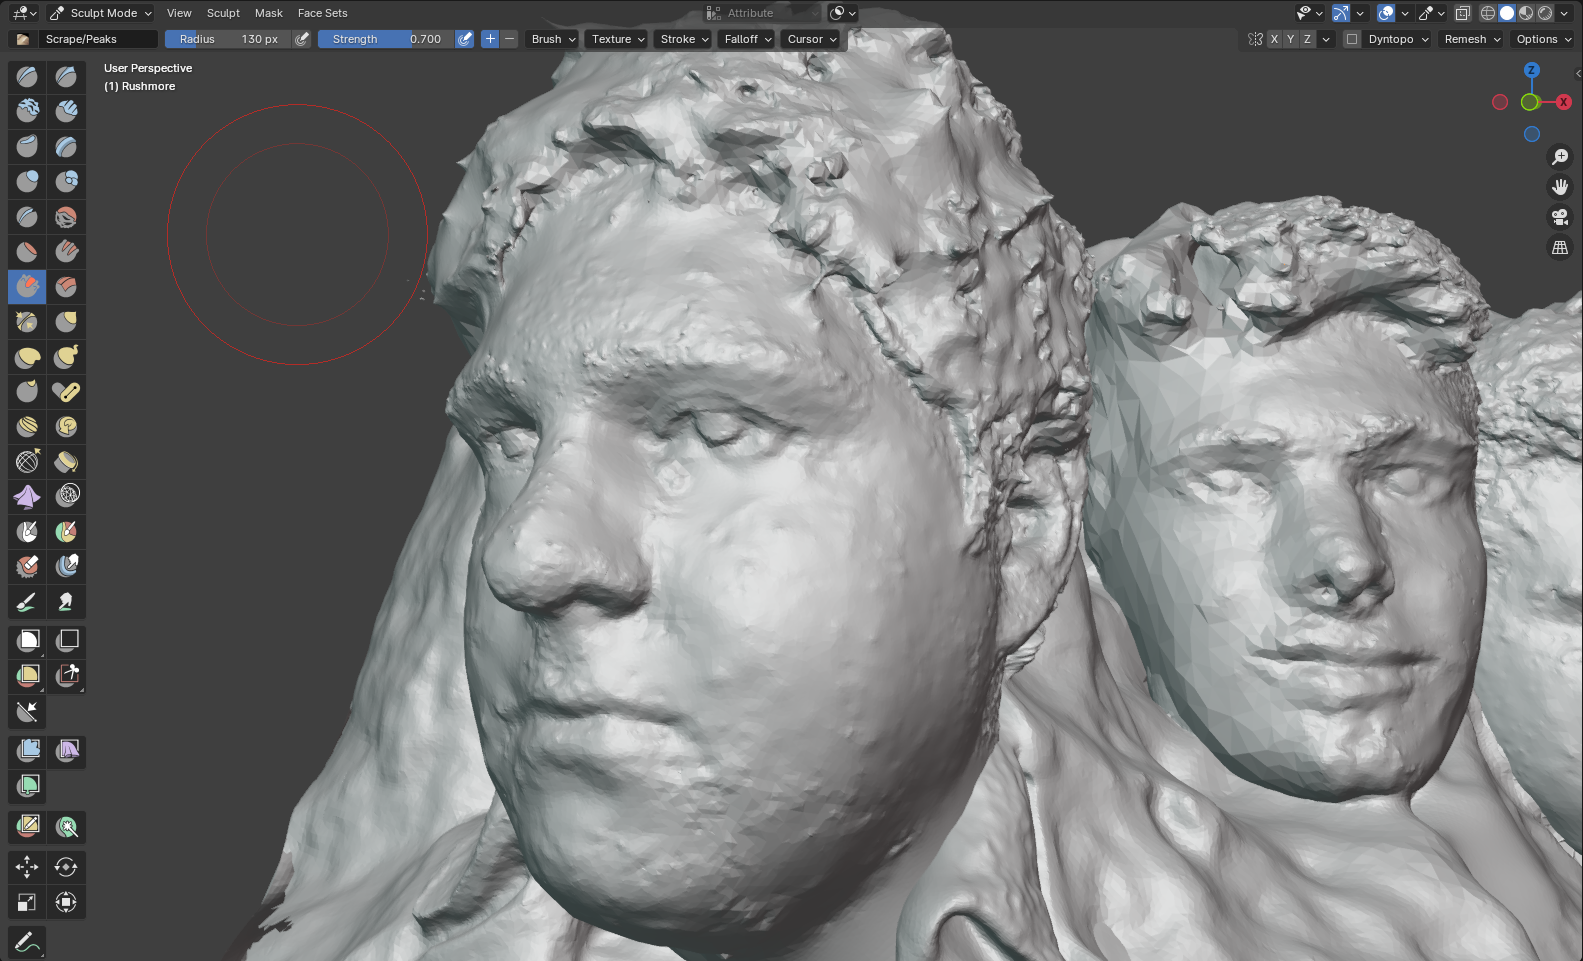
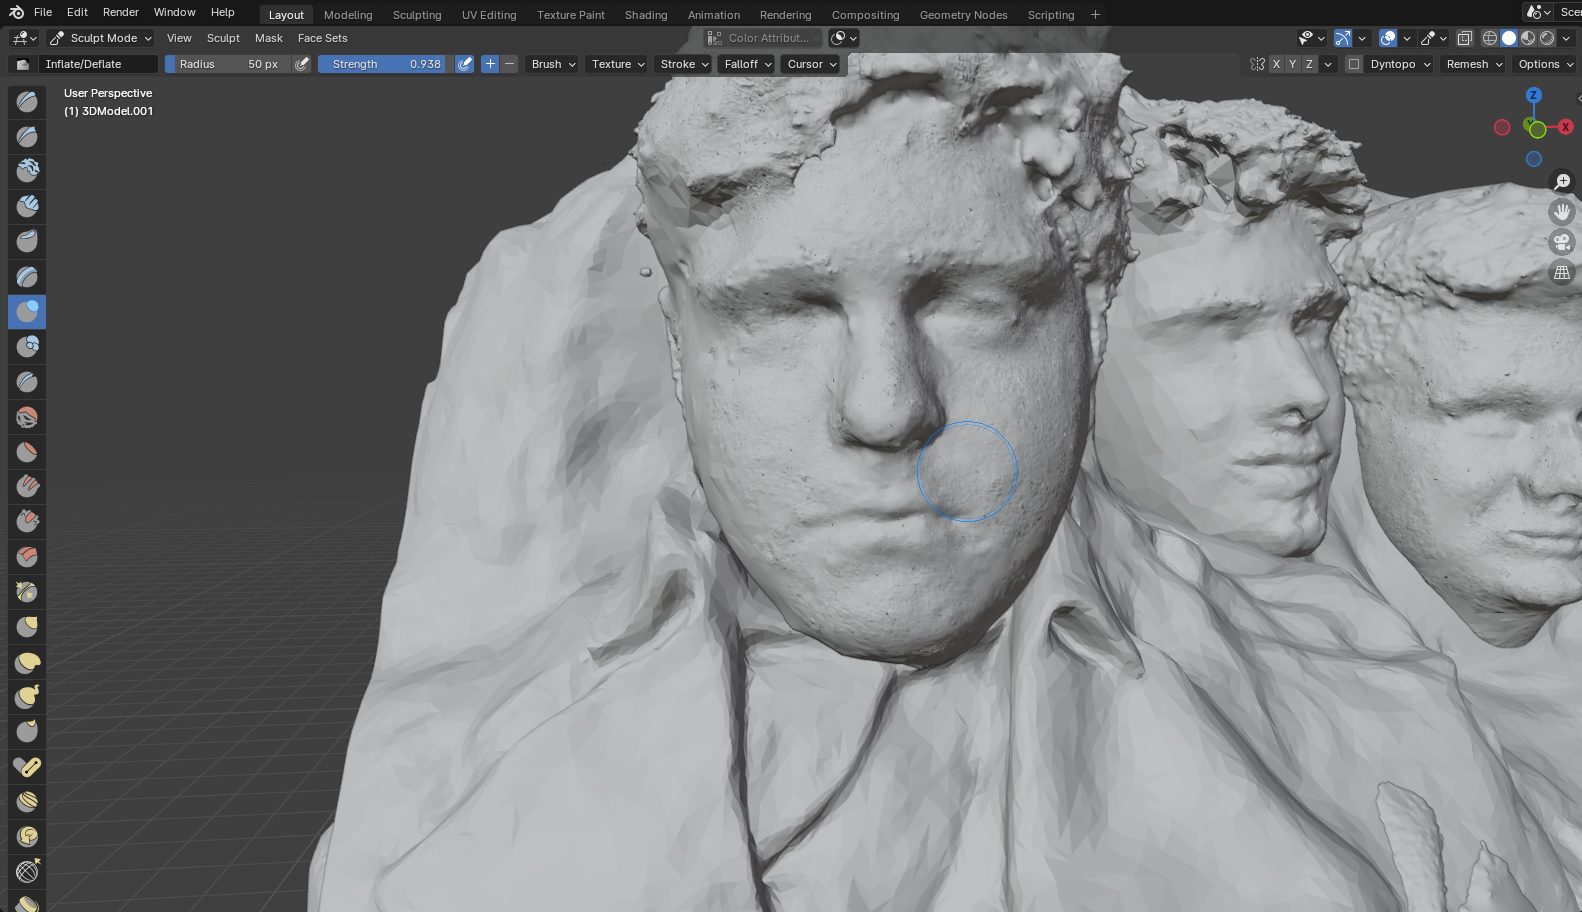
If you want to go through with the sculpting tools and add pupils, more texture to the hair, etc., now is the time to do that. Also, if you need want to use someone with glasses, I recommend finding a model of similar glasses on Thingiverse or another website for free since you cannot scan them with them on. Import it like before and move it to the proper place.
Finally, you will want to make sure your mesh is closed. If there are small holes from the faces into the rest of the mesh, it will not print properly. You can find many forums on ways to do this, but as you will likely have a decent amount of holes due to the nature of (free) smartphone photo scanning, I recommend this video.
Export to Cura
Once you are pleased with the look of your model, it is time to make it real. To save it to your computer, click:
File>Export>Stl>Click Export
Now, open Ultimaker Cura on your computer, click:
File>Open File>(Select Your File)
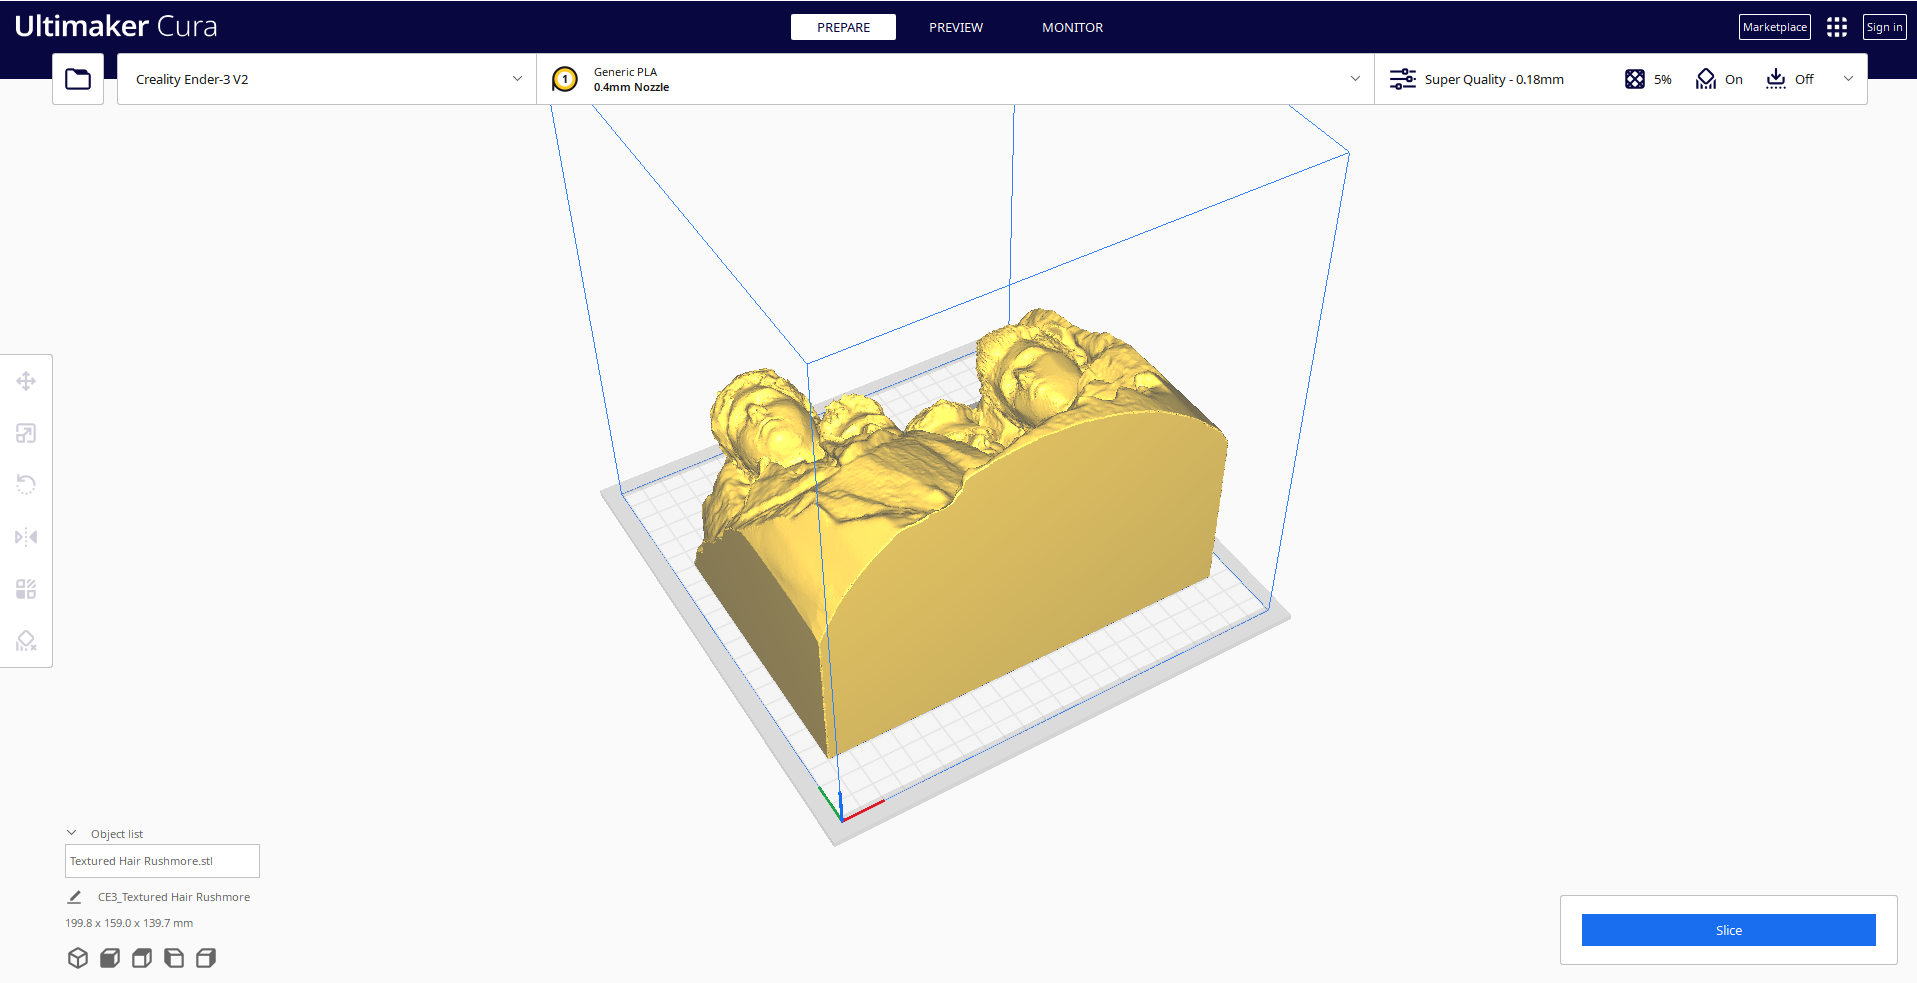
This will place the model at the center of the build plate. Use the tools on the left to resize it and move it how you want it, though I recommend orienting it as mine is in the image above. If you do not know what printer settings are best, you will want to find a Youtube video or forum for your specific printer. Infill is best around 5 percent.
I did not need supports for any parts of this model, so I recommend turning supports off as well.
Print It
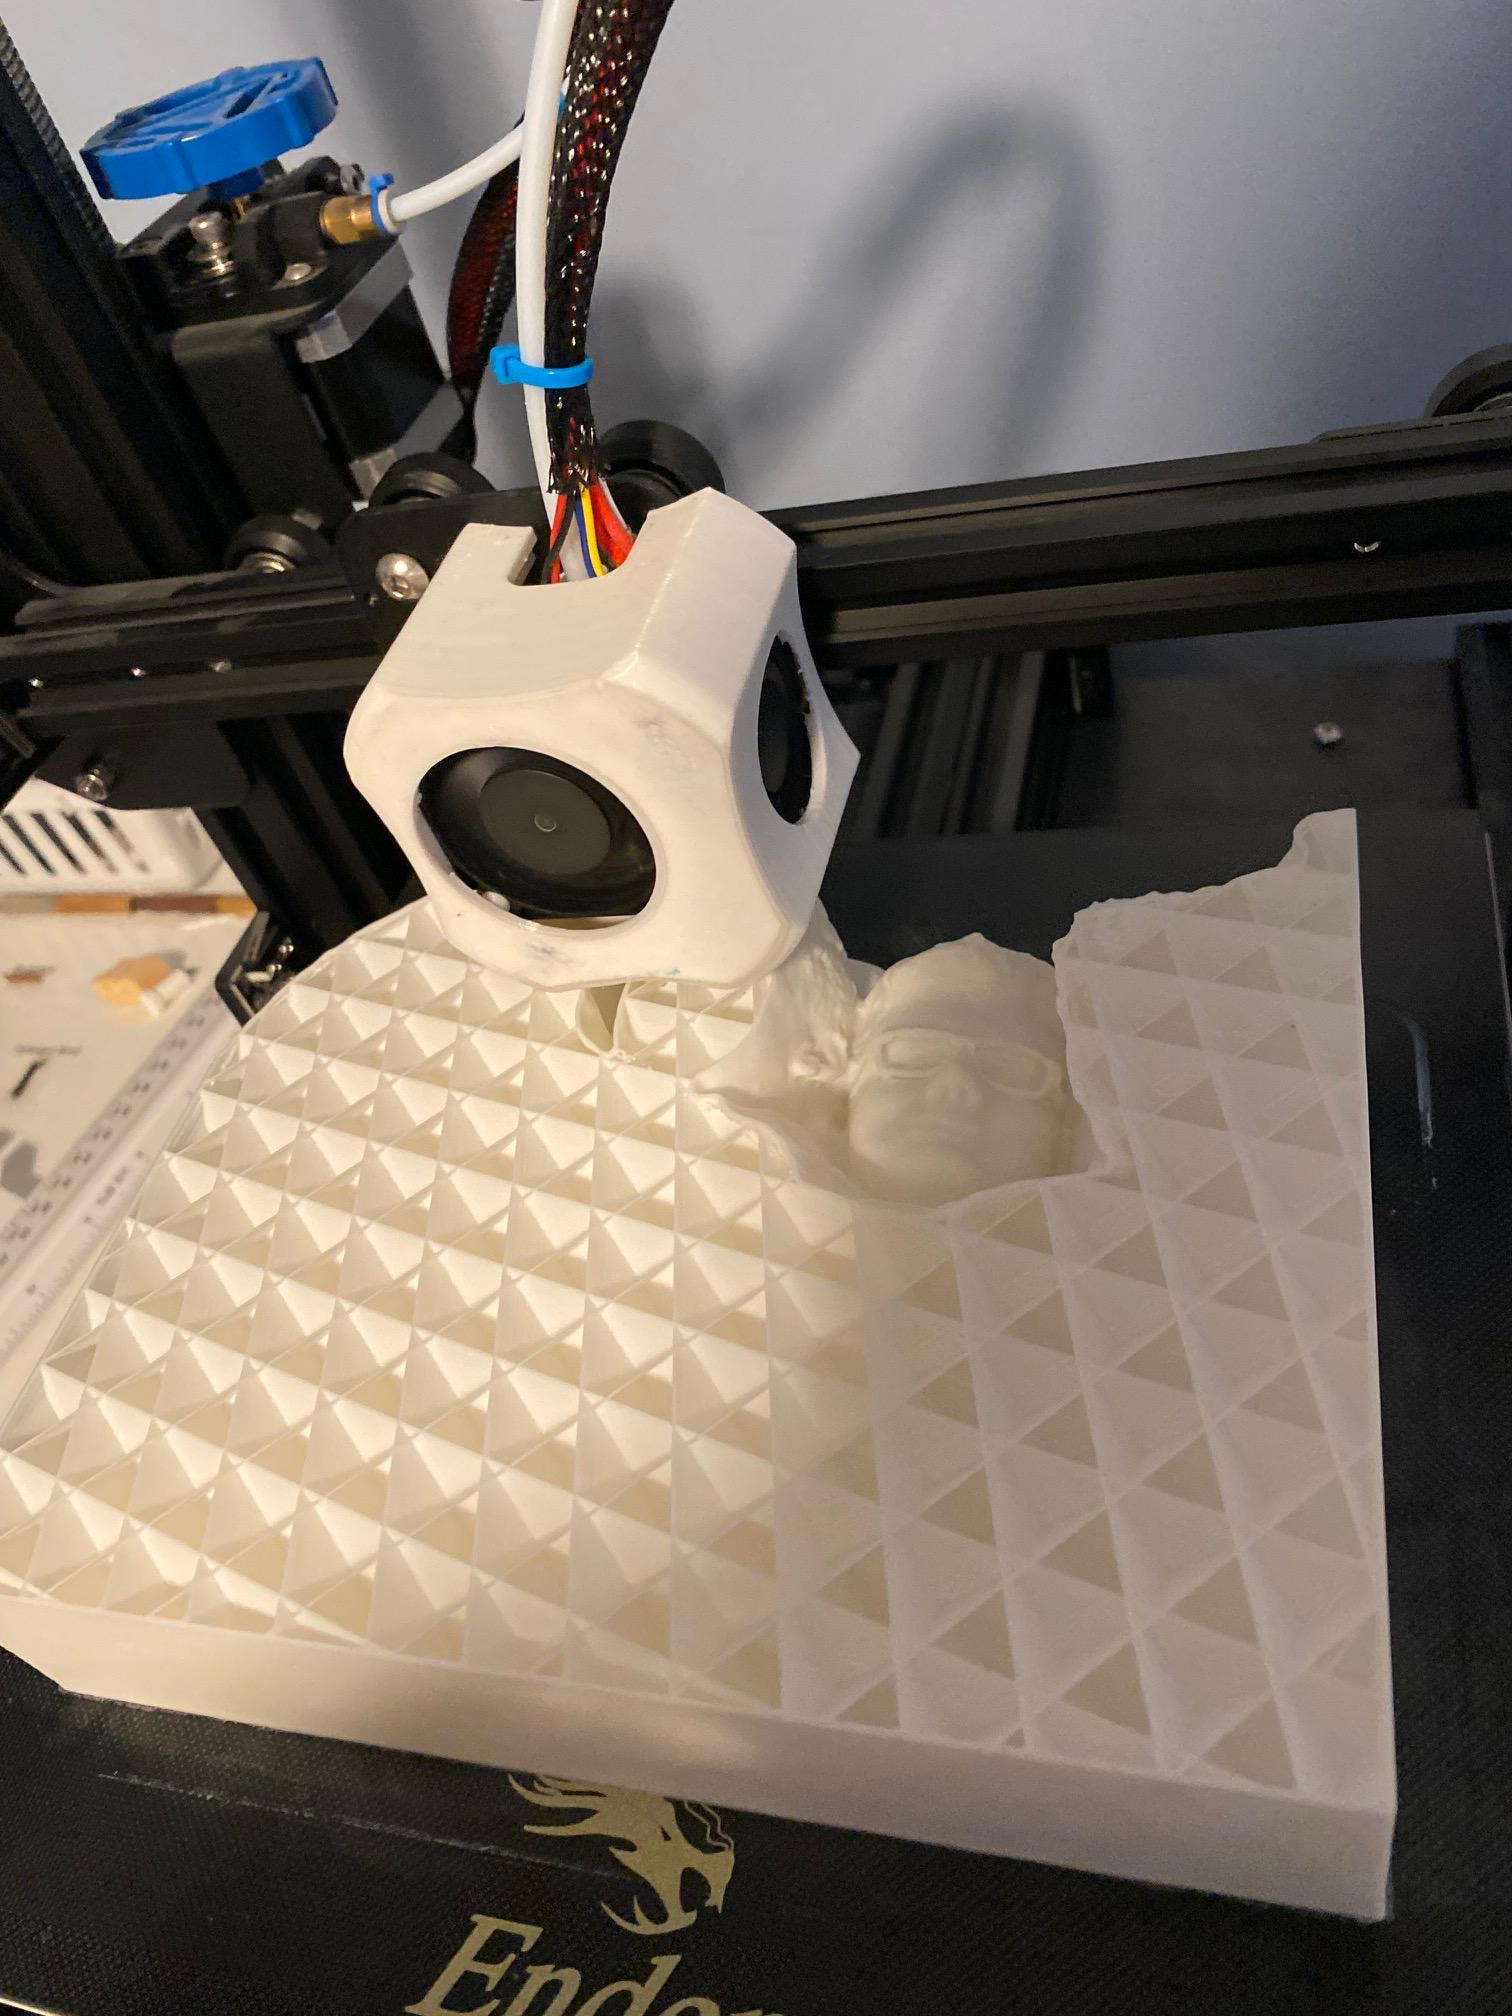
Once you click "Slice", export the gcode from Cura and start the print on your printer. Mine took about 60 hours to print, so be ready to wait for a while.
Prep for Painting
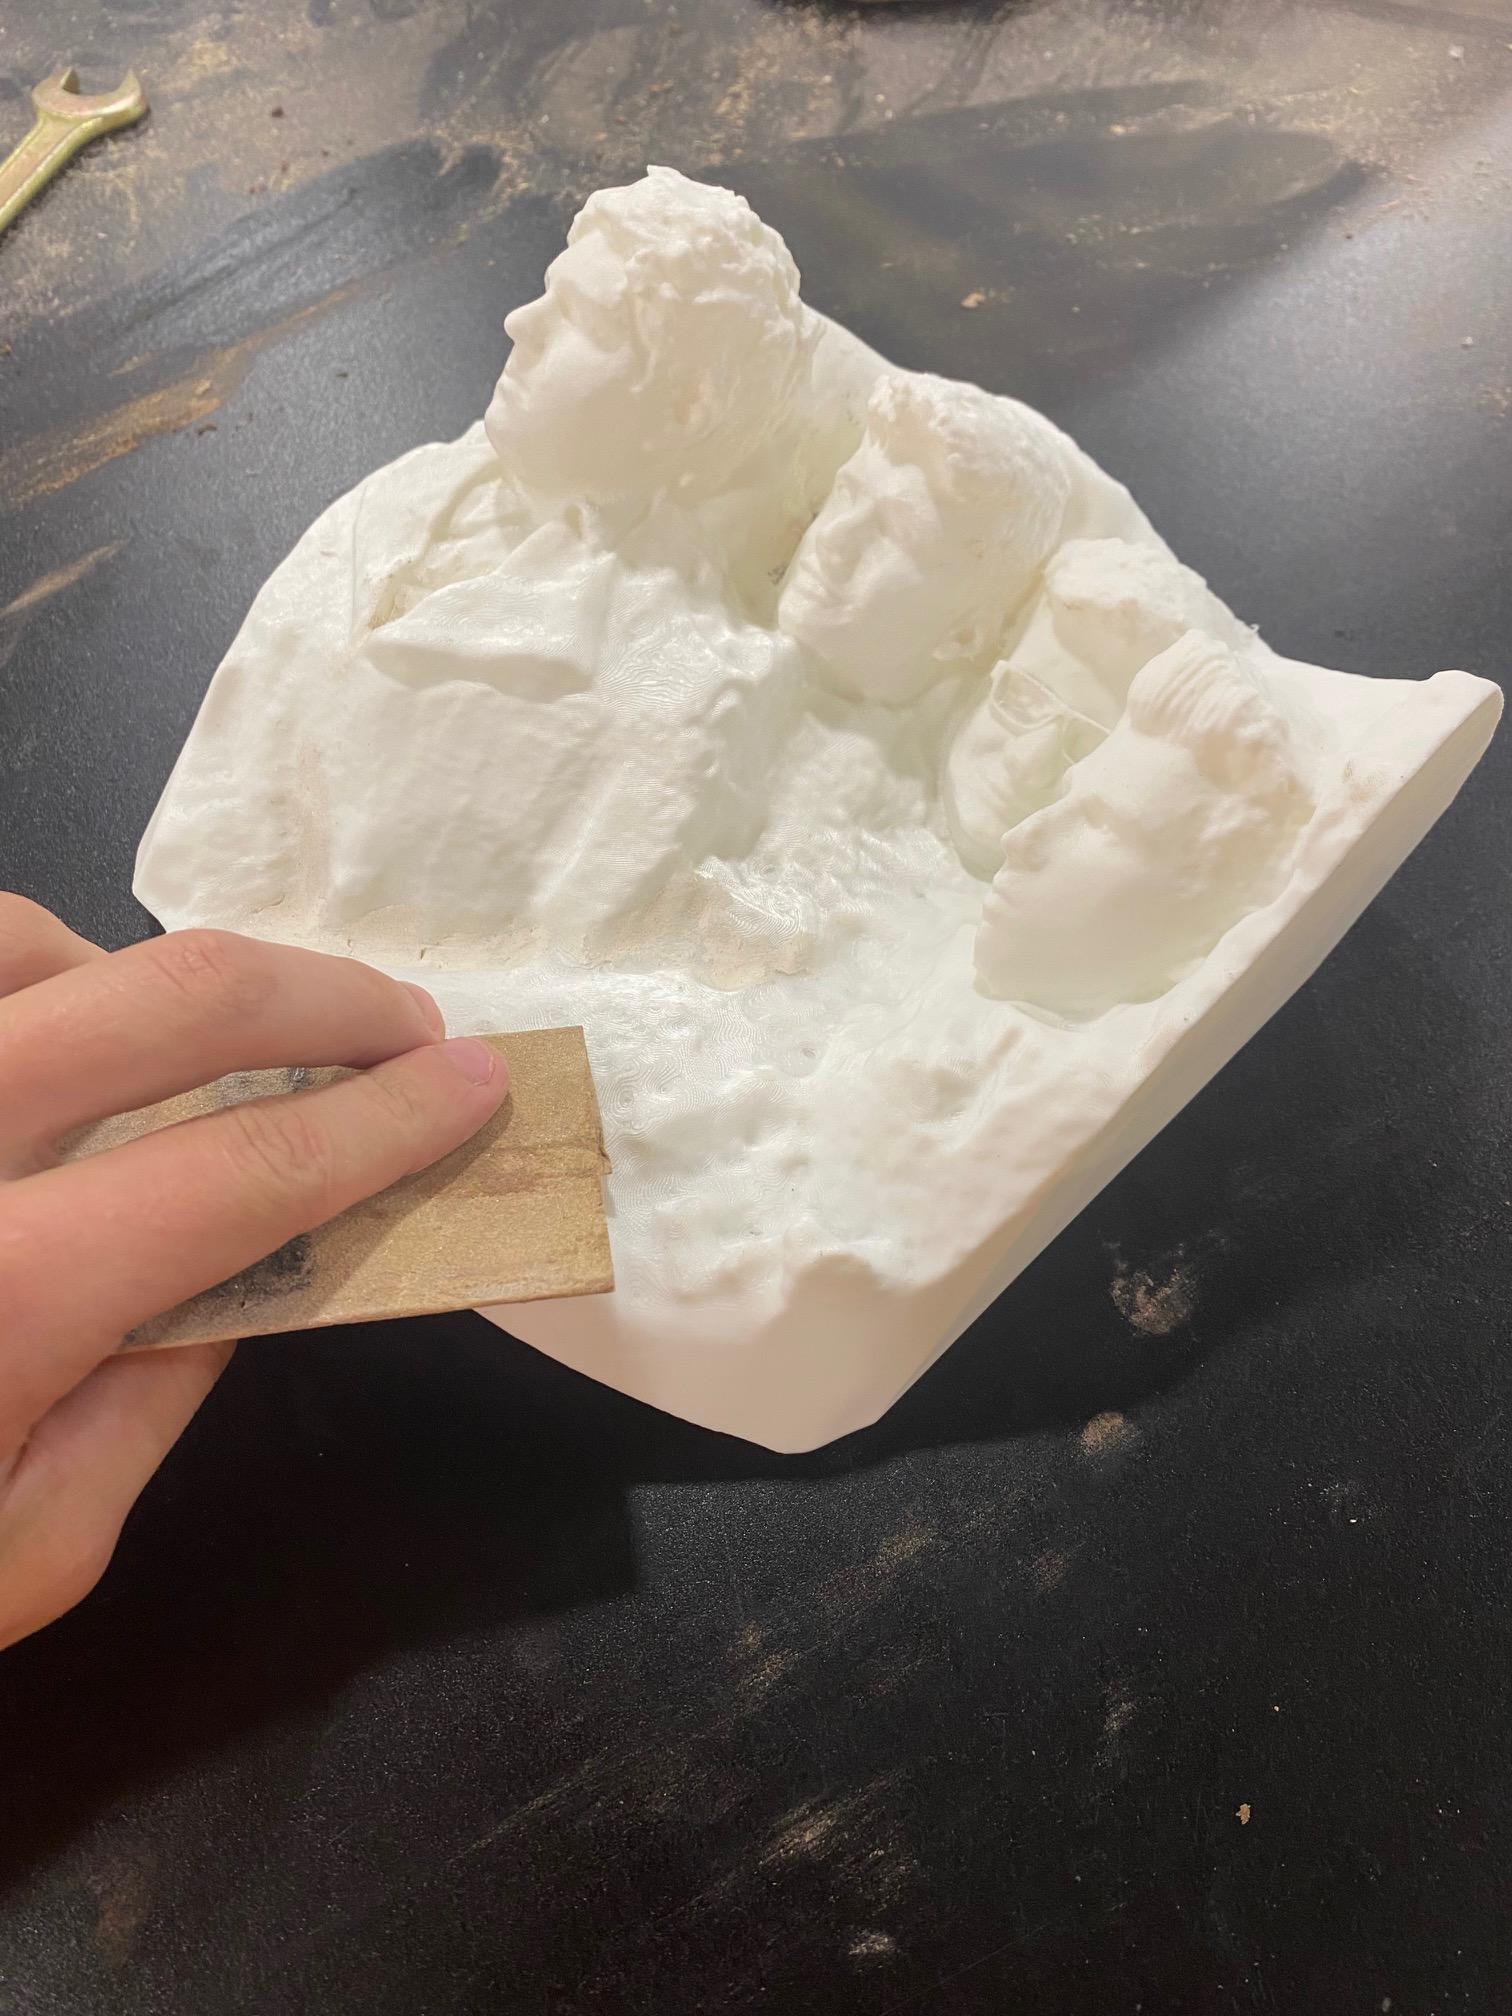
I like to sand my prints a little bit before painting them, because painting can tend to show the layer lines of the print. To do this, I work almost only with 120 grit and target the spots that look bad. You can do more sanding after you paint if you wish, and/or you can apply a thicker layer of paint, but you run the risk of losing detail.
Prime the Mountain
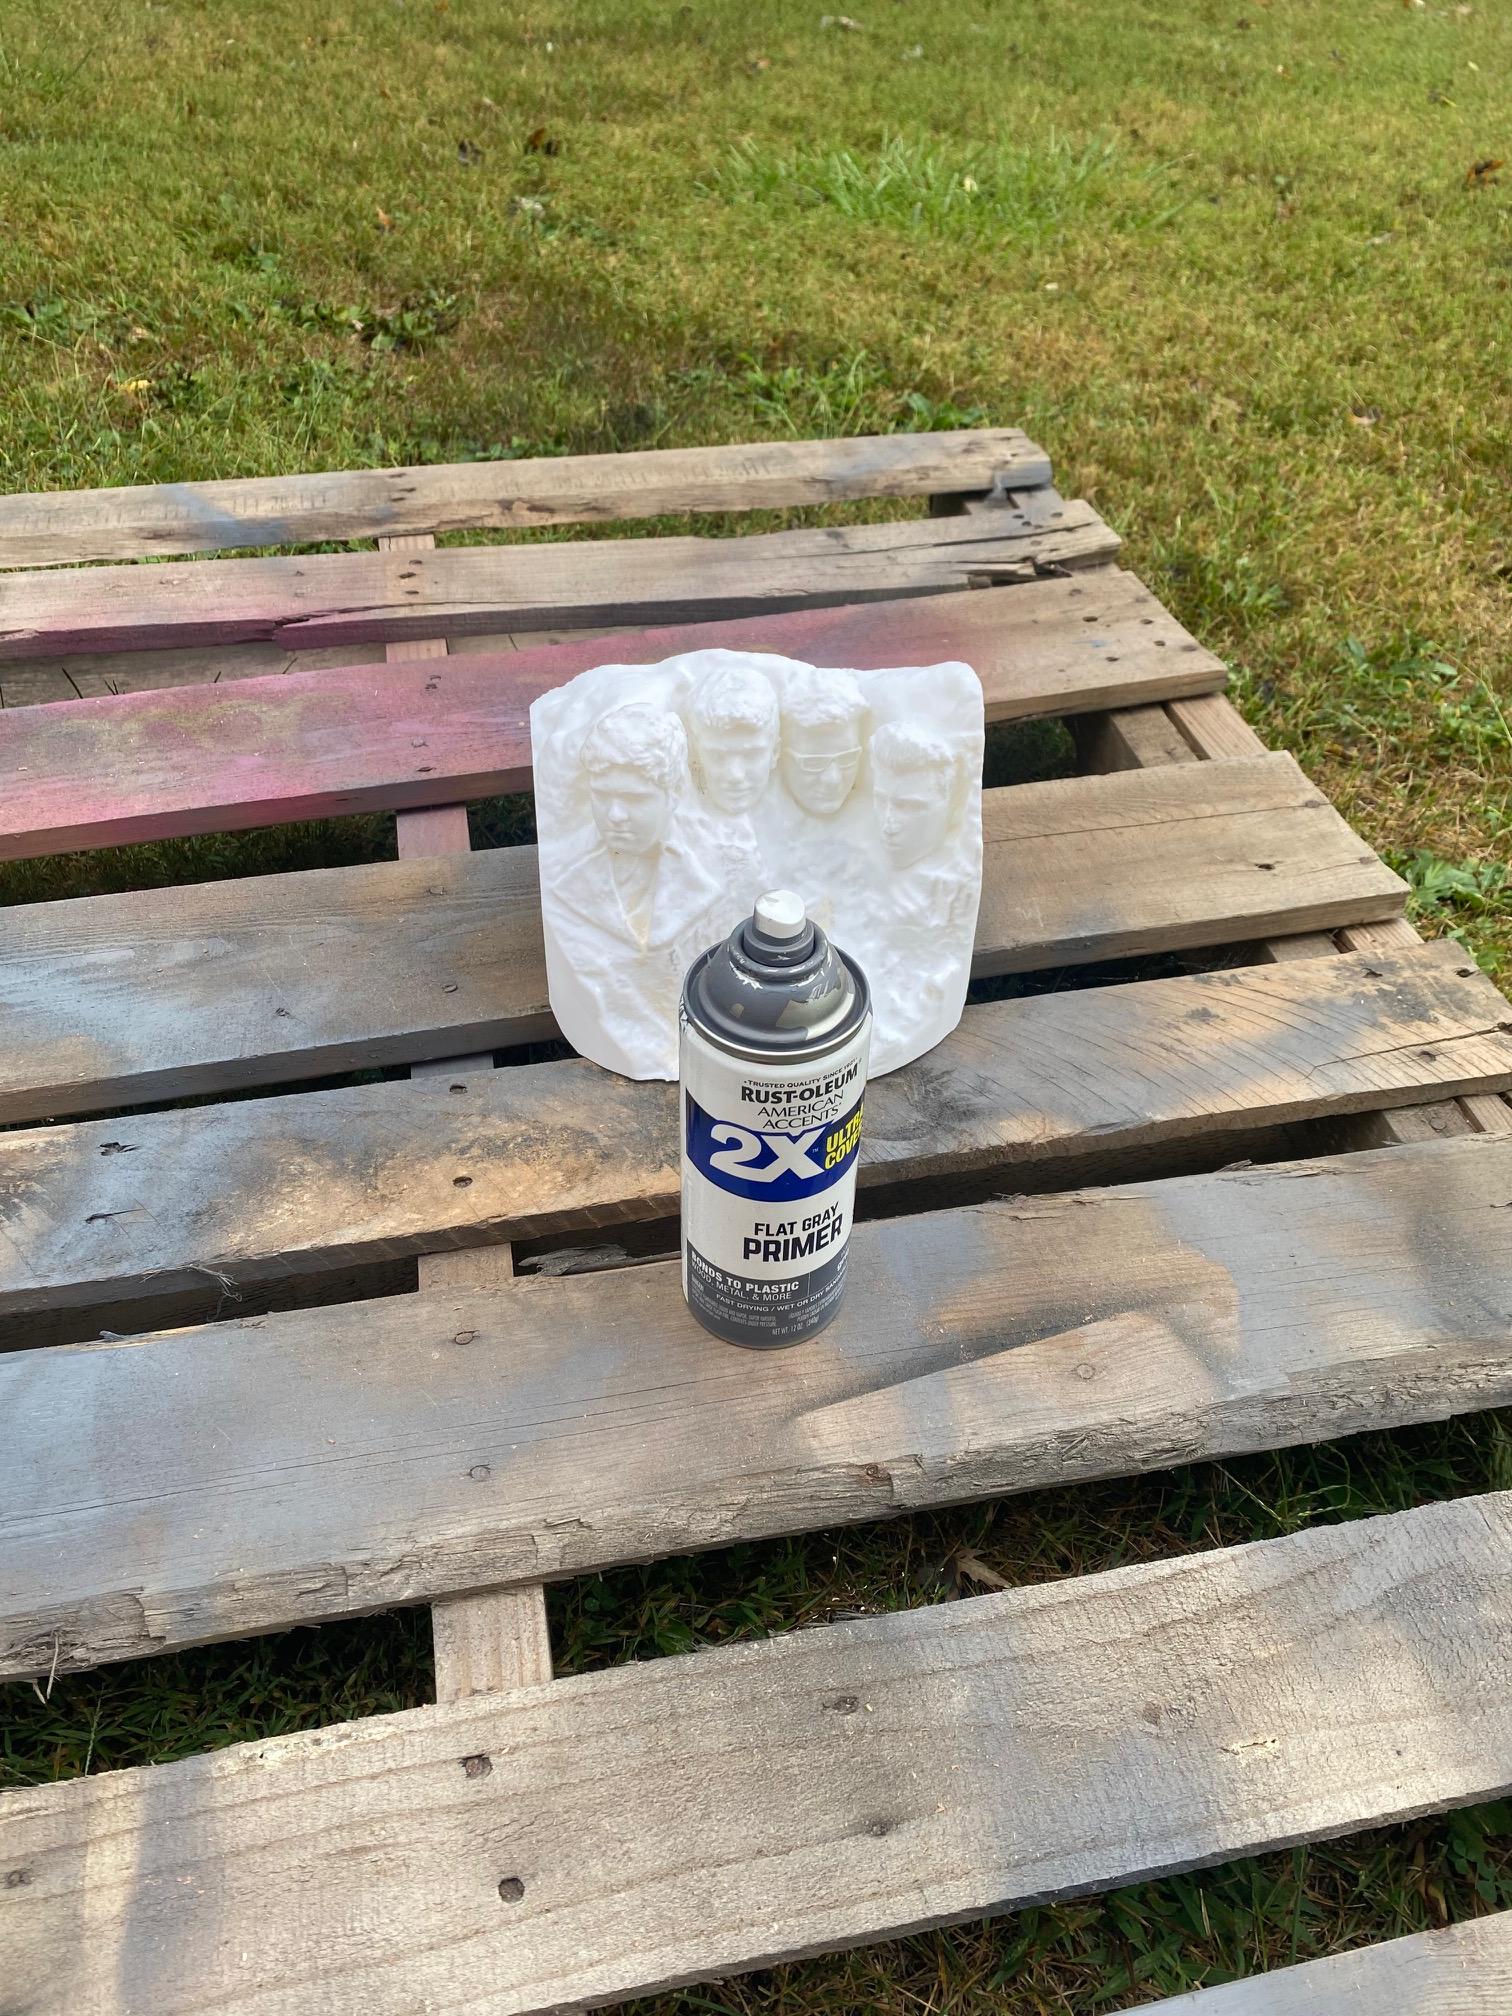
When priming, you want to make sure you get good coverage, but avoid making the paint so thick that it runs. As previously mentioned, you can sand again and then reapply if you wish.
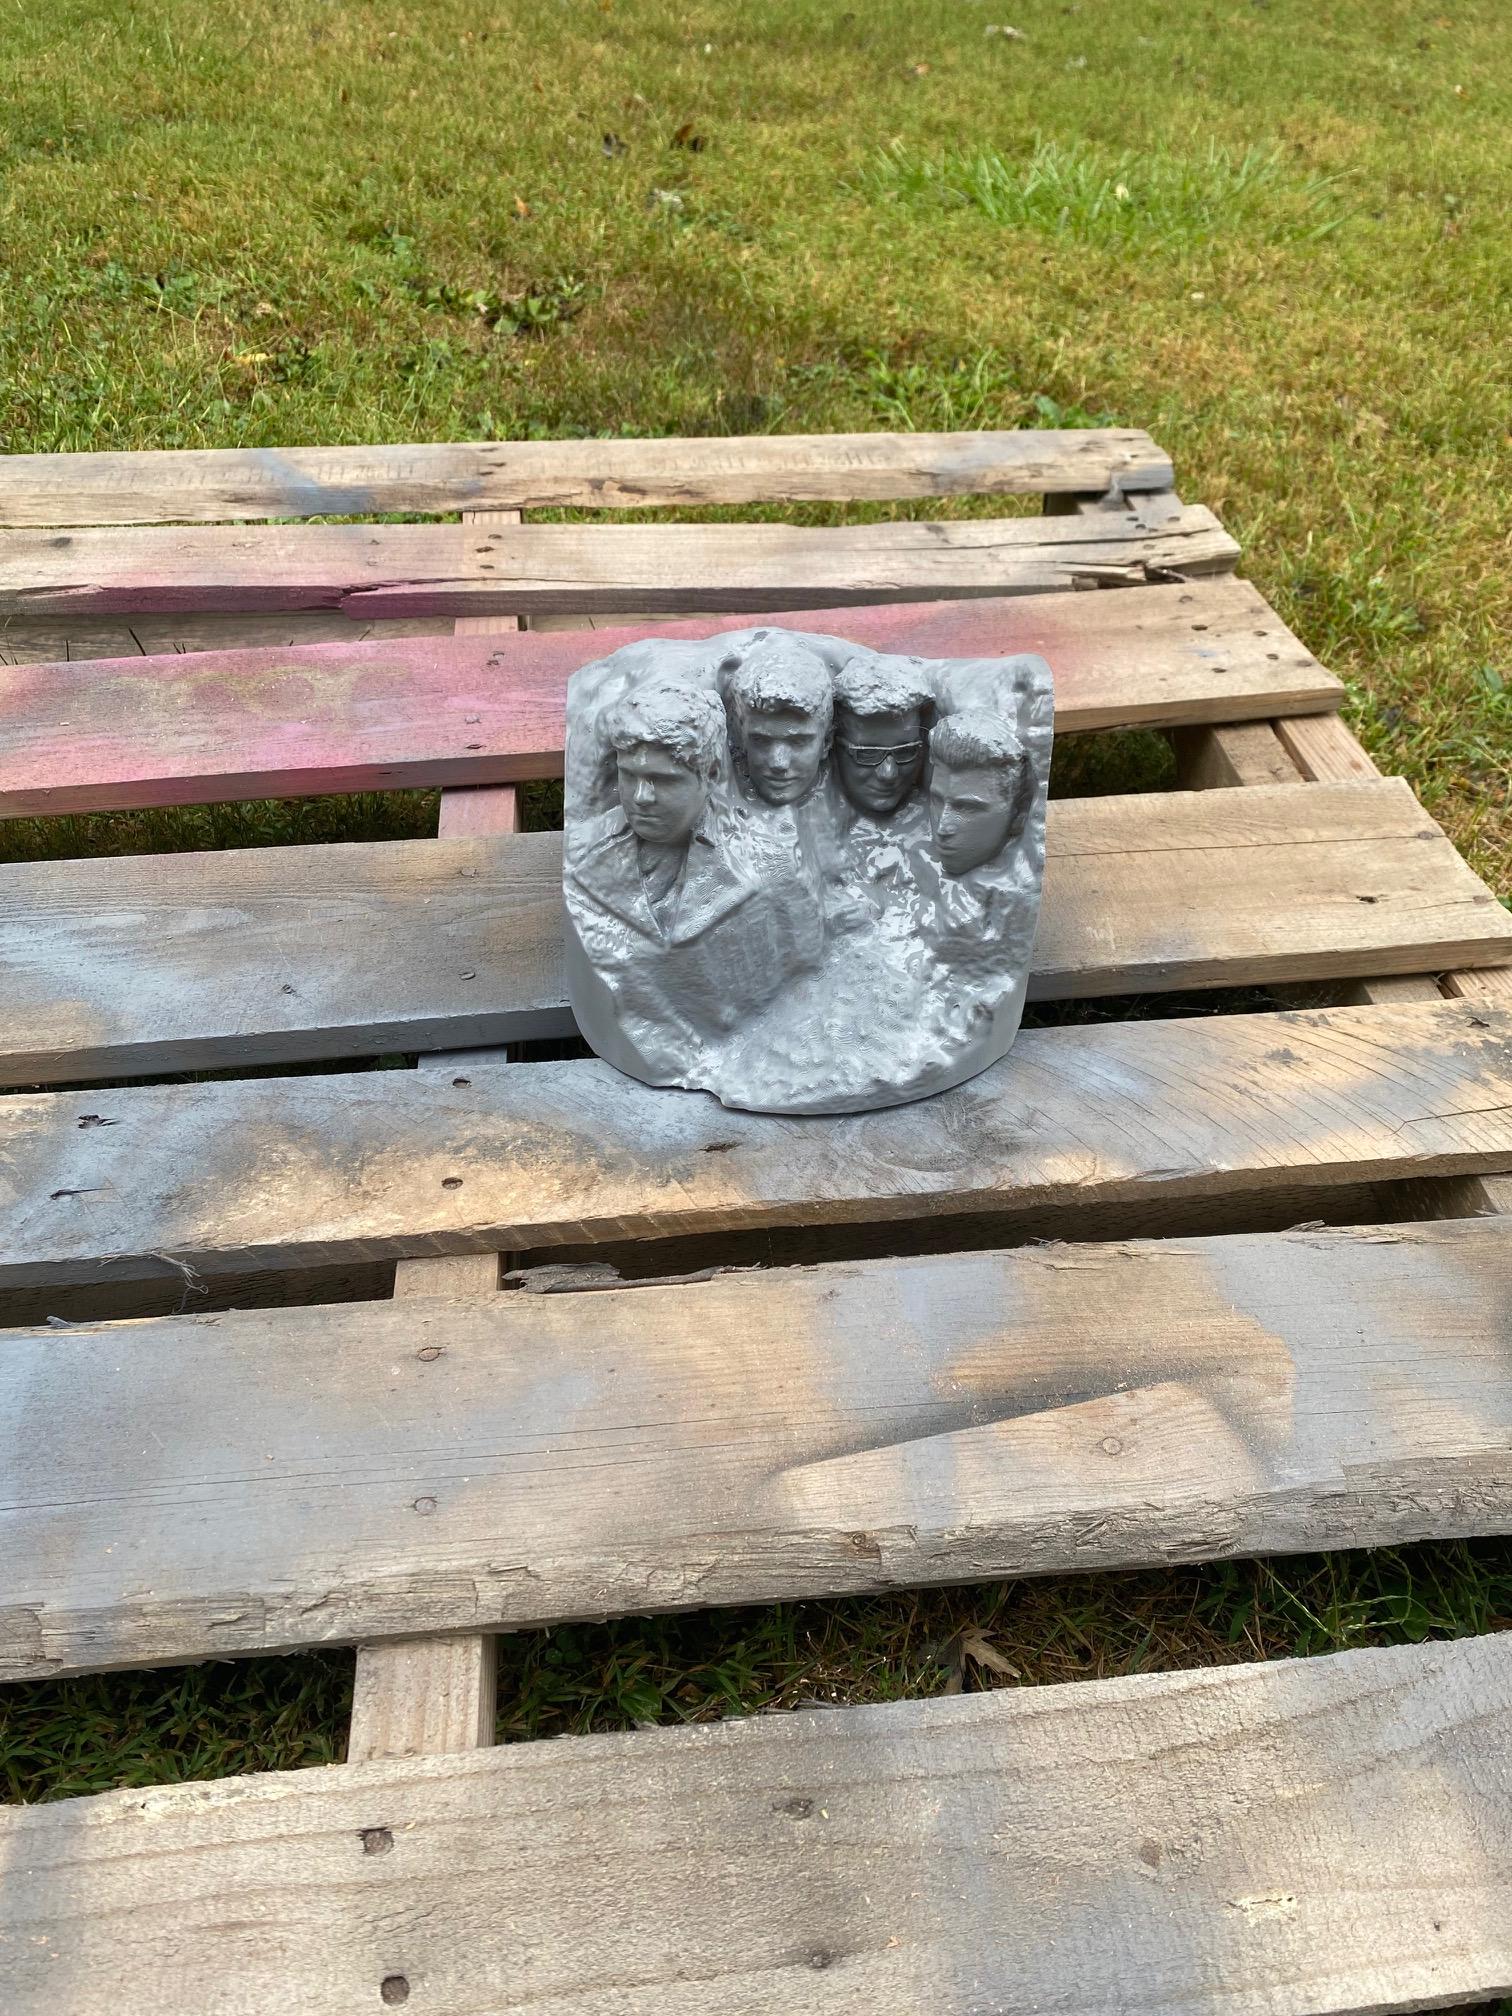
Weather the Mountain
Dry brushing is my favorite way to make a rocky texture, and it is super easy. All you will need is some sort of white paint, your brush, and one or two napkins. Get some paint on both sides of the bristles, and then swipe the brush back and forth on the napkin to remove almost all of the paint. Lightly brush over faces and bumps of the mountain so that it only gets on the high spots, and once nothing more is happening, repeat.
If you wish to apply a clear coat spray paint, you can do that once you are happy with the dry brushing. Apply it just like the primer.
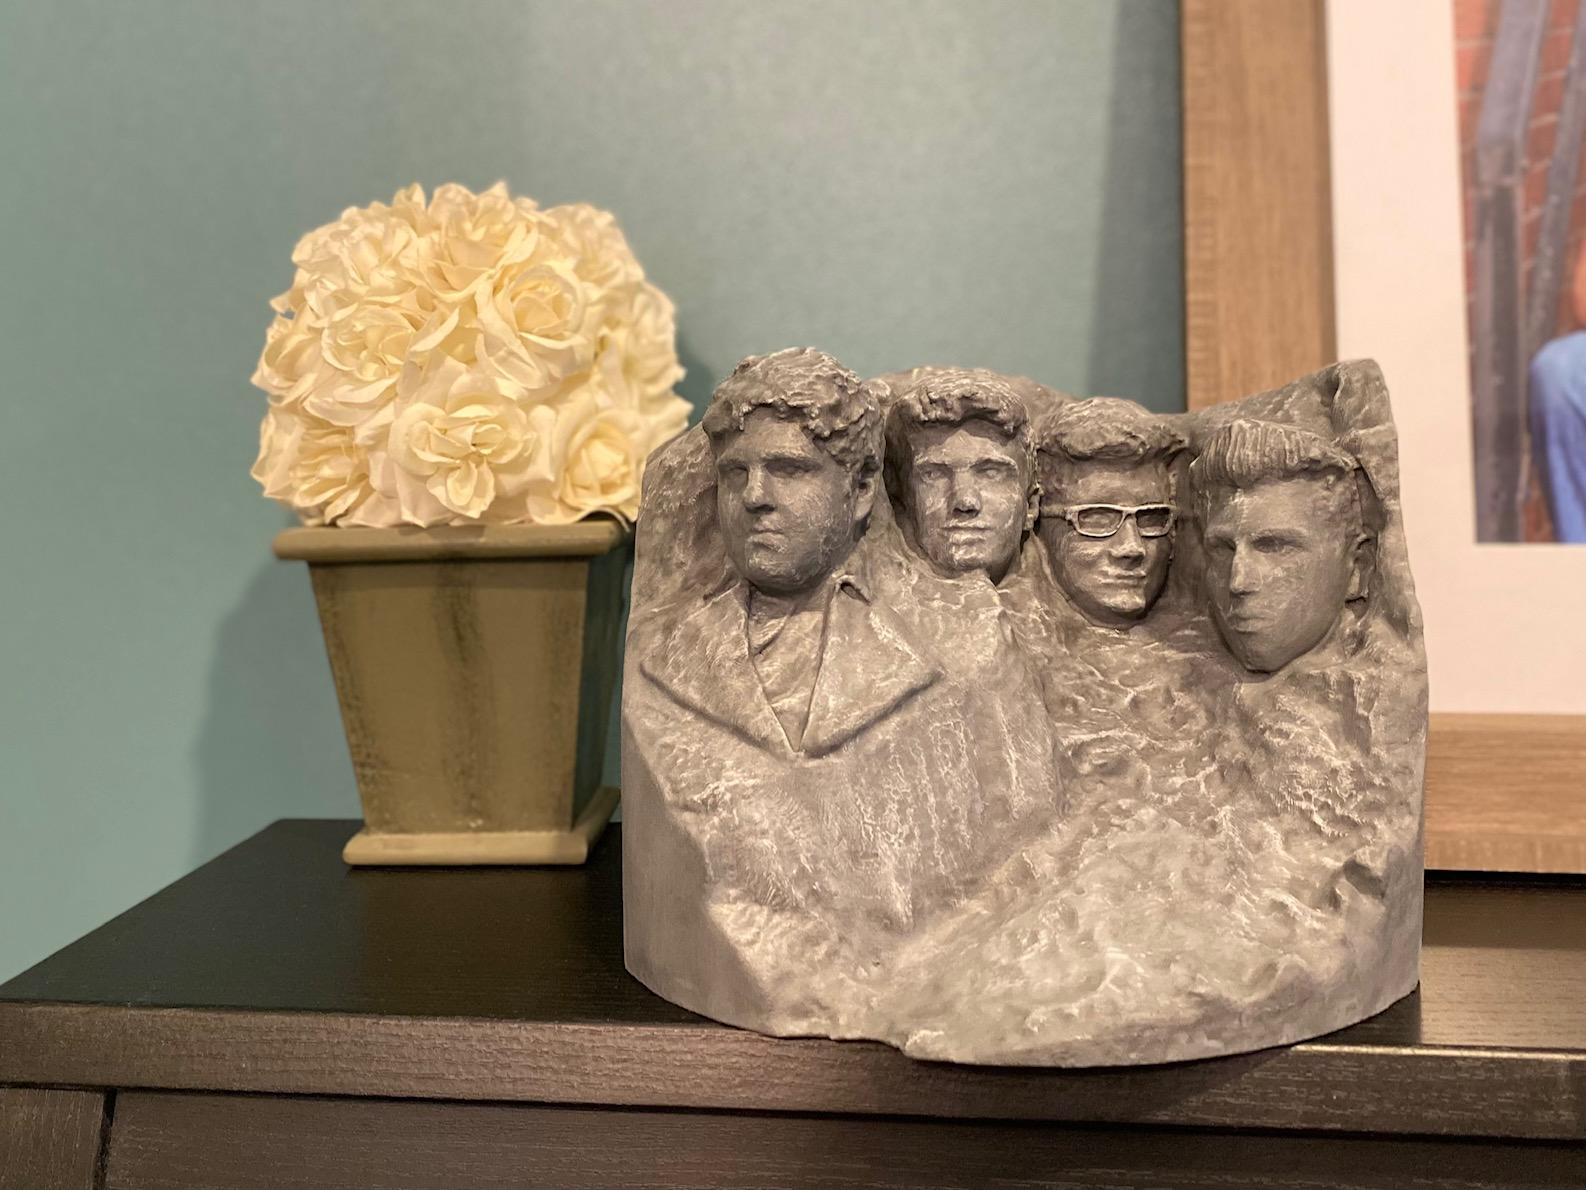
And You're Done...
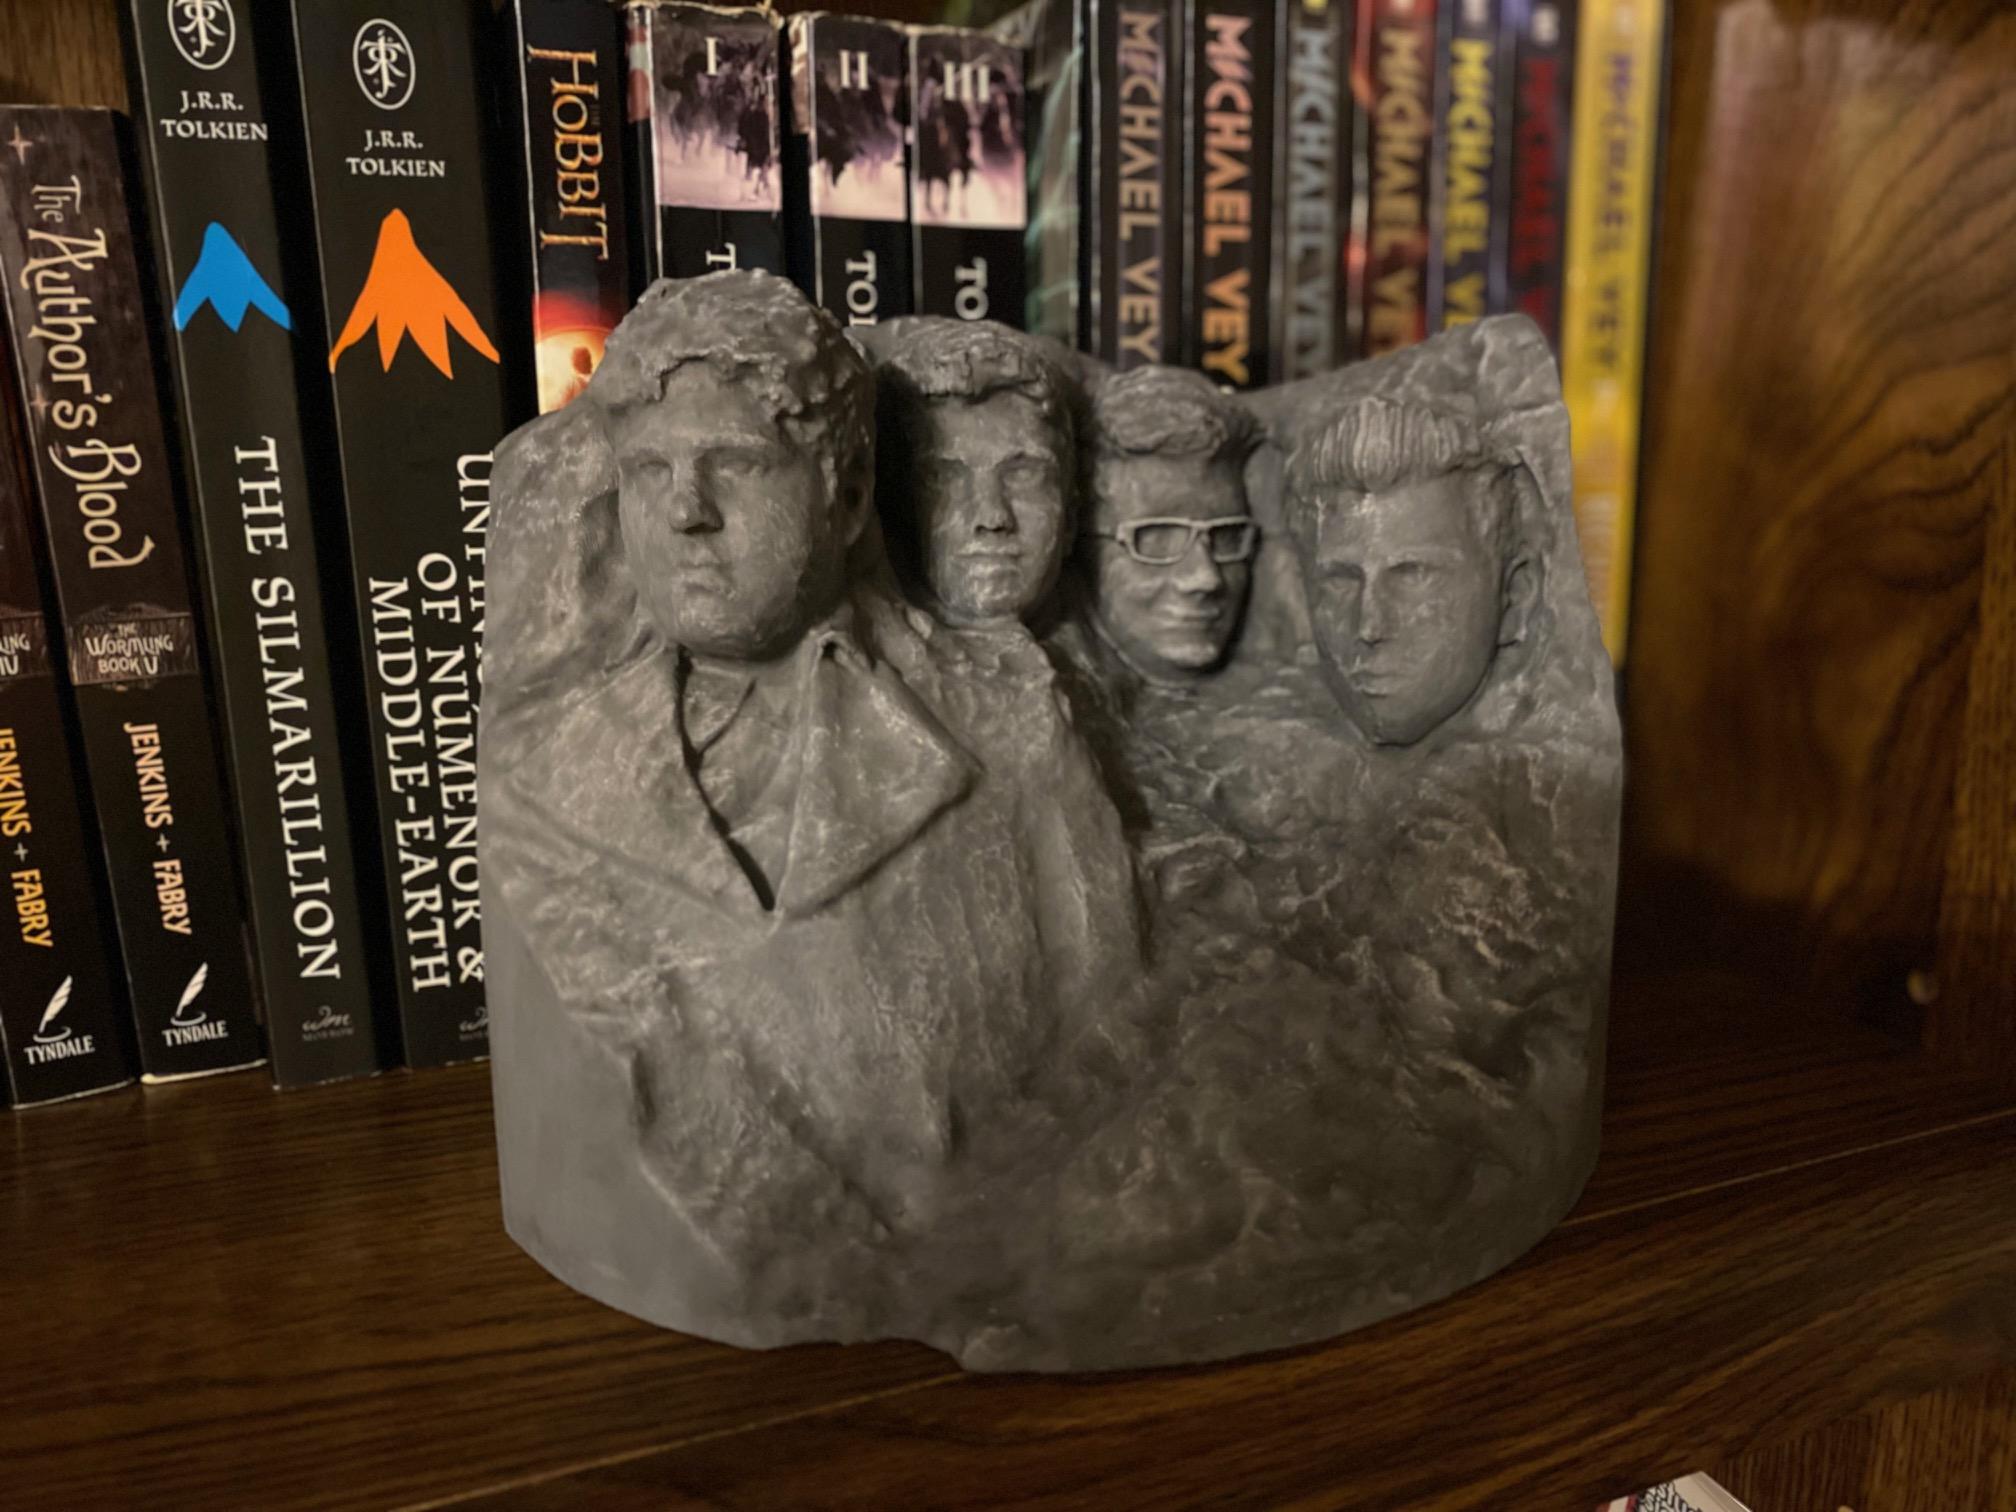

Congratulations! You now have a treasure to keep for years to come that is always guaranteed to bring a smile to your face and to everyone's who sees it. All you have left to do is find a good place to set it, and admire your hard work.