How to Make a Personal Sticker
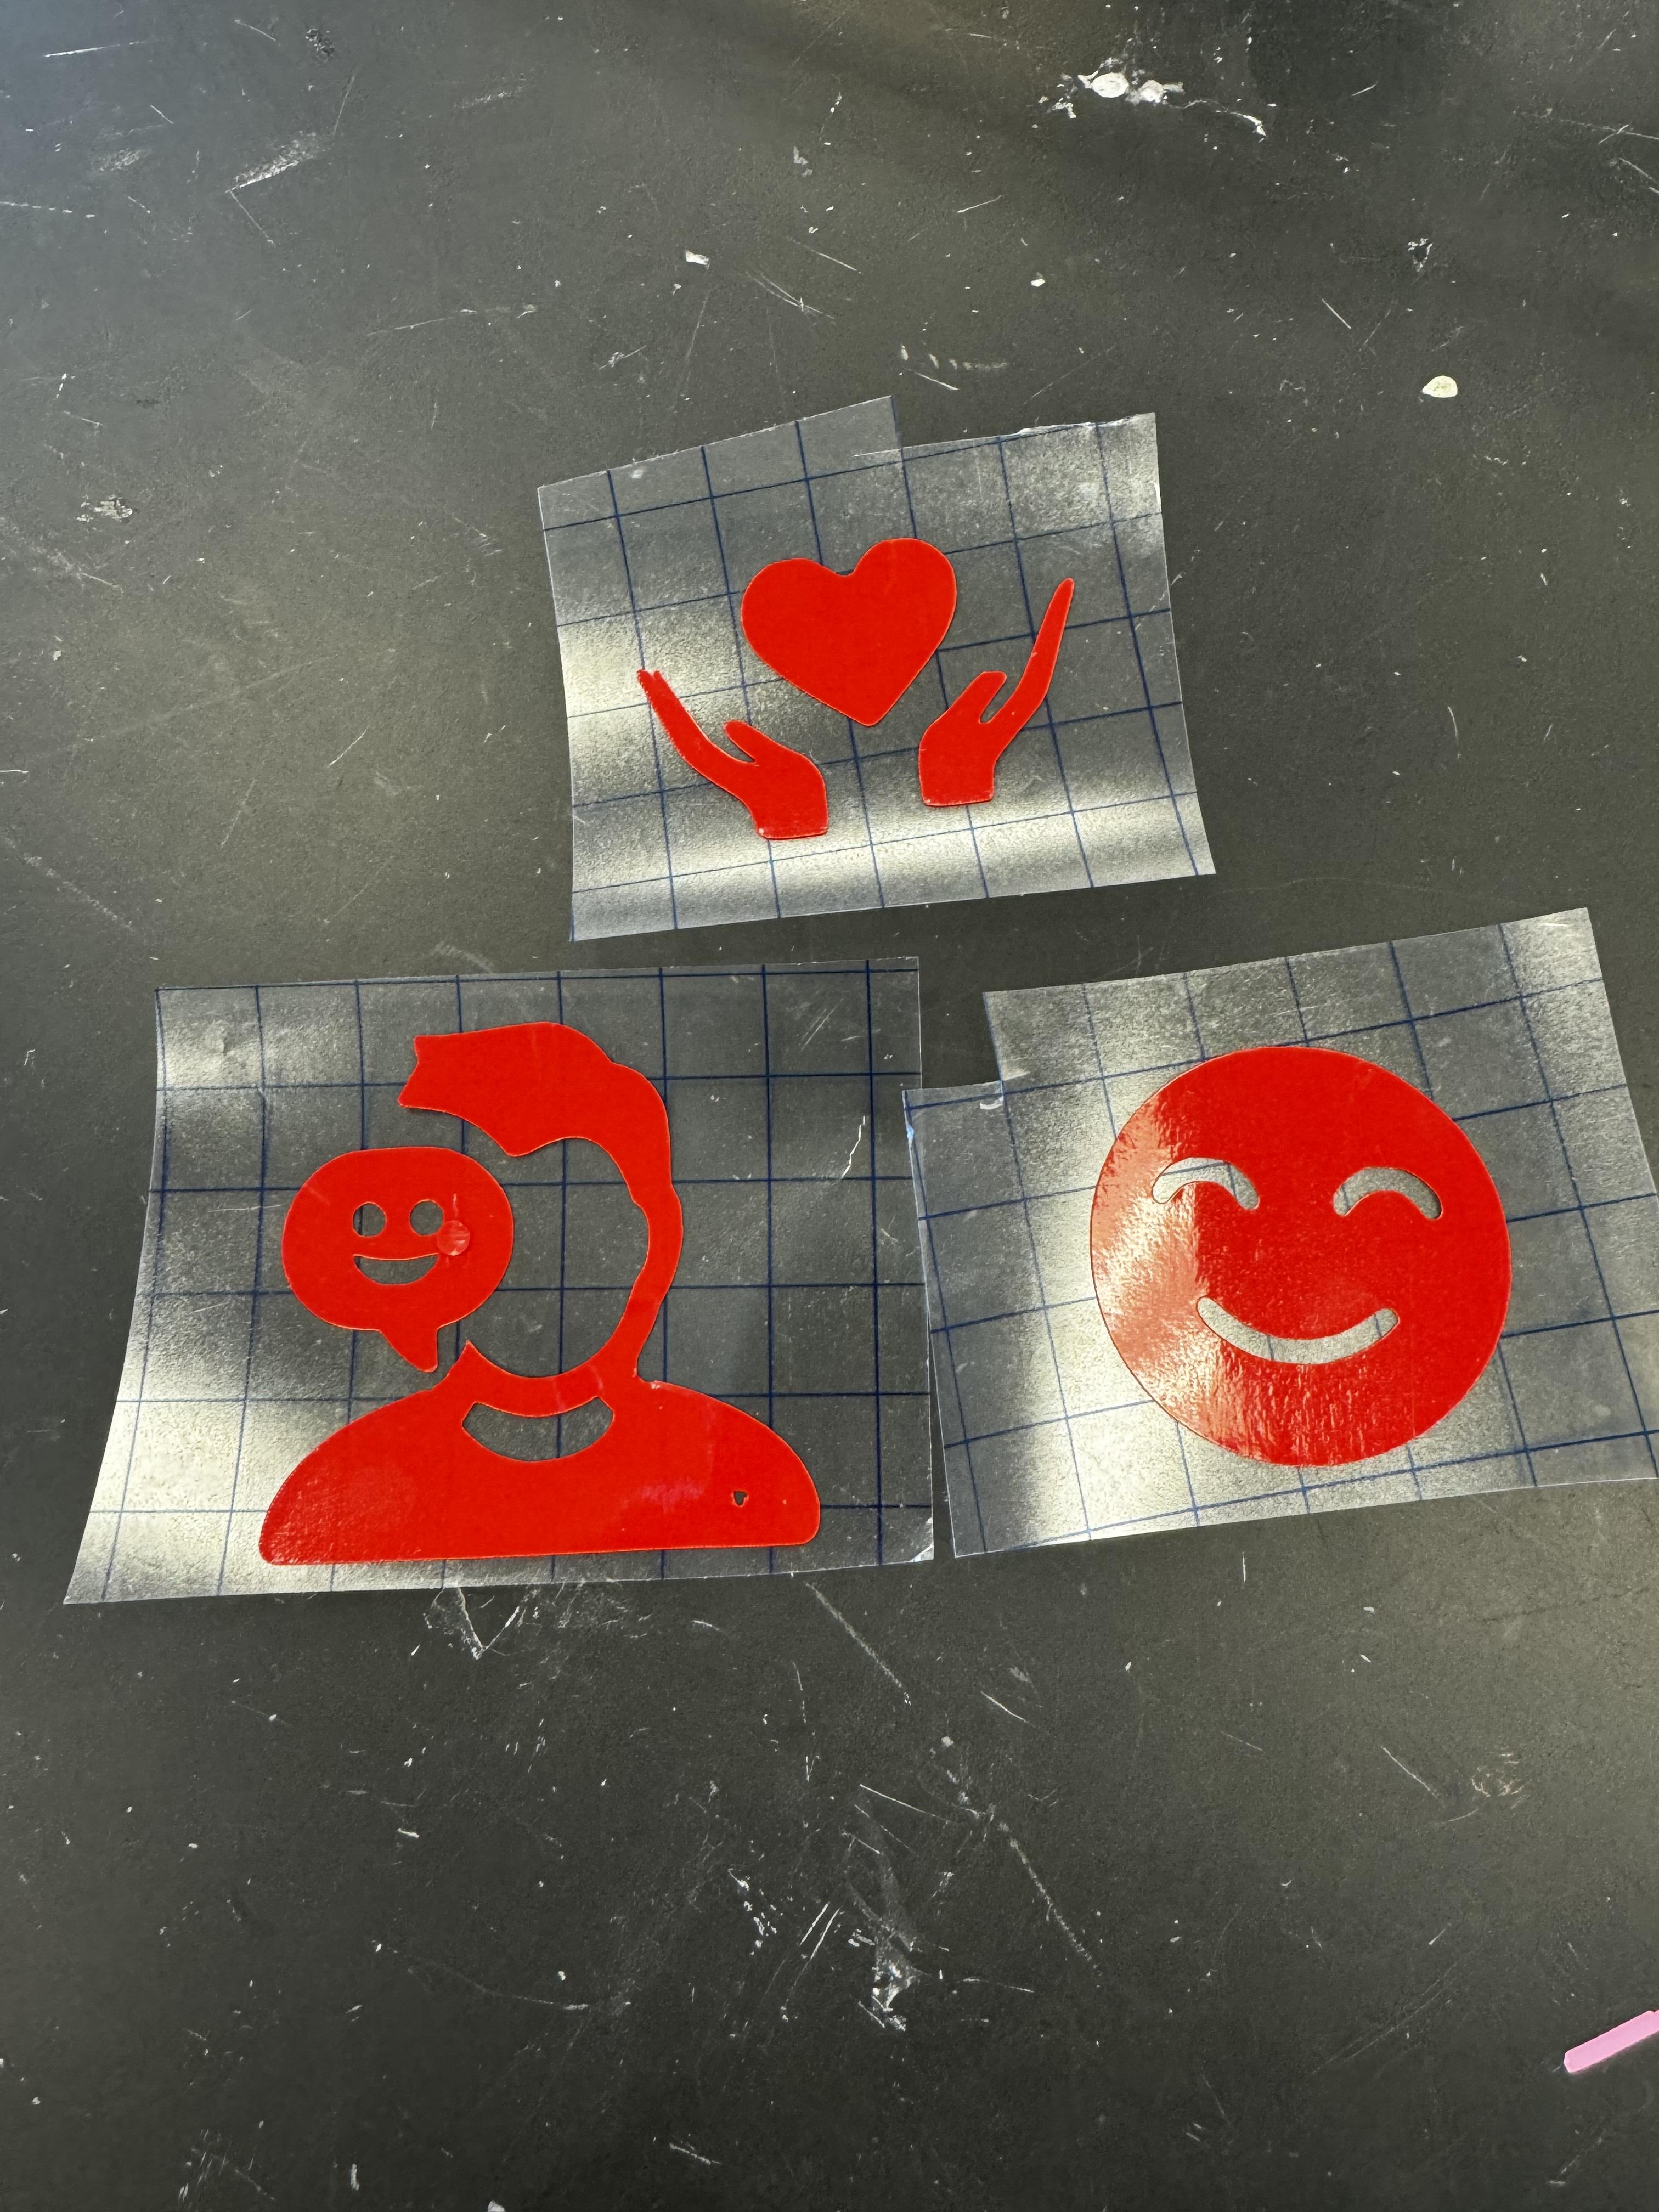
I made a personal custom sticker to represent myself so when I looked at the icons I would know what each one represented. Stickers allow me to transmit emotions and concepts with greater depth.
Supplies
Here are some tools and materials that you might need
- computer
- vinyl cutter
- transfer paper
- vinyl cutter
- vinyl cutter mat
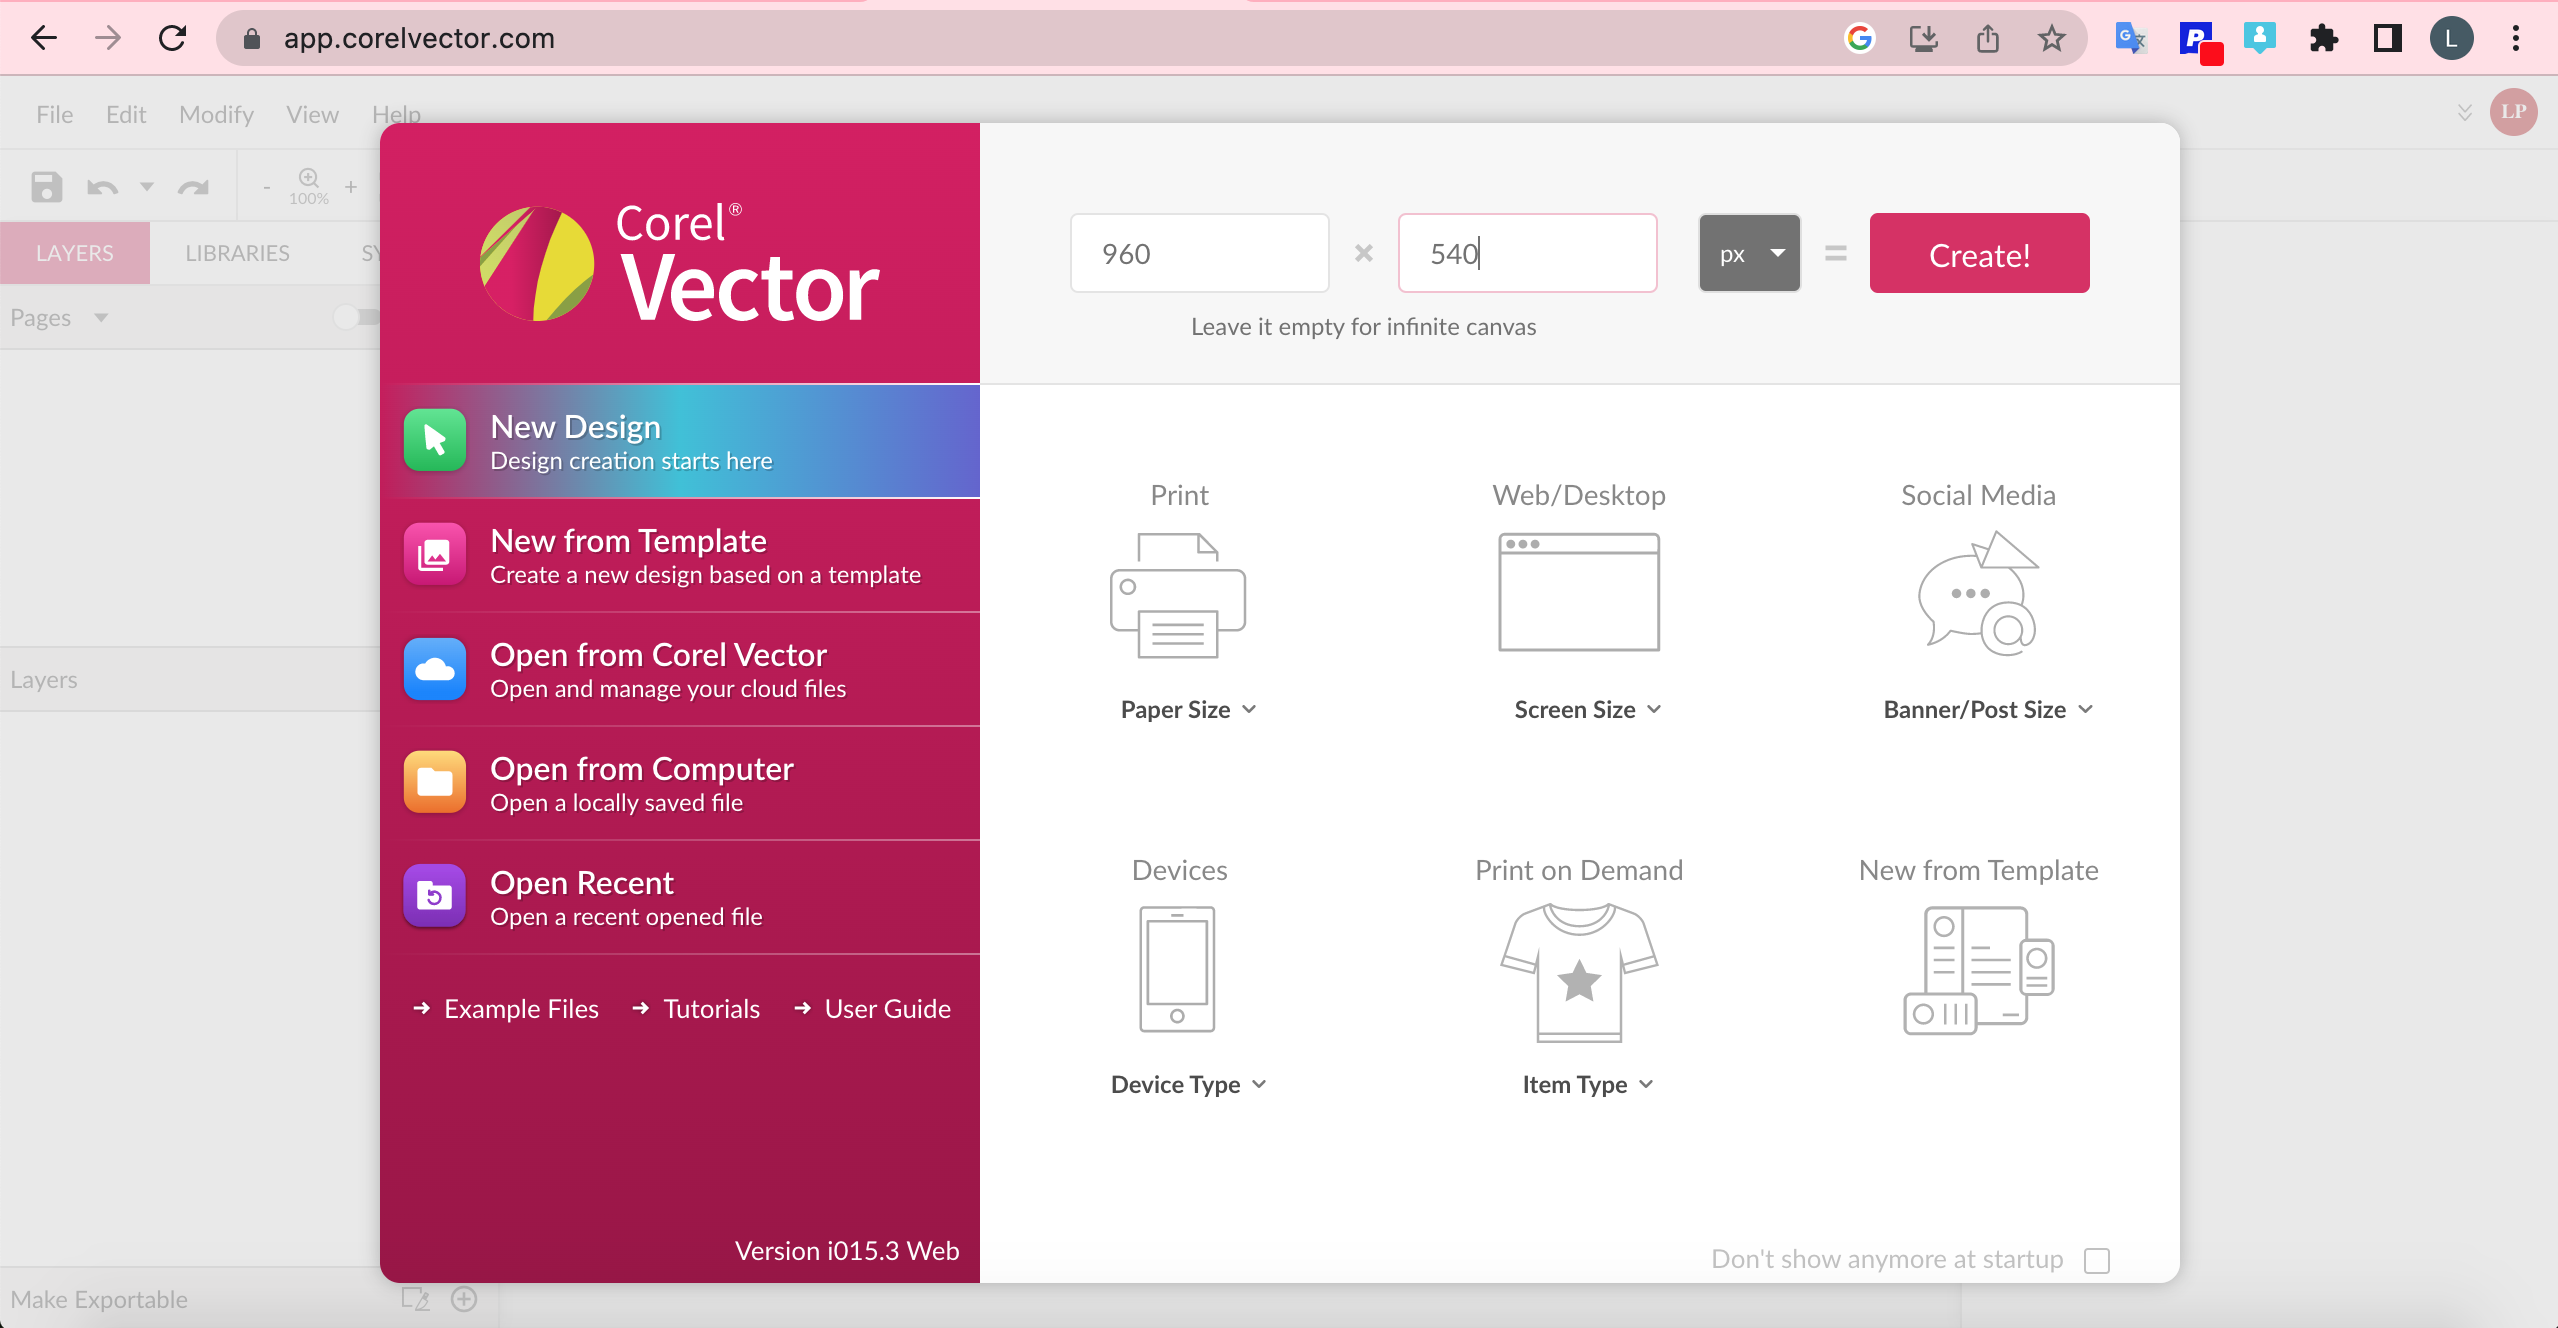
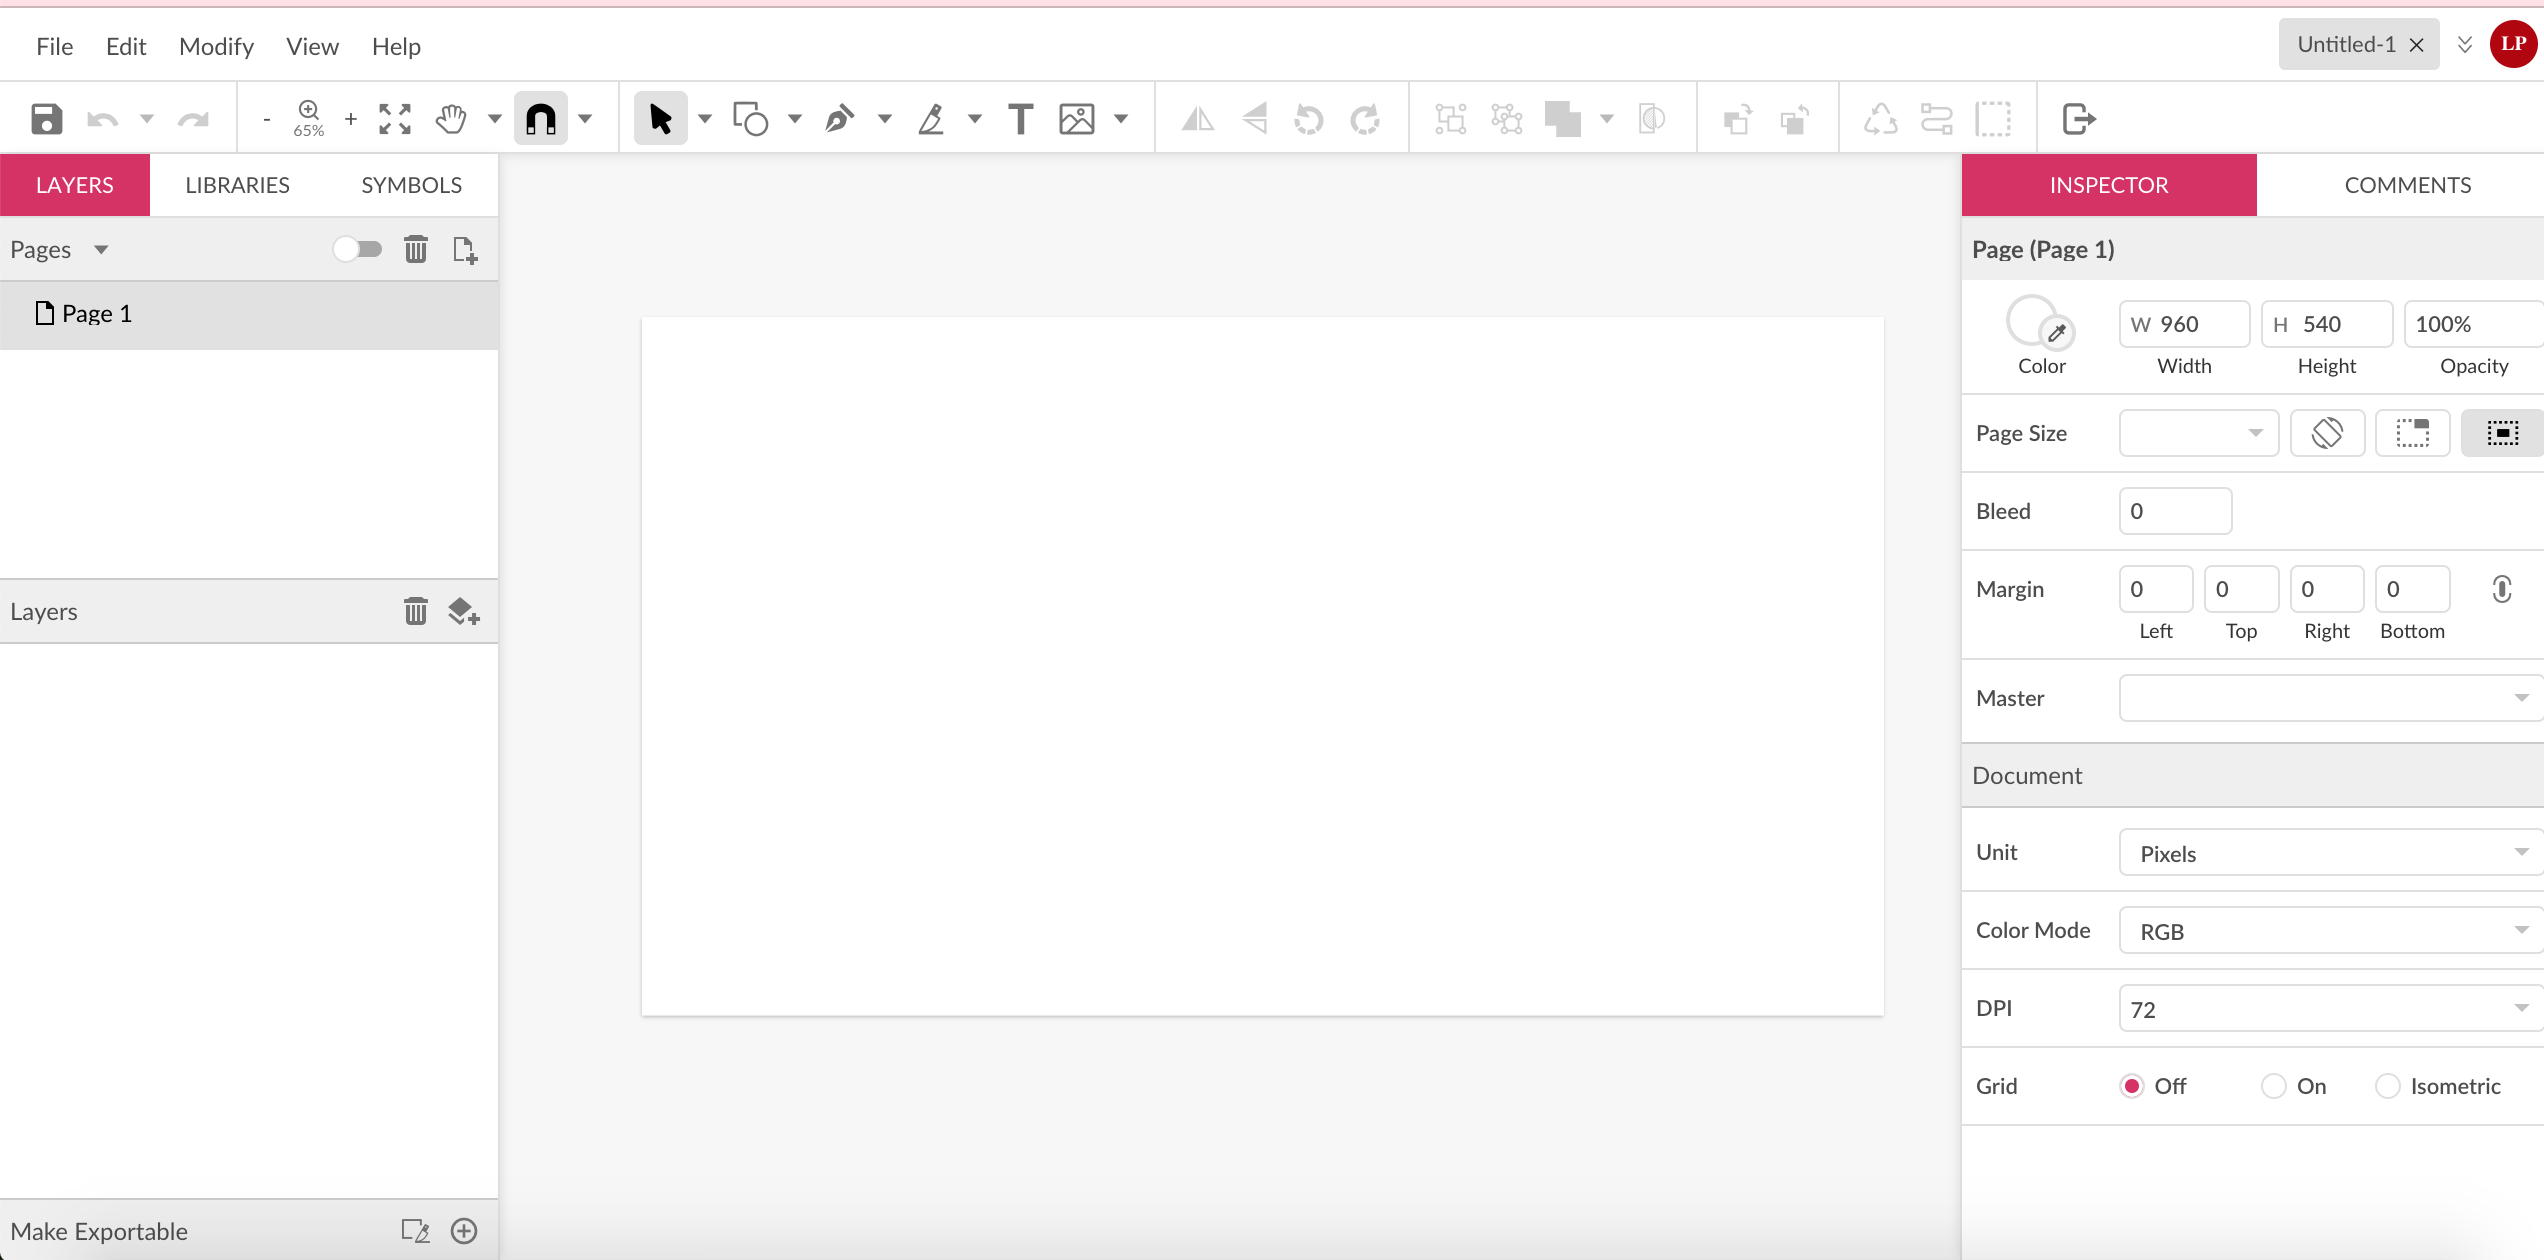
Go into corel vector and log in create a new document in corel vector add these measurements to the document (960x540 pixels works fine).
Downloads
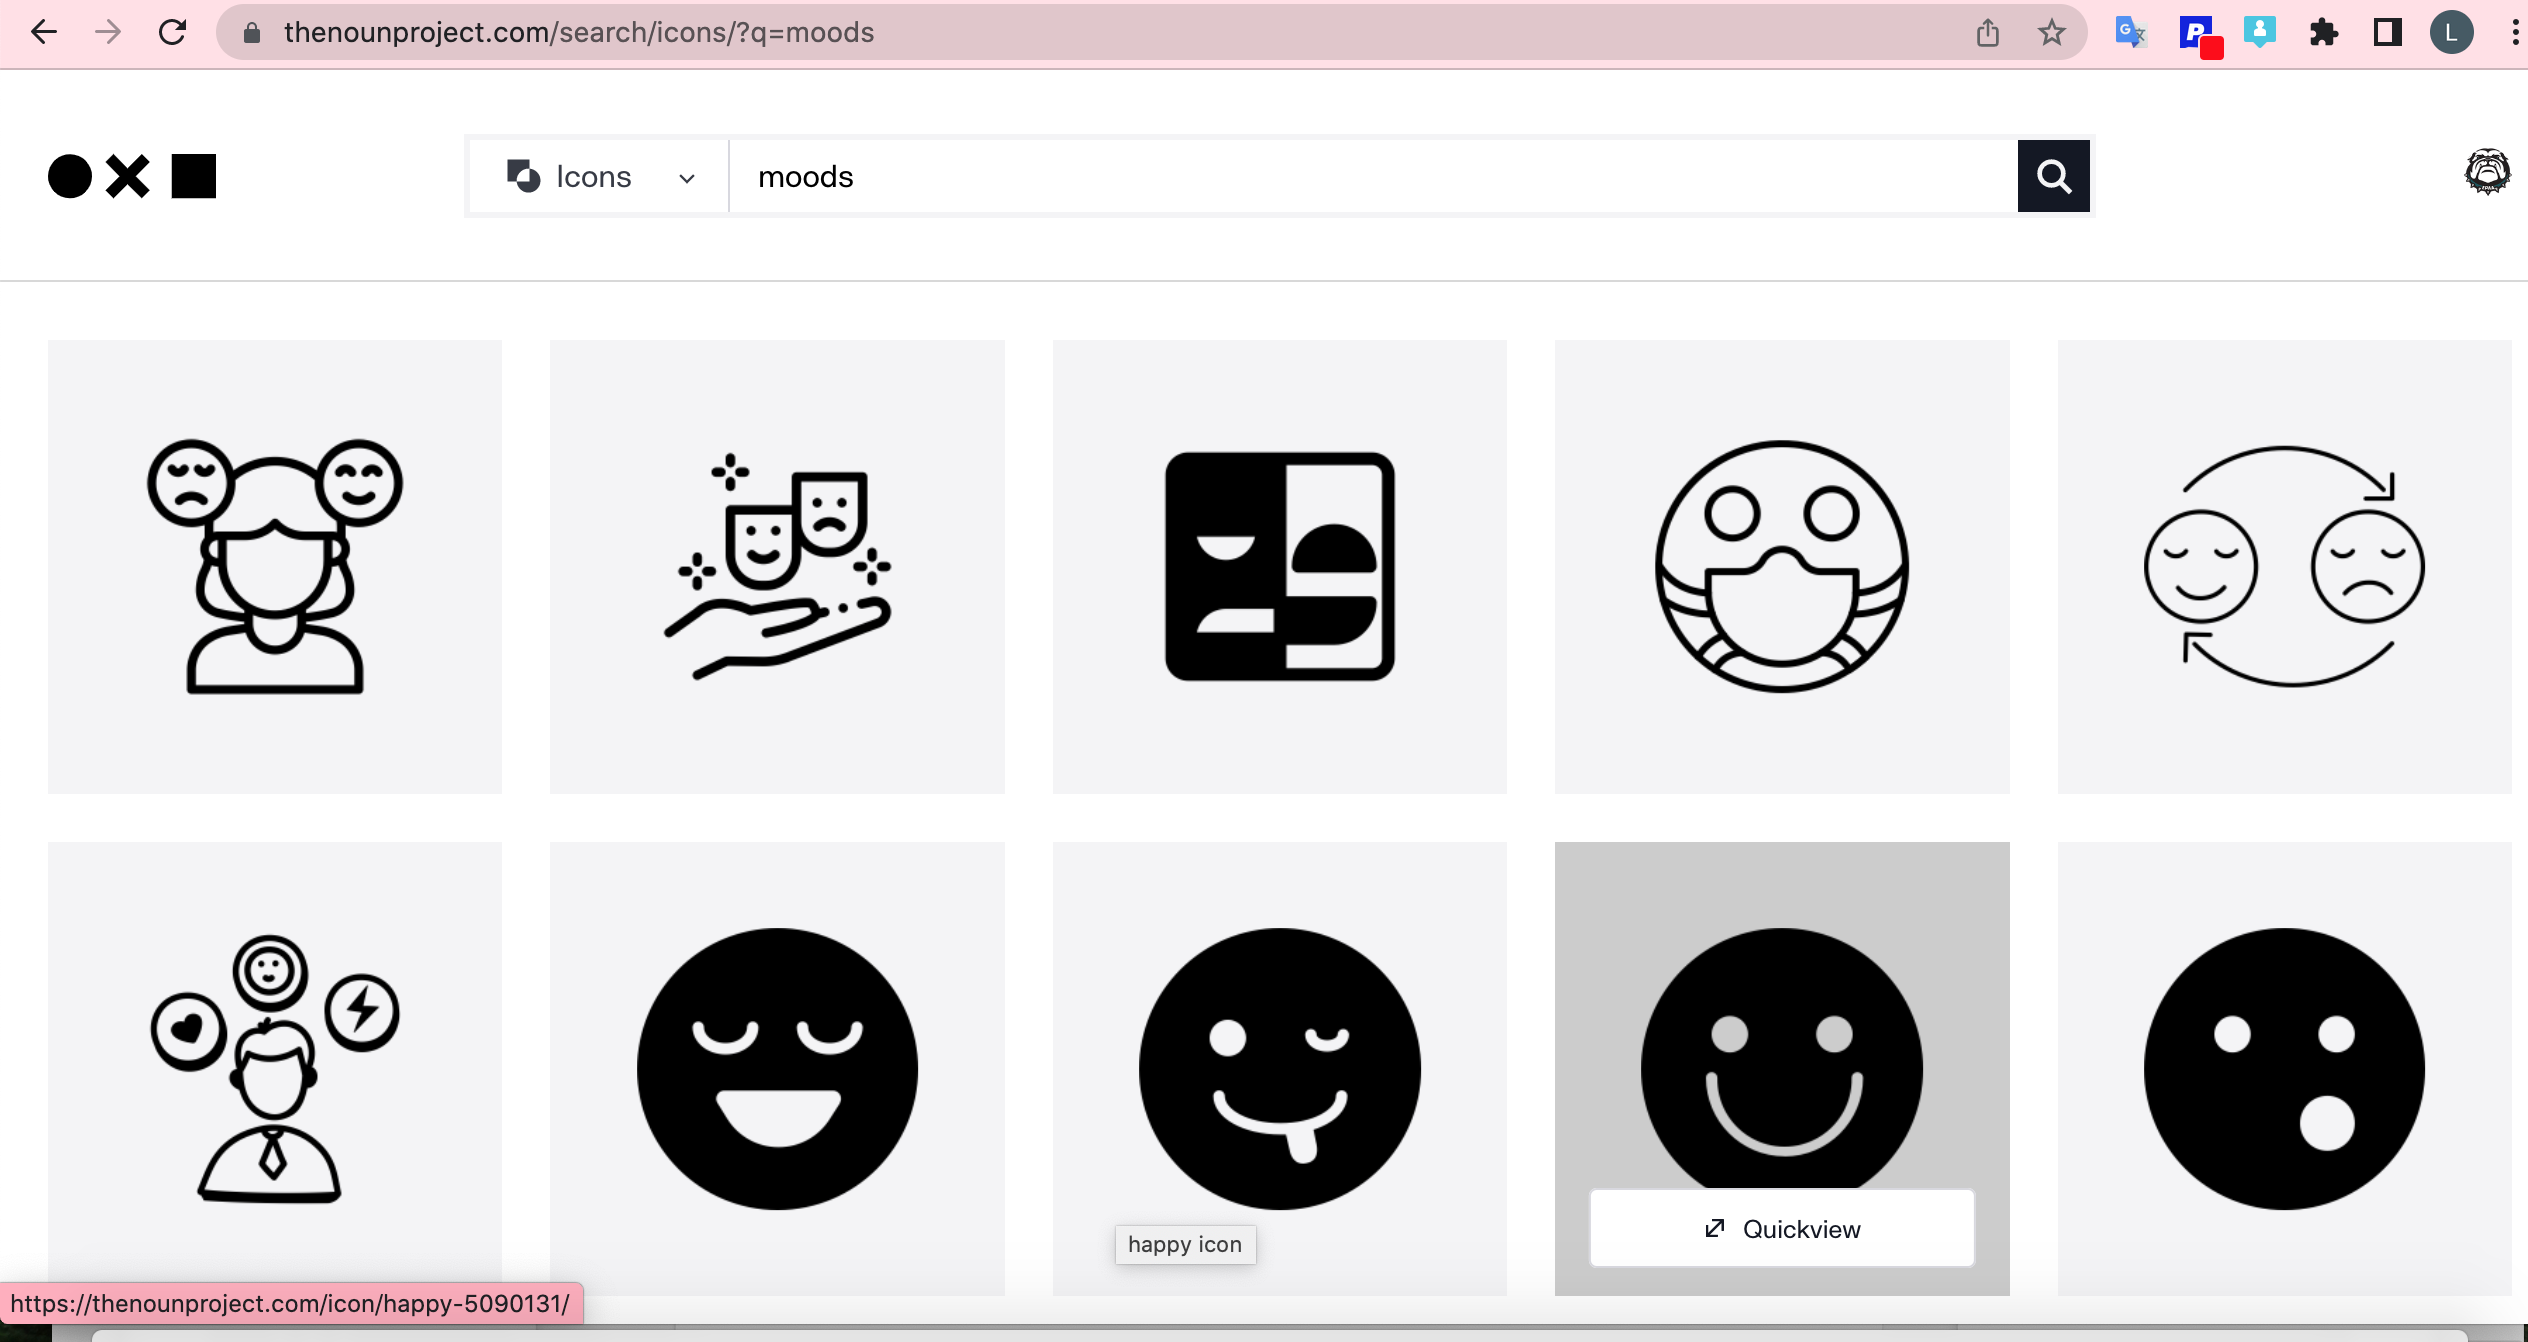
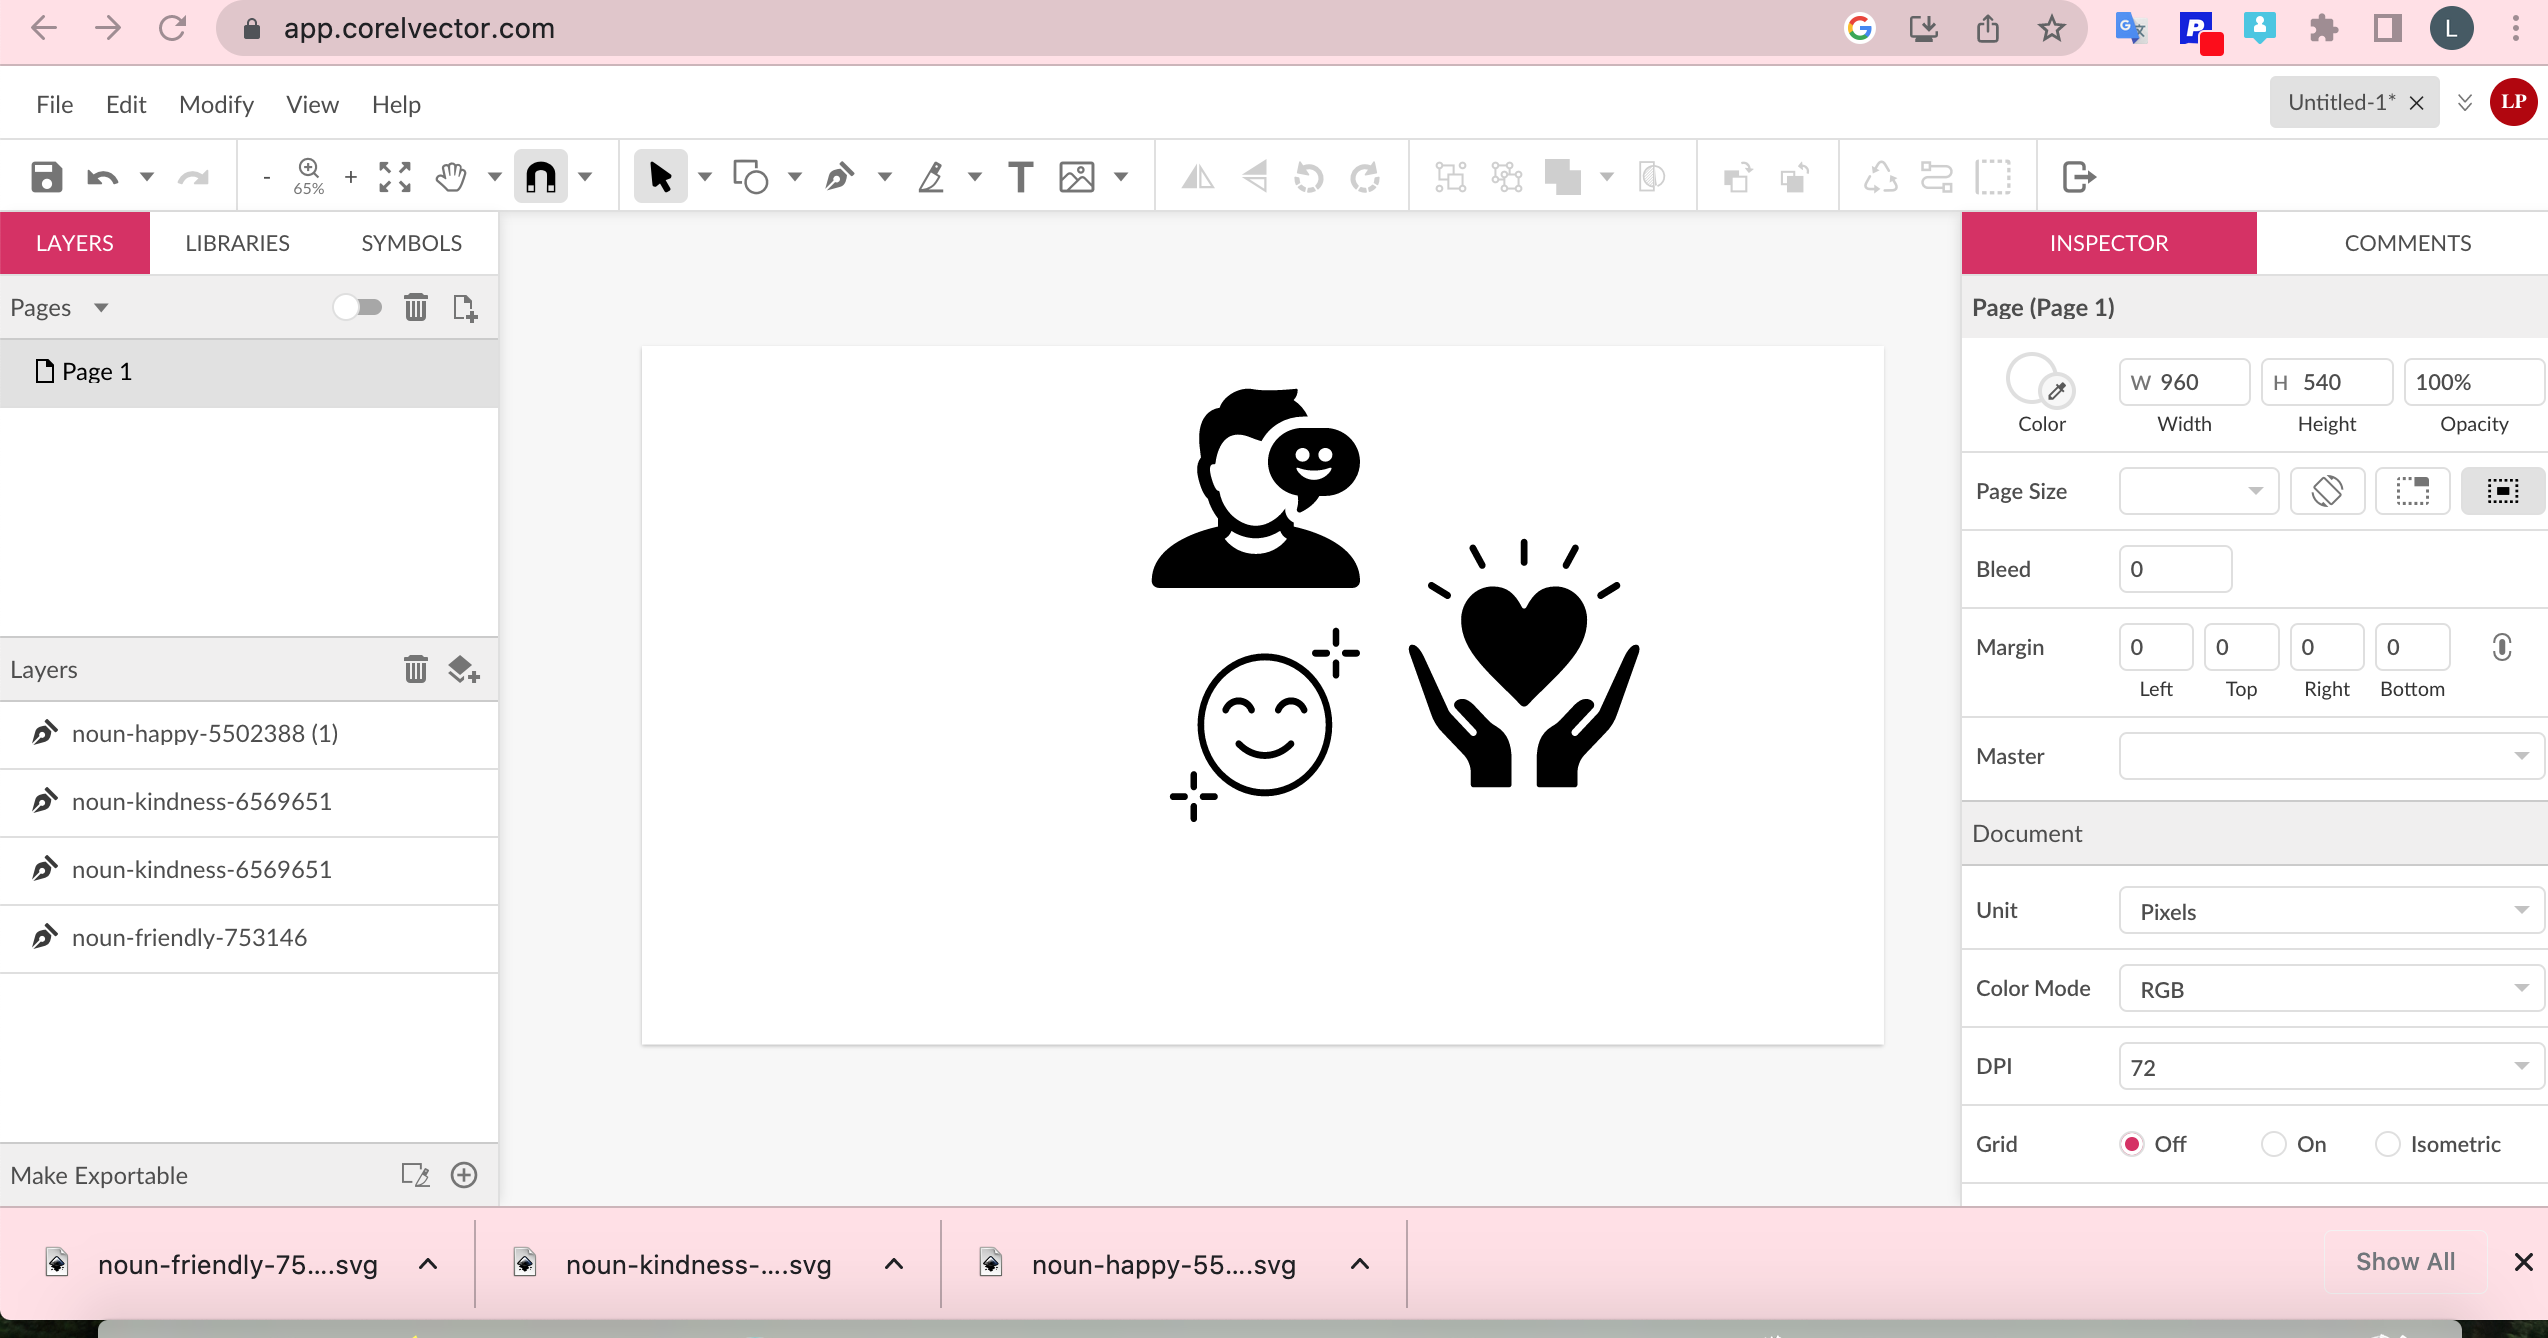
Go to NounProject.com, choose three icons that you like and place 3 icons that help describe your identity right now. (you can search for options in the search) then download them to your computer and then add them to Corel Vector
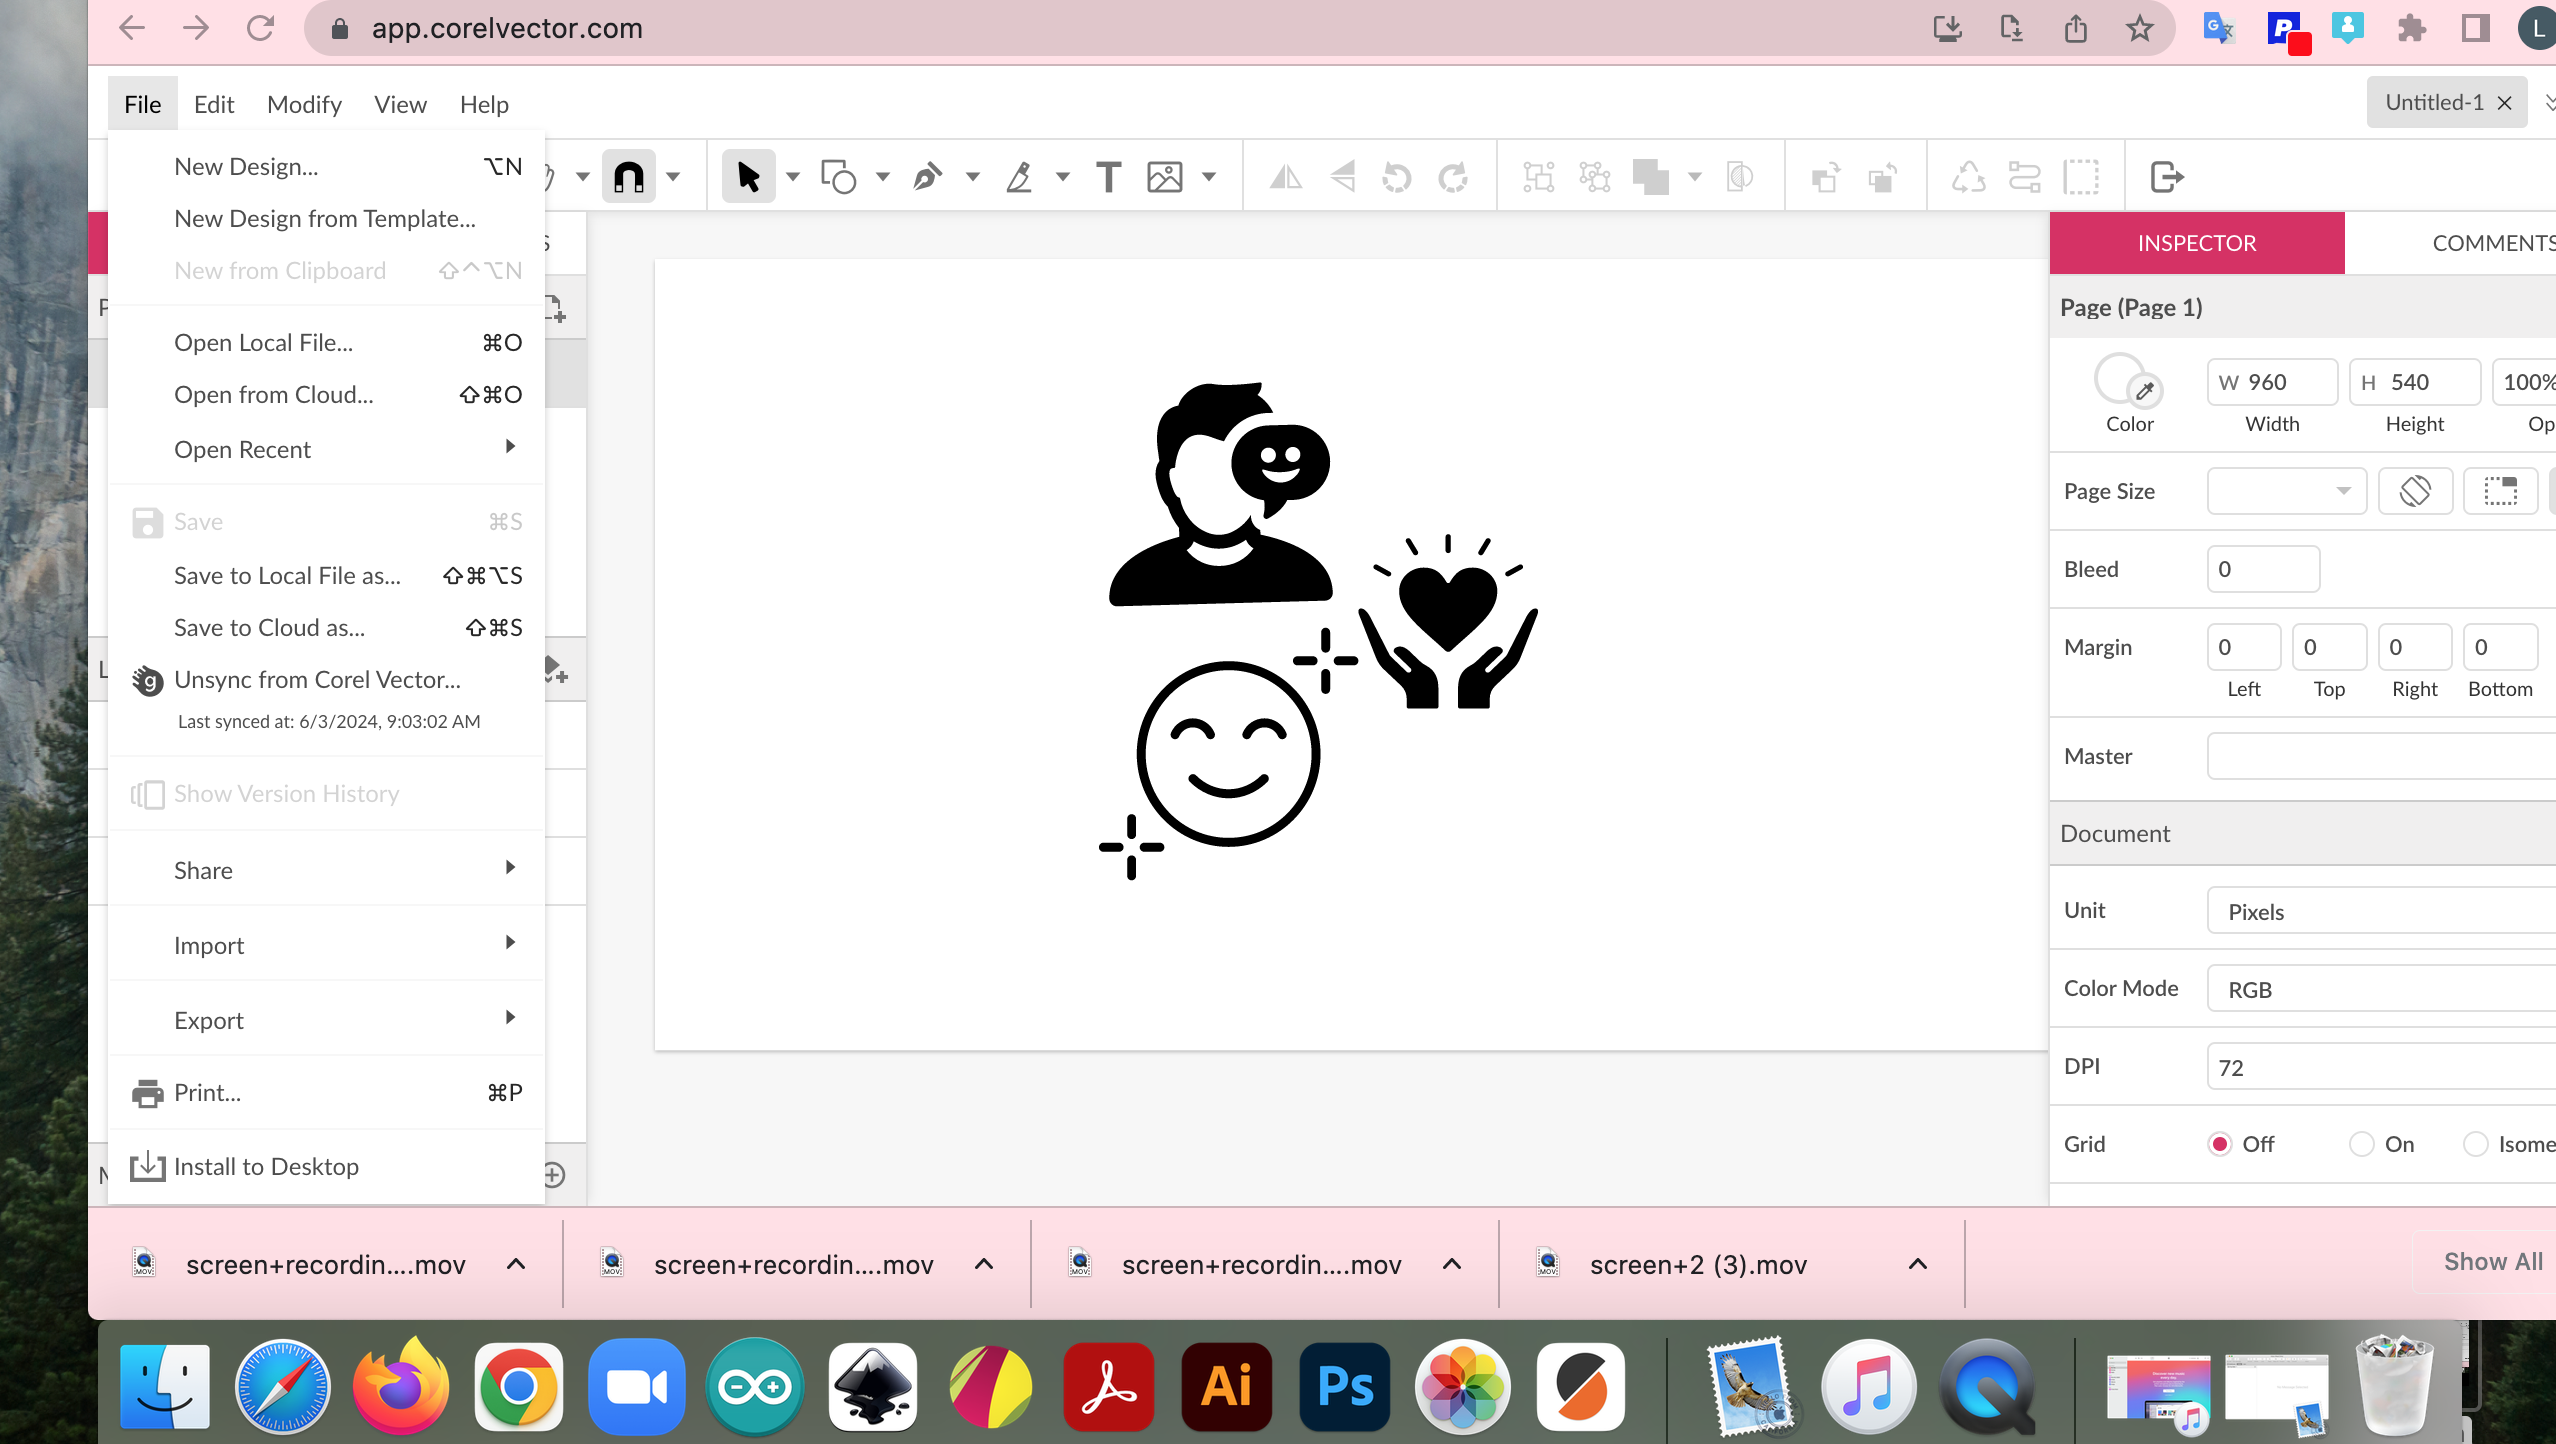
After adding the stickers to Corel Vector, you can organize and add them, after you finish arranging them you export the file to Silhouette Studio.
Downloads
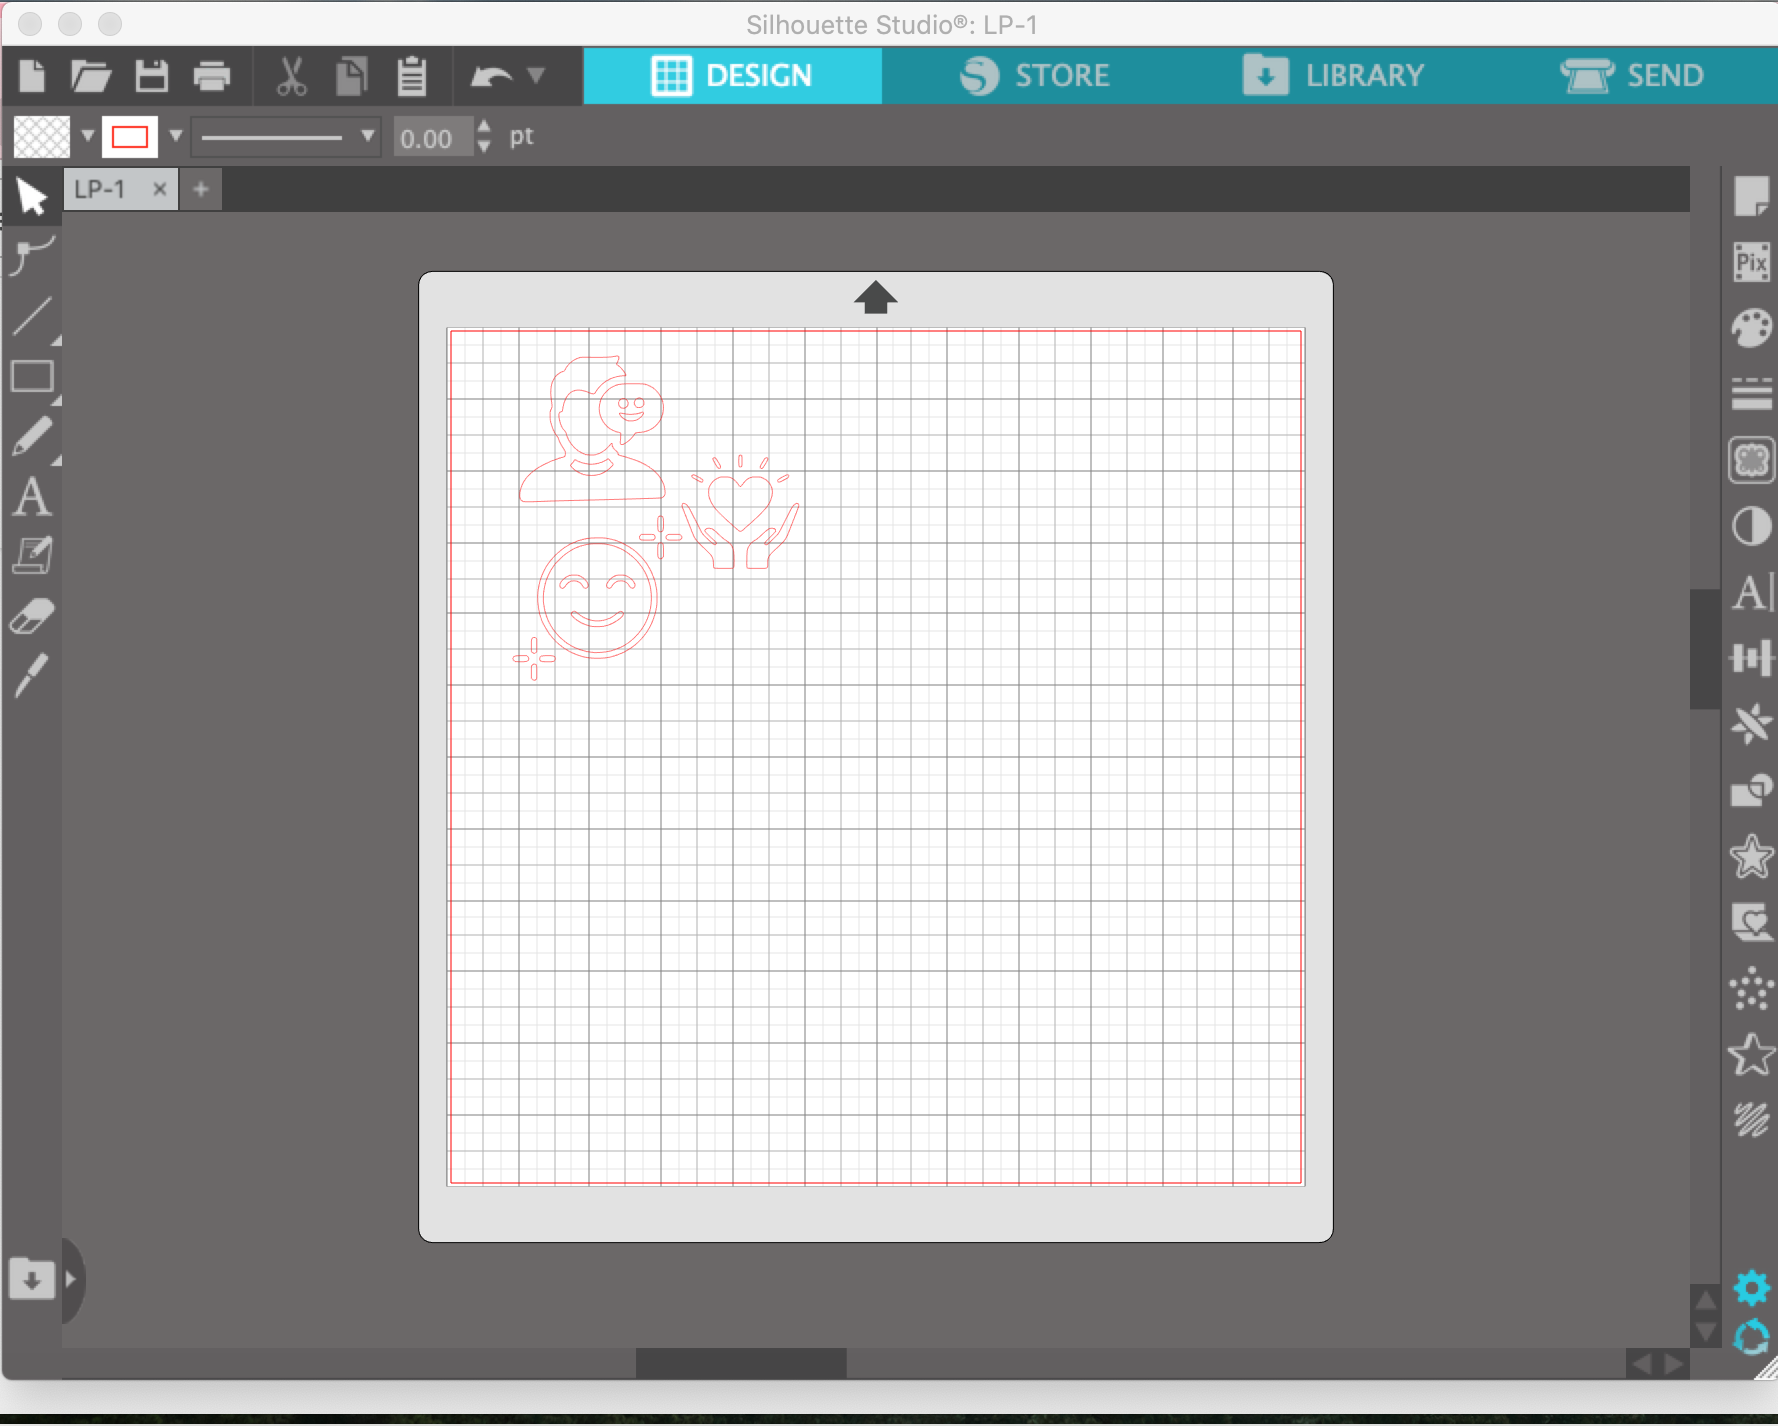
Then you go to Silhouette Studio and export the document from from Corel Vector
- After that you resize the label to the size you want and then select trace and select the trace area and after tracing it you delete the part of the image that you no longer need.
.jpg)
.jpg)
For the next step you will need the following materials
- vinyl sticker
- vinyl cutter mats
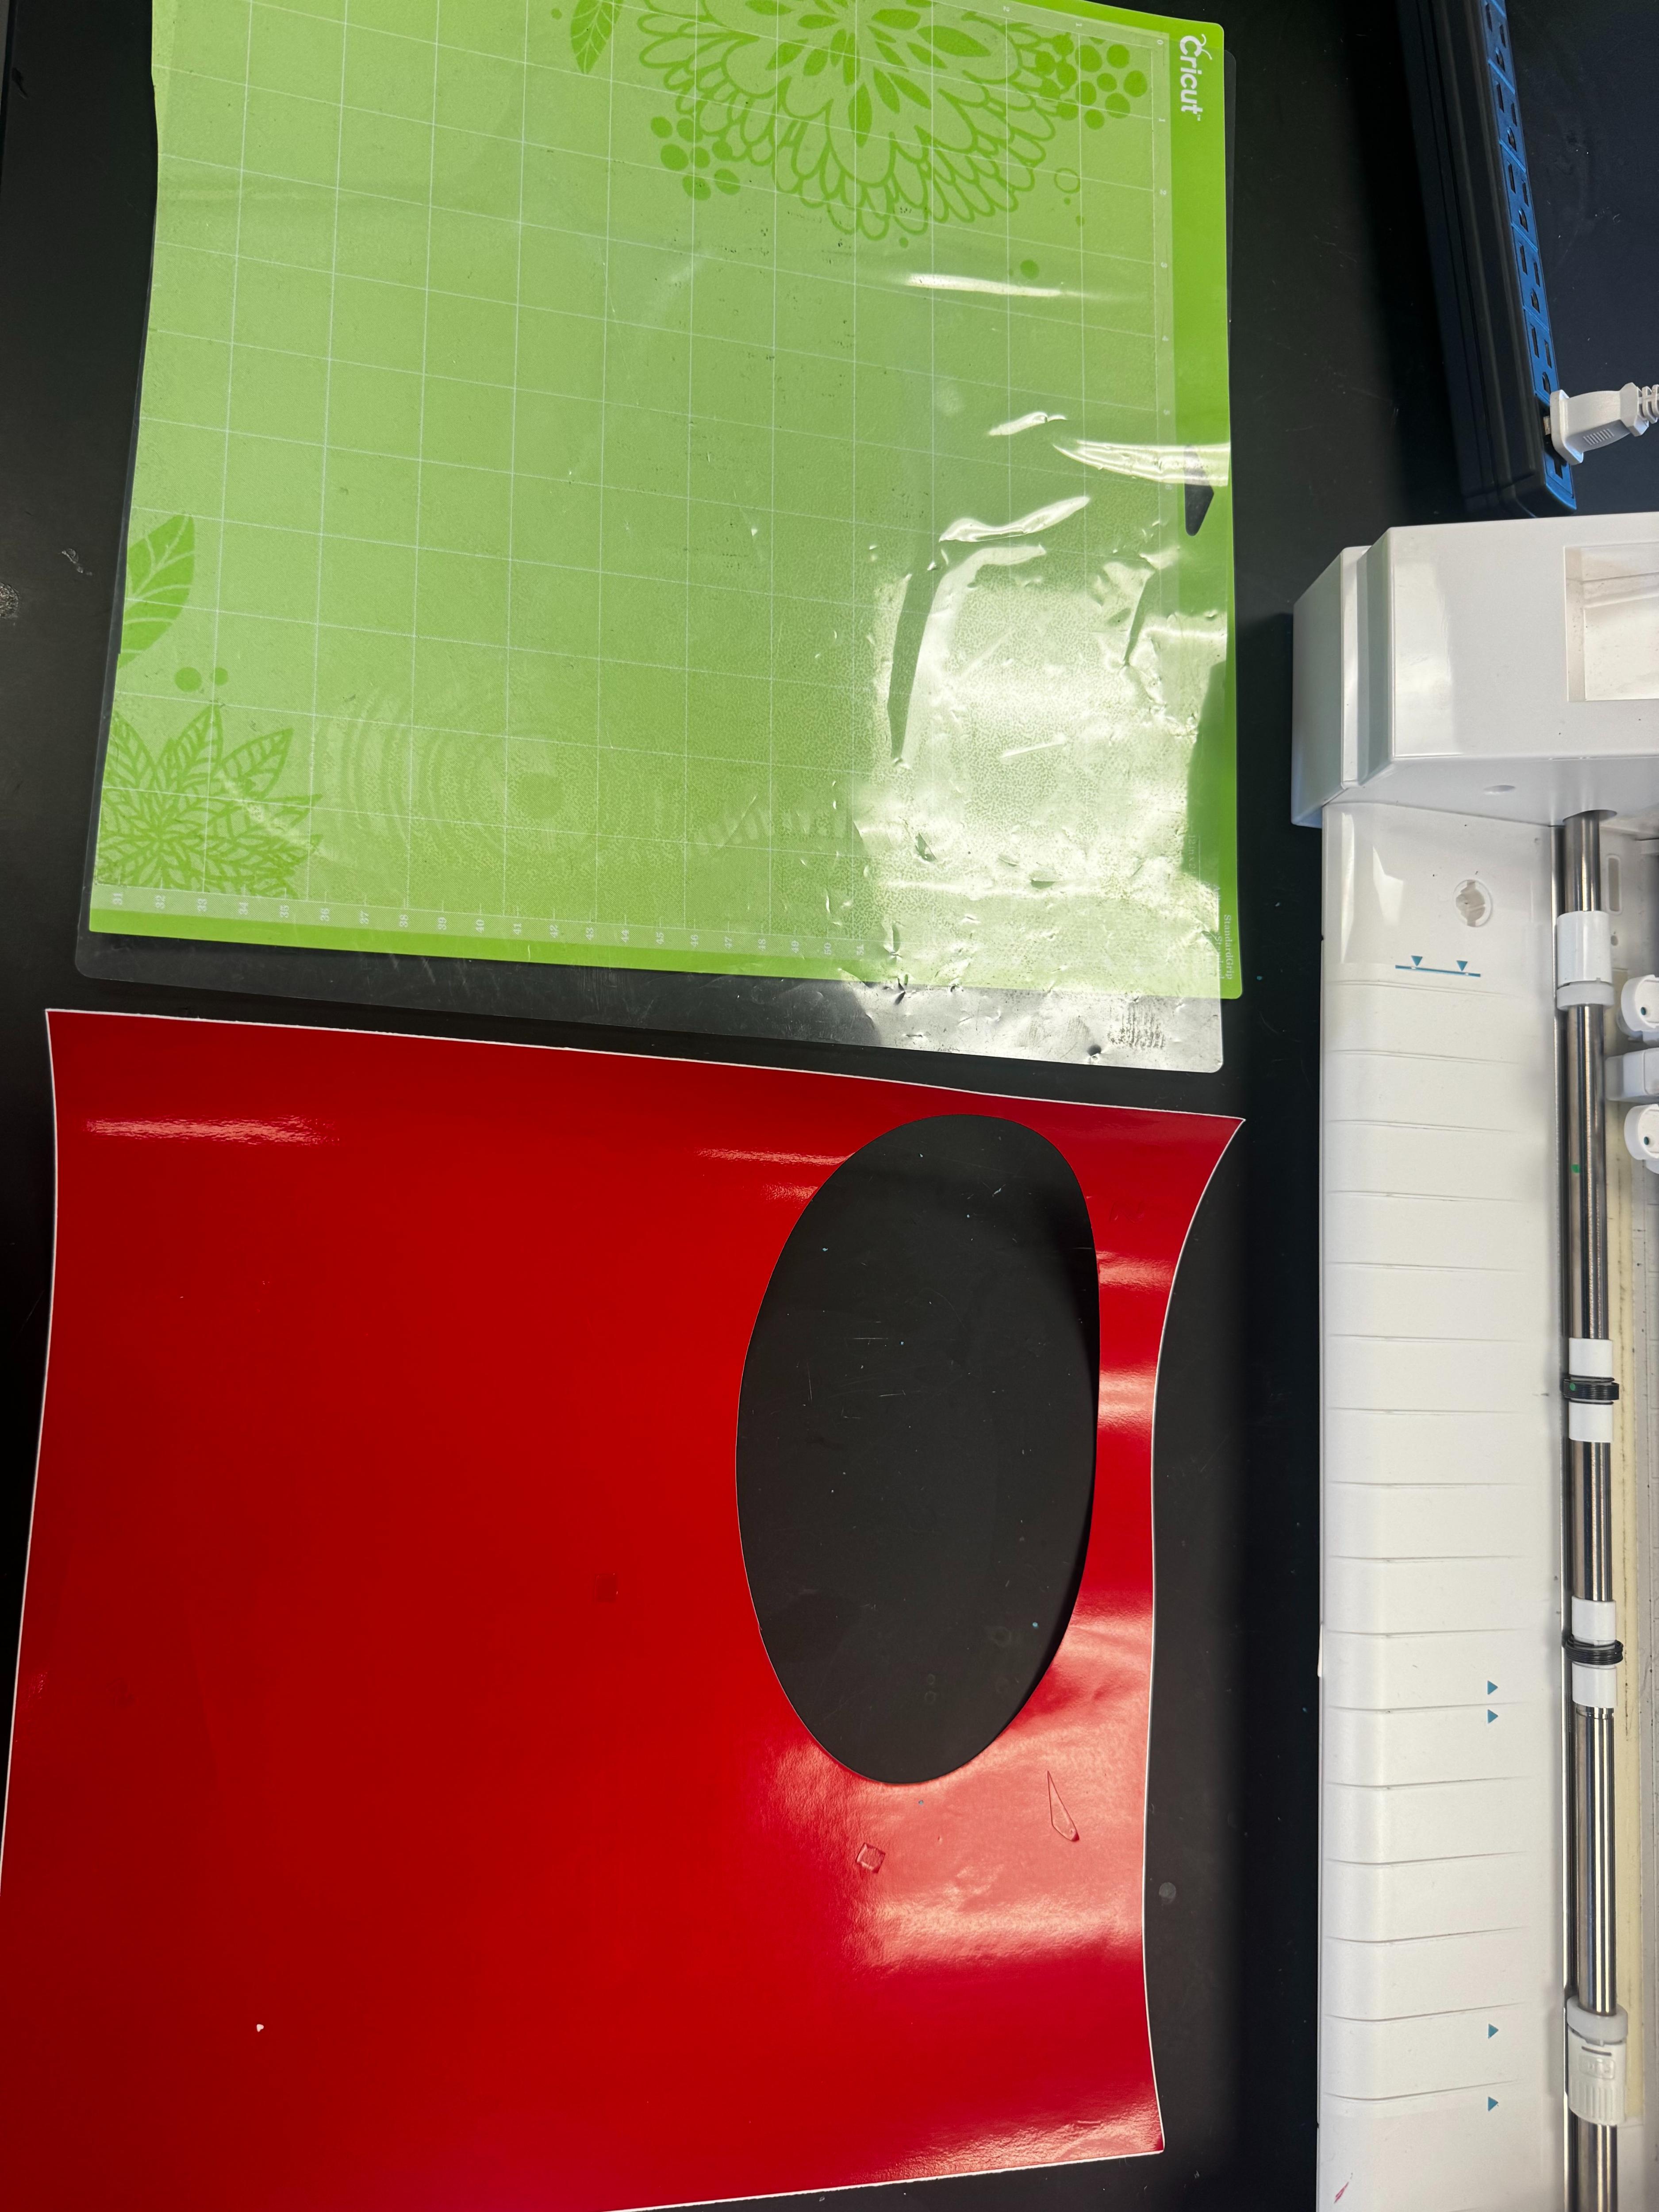
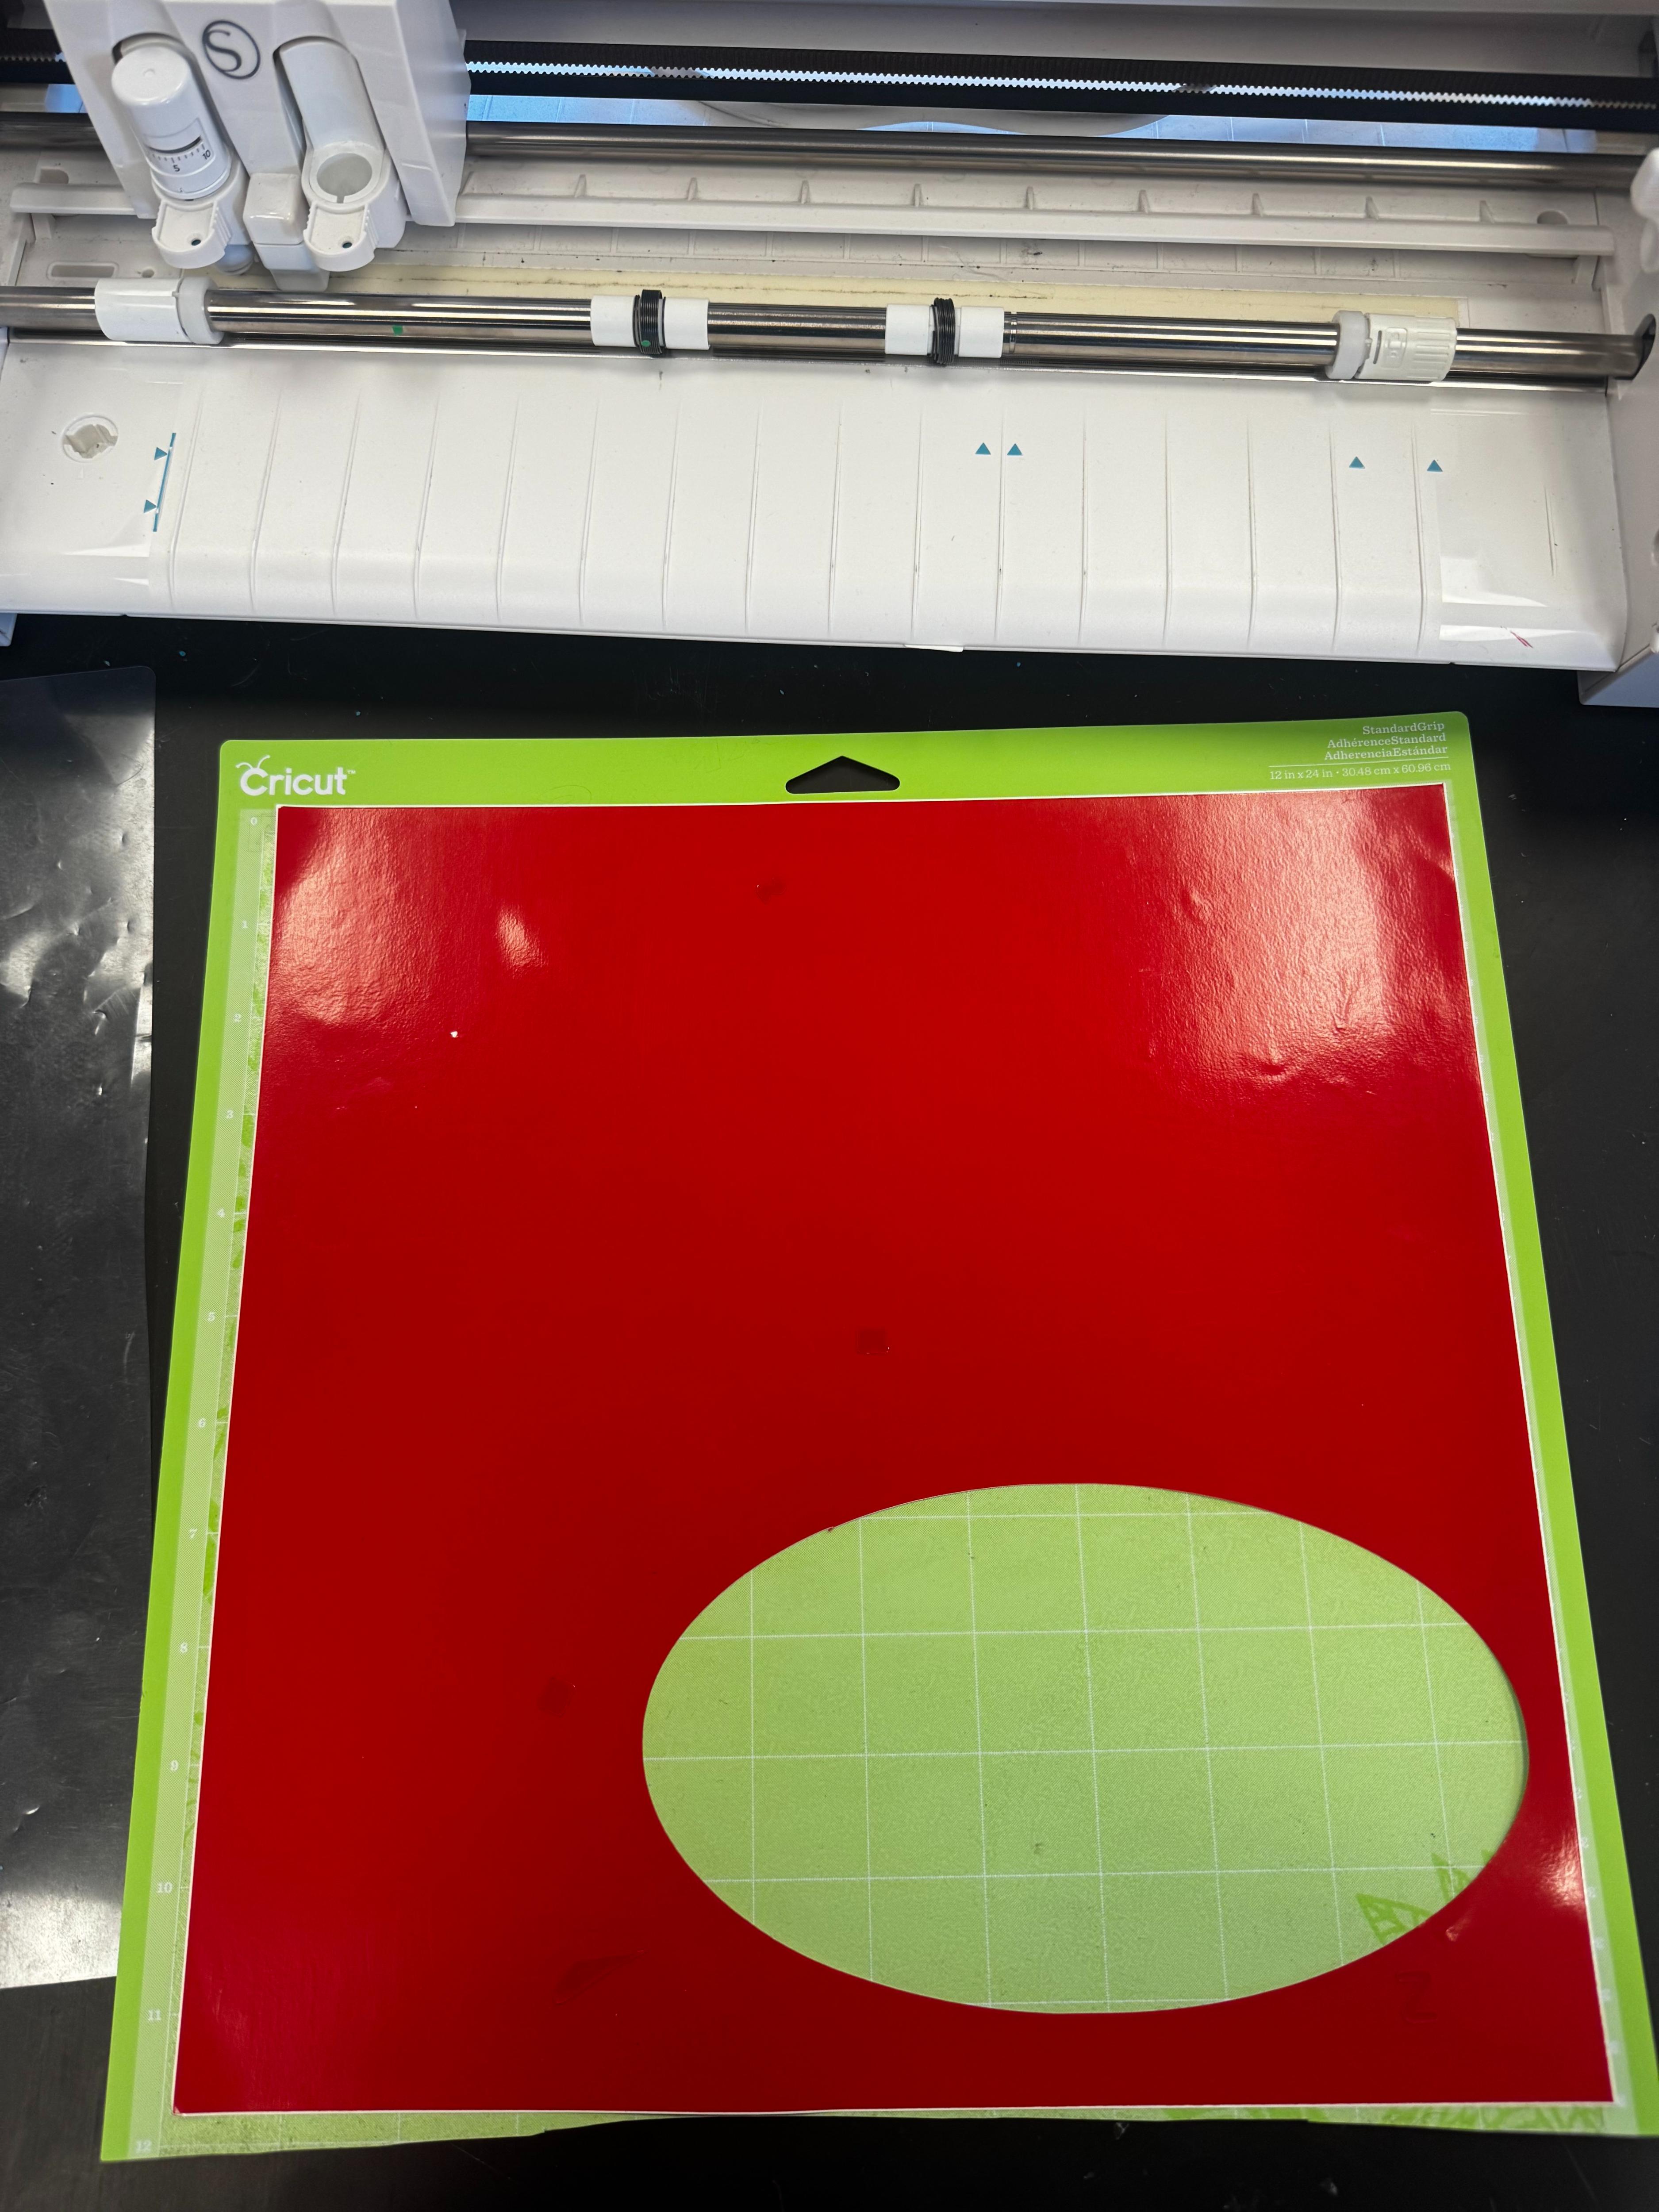
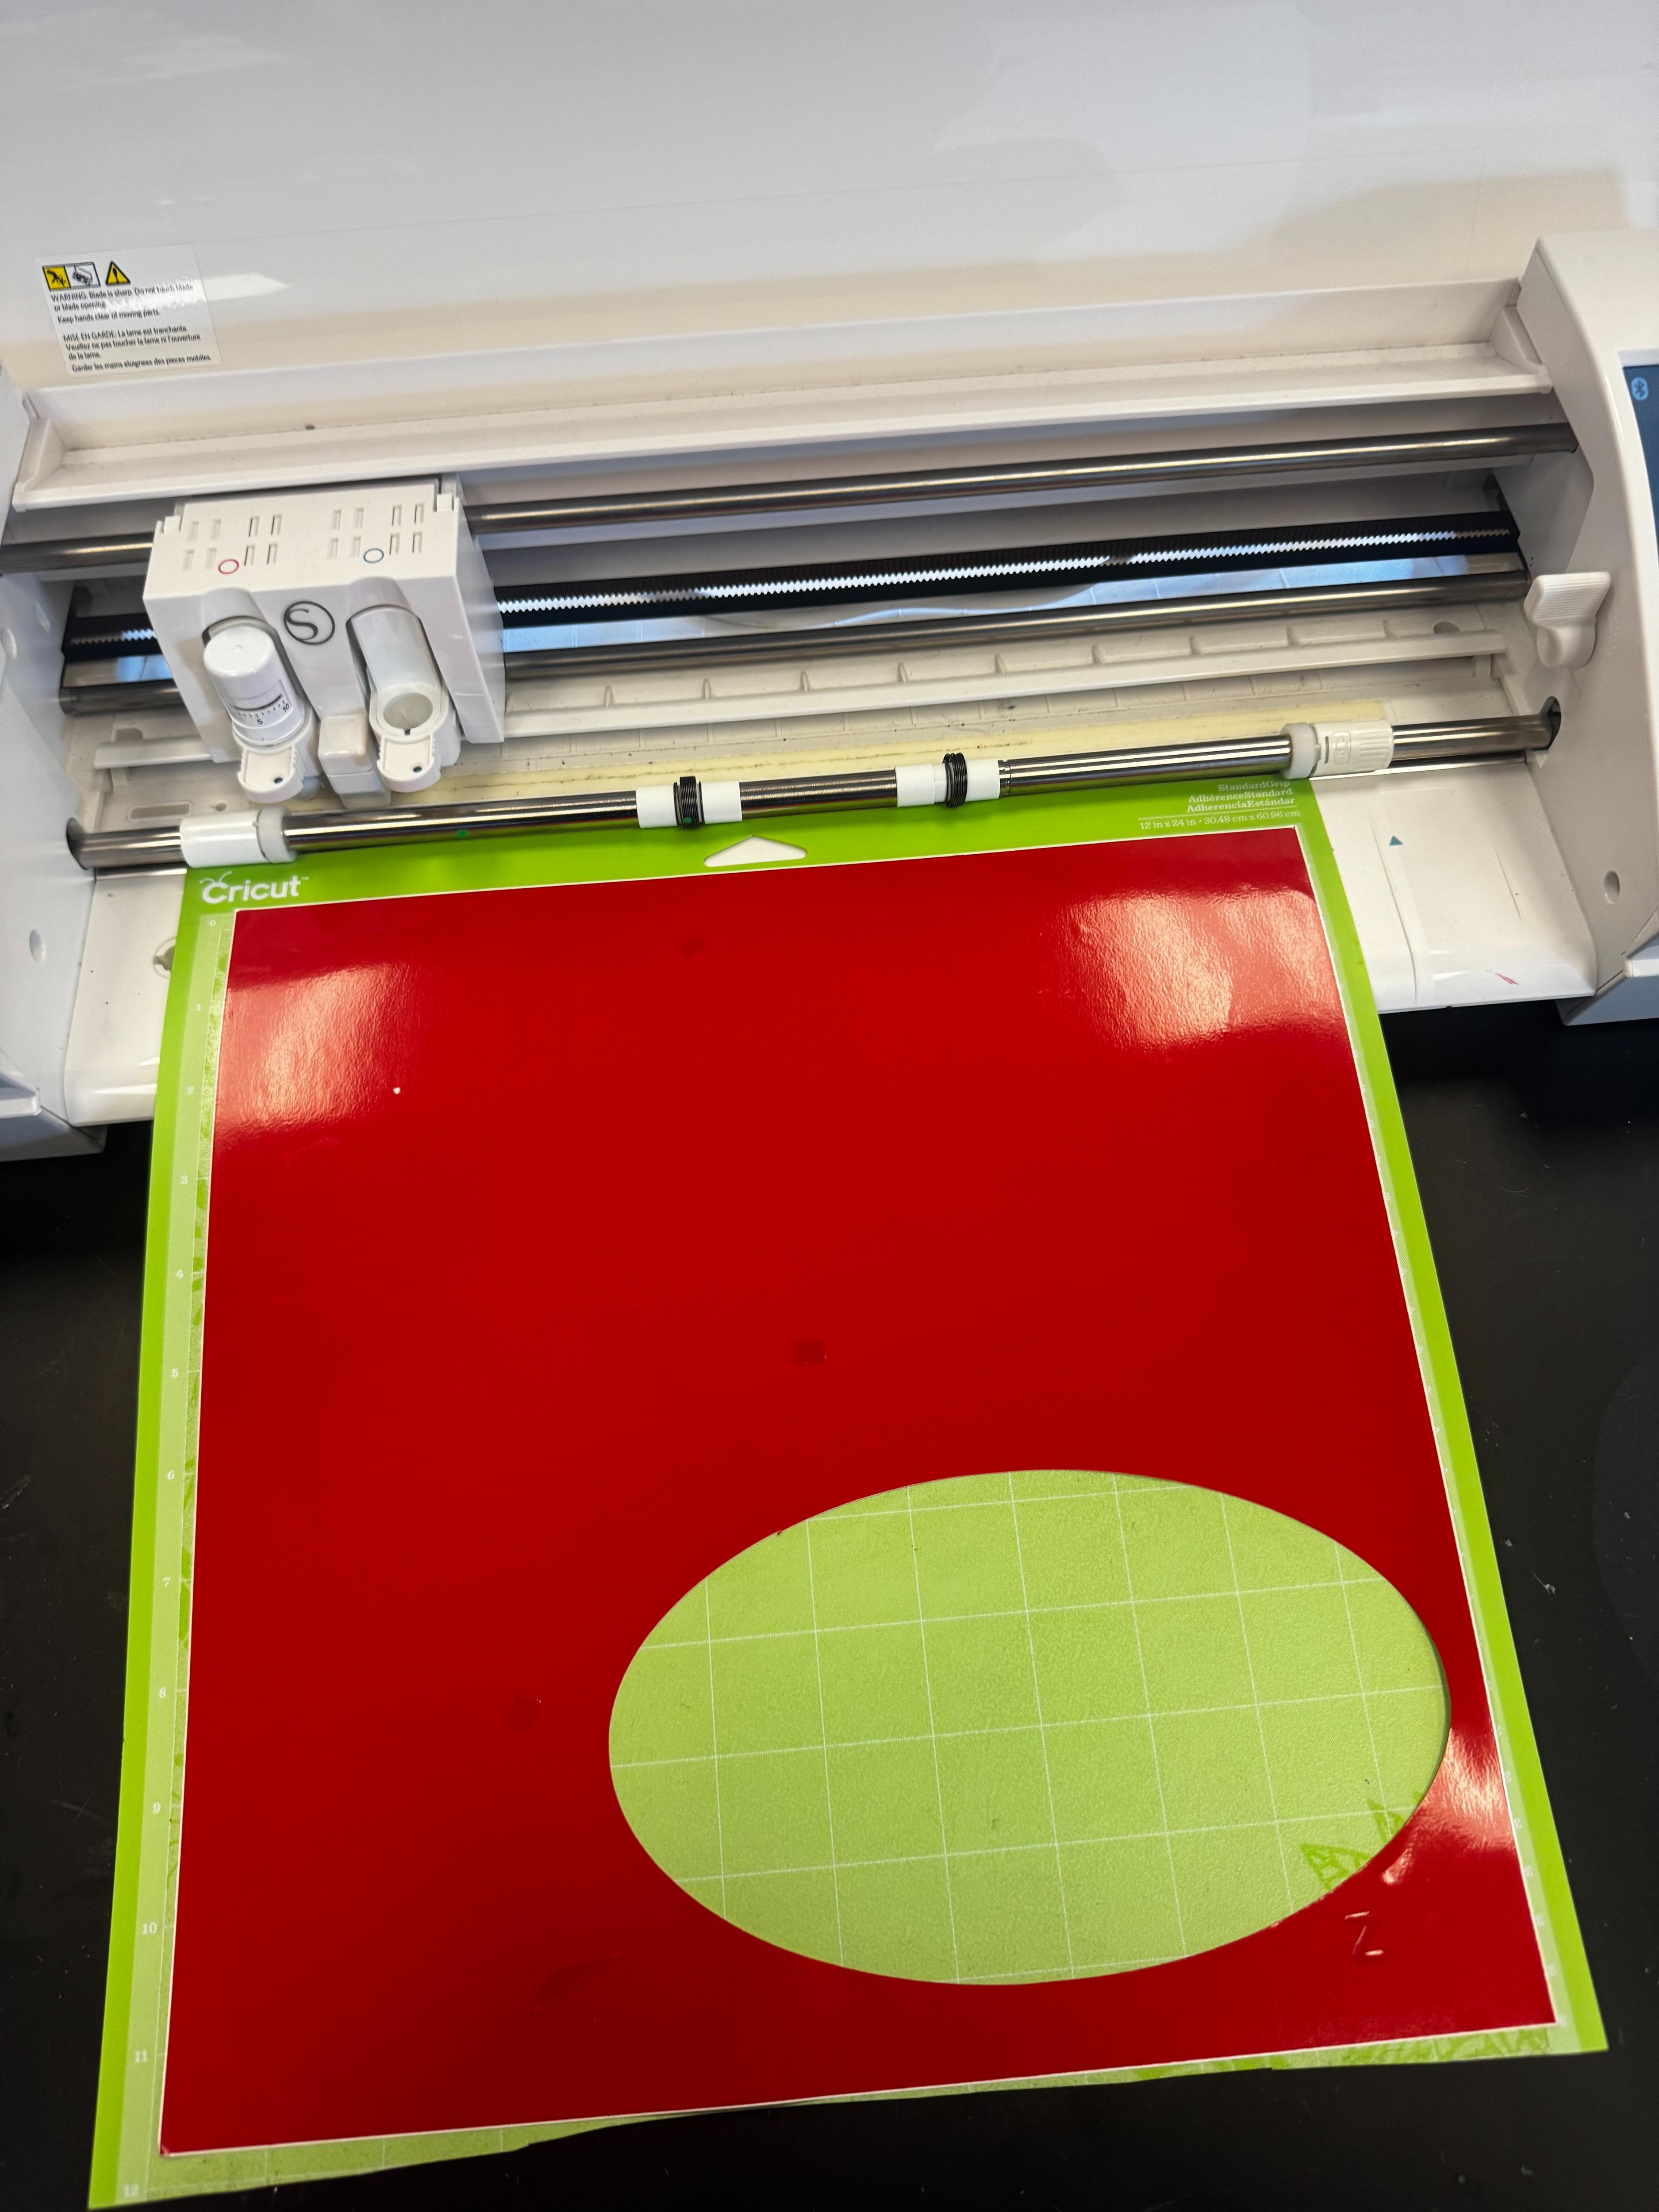
You then choose the color paper you want your sticker to be and add it to the vinyl cutter mat to stick and now place it on the machine ready to transfer your design click load in the machine.
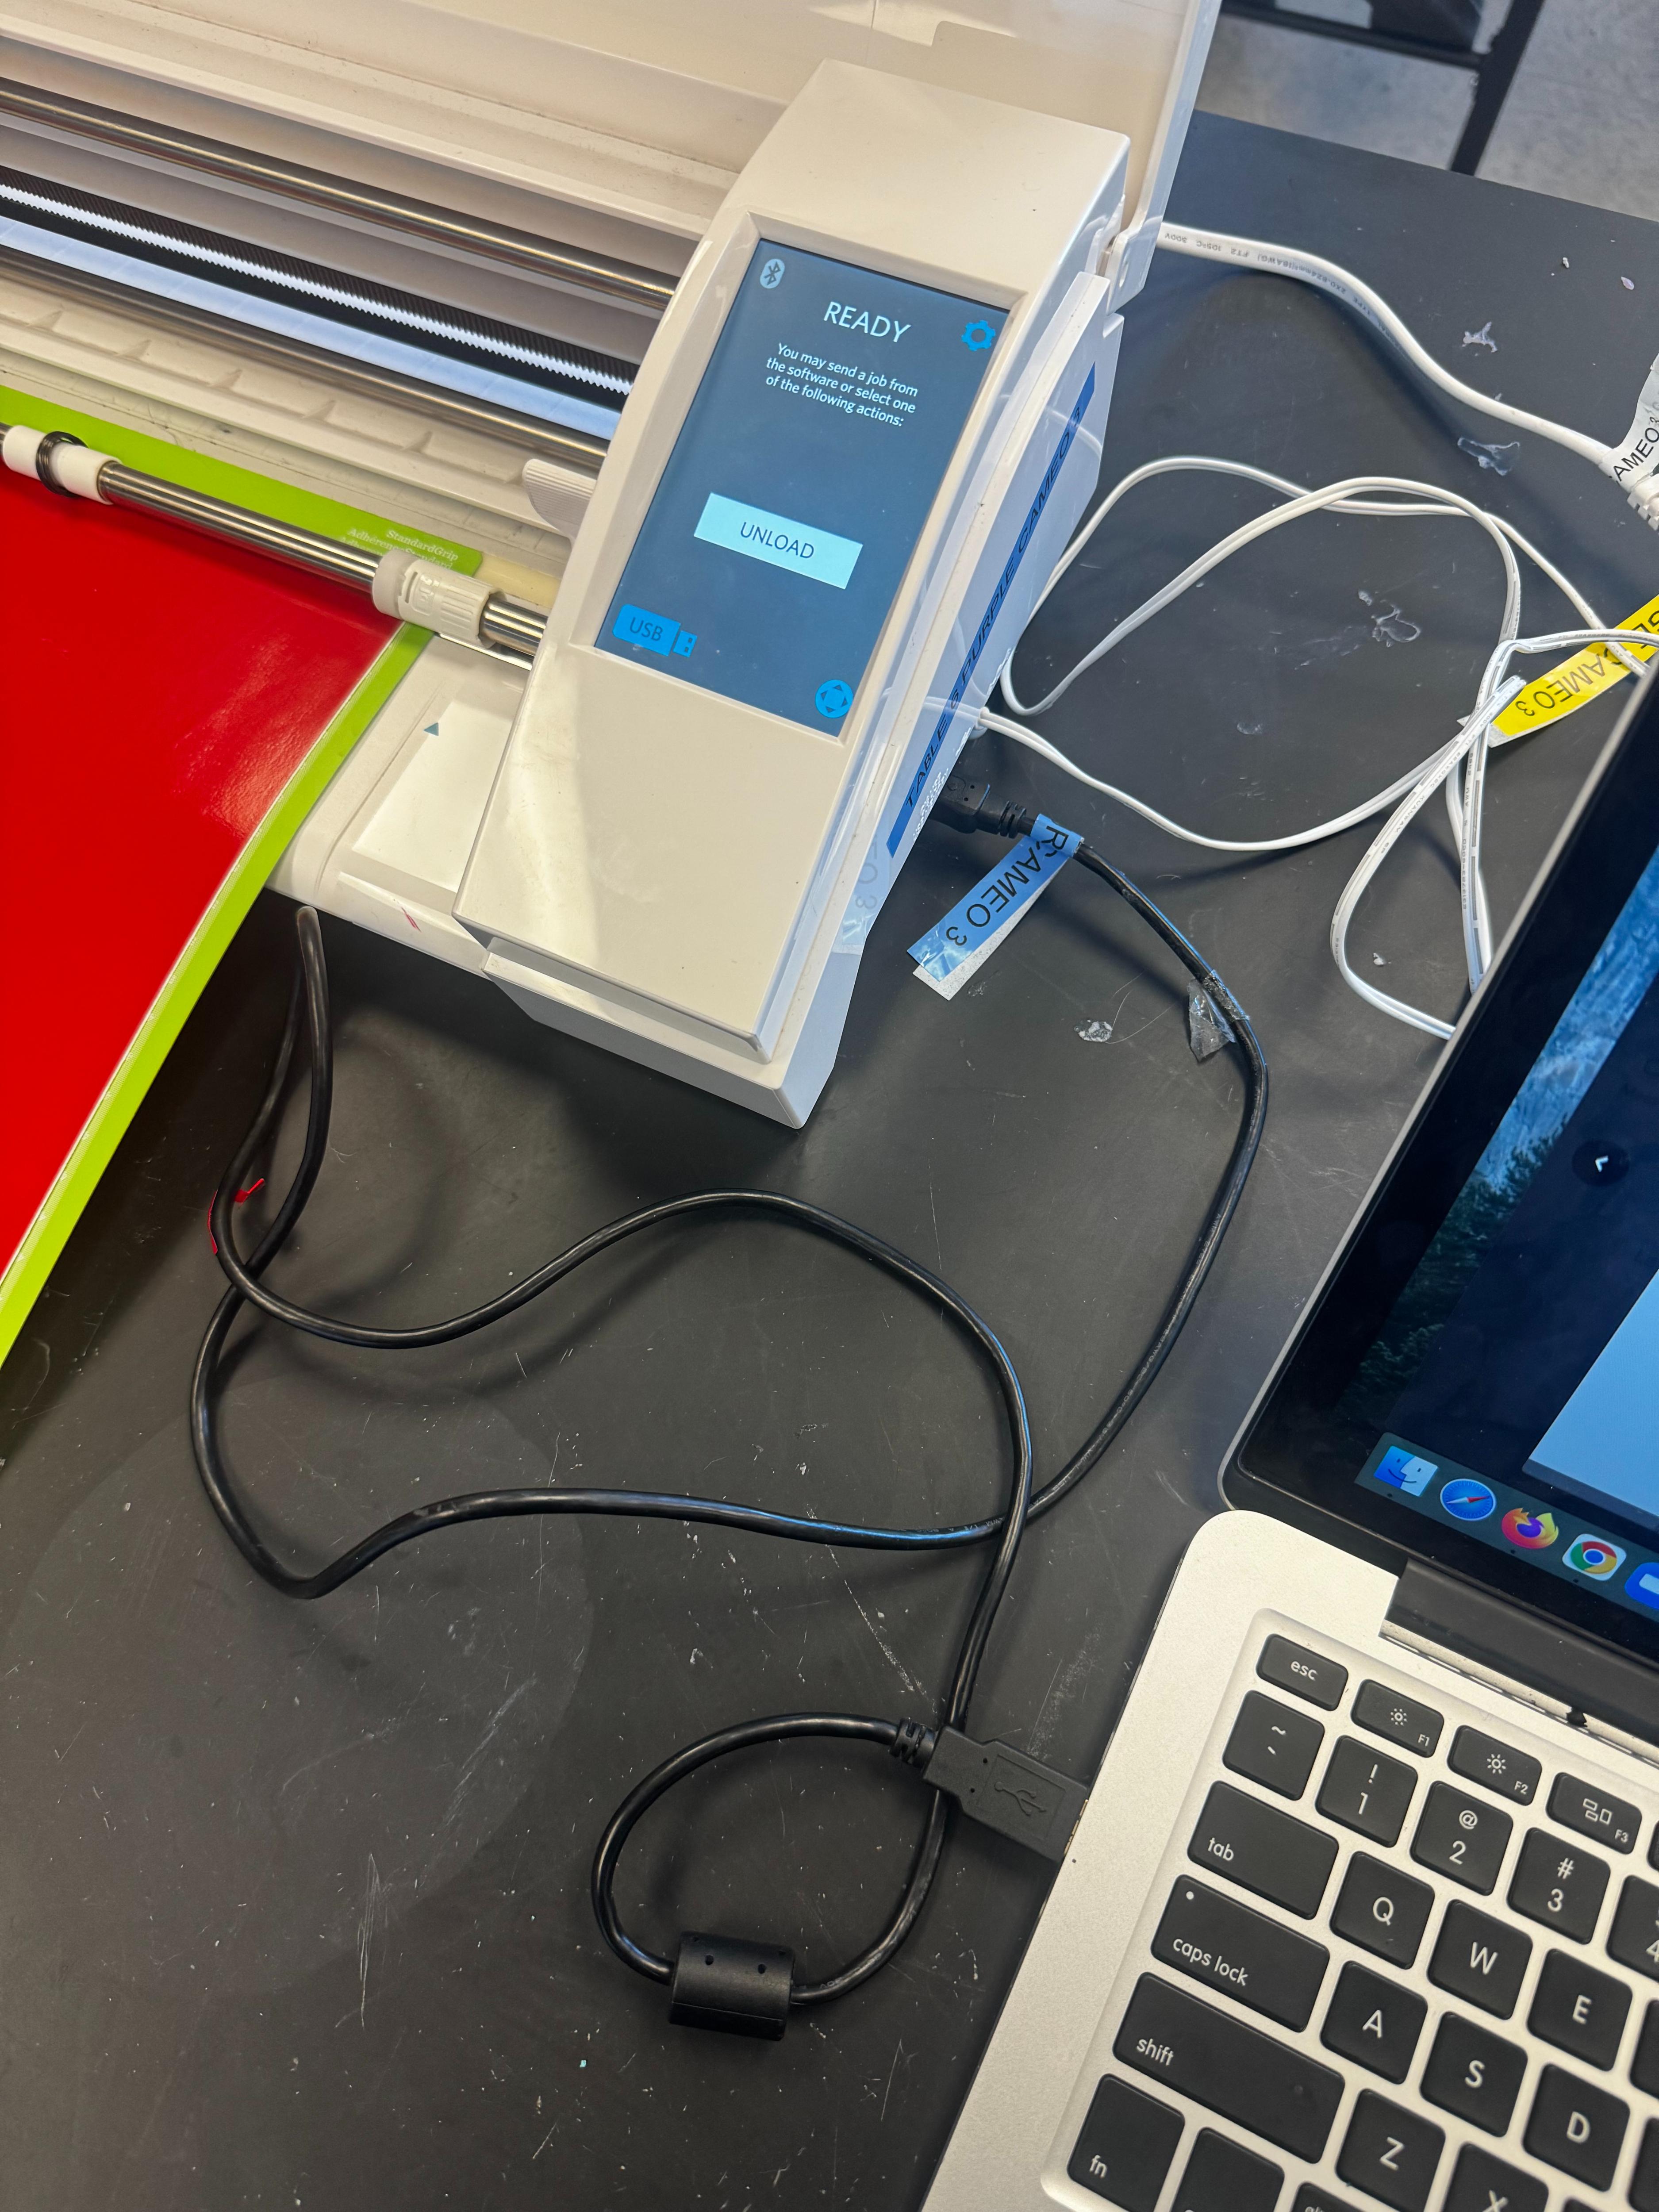
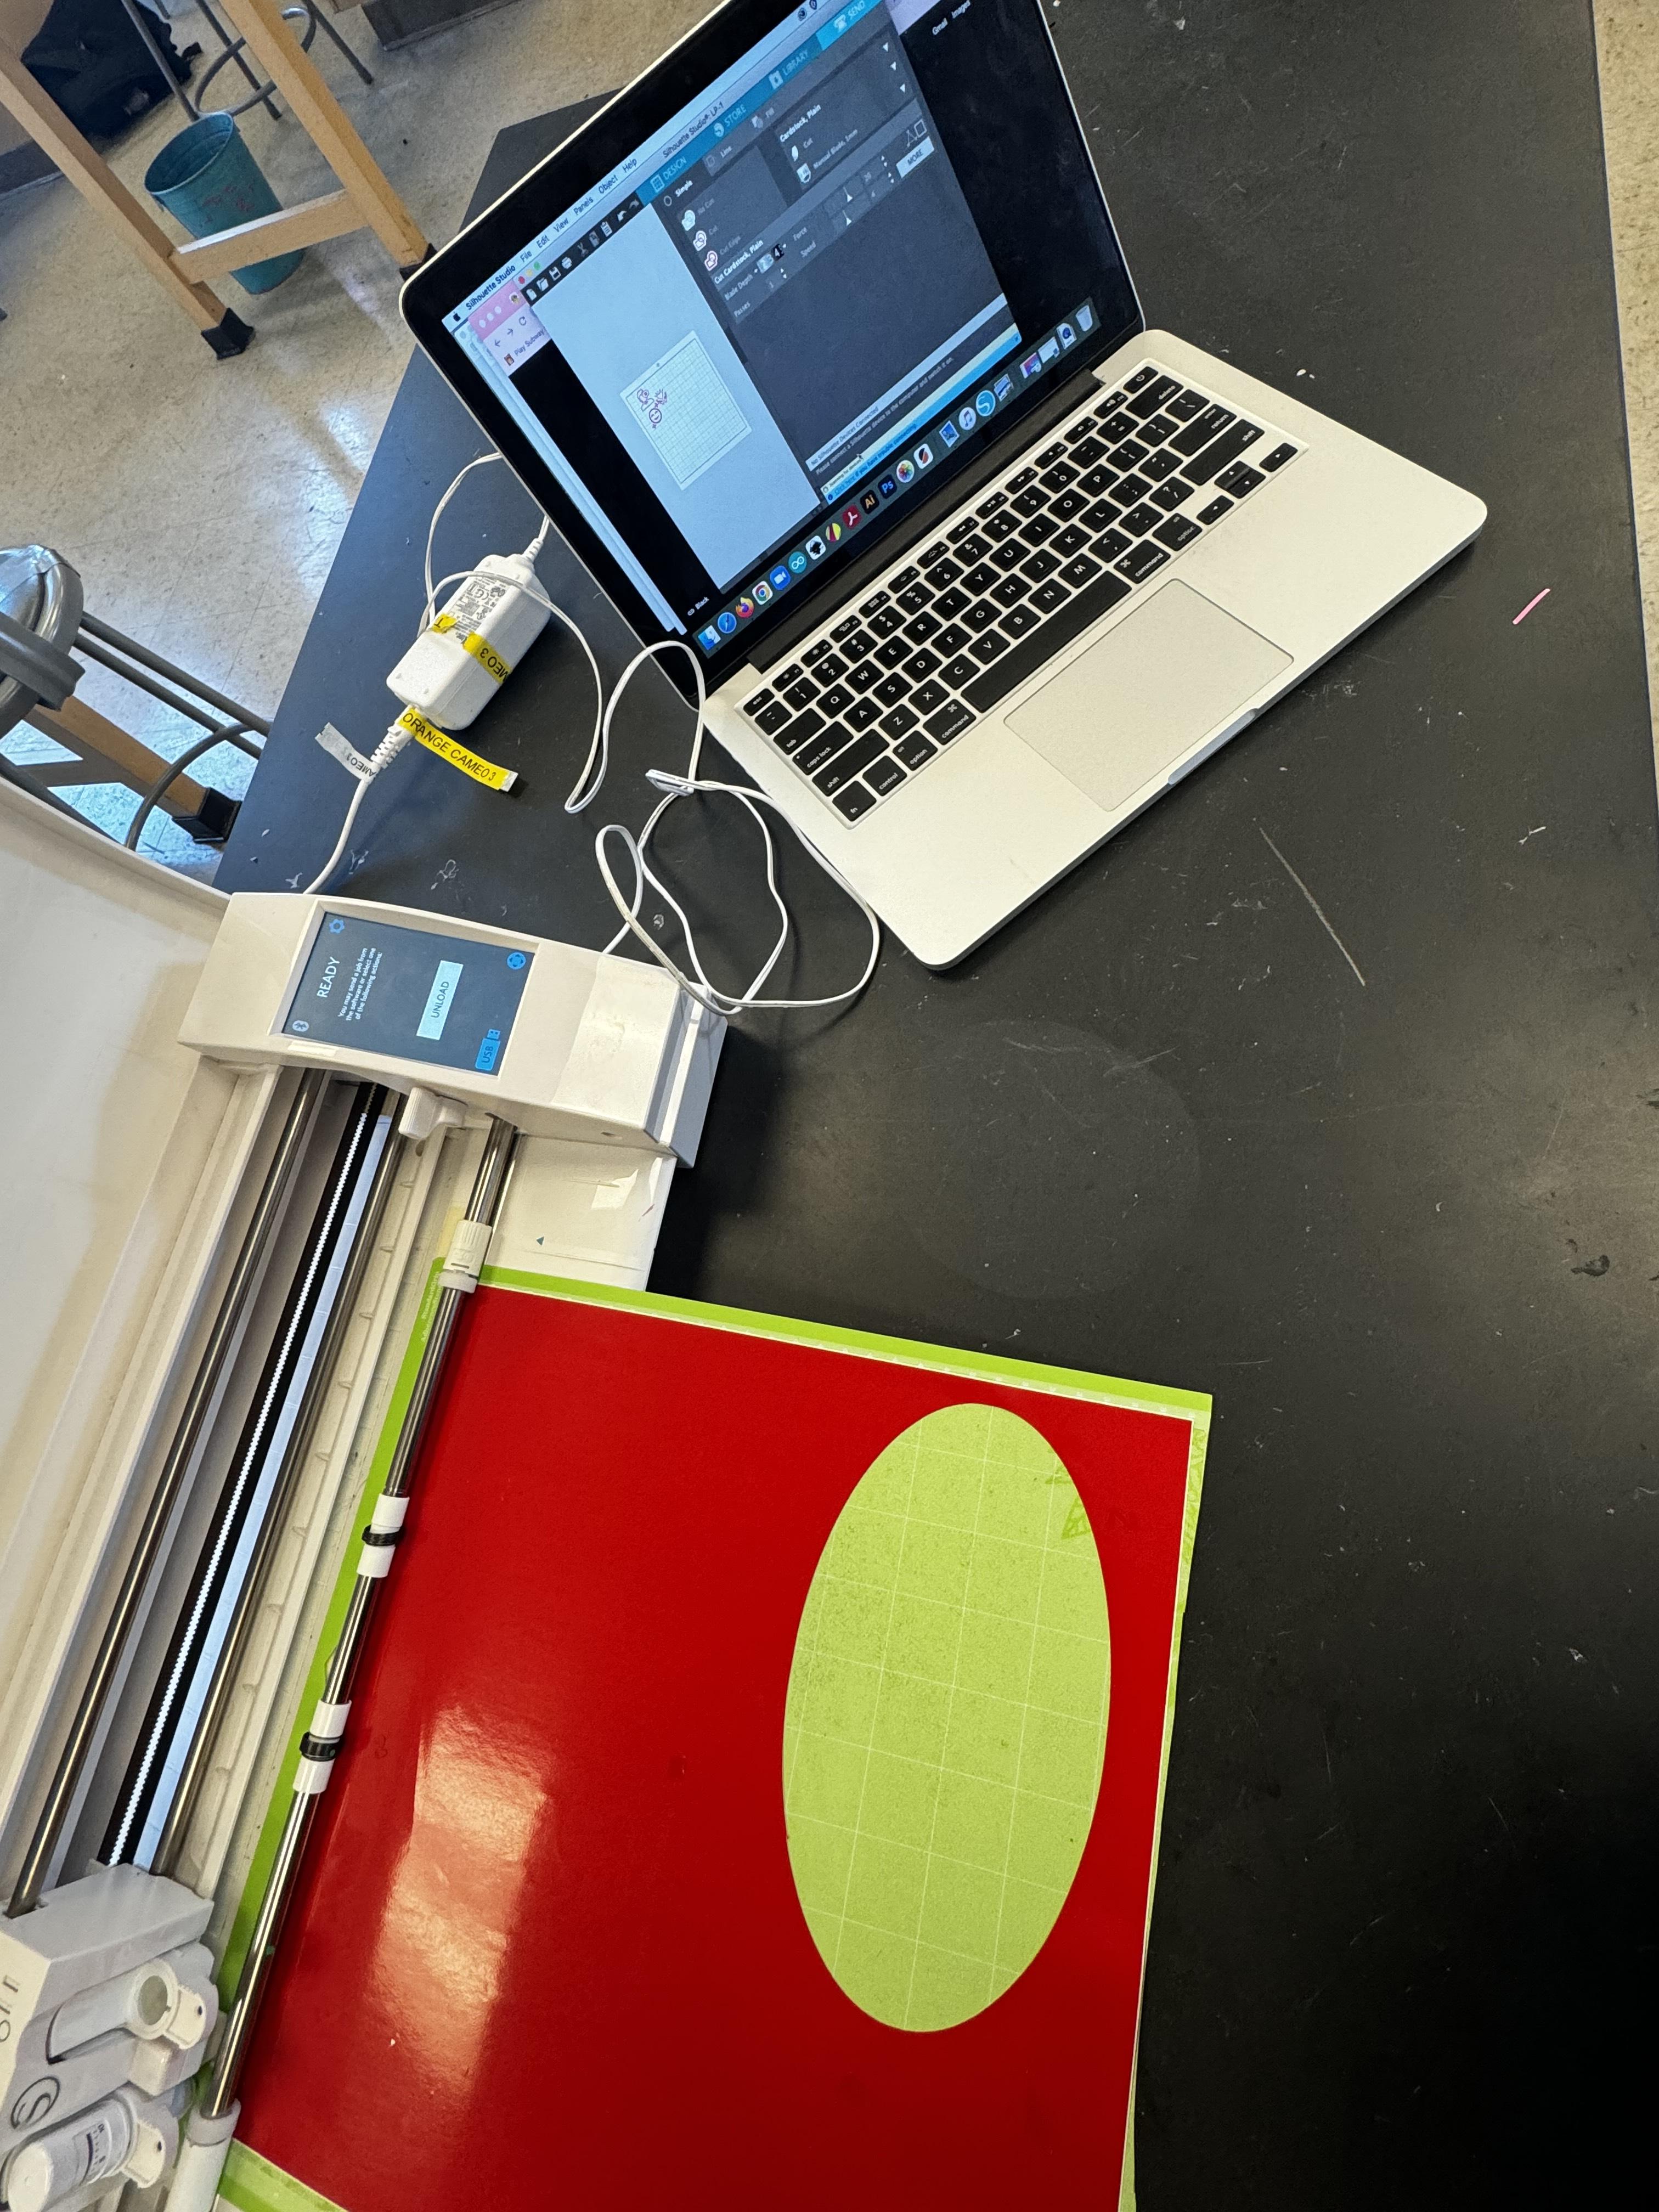
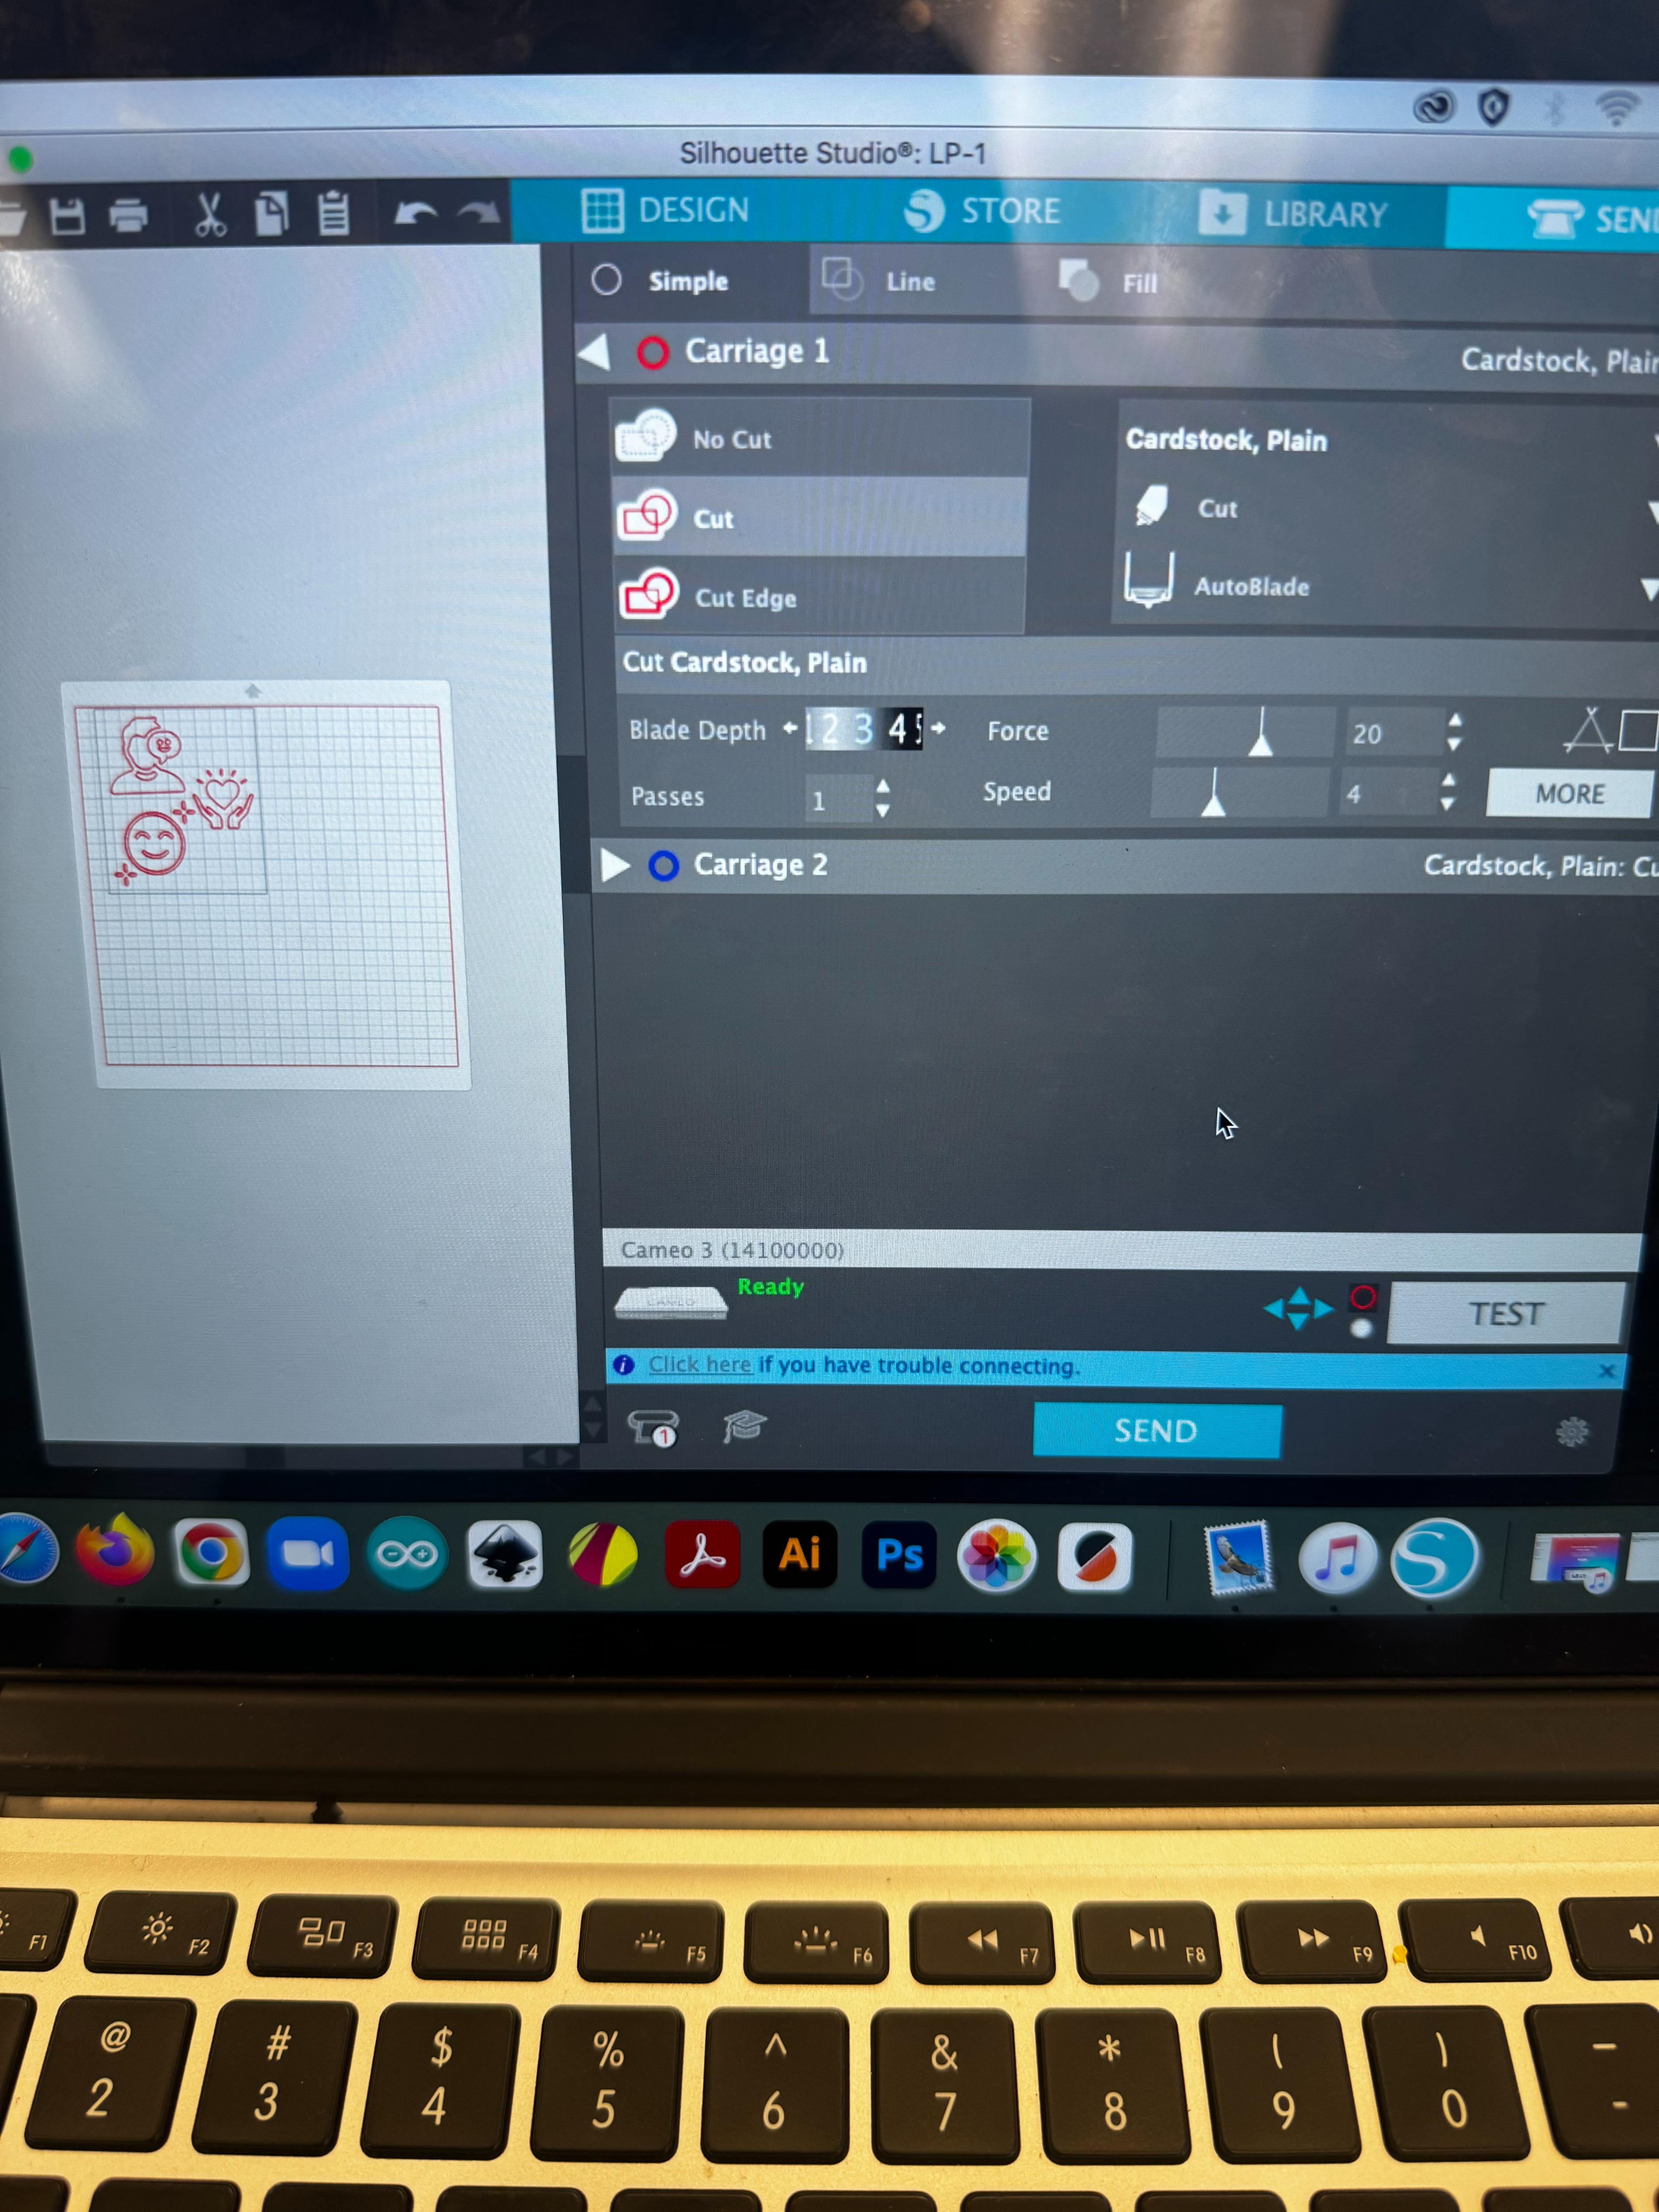
Go to the send option and press send, connect the cable to the computer and the machine now you just wait for the machine to finish transferring the sticker, the time it will take depends on how complicated your design is.
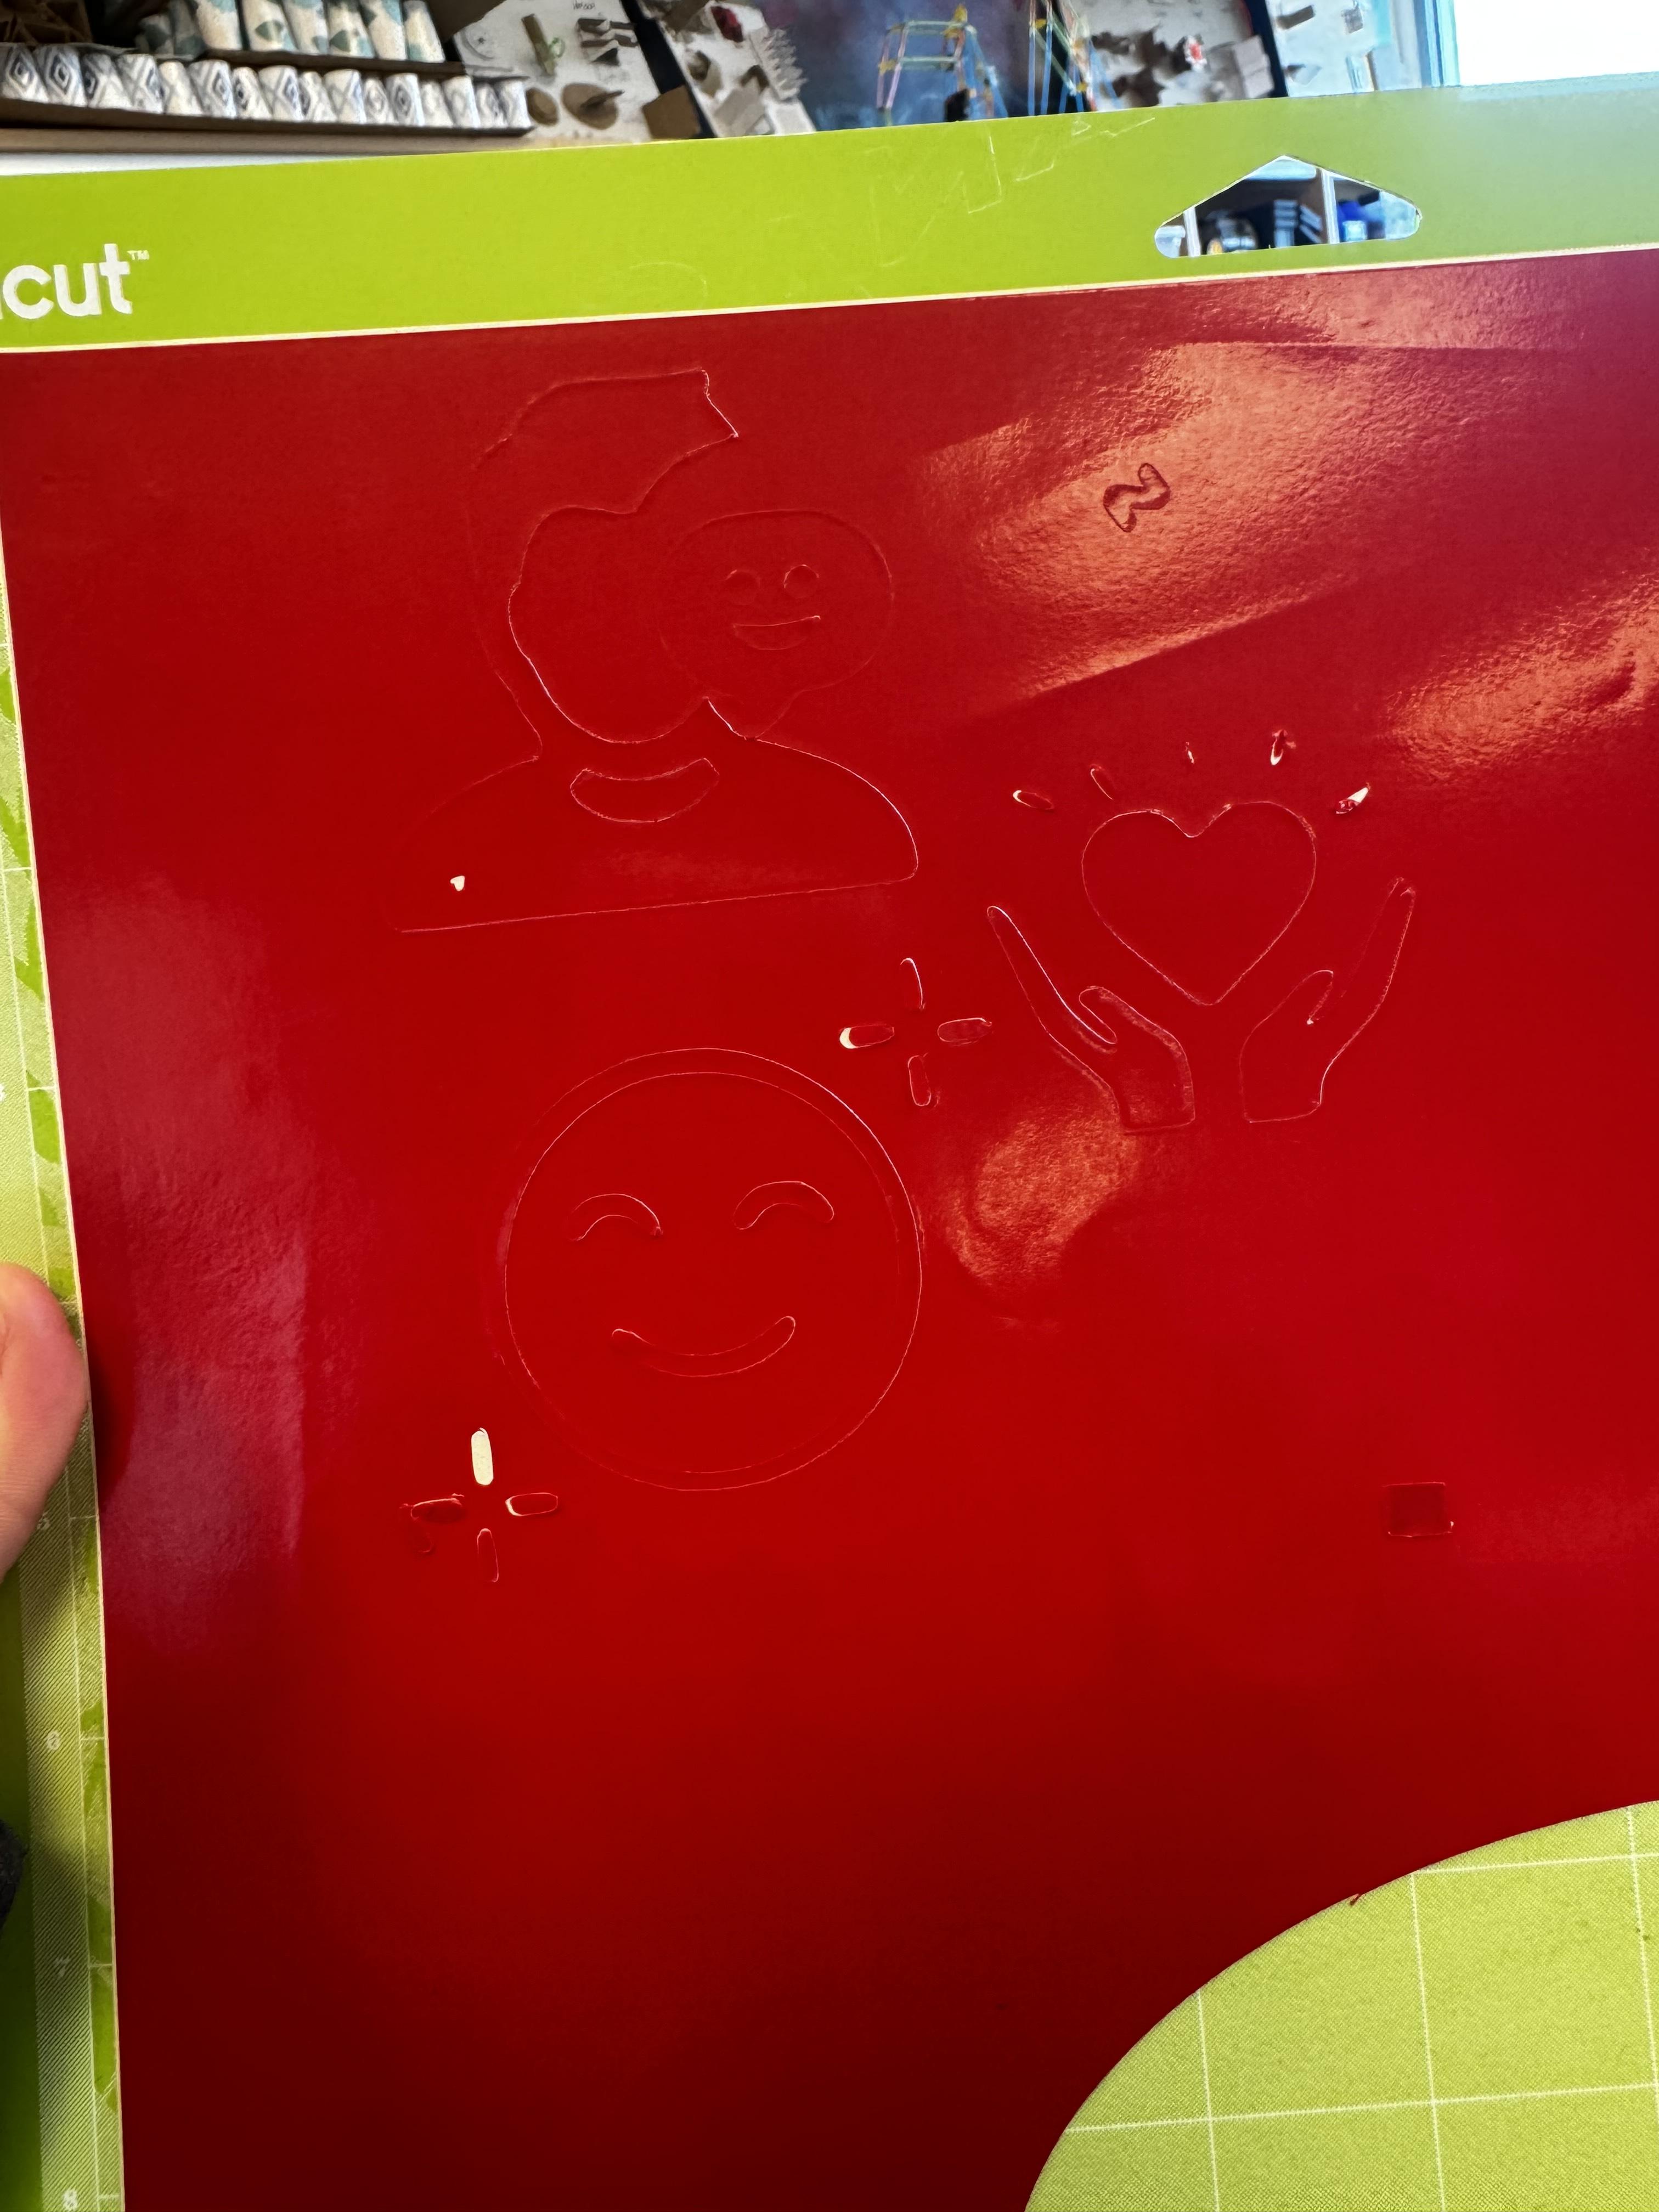
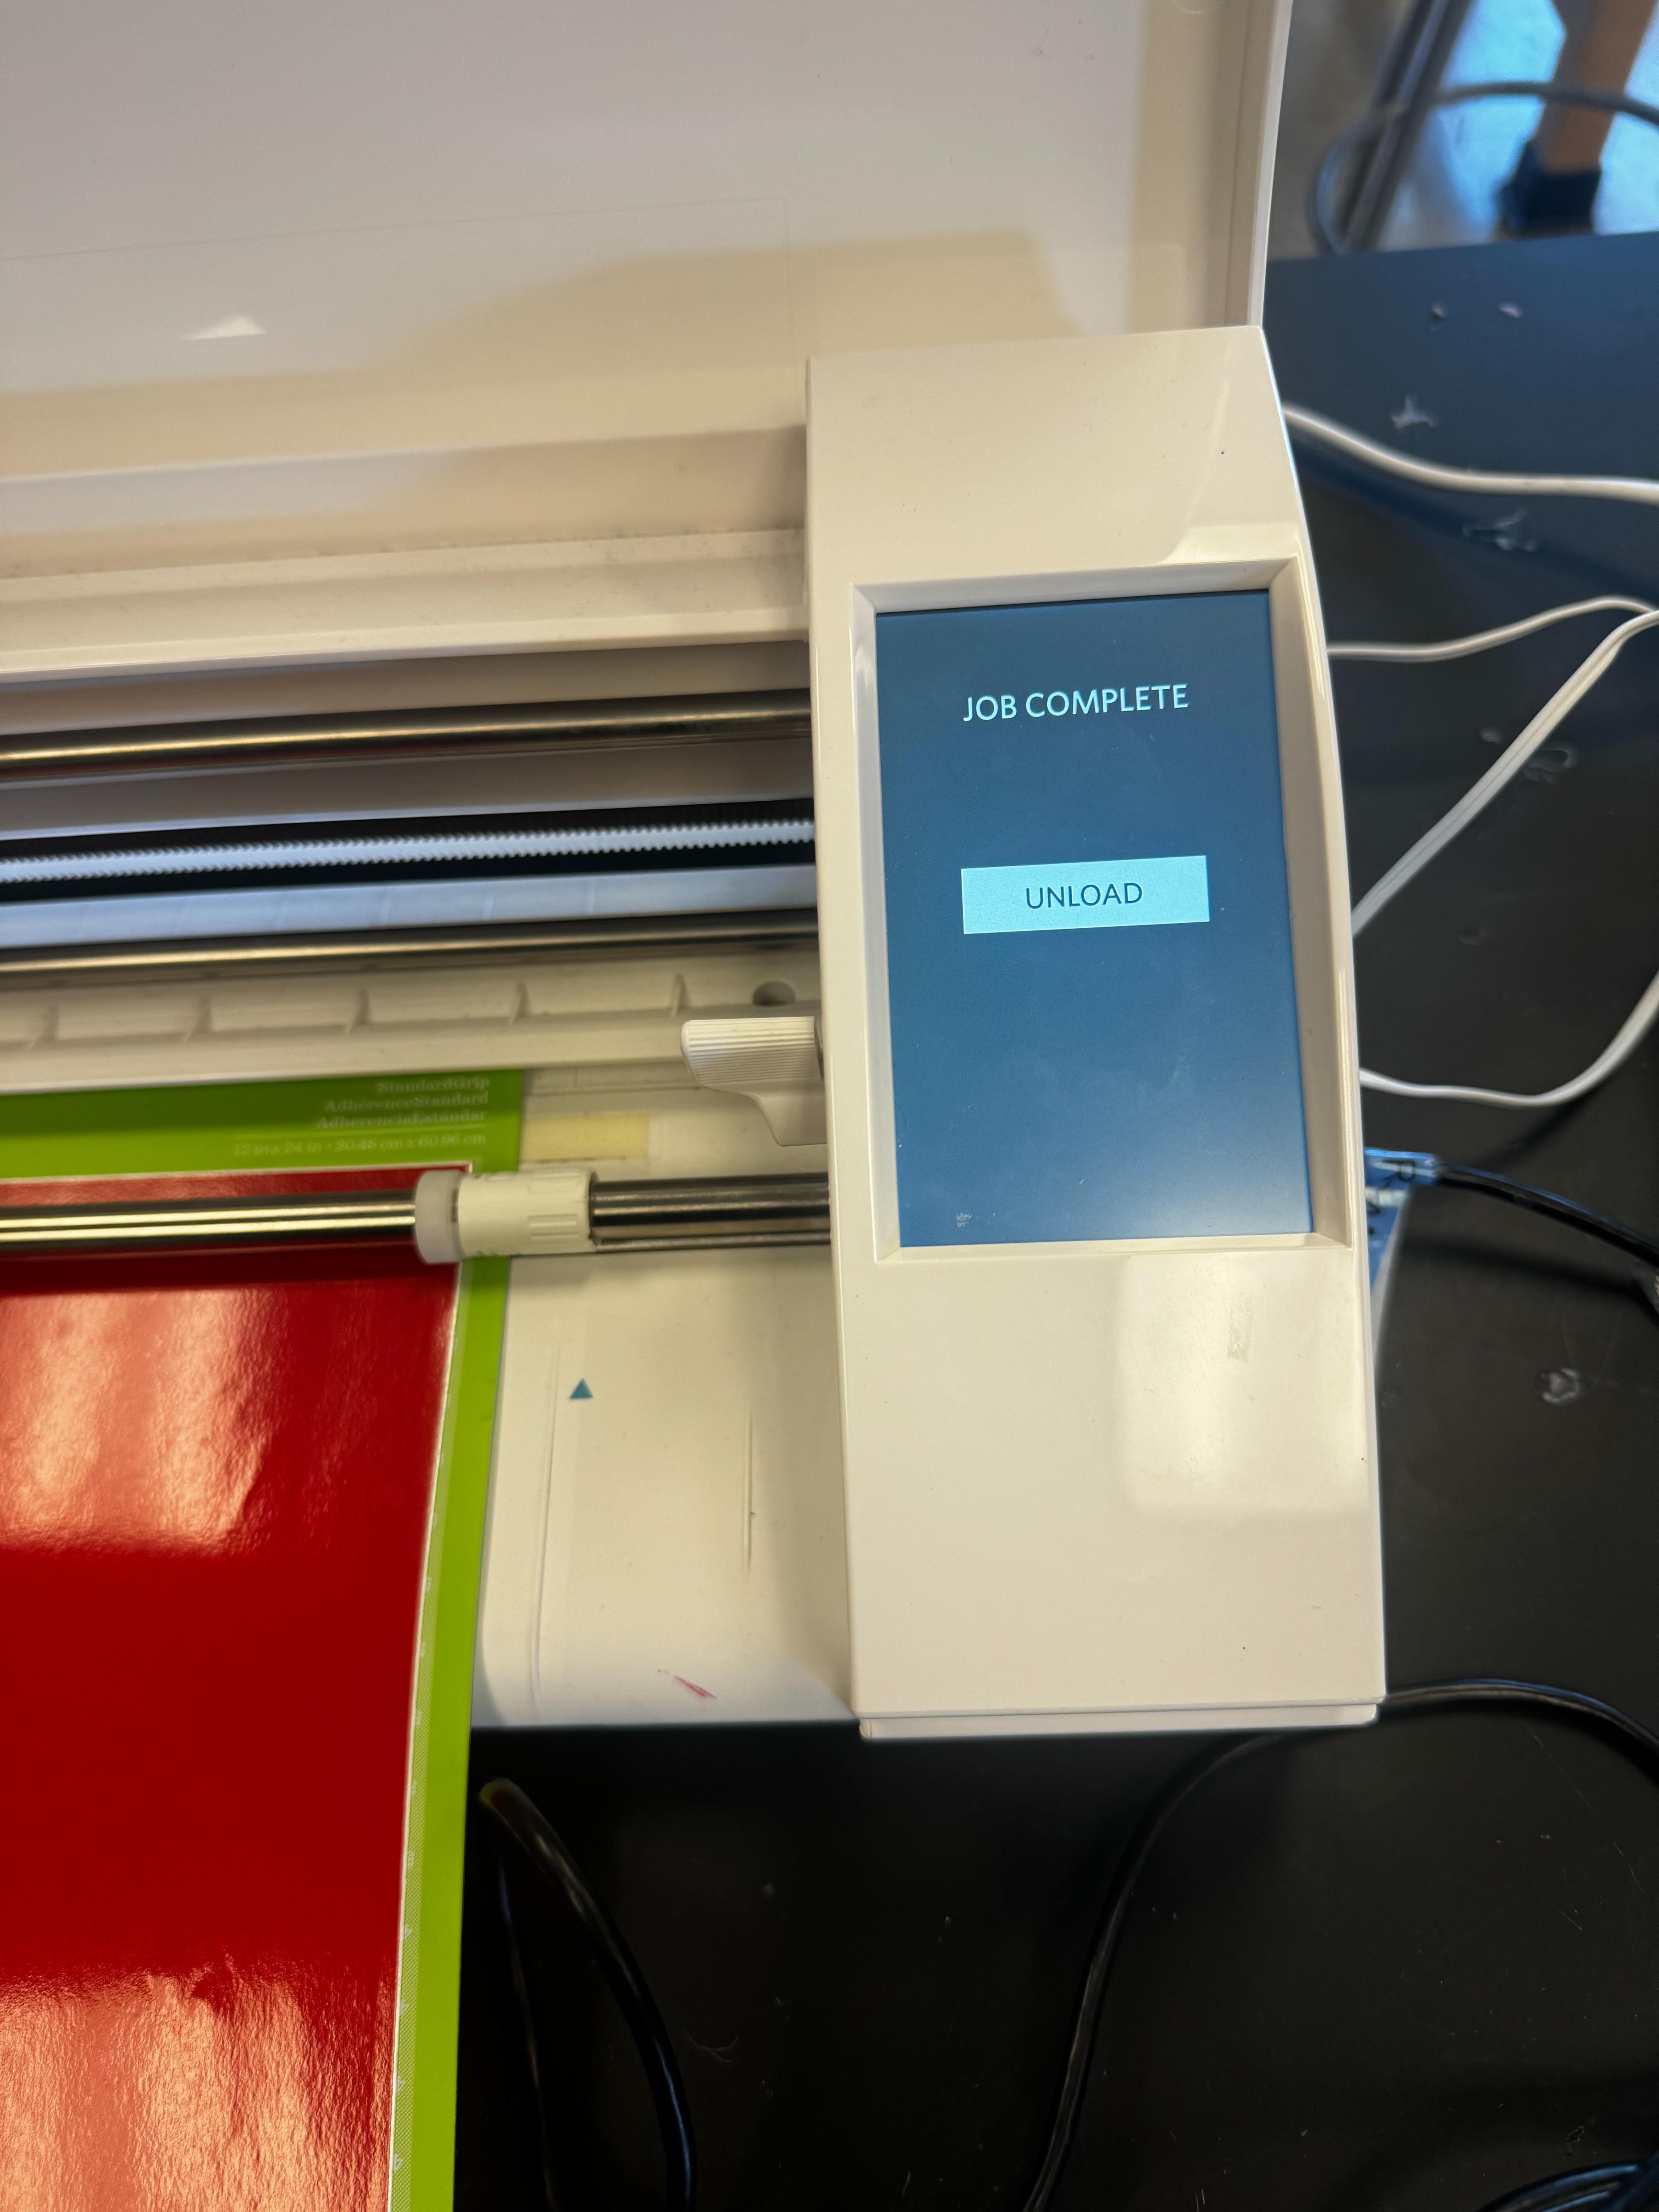
Click unload when the sticker is ready, you take it out and now it is ready for you to start peeling
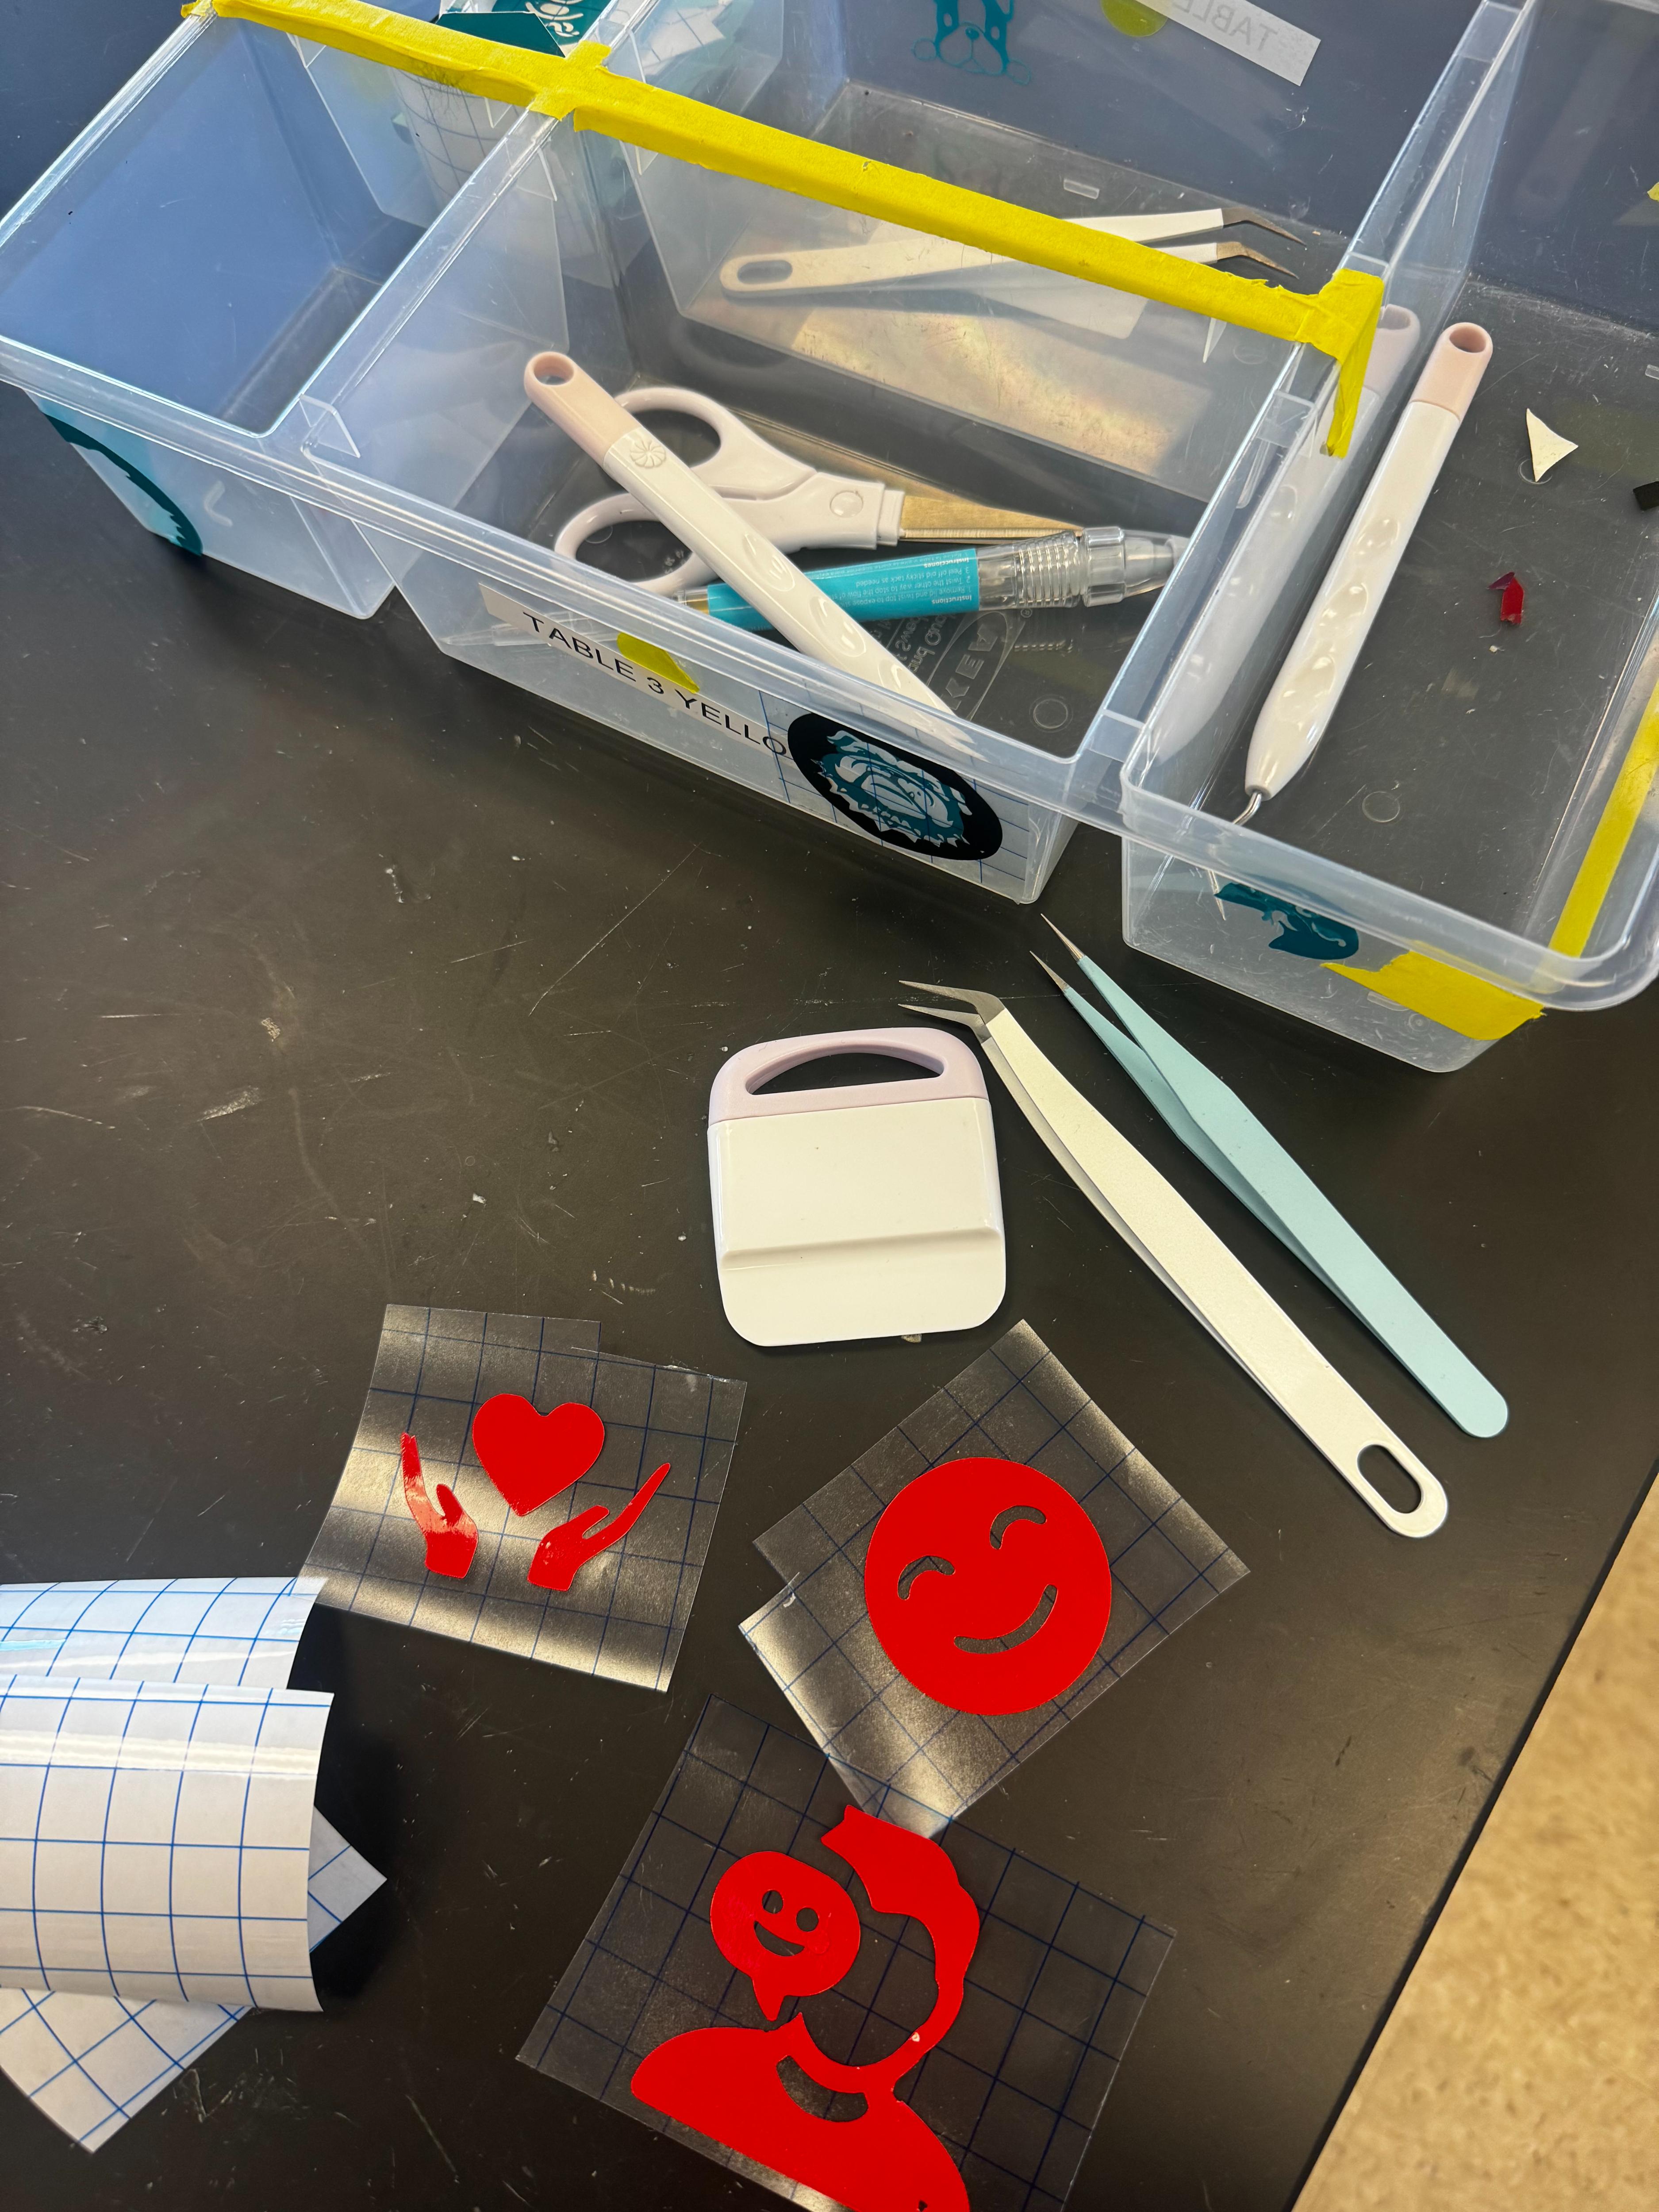
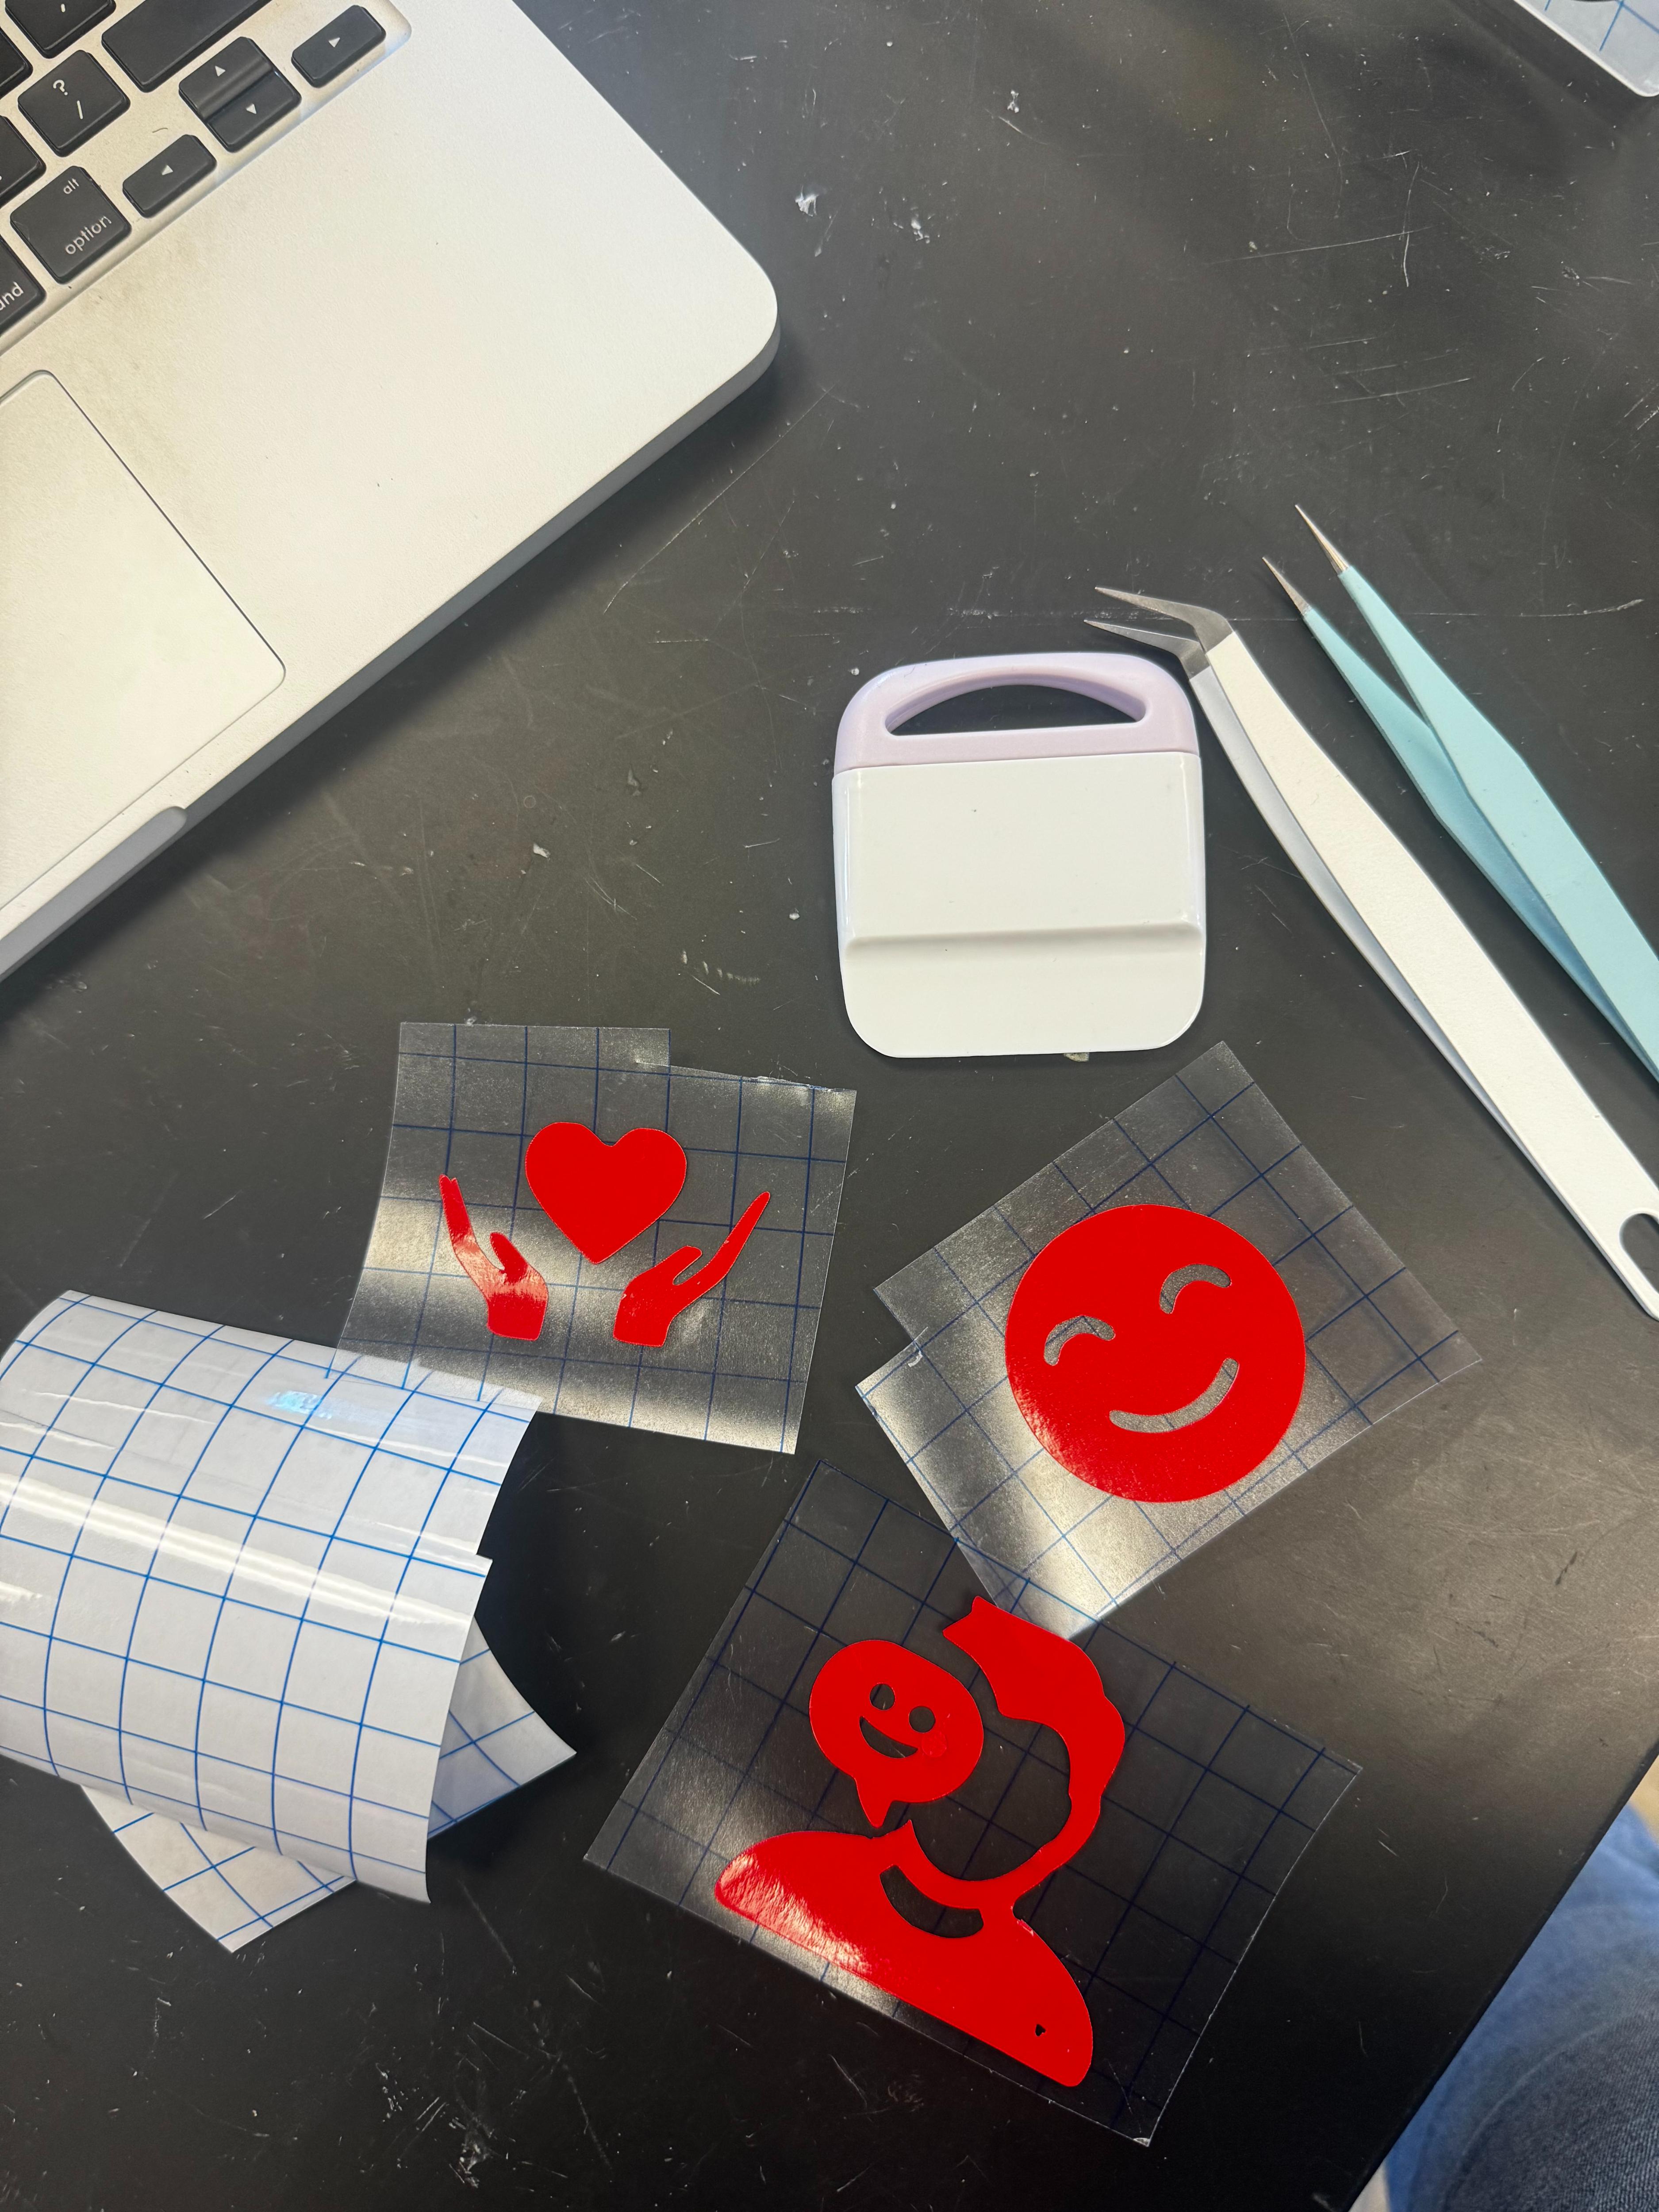
Now you can peel off the stickers and remove some negative spaces.
You will need some tools to do this once you have finished peeling, you need to transfer the sticker to the adhesive paper and thats it they are ready for you to stick wherever you want.