How to Make a Perfect Tiltshift-Photography
by lakrok in Design > Photography
362 Views, 6 Favorites, 0 Comments
How to Make a Perfect Tiltshift-Photography
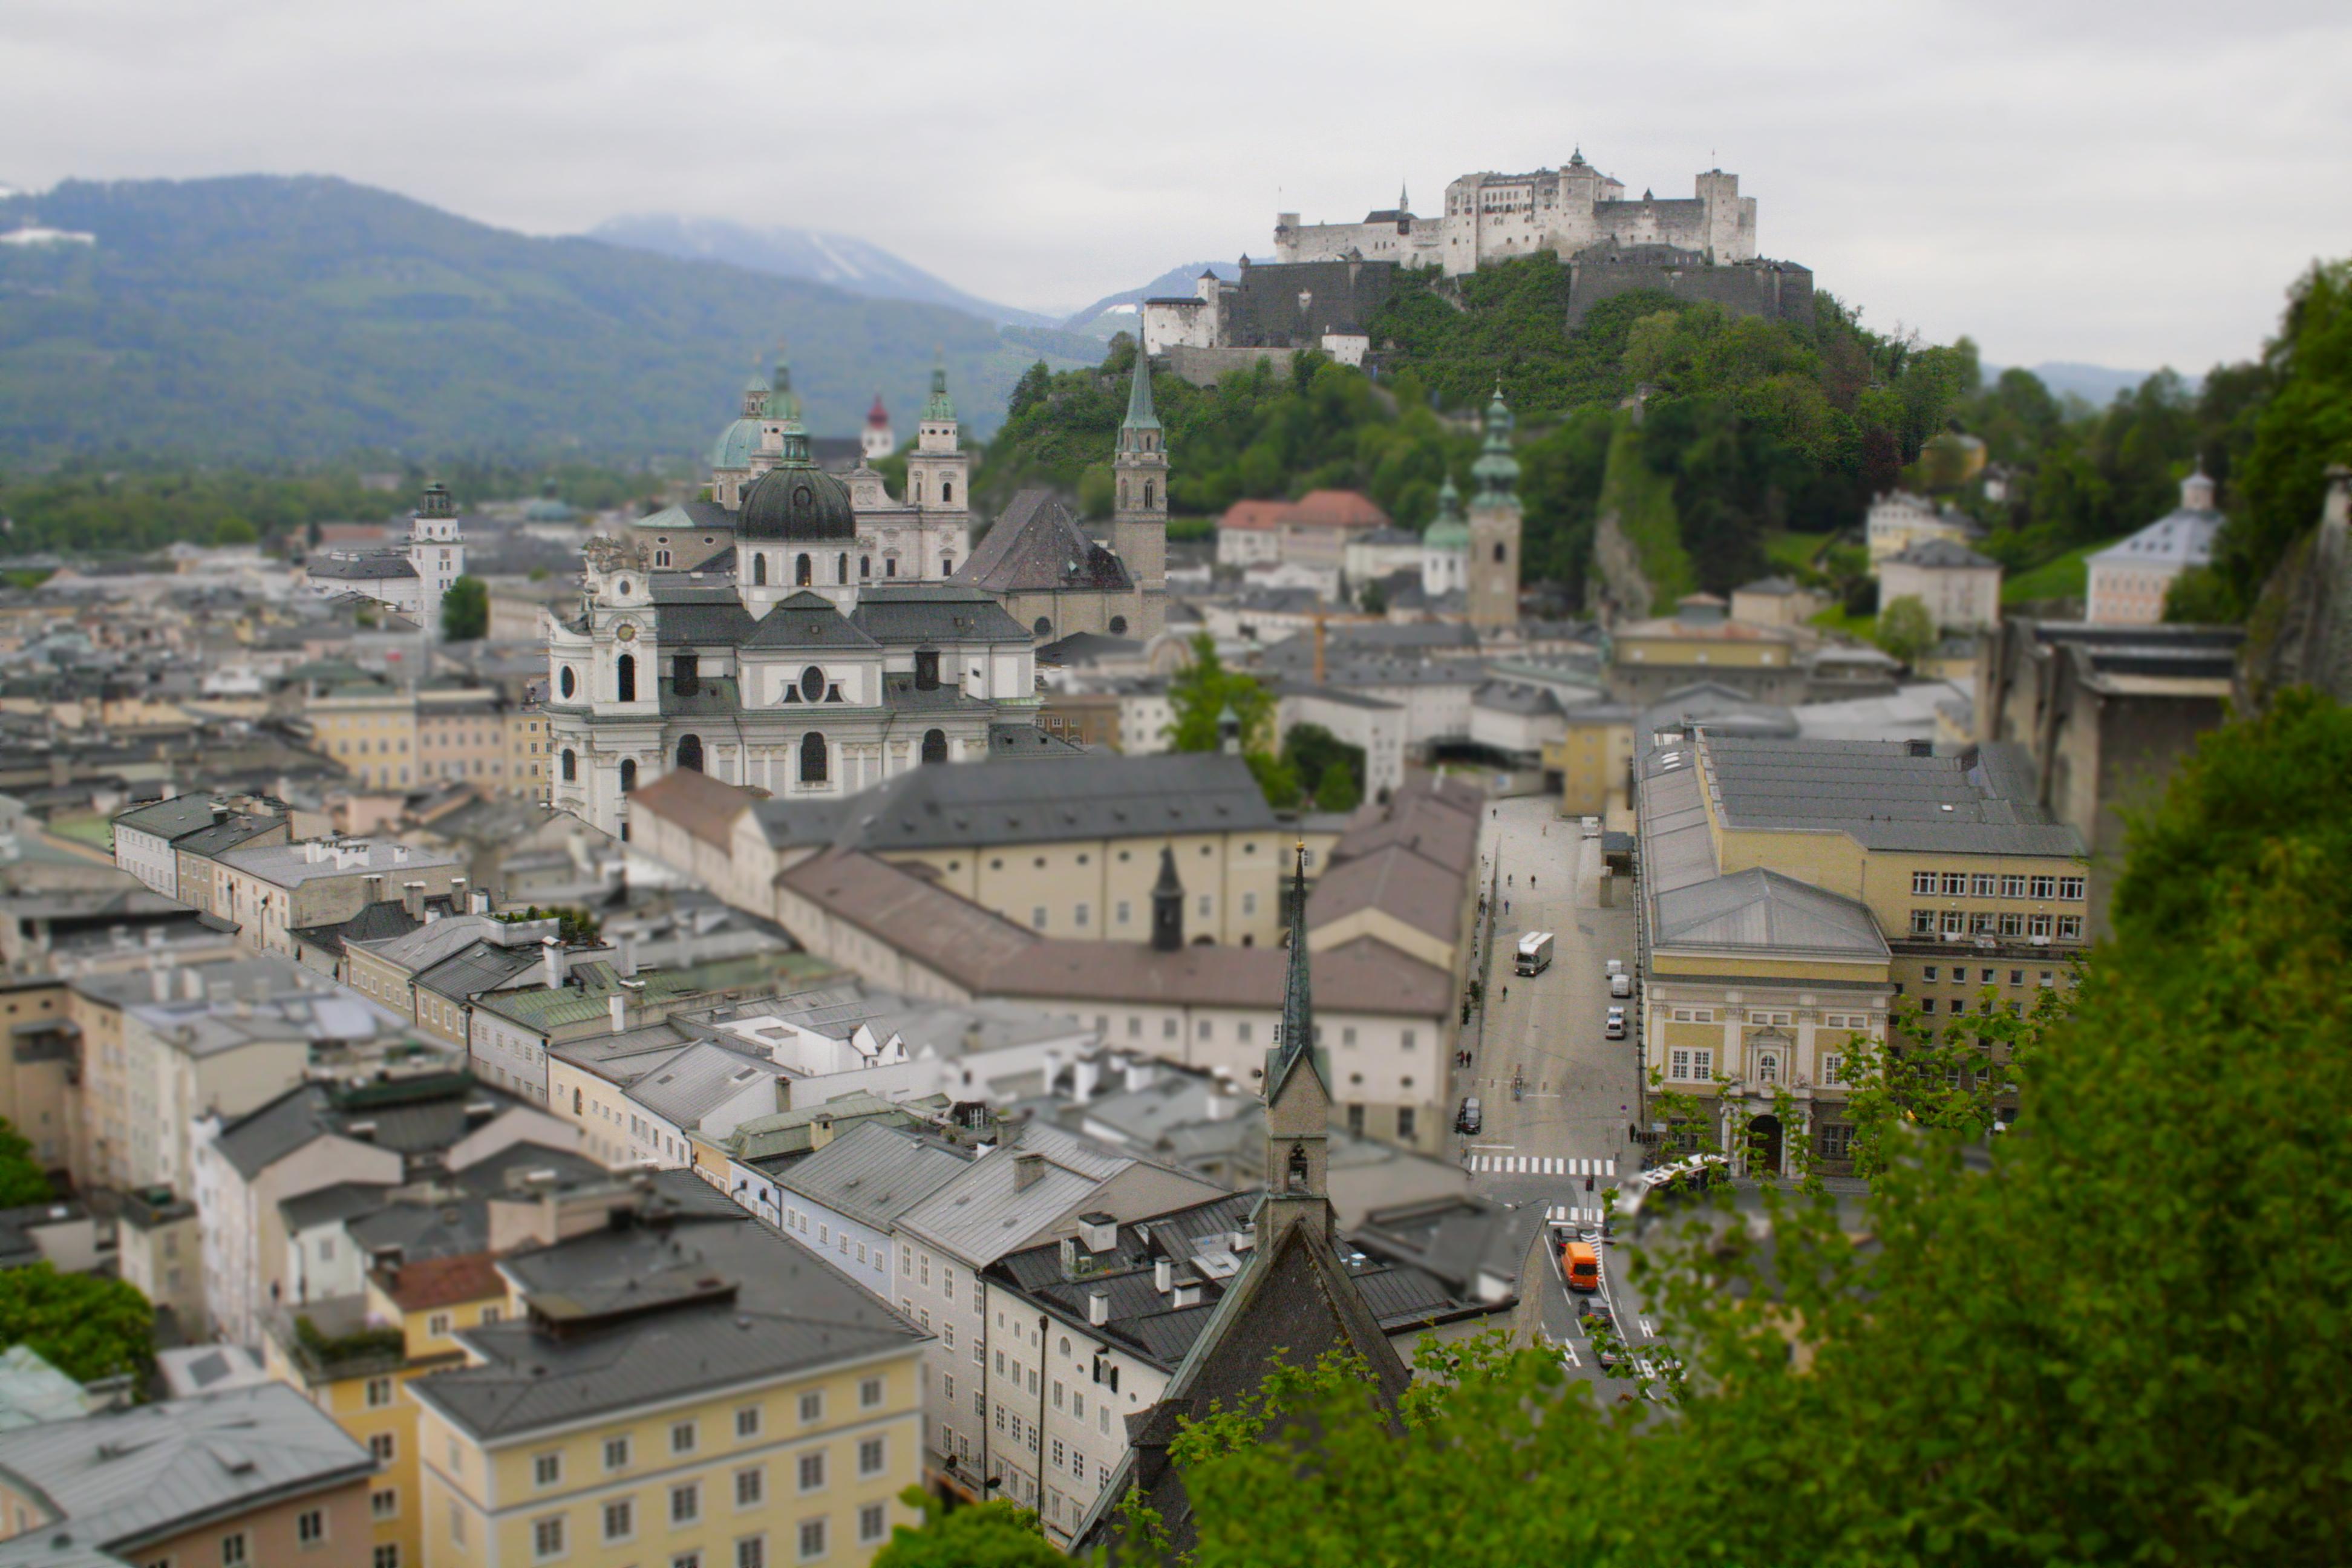
Tilt-shift photos are so popular because they are very easy to generate and can create a great effect. This type of photography involves presenting shots of streets, parks or buildings so that they appear as miniature objects. If the tilt-shift image is done well, it actually looks as if small figures from the model shop were being photographed and not real people. What do you need for that? Not much...
First things first: The photo must be taken from an elevated place so that the effect can really be seen in the photo-editing-software, e.g. Adobe Photoshop. The elevated location ensures that there are many different possible levels of focus and, above all, that they can be clearly separated from each other. If you were to take a photo in which the objects were all at about eye level, there would be different levels of focus, but they would always interfere with each other. So it's best to look for a high-rise building or a mountain as an elevated location.
If you don't have something like this nearby or don't have access to a high-rise building, you can also use a parking garage. They are usually freely accessible and the highest floor is perfect for a bird's eye view. What is photographed now is up to each individual. Intersections with cars and people on the road usually work well. But a park, a river or an old town with its half-timbered houses are also suitable for tilt-shift images. It is important that the recording is sharp afterwards. If you are photographing moving cars, trains or motorcycles, a short exposure time is mandatory.
Expert-Tipp: Images that have an infinite horizon, such as those by the sea or those that show the sky, should be avoided. This reduces the tilt-shift effect.
Supplies
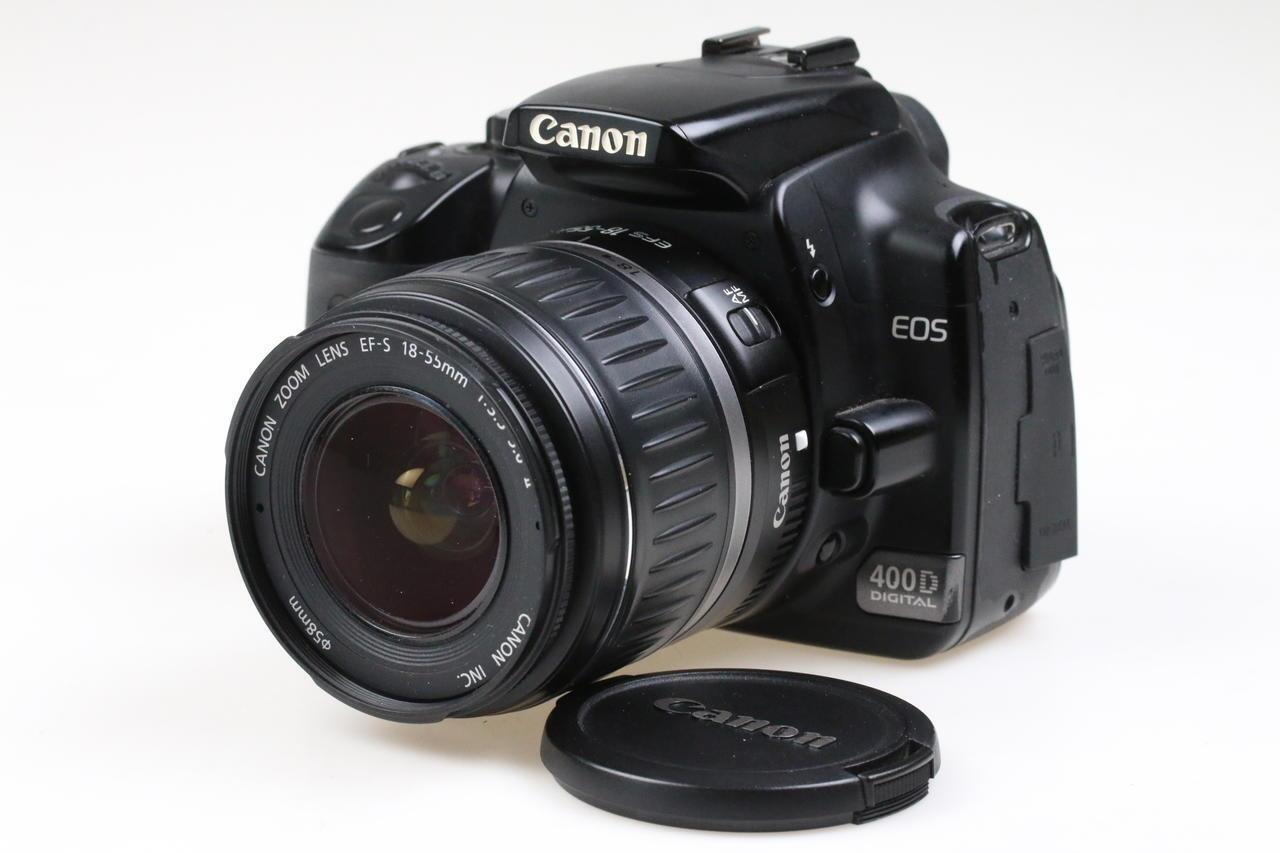

- Canon Eos 400D or a similar SRL-camera
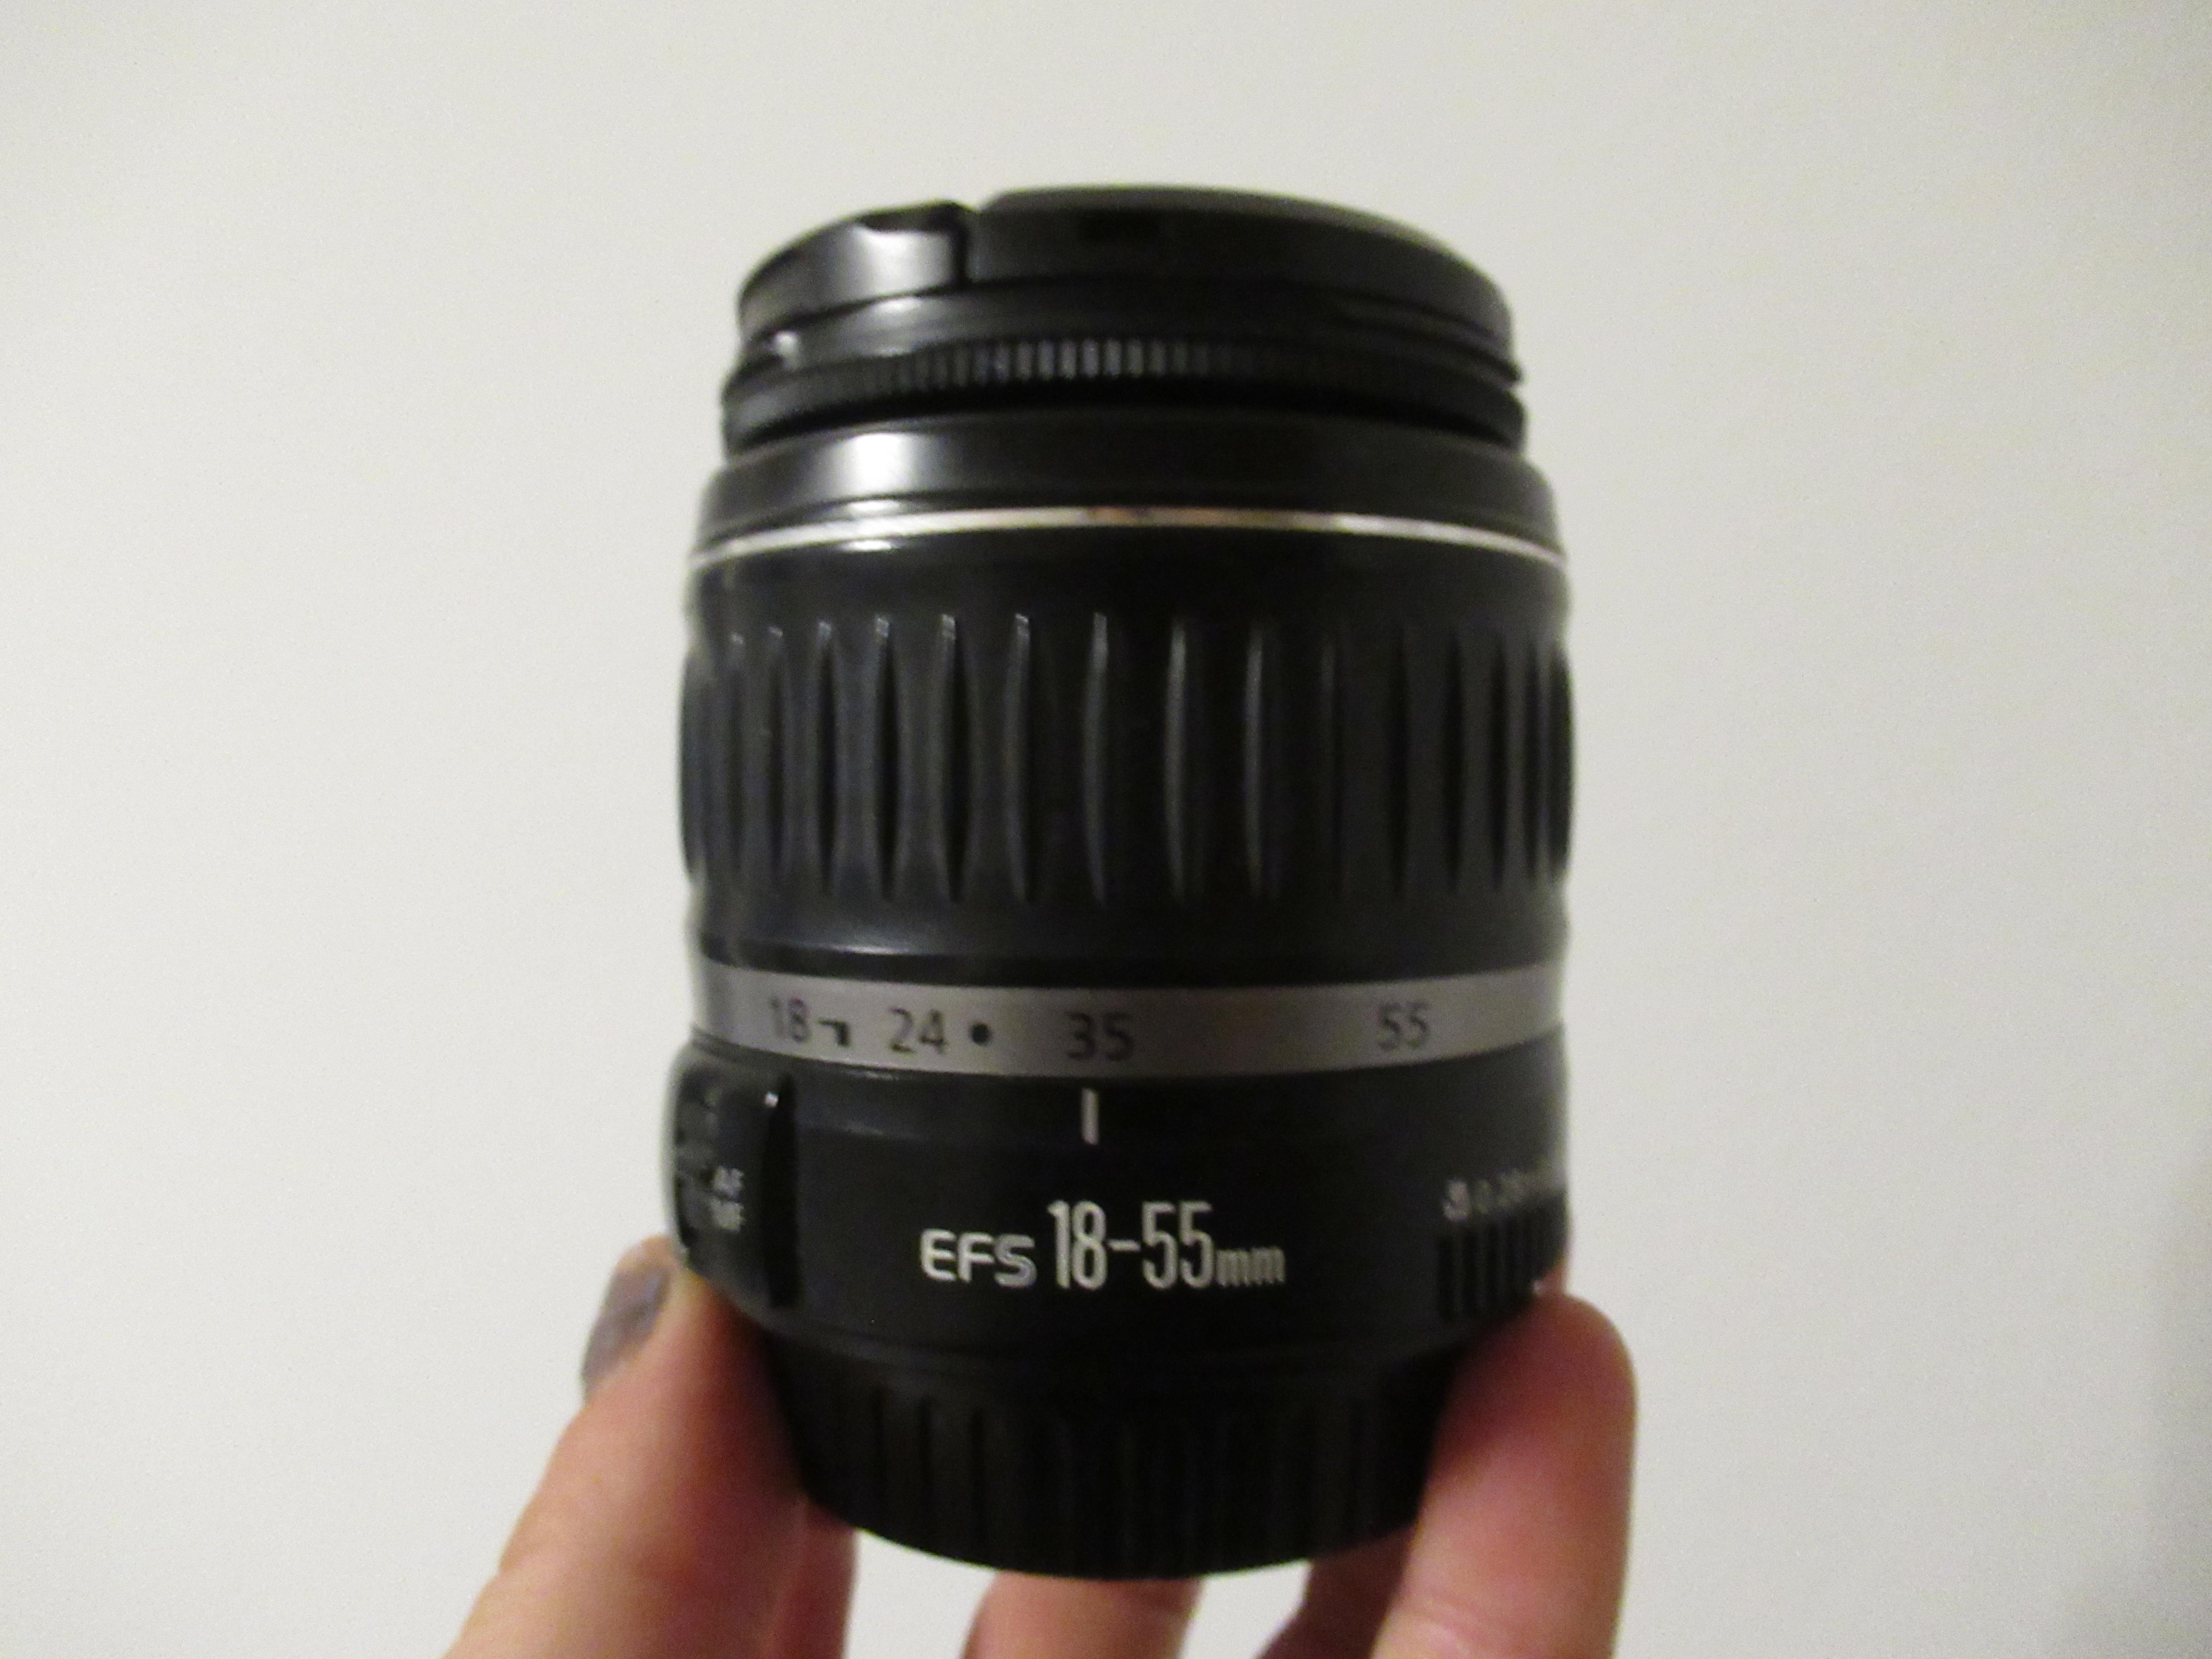
- An standard objective lens (commonly 50-80mm)
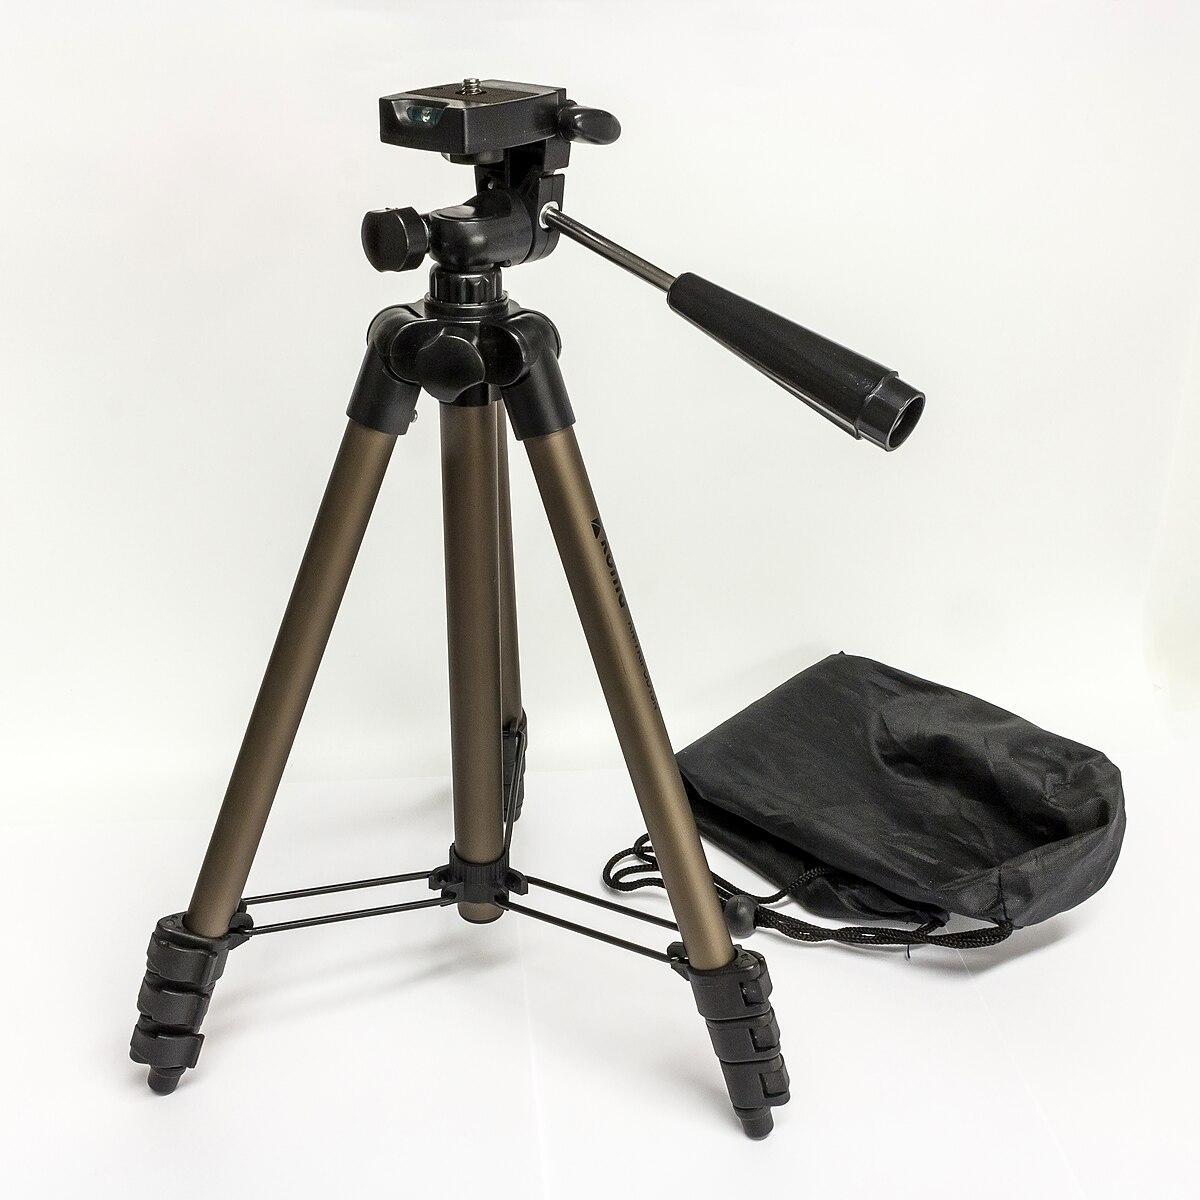
- Tripod, optional
- A photo-editing-software-program of your choice
Prepare Photo
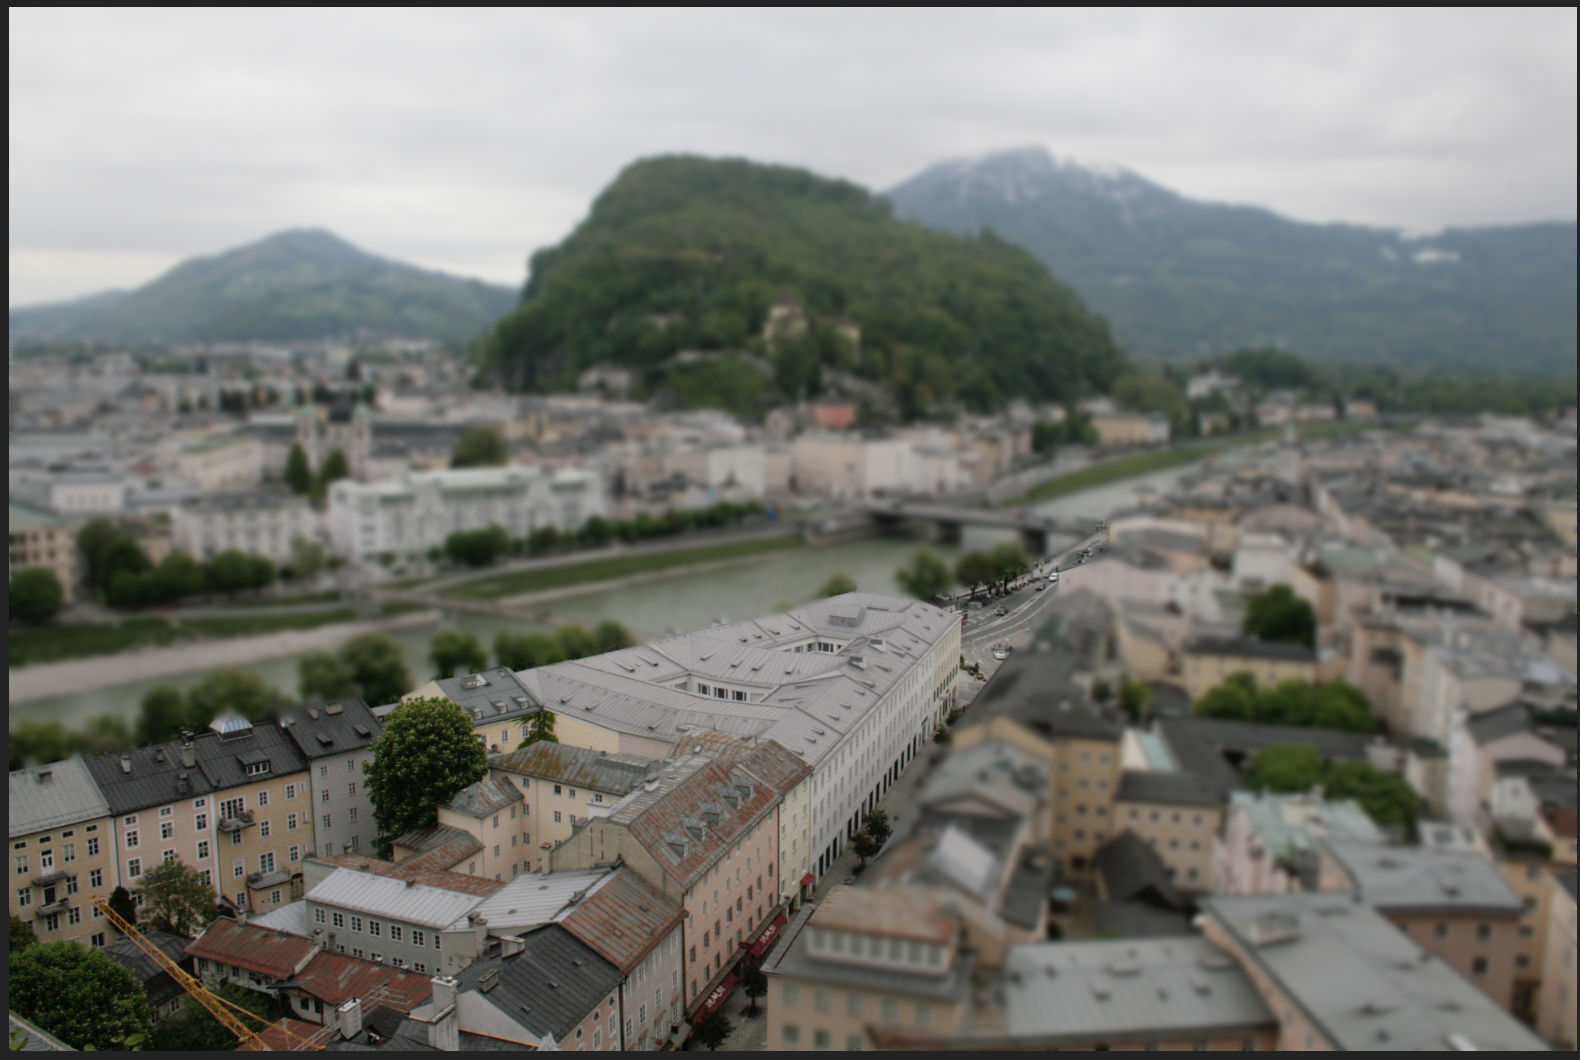
When the image comes out of the camera, there are a few basic editing steps you should take first. On the one hand, the tilt-shift effect becomes stronger if the contrast as well as the saturation and dynamics are increased slightly in Lightroom. This promotes the toy effect, as model cars are usually very colorful. In addition, it makes sense at this point to adjust the exposure and the cropping.
Add the Blur to the Tilt-shift Shot
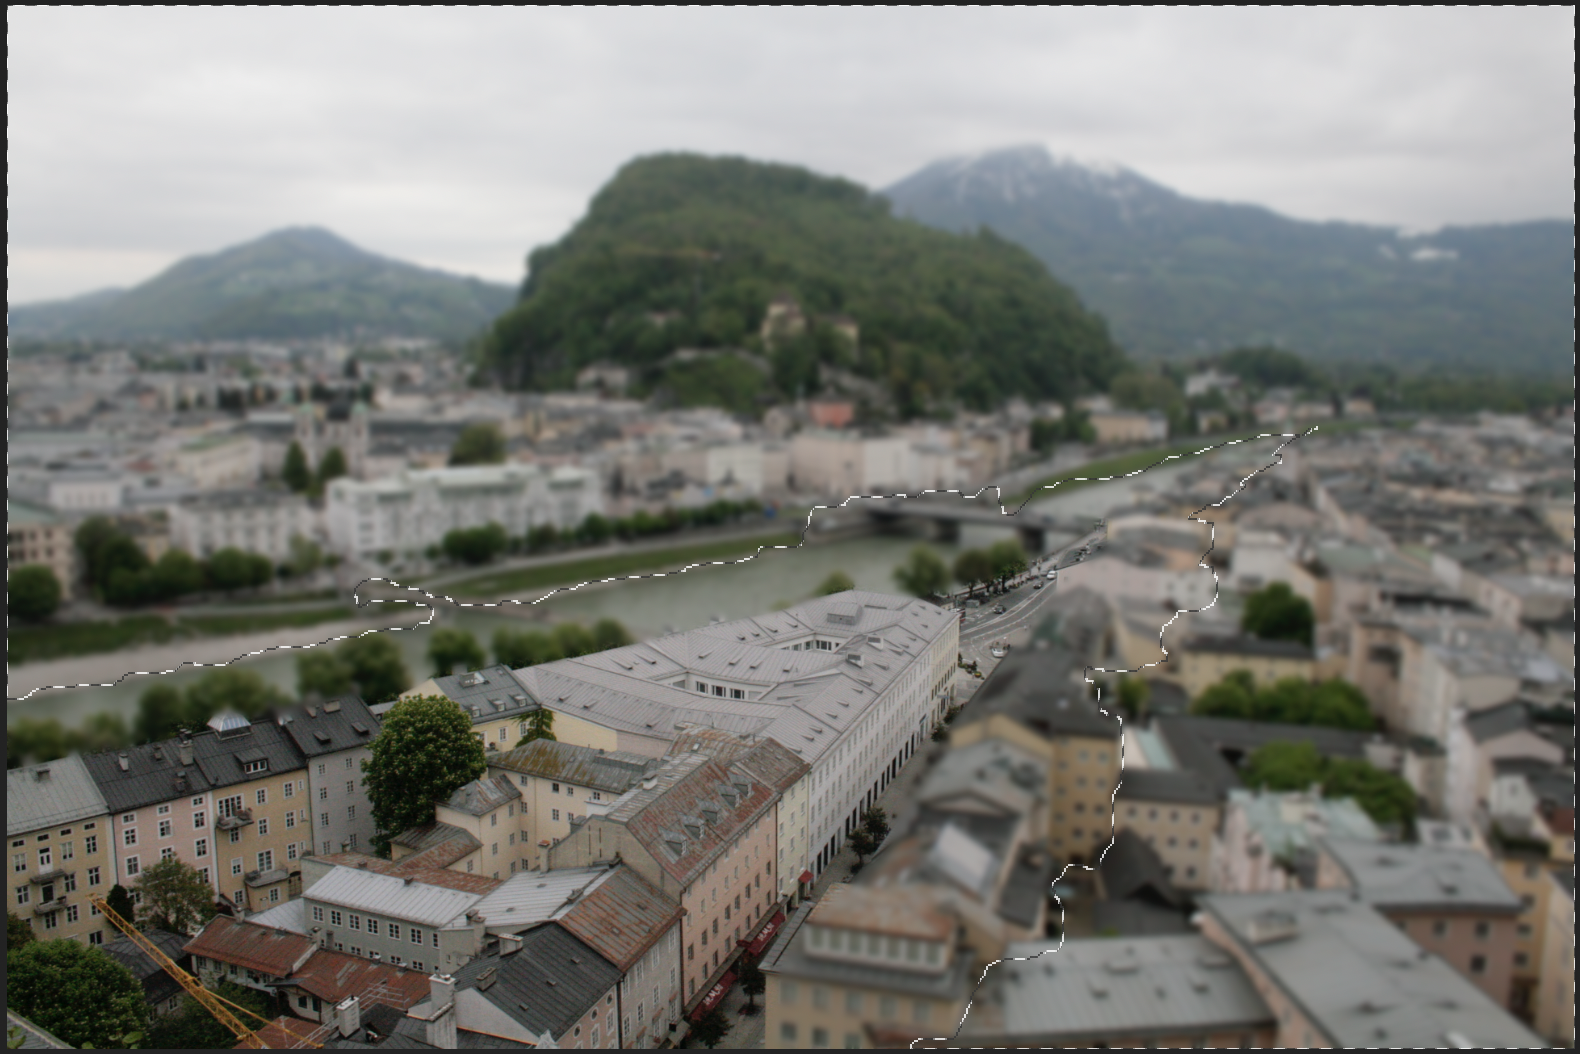
The toy effect is primarily caused by the intentional blurring of many parts of the image. This can be easily adjusted in Lightroom using the clarity and sharpness sliders. First activate the correction brush and set the sharpness and clarity slider all the way to the left. Now move over the entire image so that everything becomes blurred. Then the delete function is used to get exactly the parts that should later be displayed as a miniature in focus again.
Fine-tune for the Perfect Tilt-shift Image
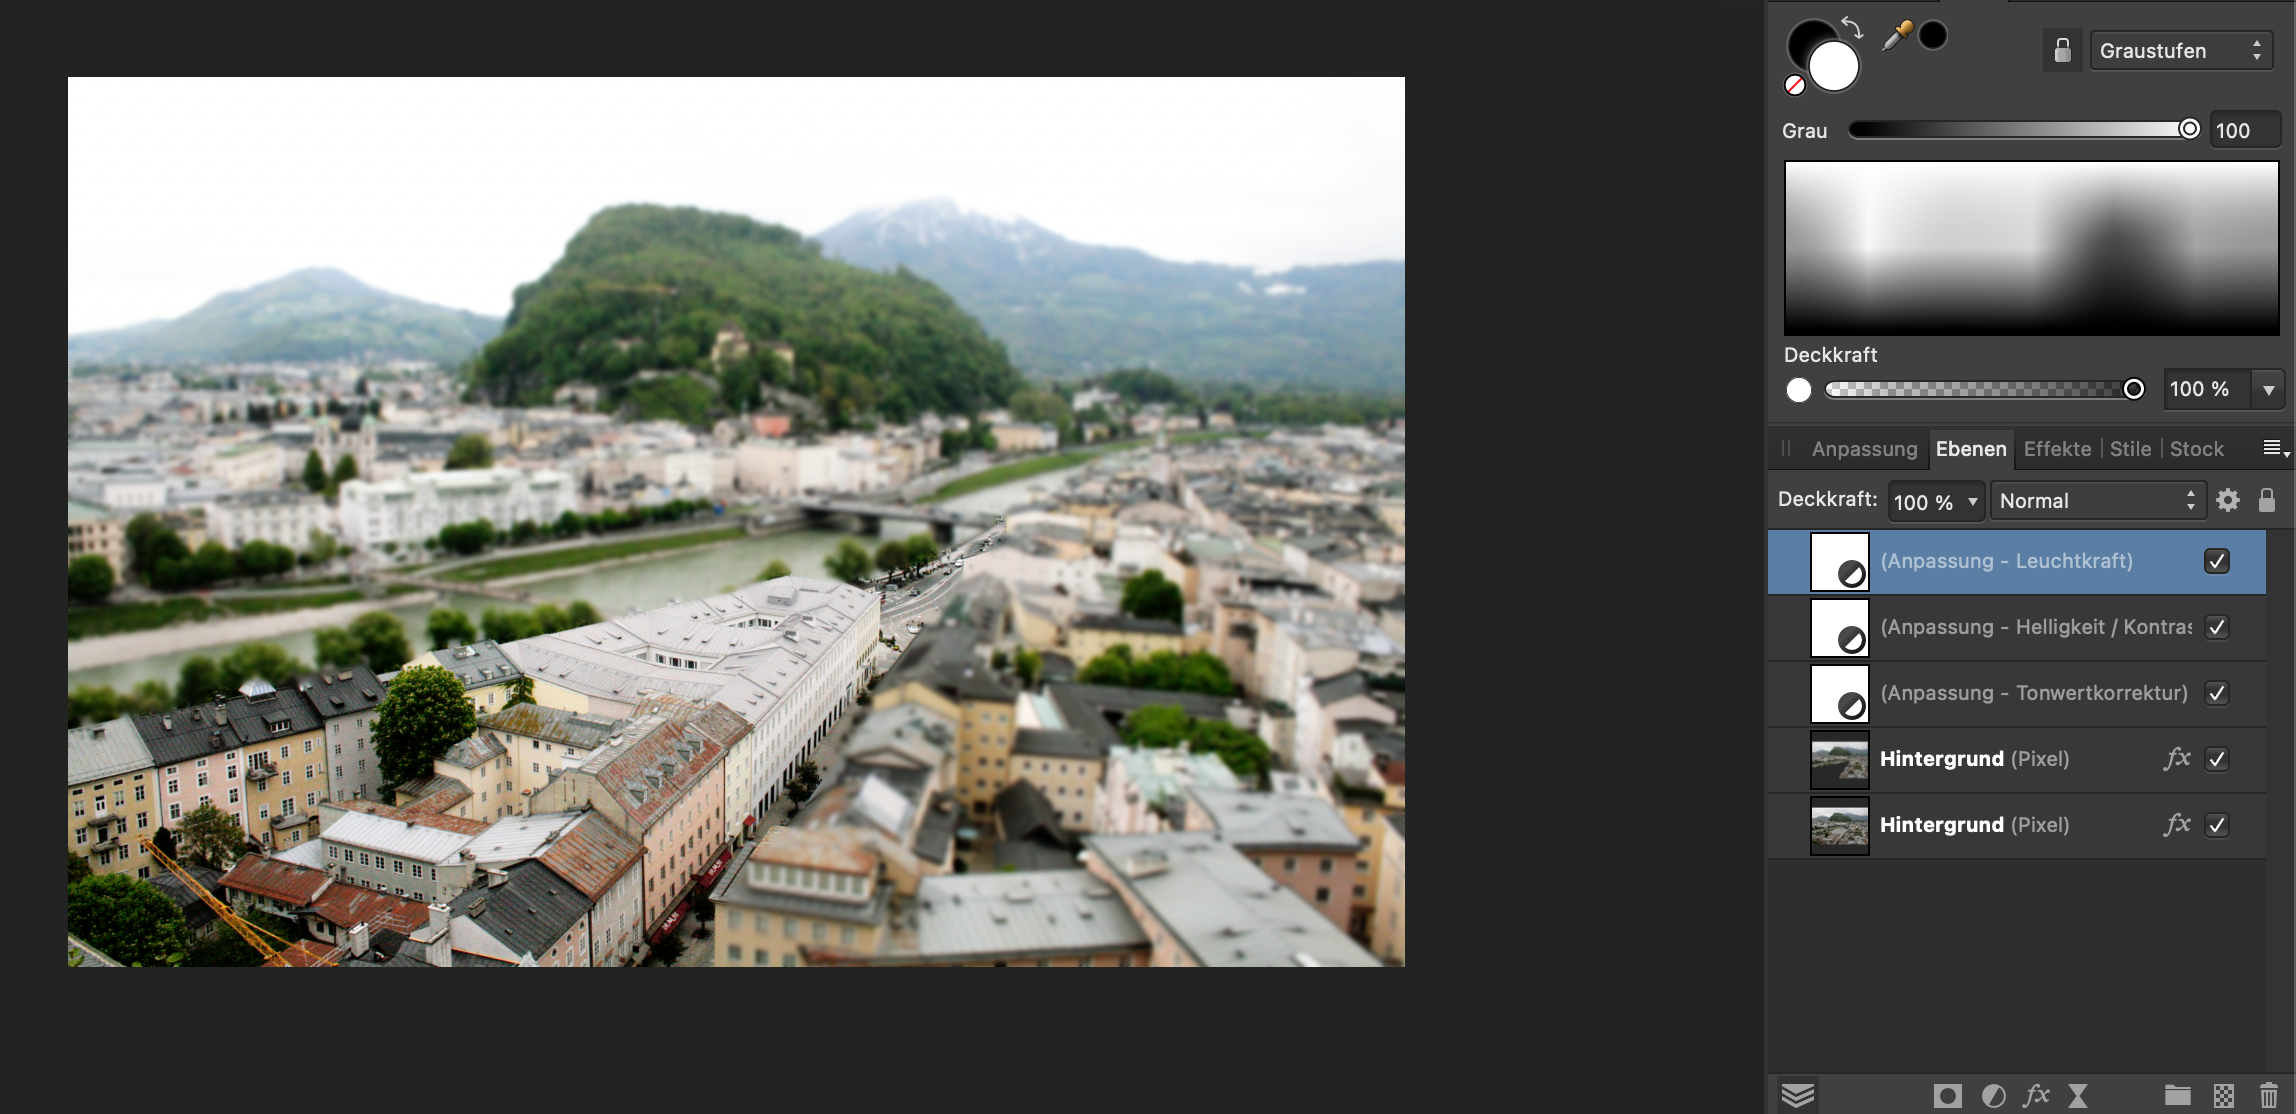
As a rule, you can now see the tilt-shift effect quite clearly. However, in order to get a really great recording, the procedure from step 2 should be repeated. This creates even greater blurring of the areas that should not be displayed as a miniature. Finally, fine adjustments can be made, for example using the contrast or dynamics controller.
Expert-Tipp: Even though it often has a nice effect to add a vignette to the image, you should avoid it with tilt-shift images. This sharpens the corners a bit and reduces the blurring effect.
Final Result
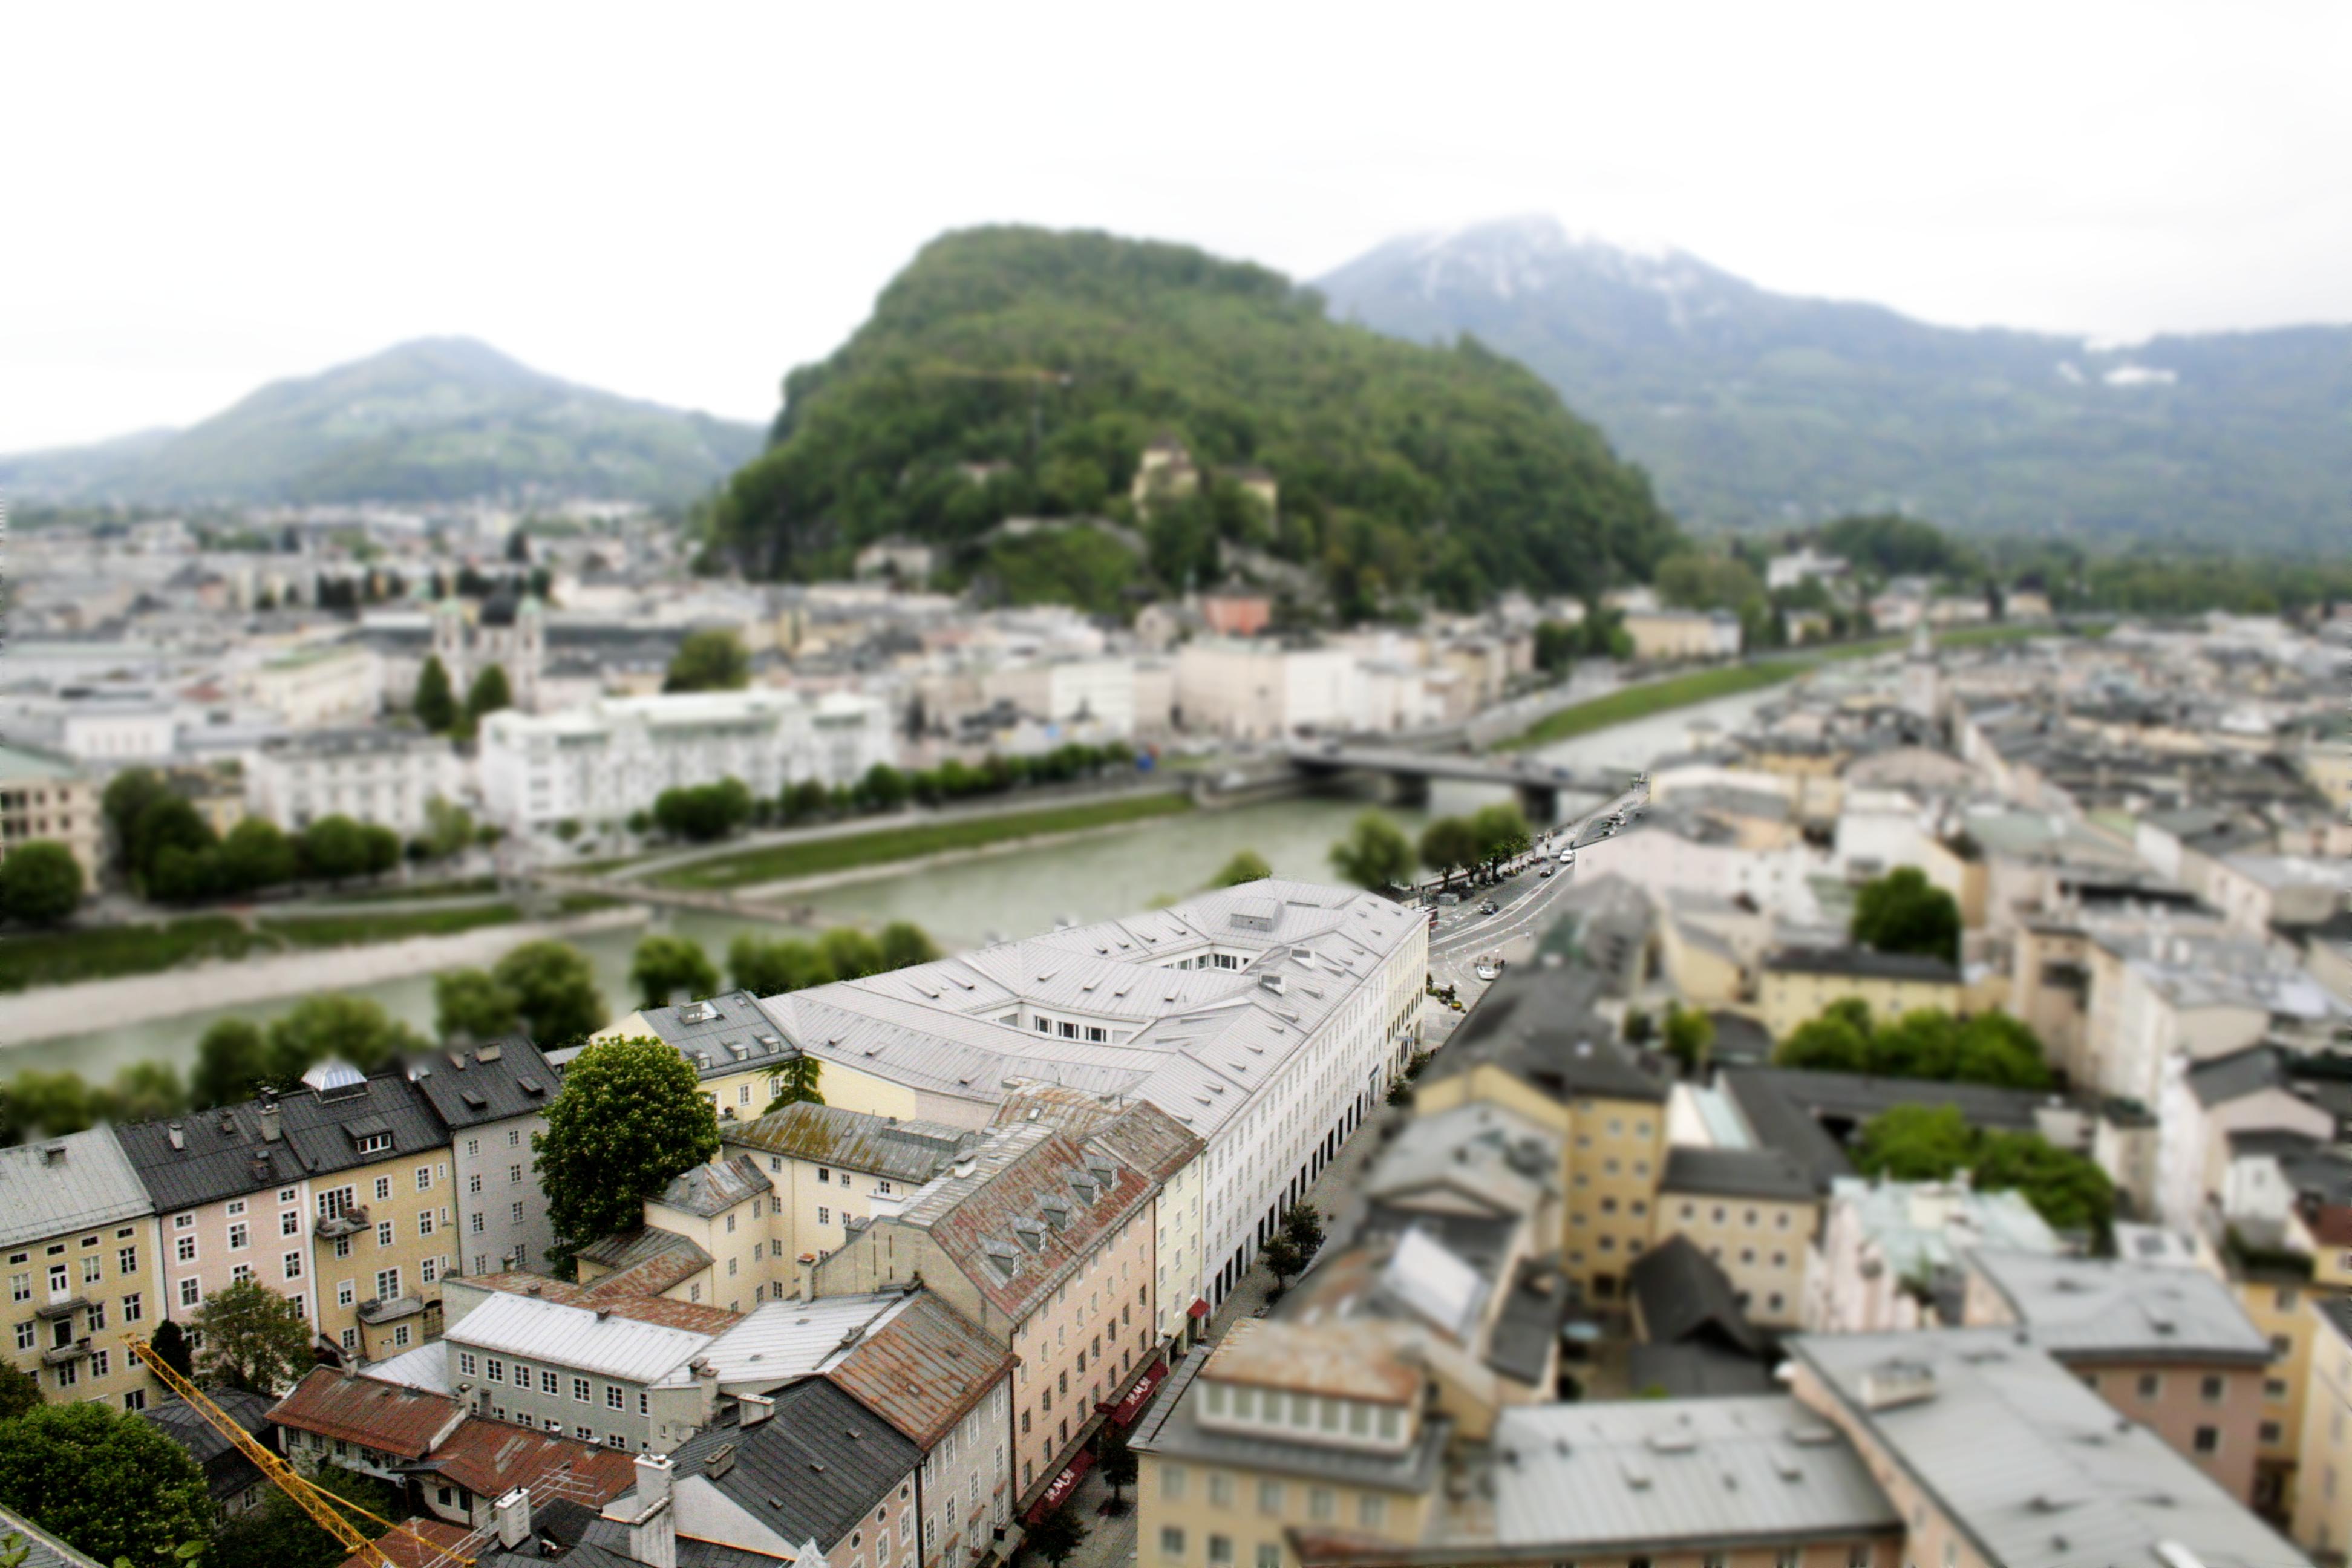
Congratulations! You've just created your first tilt-shift-photo. :) Good luck with the next ones!